

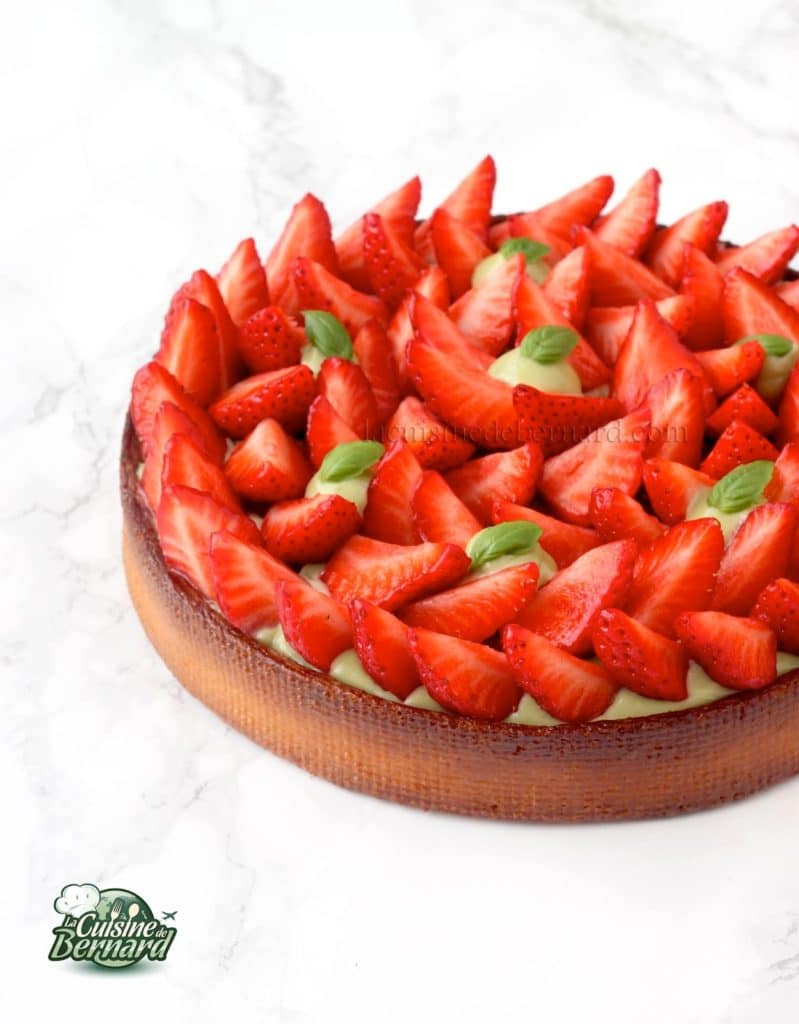
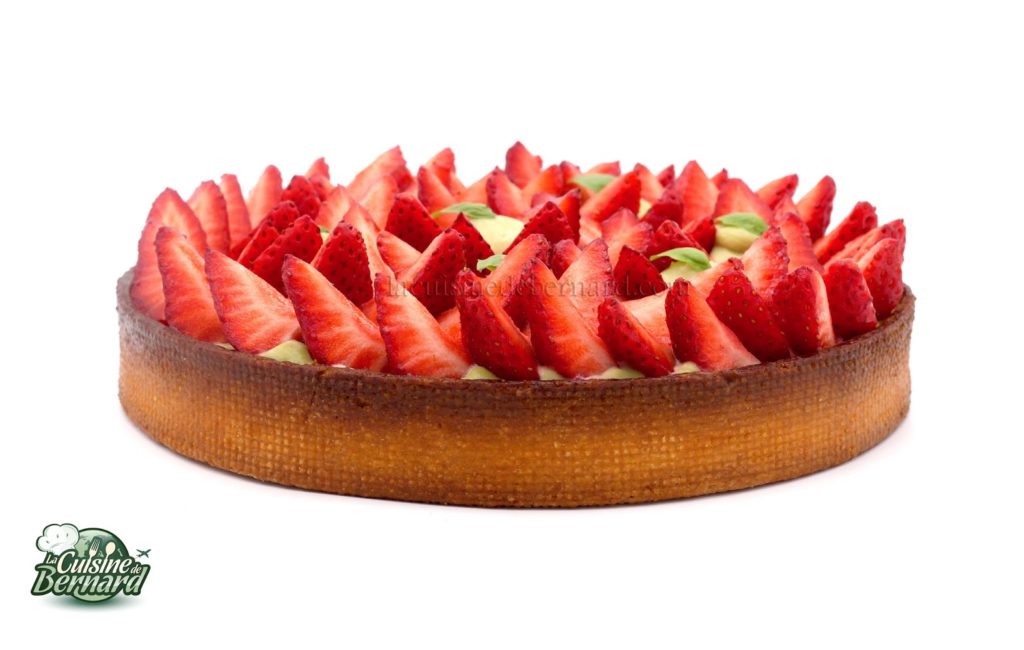
Tarte aux fraises, citron et basilic
Ingredients
Pâte sucrée (cela vous donnera de quoi faire 3 tartes) :
- 210 g de farine
- 125 g de beurre doux froid
- 35 g de sucre glace
- 25 g de poudre d’amande
- 50 g d’oeuf battu
Crème d’amandes au citron :
- 50 g de poudre d’amandes
- 50 g de beurre doux
- 50 g de sucre glace
- 30 g d’œuf
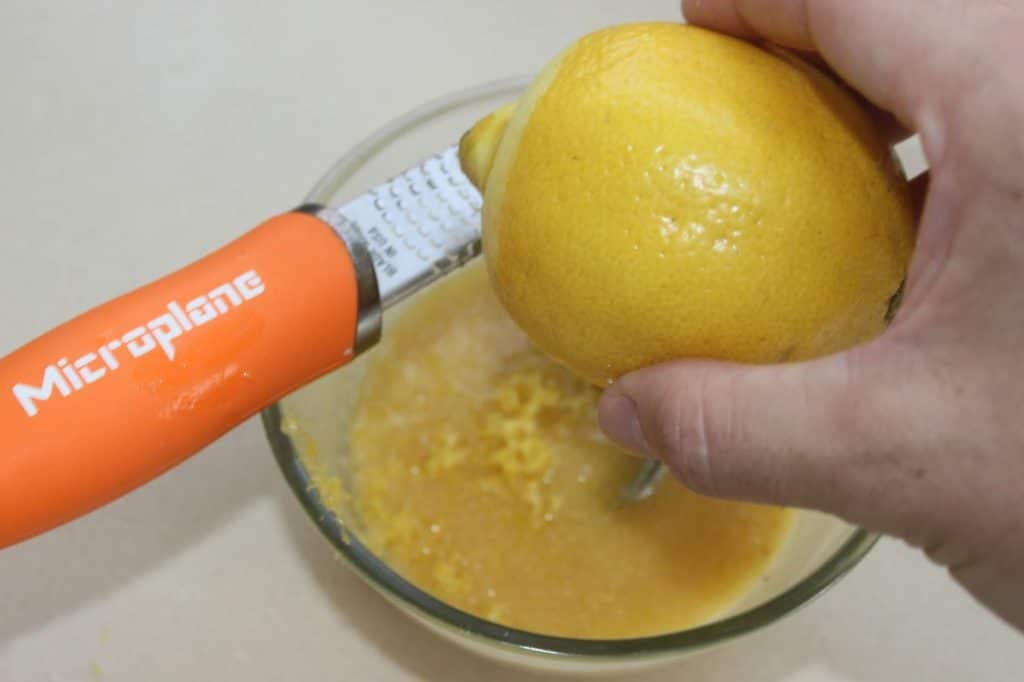
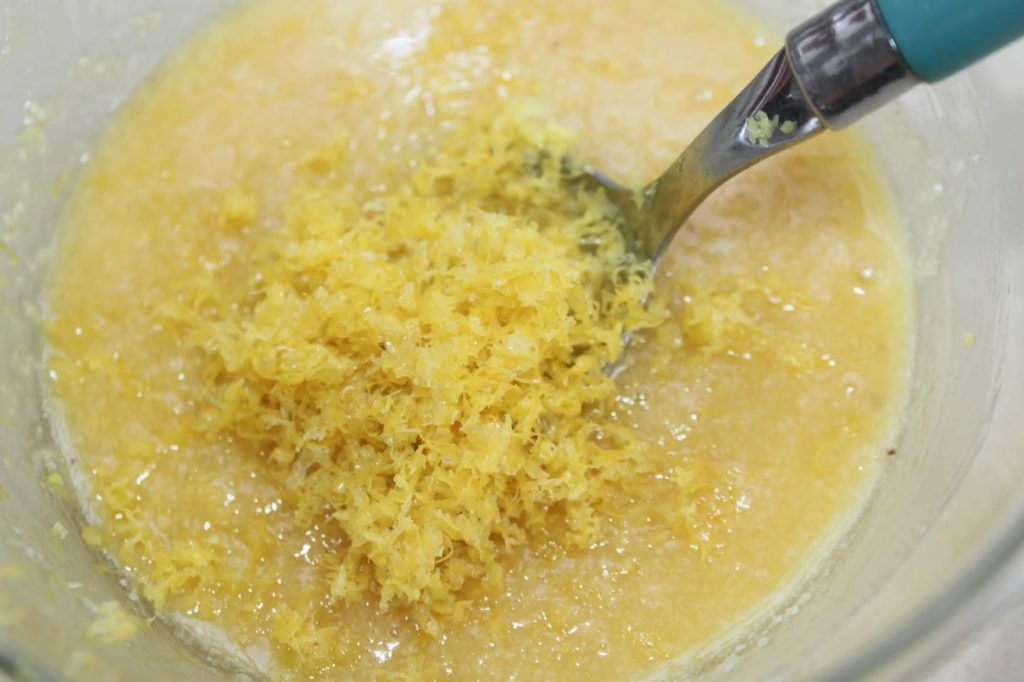
- le zeste d'un citron non traité
Crémeux basilic :
- 150 g de crème liquide entière
- 50 g de lait demi-écrémé
- 20 g de beurre doux
- 20 g de basilic
- 35 g de jaune d’œuf
- 20 g de sucre
- 1+1/4 de feuilles de gélatine (chaque feuille fait 2g, donc 2,25g au total)
- 135 g de chocolat blanc (couverture ivoire Valrhona est parfaite !)
Dorure :
- 1 jaune d’œuf
- 8 à 10 g de crème liquide entière
300g de fraises (j’ai pris ici des maras des bois)
Instructions
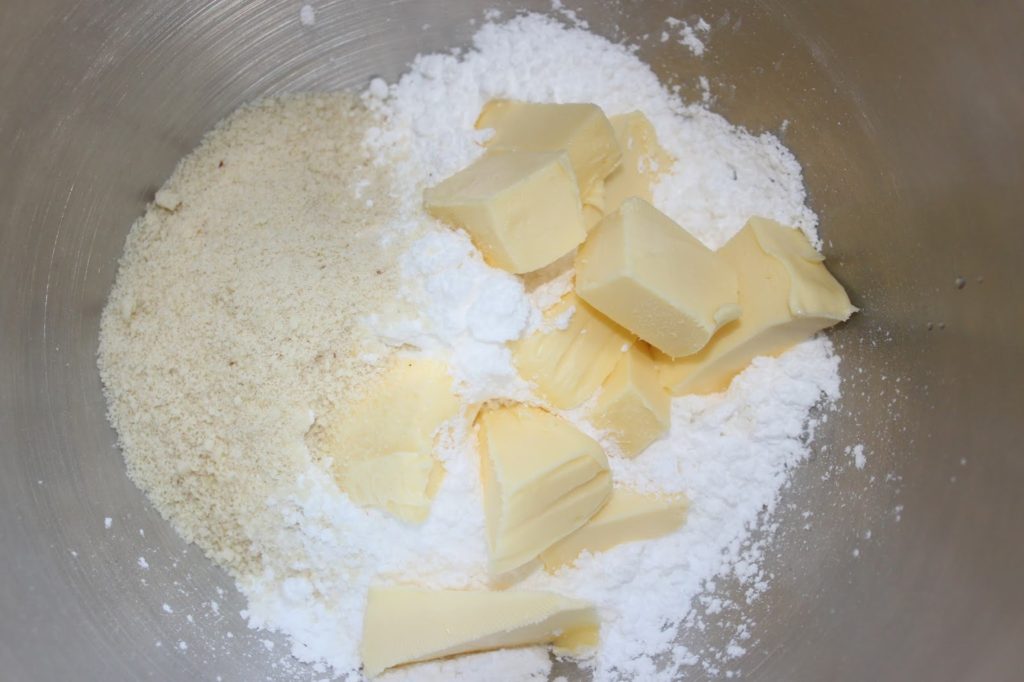
- Cette recette est plus simple à gérer sur deux jours. Le premier jour vous pouvez faire la pâte, le crémeux et la crème d’amande. Le lendemain la cuisson et l’assemblage ! Préparez la pâte sucrée. Mettez tous les ingrédients sauf l’œuf dans un bol ou dans le bol du robot.
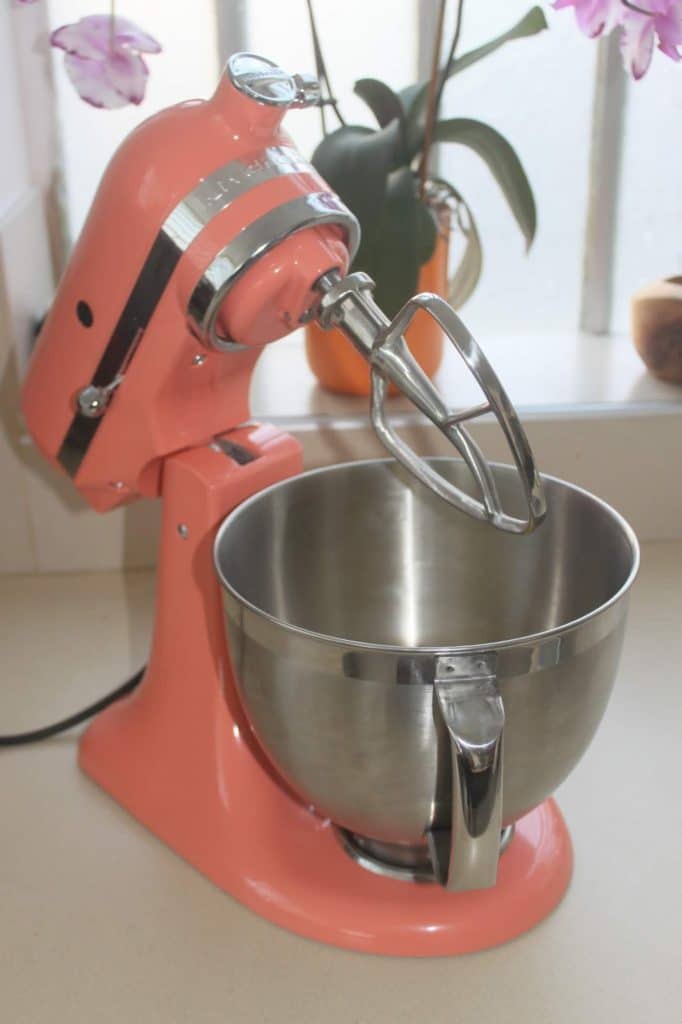
- Battez avec la feuille du robot (c’est le K) jusqu’à incorporation du beurre.
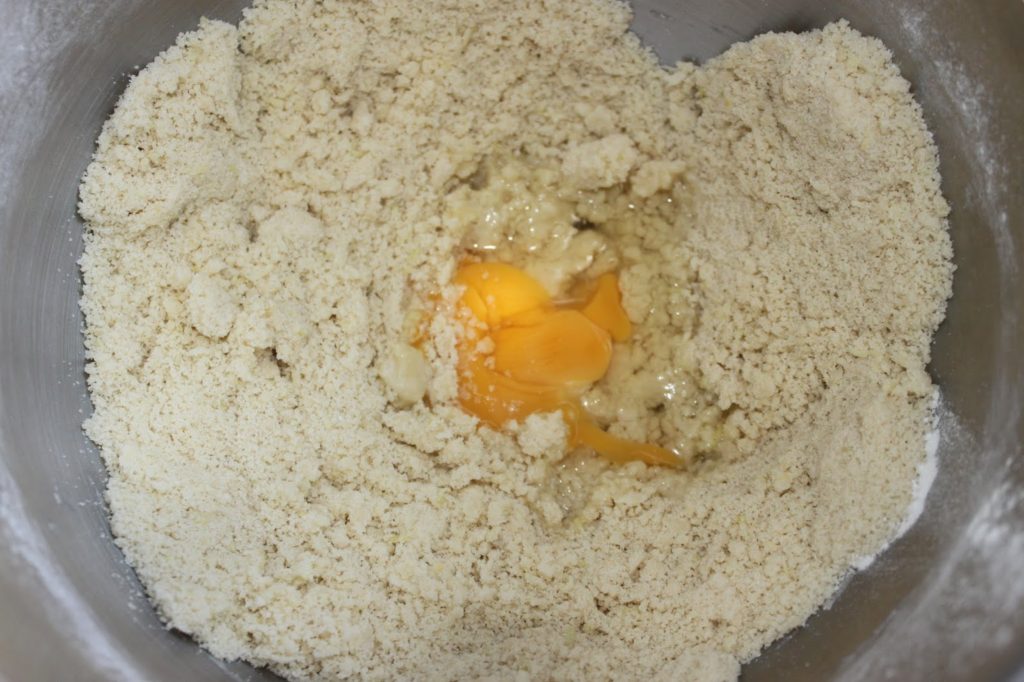
- Ajoutez à ce moment les 50g d’œuf (en gros un œuf moyen !).
- Remettez en marche juste pour incorporer l’œuf battu mais pas plus!
- Mettez la pâte dans un film étirable au frais pour la nuit.Pour la crème d’amande au citron : mélangez dans un bol, le beurre fondu, le sucre glace, la poudre d’amande et les 30g d’œuf. Ajoutez le zeste du citron.
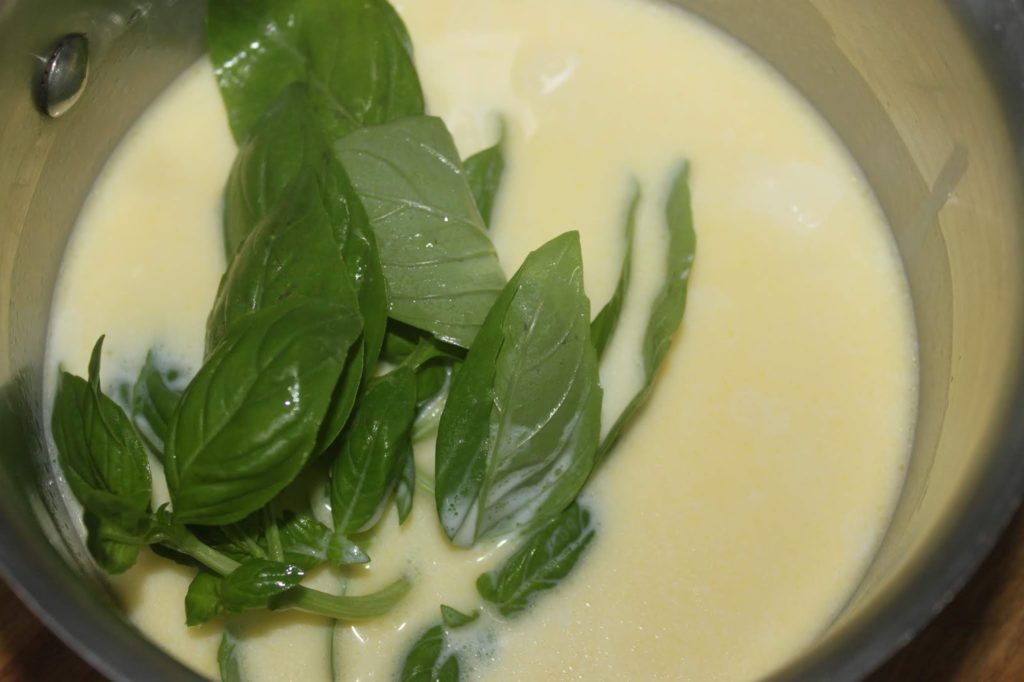
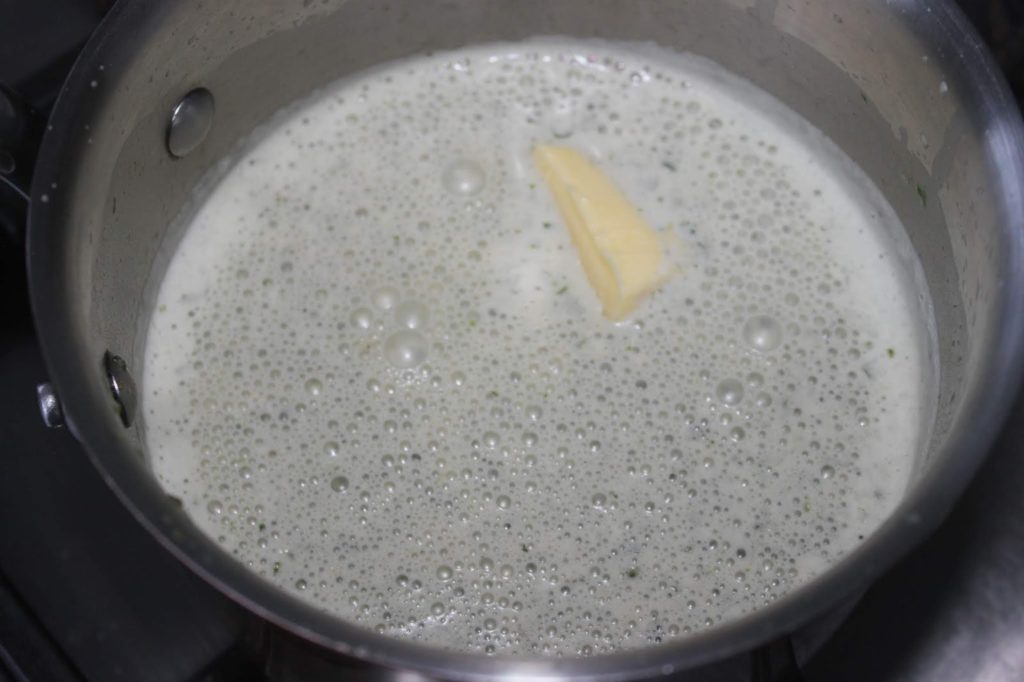
- Pour le crémeux basilic, placez la crème, le lait et le basilic dans une casserole.
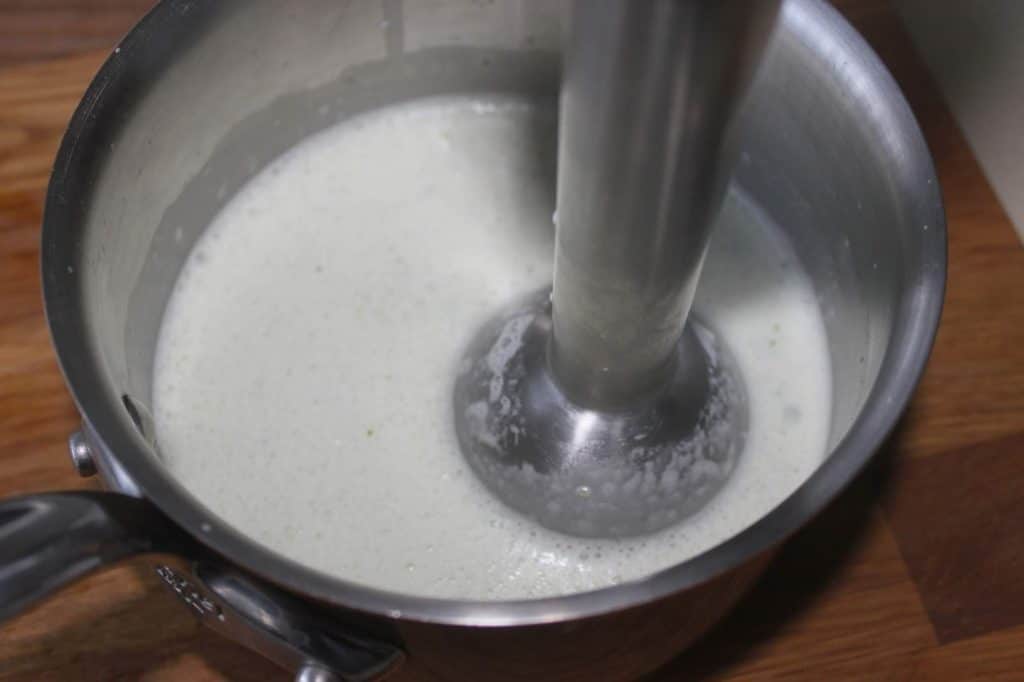
- Mixez avec un mixeur plongeant le plus finement possible. Vous ne devez presque plus voir de morceaux de feuilles de basilic.
- Faites chauffer sur feu doux avec le beurre.
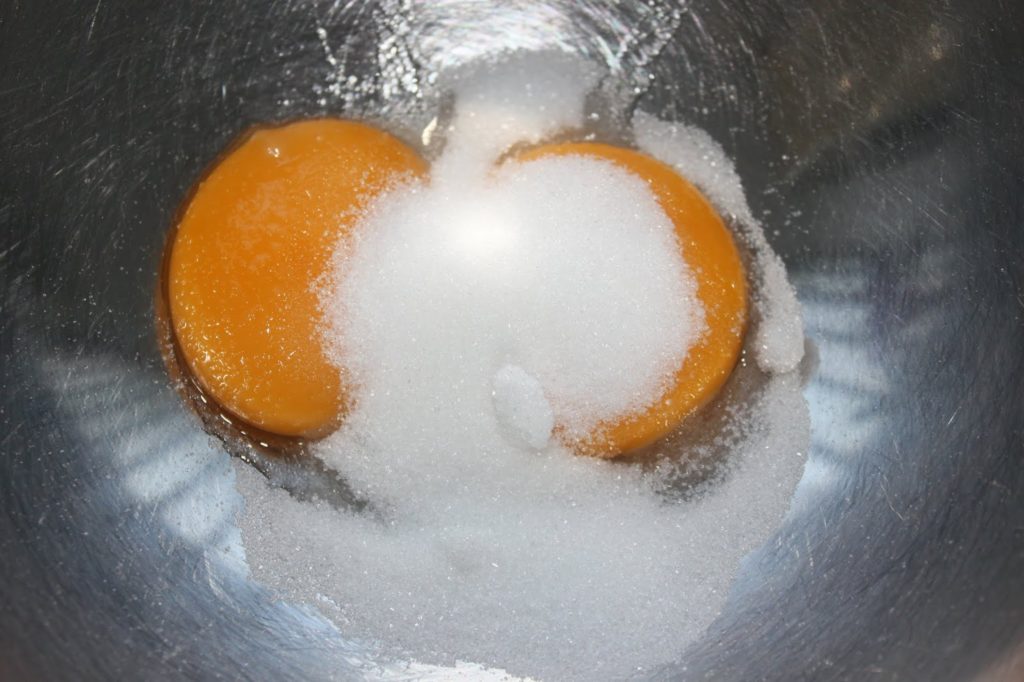
- Placez les 35g de jaunes d’œuf et le sucre dans un récipient.
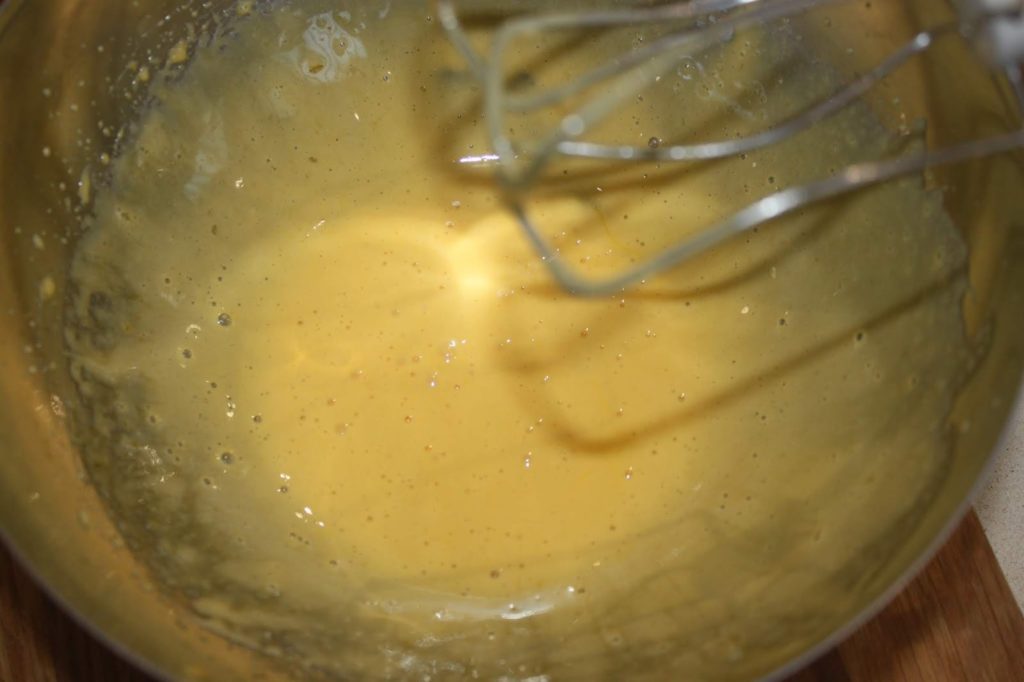
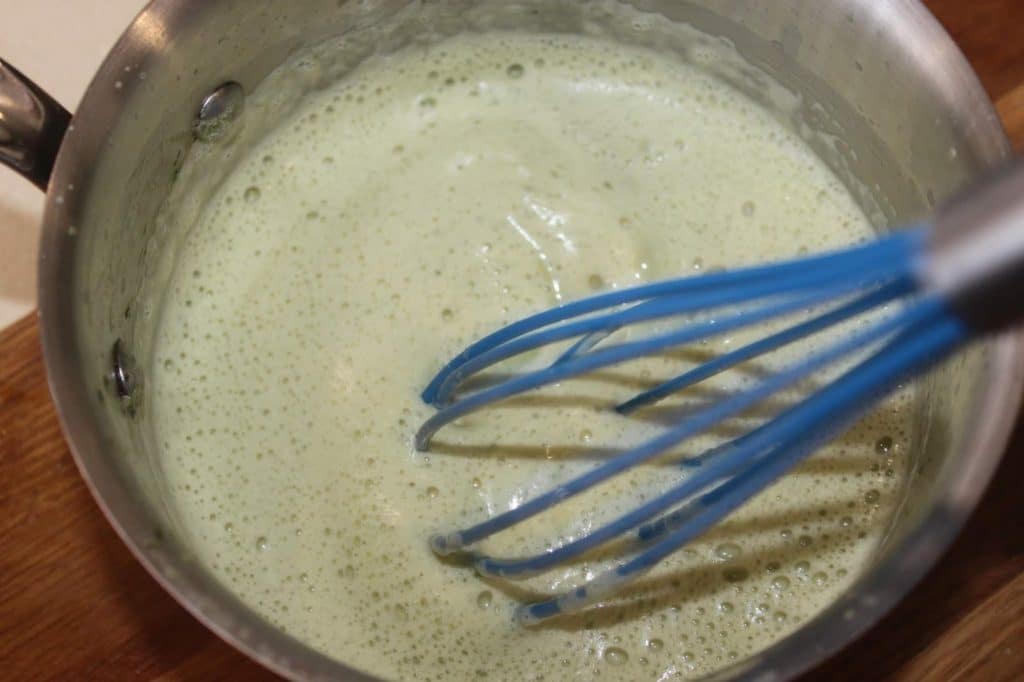
- Mélangez au fouet pour blanchir le plus possible. Cela ne va pas blanchir beaucoup car il n’y a pas beaucoup de sucre.
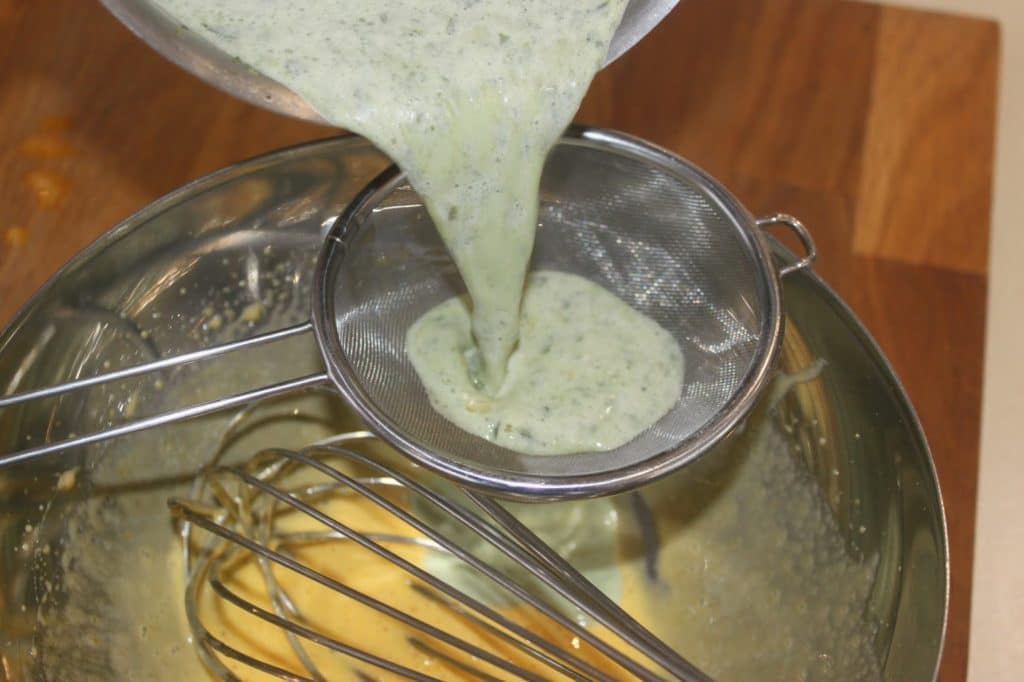
- Quand le contenu de la casserole frémit, versez le sur les jaunes en filtrant dans un passe thé.
- Mélangez bien avec un fouet.
- Remettez sur feu doux et portez tout en mélangeant, à 86°C.
- Vous allez avoir une crème anglaise.
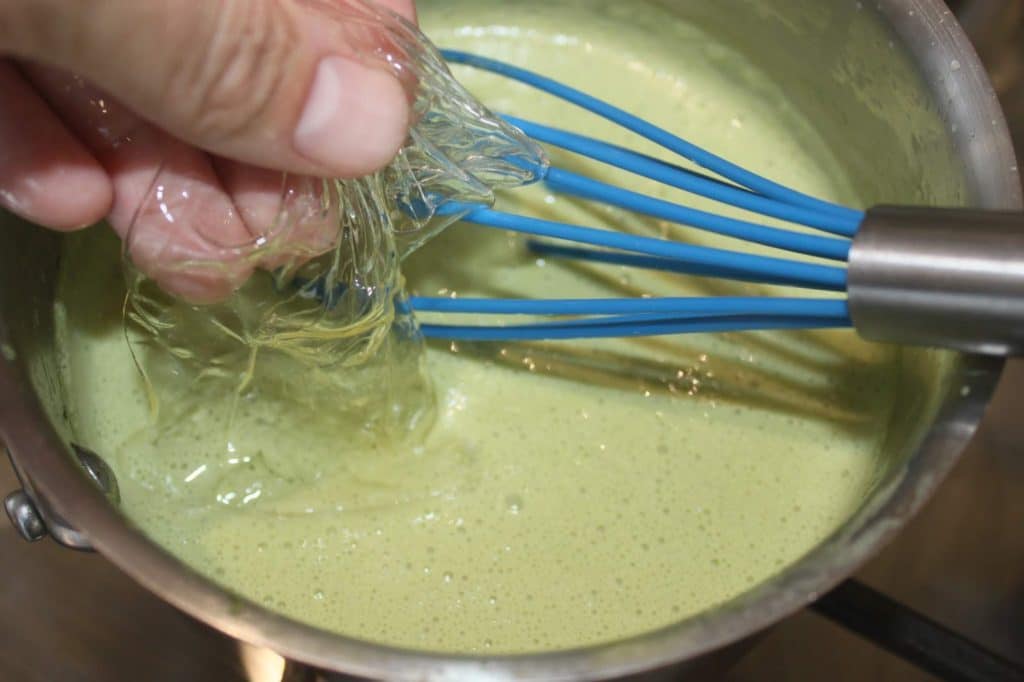
- Hors du feu, ajoutez les feuilles de gélatine préalablement trempée dans de l’eau froide et essorée.
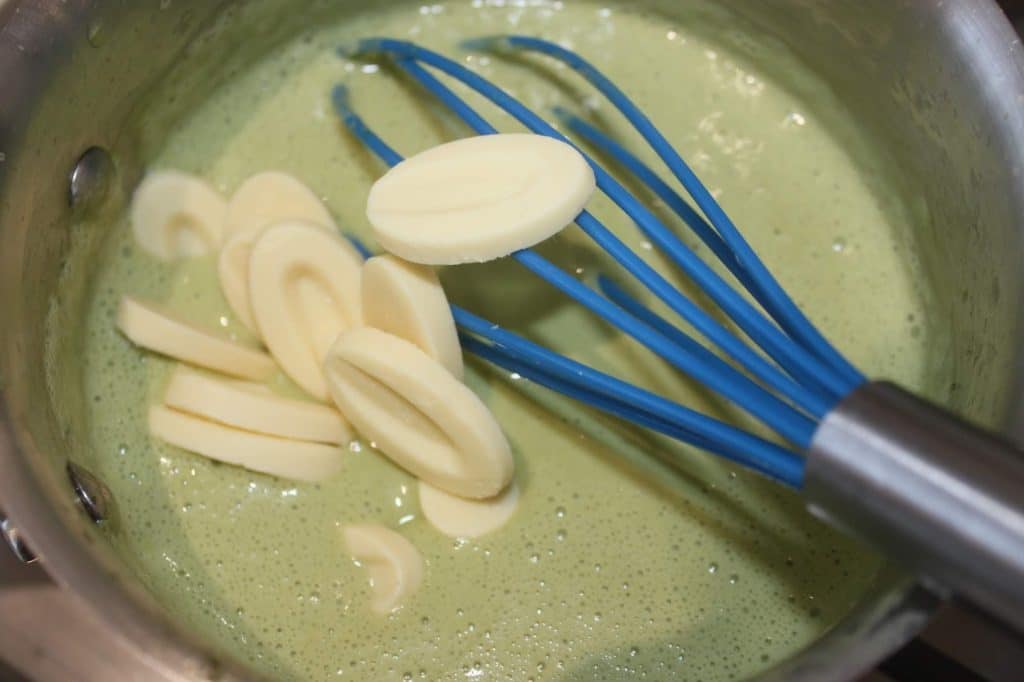
- Ajoutez aussi la couverture ivoire.
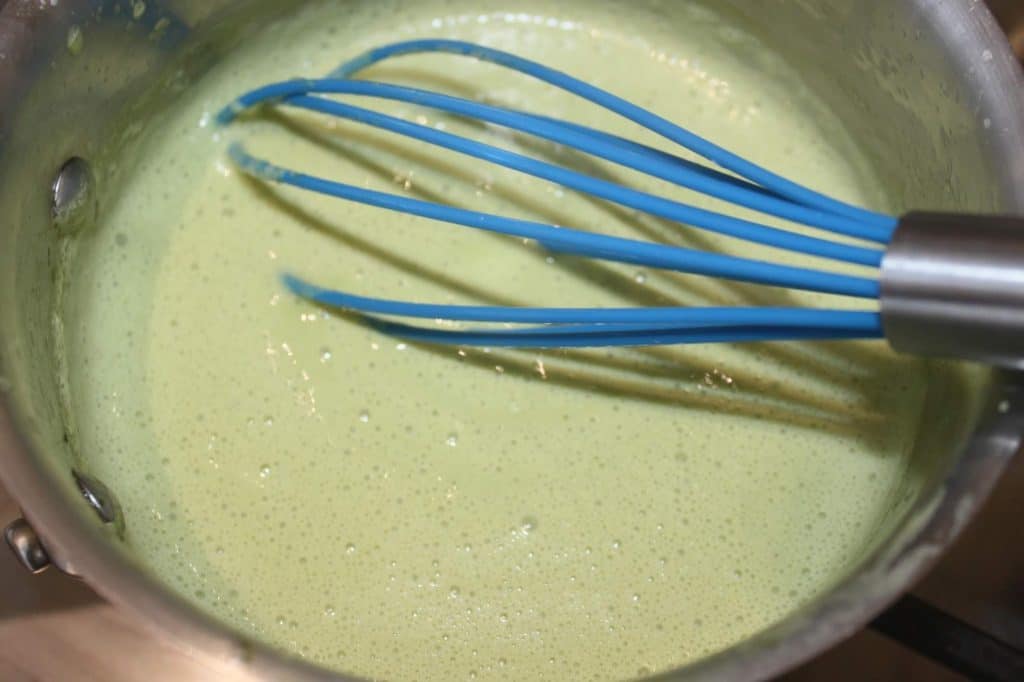
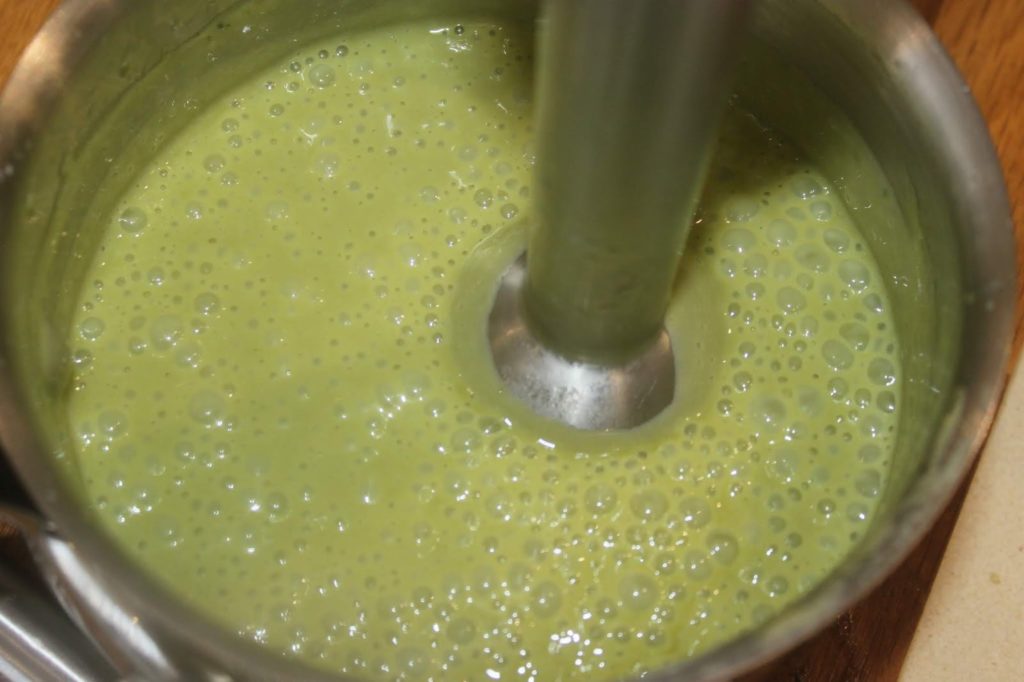
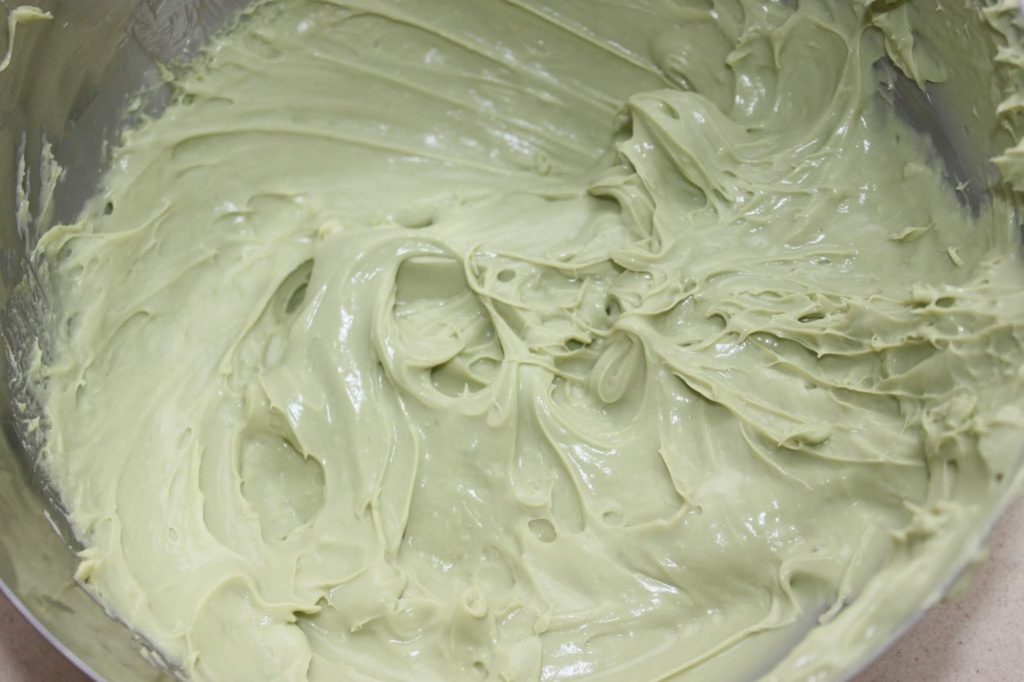
- Mélangez bien jusqu’à ce que le chocolat blanc ait fondu, puis mixez quelques secondes avec le mixeur plongeant.
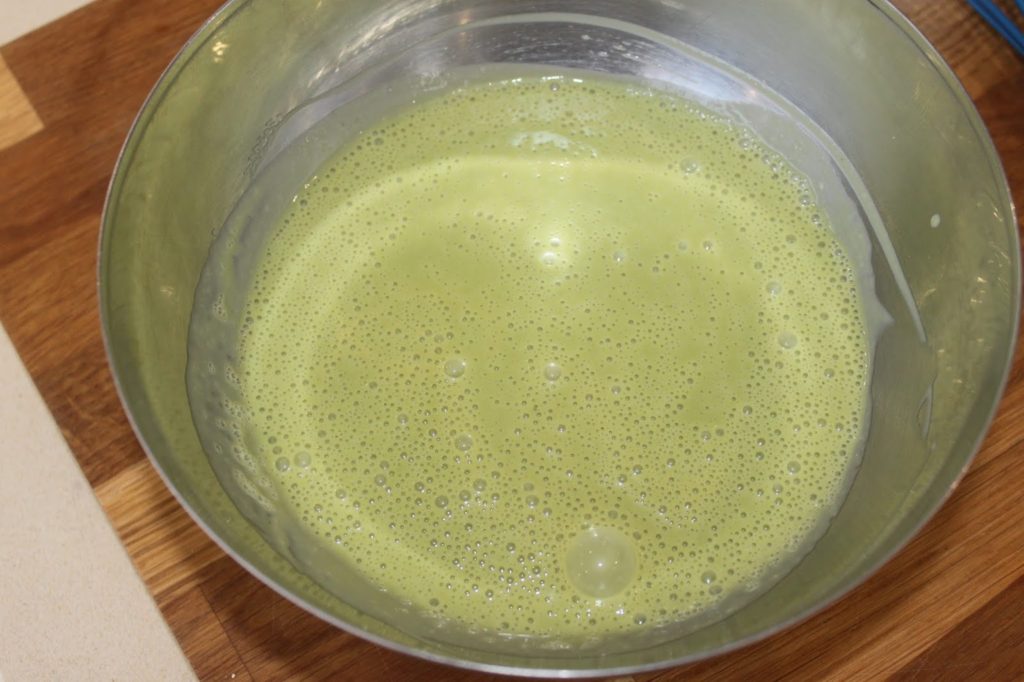
- Reversez dans un récipient propre.
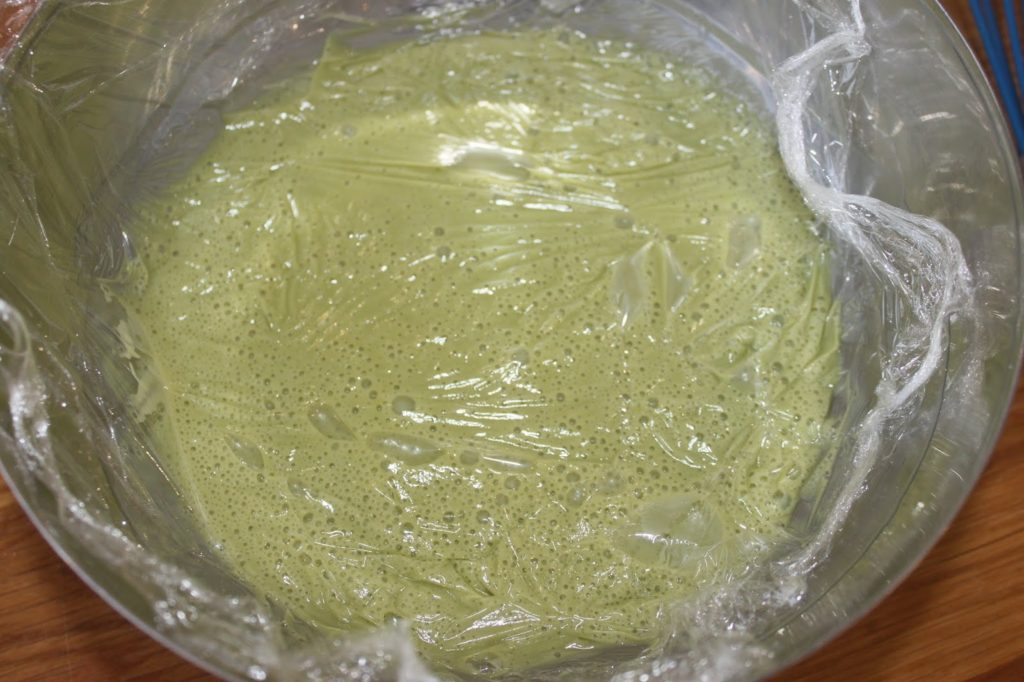
- Filmez au contact pour éviter le dessèchement et placez au frais jusqu’au lendemain.
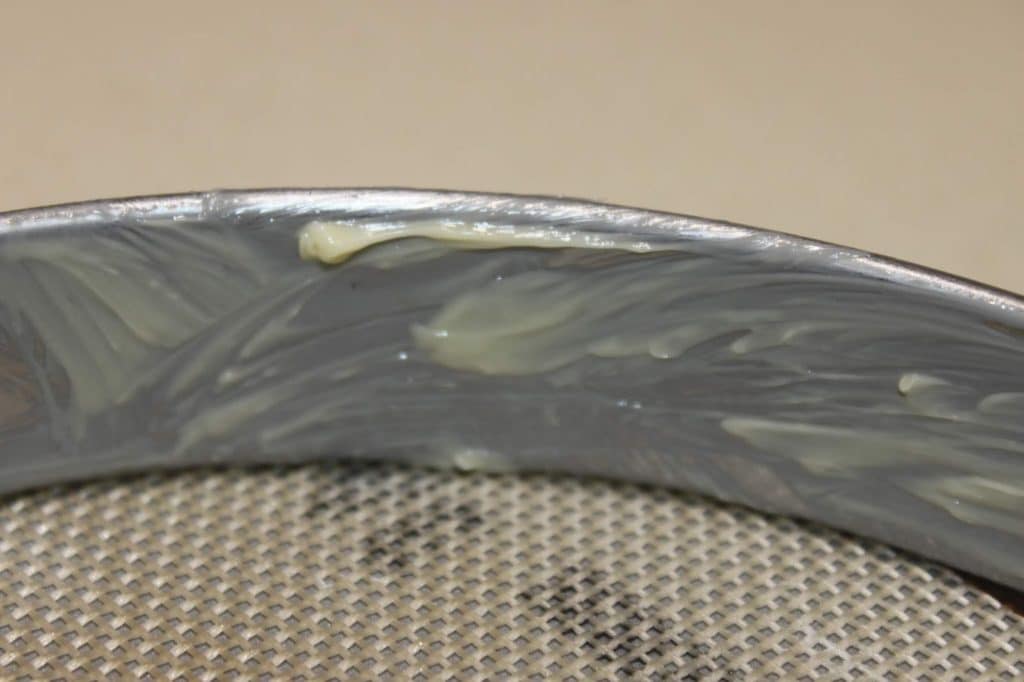
- Nouvelle technique pour les tartes. Cette méthode a le mérite d’éviter de placer des pois sur le fond de tarte pour une première cuisson à blanc. La pâte ne gonfle pas et adhère à la paroi du cercle. J’avais vu ce beau résultat sur la page instagram du talentueux et mystérieux (il souhaite rester anonyme !) Jekocat. Sa page est ICI ! N’hésitez pas à aller voir ce qu’il fait, c’est magnifique. Il a pris le temps de répondre à mes questions. Vous pourrez trouver la toile aérée nécessaire à cette technique (je rappelle que vous pouvez faire cette tarte avec les techniques plus classiques que je propose dans mon blog sur les tartes et tartelettes !) sur ce site. Il faut juste couper des bandes à la hauteur pile de votre cercle. C’est très facile à faire. Beurrez le cercle généreusement. Posez-le sur un morceau de toile aérée (il faut en garder ou en acheter une seconde).
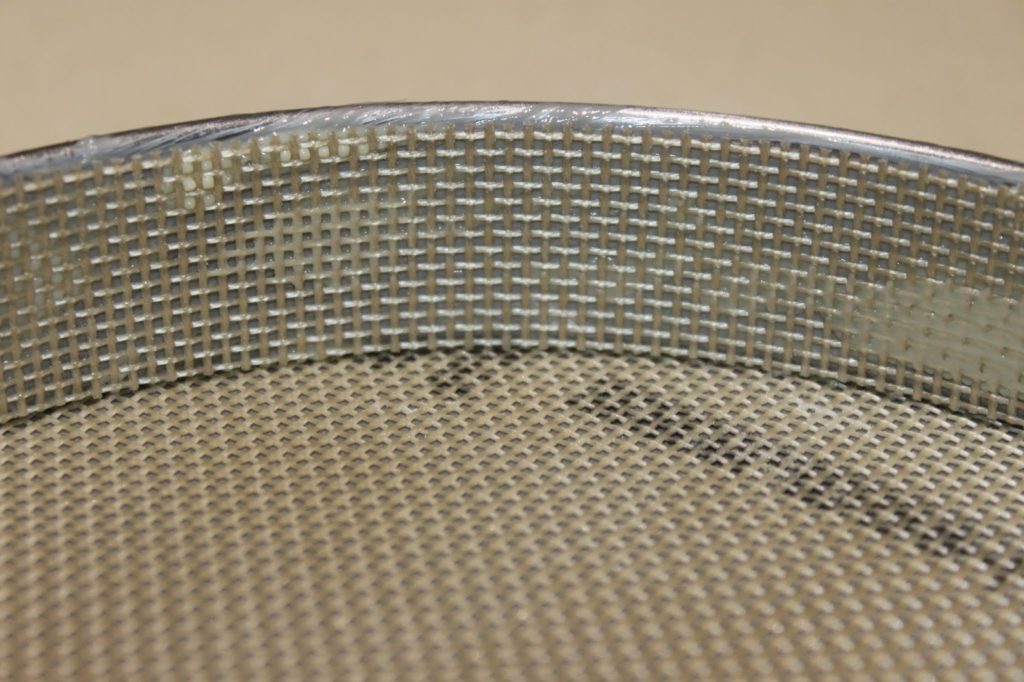
- Posez le morceau de toile coupée à la hauteur du cercle et faites-le adhérer contre le cercle grâce au beurre. Placez le tout au frais pour figer le beurre.
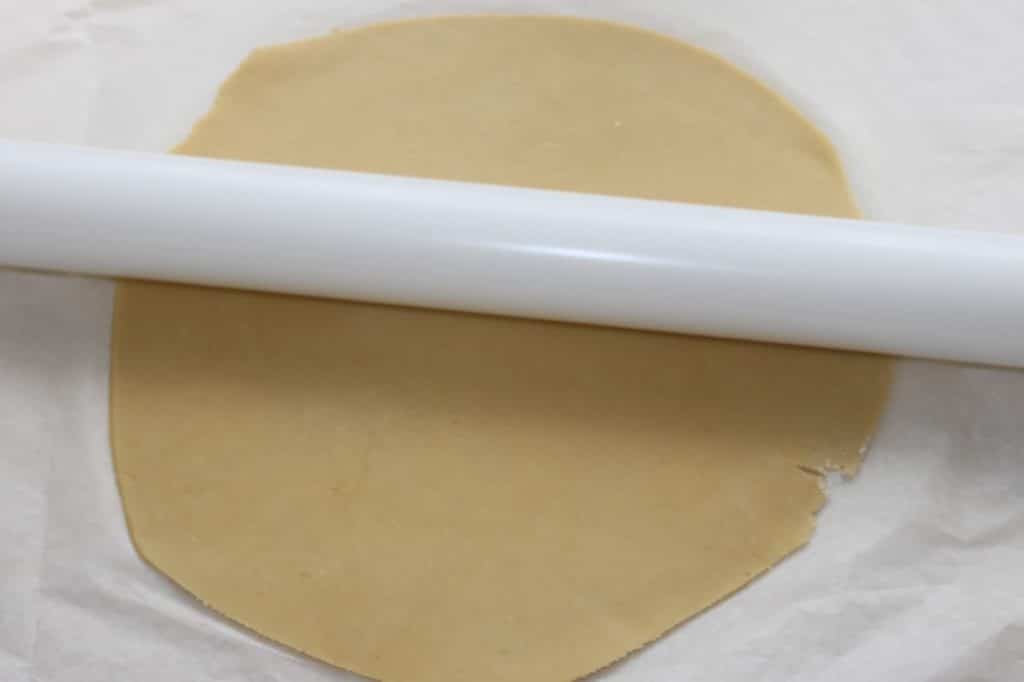
- Étalez la pâte sur un morceau de papier sulfurisé sur une épaisseur de 3-4mm. Il y a assez de pâte pour plusieurs tartes.
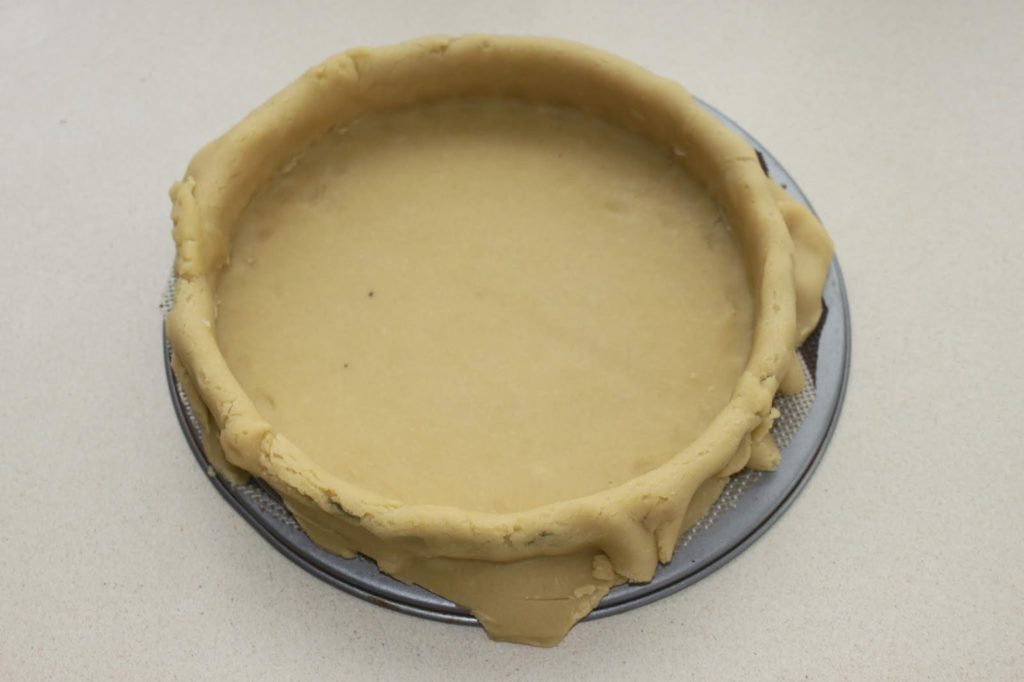
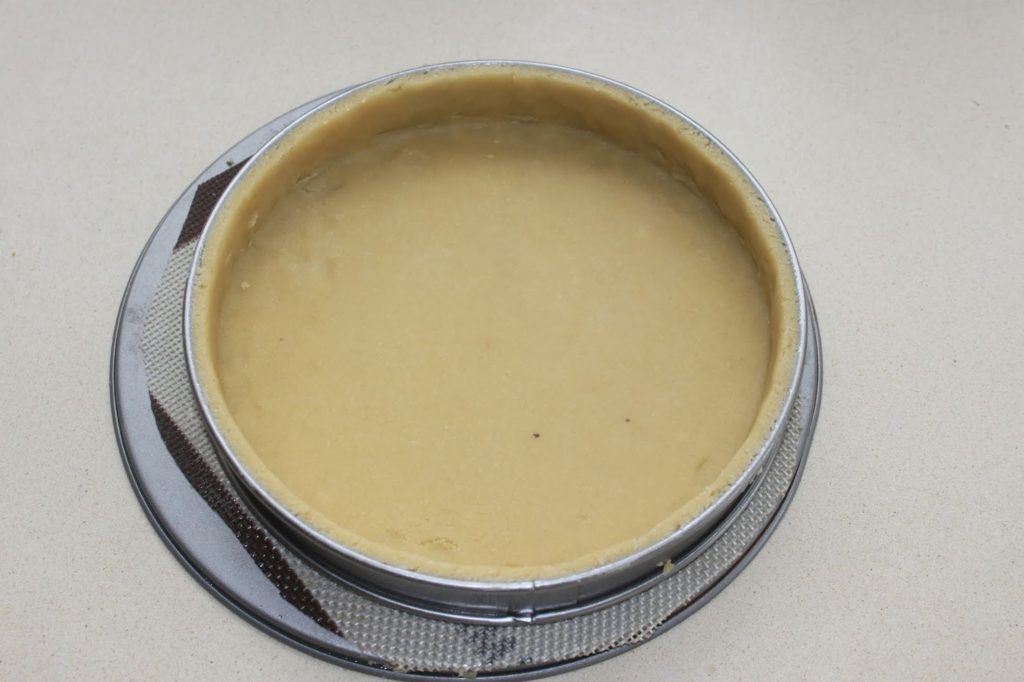
- Placez la pâte sur le cercle lui-même posé sur un morceau de toile, elle-même posée sur une plaque.
- Faites bien adhérer la pâte sur la toile et le fond en faisant un angle droit parfait. Coupez l’excédent avec un couteau. Replacez le tout au frais pour au moins 30 minutes.
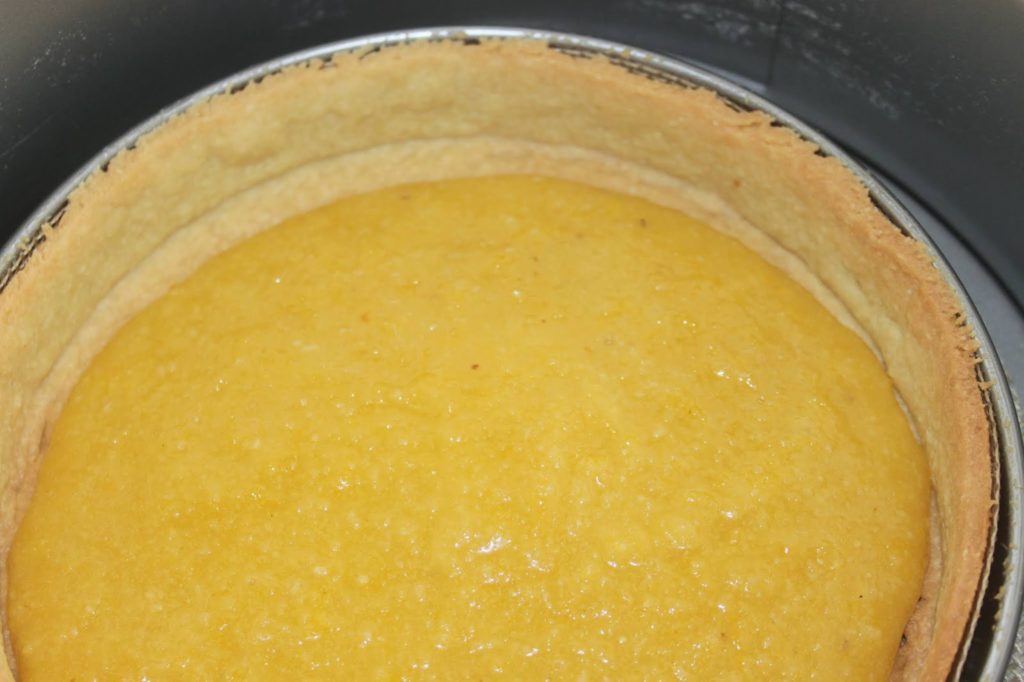
- Je n’ai pas pris de plaque de cuisson, j’ai pris le fond d’un moule à manqué à bord amovible. Pourquoi? Car les plaques de cuisson ont une fâcheuse tendance à se tordre sous l’effet de la chaleur. Après le repos au frais, faites cuire le fond de pâte à 175°C pendant 18 minutes. Sortez le cercle du four, versez la crème d’amande au citron (il faut la sortir au moins 1 heure avant du réfrigérateur). Avec la chaleur elle va fondre et s’étaler.
- Remettez au four pour 20 minutes, toujours à 175°. Et hop !! Enlevez le cercle à tarte. On voit ci-dessous, le ruban de toile aérée qui commence à partir.
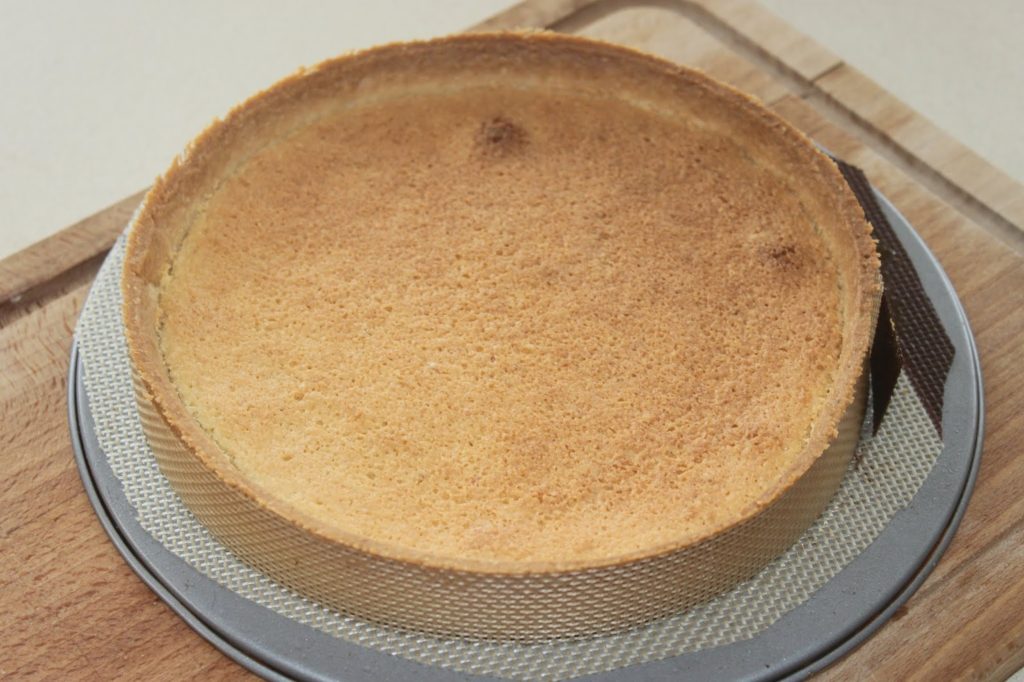
- Enlevez le ruban. La pâte est à nue.
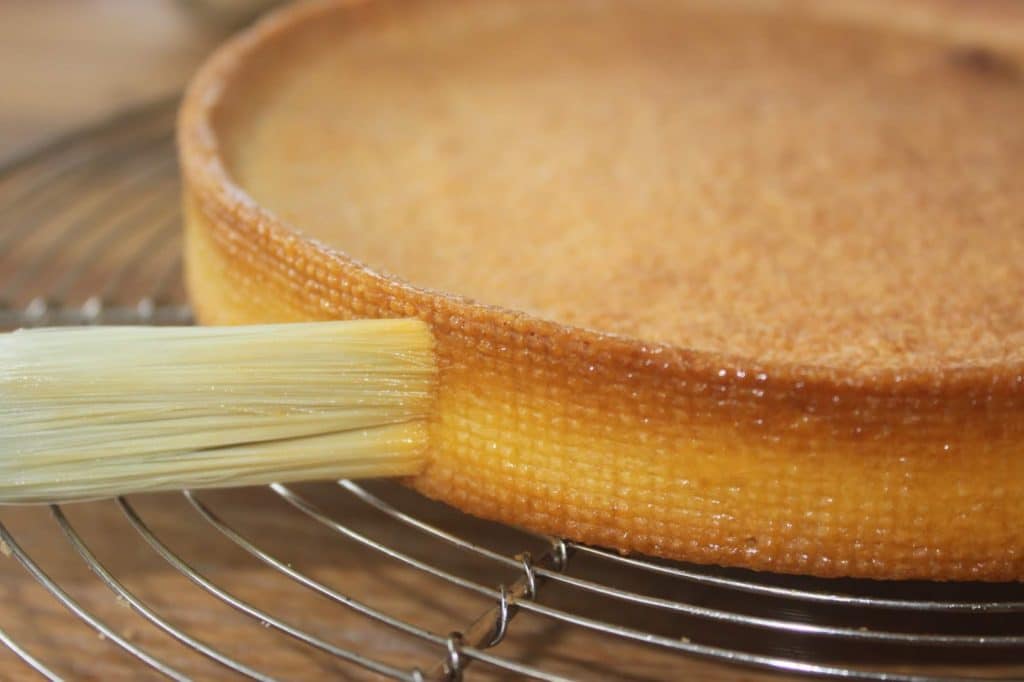
- Mélangez le jaune d’œuf et la crème de la dorure, puis appliquez celle-ci au pinceau sur le pourtour extérieur de la pâte. On voit déjà que ça lui donne un petit coup de soleil !!Vous pouvez parfaire le dessus de la pâte en passant un économe (le même que pour éplucher les carottes !) sur la bordure supérieure. Cela donne quelque chose de plu net !
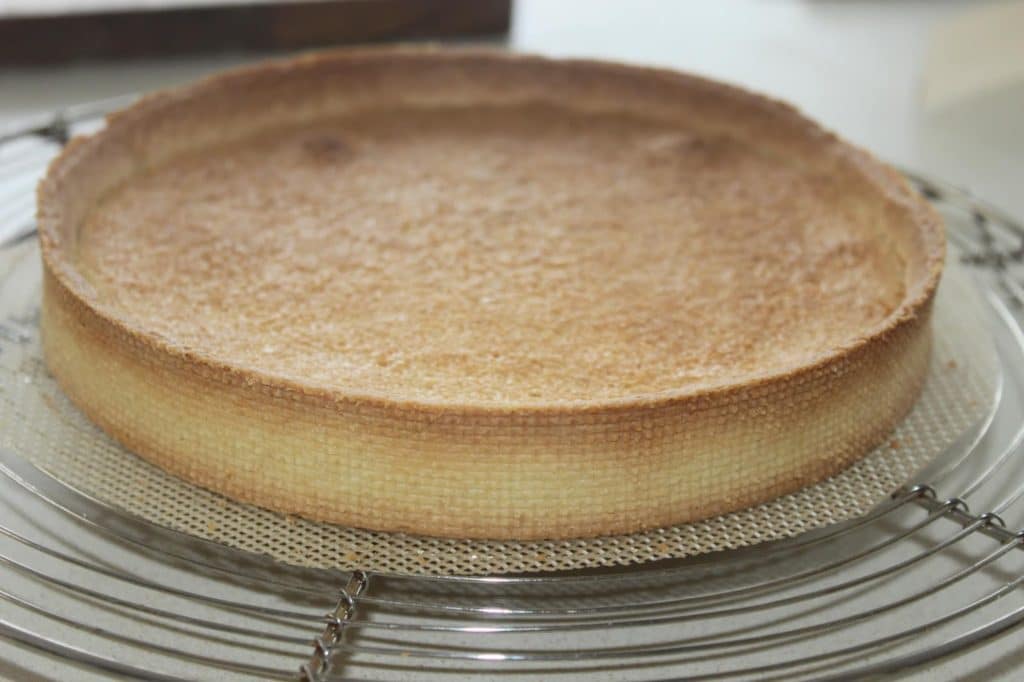
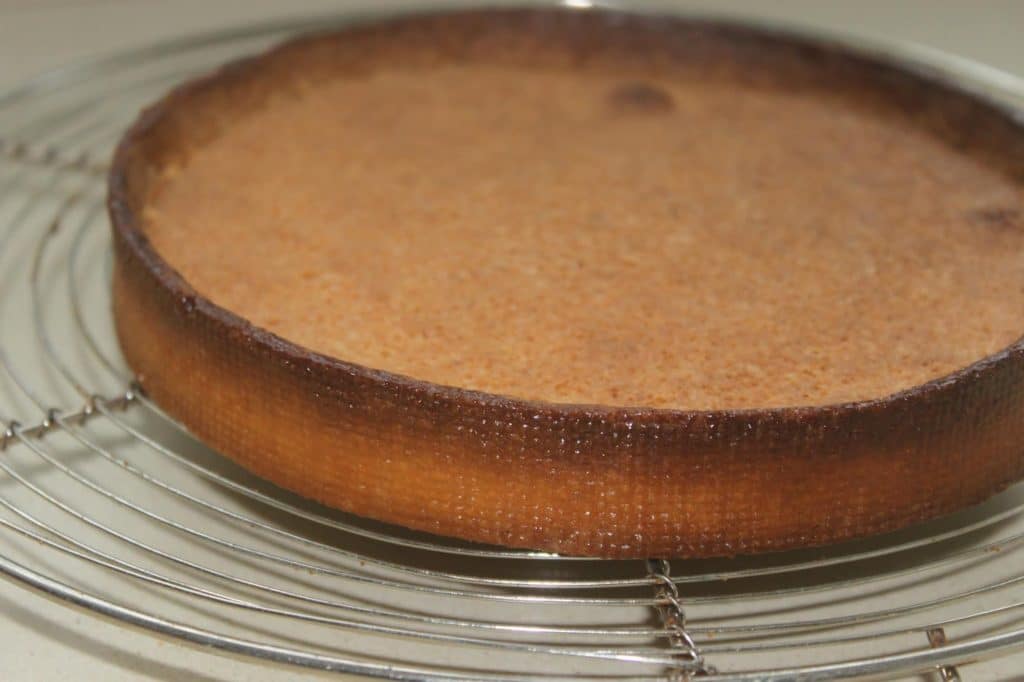
- Remettez au four pour 10 minutes pour fixer la dorure. Ici la dorure parait plus foncée qu’en vrai, cela est dû au flash utilisé pour le pas à pas !
- Laissez refroidir parfaitement la tarte.Enlevez alors le film étirable du crémeux au basilic.
- Mélangez avec un fouet pour rendre la texture plus crémeuse.
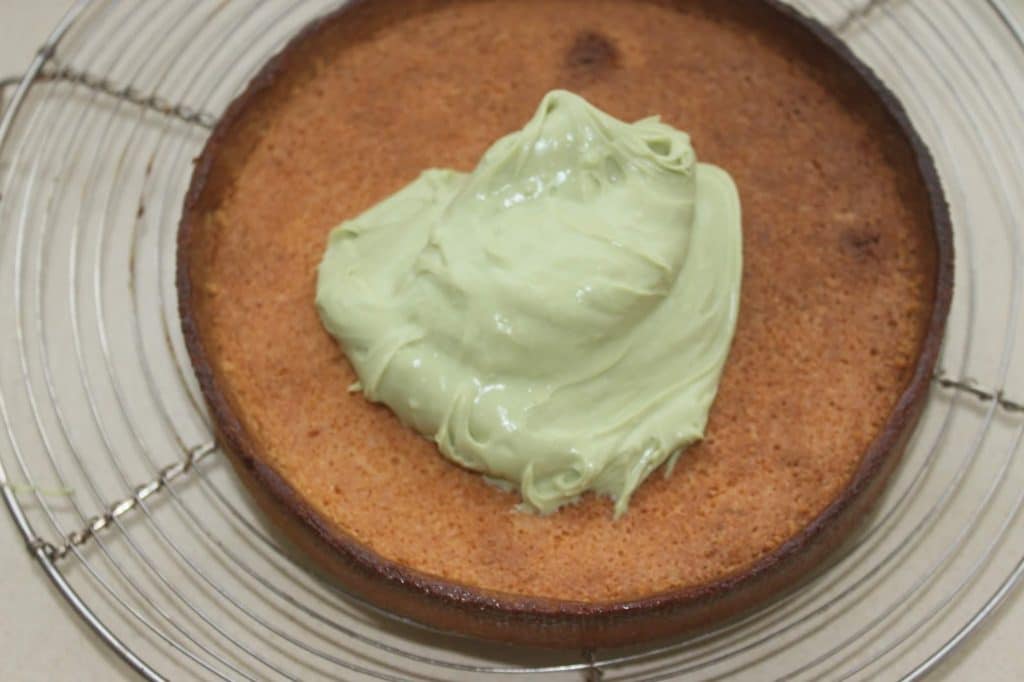
- Versez-en une bonne quantité sur la tarte (à température ambiante ou froide !).
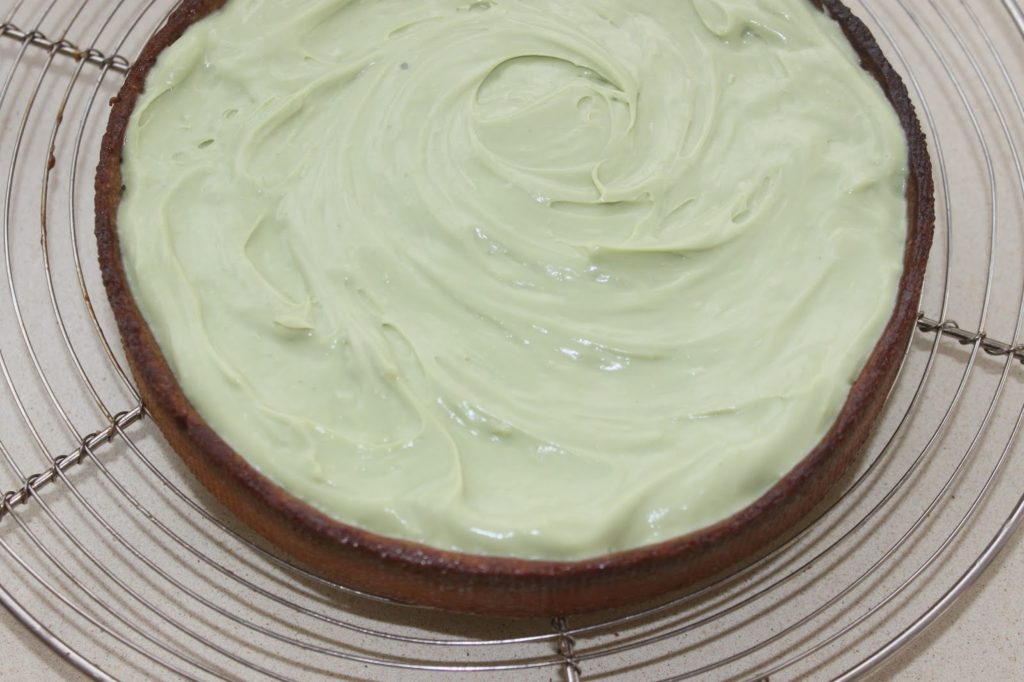
- Étalez-le bien avec une cuillère ou une spatule.
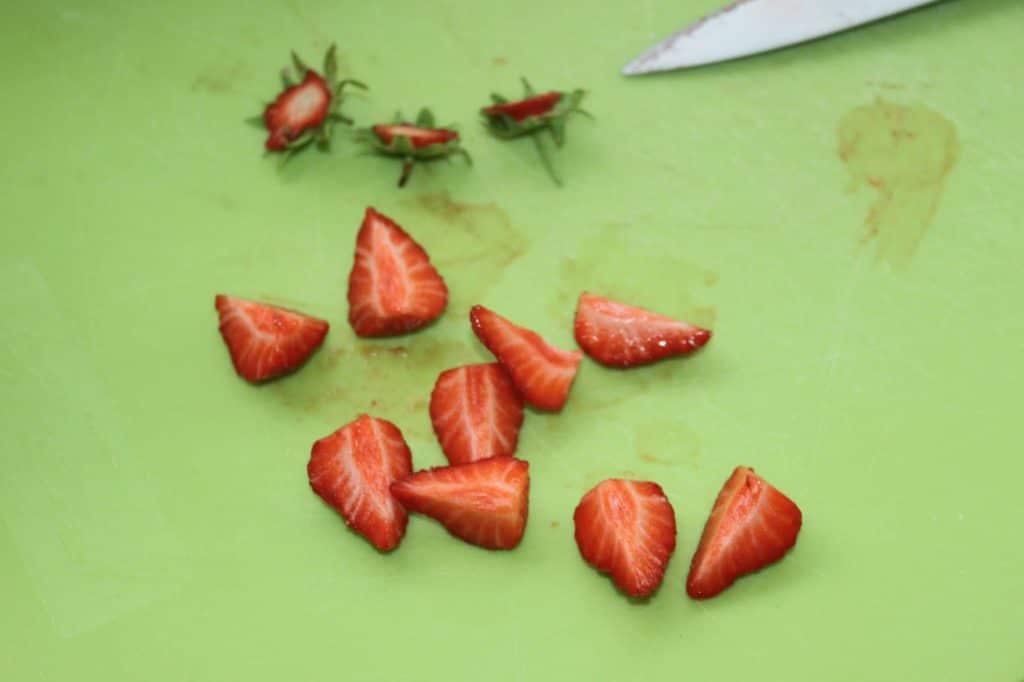
- Pour cette tarte, prenez de très bonnes fraise ! Cela parait évident, mais je le répète ! Équeutez-les et coupez-les en 4.
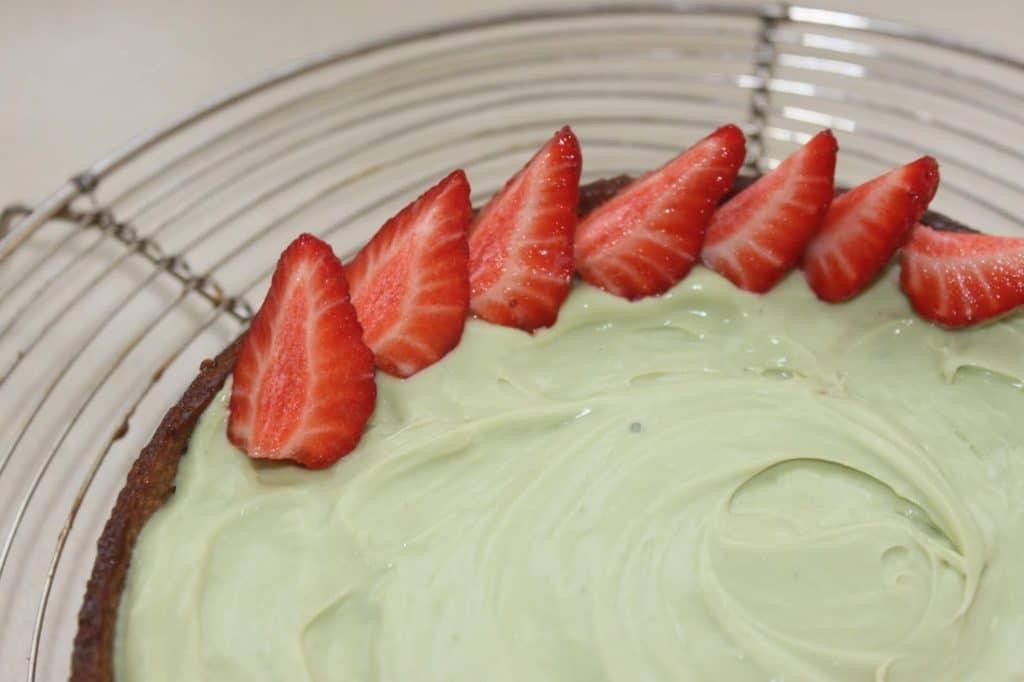
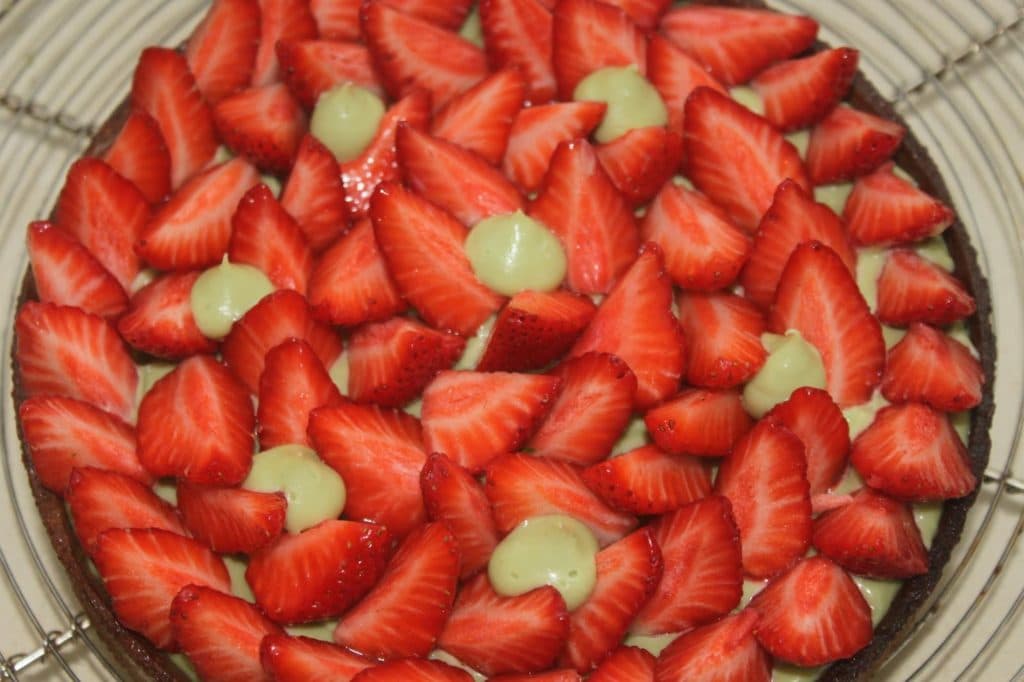
- Placez-les comme vous le souhaitez sur la tarte.
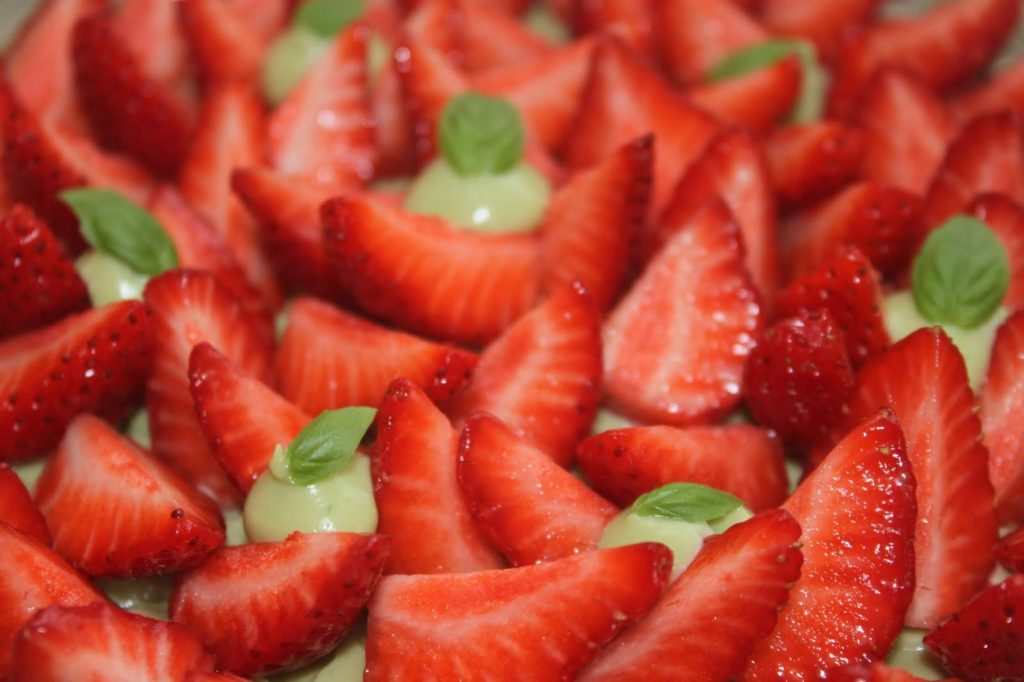
- Remettez une petite touche de crème (j’ai pris une poche à douille)
- Et des petites feuilles de basilic (des jeunes pousses).
- Placez la tarte au frais au moins 2 heures avant de la déguster !! Une petite bombe…
Nutrition
Recipe for a 18cm strawberry pie:
Sweet dough (this will give you enough to make 3 pies).
- 210g of flour
- 125g of cold soft butter
- 35g of powdered sugar
- 25g of almond powder
- 50g of beaten egg
- 50g almond powder
- 50g of soft butter
- 50g of powdered sugar
- 30g of egg
- zest of 1 untreated lemon
- 150g of full cream
- 50g of semi-skimmed milk
- 20g of soft butter
- 20g of basil
- 35g of egg yolk
- 20g of sugar
- 1+1/4 gelatin sheets (each sheet is 2g, so 2.25g total).
- 135g of white chocolate (Valrhona ivory couverture is perfect!)
- 1 egg yolk
- 8 to 10g of full cream
Instructions:


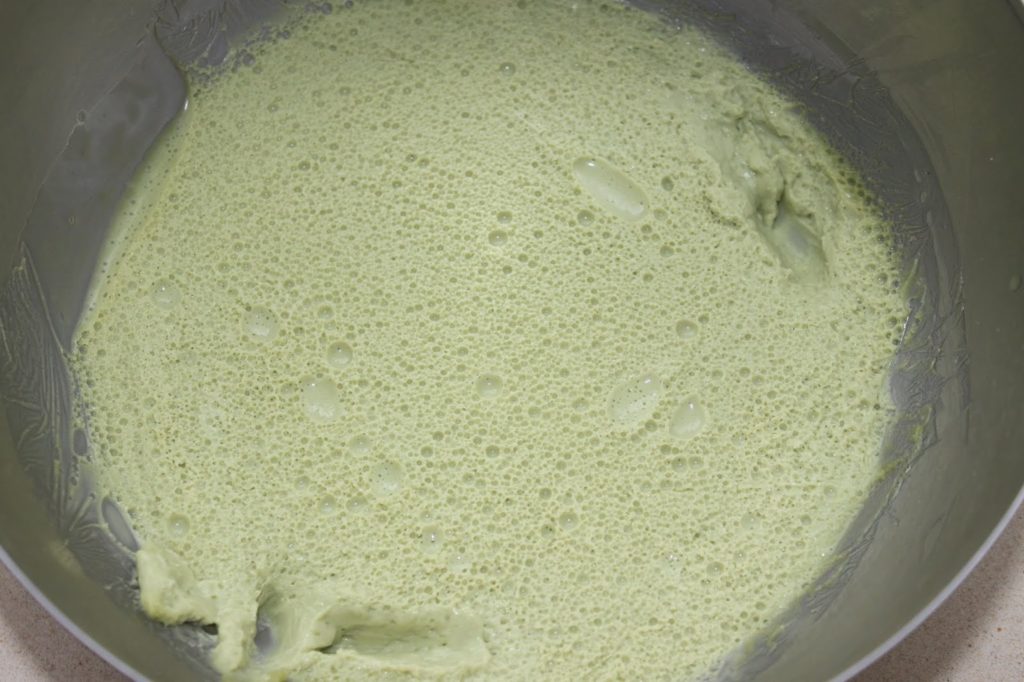
For the creamy basil, place the cream, milk and basil in a saucepan.
Place the 35g of egg yolks and the sugar in a bowl.
Mix well with a whisk.
Return to low heat and bring to 86°C while stirring.
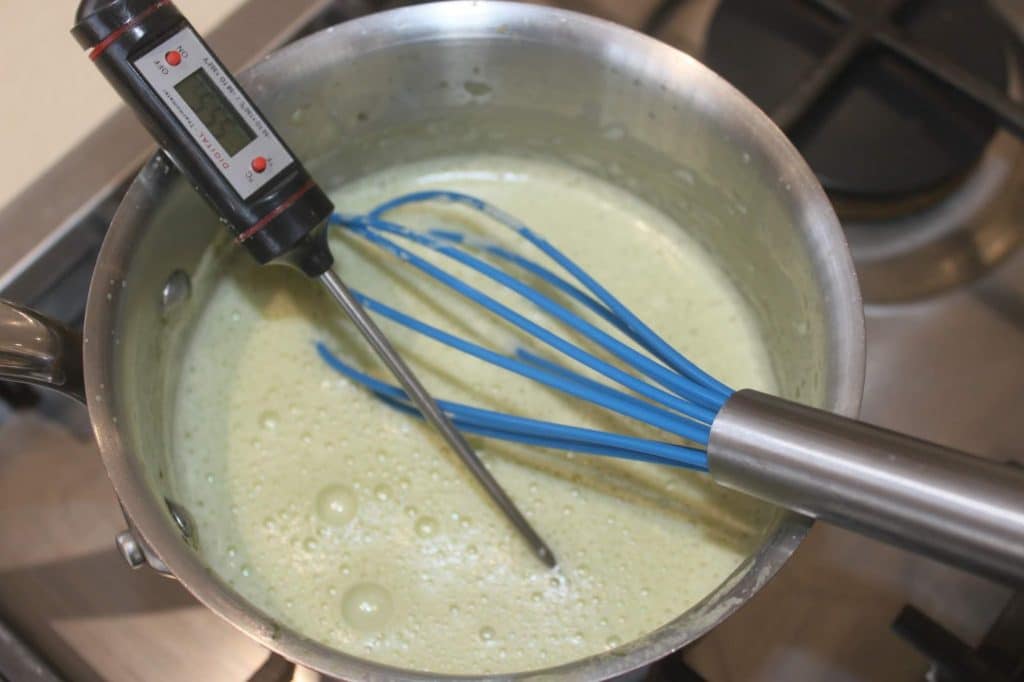
You will have a custard.
Remove from heat and add the gelatin leaves, which have been soaked in cold water and wrung out.
Also add the ivory cover.
Pour back into a clean container.
Filter on contact to avoid drying out and place in a cool place until the next day.
Make sure to adhere the paste to the canvas and background at a perfect right angle. Trim excess with a knife. Place back in the fridge for at least 30 minutes.
Remove the ribbon. The dough is bare.
Mix the egg yolk with the cream of the gilding and brush it around the outside of the dough. We can already see that it gives him a little sunburn!!!
You can finish the top of the dough by running a peeler (the same one you use to peel carrots!) along the top edge. This gives something sharper!
Return to the oven for 10 minutes to set the gold. Here the gilding looks darker than in real life, this is due to the flash used for the step by step!
Let the pie cool down perfectly.
Remove the cling film from the basil creamer.
Mix with a whisk to make the texture creamier.
Pour a generous amount over the pie (at room temperature or cold!).
Spread it well with a spoon or spatula.
For this pie, get some really good strawberries! It seems obvious, but I repeat it! Peel them and cut them in 4.
Place them as desired on the pie.
Add a little bit of cream (I used a piping bag)
And small basil leaves (young shoots).


")