
220


Tempering chocolate is not very difficult, it just requires a little rigor and especially a thermometer! Since it’s almost Easter, I’m giving you the method to temper chocolate at home. It is obvious that you can hardly tabulate chocolate with marble, but there is an almost miracle product. You have to follow the instructions (use professional blankets, respect the temperatures, use polycarbonate molds…) but the result is always worth the work it requires.
The principle is as follows:
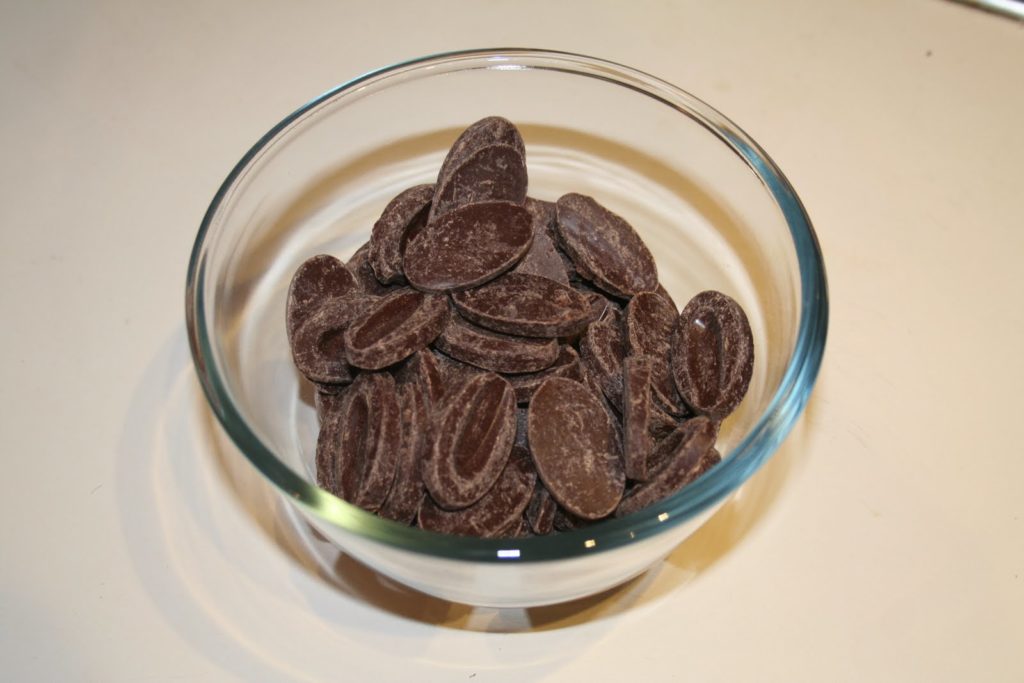
The first step is to buy professional chocolate, called couverture. We can also say simply cover.
There is the brown couverture (dark chocolate), the ivory couverture (white chocolate) and the milk couverture (milk chocolate).
But what is the difference between a supermarket chocolate and a couverture, well the answer is the cocoa butter content.
When we want to temper chocolate, it is usually to obtain a shiny and very brittle chocolate that will come out perfectly from the moulds in which it will have been placed. Well tempered chocolate has these properties because the cocoa butter it contains crystallizes in a certain way, the so-called beta form. When the cocoa butter is in beta form, the chocolate is perfectly tempered.
So how do you temper a blanket.
There are two methods .
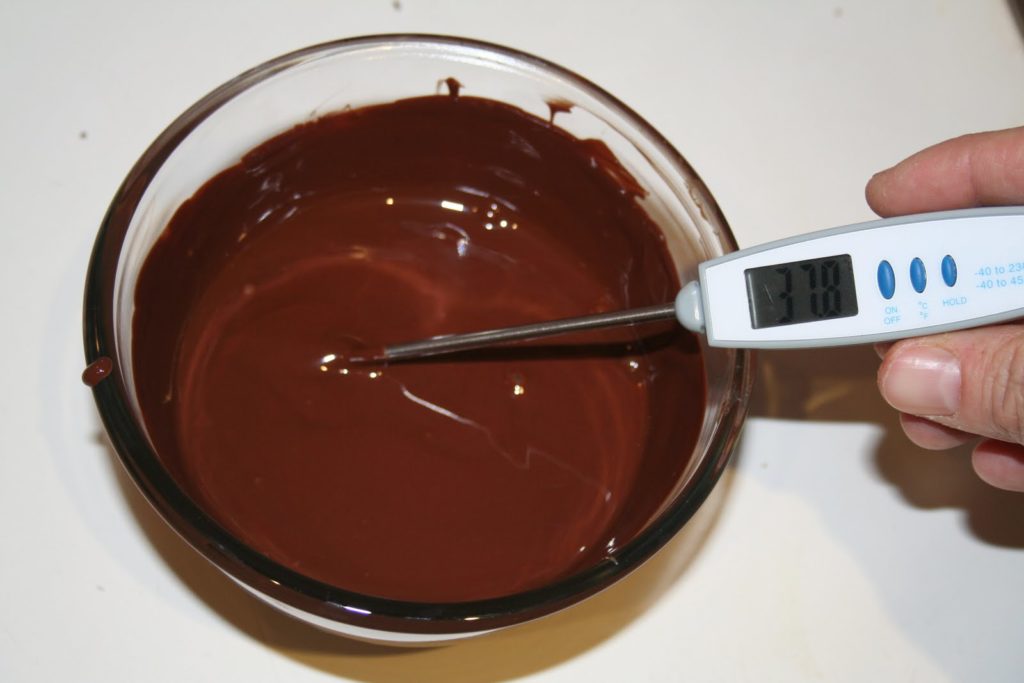
The first is to scrupulously respect a temperature curve, by first melting the chocolate at a certain temperature, which depends on what type of couverture we are talking about.
For example, for a black blanket, it is necessary to go to a melting point of 44-45°C.
It then brings the cover to its pre-crystallization temperature around 29 ° C which begins to have beta crystals and will seed the remaining crystals of cocoa butter.
Then the temperature must be raised a few degrees to 31-32°C to obtain a more liquid and manipulable coating (for dipping pralines in it for example). This cover, having come close to crystallization, will have its cocoa butter which will create a chain reaction and distribute its beta form in the mass. Of course it takes patience and attention to respect this curve. The blanket must be mixed almost constantly. In addition, the professionals cool the blanket on a table (tablage) which makes it a mess at home very quickly.
BUT!!! There is more simple.
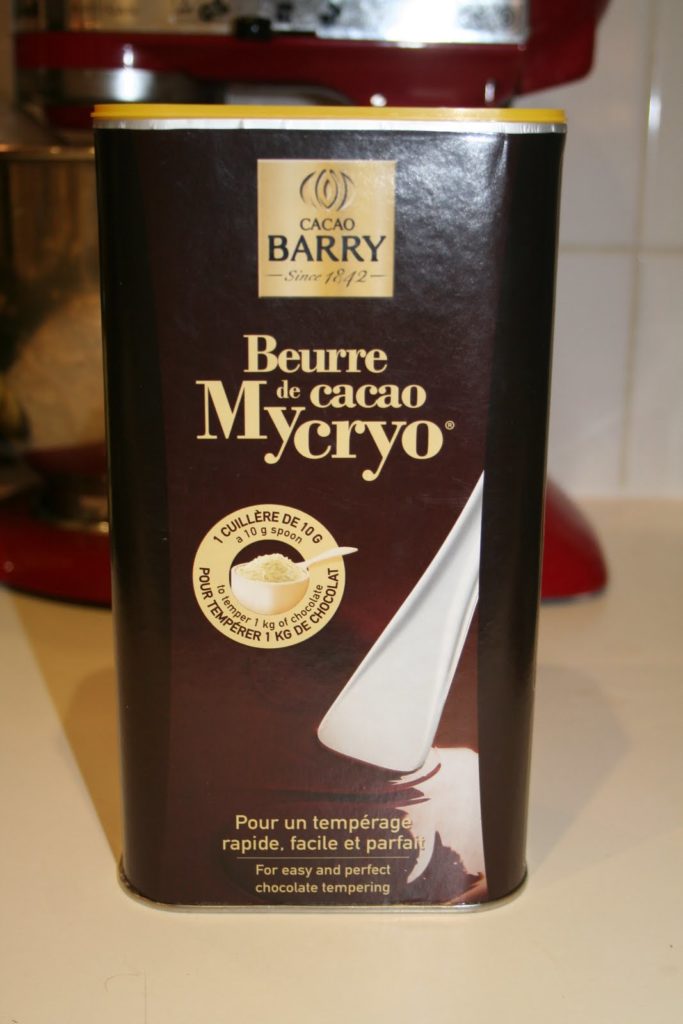
The second method, which I use because it’s really easier, especially for domestic use, consists in using a miracle product, the Mycryo, which is shown below:

Available as always at G Detou in Paris or by mail order on the internet.
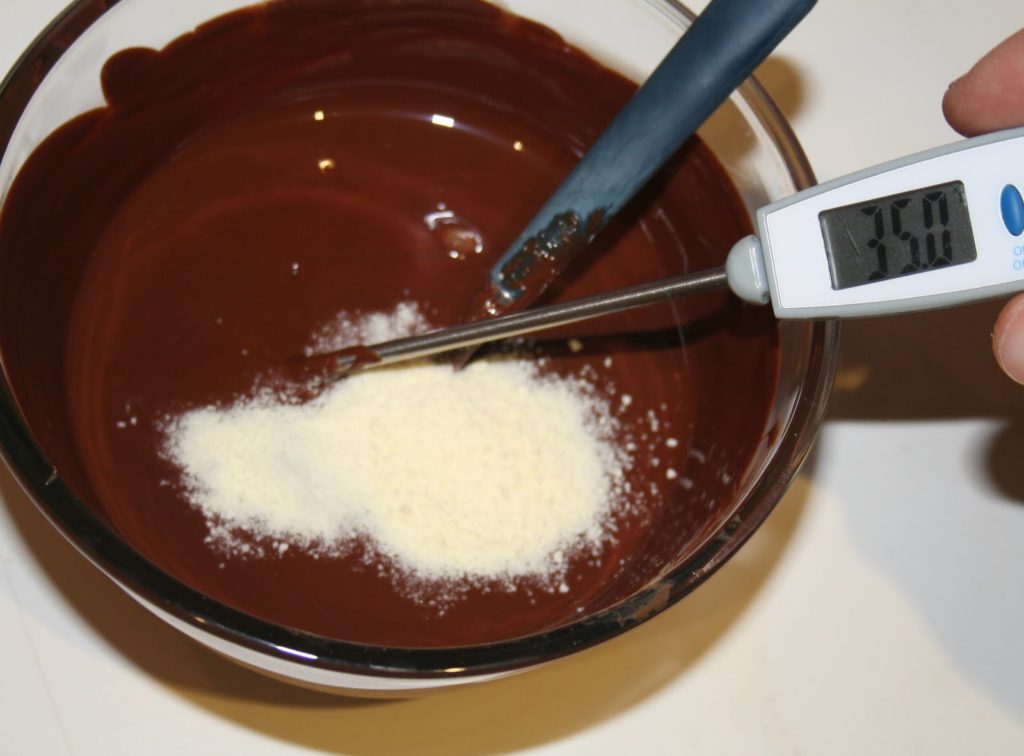
The Mycryo allows us to do without respecting this temperature curve that we have just briefly discussed. Indeed this time we will simply melt the blanket at the temperature indicated on its package (the curve always depends on the blanket purchased, it is always displayed on the package or bag) and then add 1% of Mycryo powder when the blanket falls to 35°C.
What is mycryo? It is simply cocoa butter in very fine powder (which will melt very quickly) which is in beta form, so it will seed all the rest of the cocoa butter, so that is why we do not need the cooling stage of the cover.
Two undeniable advantages:
-The beta form will seed the cocoa butter and crystallize it in the ideal form.
-the blanket, by this addition of cocoa butter, will be more fluid longer.
To recap with Mycryo,
Melt the blanket at 45°C, while mixing the mass, add 1% of Mycryo when the blanket reaches 35°C, use the blanket at 31-32°C.
One important thing!!! The cover must never be in contact with water. The slightest drop of water would cause the cocoa butter to precipitate, resulting in an instantly mushy chocolate!
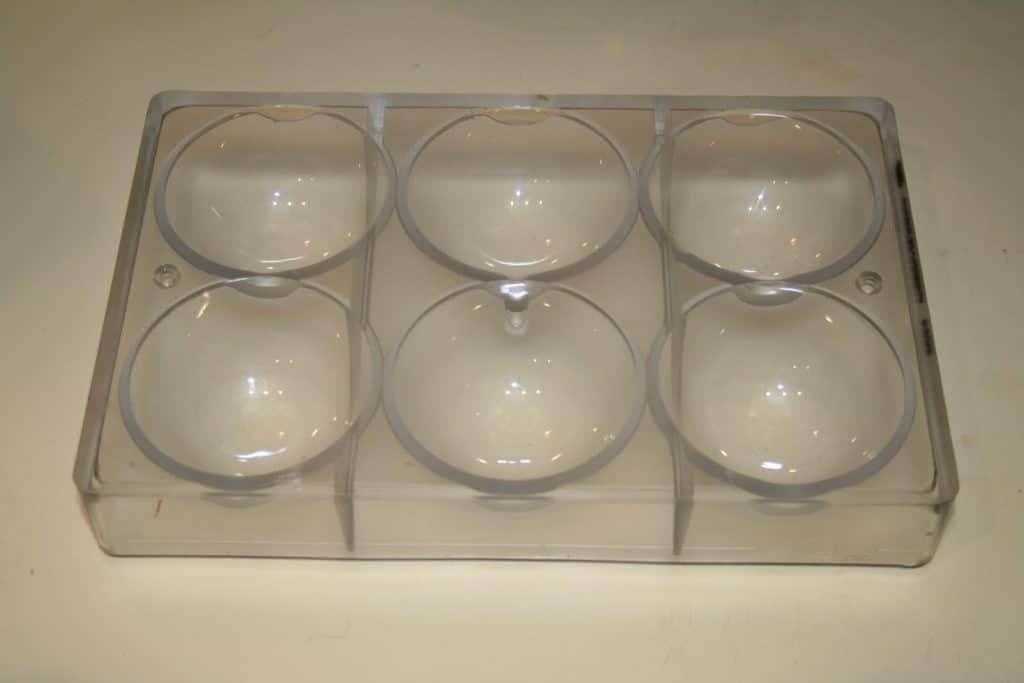
Moulds or impressions must be perfectly clean, cleaned with cotton.
To recap in pictures:
Clean the polycarbonate molds, so they are clean and dry.

Weigh the blanket and melt it either in a double boiler or in the microwave until the melting temperature indicated on the package is reached.


Add 1% mycryo at 35°C to the mass and mix well . (10g for 1 kg of cover)

When the blanket continues to cool, use it at 31-32°C.
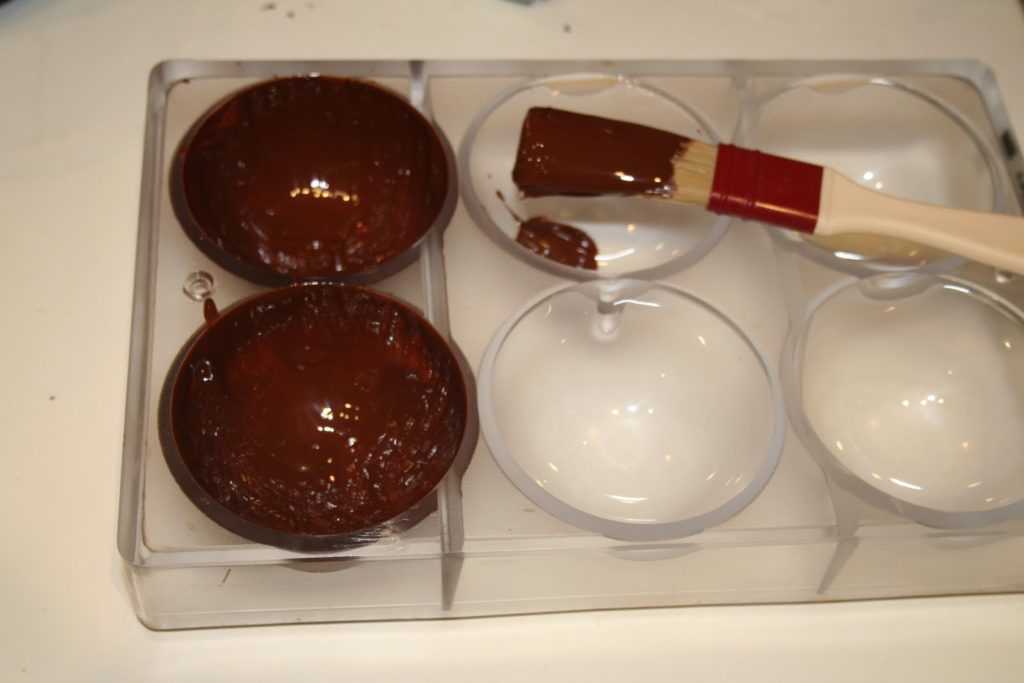
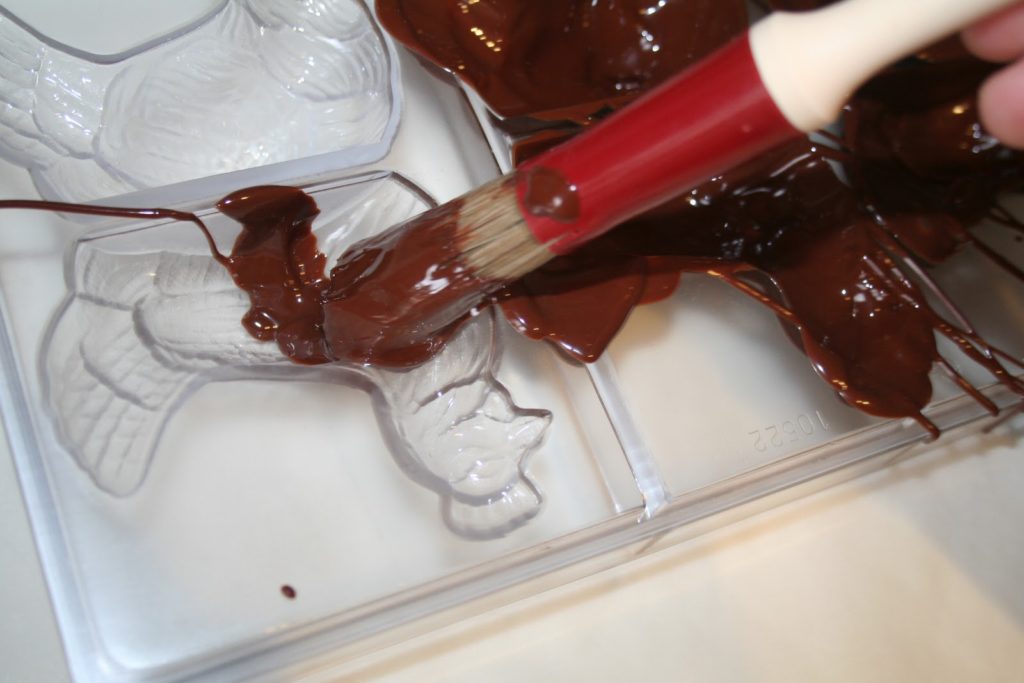
On the picture I used a brush to fill the molds. The professionals ladle it in and then let the excess run off in reverse on a grid. At home, for practical reasons, I use a brush, which will give a very fine chocolate, well distributed in the mold without making too much damage in the kitchen!


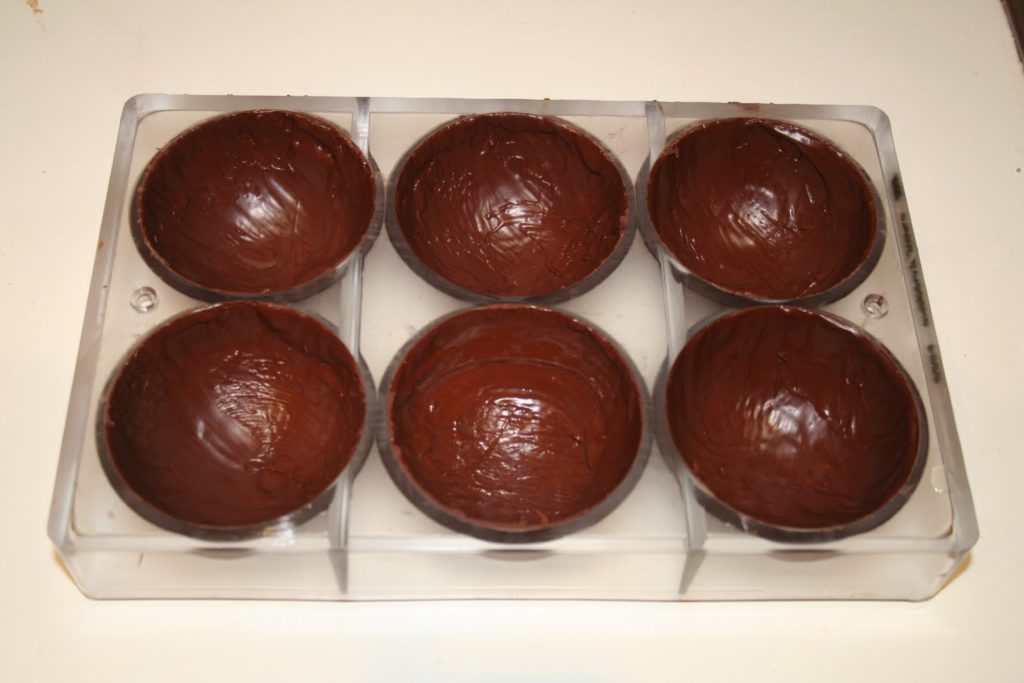
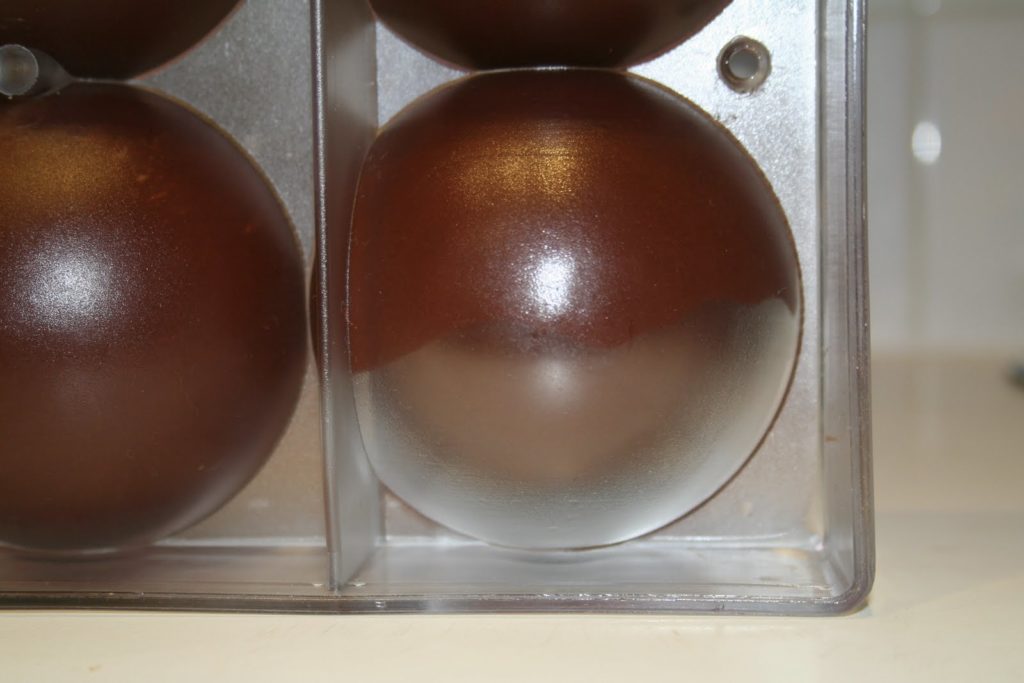
When the couverture starts to crystallize, remove the chocolate traces on the mould with a knife to have clean edges.
In this photo you can see the back of the mold, the cover that has started to crystallize and detach from the mold. You can even hear the chocolate shrink from very close, a bit like rice krispies!

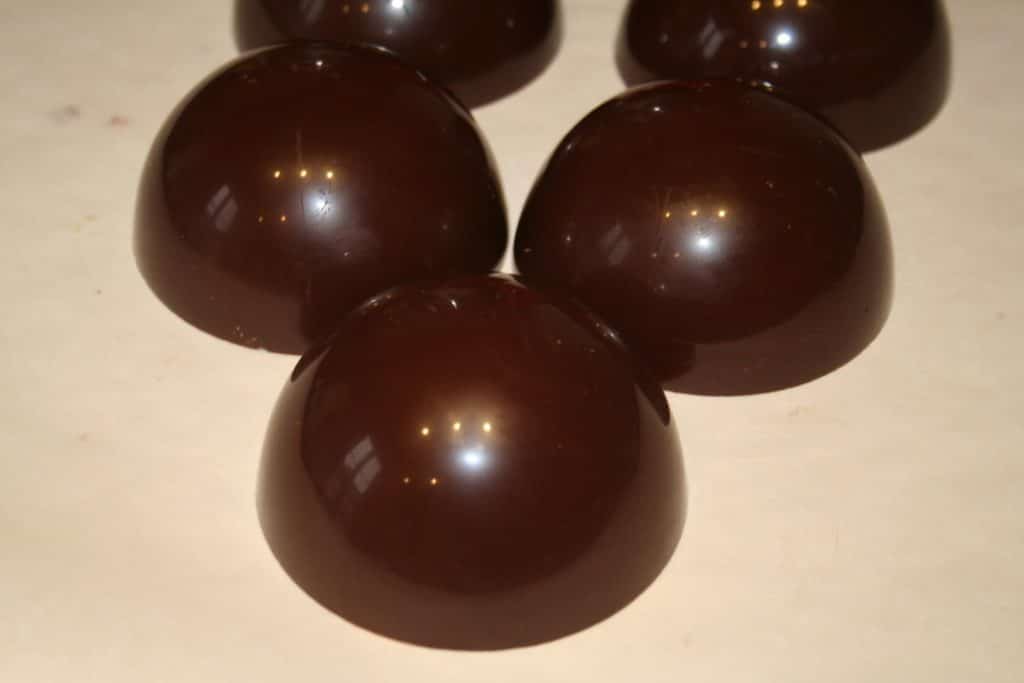
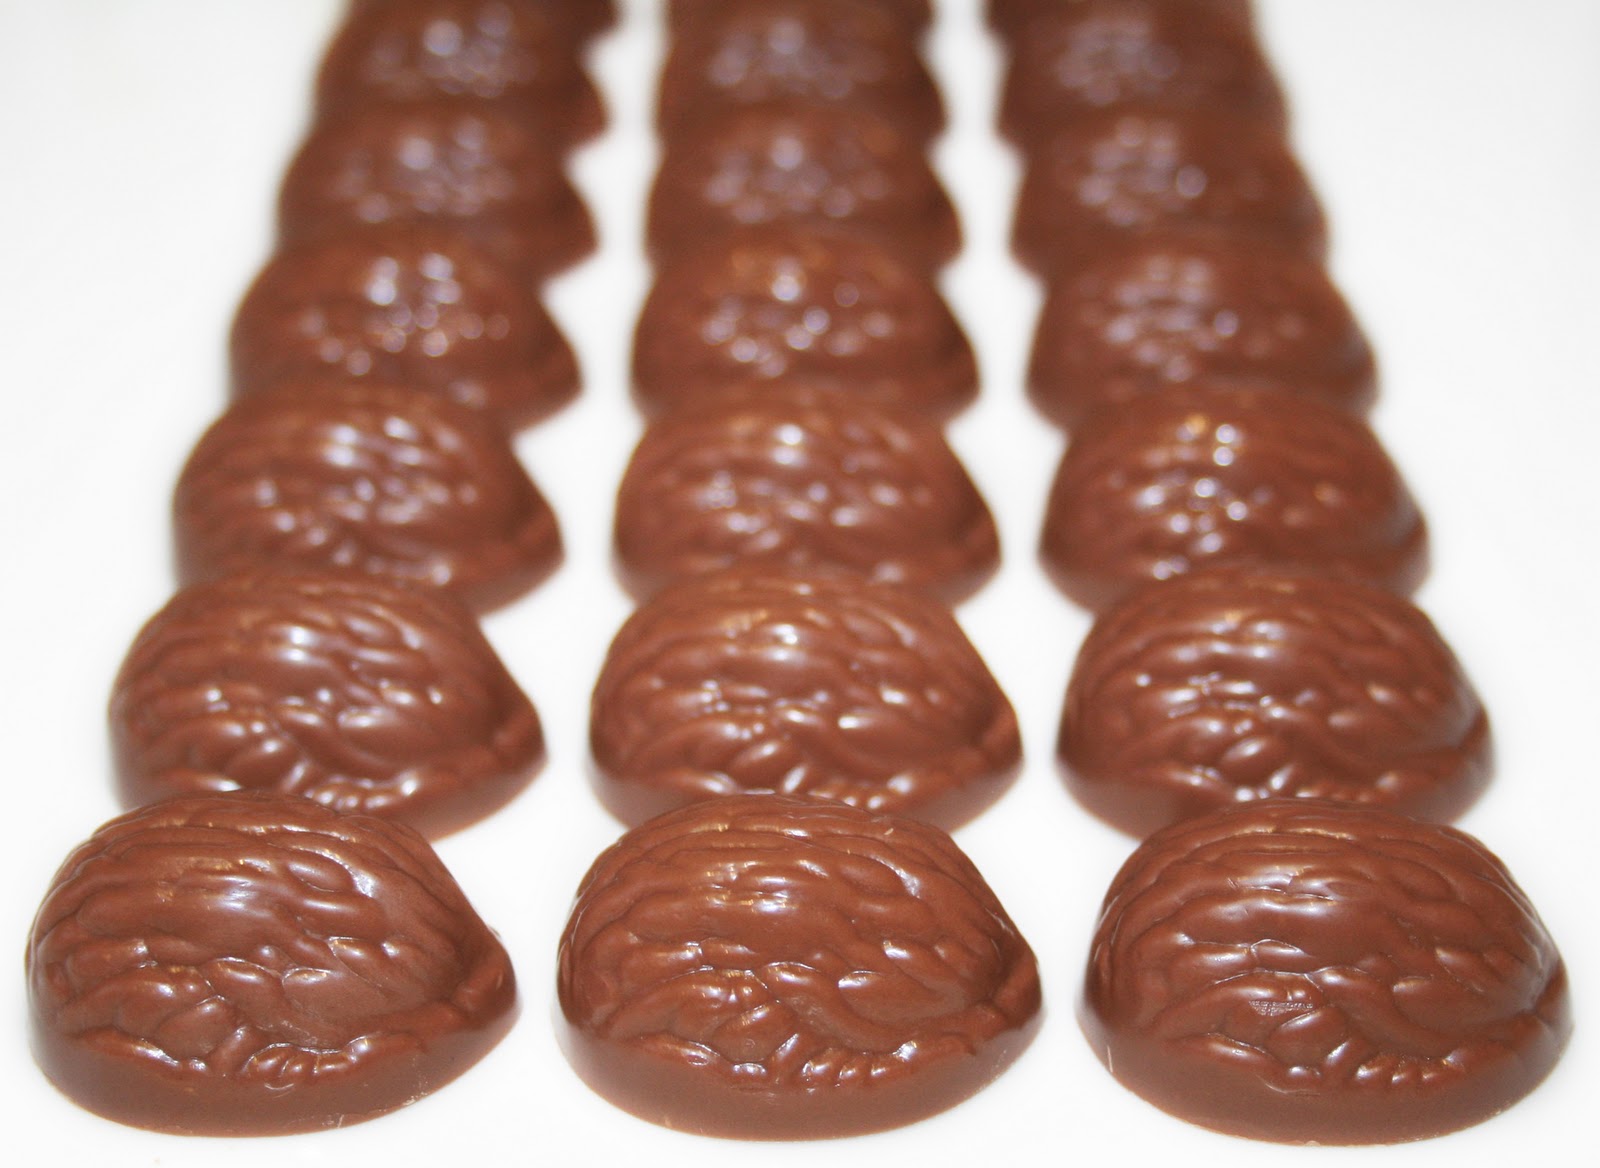
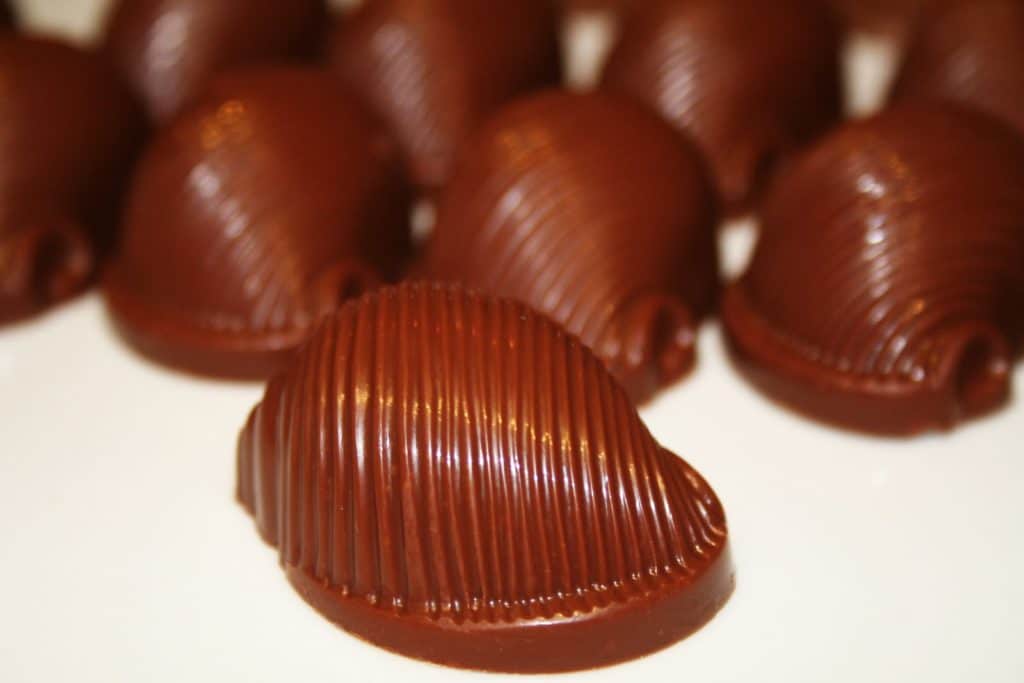
Leave the couverture in the mould for at least 2 hours for a perfect crystallization, then unmould and handle the chocolate with plastic gloves to avoid any traces! Moisture in the fingers is fatal, but this is just cosmetic!!!

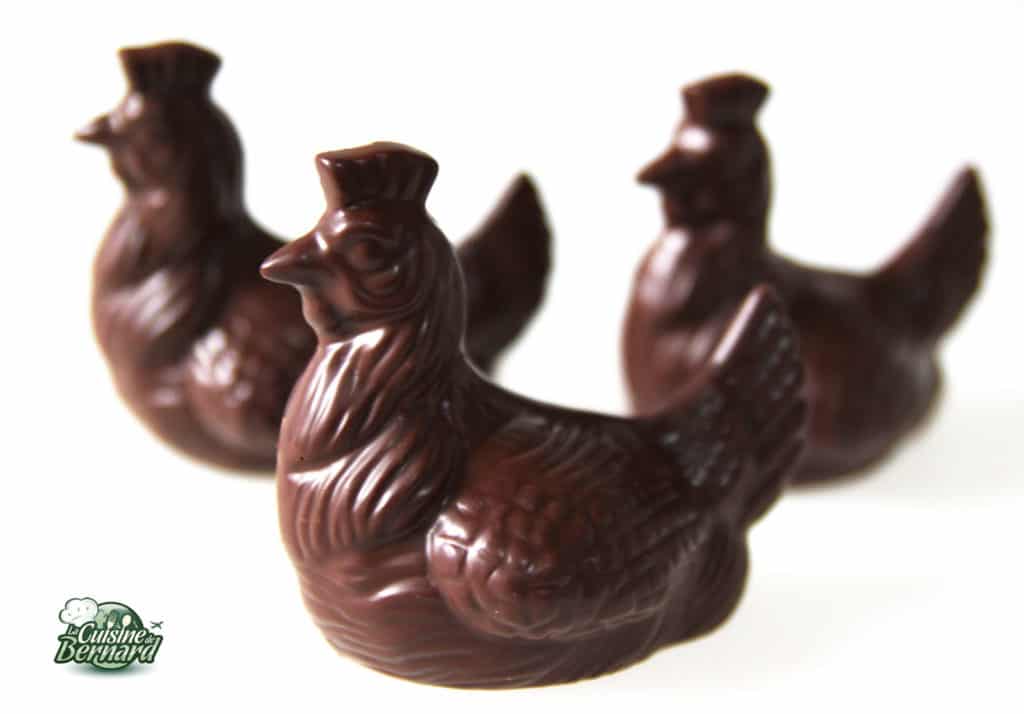
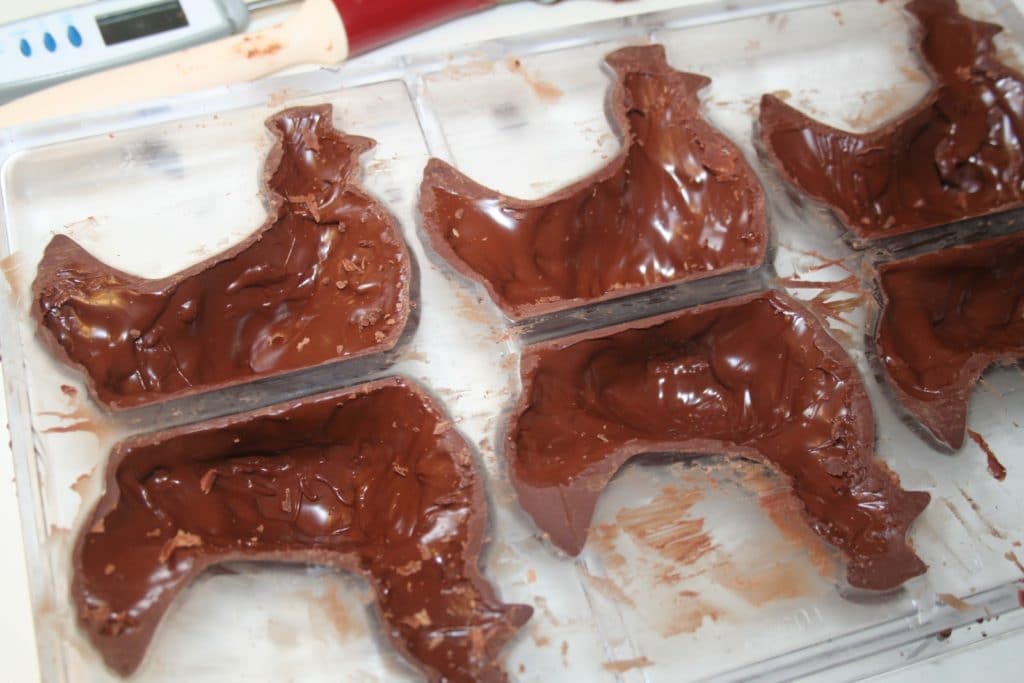
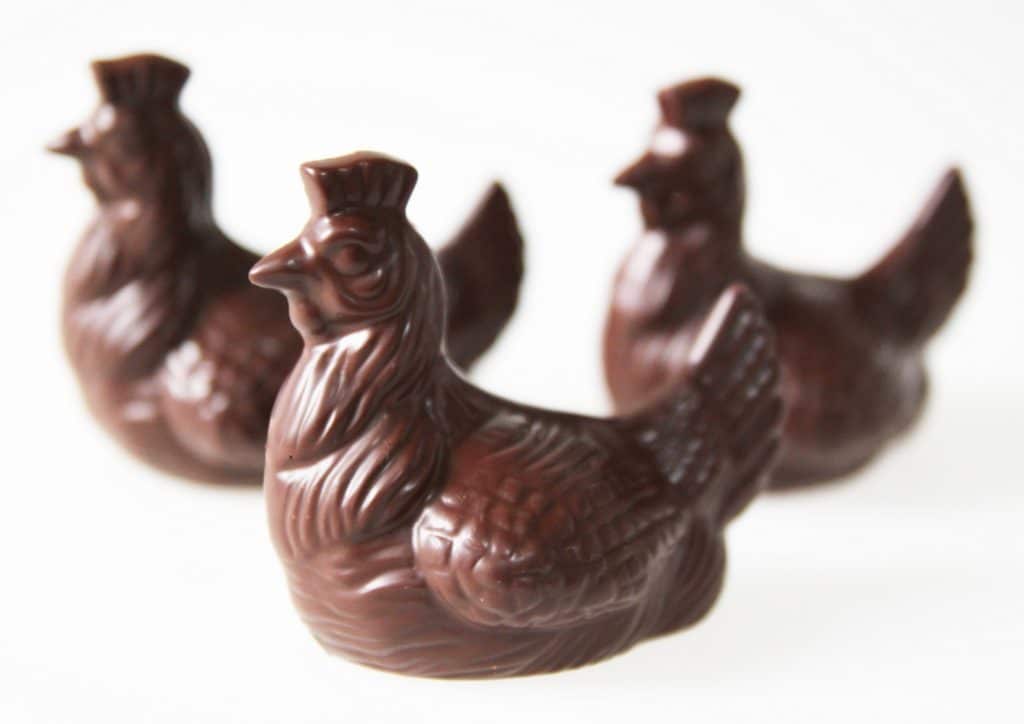
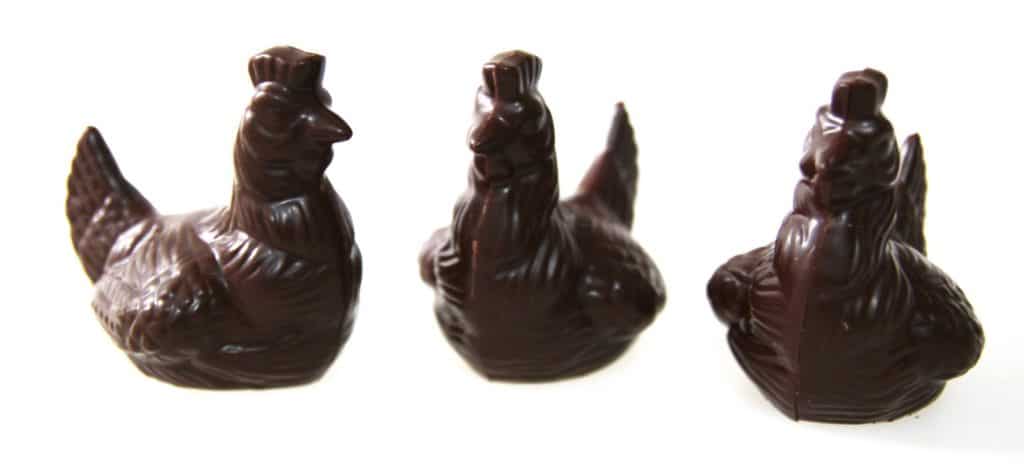
All that’s left to do is to get various prints!!!
Like for example the chickens for Easter!


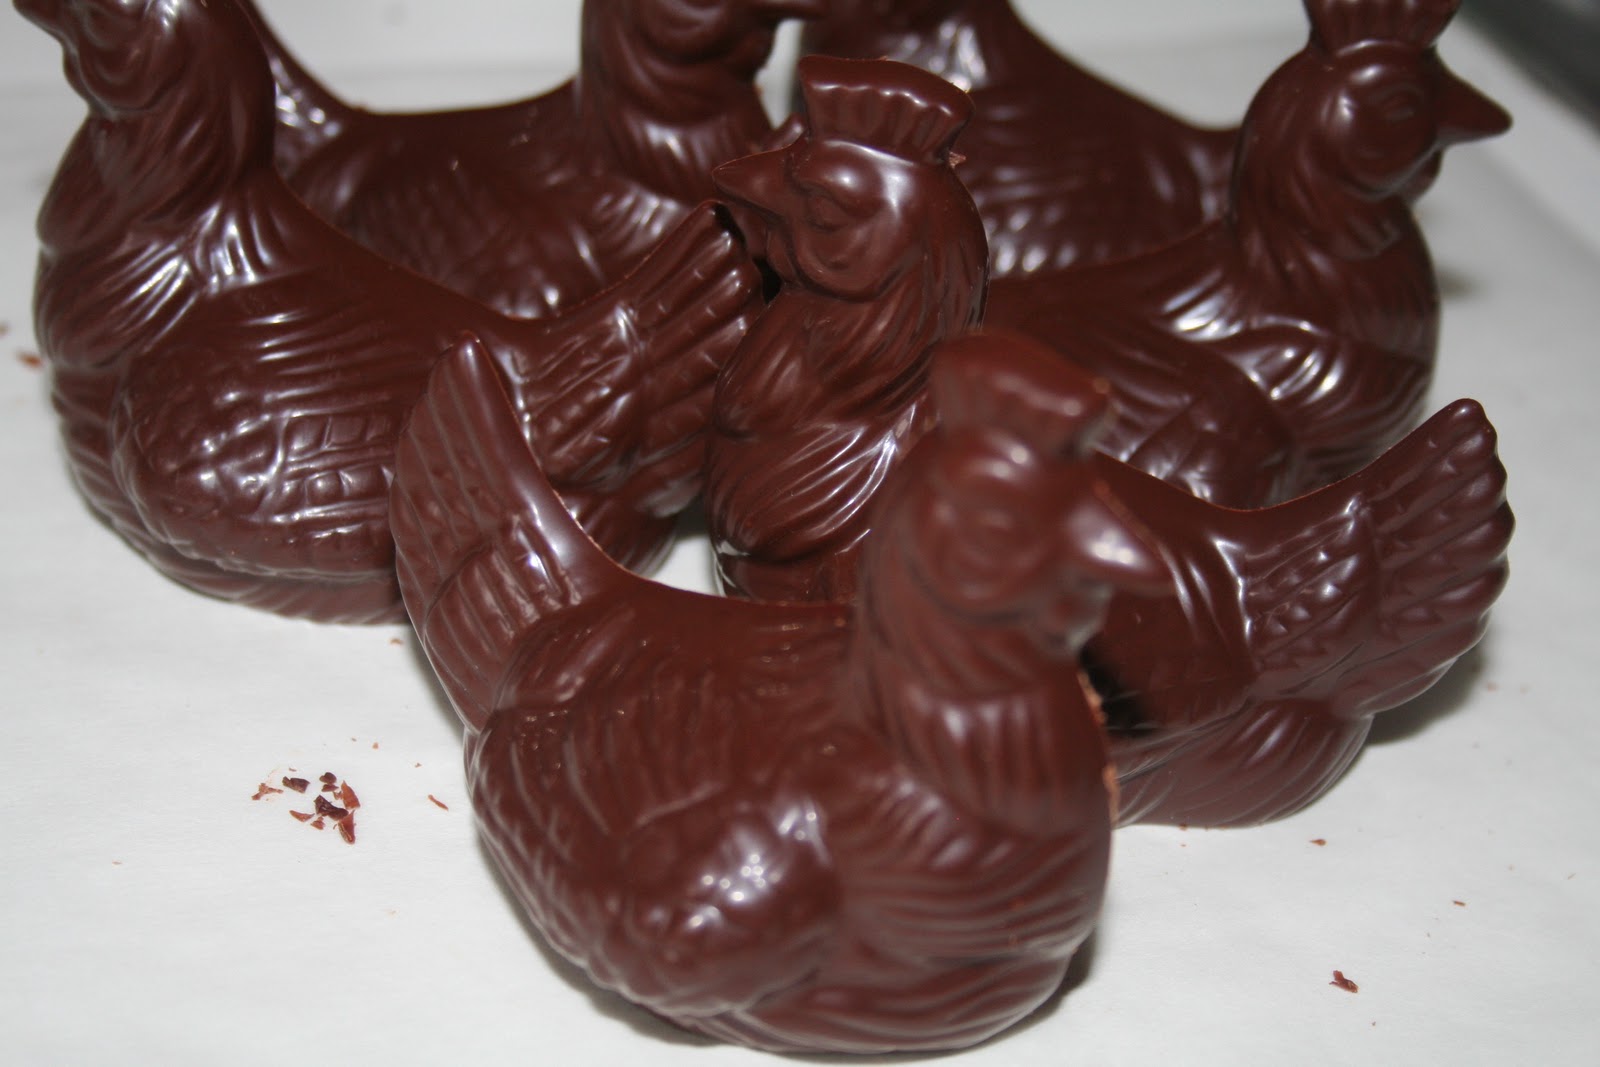
It remains only to stick the half hens, by taking care to take them with gloves and to place them 1 second on a hot plate, then to put them two by two.


Chocolates on “la cuisine de bernard”:


")