
230

Bernard’s advice:
to be able to slide the pizza on the oven tray, the bottom of the dough must be well floured. What I do is not traditional, let me be clear! I flour the top of the dough a lot and place it on a baking sheet. I put another plate on top of the well-floured dough, which is then sandwiched between the two plates. Am I still being followed? 🙂 Then I turn the whole thing over and the dough rests on its very floured side. I do this because by stretching the dough, it ends up sticking to the surface a bit and then it’s mission impossible to slide it into the oven!


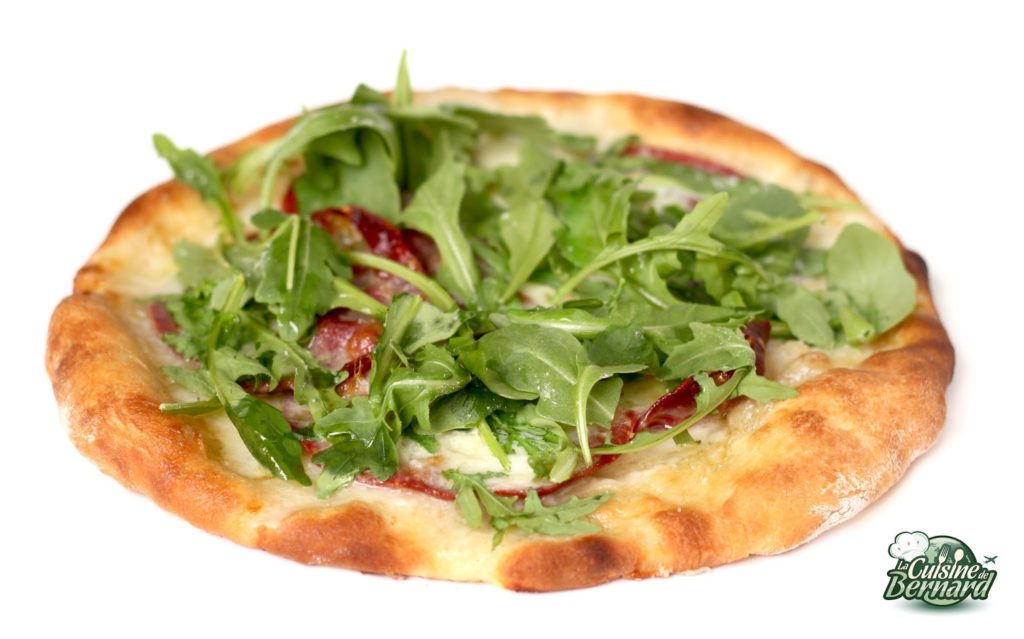

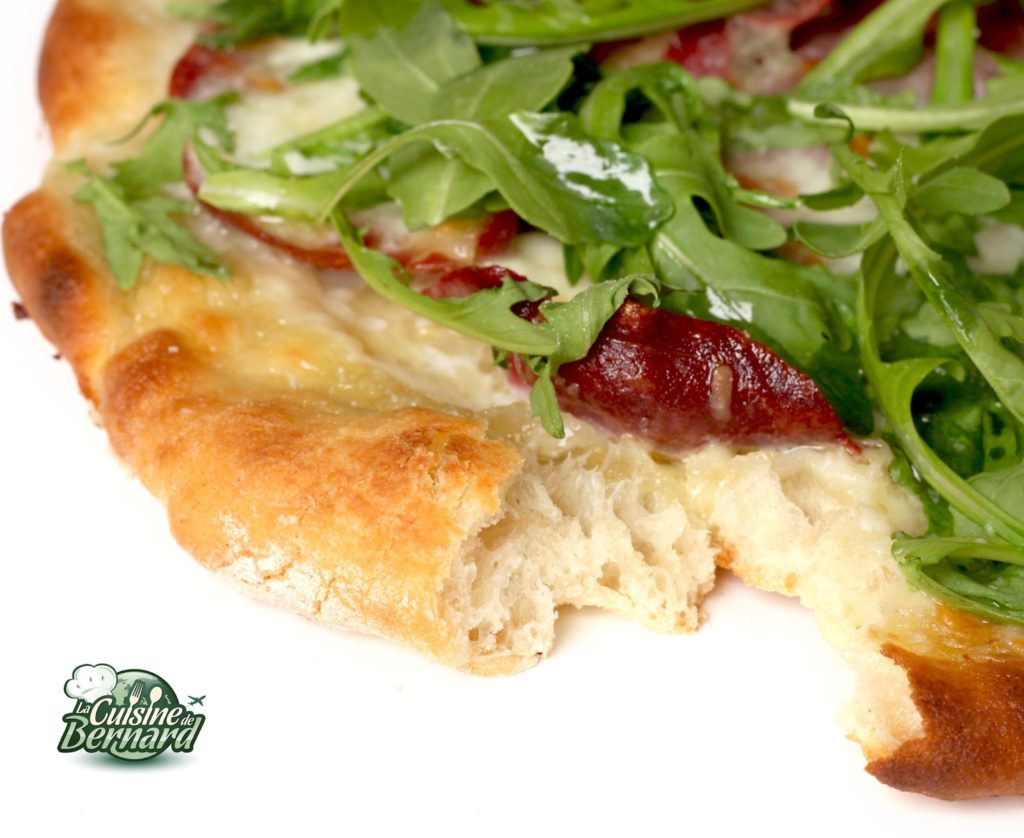
Here is the second version I was saving for this weekend. Today I’m putting the dough prepared from a poolish. What is it? It is a pre-fermented preparation based on water and flour, in equivalent quantity with a little yeast. We mix and we let rise the very liquid paste. The next day, the dough is made from this poolish and the flour and the rest of the ingredients are added. The result is a deliciously crisp and puffy dough. The dough is radically different. And it avoids the time-consuming sourdough process at home. You have to make this recipe with the means at hand: the purists will say that you have to use another flour (the red or the blue one), check its “w”… We make homemade pizzas here! And the result is excellent!
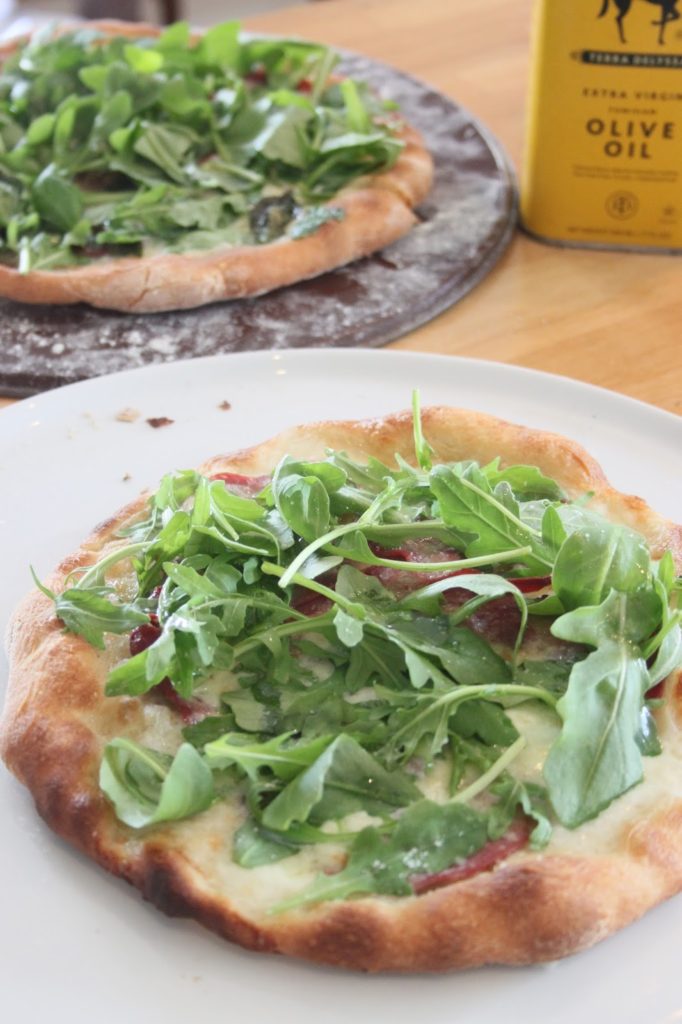
For me, it’s a random choice: I made a white pizza with this dough, but obviously you can make a pizza with a more classic tomato sauce. Conversely, you can make a white pizza with a dough without poolish. I just wanted to show you two different methods that will suit your taste!
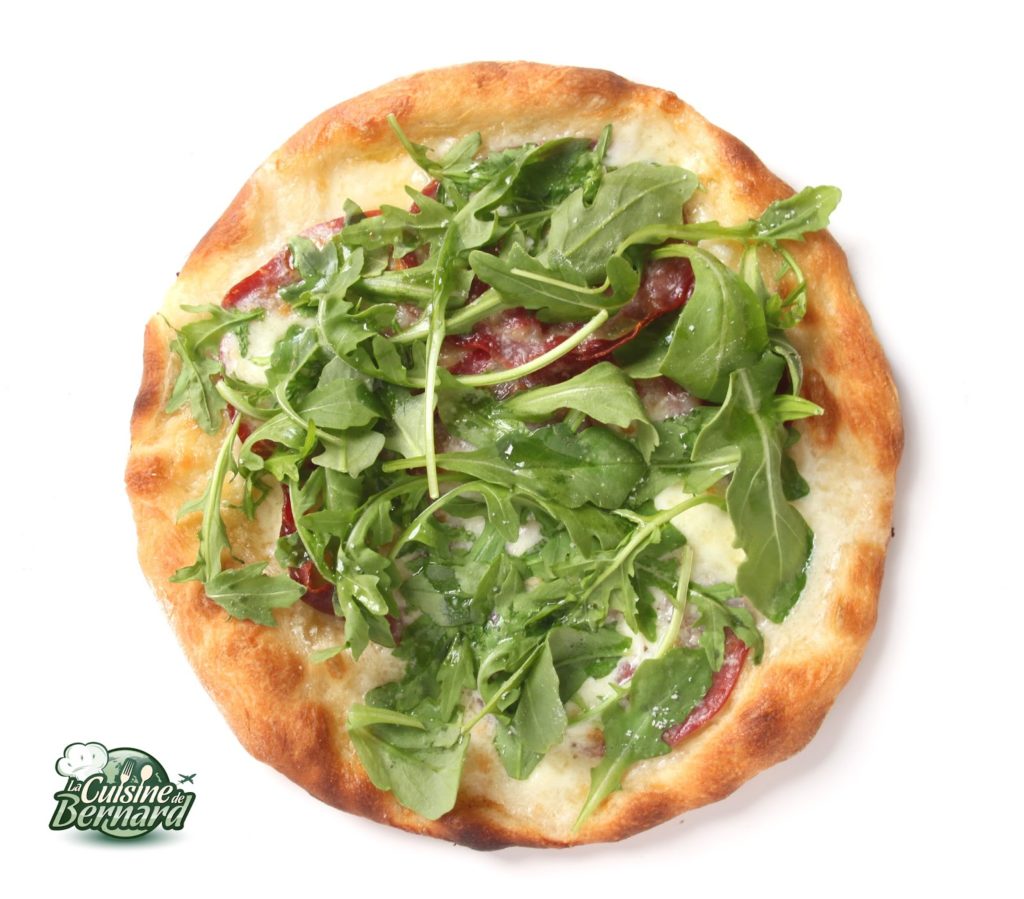
I thank Audrey who once made me this version of pizza: copa, mozzarella and arugula: a delicious mix of flavors that I made at home for the blog. Of course, you can also ask your baker to sell you raw bread dough. I know Audrey was able to do this and bakers are usually all for it, especially if you tell them it’s for a pizza that will only be better because of them!

Recipe for pizza dough on poolish:
Poolish:
-300g of flour (I took T55 because I will not start to explain the W of red flours)
-300g of warm water
-1 level teaspoon of instant baker’s yeast or 2.5g of fresh yeast
Dough:
-the poolish of the day before
-300g of flour
-30g of warm water
-10g of sugar
-10g of salt
-10g of olive oil
-1/2 teaspoon of instant yeast or 2g of fresh yeast
For the pizza:
-olive oil
-flower of salt
-black pepper
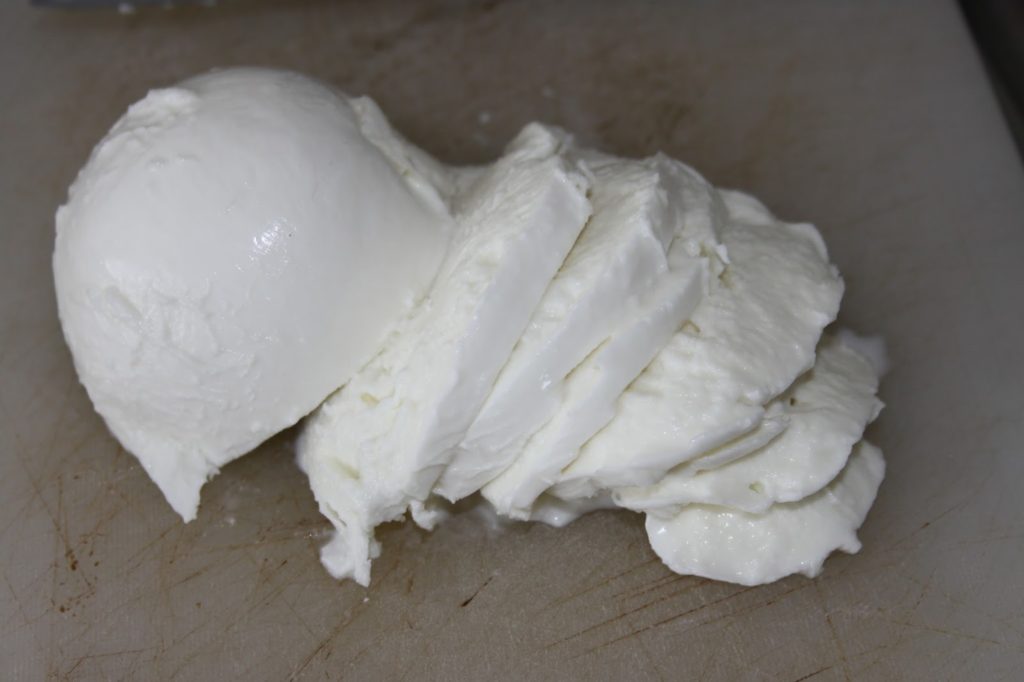
-fresh mozzarella
-copa
-rocket
-a few basil leaves
Start by preparing the poolish the day before: it’s much easier than it looks. Simply dilute the yeast in water.

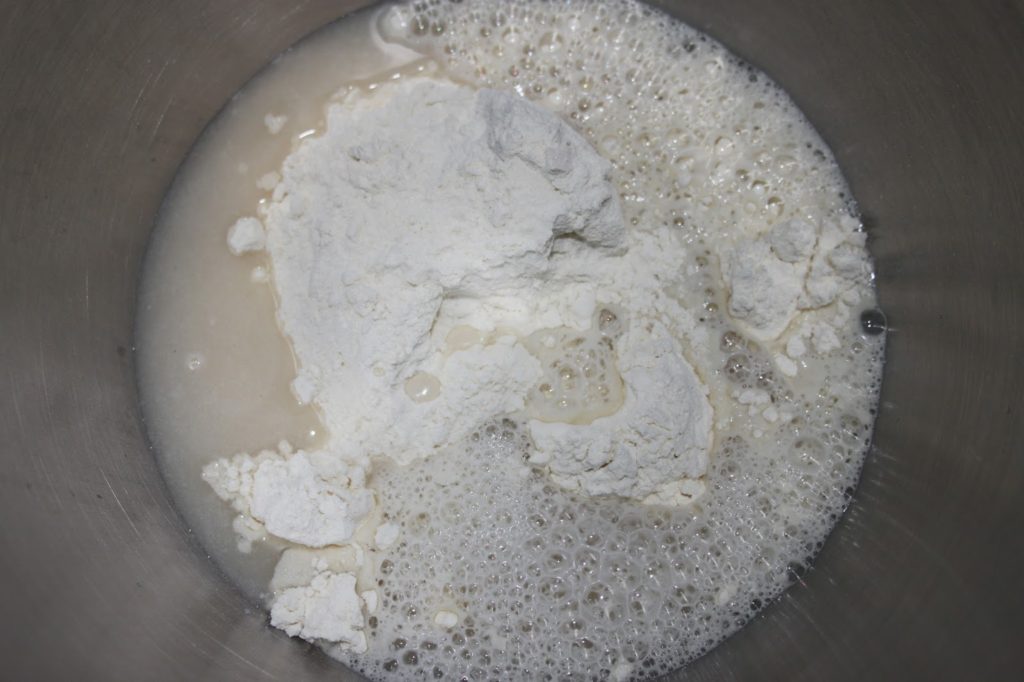
Put the flour and water/yeast in a bowl.

Blend with the “k” of the food processor or with a whisk.

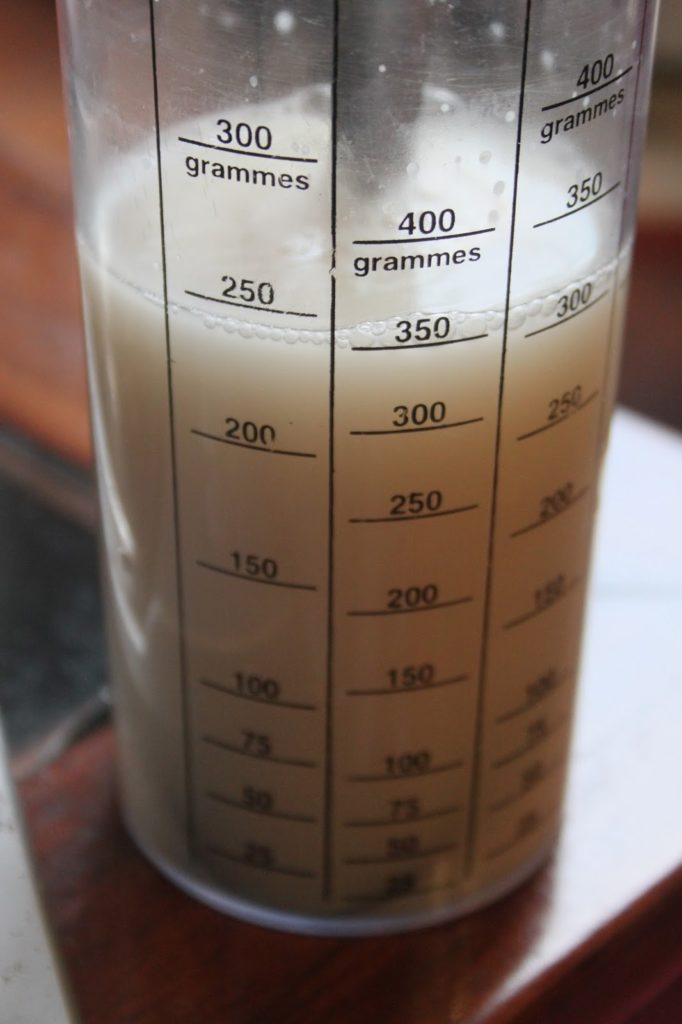
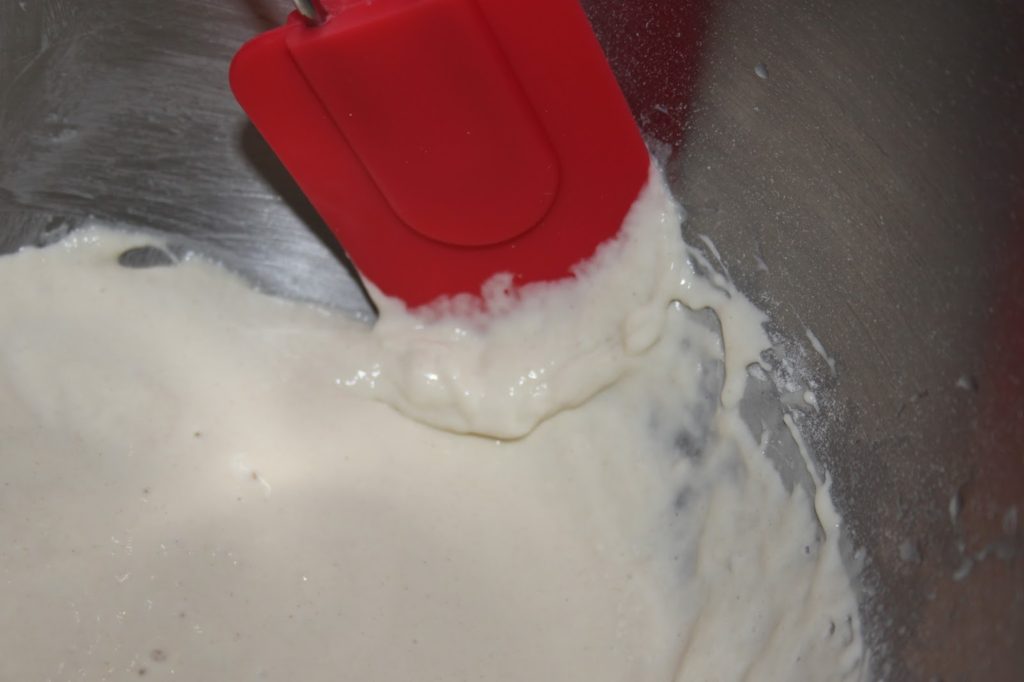
Stir for three or four minutes. This results in a kind of liquid paste.

Scrape the dough back into the mass to prevent it from drying overnight.

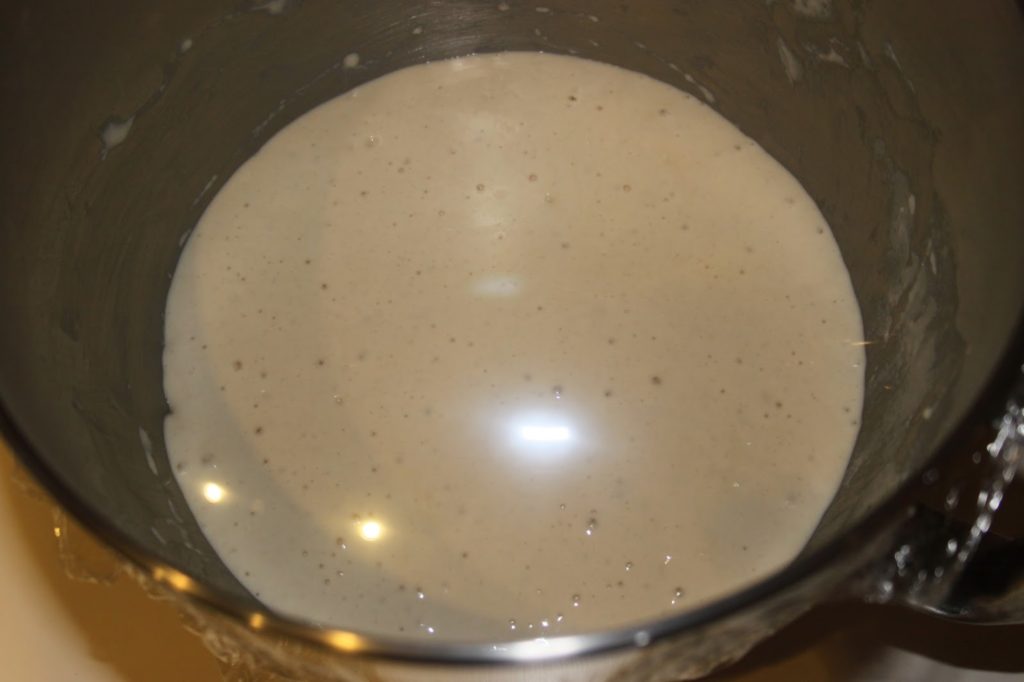
Then let it sit in the refrigerator overnight until the next morning with cling film on the surface of the vat. You can also let the poolish rise for 4 to 5 hours outside the refrigerator. But in the cold, it will rise more slowly and can even be kept for up to 48 hours.
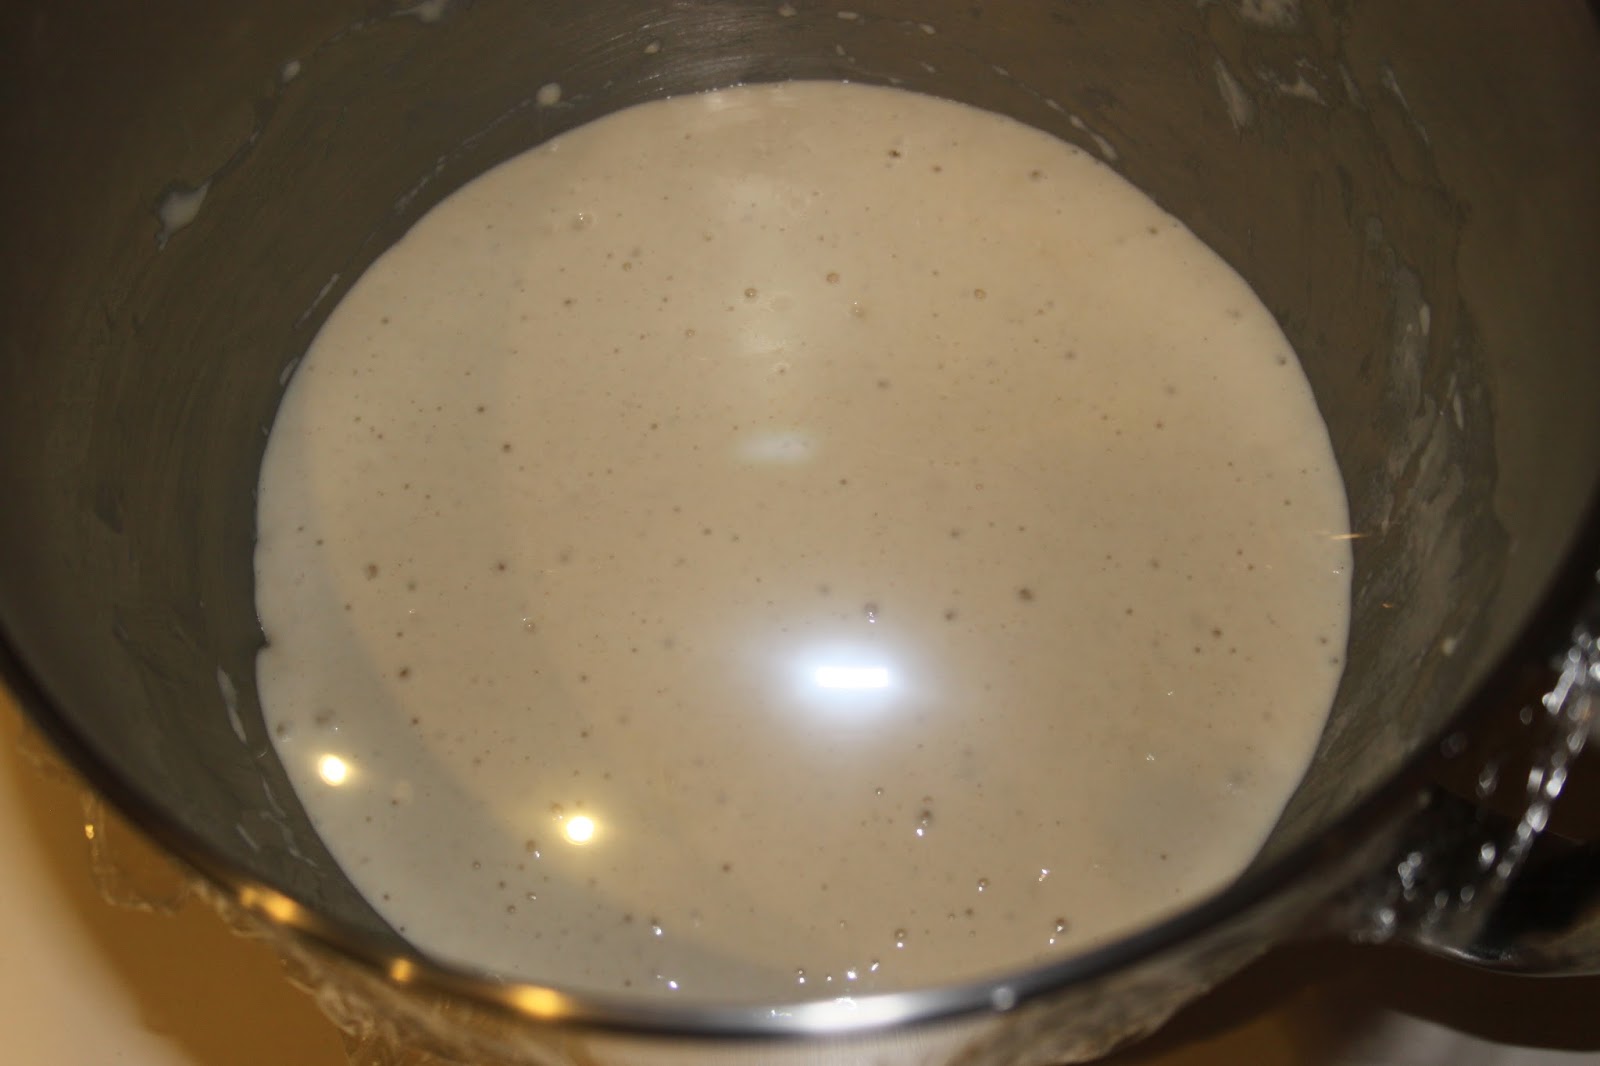
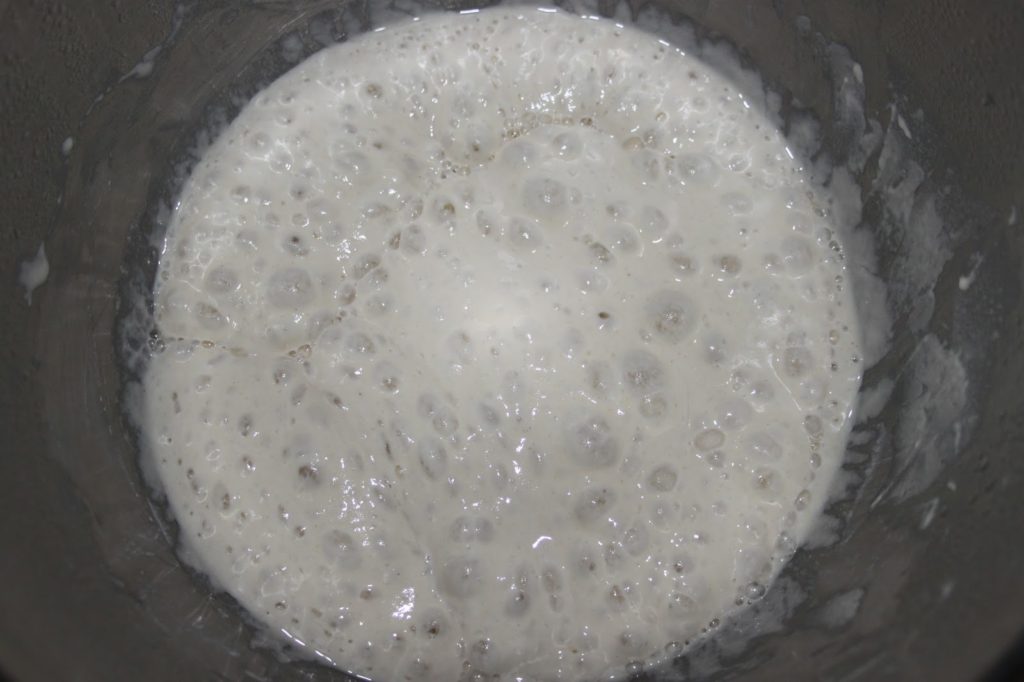
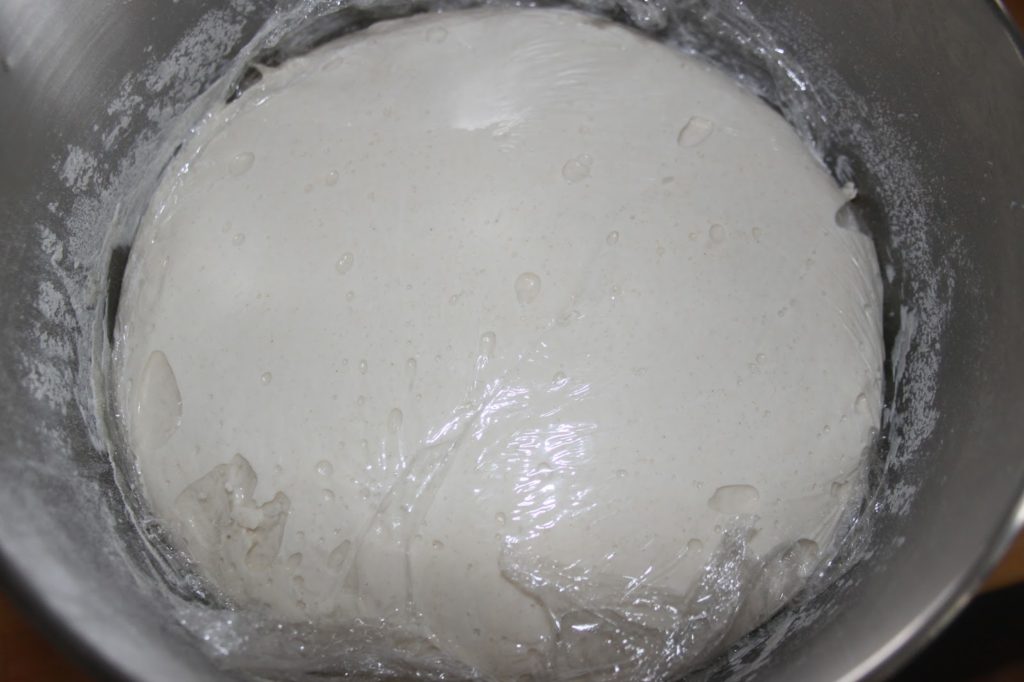
The next day the poolish has doubled in volume and is full of bubbles.

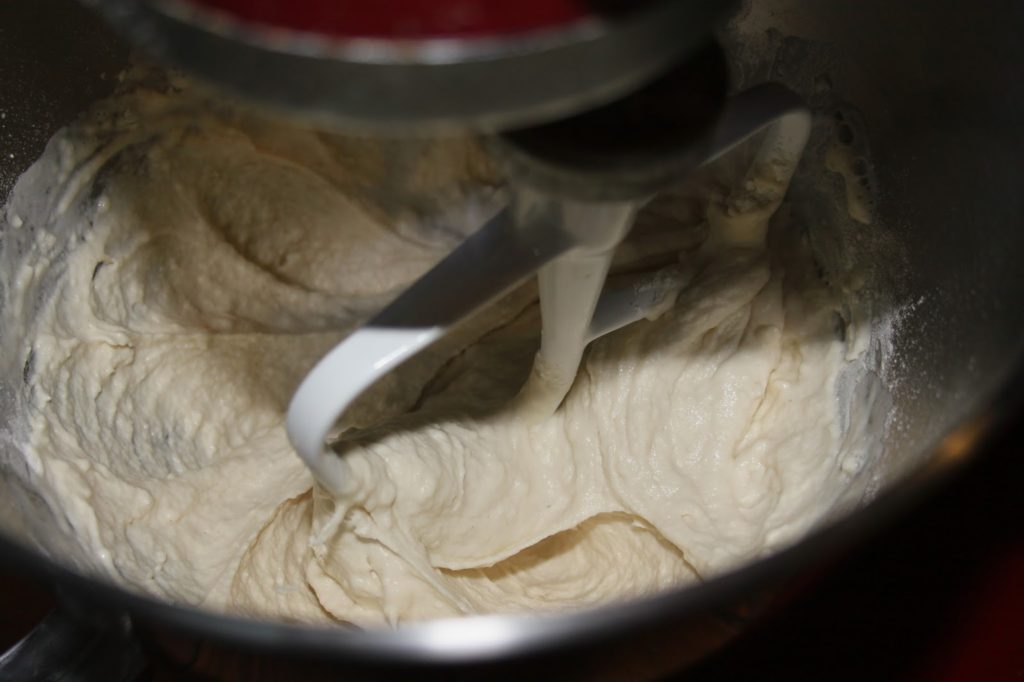
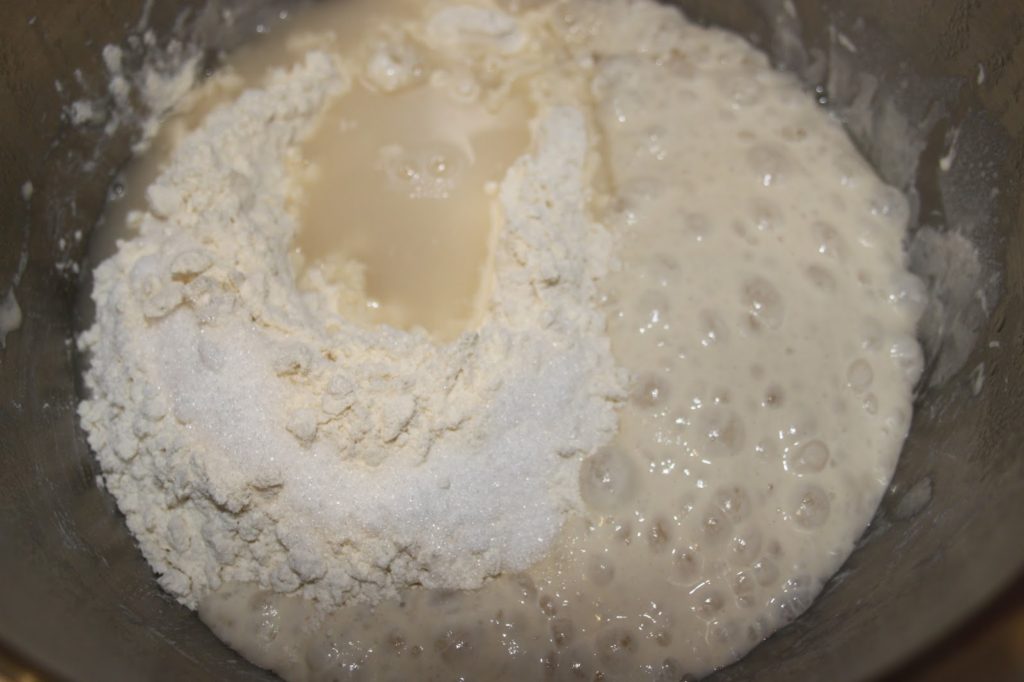
Now prepare your pizza dough by adding the rest of the ingredients (oil, water, yeast, flour, salt, sugar) with the poolish. Try putting the salt and sugar on the flour and not in the poolish.

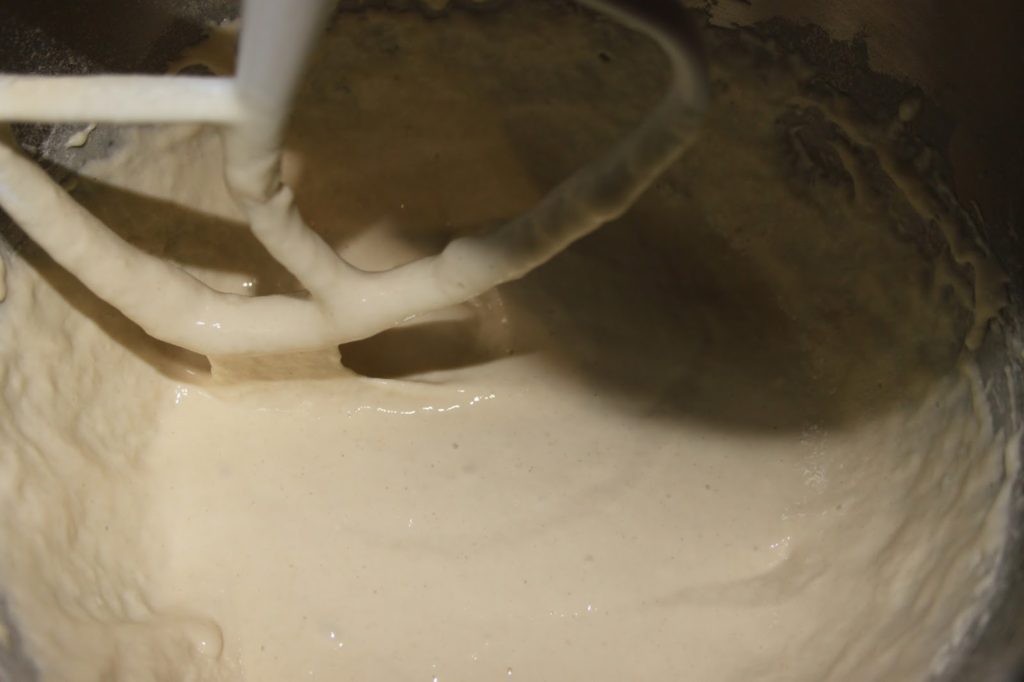
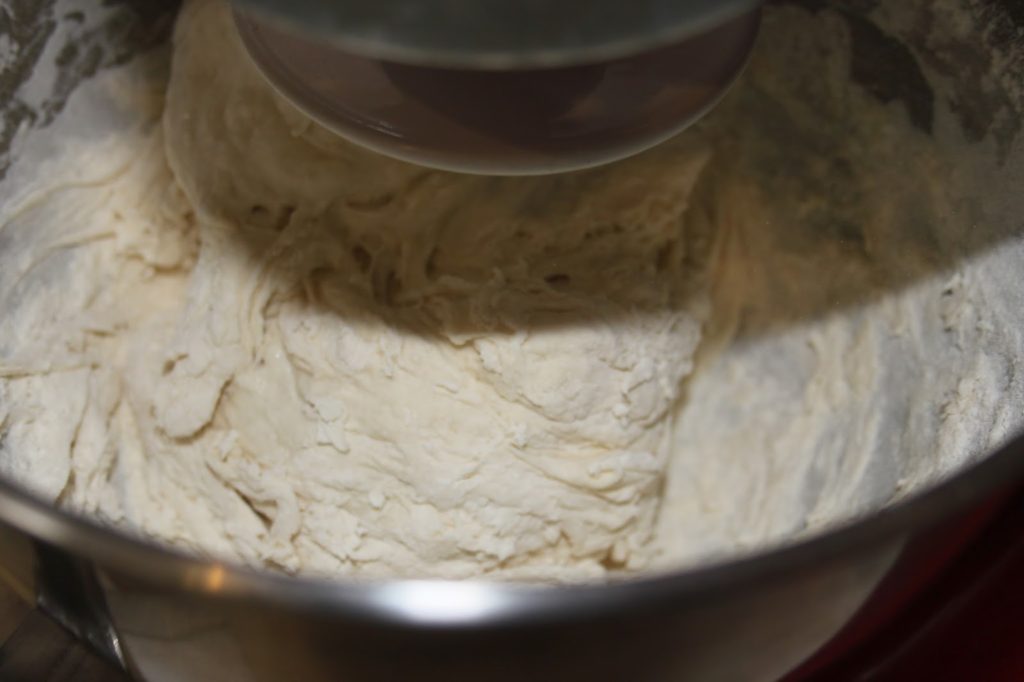
Knead this time with the hook. Let it knead for 10 to 15 minutes. The dough will become soft in appearance and a little sticky to the touch.

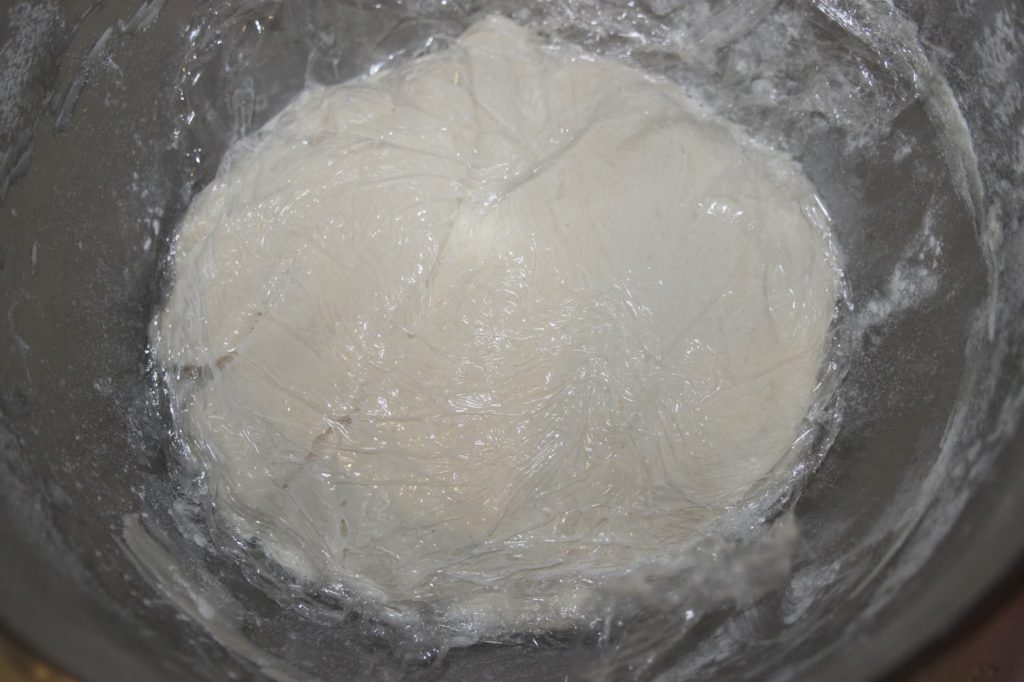
Filter the dough on contact. Then let rise 1h30 to 2h00.


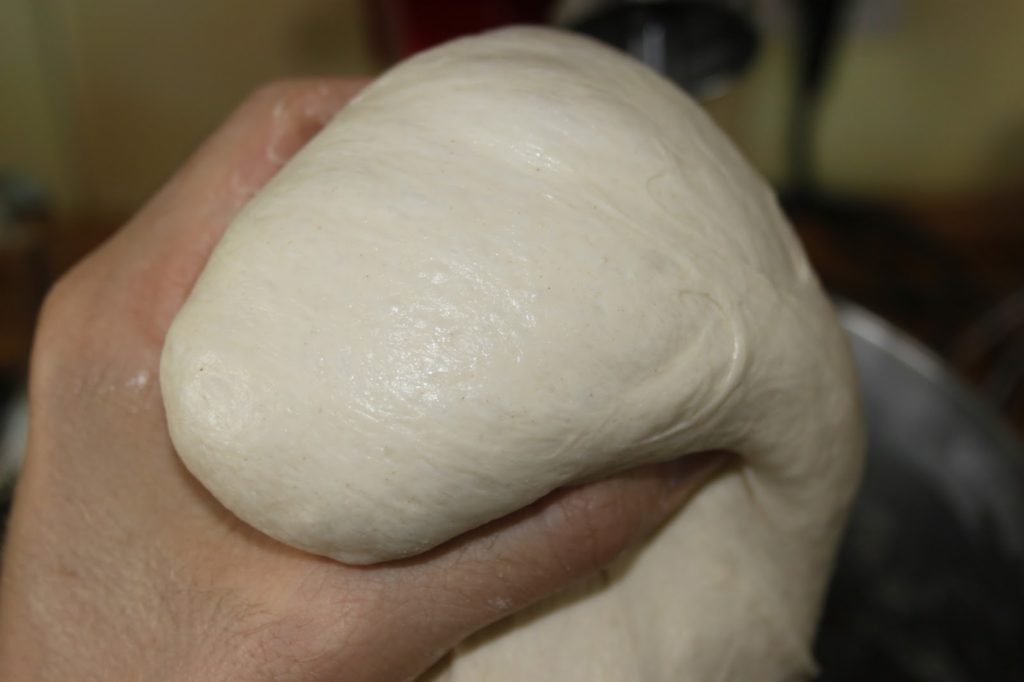
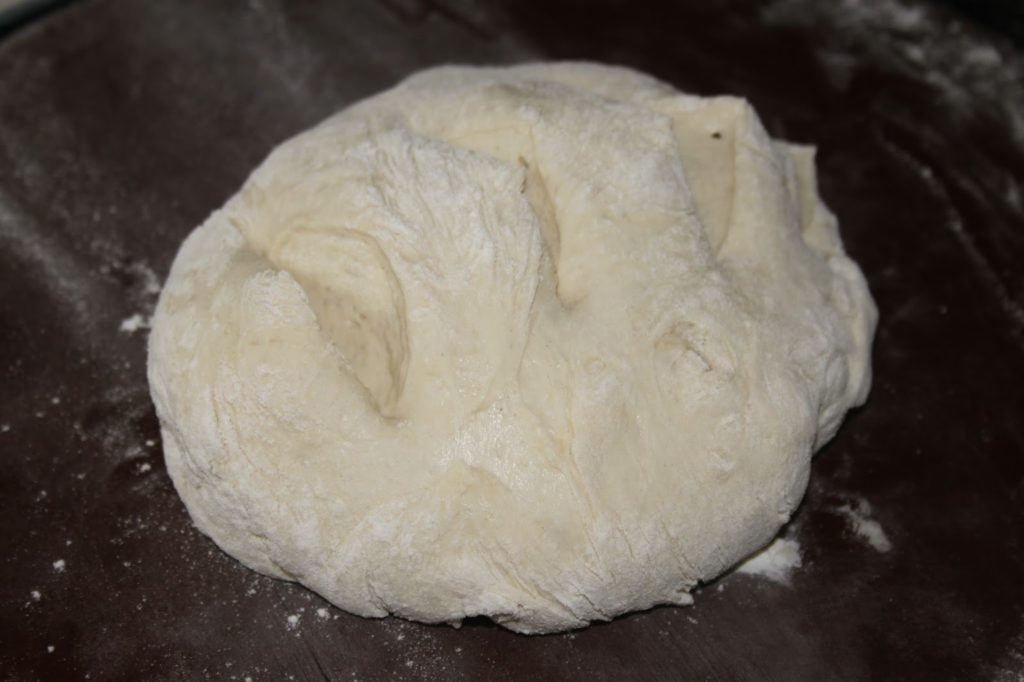
To work, flour your hands well because the dough sticks a little and is quite soft. Take the dough and squeeze out a ball the size of your fist between your index finger and thumb.

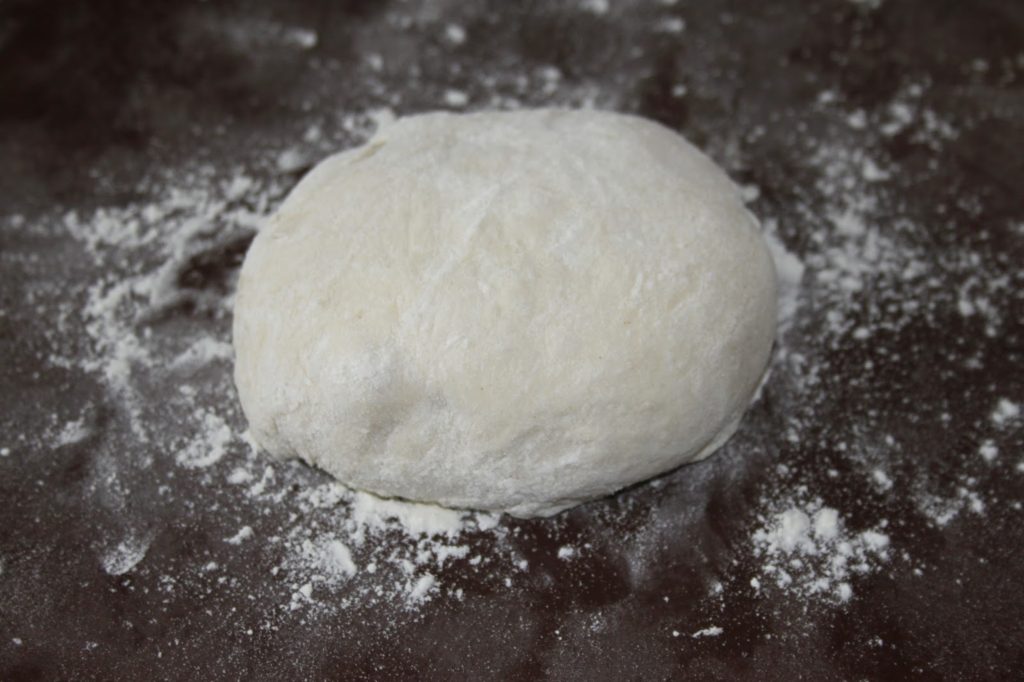
Flour the dough ball well.

The bubbled texture is clearly visible here.
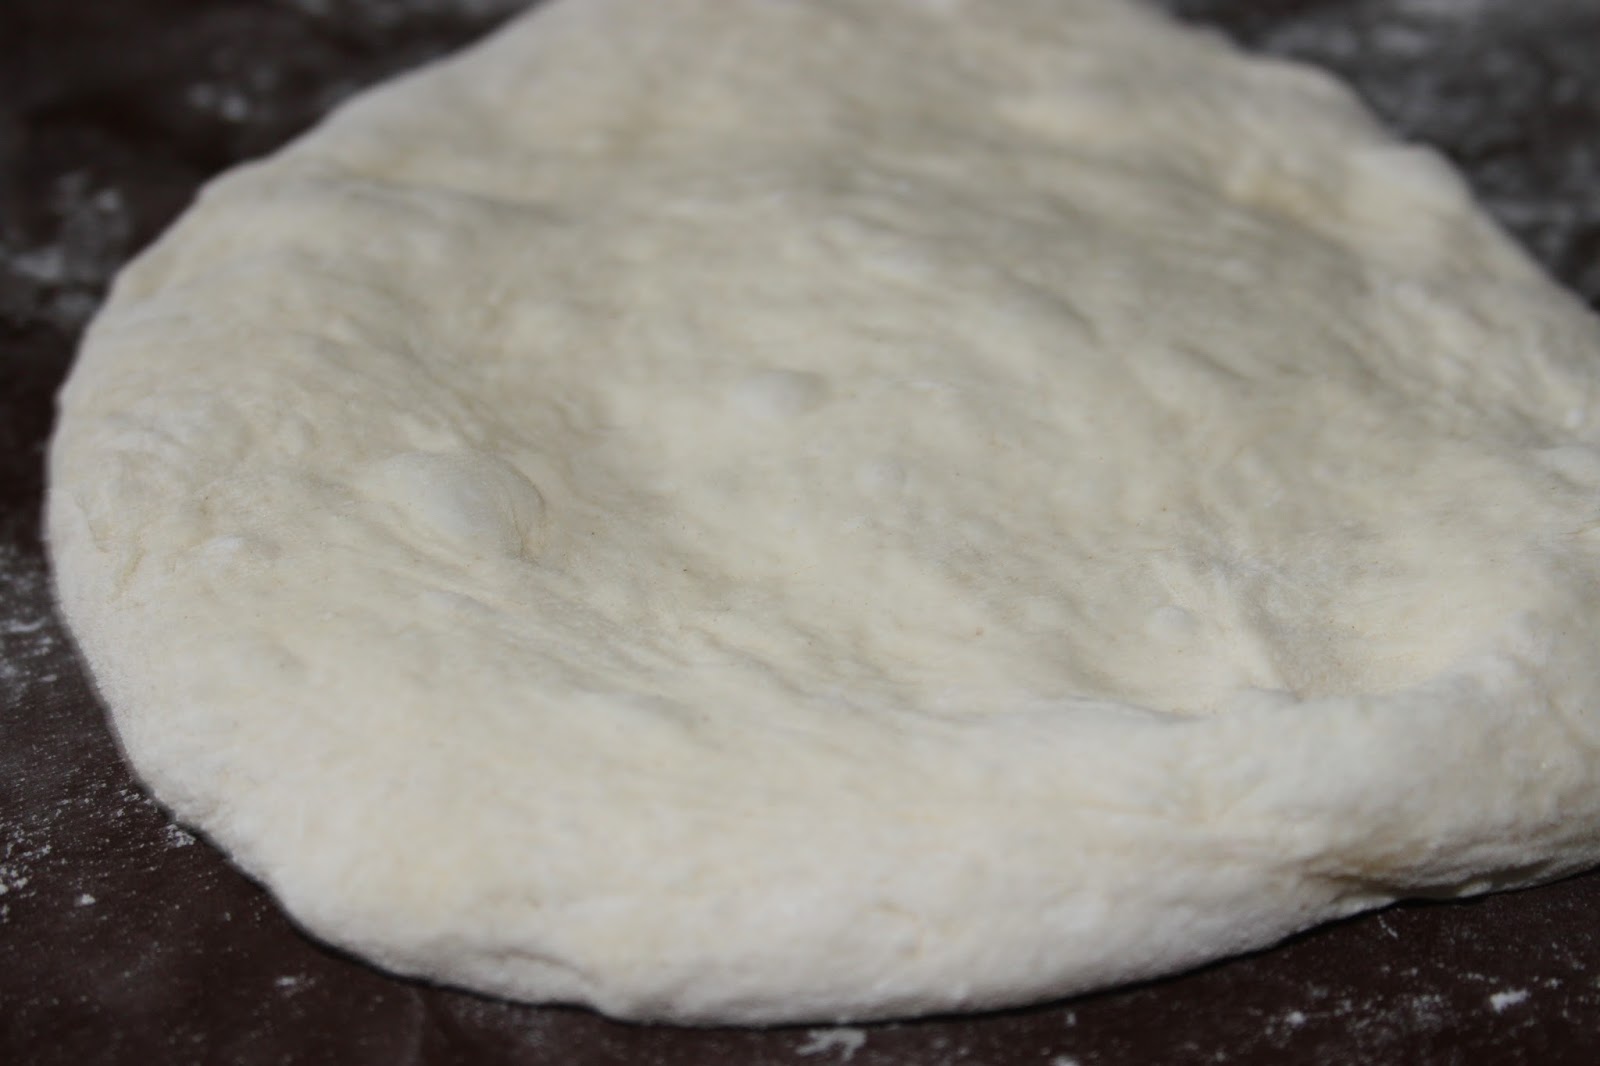
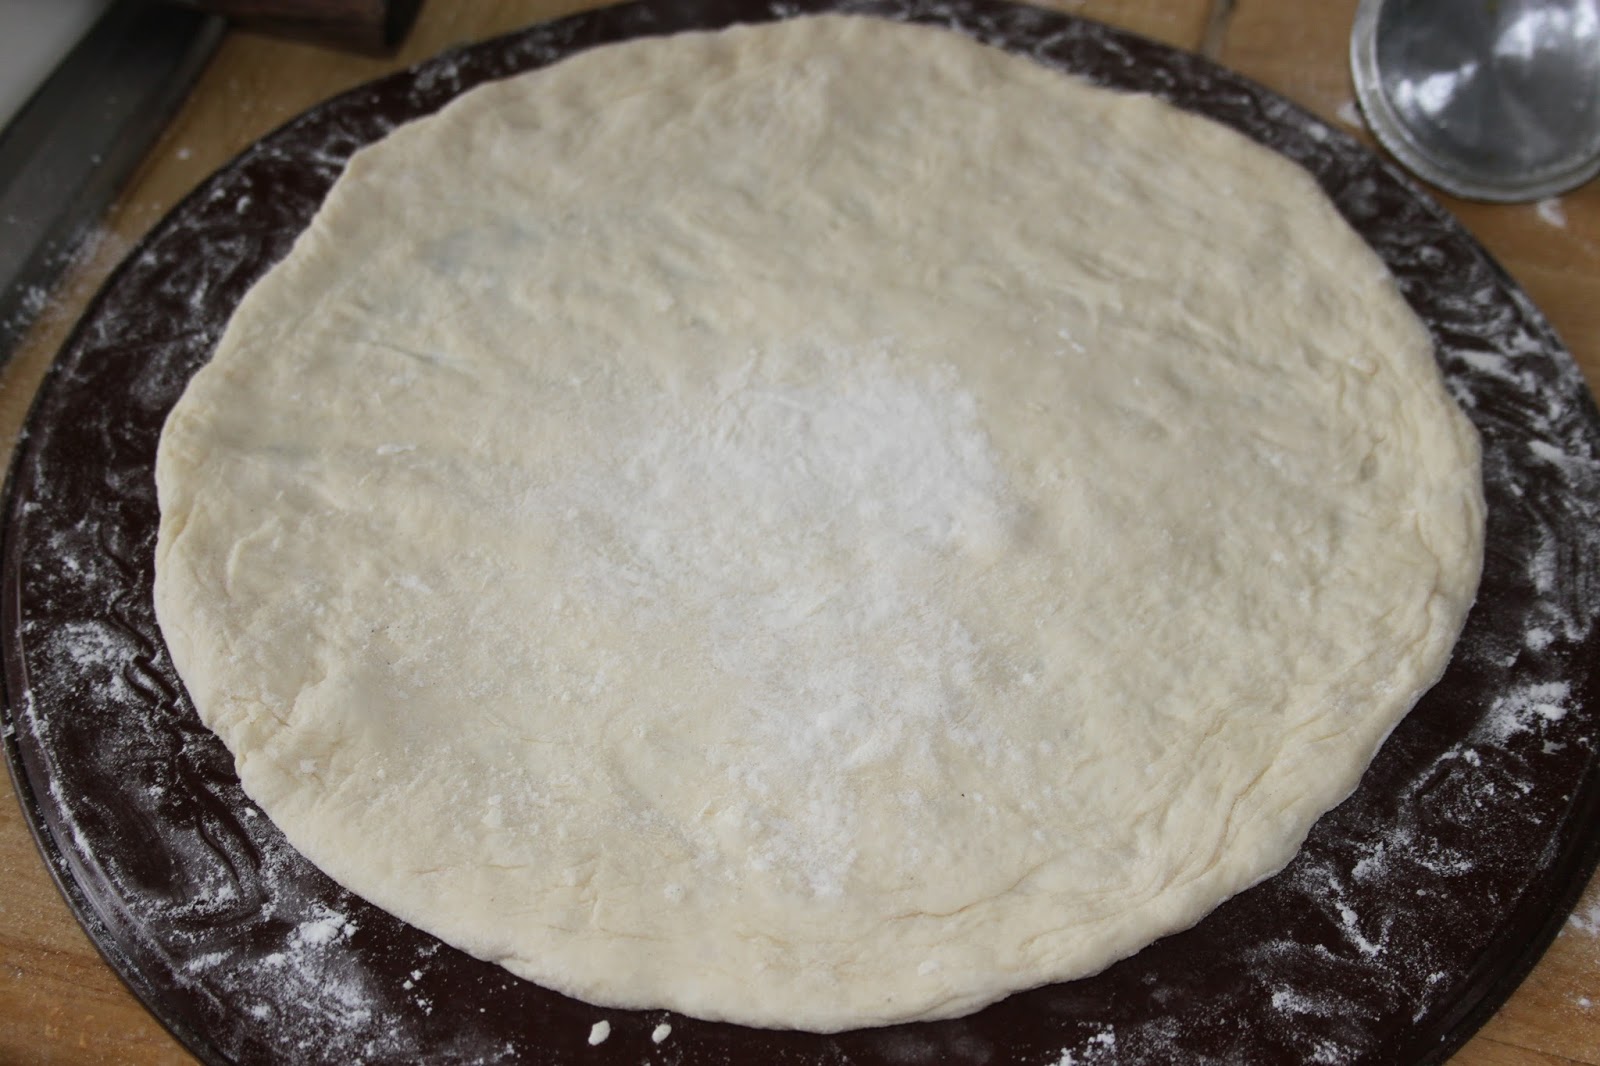
Try to spread the dough in a regular circle (actually it doesn’t matter, we make homemade pizzas here!!).
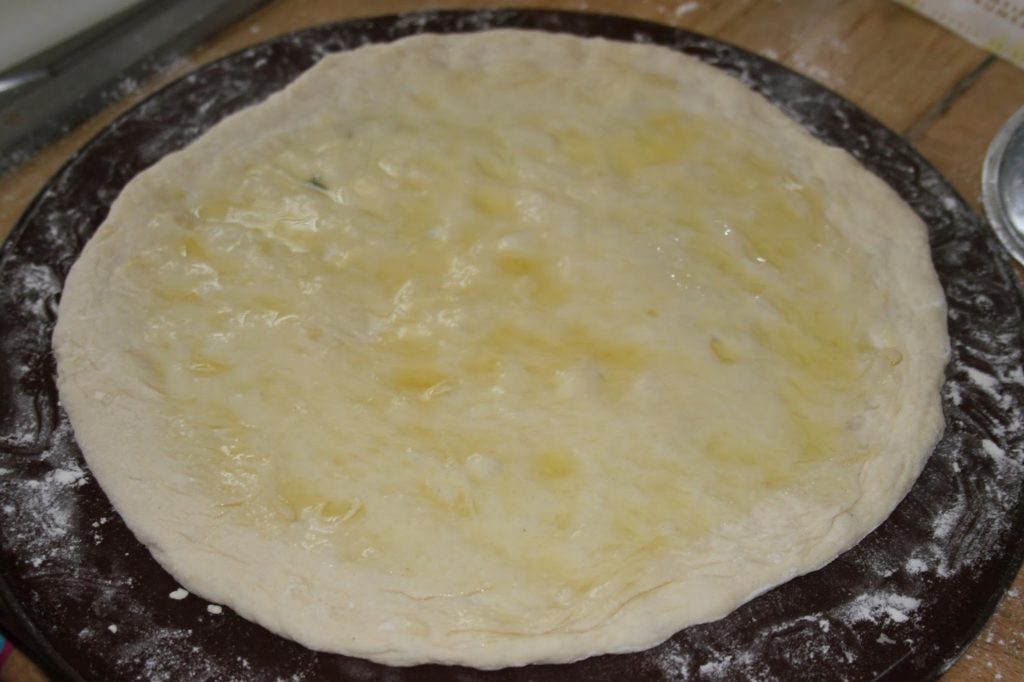
Bernard’s advice:
to be able to slide the pizza on the oven tray, the bottom of the dough must be well floured. What I do is not traditional, let me be clear! I flour the top of the dough a lot and place it on a baking sheet. I put another plate on top of the well-floured dough, which is then sandwiched between the two plates. Am I still being followed? 🙂 Then I turn the whole thing over and the dough rests on its very floured side. I do this because by stretching the dough, it ends up sticking to the surface a bit and then it’s mission impossible to slide it into the oven!
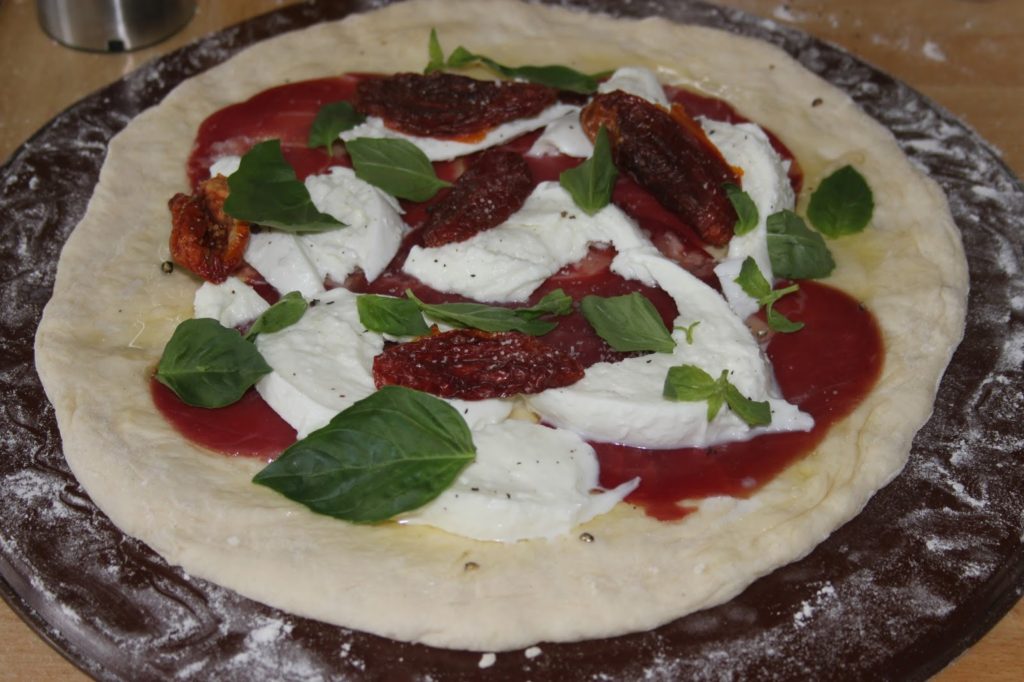
Generously oil the dough with olive oil except on the edge.

Prepare your chosen ingredients.

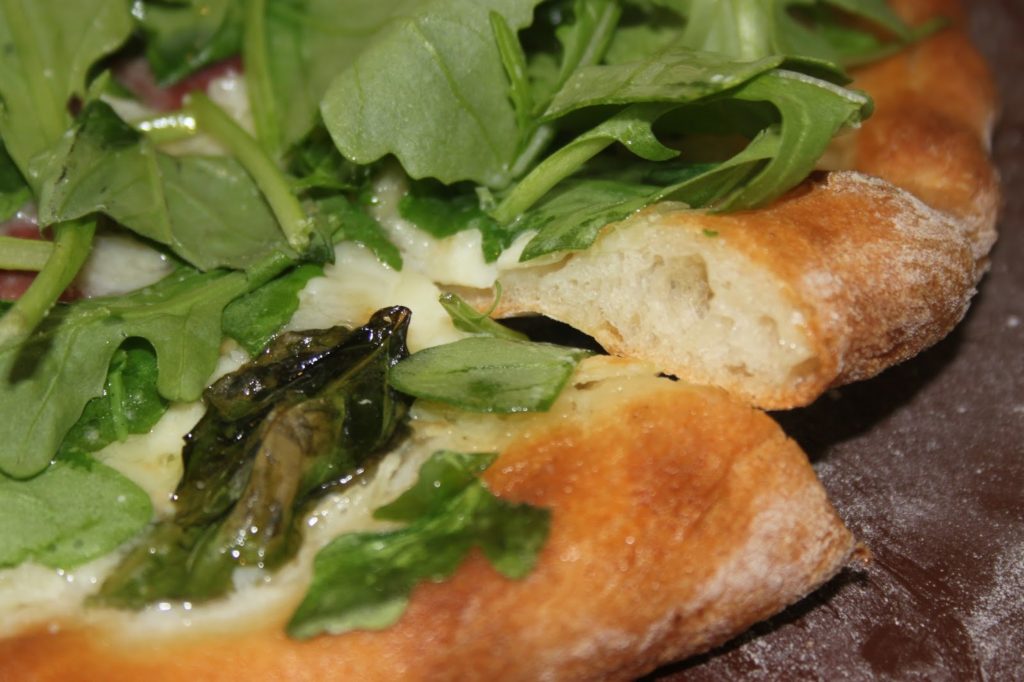
Arrange the elements: here copa, mozzarella, basil leaves. Add salt and pepper. I put the basil leaves in the oven on purpose because they cook and give off a very nice fragrance. You can also add some after cooking!

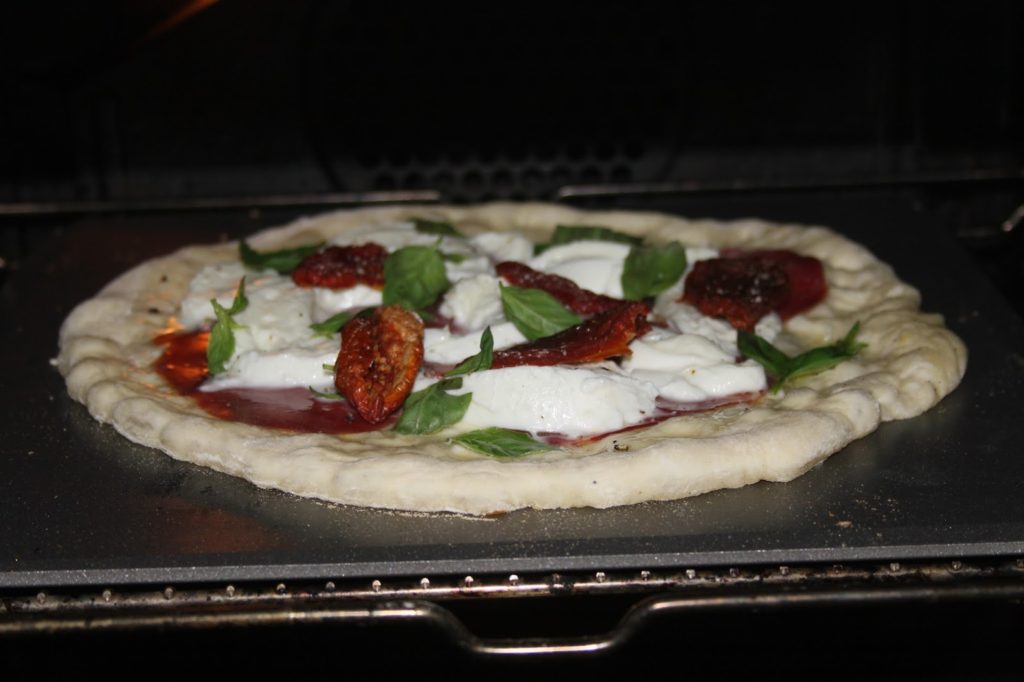
Then slide the pizza onto the special baking sheet in the oven. For this version, I used the IPINIUM plate, the special plate for meat, but used upside down. You can see them HERE!


Let cook for 8 to 10 minutes on maximum heat on the special baking sheet. You have to watch and choose the cooking that you like.
If there is too much dough, you can make a ball of it and cut it with a scissor to make a loaf…!

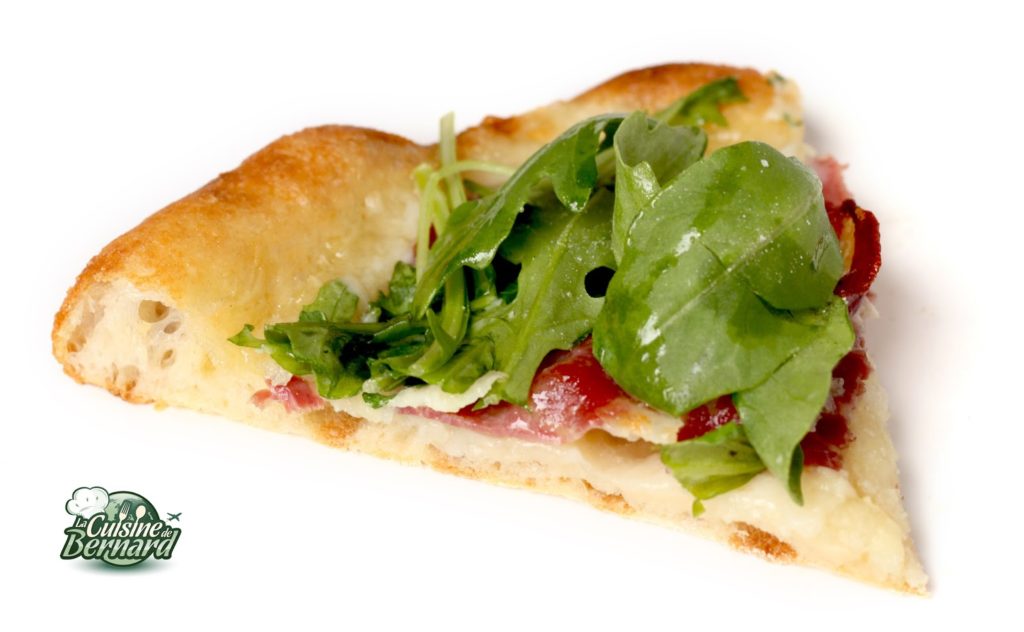
Garnish with fresh arugula, drizzle with olive oil, add a little pepper set and go to the table!
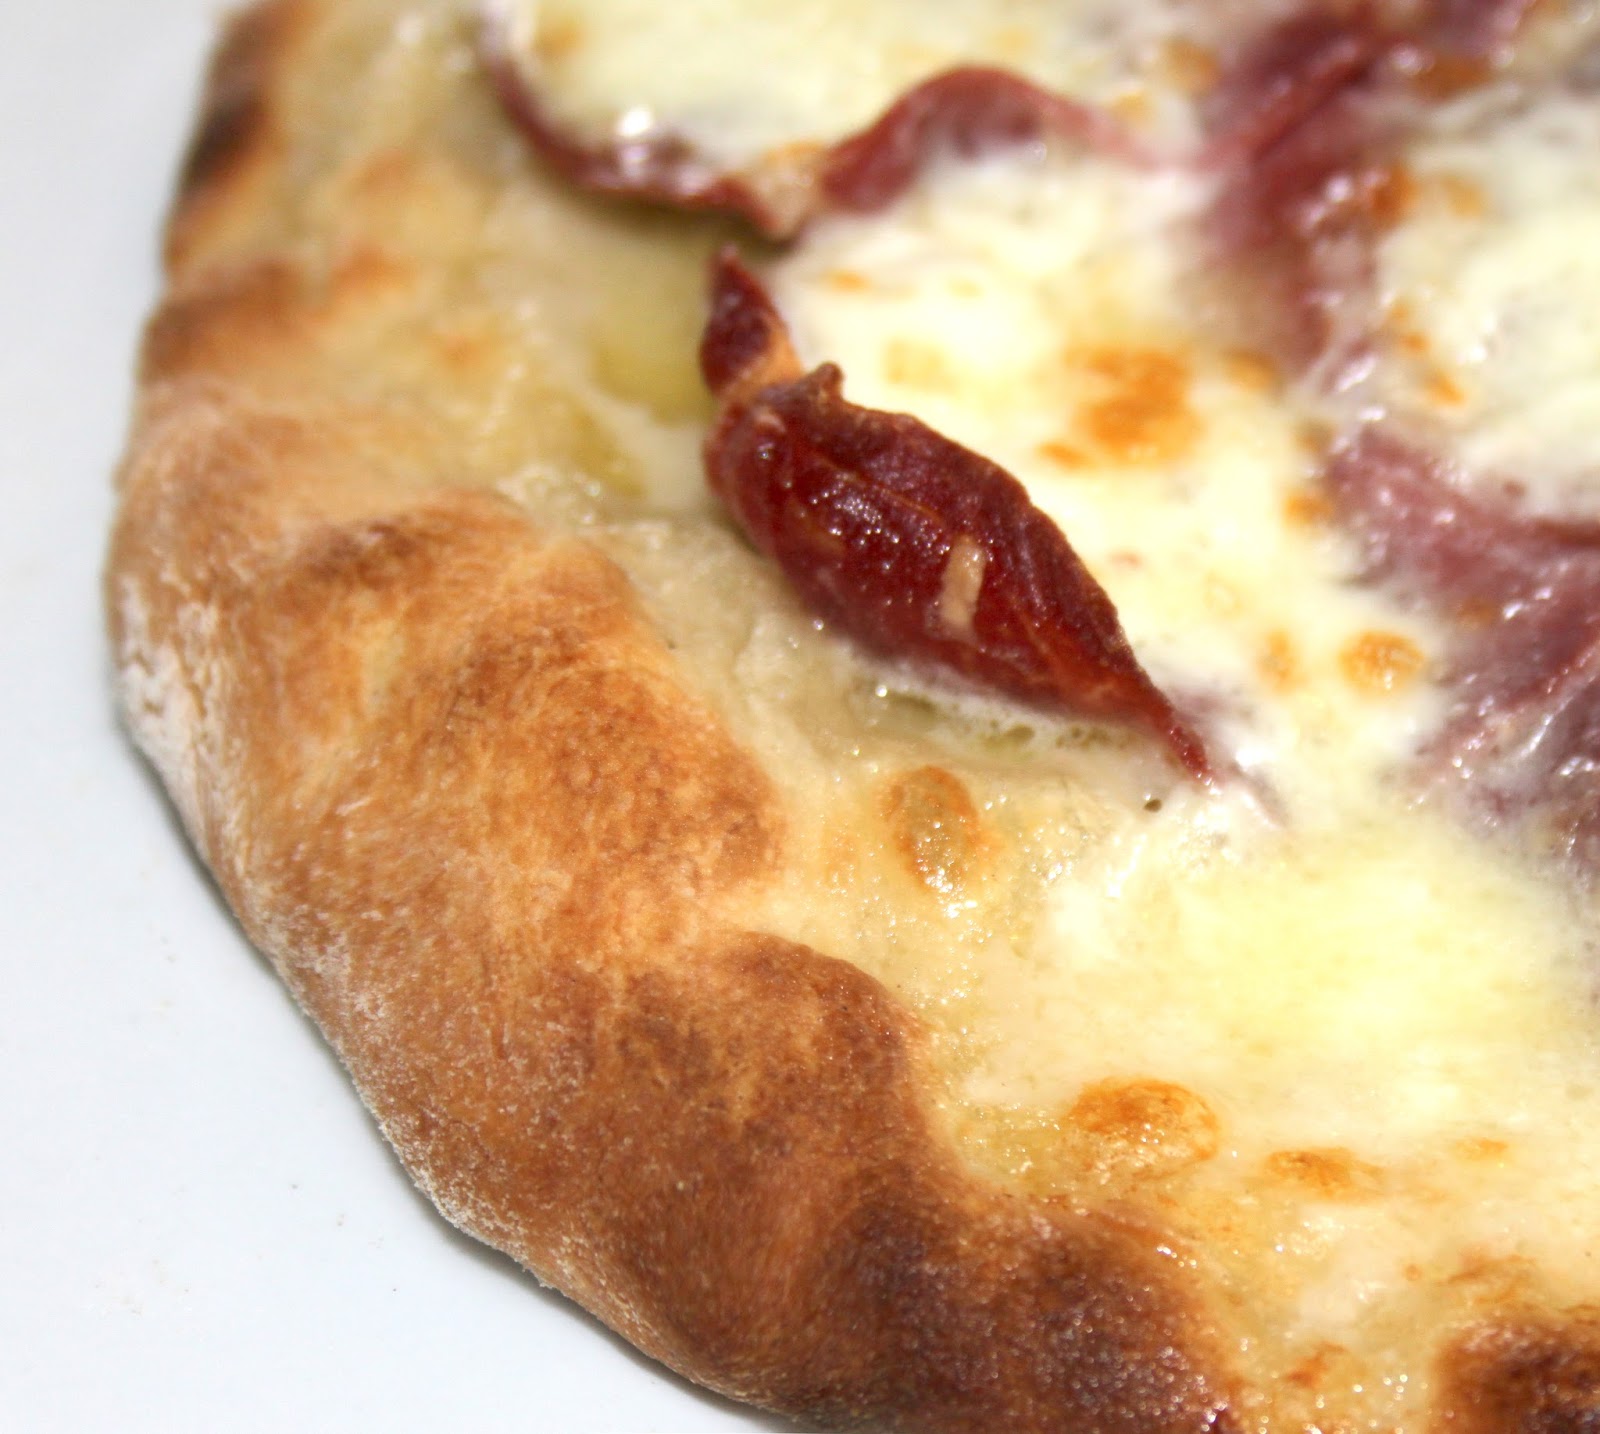

Let’s eat!!!


")