2.6K
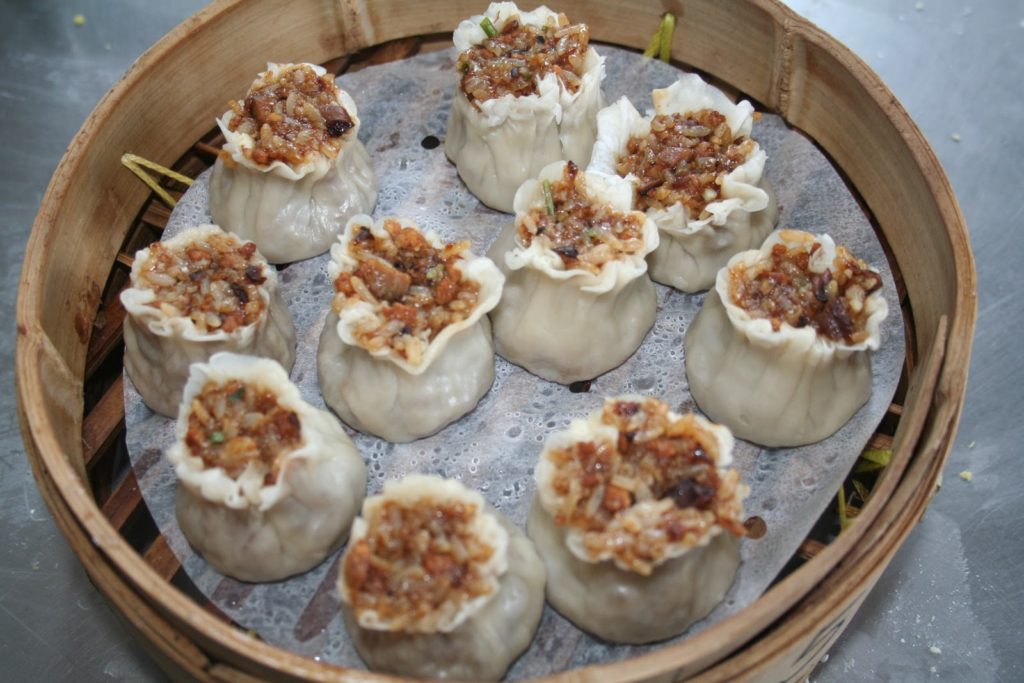
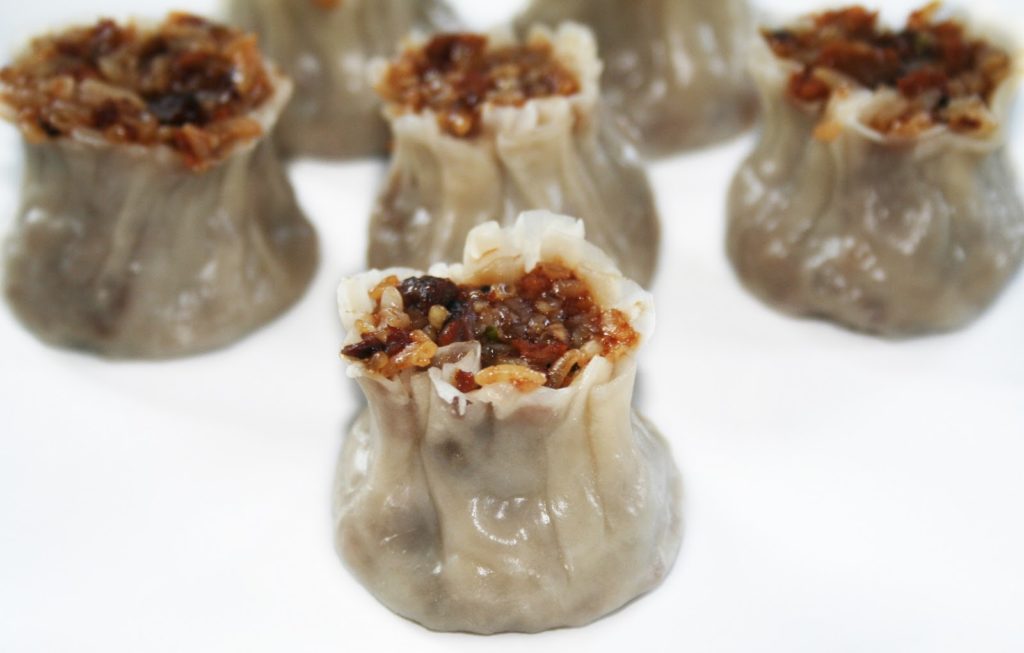
We had already seen the “siu mai” of Canton, made with sheets of won ton paste. Here are now the “siu mai” of Shanghai, with a characteristic shape, narrower in the middle. The stuffing is different and consists of glutinous rice. This time the dough is made by hand. I give here the authentic method with all that it involves…! I use a small “siu mai” roll with a very particular shape, this one being dedicated only to this siu mai. It can be found in Chinatown. But if we don’t find it, it will still work! I’m just showing you the way to do it as I learned it in Shanghai.
Recipe of the “siu mai” of Shanghai:
-160g of flour
-100ml of water
-100g chopped pork loin
-40g of shiitake in small pieces
-1 tablespoon of oil
-1 teaspoon of sugar
-2 tablespoons of chives or fine Chinese civets
-4 teaspoons of dark soy sauce
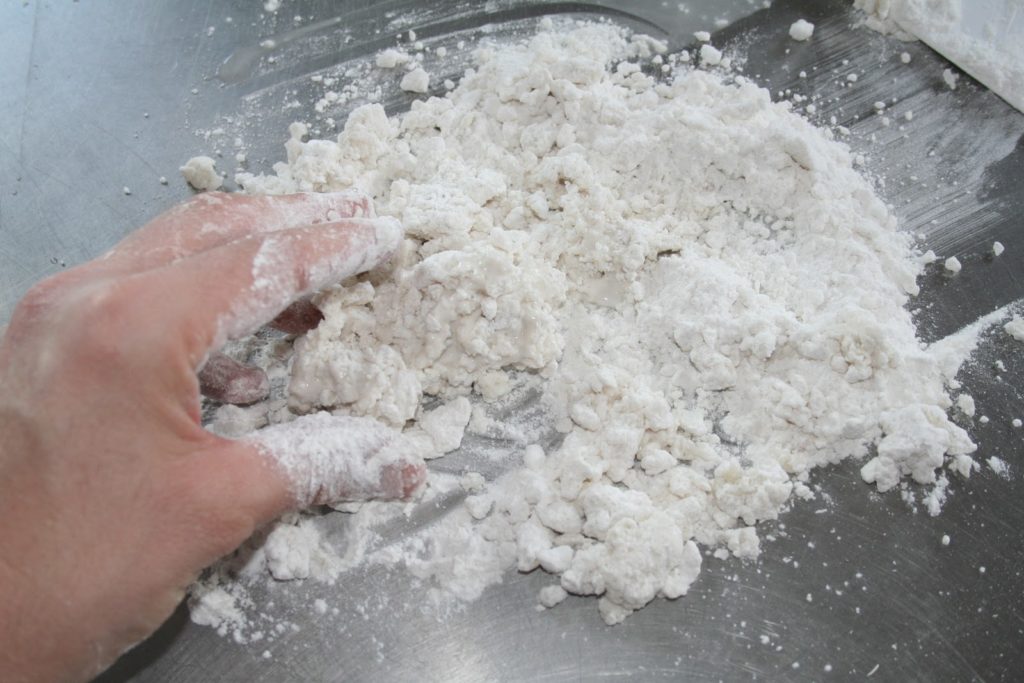
Start by preparing the siu mai paste. Put the flour on a work surface, make a hole in the middle and add the water in the middle.
Start mixing with your fingers (you can do all this in a mixing bowl).
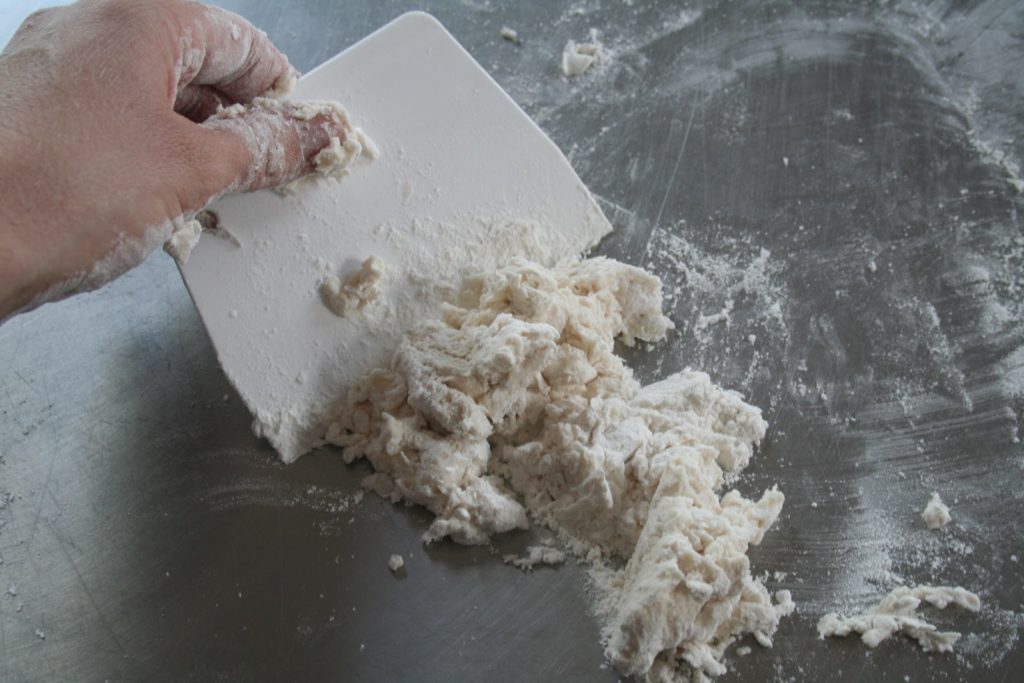
Bring all the flour with a scraper, and knead the dough well by crushing and rolling it.
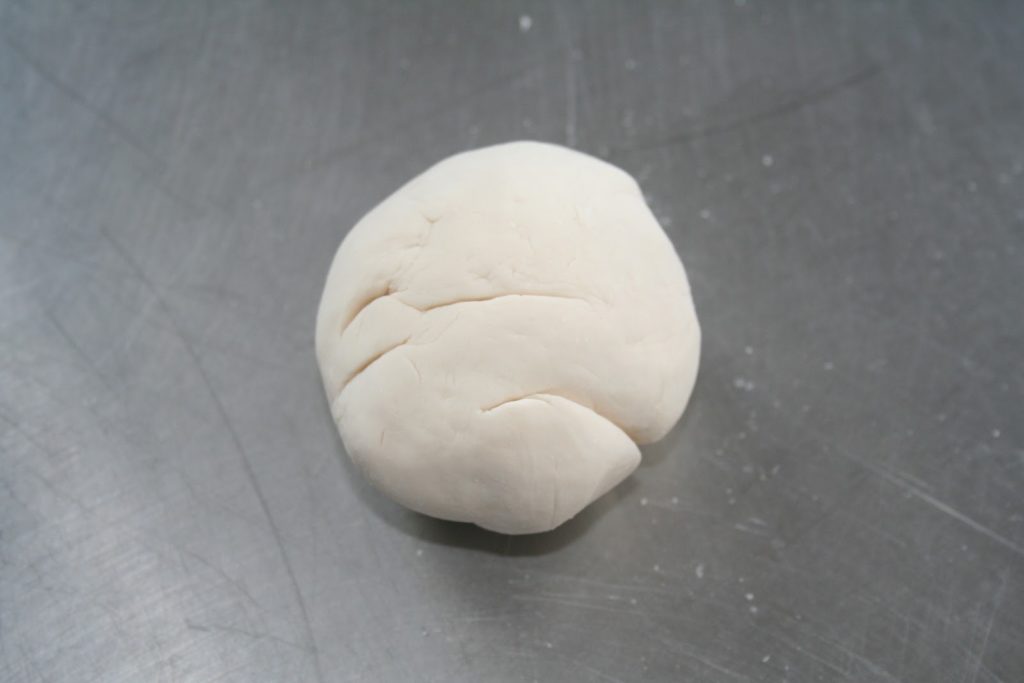
Then knead for 5-10 minutes. Roll the dough into a ball and let it rest for 20 minutes under a sheet of cling film.
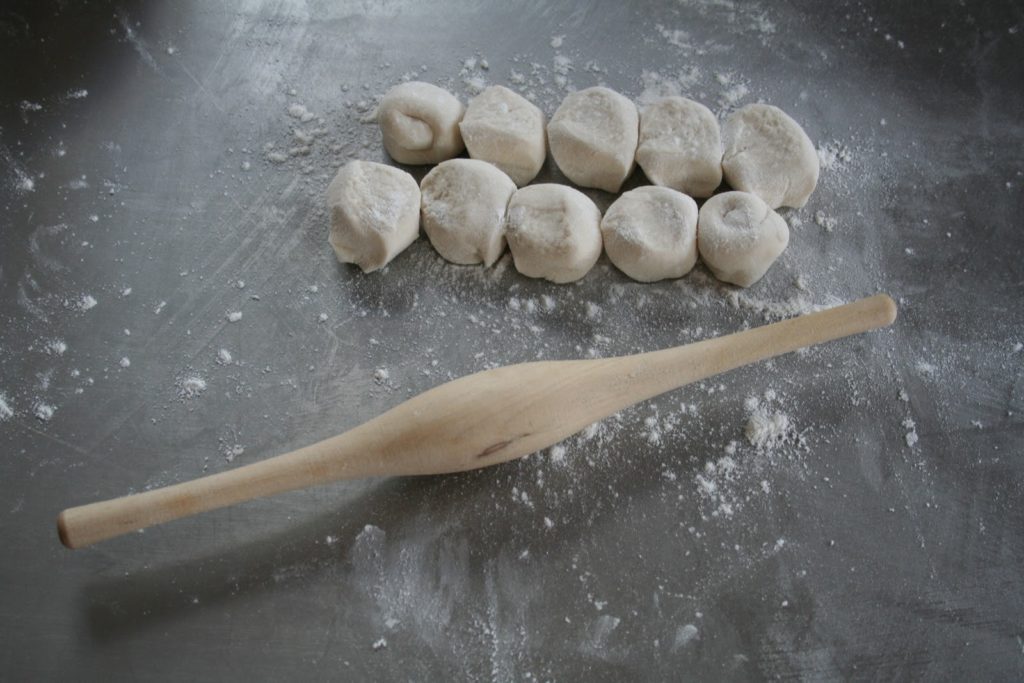
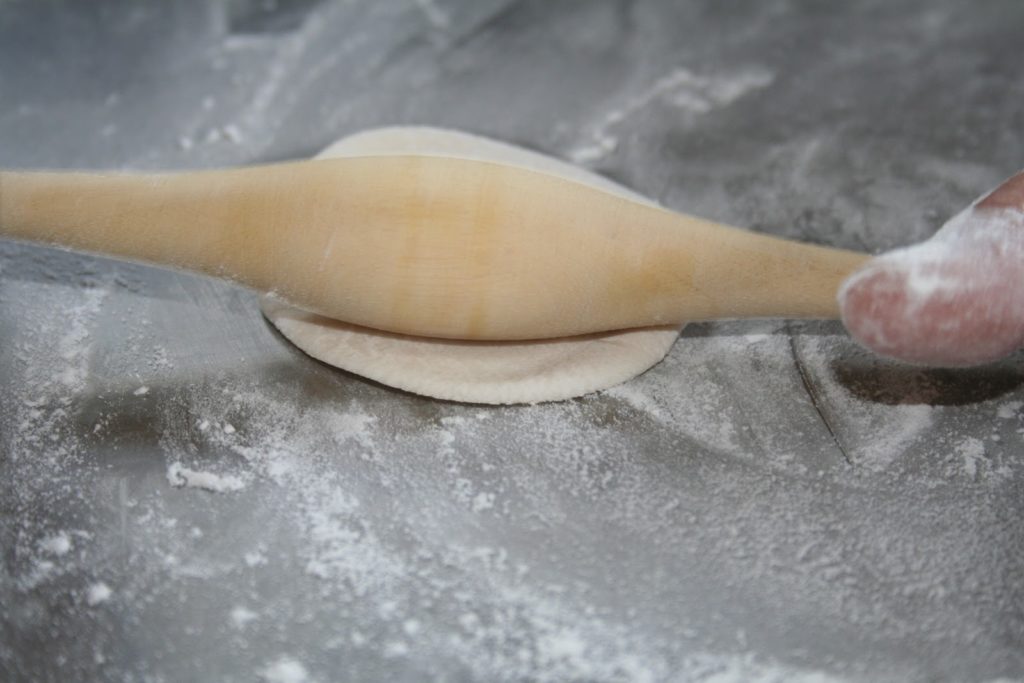
Here is the siu mai roller from Shanghai… It is very useful! I now have a whole collection of dim sum and pastry rolls.
Roll the dough into a sausage with a diameter of 2 or 3 cm and cut about 20 equal slices. (on the picture I only have half of the dough!).
Flatten each slice with the palm of your hand. Then spread with the special roller.
Then spread with the special roller. This is done as follows:
First of all, you must have the palms of your hands towards the table and have in the hollow of each palm, the end of the roll. Then press on the right side while rolling forward and then press on the left side while rolling back towards you.
In this way, the small cake of dough will flatten while turning, and this in a very fluid and homogeneous way.
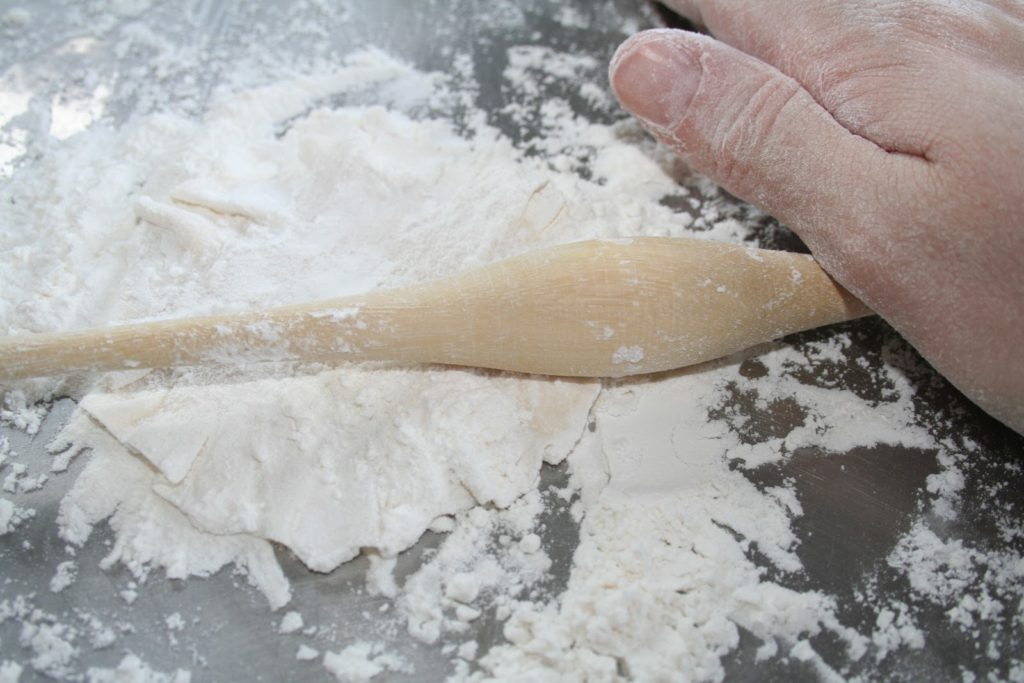
Once the dough is flattened into an 8 to 10cm disc, place a small pile of flour on the work surface, place the disc on top and put flour back on the dough. The disc of dough is therefore completely in the flour. Place the disc of dough as in the photo below and flatten only the edge this time by rolling upwards and pressing on the right (the photo may be clearer). In this way, the edge will become “jagged” and wrinkled. The more flour around the dough, the easier it is to indent the edge. It takes a little practice, but after 10 minutes, it’s very easy. The disk looks a bit like a sun at the end of this process.
Prepare the sticky rice (recipe by clicking
here
).
here
).
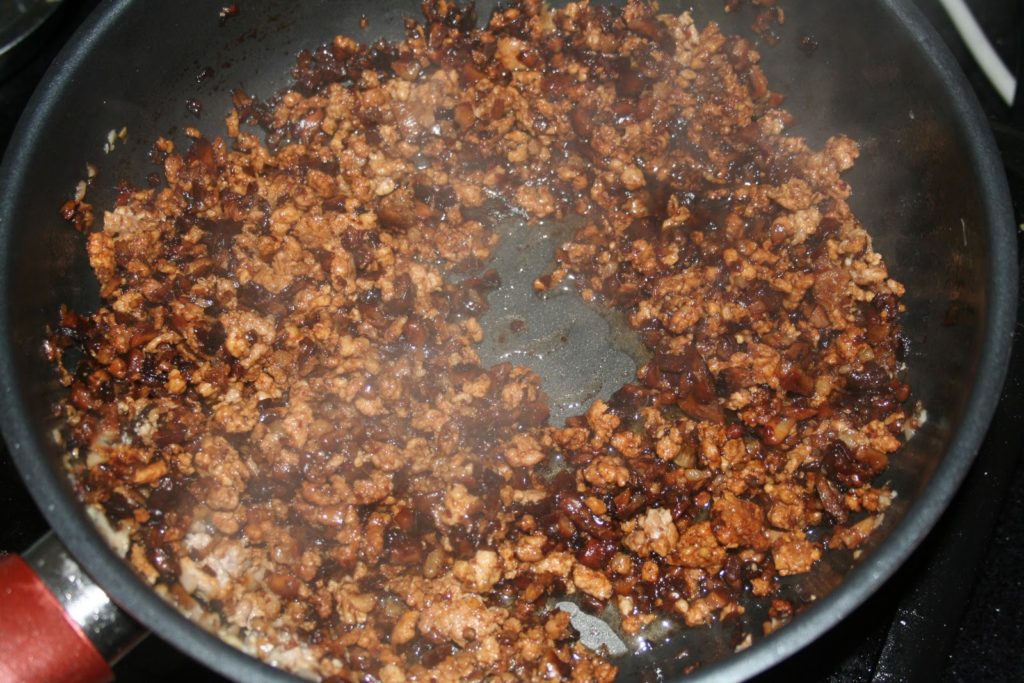
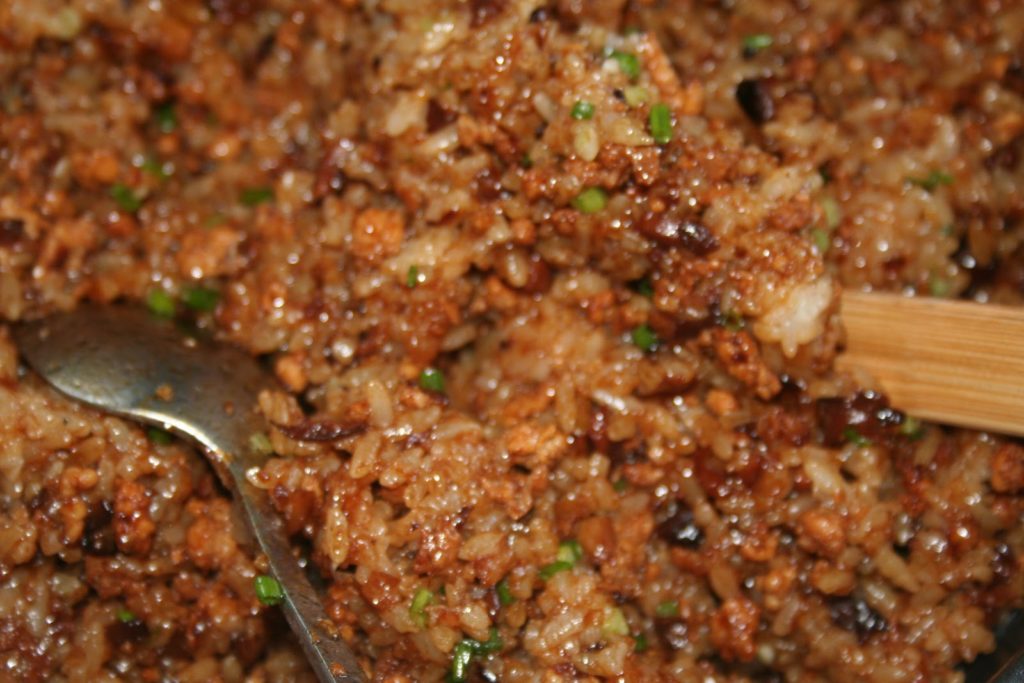
Meanwhile, fry the shiitakes with the pork, sugar and dark soy sauce in a spoonful of oil. Let the water from the mushrooms evaporate.
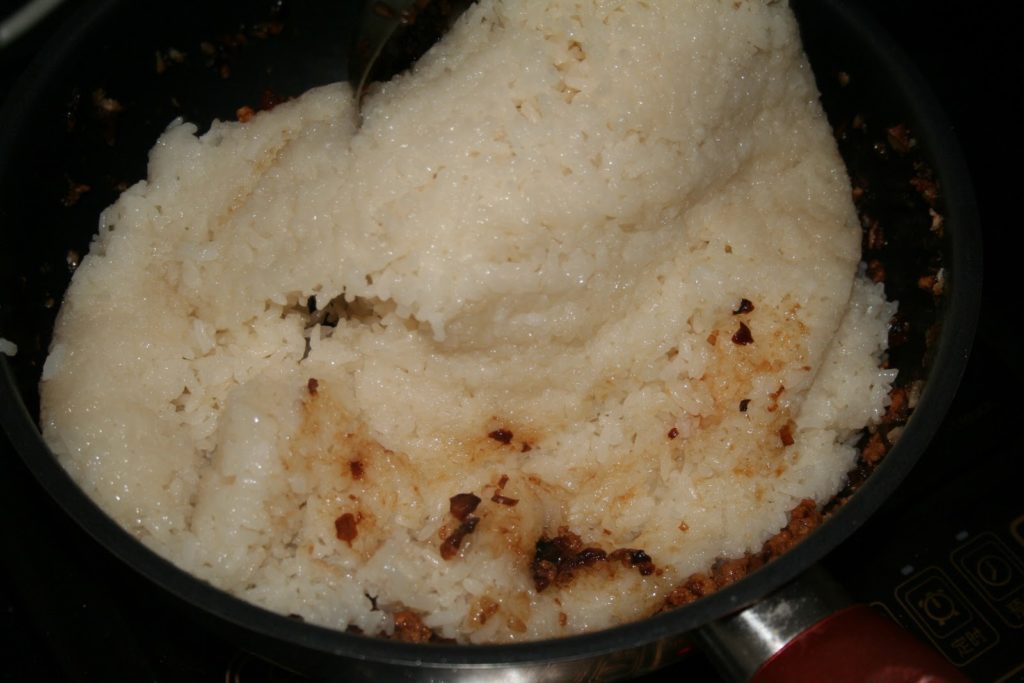
Add the steamed glutinous rice.
And mix well.
Add finely chopped chives or endive.
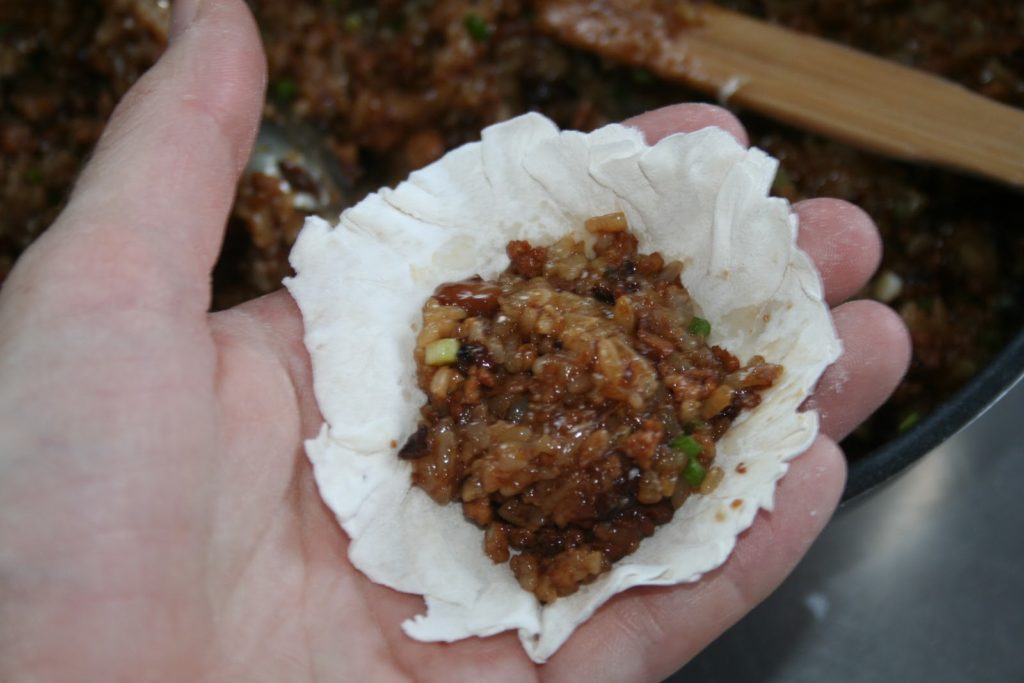
Take a disk of dough with a crumpled edge.
And fill with a heaping tablespoon of glutinous rice filling.
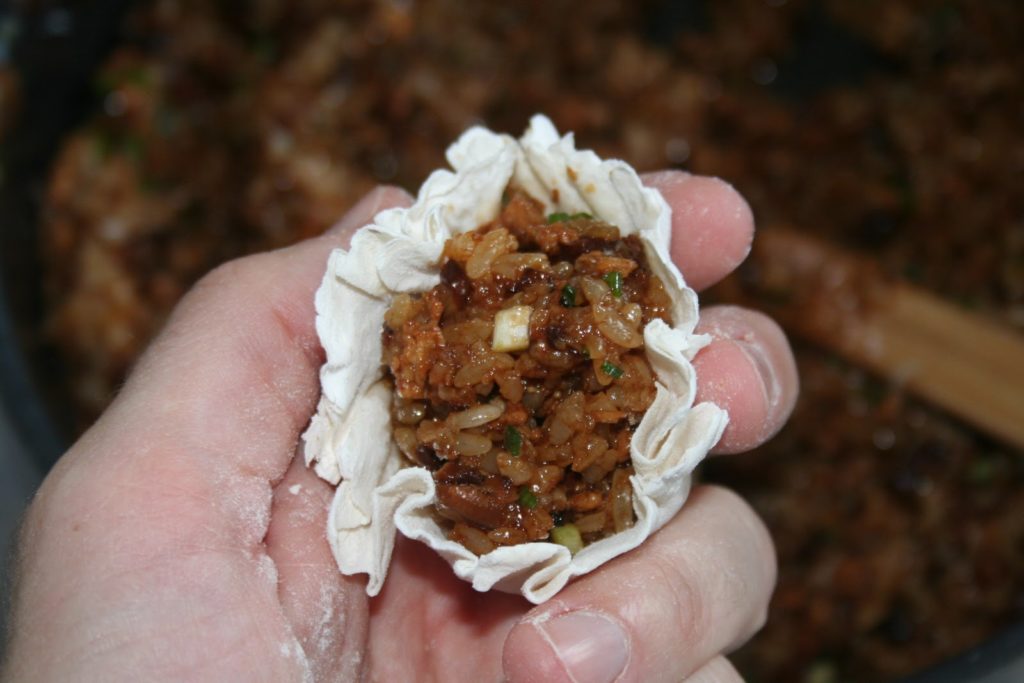
Begin to close with one hand, pressing the dough around the filling.
Then with a chopstick, or a ruler, press all around the siu mai to straighten the stuffing from the base to the top.
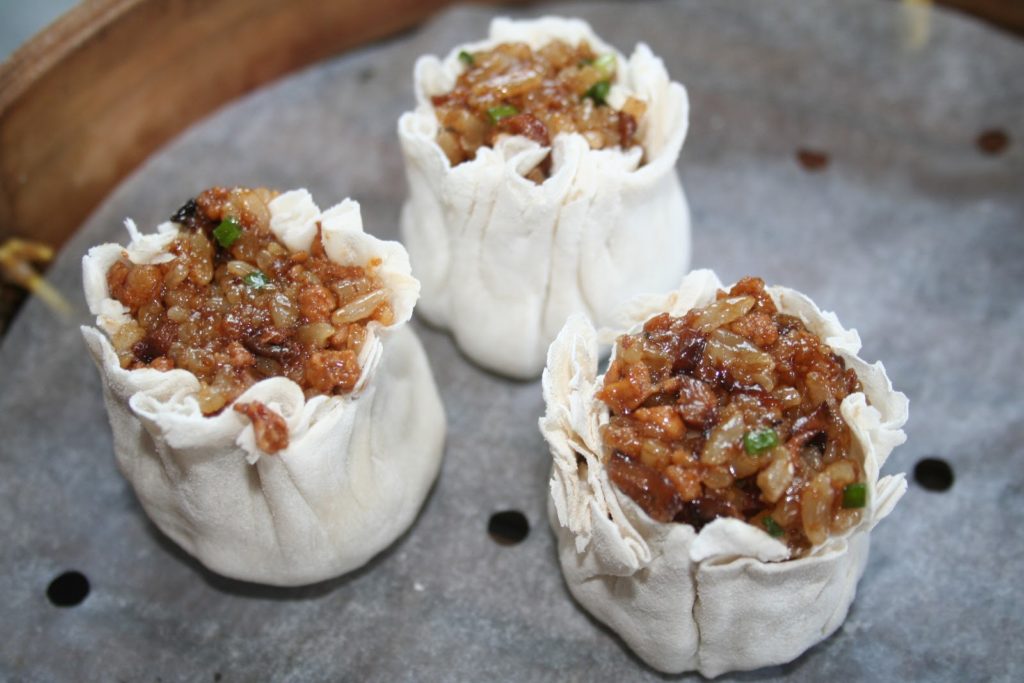
Do the same with all the dough. Place the “siu mai” in a bamboo basket.
If the dough has dried on the top edge of the siu mai, you can spray a little water to rehydrate them.
Steam for 10 to 12 minutes.
Eat immediately with clear soy sauce and a little spicy sesame oil.


