
621


Tasting a culinary novelty is a bit like a trip back in time and a treasure hunt for me. Why is this? Because instantly I’m looking for the history of the recipe: how it is made, its manufacturing process, how it was developed, and of course in search of its proportions and ingredients. You have to go back in time to understand how we got here. I discovered the Gaia brand of essene bread by chance in an organic supermarket. A strange head, strange ingredients, a particular consistency. But especially the taste: nothing really known. I had to make a strange face while taking the first bite, between astonishment and questioning… But immediately after I fell in love with it. Barely sweet, this bread is only sweet thanks to the dates (or figs or whatever…) and the sprouted seeds (which take a light sweet taste). So I started my investigation: how to find the same thing at home. And that’s what I love: discovering new methods, new techniques that lead to the desired result. So legend has it that this bread was originally sun-dried, but the Gaia that I wanted to reproduce bakes it at 80°C for several hours. I bought a sprouting machine and did several tests in my kitchen! So yes, it’s a bit long to do. Oh just 3 days in all and then a three hour cooking time! But at least, I can close the file of this investigation which seemed to me quite delicious… Plus by the way, I’m always absolutely fascinated to see living plants growing from all-dry seeds!

Recipe:
-160g of wheat seeds to be germinated
-80g of rye seeds to germinate
Then:
-the totality of the germinated seeds after two days (they double in weight, thus 480g in total)
-100g of oatmeal
-100g pitted dates (or dried figs)
-80g rapeseed oil
-1/4 teaspoon salt
-80g of rye seeds to germinate
Then:
-the totality of the germinated seeds after two days (they double in weight, thus 480g in total)
-100g of oatmeal
-100g pitted dates (or dried figs)
-80g rapeseed oil
-1/4 teaspoon salt
Here are the seeds to germinate. Put them in a container.
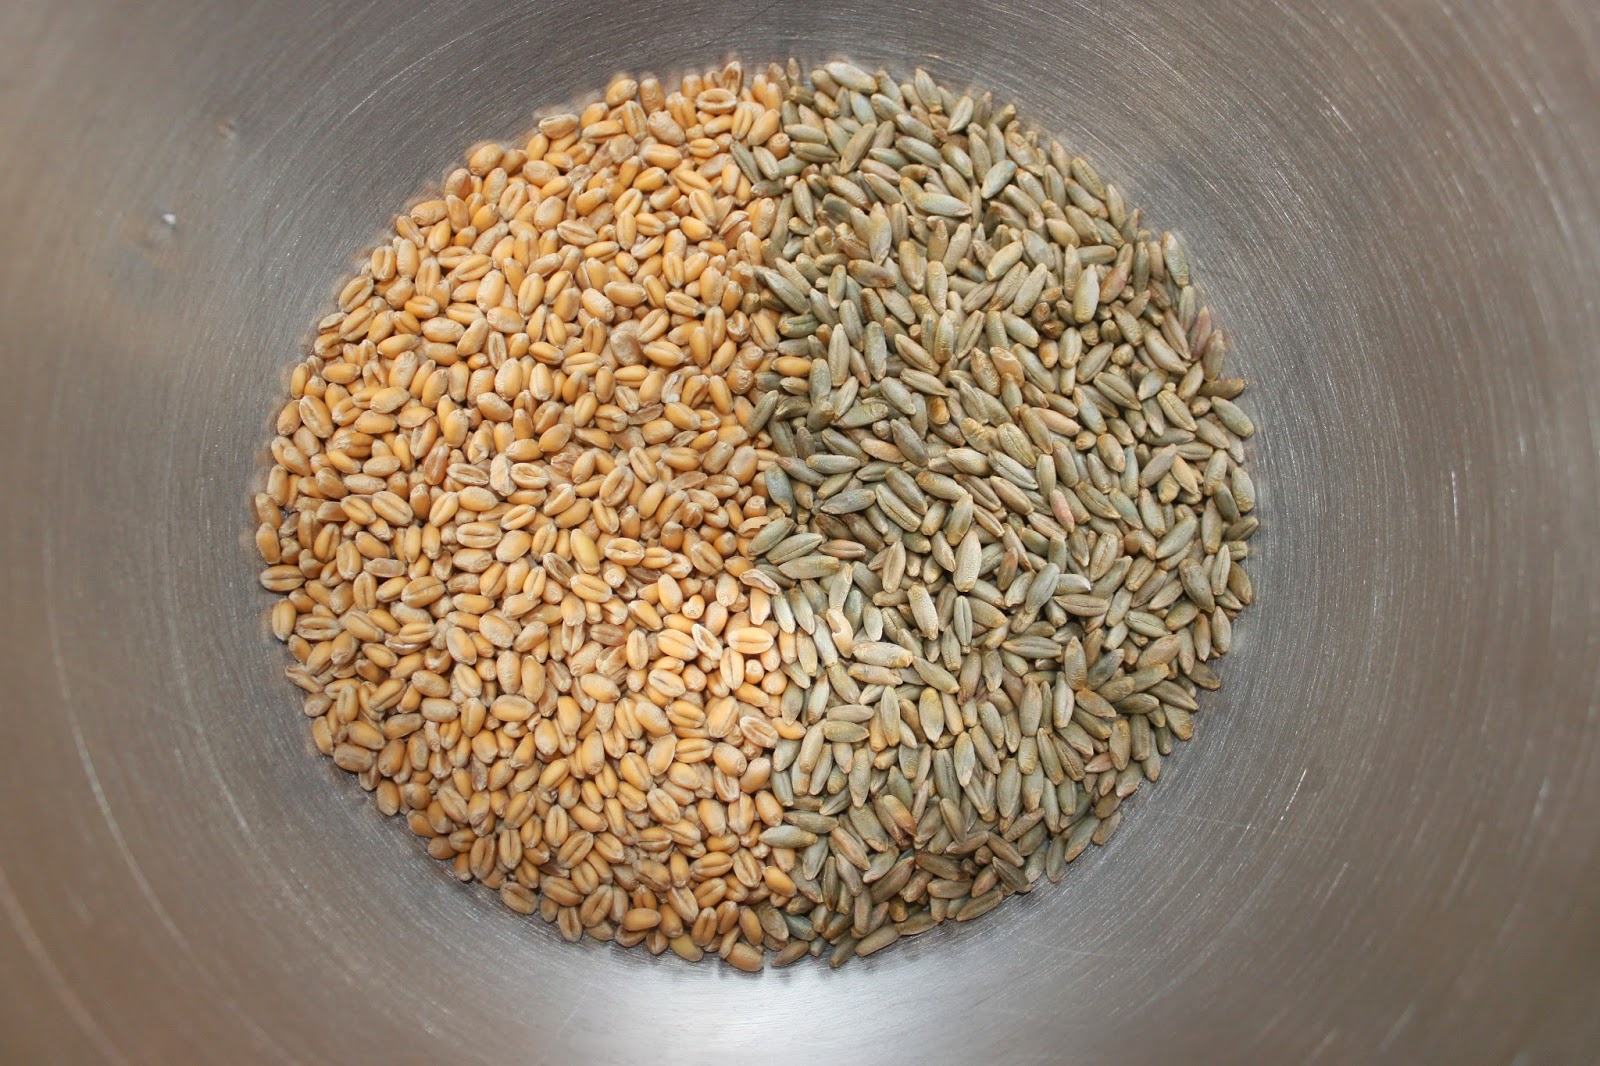
Then add water to largely cover them. Now let them soak for 24 hours… This is the time to moisturize them so that they “come back to life”.

After this time, pass them under water in a fine strainer and drain them well. Divide the amount in three for a three-tiered sprouter. If you have a smaller germinator, you will have to decrease the quantities! Now water the seeds as you normally would.
In general, we are told to avoid putting in too many seeds. For my first experimental test of bread essene, I put only the maximum quantity of seeds to germinate according to the indications of my germoir. As a result, when I made the dough, I found with a all bun… This time, I didn’t hesitate to put 4 times more and it works very well for this recipe because I don’t germinate the seeds as much as possible, just 48H. If I wanted to sprout them more, I think they would run out of room, but this is perfect and at least I have plenty of dough!

Now you have to let them germinate for 48 hours. But since it’s not the same temperature at everyone’s house, I took pictures of all the steps! Do not forget to water twice a day.

This, for example, is a few hours later! We are already starting to see the little sprout coming out!

And the evening of the first day.

And so on….


…until D-day, 48 hours after the beginning, by watering them twice a day. We can see that it has grown well! But they are only “half pods”. This is not enough for a salad for example, but perfect for this bread! You should have roughly 480g of sprouted seeds (initially 240g dry).
If it takes longer at home, wait until the seeds look like this:

You can see that they could grow a lot more, but that’s what you want for the bread.
Hop into a colander to wash them quickly.

Dry them well, in paper towels. You can keep them for 2 or 3 days in the refrigerator.
For the dough, put all the sprouted seeds, oatmeal, pitted dates and rapeseed oil. You can of course put dried figs instead or a mixture and even add some dried fruits (in this case, put them once the paste is mixed).

Mix for a few seconds and don’t forget the salt!

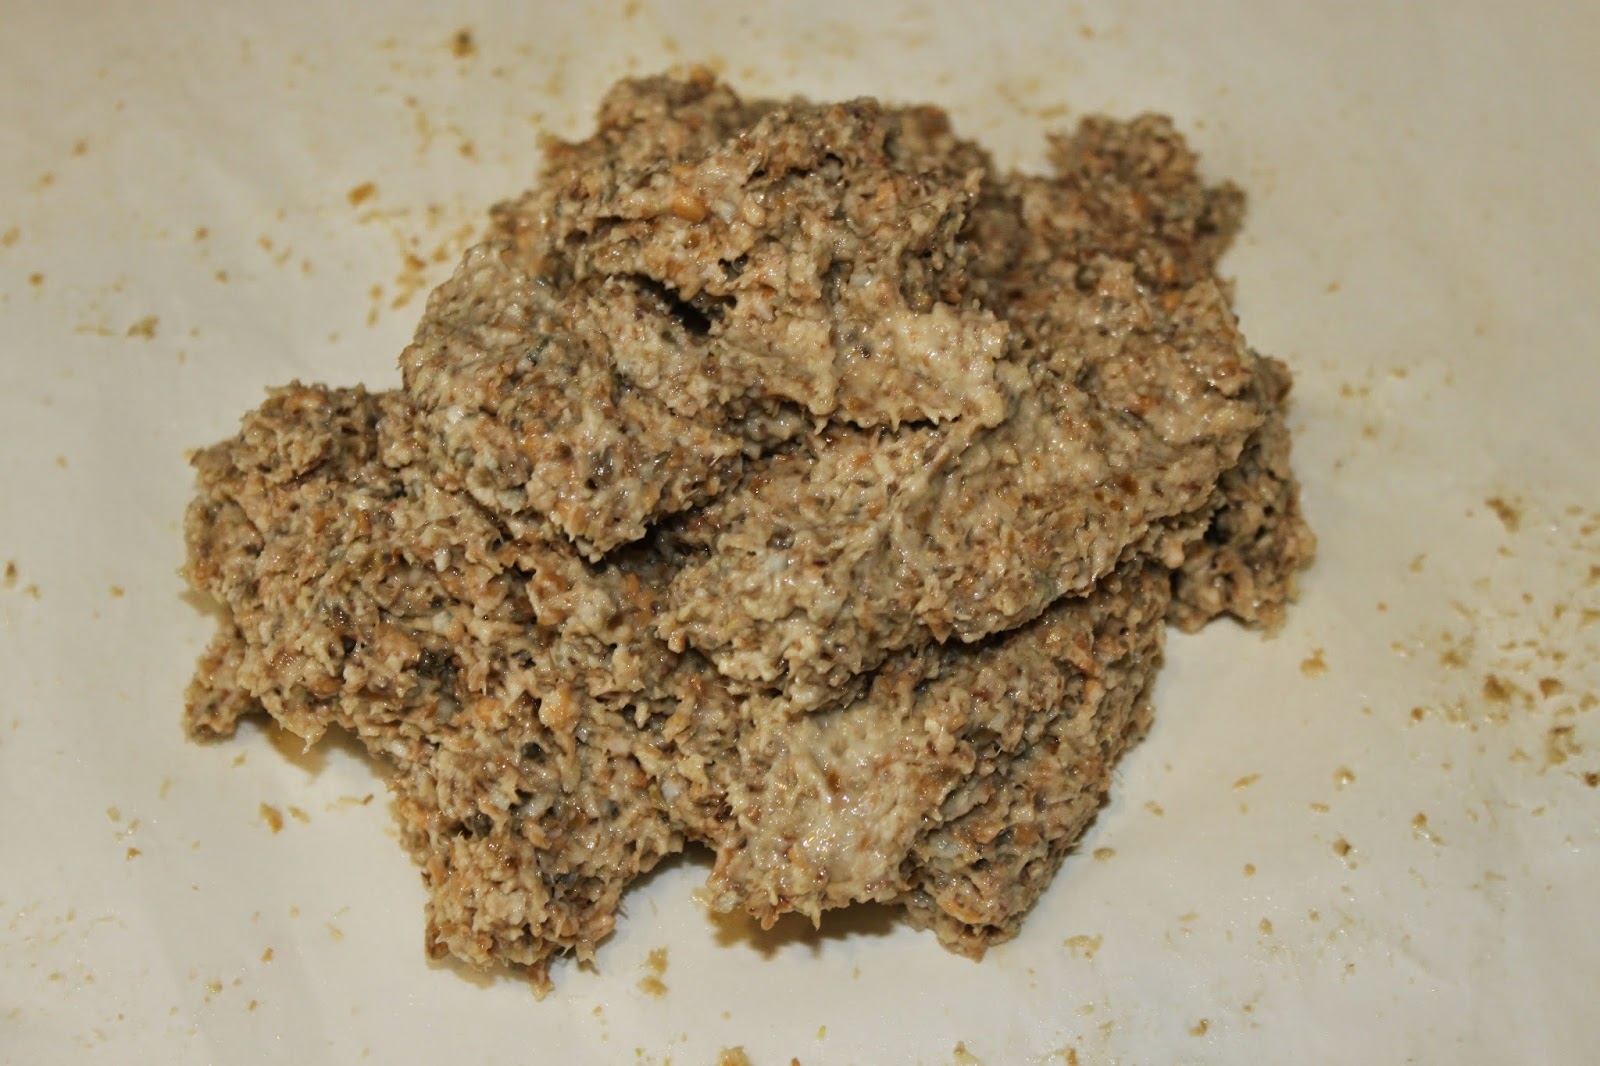
So ! It’s ready!
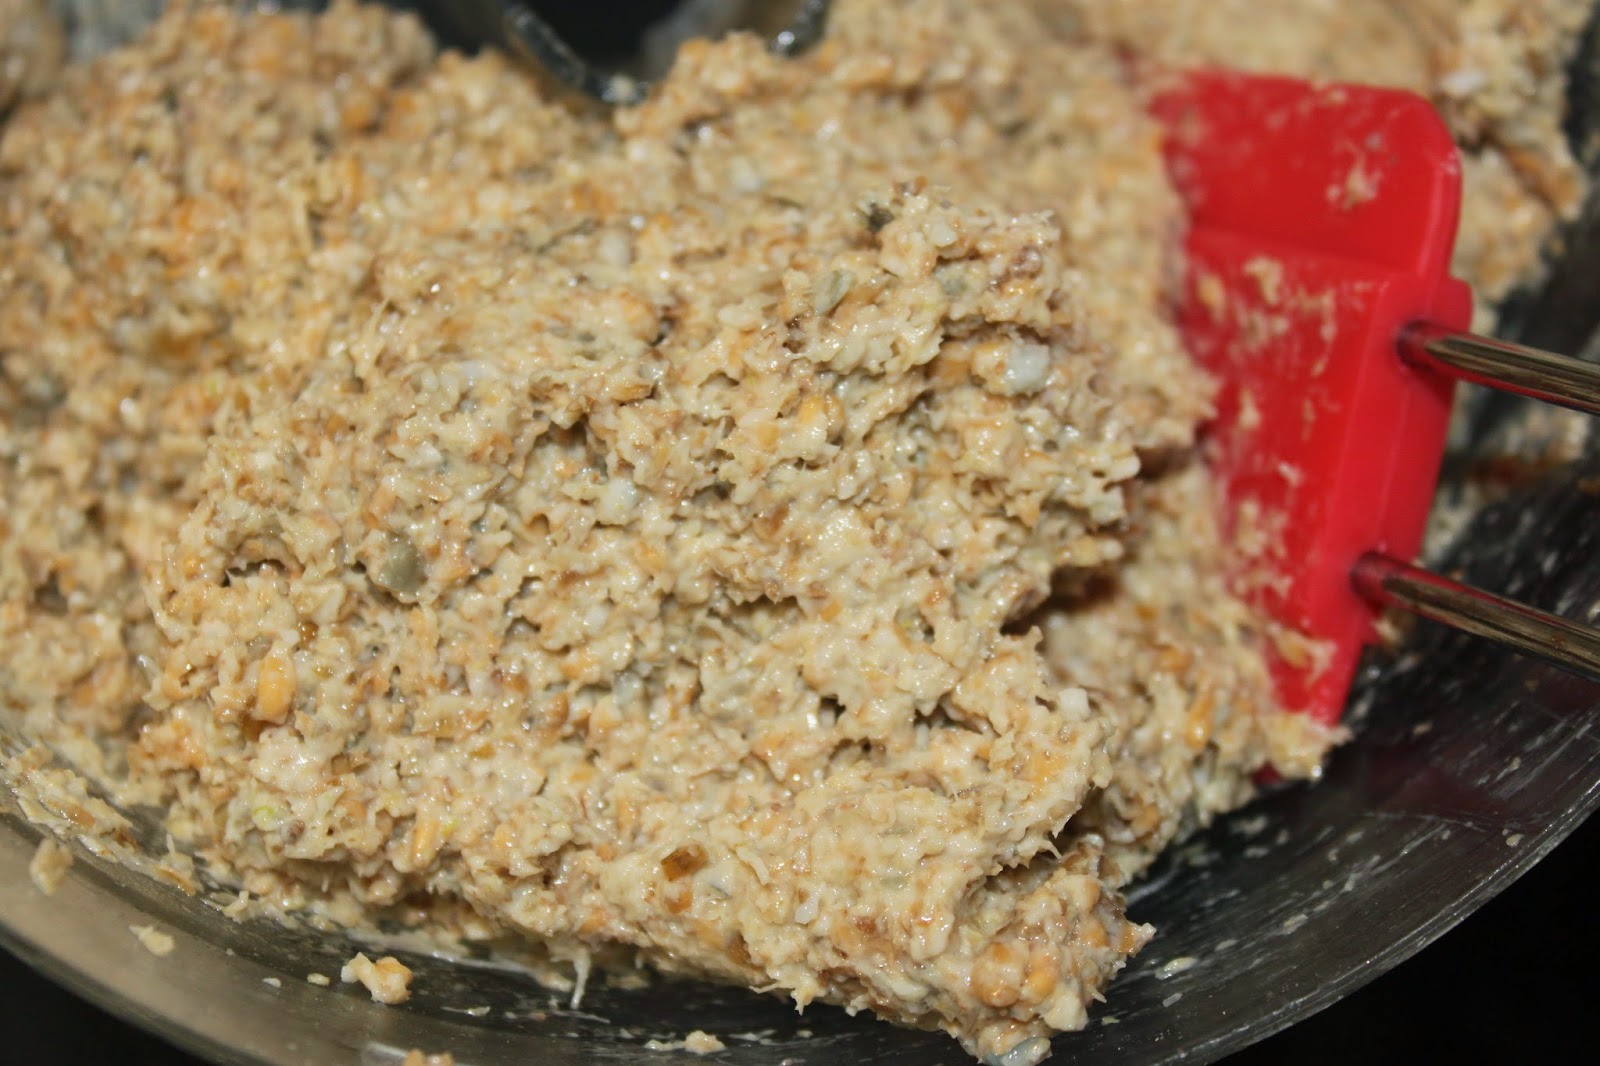
We see all the elements of this unusual dough.
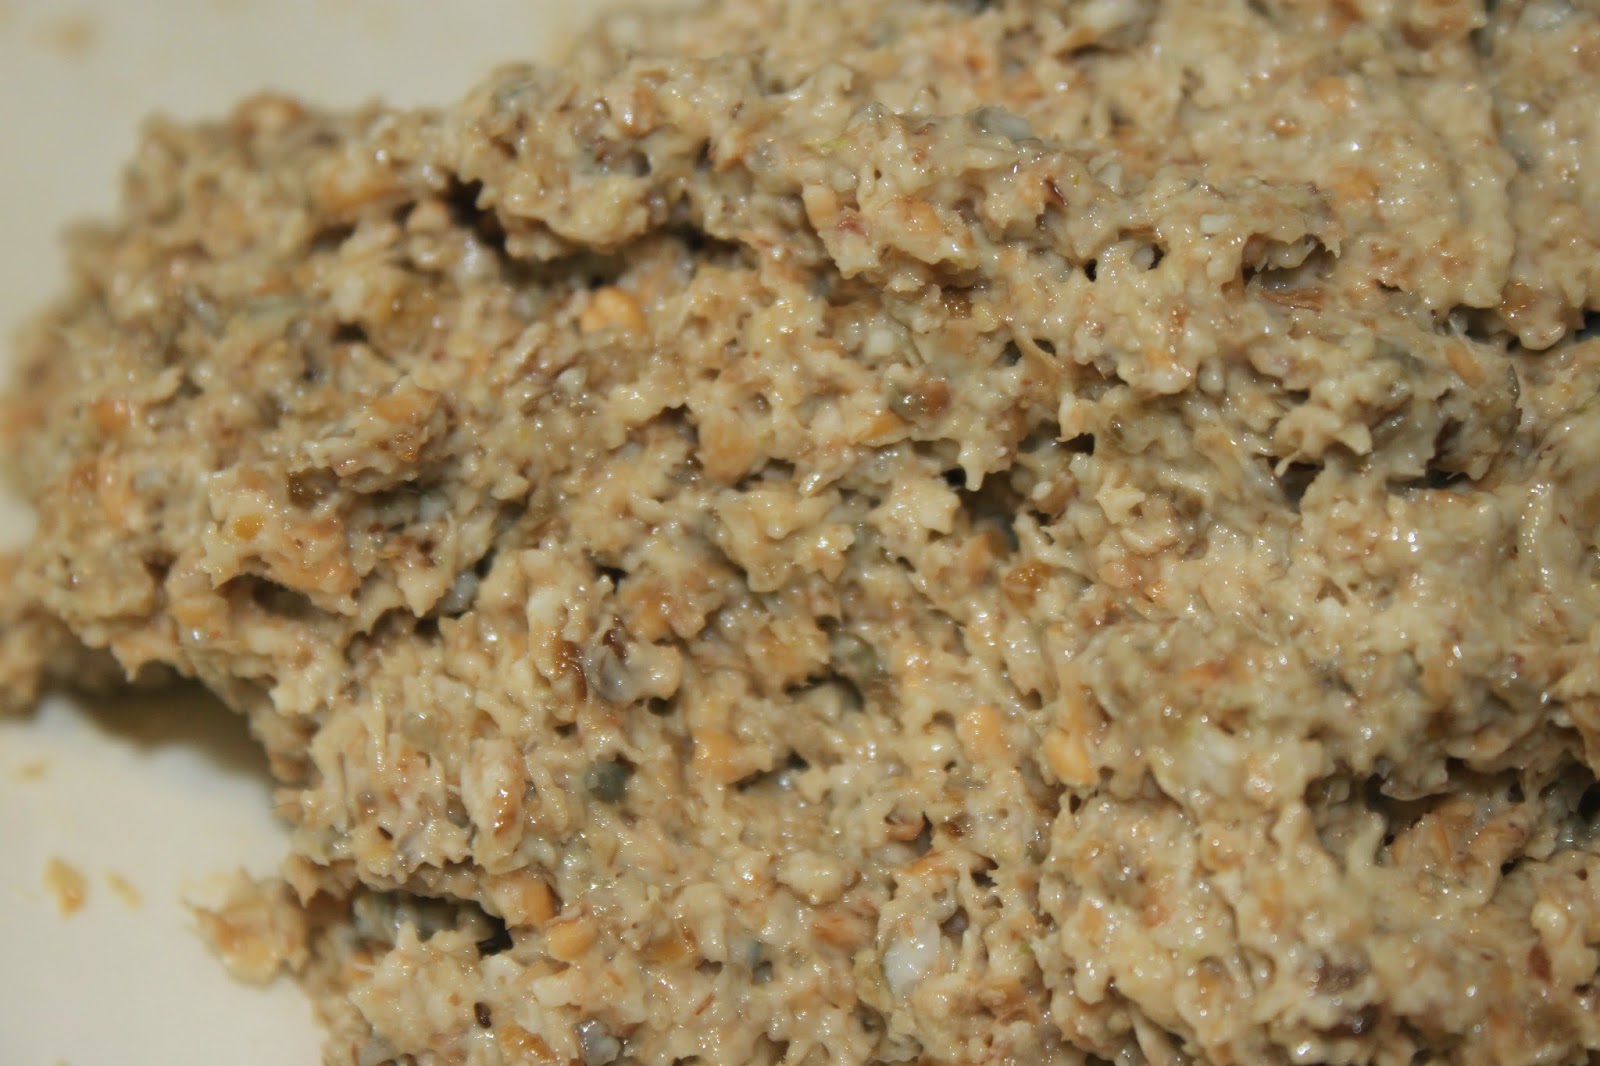
Place half of the dough on parchment paper.
The dough is very soft and sticky to the fingers, so work it with the paper to shape it.
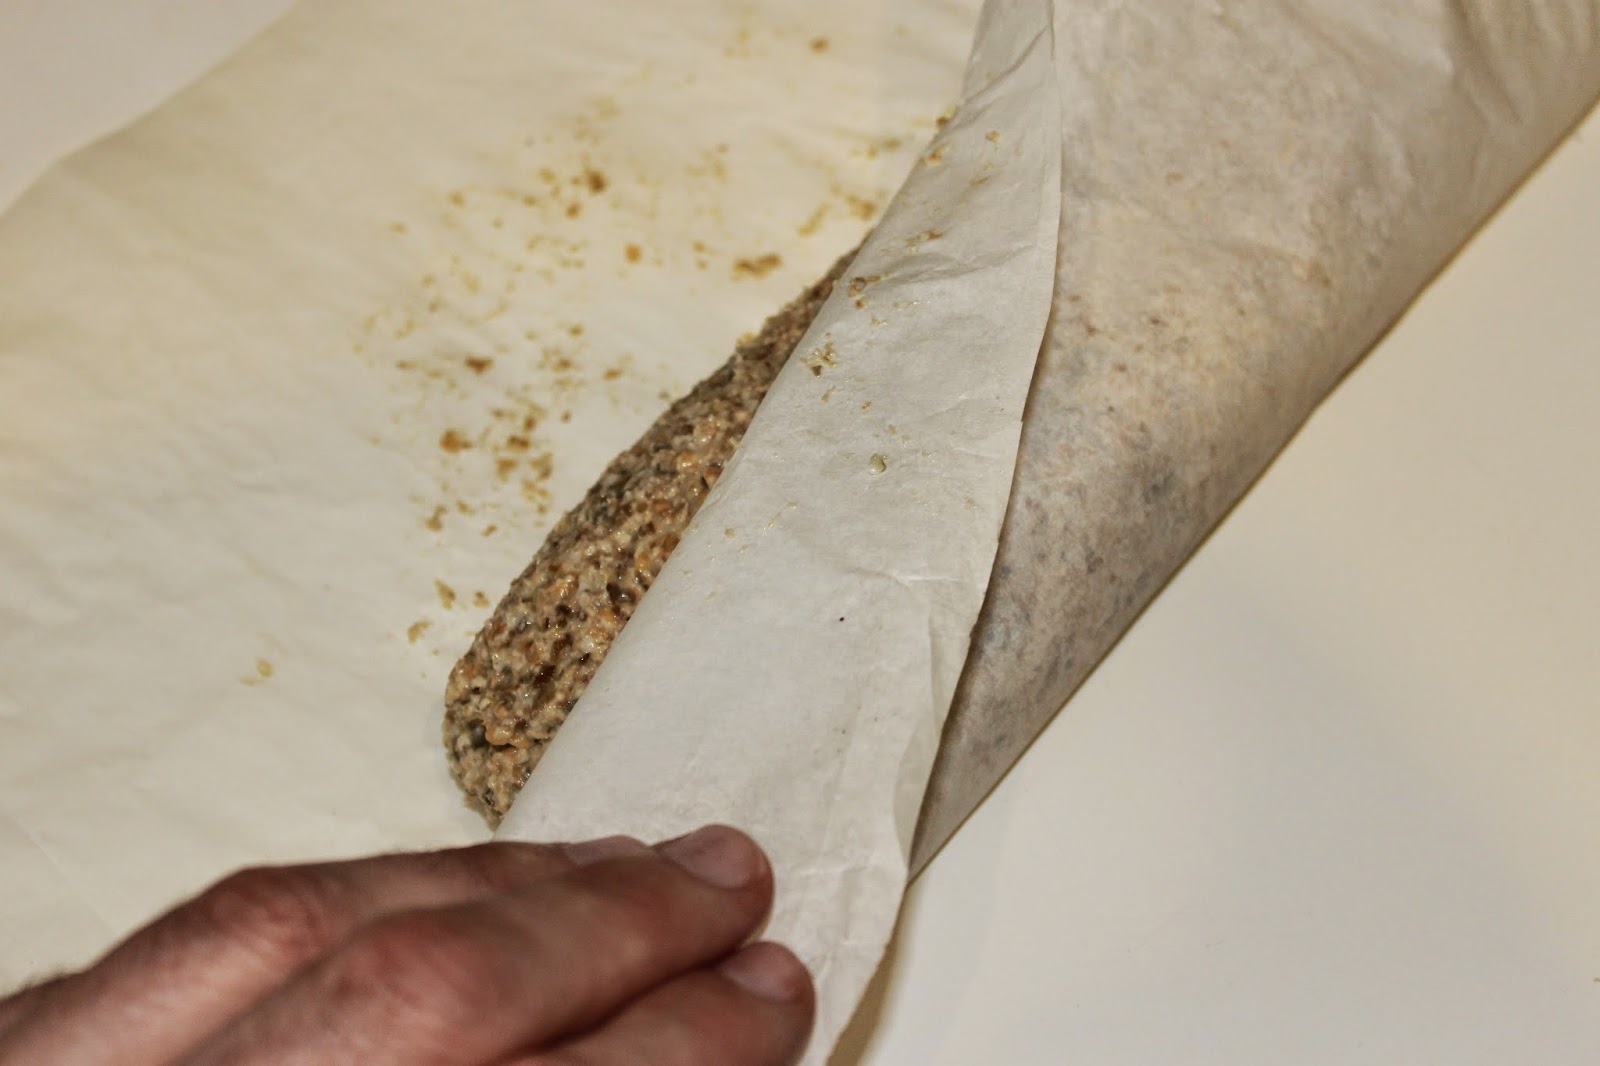
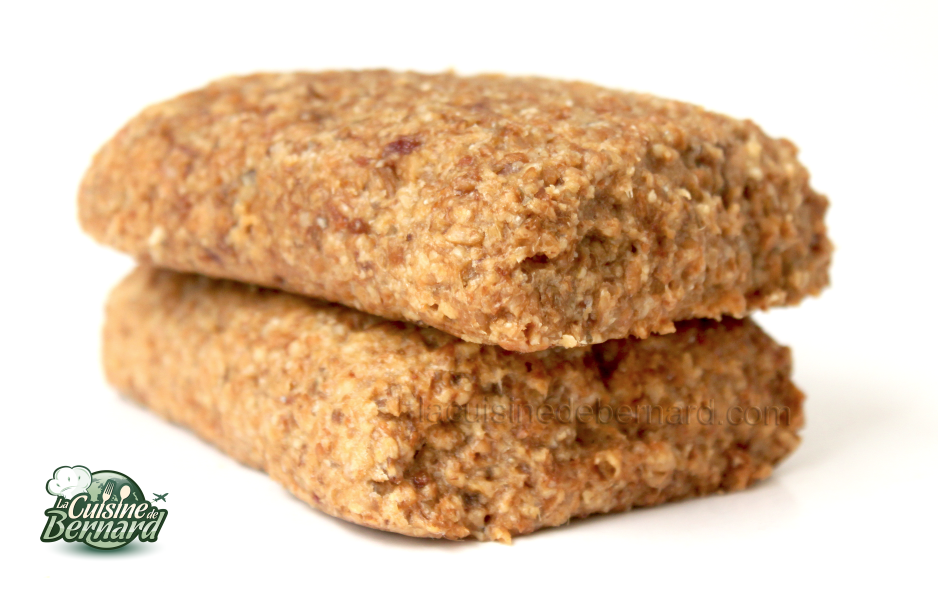
You can have a bread shape…

Or maybe a kind of rectangular sausage. Cut into three pieces (or two for larger loaves). Basically, you will have understood, you can do what you want !

Place the loaves on a baking sheet on parchment paper. The dough sticks a little less after a few minutes because the oatmeal dries the dough a little… But it is still fragile!

But with a little bit of delicacy, nothing is impossible !

Now bake in your fan oven at 100-110°C for… 3h ! The ideal is to check the core temperature: it should be 80°C. The dough has dried out on the outside, but is still very tender on the inside.

Wrap your breads individually and put them in a cool place. The crust can be a little hard the first day, but softens afterwards. You can keep them up to 6-7 days in the refrigerator, always well wrapped! Always ready for a very healthy snack or an energizing breakfast!

