
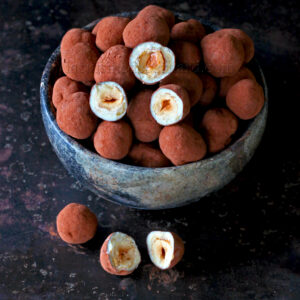
Noisettes craquantes au chocolat (blanc, lait ou noir)
Ingredients
- 400 g sucre
- 1 bonne pointe de couteau de sel
- 400 g noisettes ou amandes sans peau
- 1 kg chocolat
- 6 c. à soupe cacao non sucré en poudre
Instructions
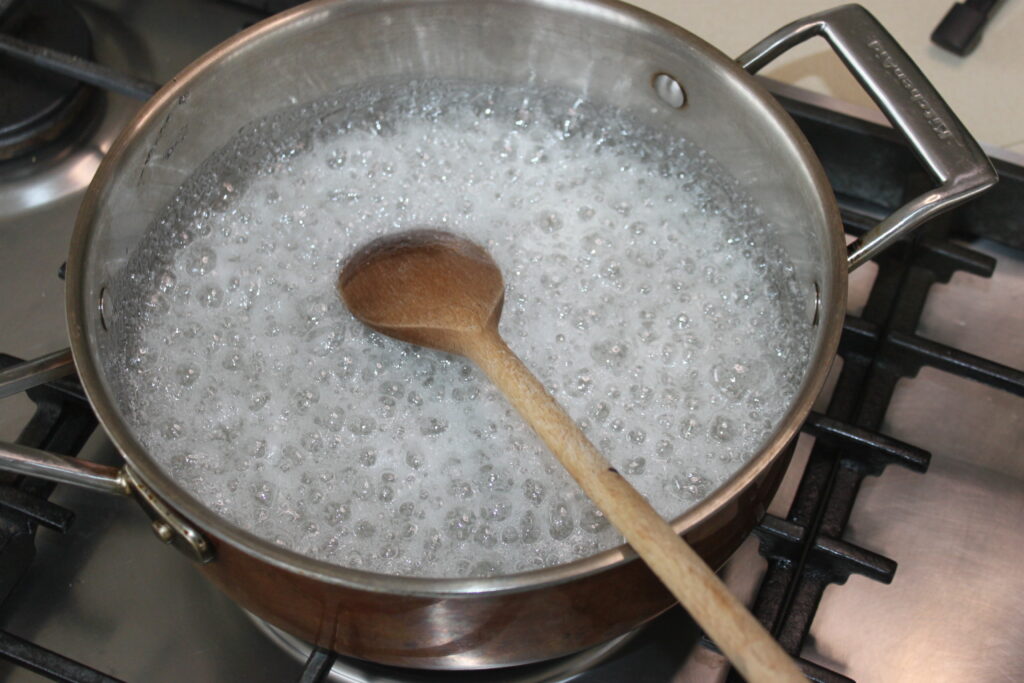
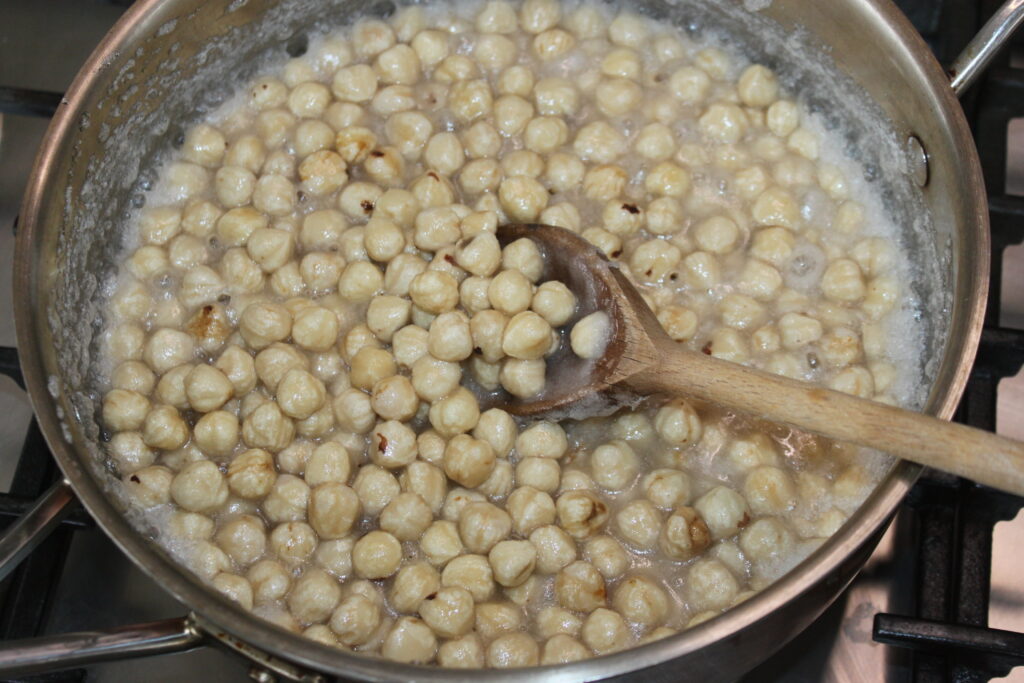
- Versez le sucre et le sel avec 70g d’eau dans une large poêle. Faites chauffer sur feu fort pour porter à ébullition.
- Versez les noisettes (non torréfiées). J’ai mis ici des noisettes crues sans peau, mais on peut y mettre des amandes.
- Toujours en mélangeant et en baissant un peu le feu, faites cuire les noisettes qui peu à peu vont se torréfier naturellement.
- Le sirop va à un moment donné finir par cristalliser et c’est tout à fait normal.
- Séparez bien les noisettes et continuez de faire pour que la couche externe se transforme en caramel.
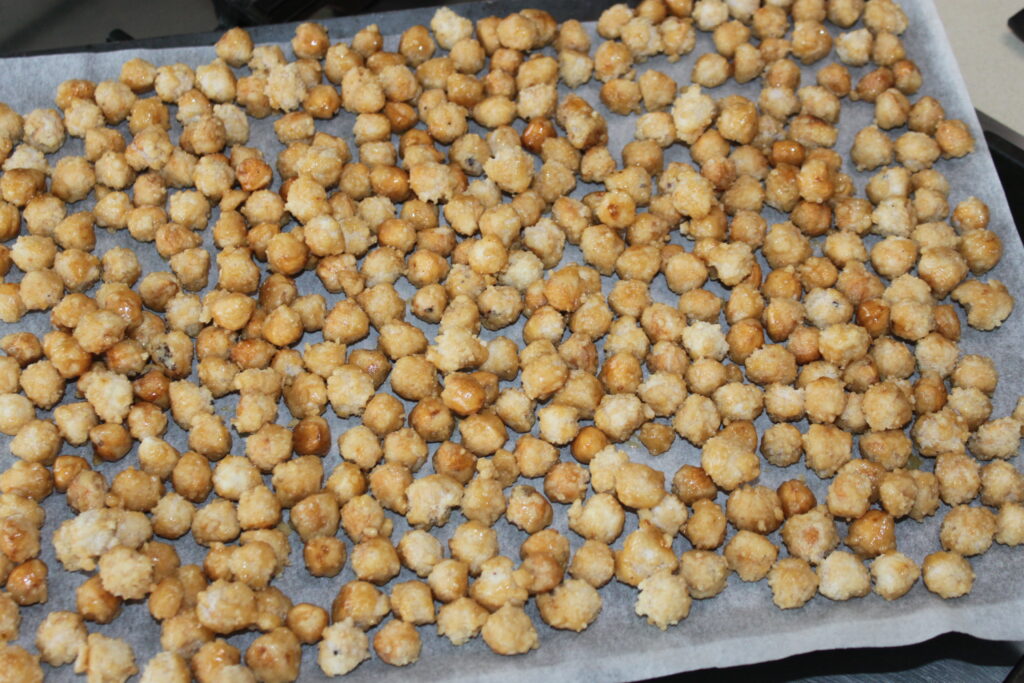
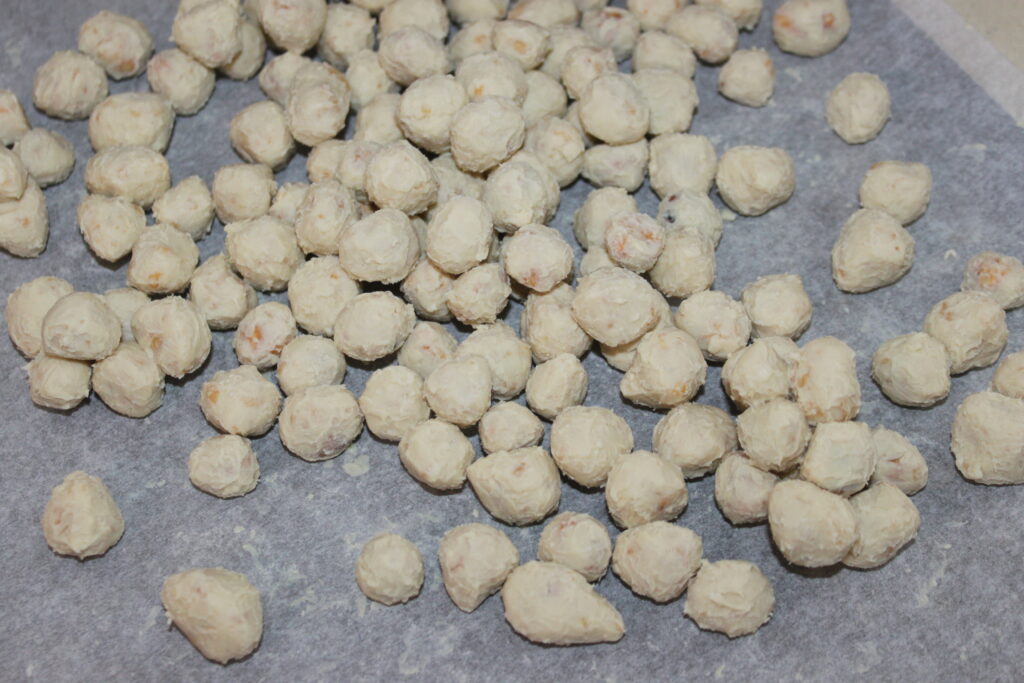
- Il ne faut pas que tout le sucre fonde en caramel, sinon cela va faire une plaque de caramel et les noisettes ne pourront pas se séparer. Il faut donc arrêter avant. Il doit juste y avoir une couche fine de caramel sur les noisettes. Versez sur une plaque garnie de papier sulfurisé et laissez tiédir.
- Pendant ce temps, tempérez le chocolat. Faites tout d’abord fondre uniformément le chocolat à 42°C. La méthode la plus simple pour le tempérage est le beurre de cacao Mycryo que j’ajoute quand le chocolat est à 34,7°C.J’ai écrit un livre sur le chocolat de la fève à la tablette chez Solar, et j’y explique toutes les méthodes plus traditionnelles de tempérage. Mais le beurre de cacao mycryo est une poudre de beurre de cacao déjà sous la bonne forme et il va, par ensemencement tempérer le reste du chocolat. J’ai ici du chocolat blanc que j’ai fabriqué avec mes concheuses. mais on peut tout à fait prendre du chocolat du commerce de bonne qualité, et choisir la couleur (noir, lait, blanc).
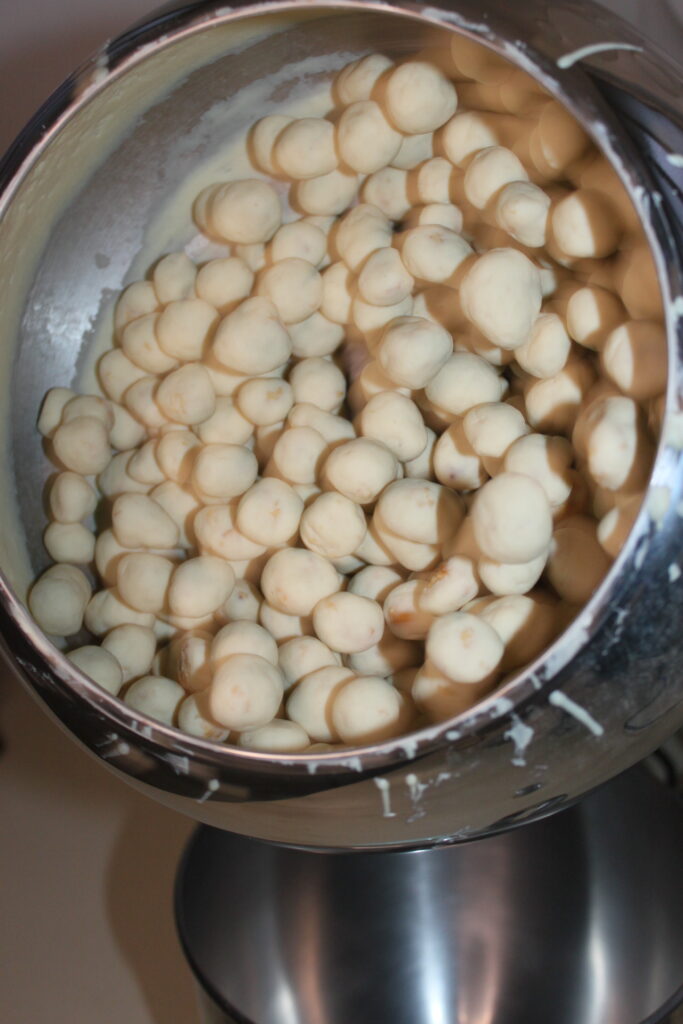
- Voici mon nouveau joujou. Il s’agit d’un tambour qui s’adapte sur le robot kitchenaid. Il va tourner de façon oblique et on pourra donc enrober les fruits secs avec du chocolat. Versez les noisettes caramélisées.
- Mettez le robot en première vitesse puis versez le chocolat tempéré et qu’il est à 29°C. J’ai commencé par 3-4 louchées.
- La machine va enrober et le démarrage est un peu fastidieux. Il faut rester devant et racler de temps en temps l’intérieur du tambour.
- J’ai par moment, sorti les noisettes du tambour pour les laisser tranquilles pour que le chocolat cristallise un peu plus.
- Il faut ensuite les remettre puis ajouter le chocolat progressivement, en le retempérant au besoin.
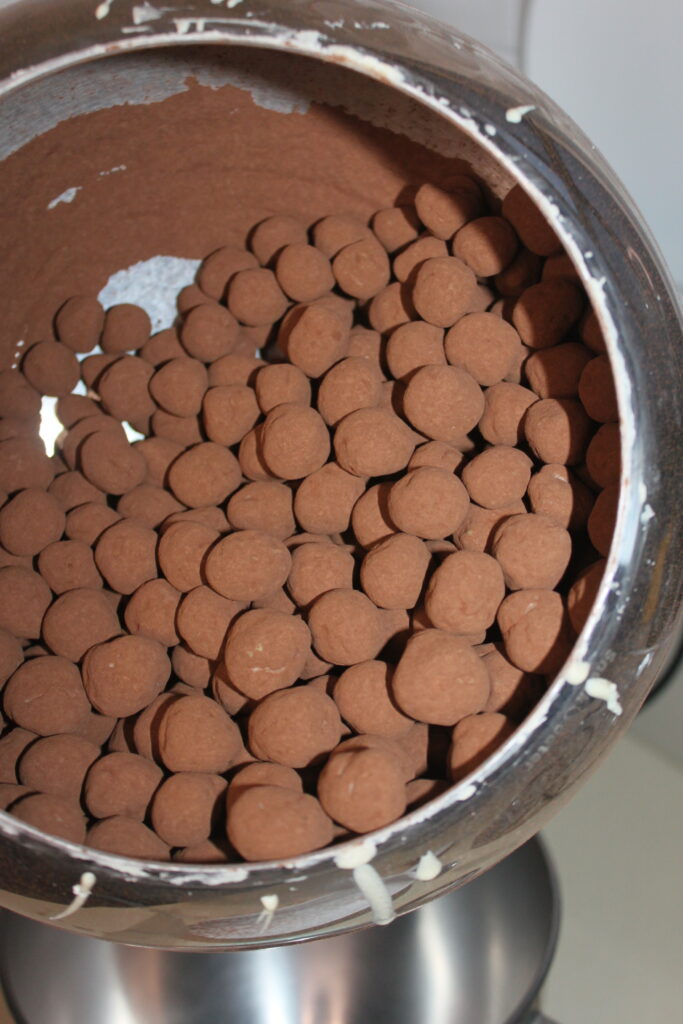
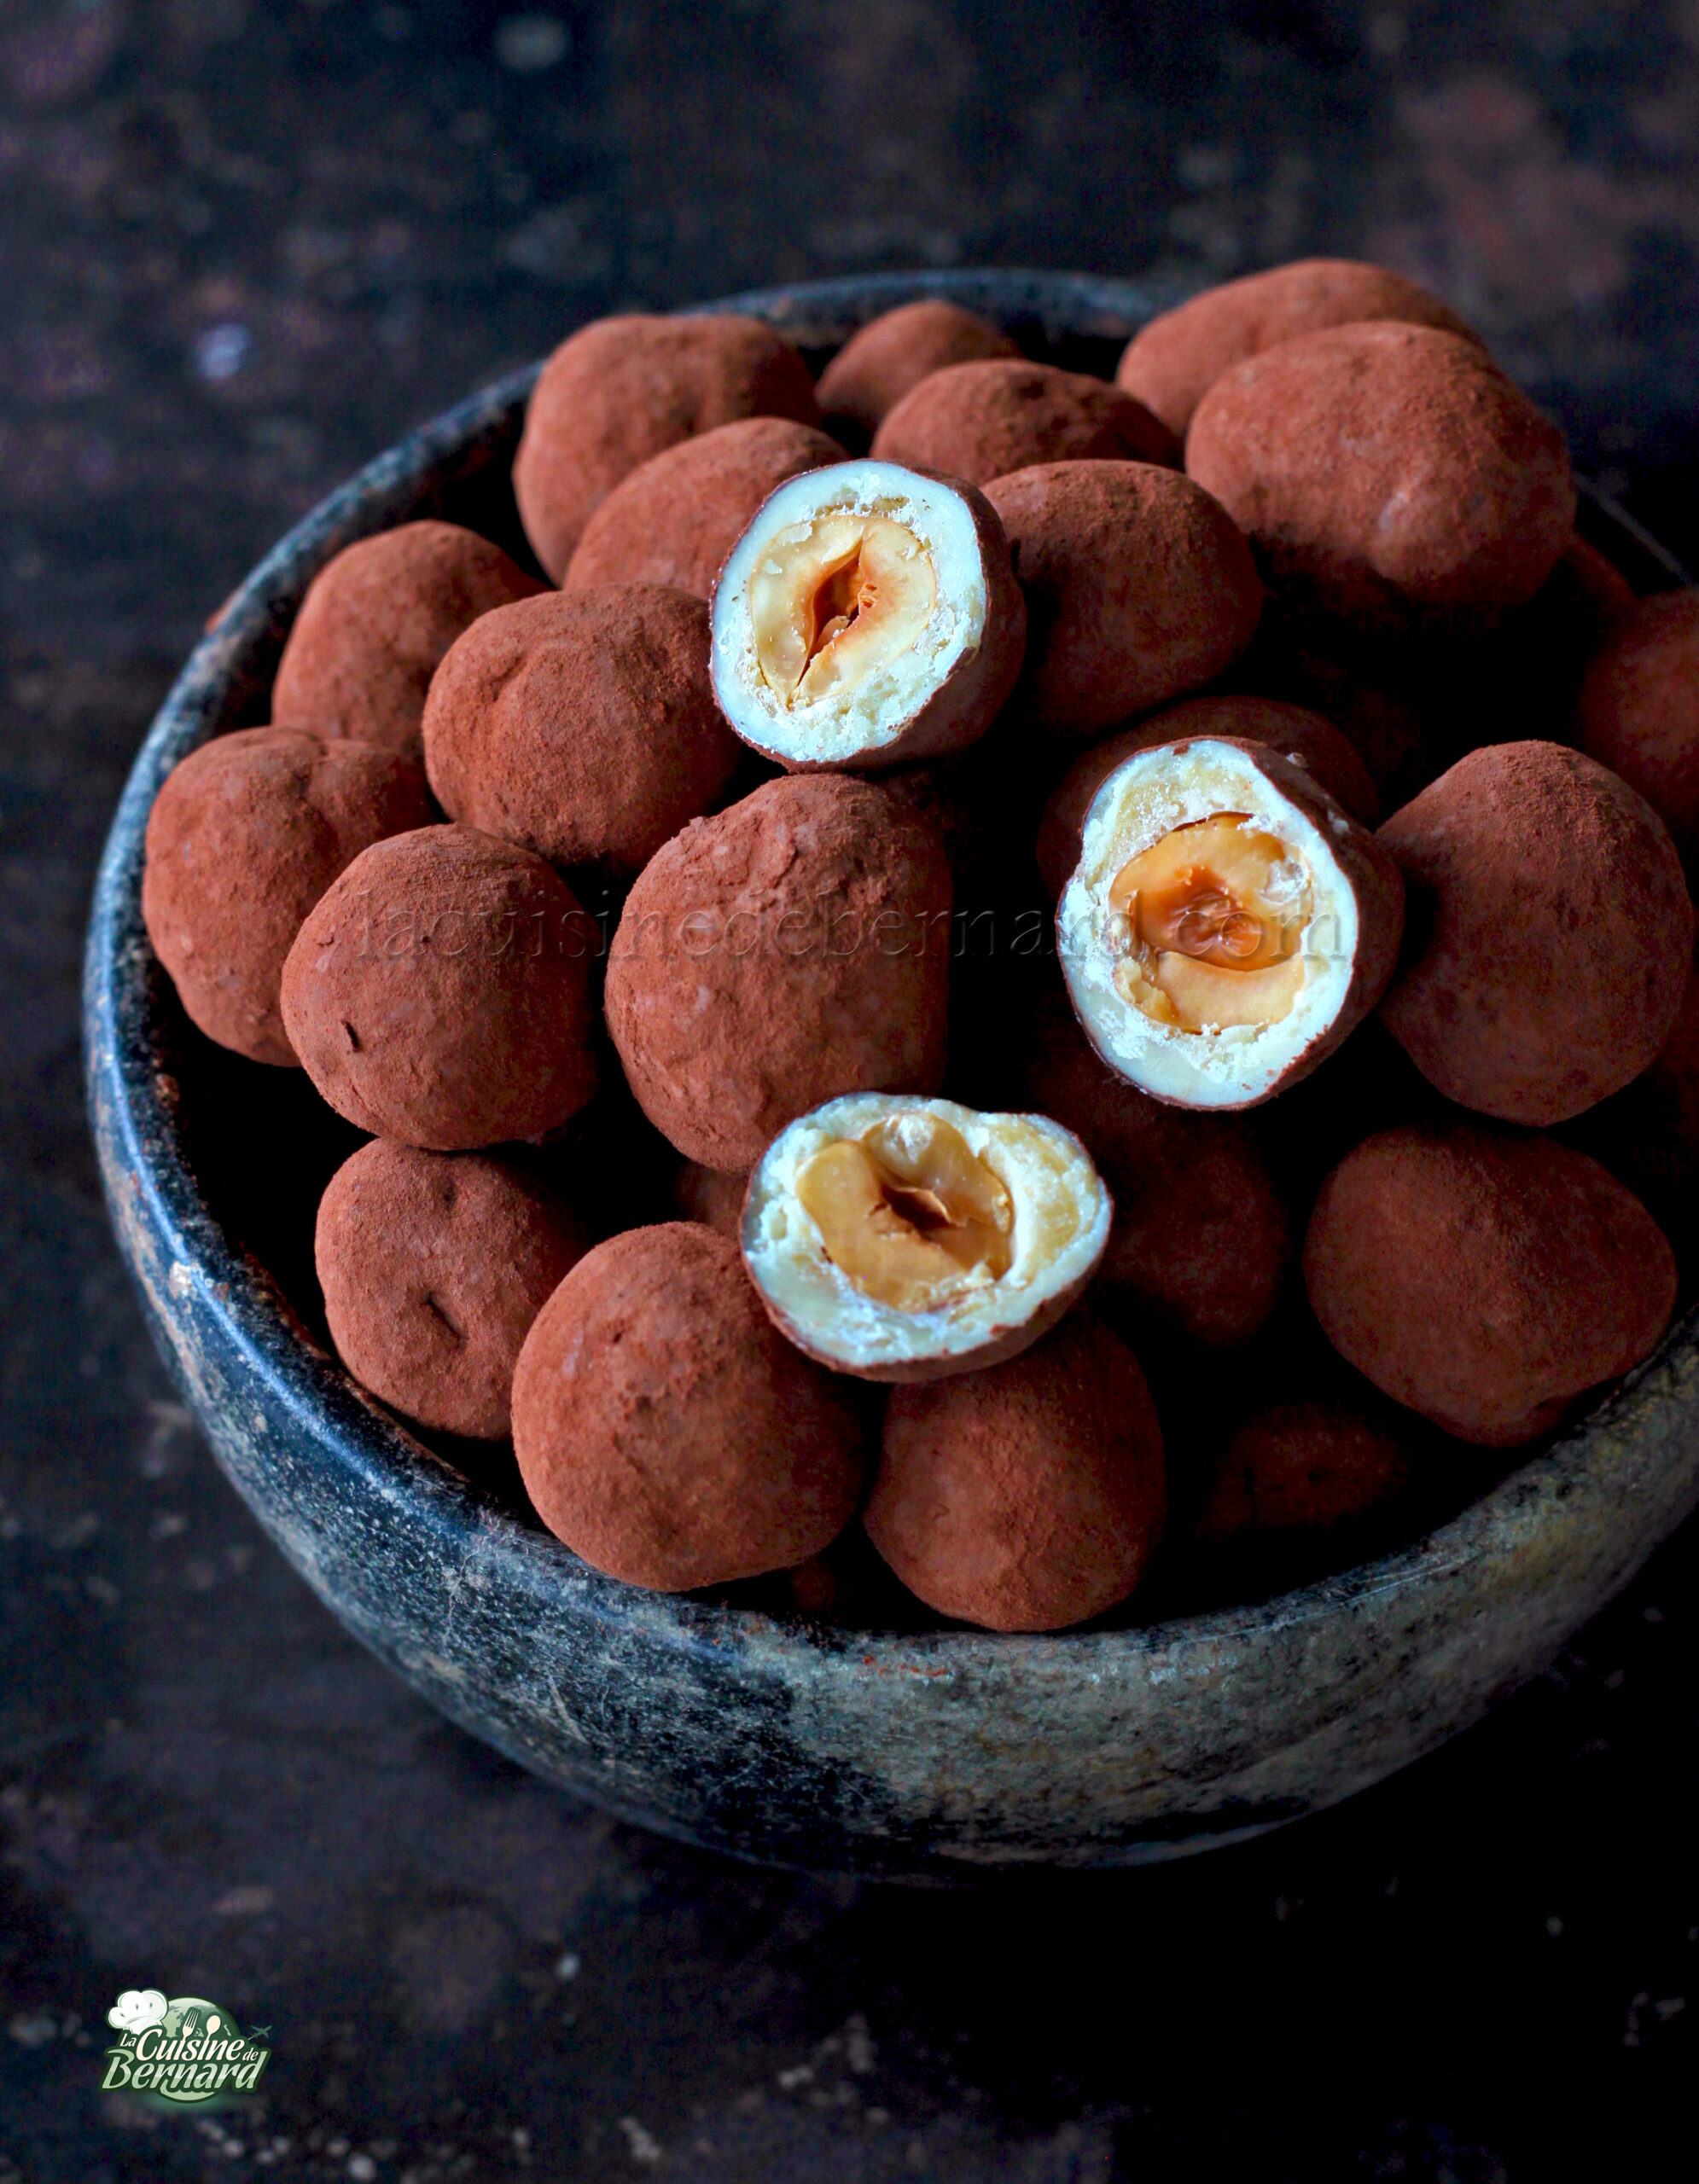
- J’ai mis à la fin, quand tout le chocolat a été versé et que le tout a cristallisé, du cacao en poudre (4-5 cuillerées à soupe).
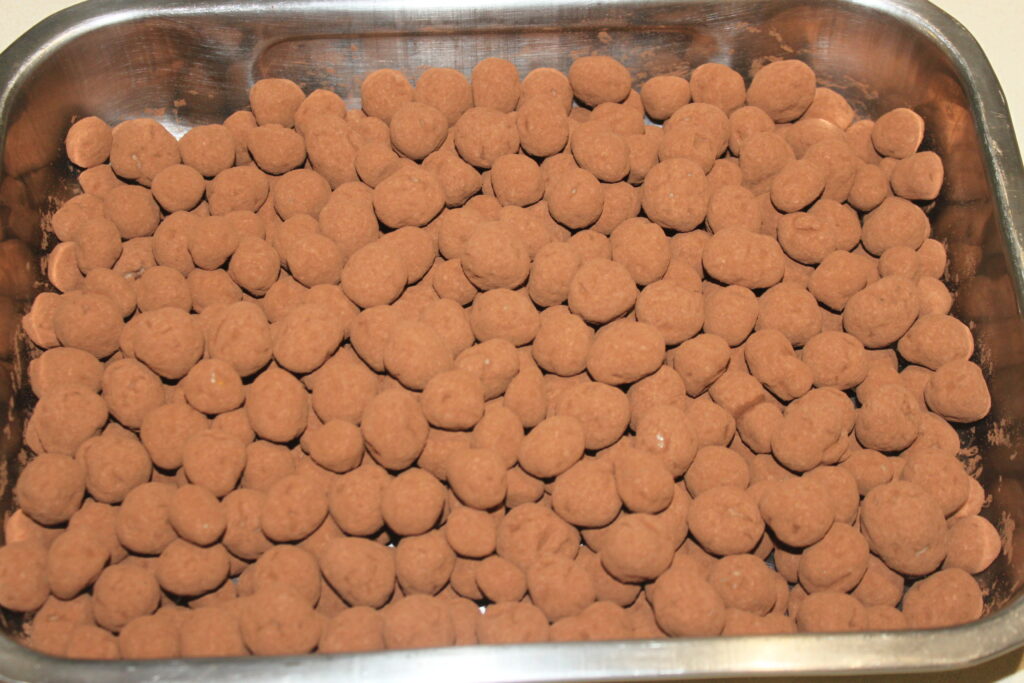
- Quand c’est terminé, versez dans un plat pour laisser cristalliser parfaitement à température ambiante.
- Il faudra ensuite les conserver dans une boite hermétique. Les noisettes se conserveront plusieurs semaines.
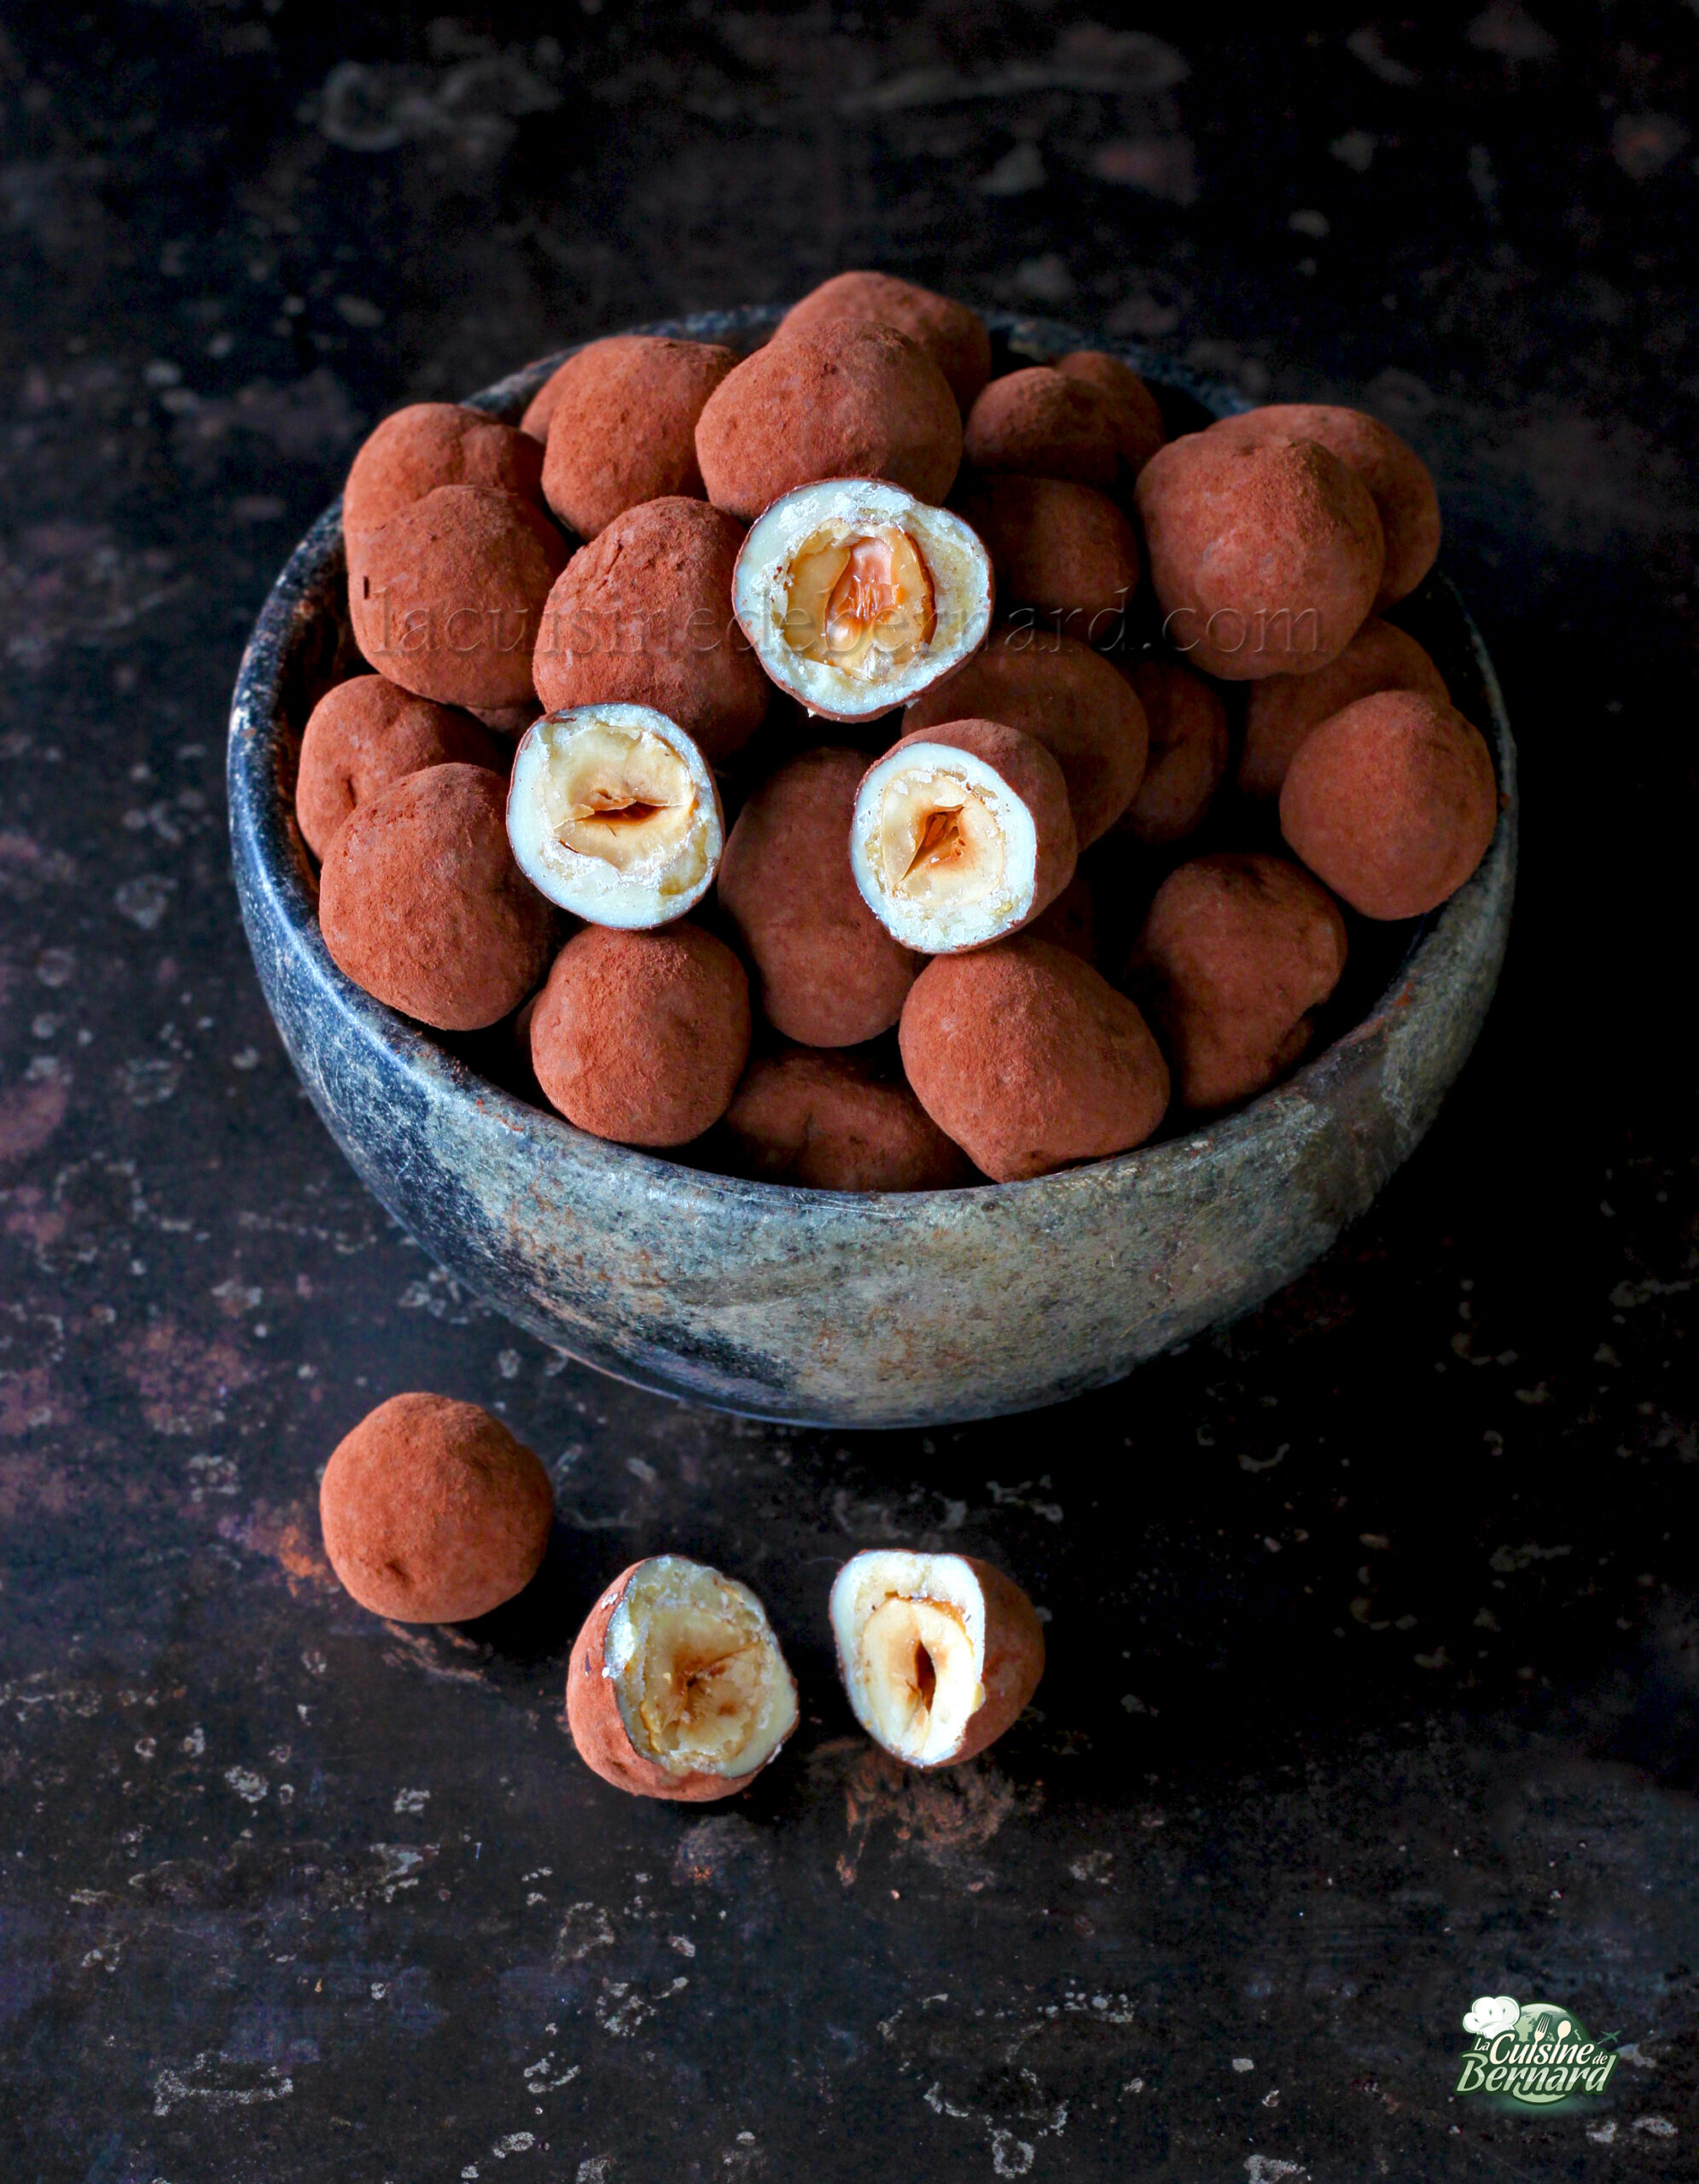
Crackle, crunch and crunch with these chocolate hazelnuts! I’ve bought myself a new cooking toy and I’d like to make it clear that I’m in no way sponsored to talk about it. I bought it for myself and I’m sharing my experience with you. It’s not really a recipe per se, but rather an idea of what can be done with this new utensil that has just appeared on the market. This is a drum that fits onto kitchenaid food processors. With a small wedge to set the right angle, you end up with a praline-making machine! And it’s really fun to make and a delight to nibble on. I used a kilo of homemade white chocolate and coated it with caramelized hazelnuts. The whole thing is a little crazy! I’ll tell you all about it in the article!
For the record, I’m not sponsored by the brand. I stumbled across it on instagram and couldn’t wait to buy it for myself. I make my own chocolate from bean to bar (although the white chocolate I had left doesn’t contain any beans), and I’ve been dreaming about this machine. When the Aieve brand came out with a model that fits on the Kitchenaid food processor, I couldn’t resist! For those looking for the drum, it’s here:https://www.iaieve.com/products/aieve-snack-coater-kitchenaid-coating-pan-attachment
Here I’m making “pralines” coated with a crunchy layer of caramelized sugar, but almonds or hazelnuts can be made without this layer. In this case, you’ll need to roast them for 15-18 minutes in the oven at 170°C, then coat them directly with the tempered chocolate in the drum!
For 1.5 kg of chocolate-crisp hazelnuts (or almonds) :
- 400g of sugar
- 1 good pinch of salt
- 400g raw, skinless hazelnuts or almonds
- 1kg chocolate of your choice
- 6 tablespoons unsweetened cocoa powder
Pour the sugar and salt with 70g of water into a large frying pan.

Heat over high heat to boiling.
Pour in the hazelnuts (unroasted). I’ve used unskinned raw hazelnuts here, but you can also use almonds.
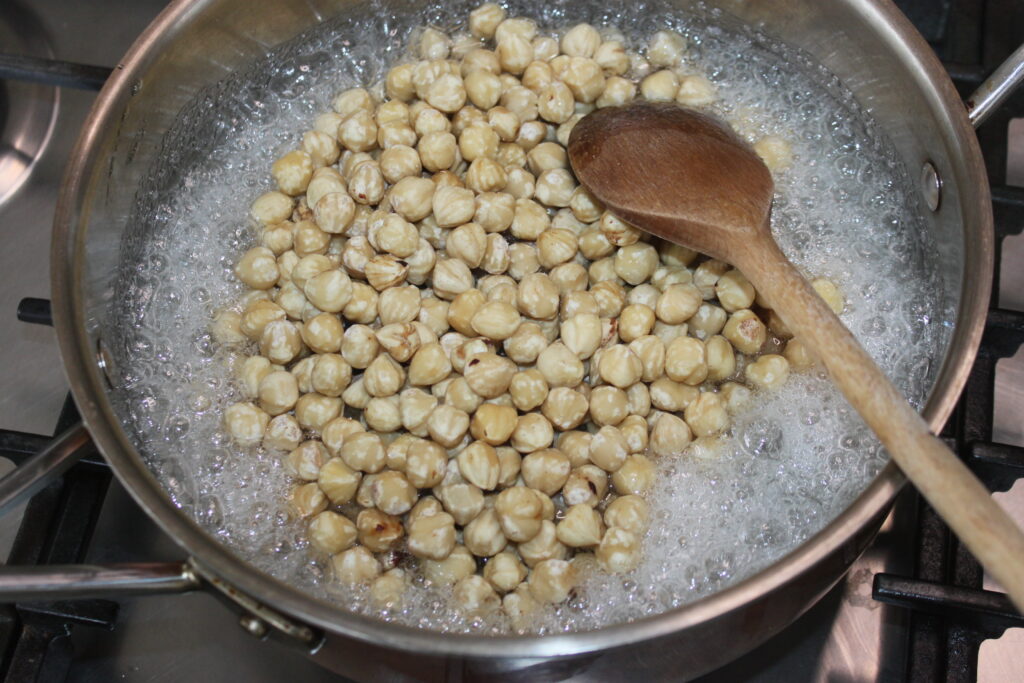
Stirring constantly and lowering the heat slightly, cook the hazelnuts, which will gradually roast naturally.
At some point, the syrup will crystallize, and this is perfectly normal.
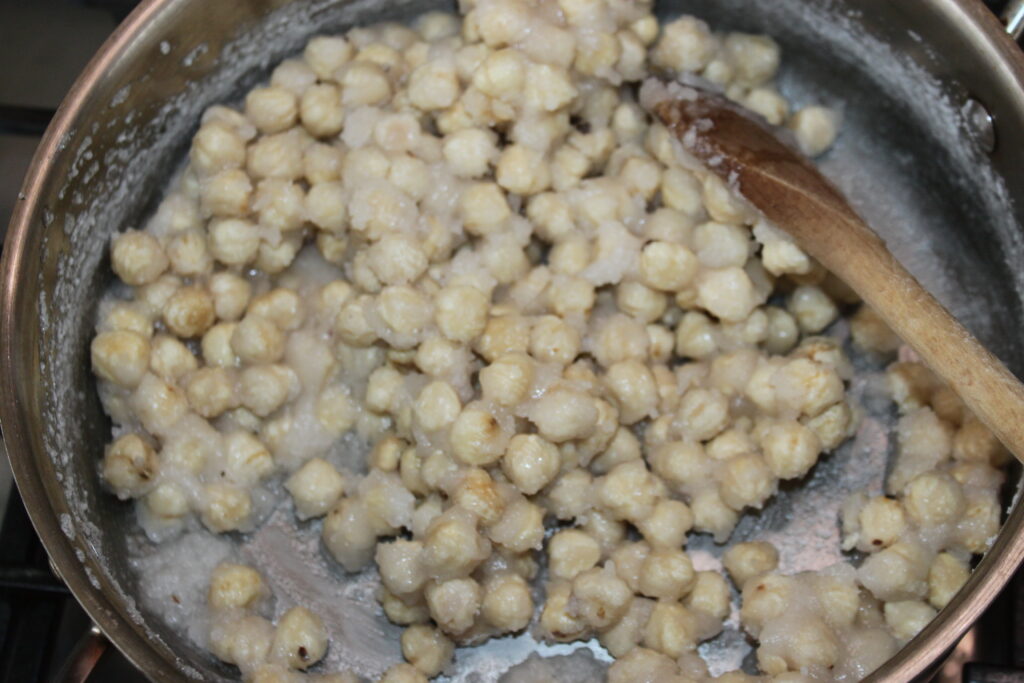
Separate the hazelnuts and continue to make the outer layer turn to caramel.
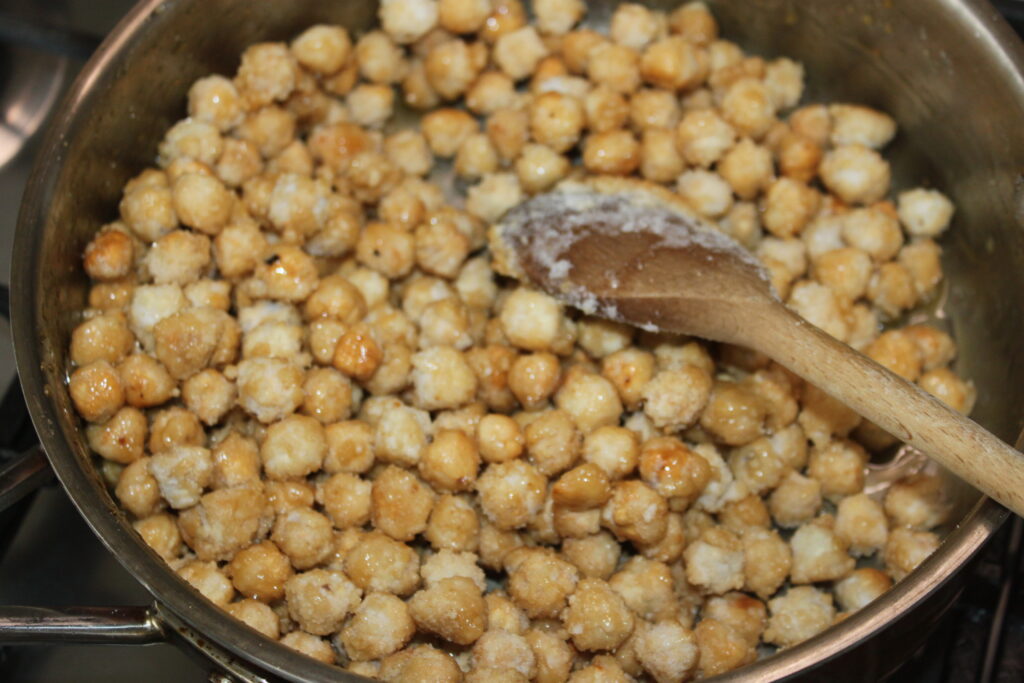
You don’t want all the sugar to melt into caramel, otherwise it will make a caramel sheet and the hazelnuts won’t be able to separate. It’s time to stop. There should just be a thin layer of caramel on top of the hazelnuts. Pour onto a baking tray lined with baking parchment and leave to cool.
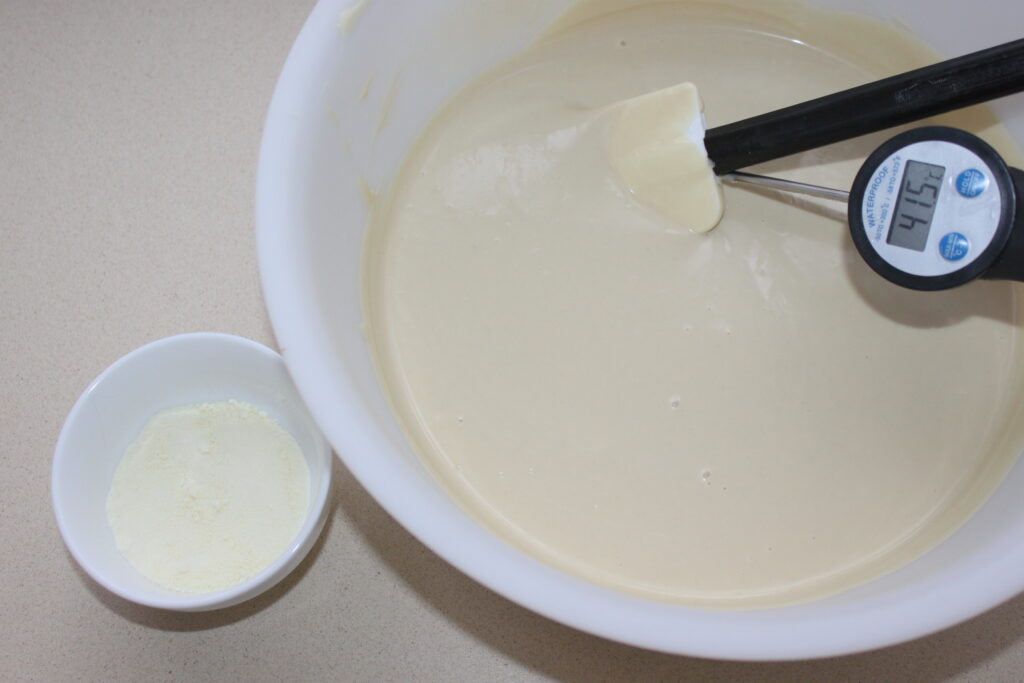
Meanwhile, temper the chocolate. First, melt the chocolate evenly at 42°C. The simplest method for tempering is Mycryo cocoa butter, which I add when the chocolate is at 34.7°C.
I’ve written a book on chocolate from bean to bar, published by Solar, in which I explain all the more traditional tempering methods. But mycryo cocoa butter is a cocoa butter powder already in the right form, and it will temper the rest of the chocolate through seeding. I have some white chocolate here that I made with my concheuses. but it’s perfectly possible to use good-quality store-bought chocolate, and choose the color (dark, milk, white).
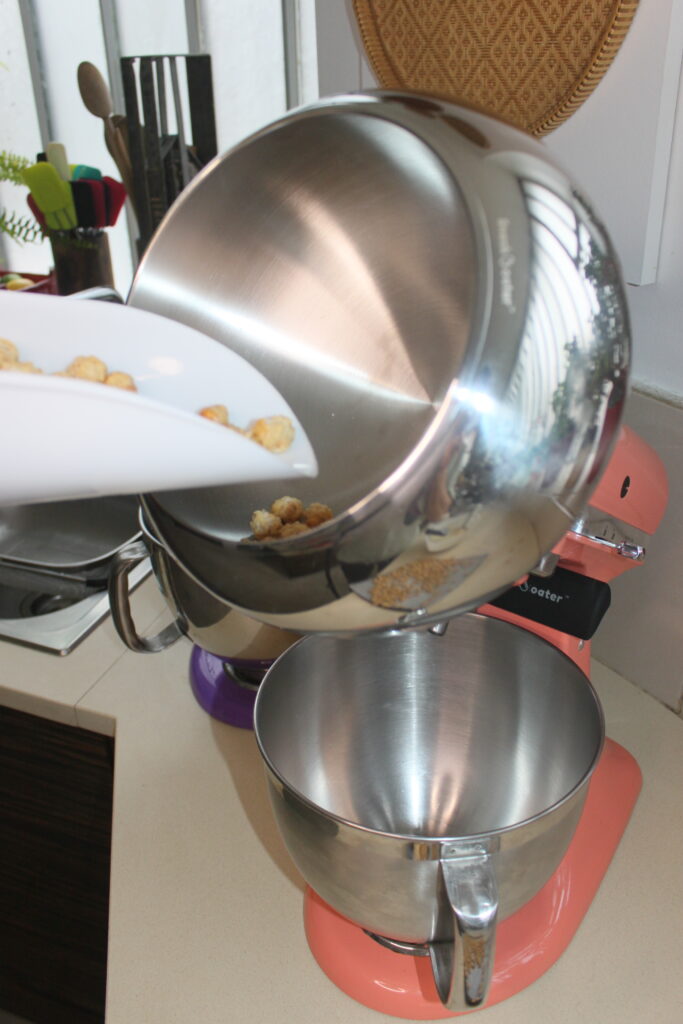
This is my new toy. This is a drum that fits onto the kitchenaid food processor. It will rotate at an angle, allowing the dried fruit to be coated with chocolate. Pour in the caramelized hazelnuts.
Put the food processor on first speed, then pour in the tempered chocolate, until it reaches 29°C. I started with 3-4 ladles.

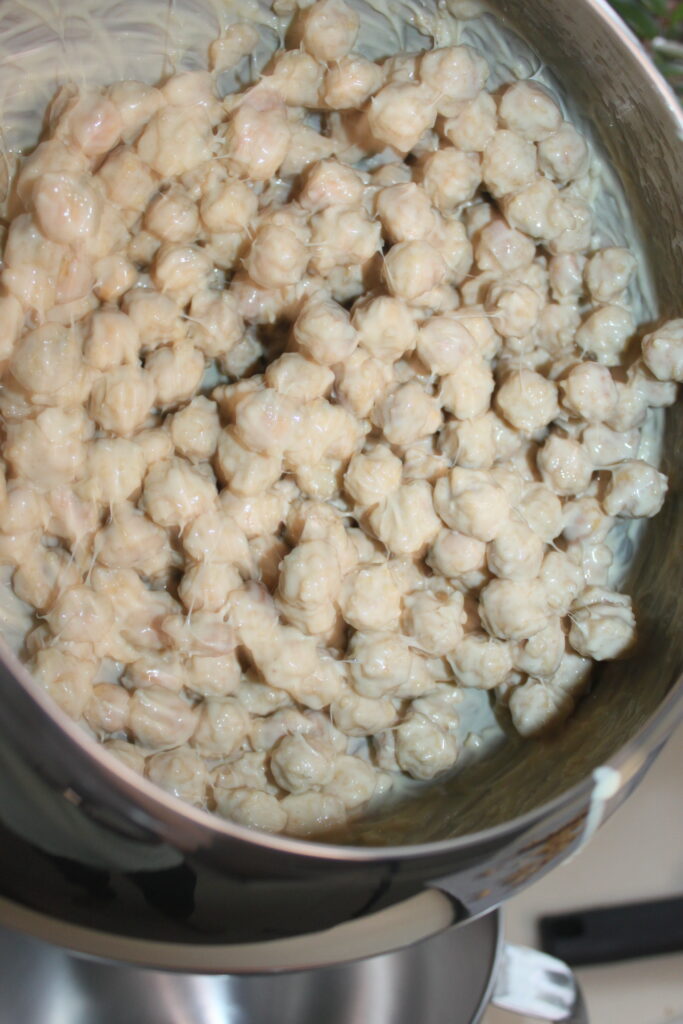
The machine will coat and start-up is a bit tedious. Stay in front and occasionally scrape the inside of the drum.
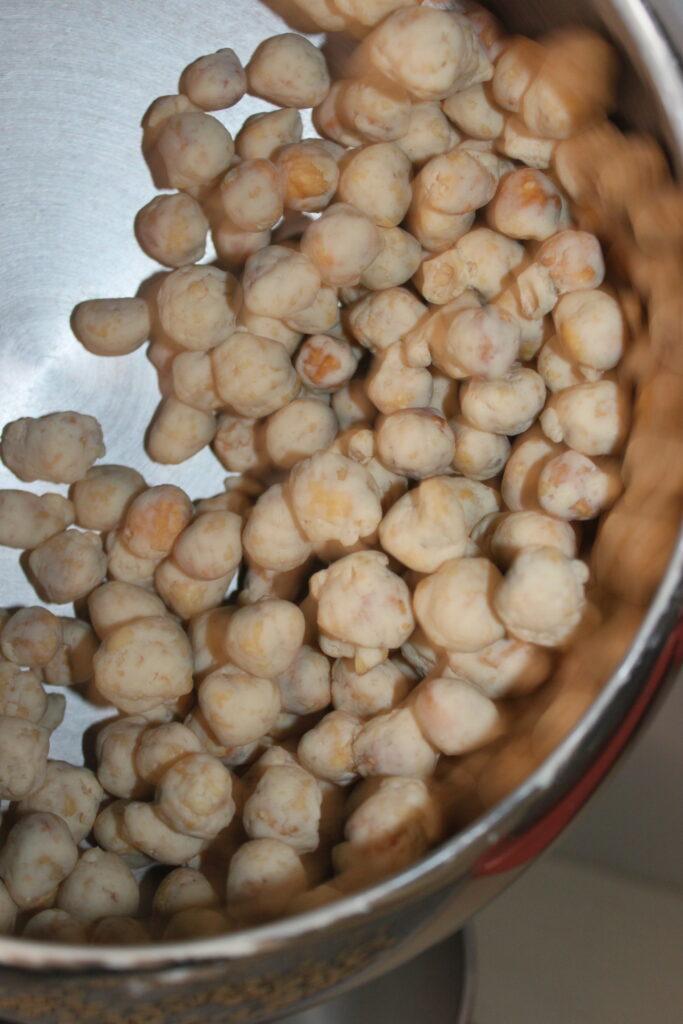
At times, I took the hazelnuts out of the drum to leave them alone so that the chocolate could crystallize a little more.
Then add the chocolate gradually, retempering if necessary.
At the end, when all the chocolate had been poured in and crystallized, I added some cocoa powder (4-5 tablespoons).
When finished, pour into a dish and leave to crystallize perfectly at room temperature.
Then store them in an airtight tin. Hazelnuts will keep for several weeks.
Crunchy chocolate hazelnuts (white, milk or dark)
Ingredients
- 400 g sugar
- 1 a good pinch of salt
- 400 g skinless hazelnuts or almonds
- 1 kg chocolate
- 6 c. soup unsweetened cocoa powder
Instructions
- Pour the sugar and salt with 70g of water into a large frying pan. Heat over high heat to boiling.
- Pour in the hazelnuts (unroasted). I’ve used unskinned raw hazelnuts here, but you can also use almonds.
- Stirring constantly and lowering the heat slightly, cook the hazelnuts, which will gradually roast naturally.
- At some point, the syrup will crystallize, and this is perfectly normal.
- Separate the hazelnuts and continue to make the outer layer turn to caramel.
- You don’t want all the sugar to melt into caramel, otherwise it will make a caramel sheet and the hazelnuts won’t be able to separate. It’s time to stop. There should just be a thin layer of caramel on top of the hazelnuts. Pour onto a baking tray lined with baking parchment and leave to cool.
- Meanwhile, temper the chocolate. First, melt the chocolate evenly at 42°C. The simplest method for tempering is Mycryo cocoa butter, which I add when the chocolate is at 34.7°C.I’ve written a book on chocolate from bean to bar, published by Solar, in which I explain all the more traditional tempering methods. But mycryo cocoa butter is a cocoa butter powder already in the right form, and it will temper the rest of the chocolate through seeding. I have some white chocolate here that I made with my concheuses. but it’s perfectly possible to use good-quality store-bought chocolate, and choose the color (dark, milk, white).
- This is my new toy. This is a drum that fits onto the kitchenaid food processor. It will rotate at an angle, allowing the dried fruit to be coated with chocolate. Pour in the caramelized hazelnuts.
- Put the food processor on first speed, then pour in the tempered chocolate, until it reaches 29°C. I started with 3-4 ladles.
- The machine will coat and start-up is a bit tedious. Stay in front and occasionally scrape the inside of the drum.
- At times, I took the hazelnuts out of the drum to leave them alone so that the chocolate could crystallize a little more.
- Then add the chocolate gradually, retempering if necessary.
- At the end, when all the chocolate had been poured in and crystallized, I added some cocoa powder (4-5 tablespoons).
- When finished, pour into a dish and leave to crystallize perfectly at room temperature.
- Then store them in an airtight tin. Hazelnuts will keep for several weeks.