

I’ll be waiting for you on Monday July 5th at 7pm on my Facebook page HERE, for two delicious Taiwanese recipes, in collaboration with theTaiwan Tourism Office. I’ll be making a Lu Rou Fan, which is a spicy braised pork dish served with rice, and a crispy popcorn chicken with Thai basil and Szechuan pepper. The recipes will then be posted in step-by-step on the blog with the video replay!


It is with great joy that I have just learned that I have won the prestigious Grand Prix Brillat-Savarin du livre gourmand, this Saturday, June 26, 2021, awarded by the jury for my book “Scandalously Decadent” published by Flammarion! Thanks to the president of the Nantua book fair, Michel Godet, and to Florence Aubenas, godmother of this 2021 edition! I am so happy! I share this award with Claire Curt, talented photographer and friend, Ryma my editor at Flammarion (and friend too!!) and Simone my press officer at Flammarion too. My book is still available at your favorite bookstore!


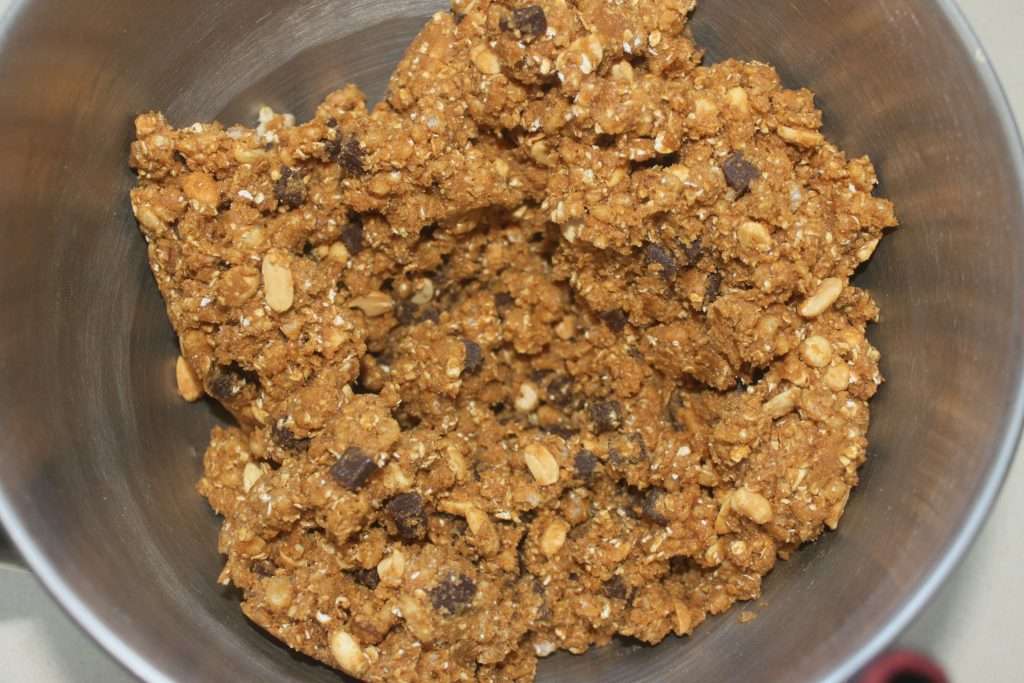
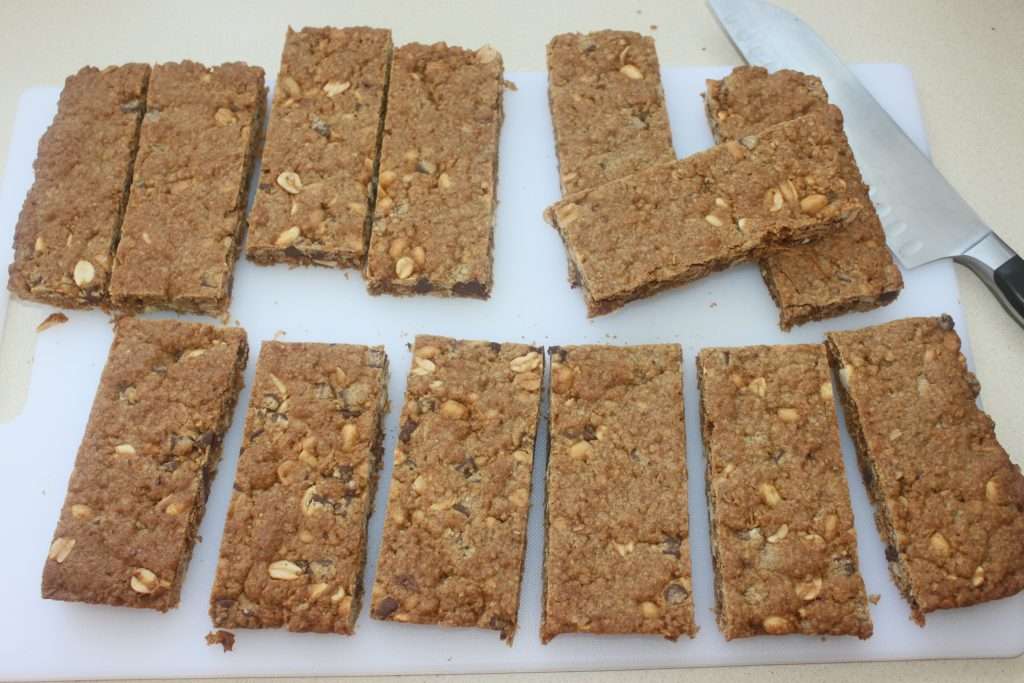
For a tasty and invigorating snack that will calm an acute peanut attack, I suggest these oatmeal, chocolate and peanut energy bars with a perfect texture. They will also be very good for breakfast, but you have to keep in mind that we are close to a cookie with a firmer texture, more “chewy”! This makes it a delicacy, but to be eaten in moderation and shared without complex.
Recette des BARRES ÉNERGIE AVOINE CHOCOLAT ET CACAHUÈTES :
Recipe for a mold of 33x22cm :
- 200g of brown or blond vergeoise
- 45g of sugar
- 45g of honey
- 120g of semi-salted butter
- 1/2 spoonful of liquid vanilla
- 1 egg
- 150g flour
- 150g of oatmeal
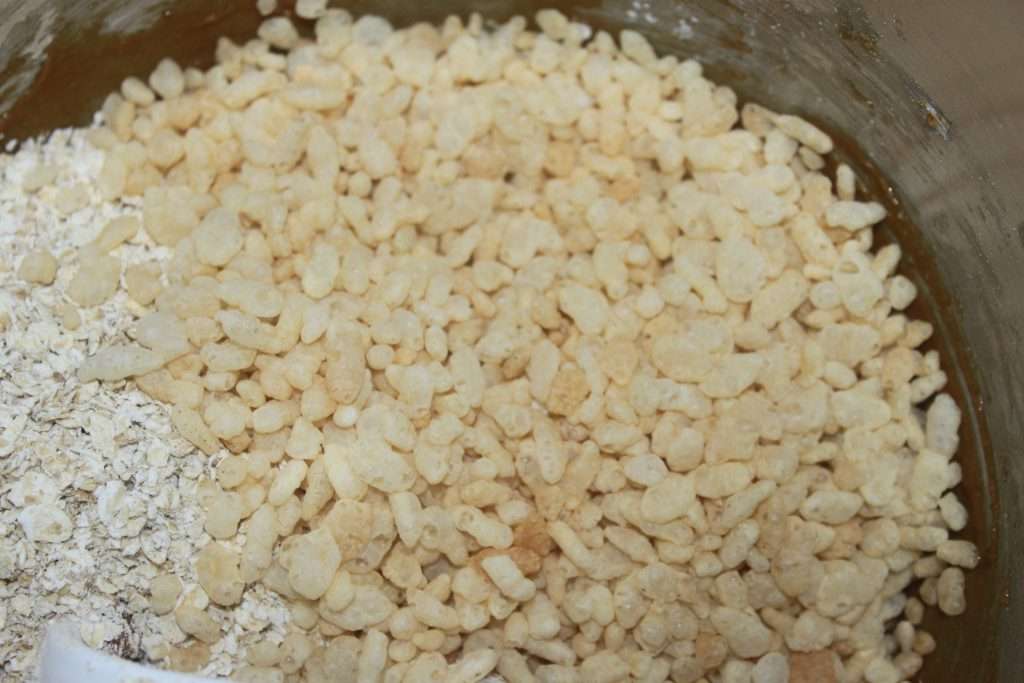
- 50g of rice krispies
- 1/2 spoonful of cinnamon powder
- 2g of baking powder
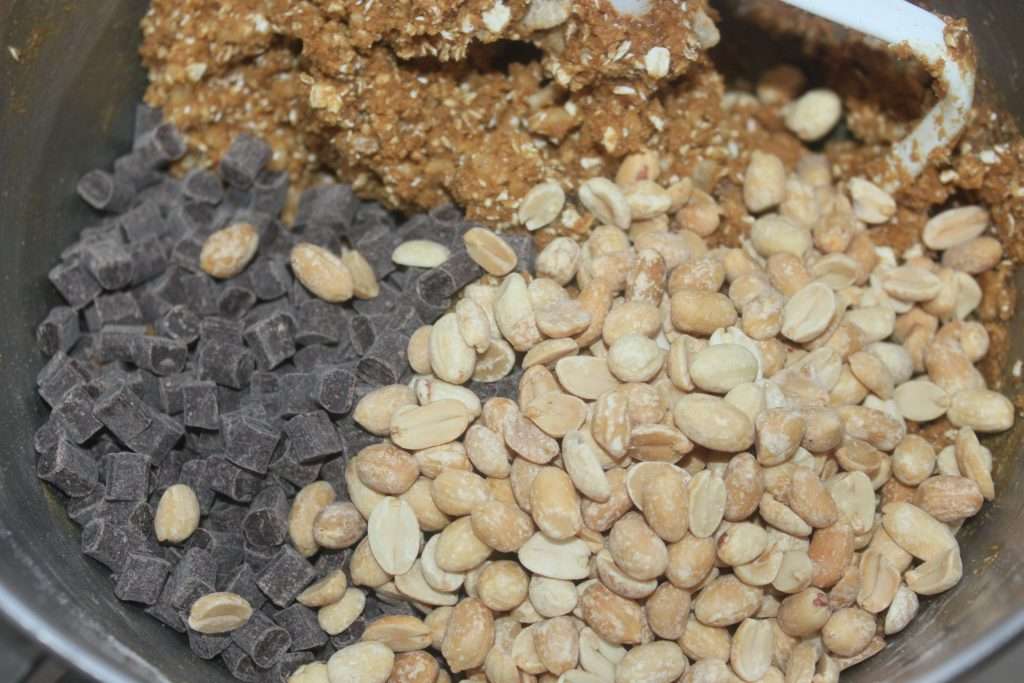
- 150g of dark chocolate in chunks
- 150g unsalted roasted peanuts
Instructions :
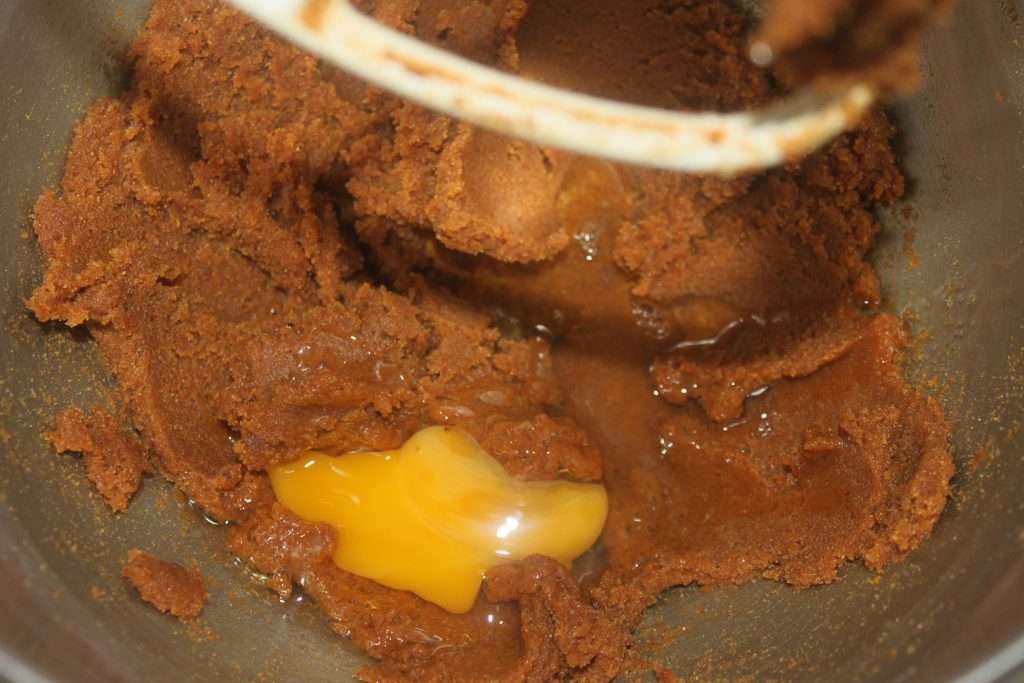
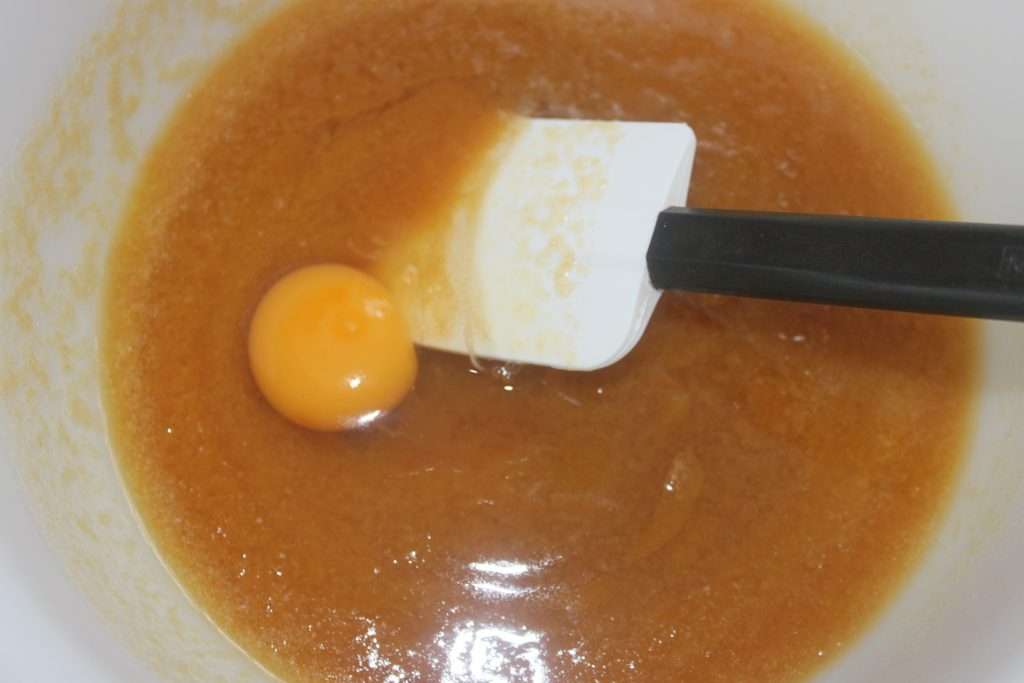
Mix together the sugars, honey, butter and vanilla.
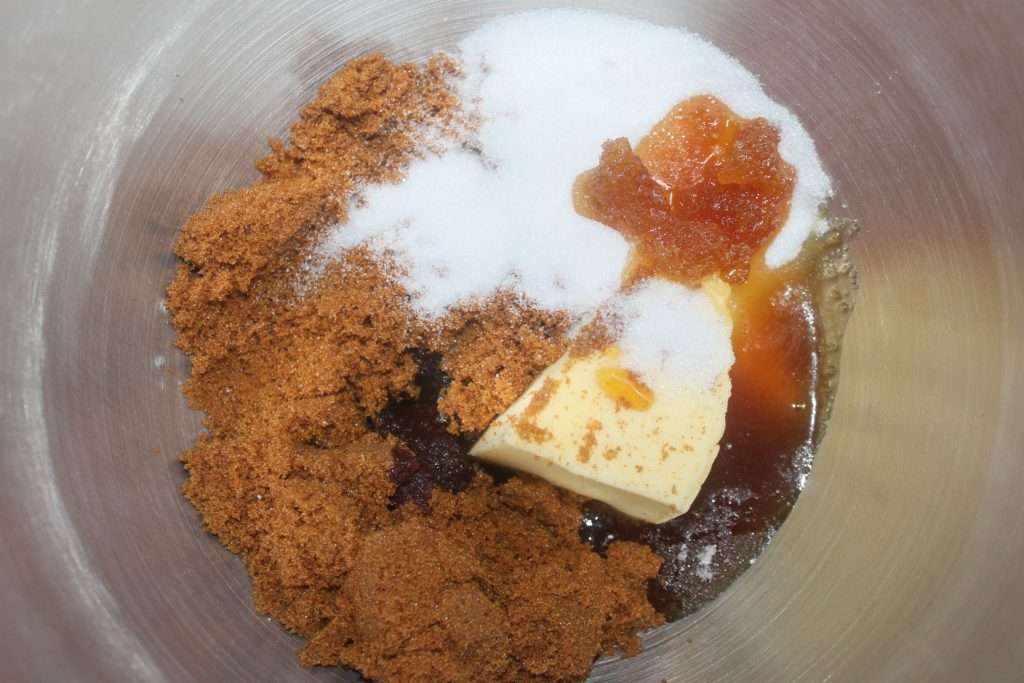
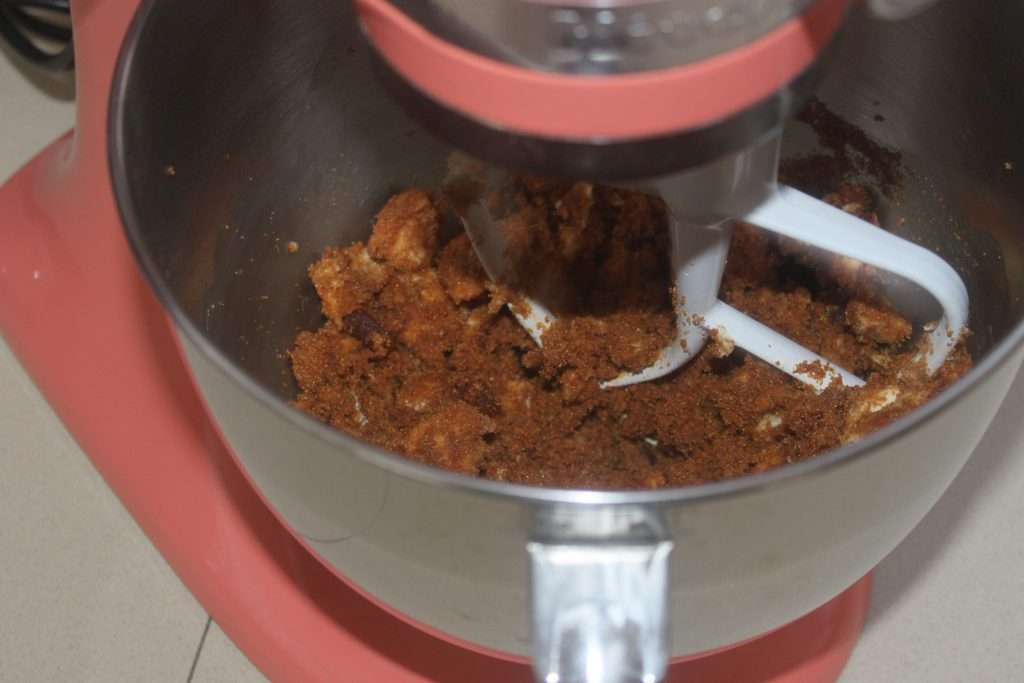
When the mixture becomes homogeneous, add the egg.
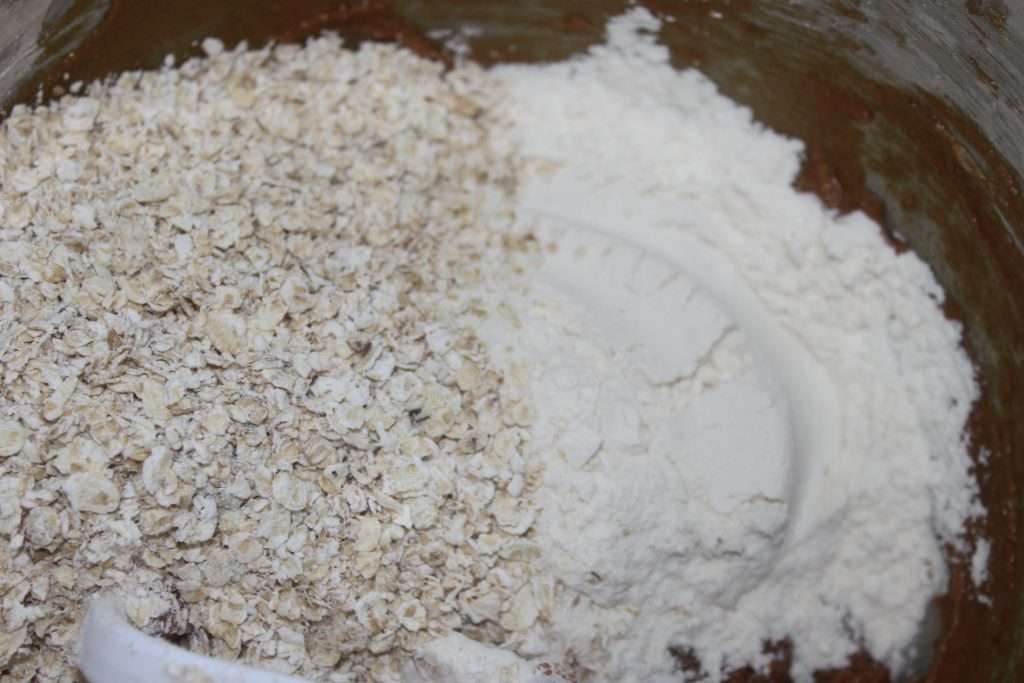
Mix and then pour in the oats, flour and rice krispies. Don’t forget the yeast and cinnamon.
Mix and finish with the peanuts and chocolate.
A final mix.
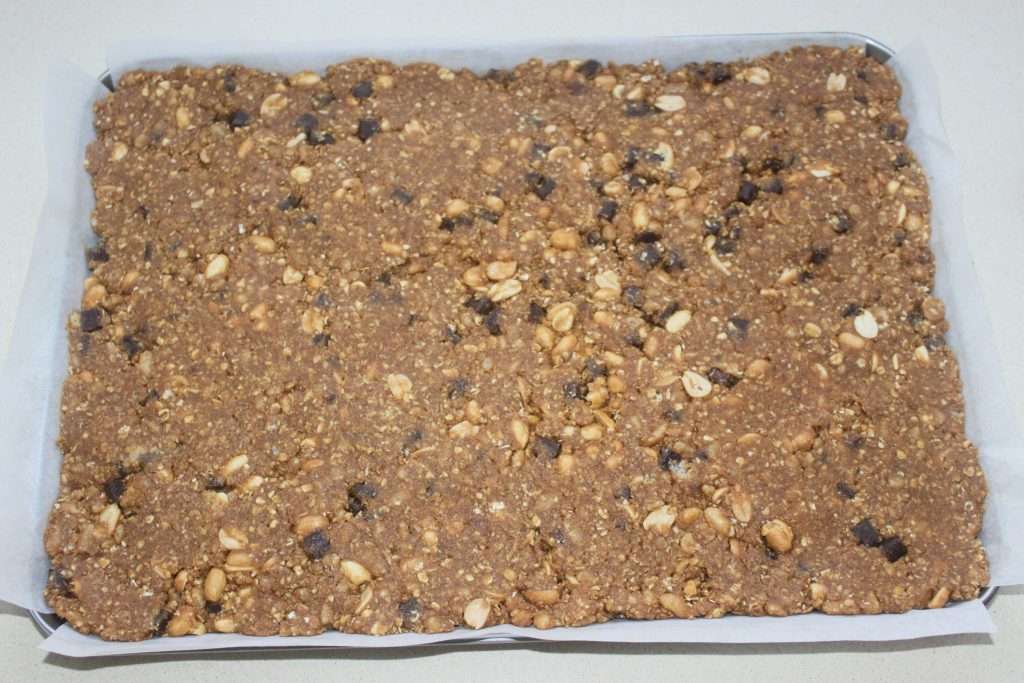
Pour into the parchment paper-lined pan.
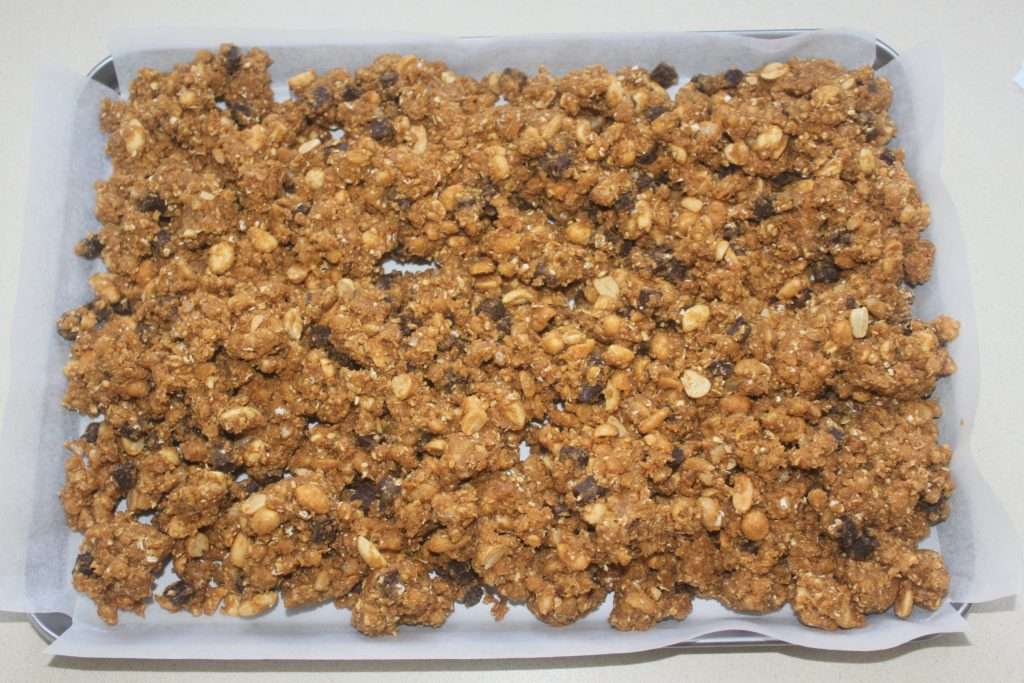
Spread evenly.
Then bake for 22 minutes at 170°C on revolving heat.
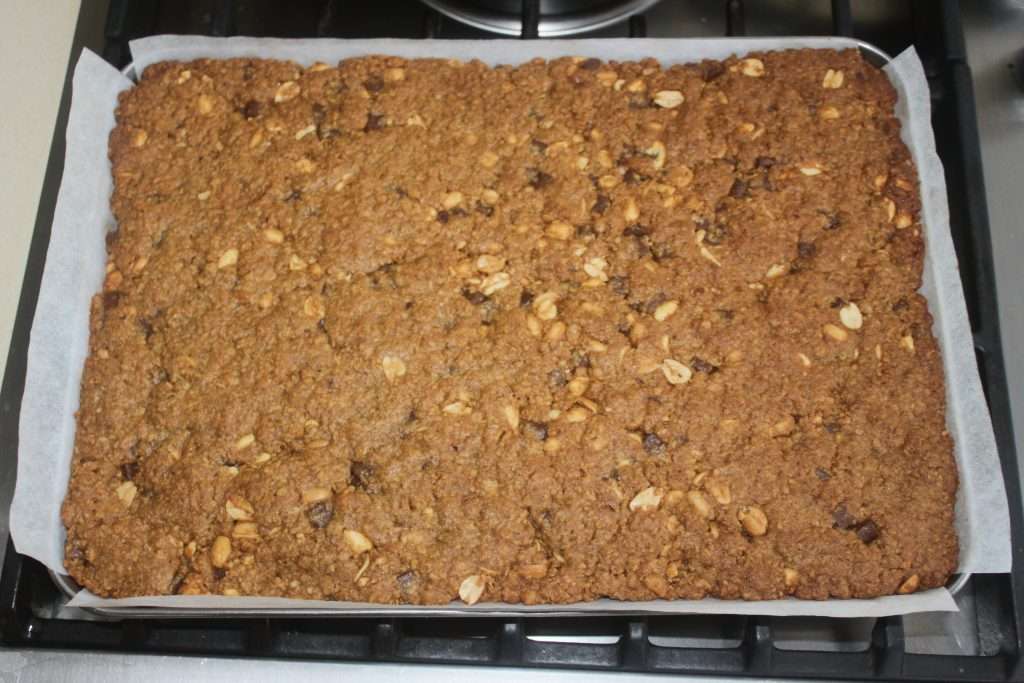
Let cool completely before cutting into slices.
Store in an airtight box!
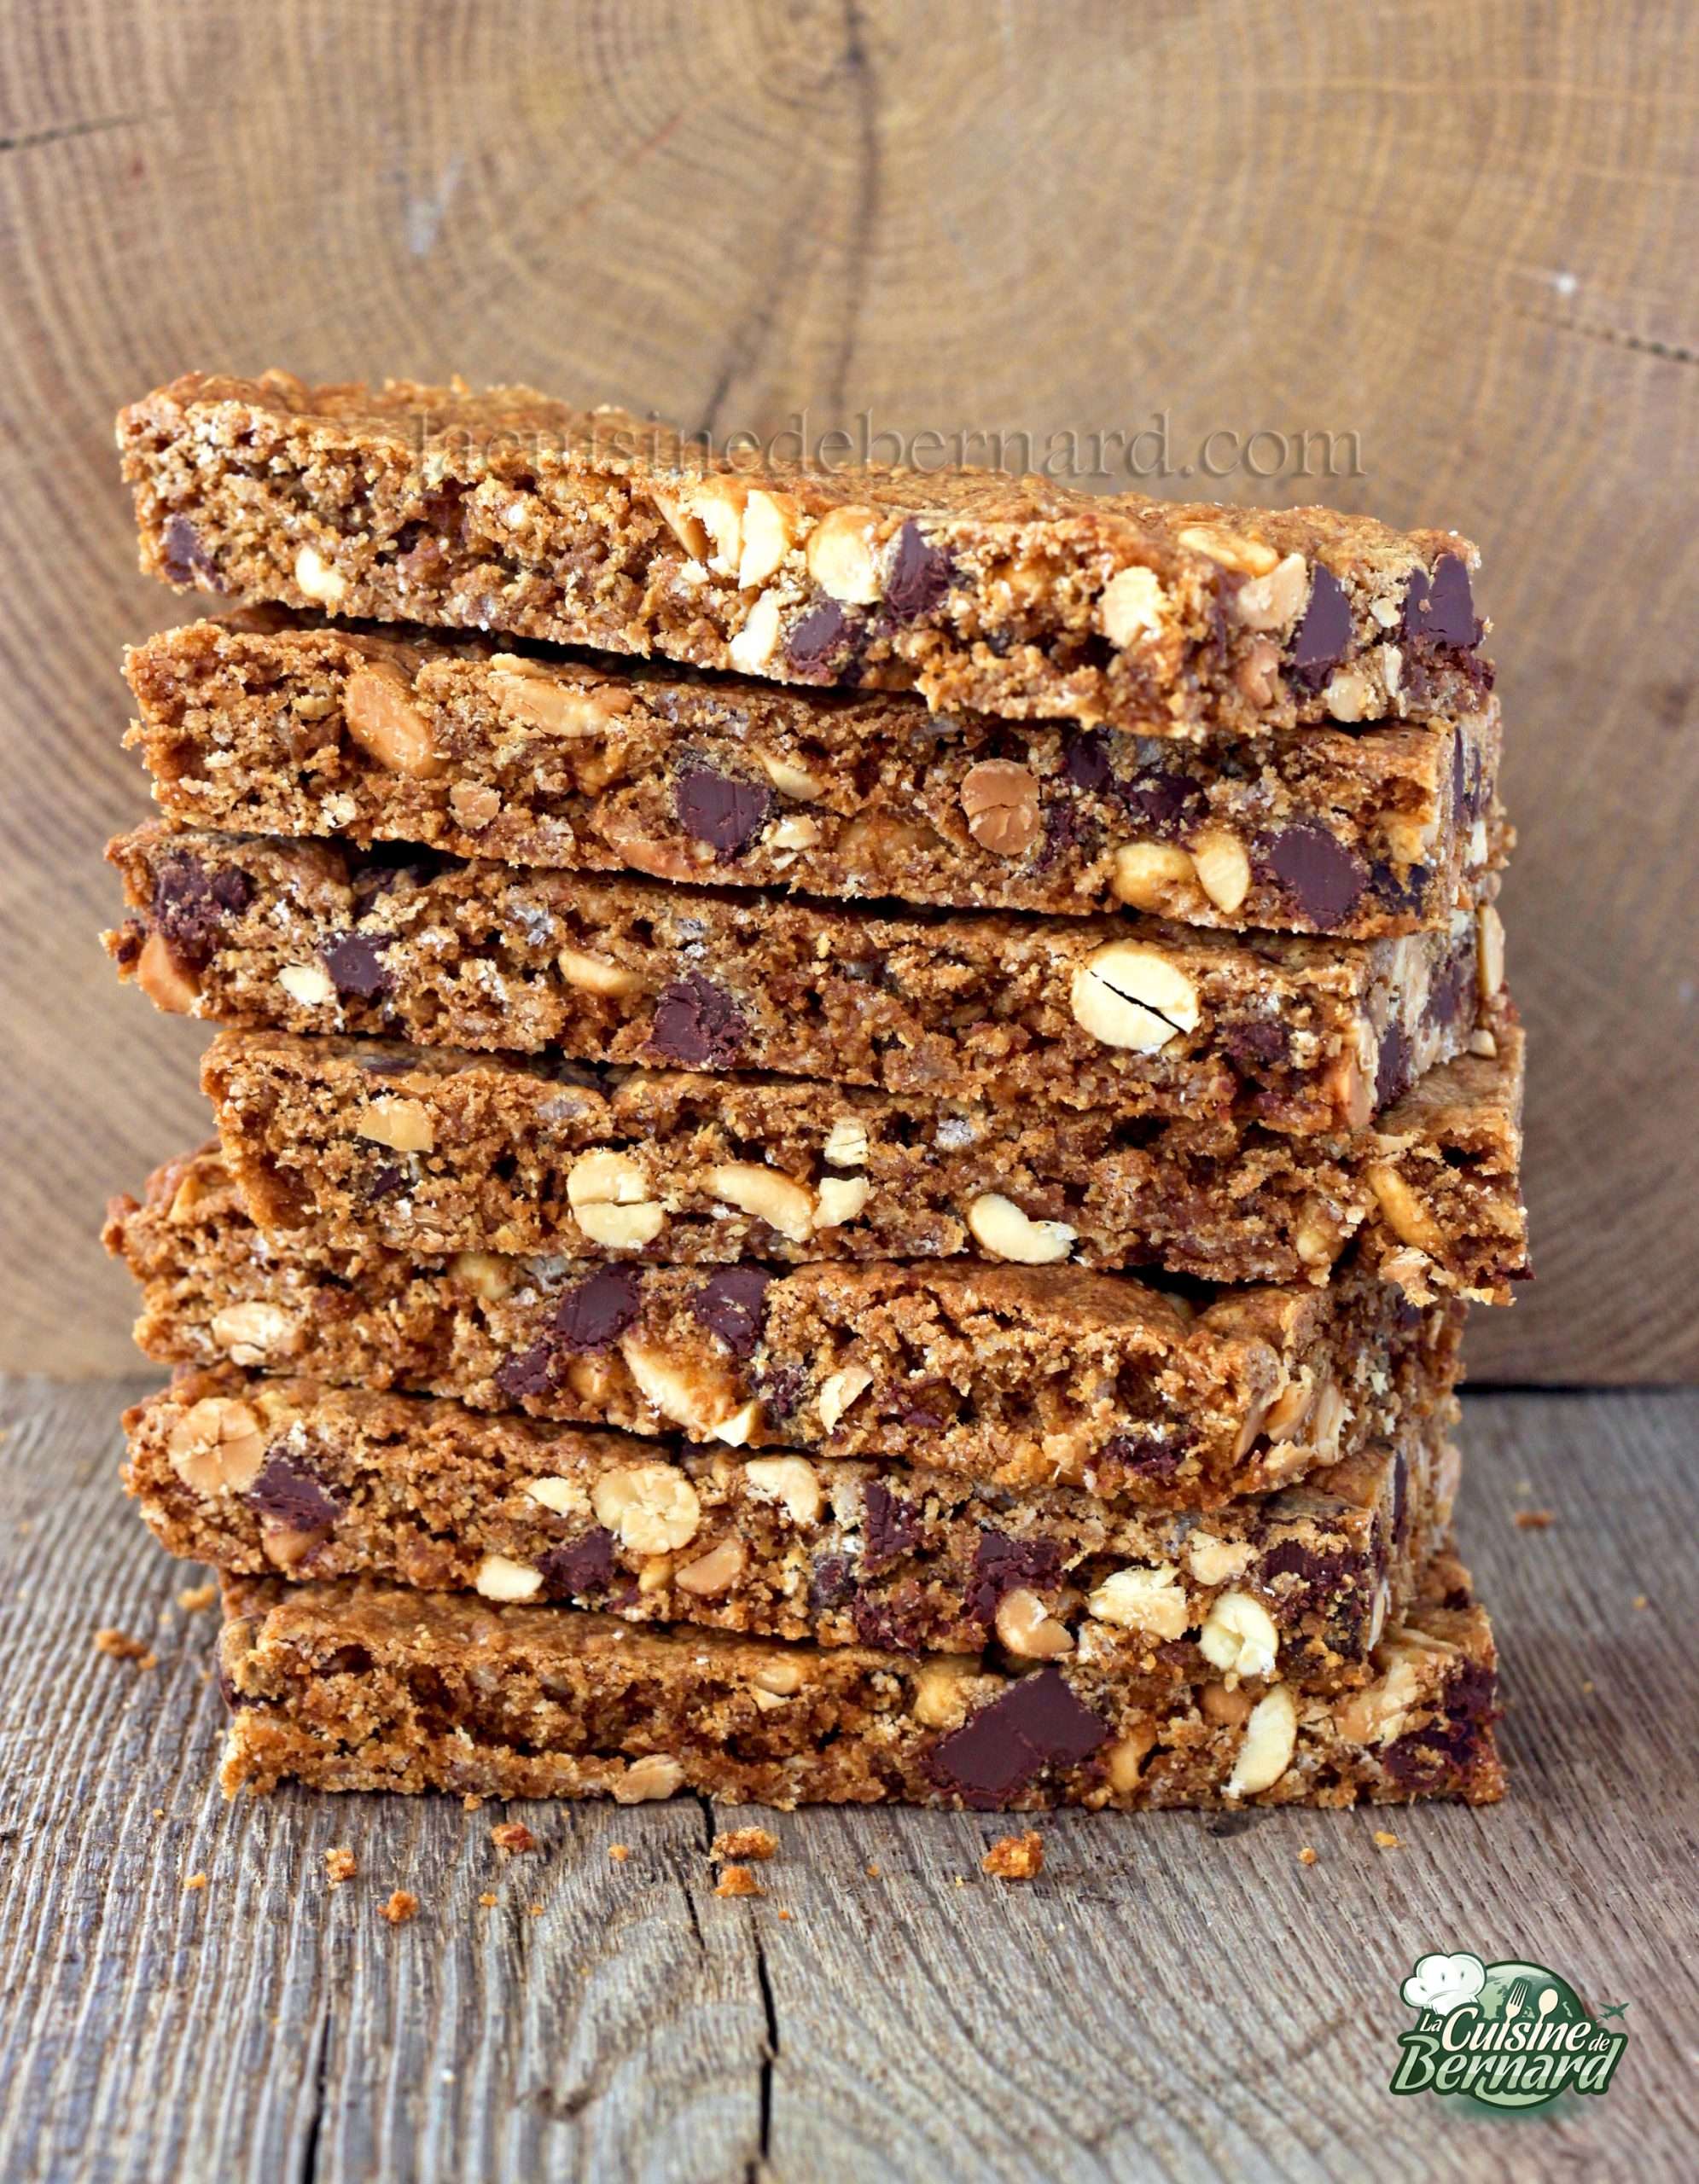
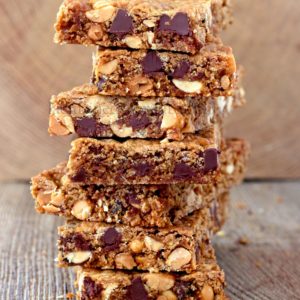
Oatmeal chocolate and peanut energy bars


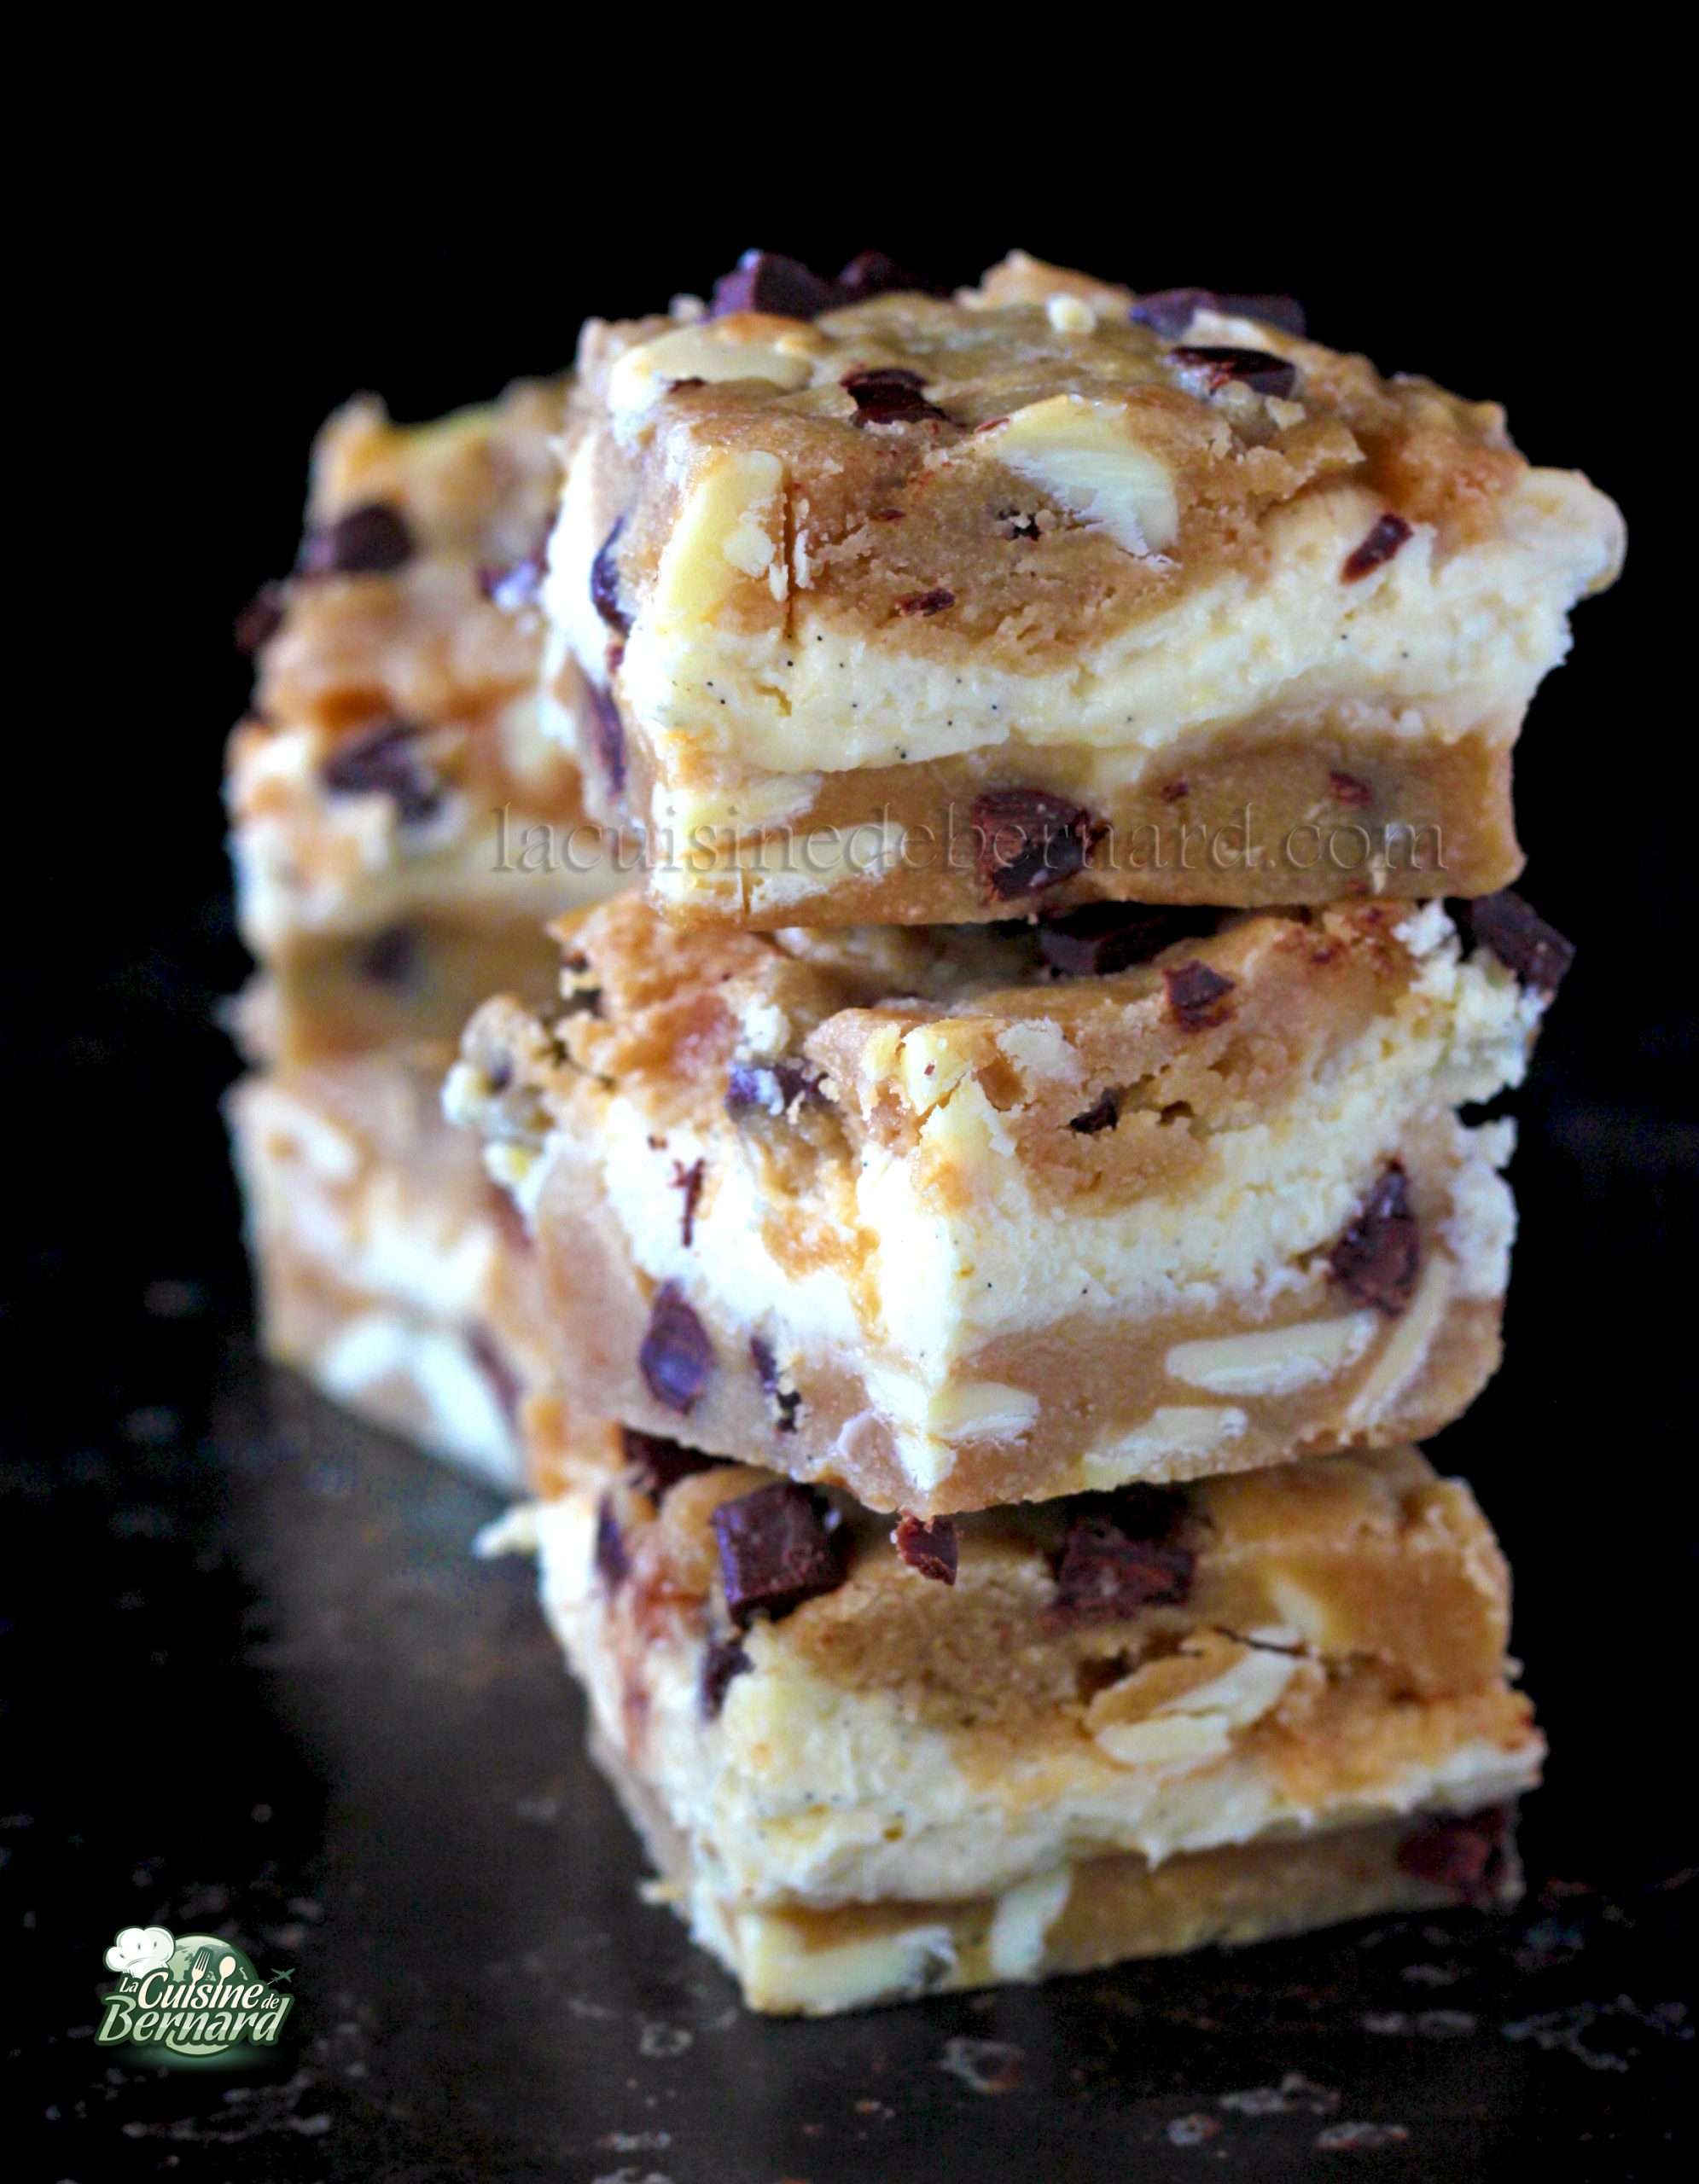
Beware these little pieces of cake are totally evil. This delicious cookie dough is baked with a cream cheese filling. It’s like having a refreshing layer of cheesecake amidst a deluge of dark and white chocolate chips. I’ll warn you right away that this is a real scandal, as it’s not really recommended right before summer and swimsuits. Perhaps I am a bit cruel!
Recette du CHEESECAKE COOKIE BAR :
For a square mold of 20cm of side:
- 215g melted semi-salted butter
- 1 teaspoon of liquid vanilla
- 275g of blond vergeoise
- 1 egg
- 275g of flour
- 125g of dark chocolate
- 125g of white chocolate
Cheesecake:
- 300g of Philadelphia type cream cheese
- 60g of caster sugar
- 1 vanilla pod
- 1 egg
Instructions :
Mettez dans un récipient le beurre demi-sel fondu, la vergeoise blonde et la vanille liquide.

Mix and add the egg.
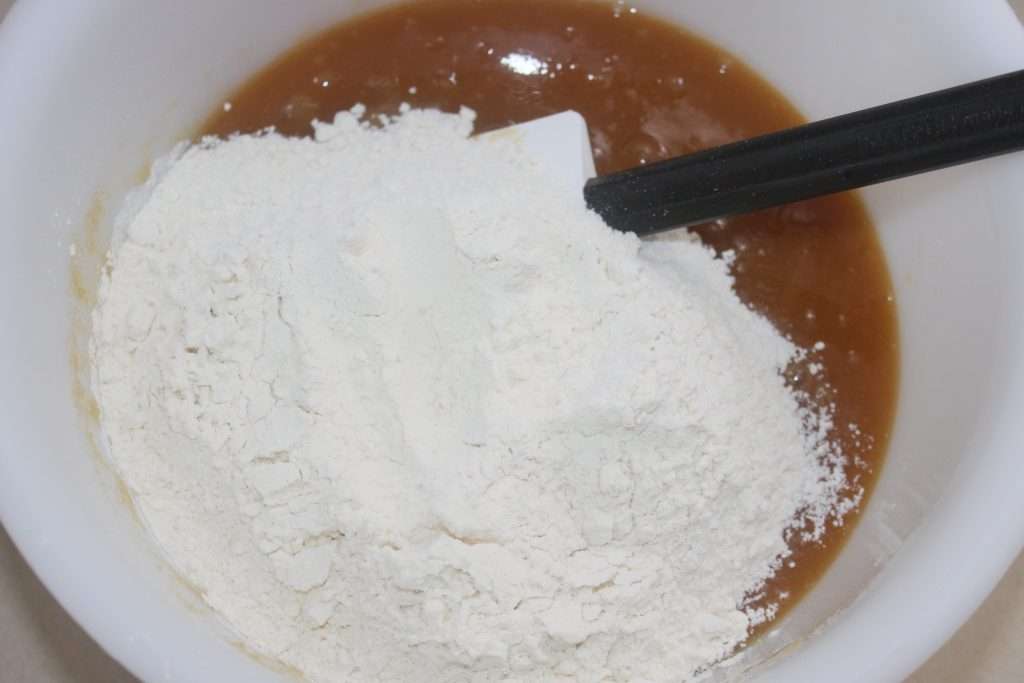
A shot of the mixture and then add the flour.
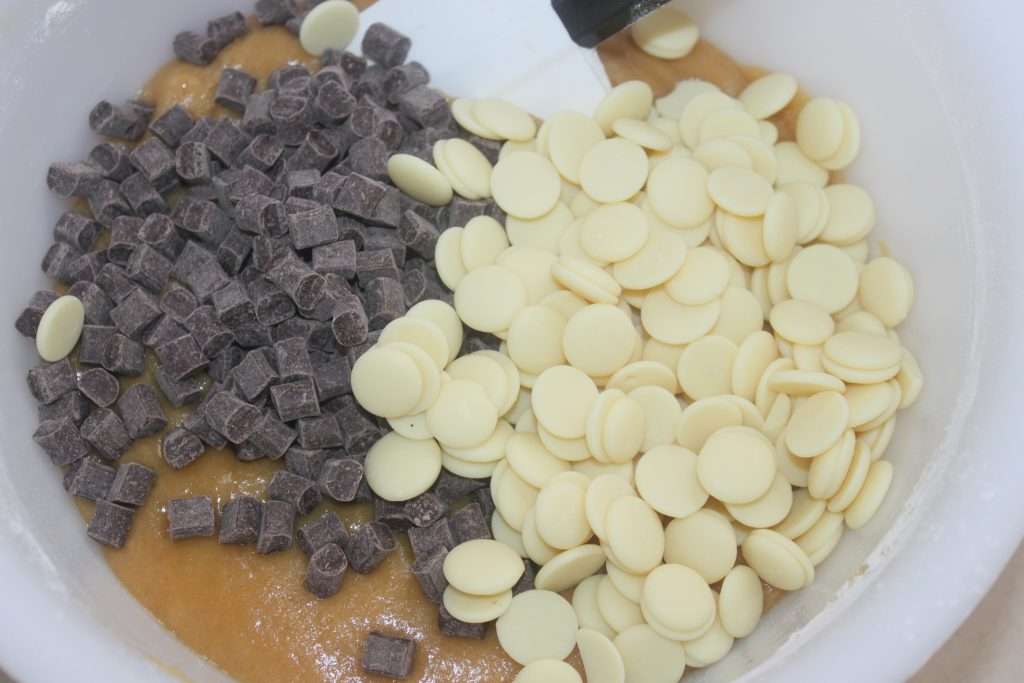
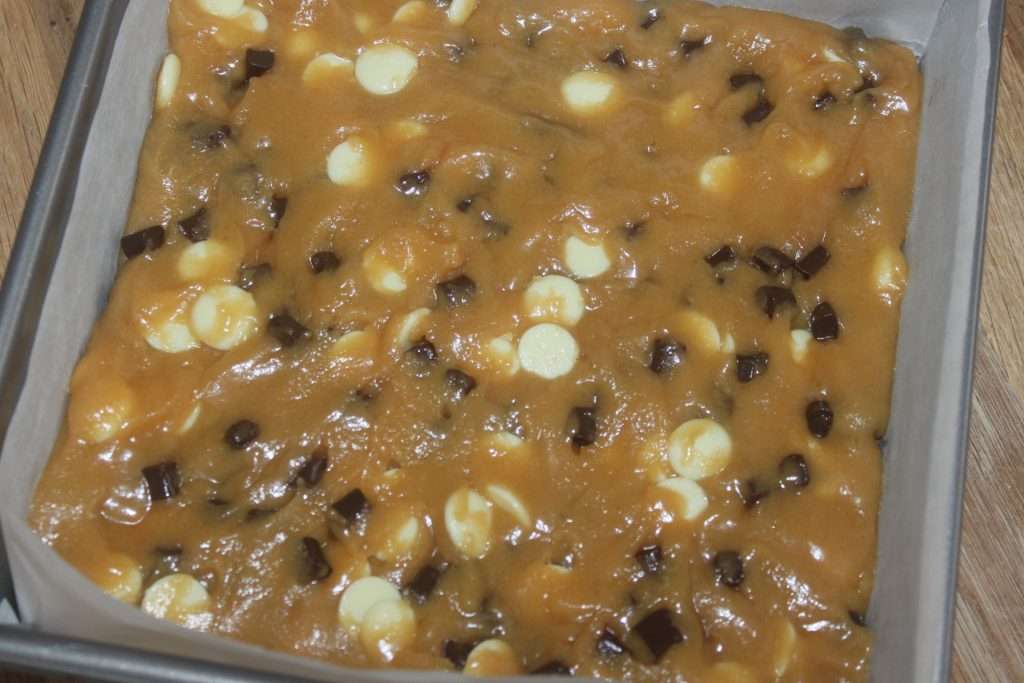
Always a mixture then pour the chocolates (here white and dark).
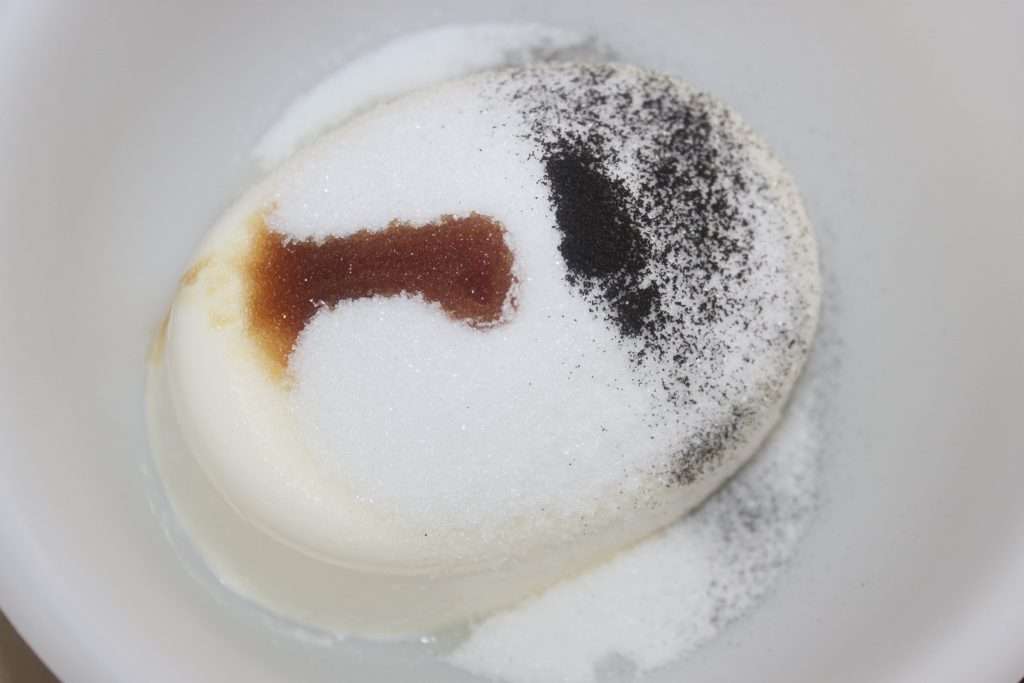
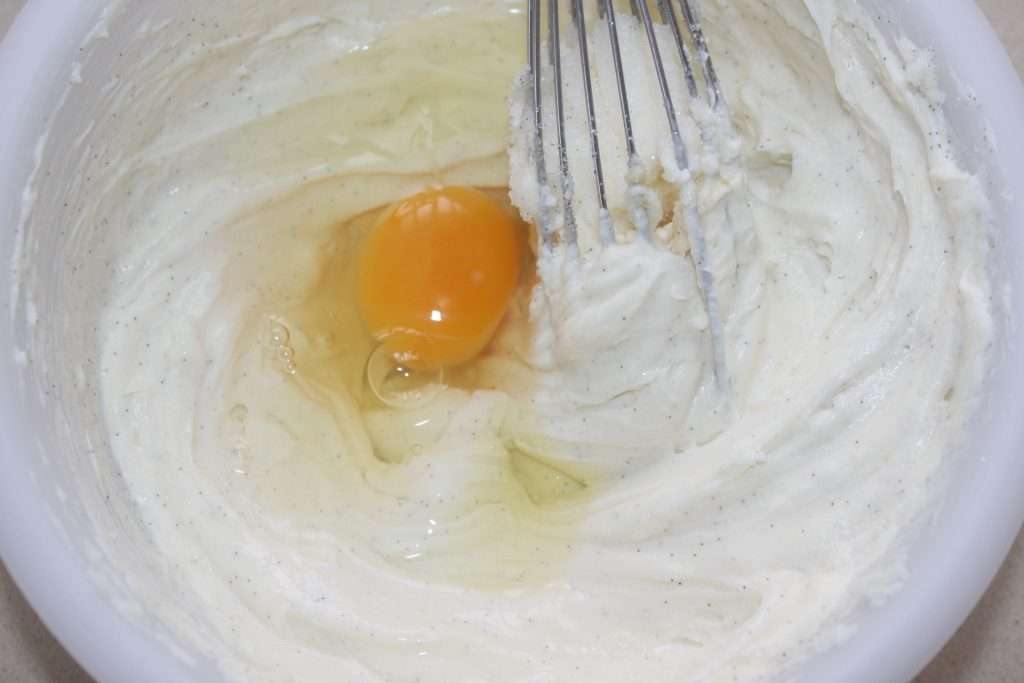
For the cream cheese. Pour the cream cheese into a container with the sugar and vanilla. If you don’t have a vanilla bean, put in a teaspoon of liquid vanilla and some vanilla powder (optional).
Mix well and add the egg.
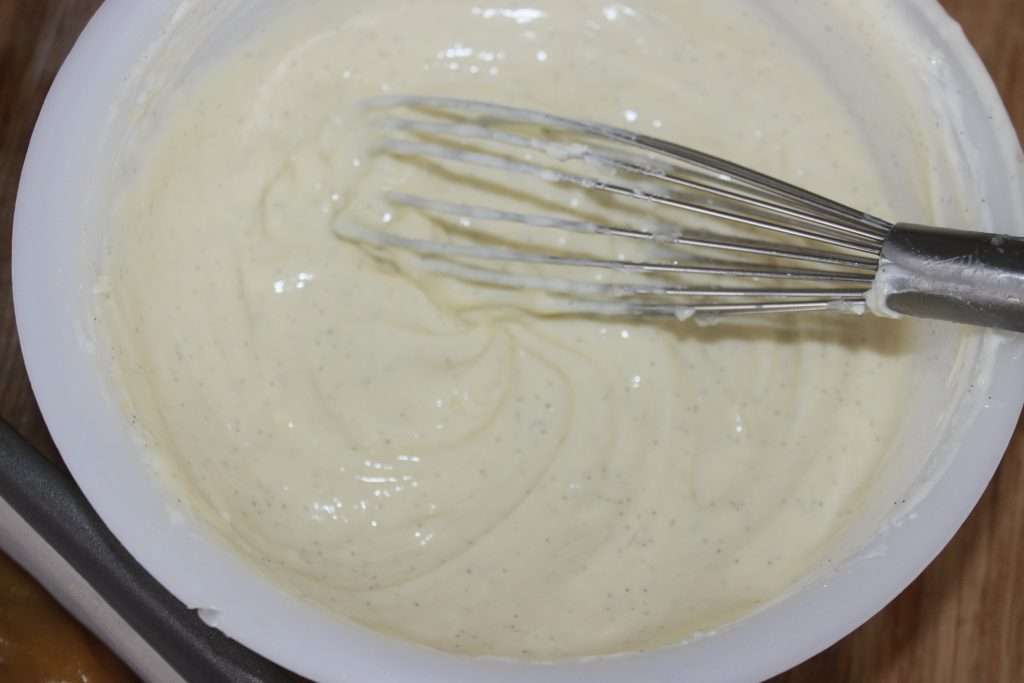
One whip and it’s over.
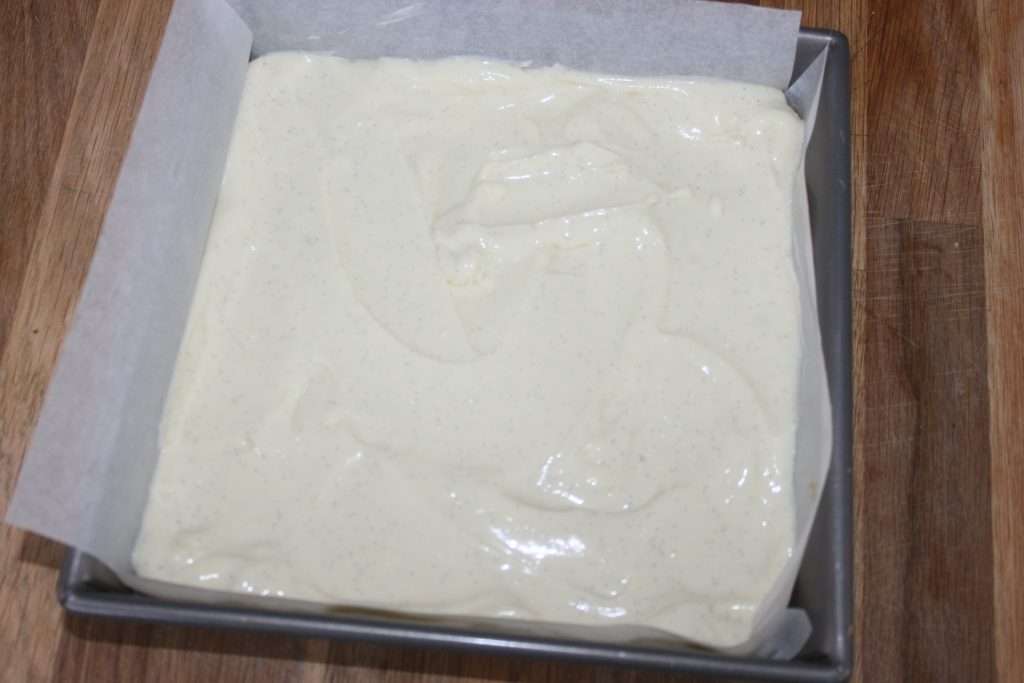
Pour half the batter into the parchment paper-lined pan.
Pour in all the cream.
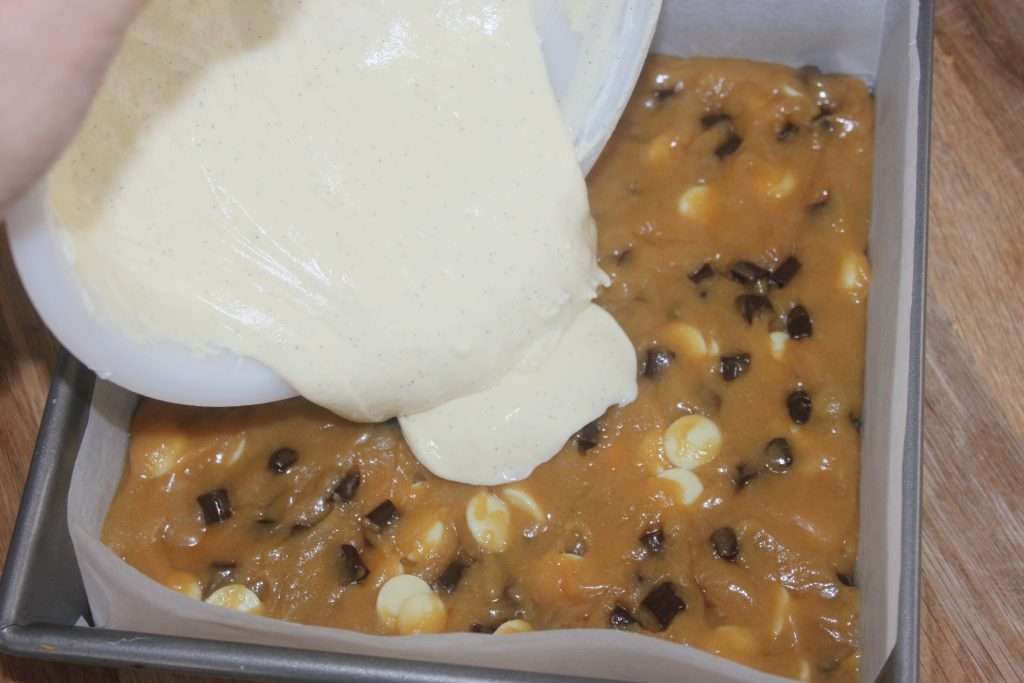
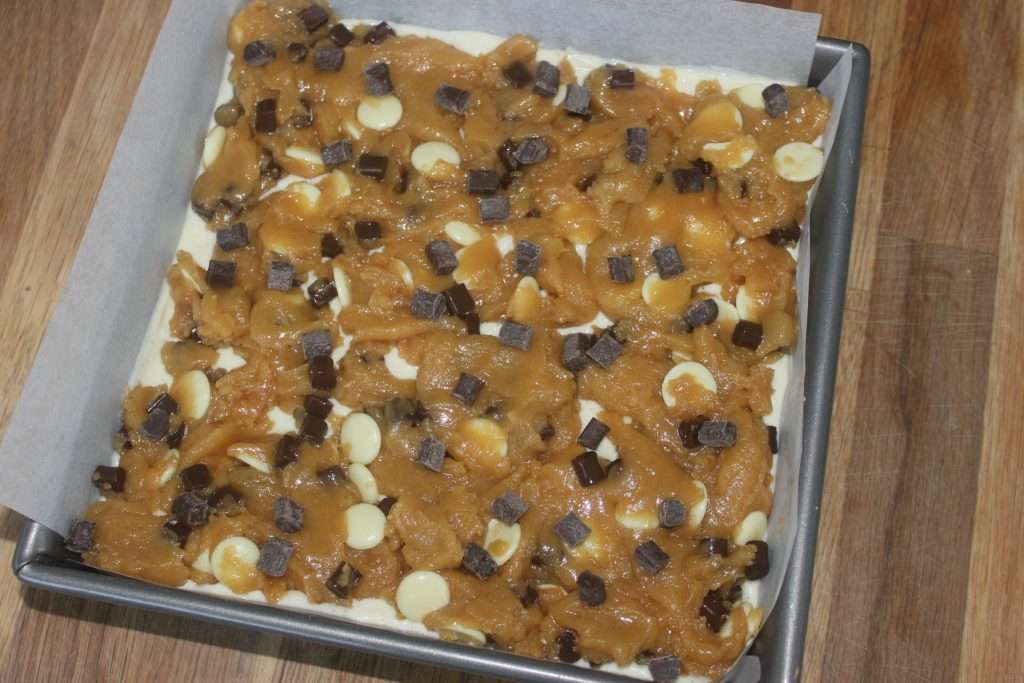
Then pour in the remaining dough. I tried to spread it evenly over the surface.
Bake for 30 minutes in a preheated oven at 160°C.

Let cool to room temperature before chilling for at least 3-4 hours, overnight is best. I know it’s hard, but it’s to get the cream to seize. Cut into small pieces.
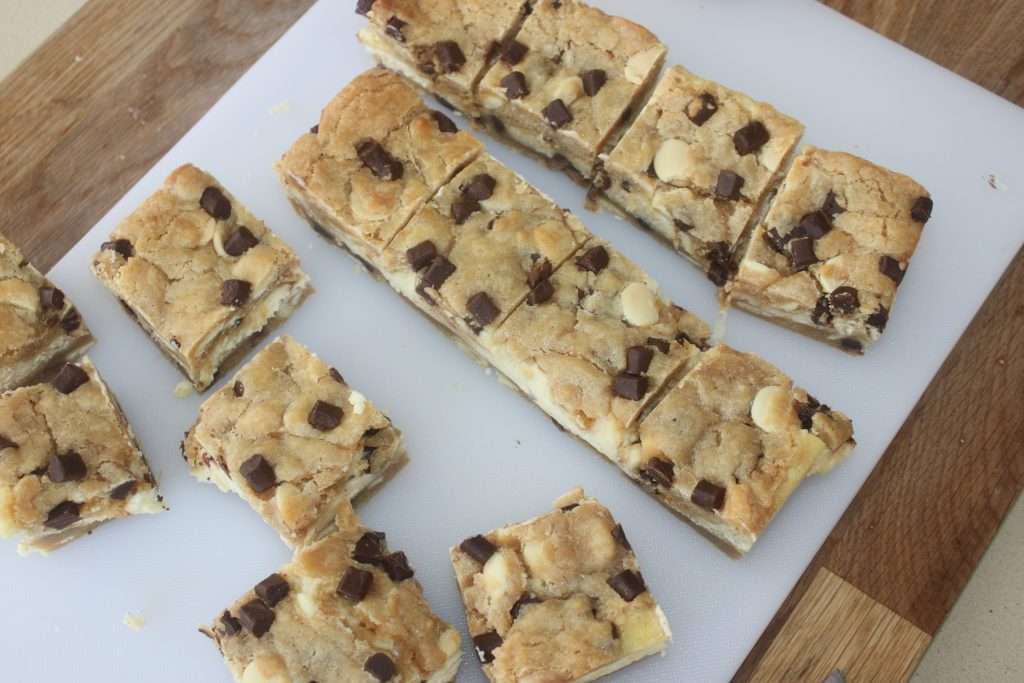
Then enjoy without delay!


Cheesecake cookie bar


Tender pieces of chicken in a crispy breading, then dipped in an incredible creamy and flavorful sauce. All this in less than 30 minutes. For once, I’m baking in the oven and this recipe is perfect for it! You can of course replace the pecans with another dried fruit.
Recette pour 4 personnes du POULET AU FOUR PANÉ AUX NOIX DE PÉCAN:
- 600g of chicken aiguillettes
- 100g of breadcrumbs
- 200g of pecans (or other dried fruit)
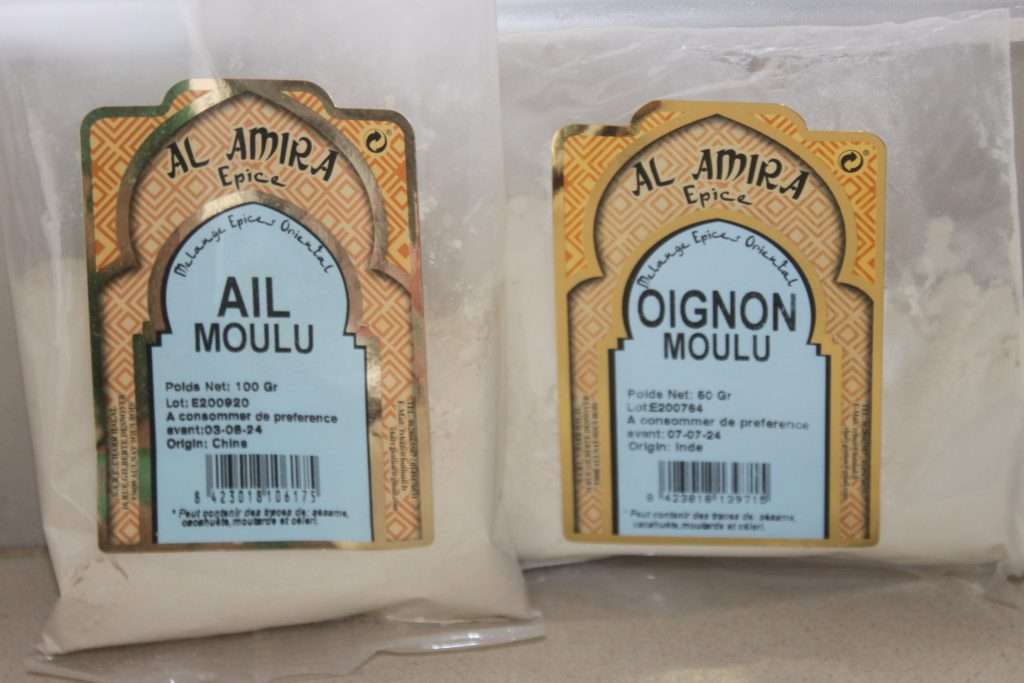
- 1 spoonful of garlic powder
- salt pepper
- 2 eggs
- flour
For the sauce:
- 1 egg
- 20g of vinegar
- 190g of oil
- 1 teaspoon onion powder
- 1 teaspoon garlic powder
- 50g of heavy cream
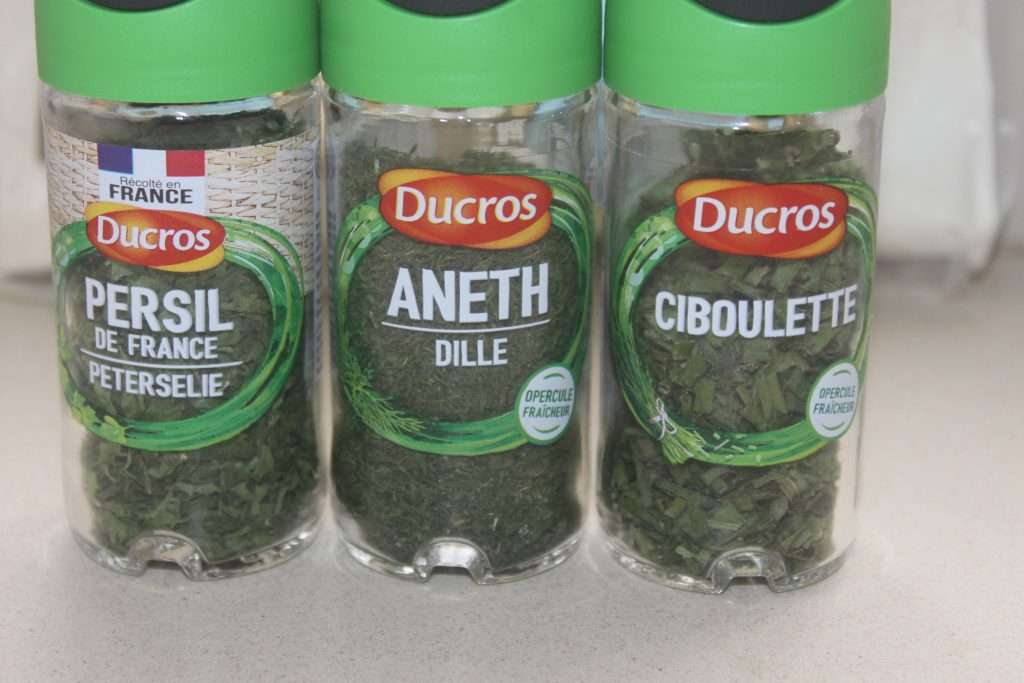
- 1 spoonful of dehydrated parsley
- 1 spoonful of dehydrated chives
- 1 spoonful of dehydrated dill
- salt, pepper, chilli
Instructions :
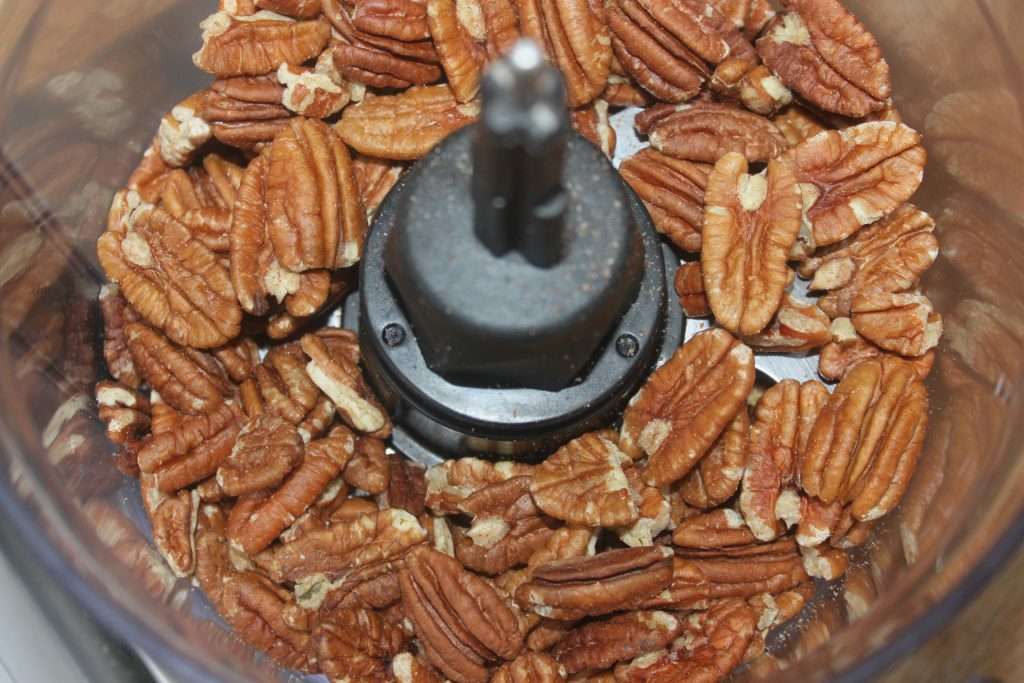
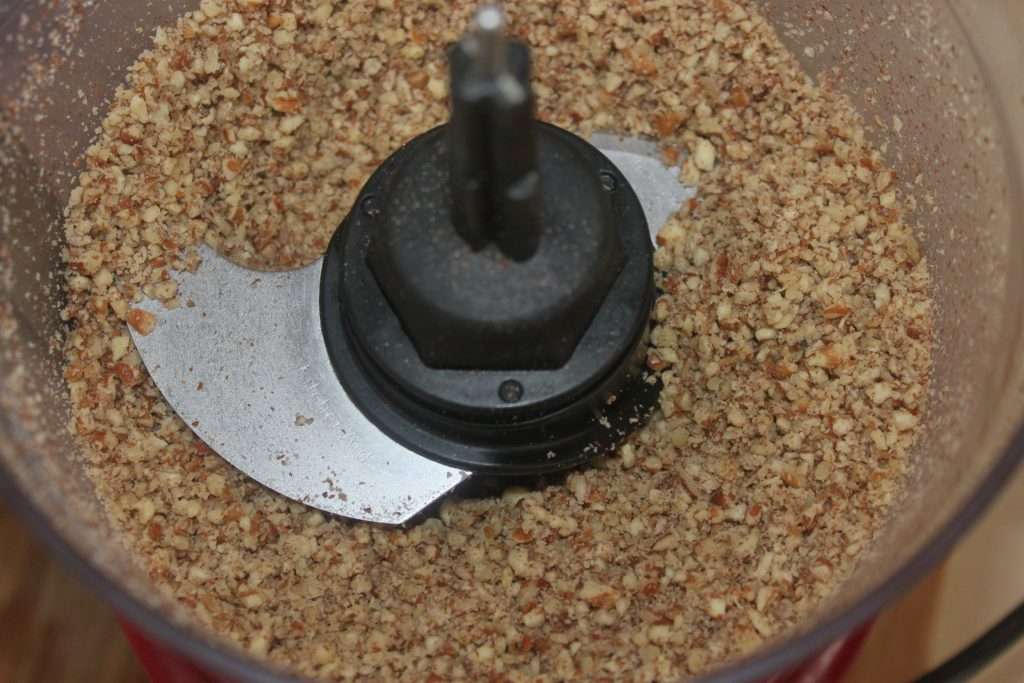
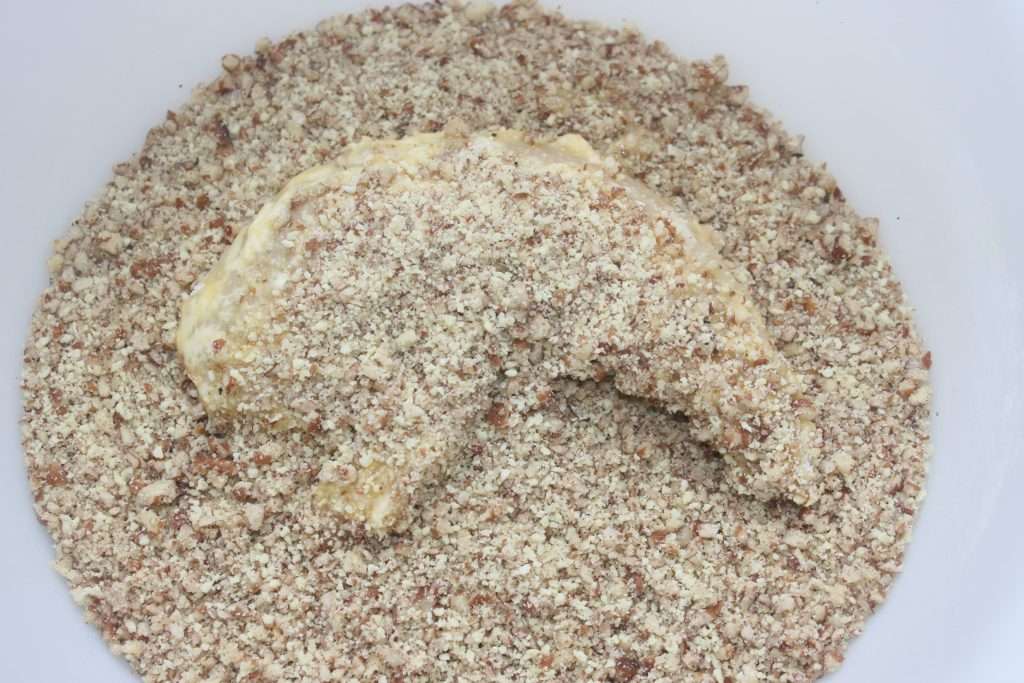
Prepare the breading. Mix the pecans into a powder.
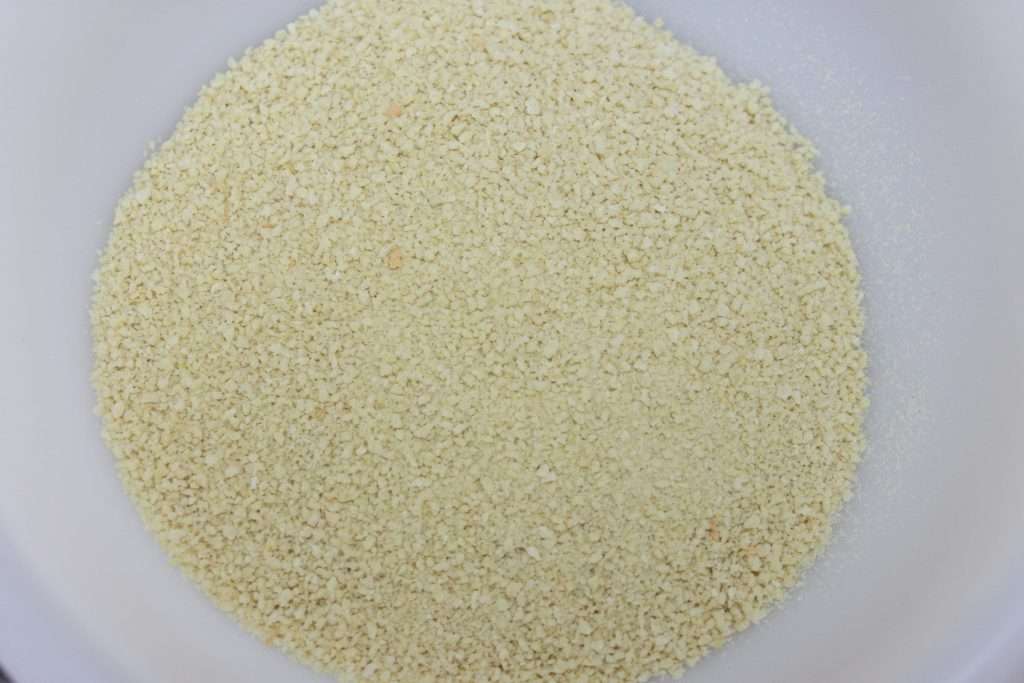
Pour the breadcrumbs into a large enough container.
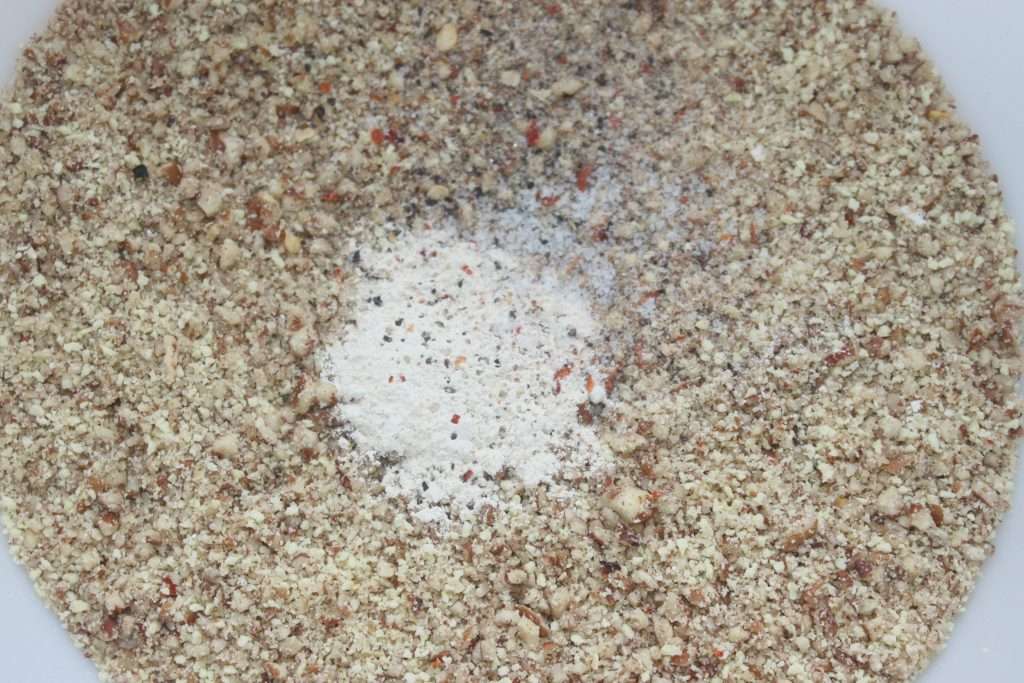
Add the pecan powder, teaspoon of garlic powder, salt and pepper. I also added a little spice.
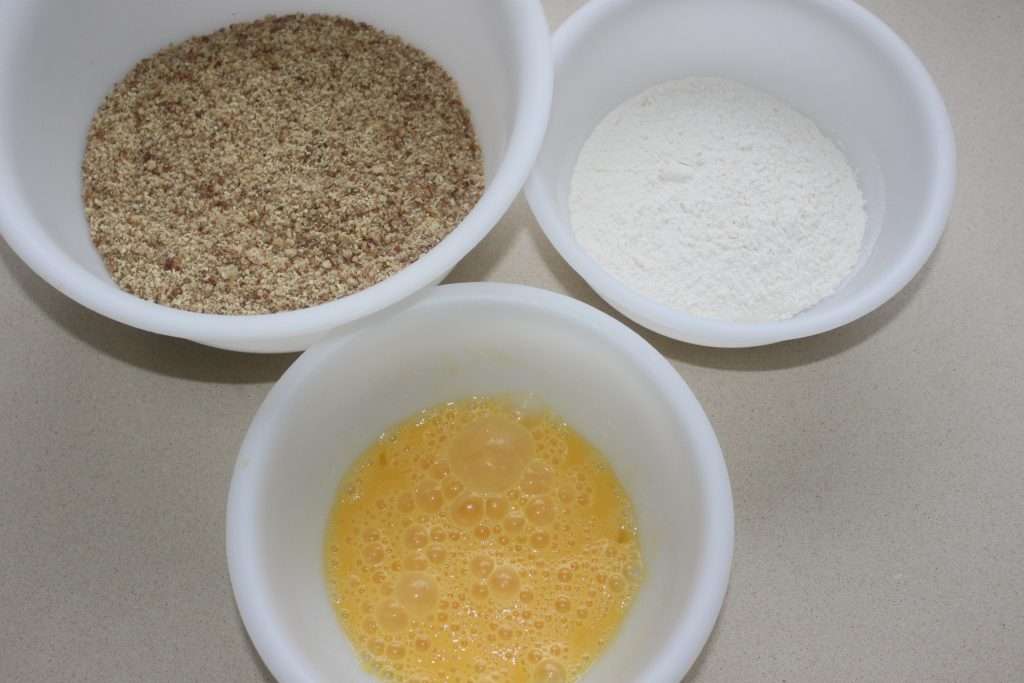
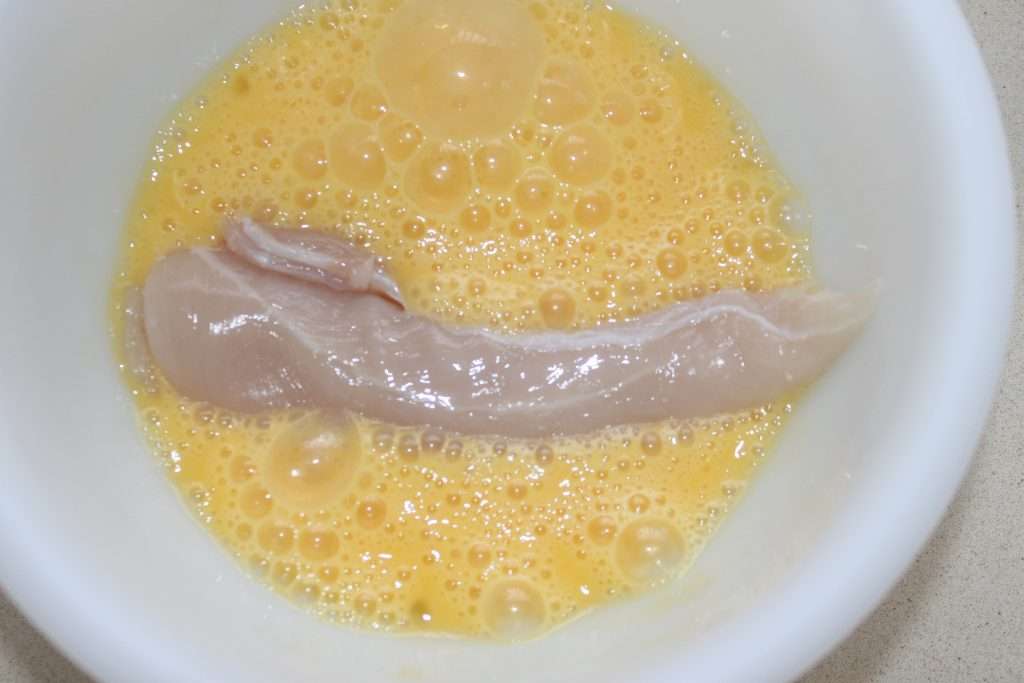
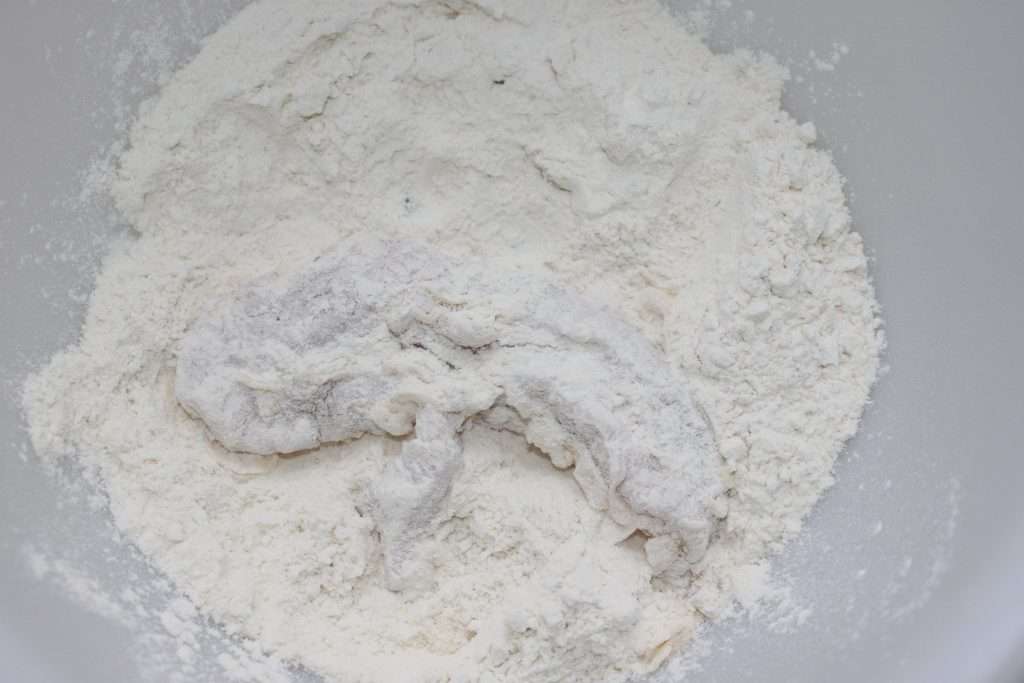
Put the two beaten eggs in a second container and the flour in a third.
Place one chicken strip in the beaten egg.
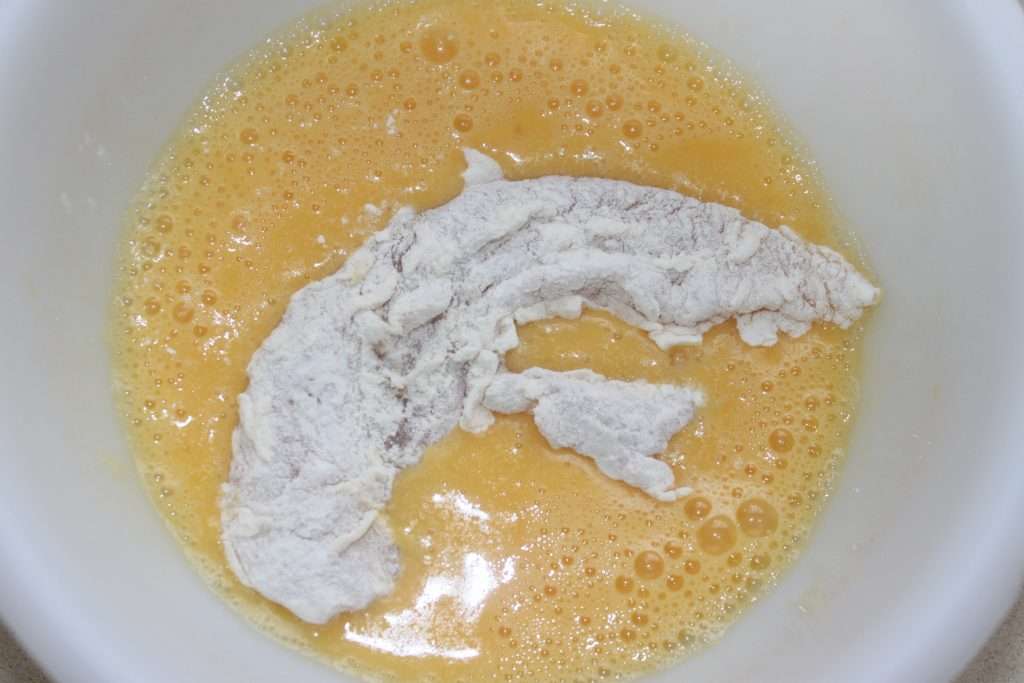
Then in the flour.
Again in the egg.
Then in the breadcrumbs.
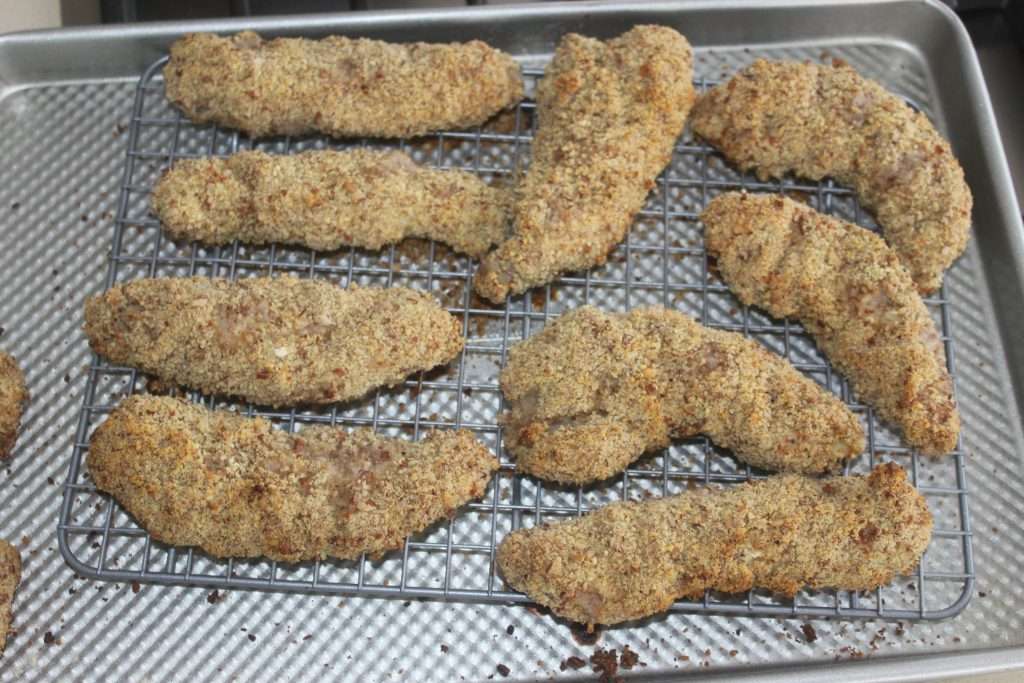
Do the same for all the aiguillettes. Place in an ovenproof dish on a rack or on parchment paper.
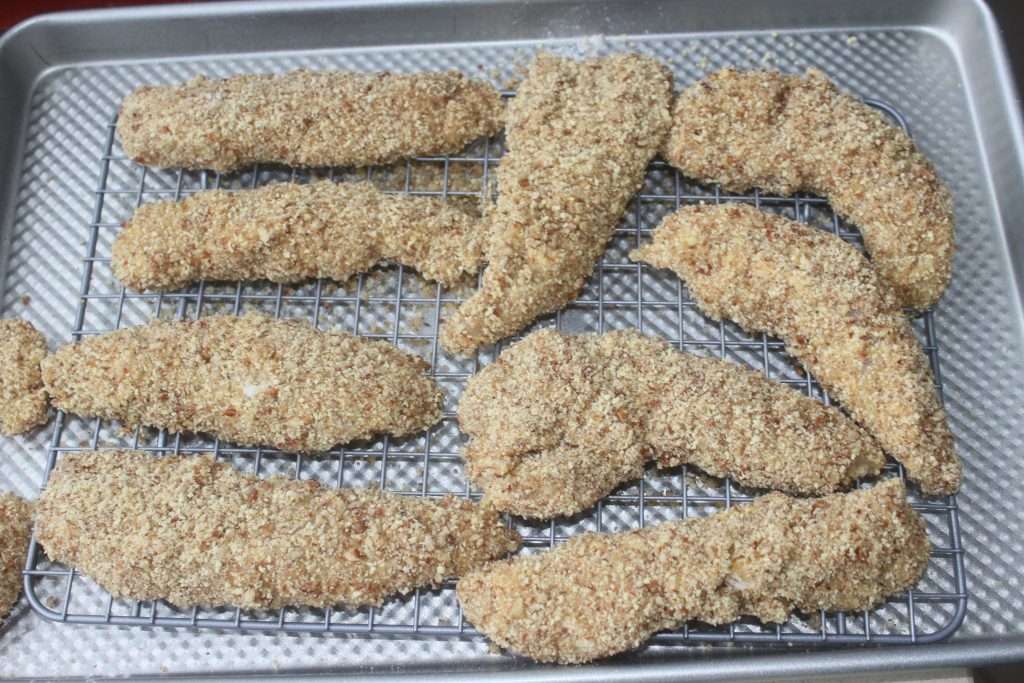
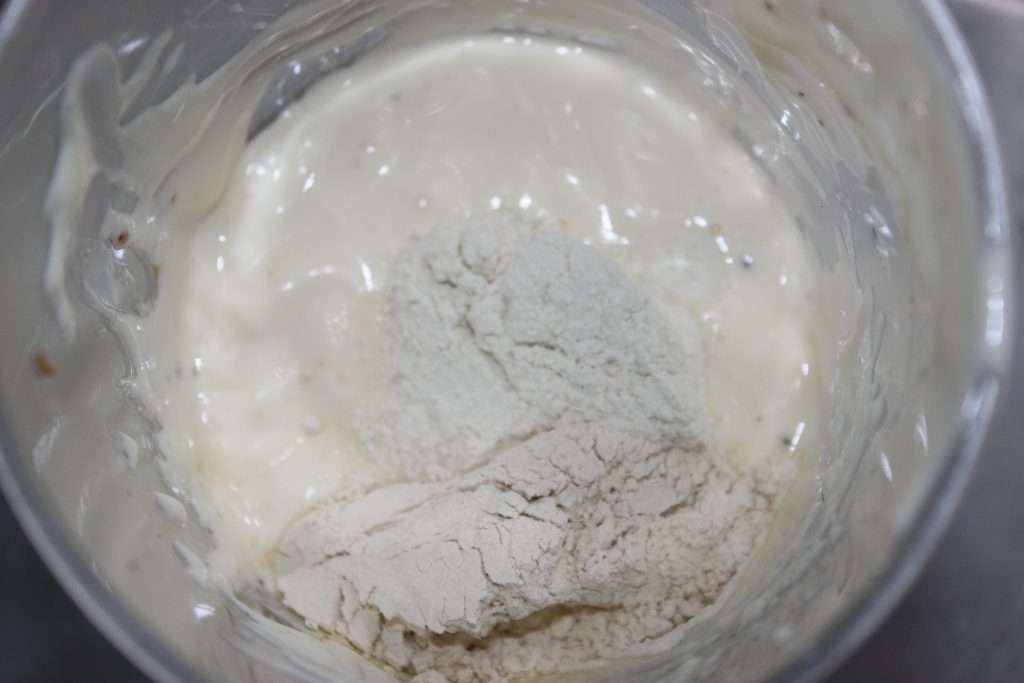
Bake in the oven at 200°C on fan heat for 20 minutes. Meanwhile, prepare the sauce. Place the whole egg in a high-sided blender jar. Pour in the vinegar and oil. Add salt and pepper and a little chilli pepper if desired.
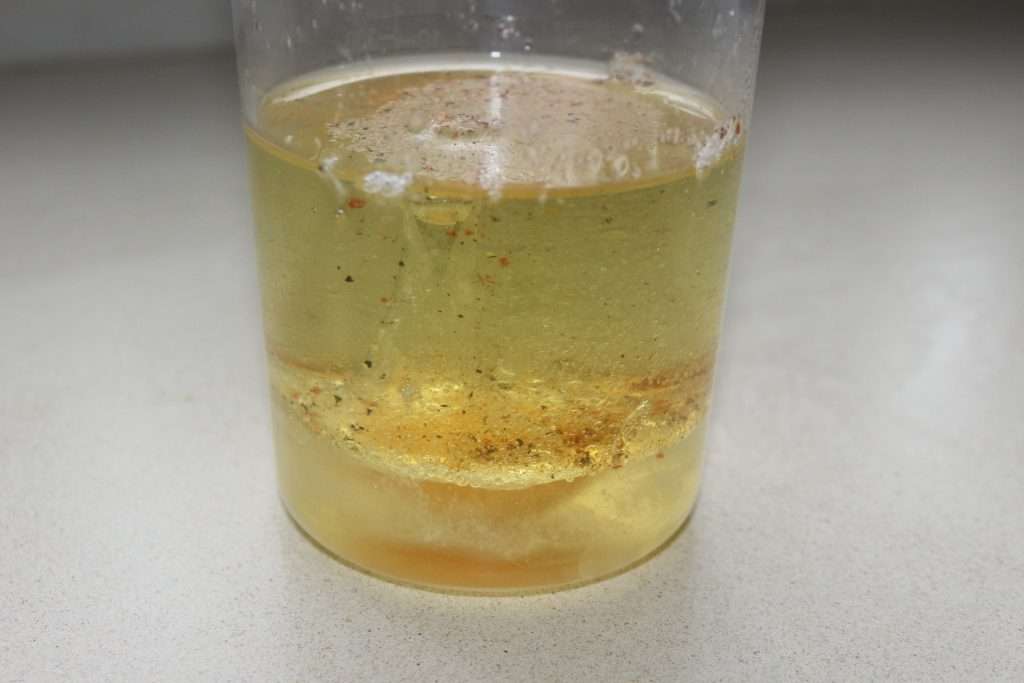
Blend from the bottom up and then very gently to emulsify the sauce as it thickens.
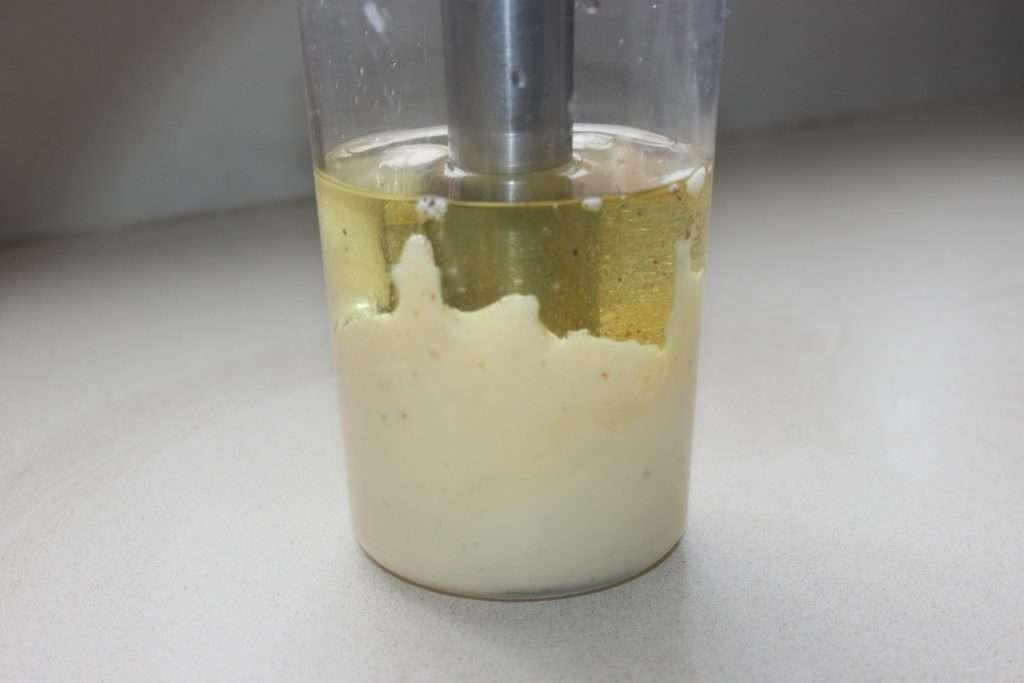
This is the garlic and onion powder. So it’s not garlic or onion in semolina!
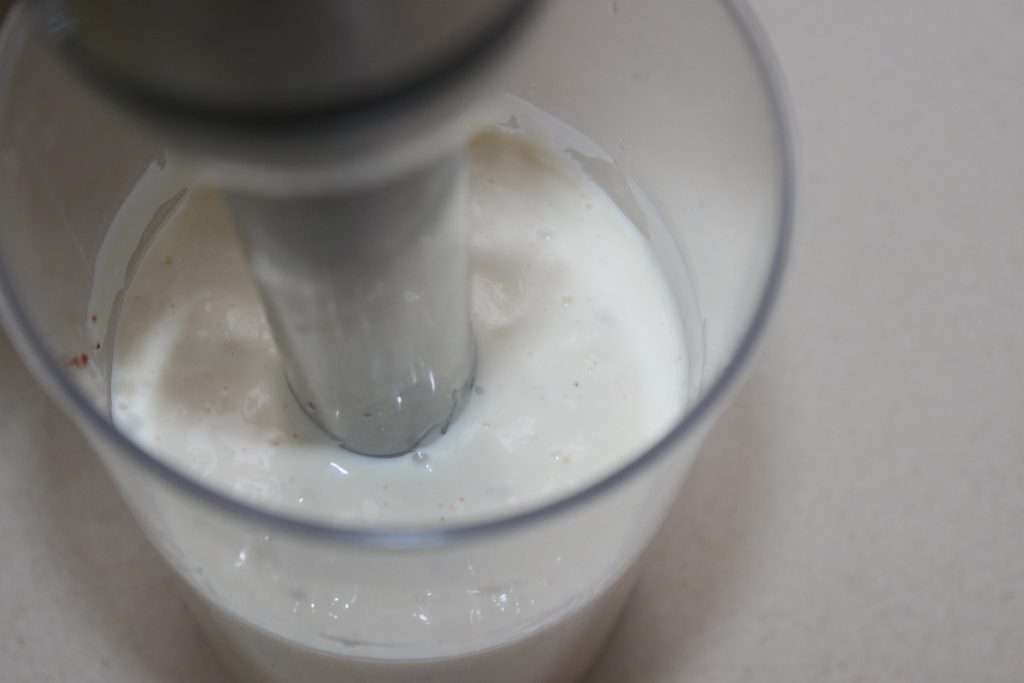
Add to the sauce with the cream.
Pour in the dehydrated herbs as well. This is what I bought for the recipe! Take the brand you find, I am not sponsored by Ducros! 🙂

When the chicken is cooked, take it out of the oven.
Then enjoy without delay with the sauce!
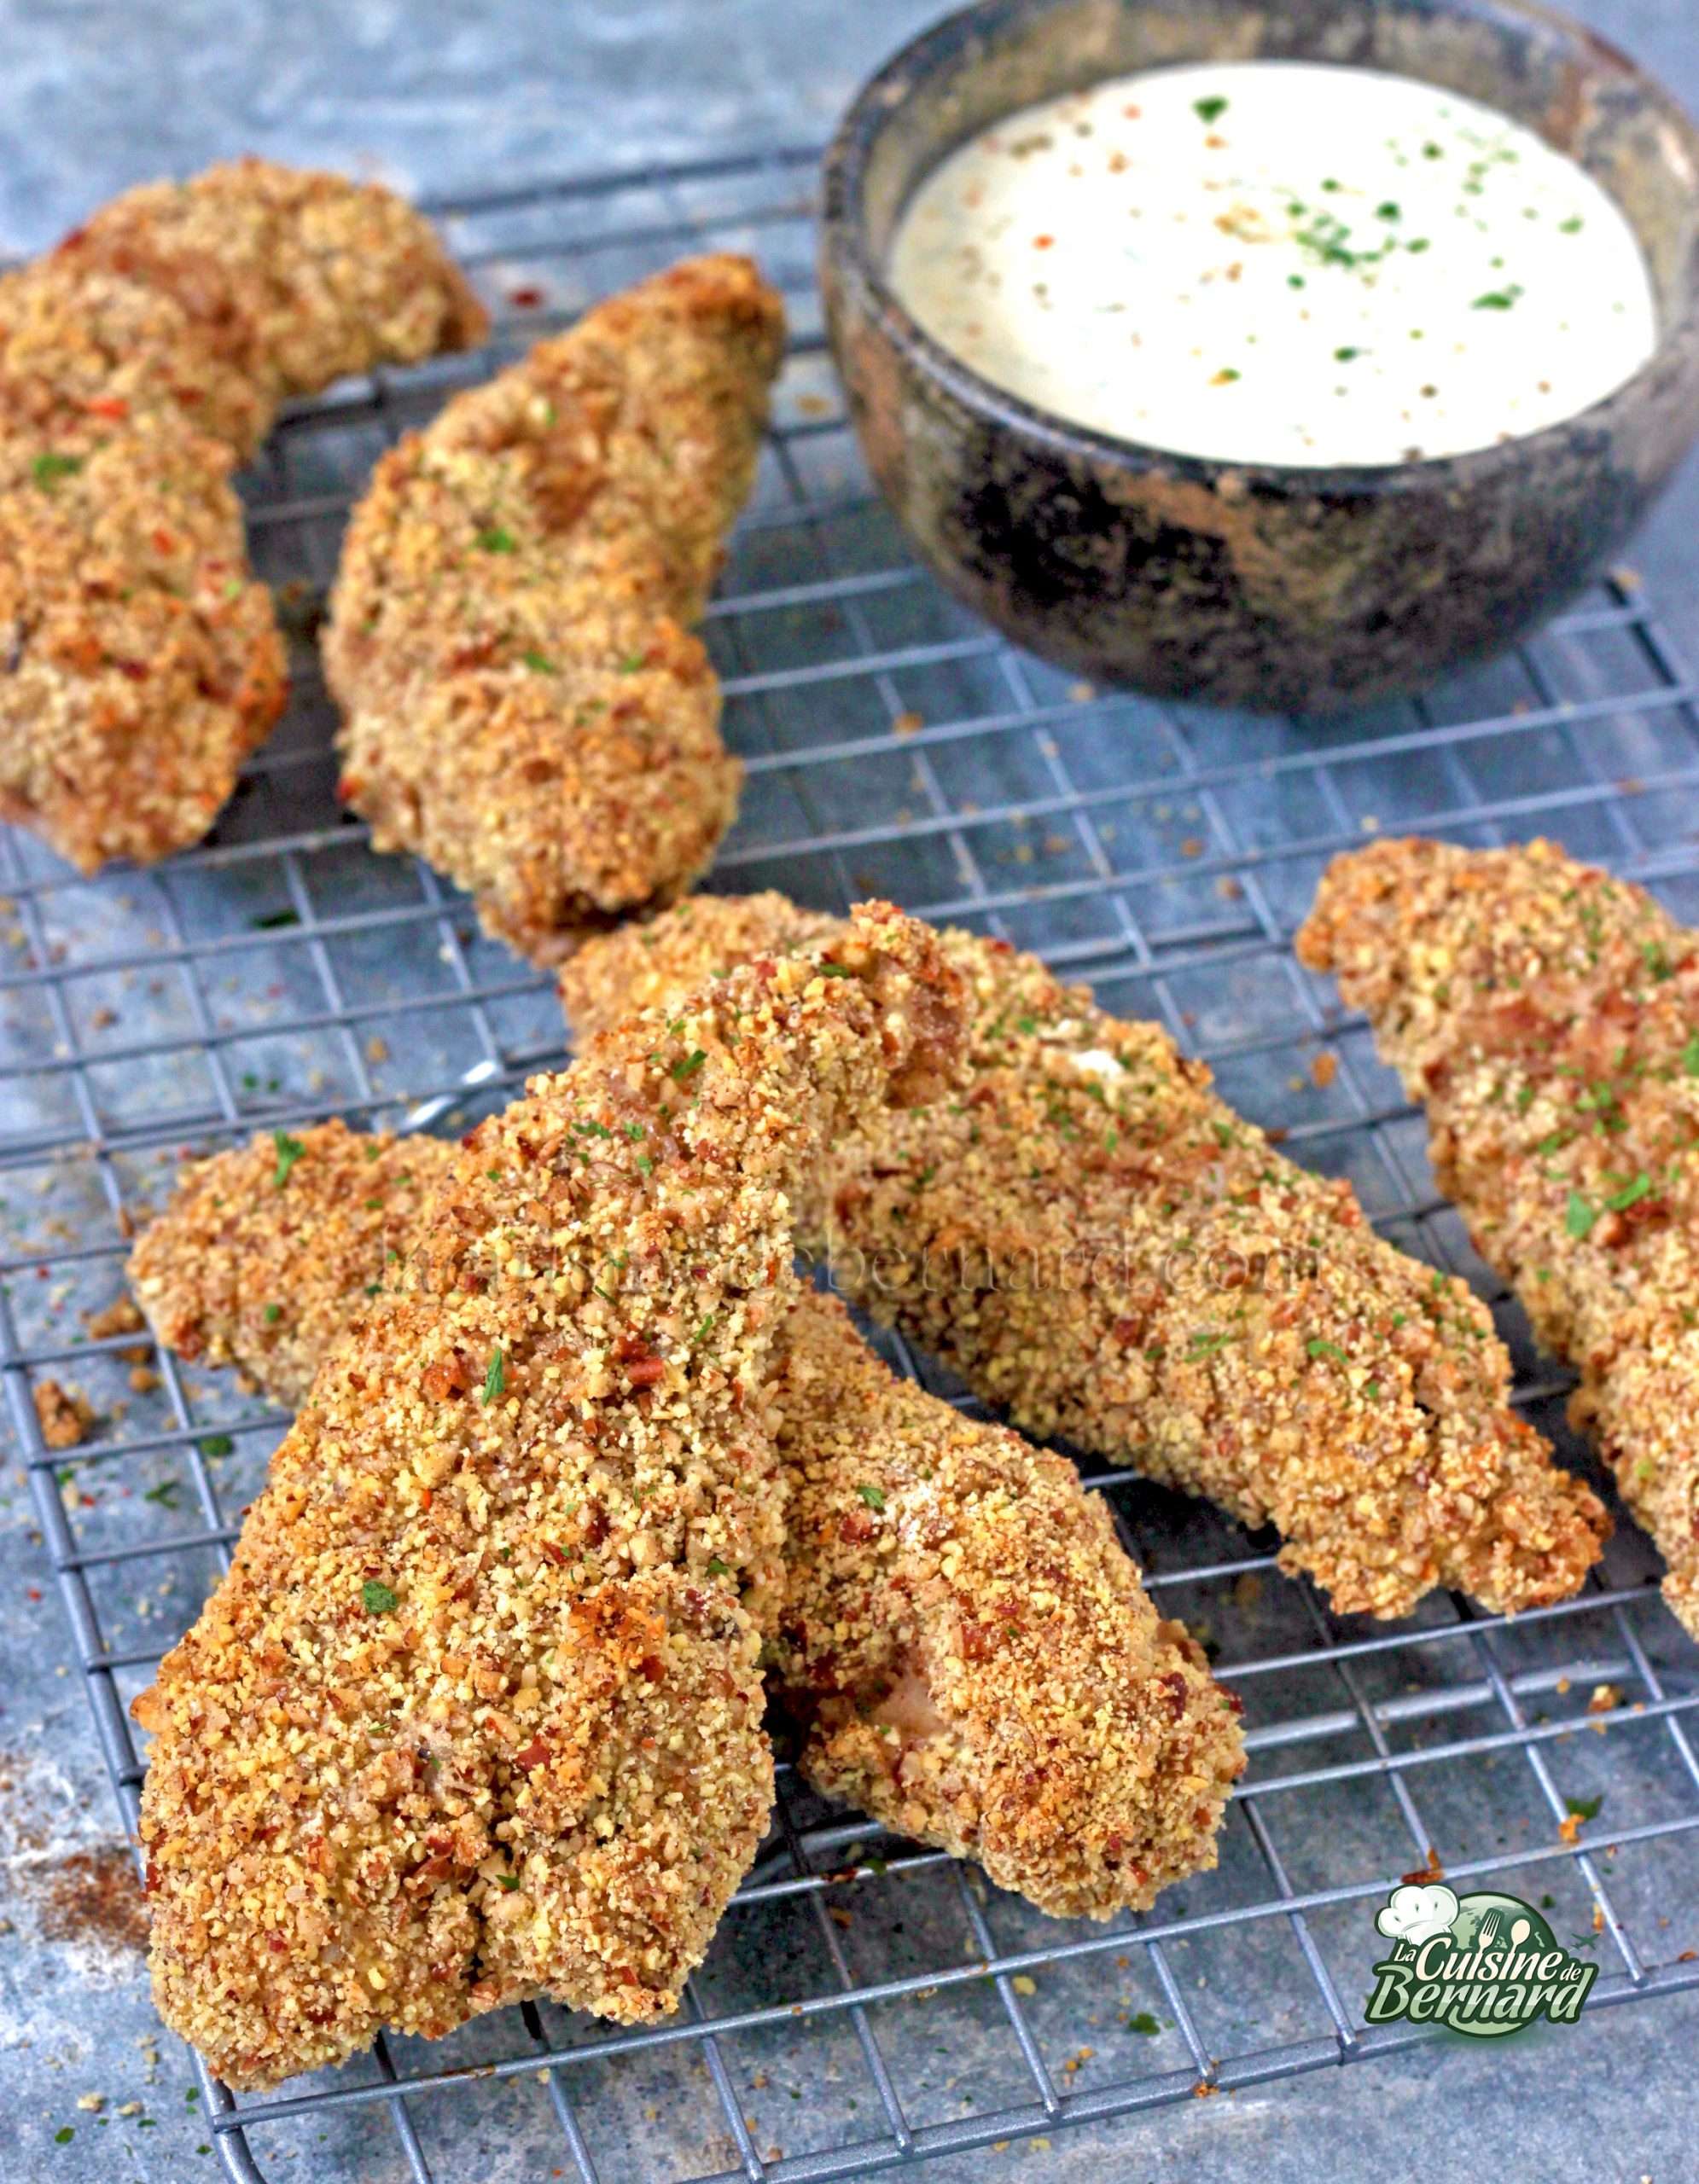
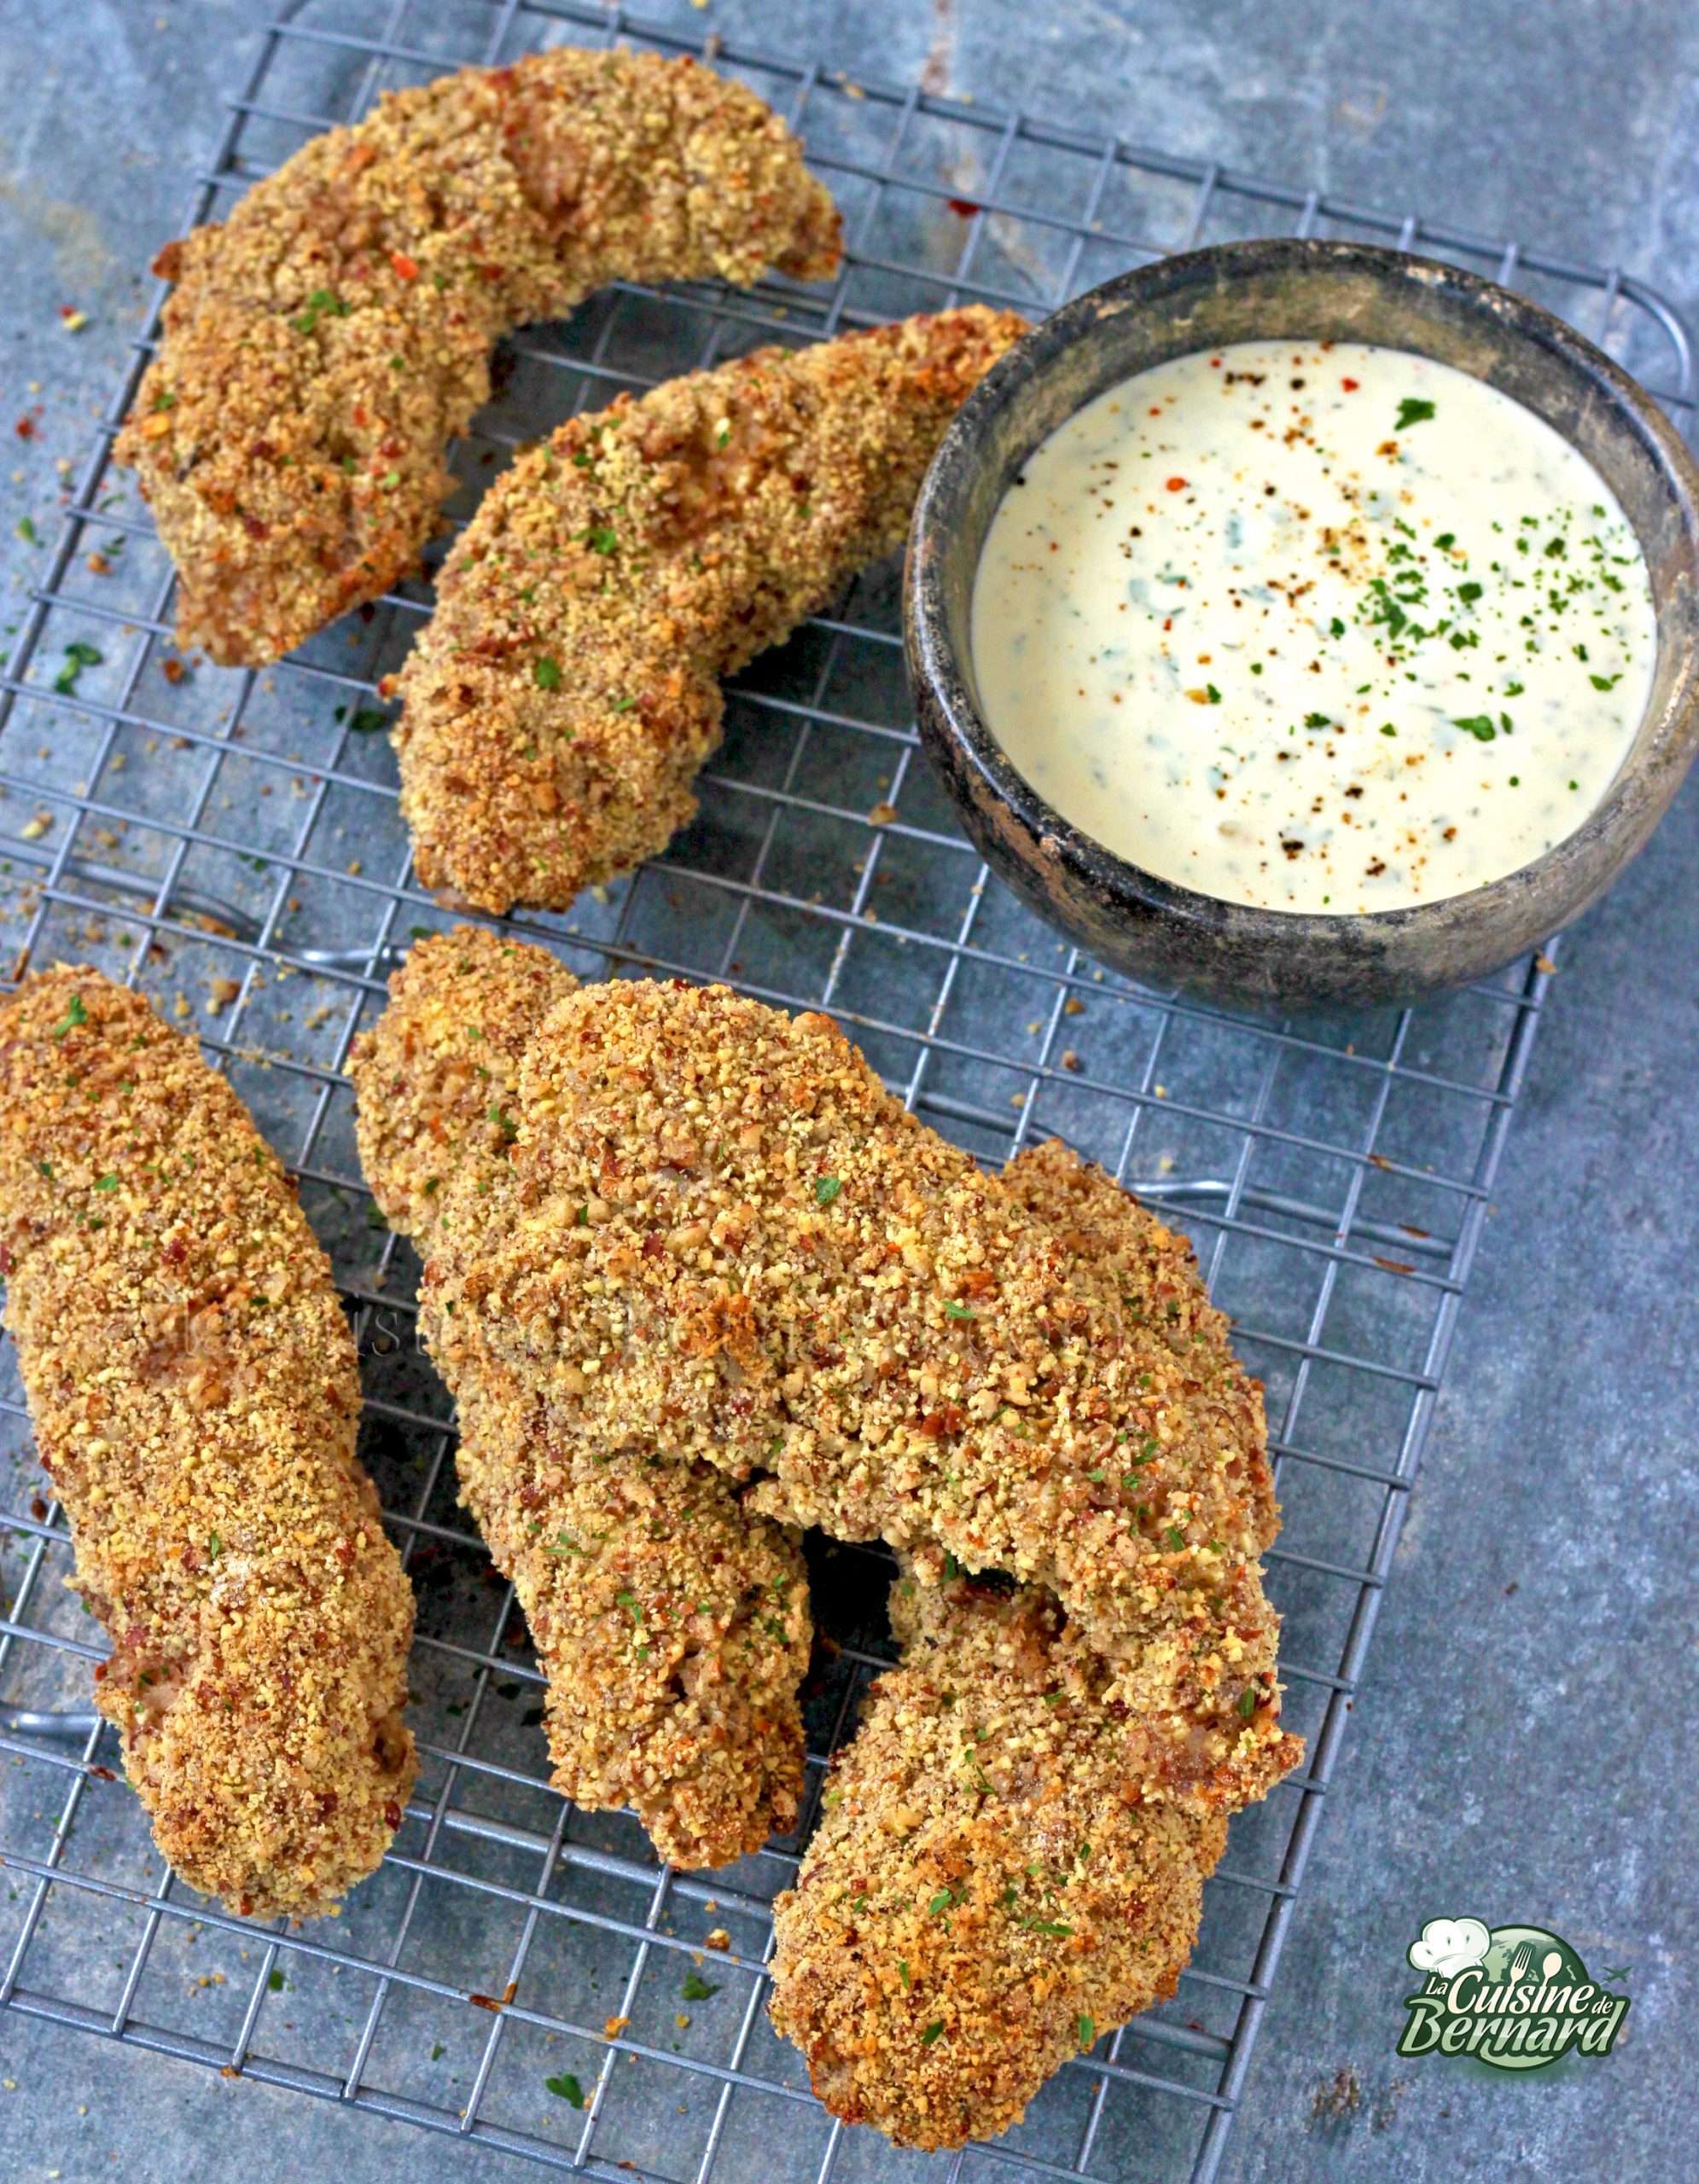

Baked chicken with pecan breading


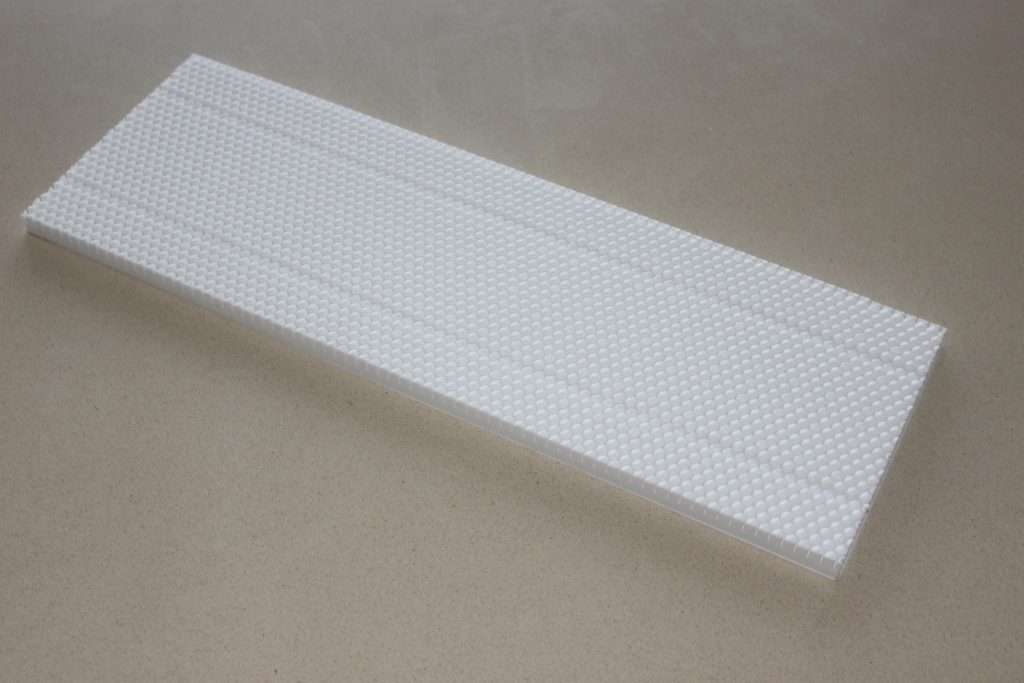
Pour ceux qui possèdent mon livre Scandaleusement Décadent, paru chez Flammarion en novembre dernier, vous aurez peut-être remarqué cette recette avec une gaufrette en forme de nid d’abeille. J’avais précisé que je donnerai le processus sur le blog, mais je n’avais jamais trouvé le temps de le faire. C’est enfin chose faite ! Je vous explique comment j’ai crée mon propre moule en silicone alimentaire, résistant à la chaleur pour y cuire ces jolies gaufrettes. Bien sûr vous pourrez appliquer cette méthode à d’autres choses qu’un baticadre à abeilles ! Et pour ceux qui ne l’ont pas encore, le livre est en vente chez votre libraire ou sur internet !

Recette pour un moule :
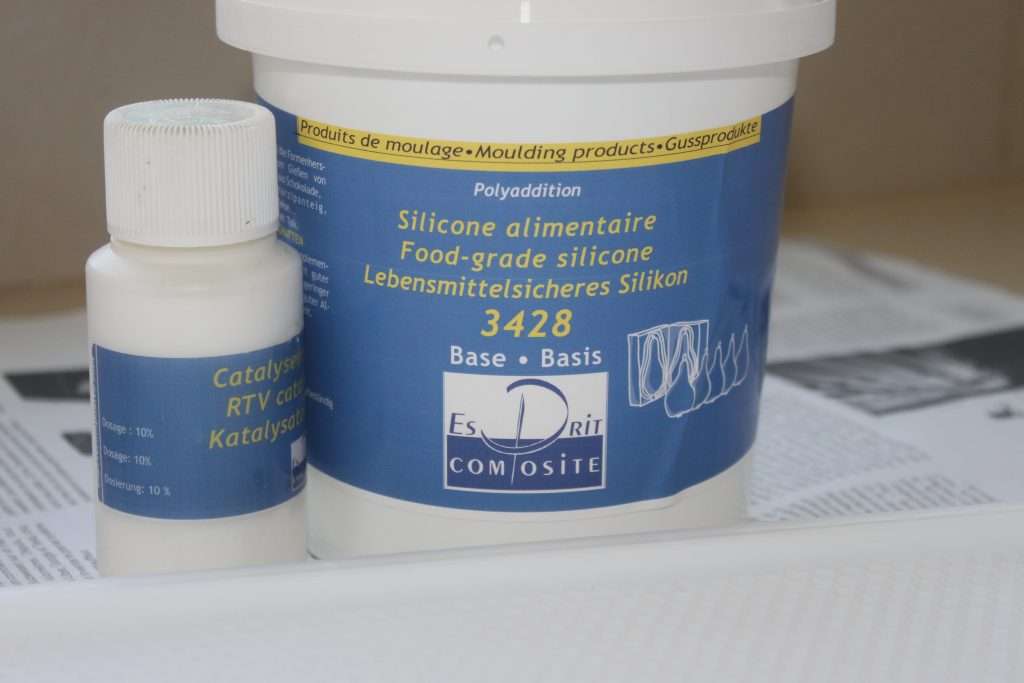
- Un pot de silicone alimentaire 3428 et son catalyseur
- Un baticadre à ruche en PVC
Instructions :
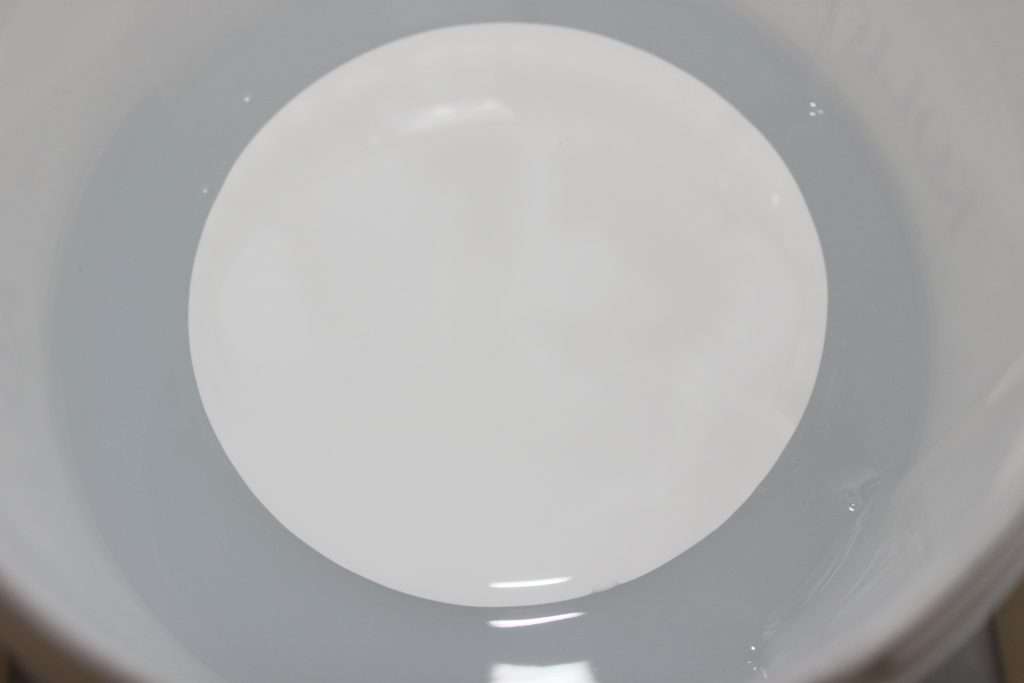
Voici le fameux silicone alimentaire 3428 sui résiste à la chaleur et donc à la cuisson, comme les moules Silikomart ou de marque similaire. J’ai acheté le mien ICI.
Pour avoir le moule nid d’abeille, j’ai acheté un baticadre de hausse dadant en PVC. On peut le trouver par exemple ICI. Celui-ci coûte moins de 3 euros et vous pourrez faire autant de moule en silcone que vous voulez.
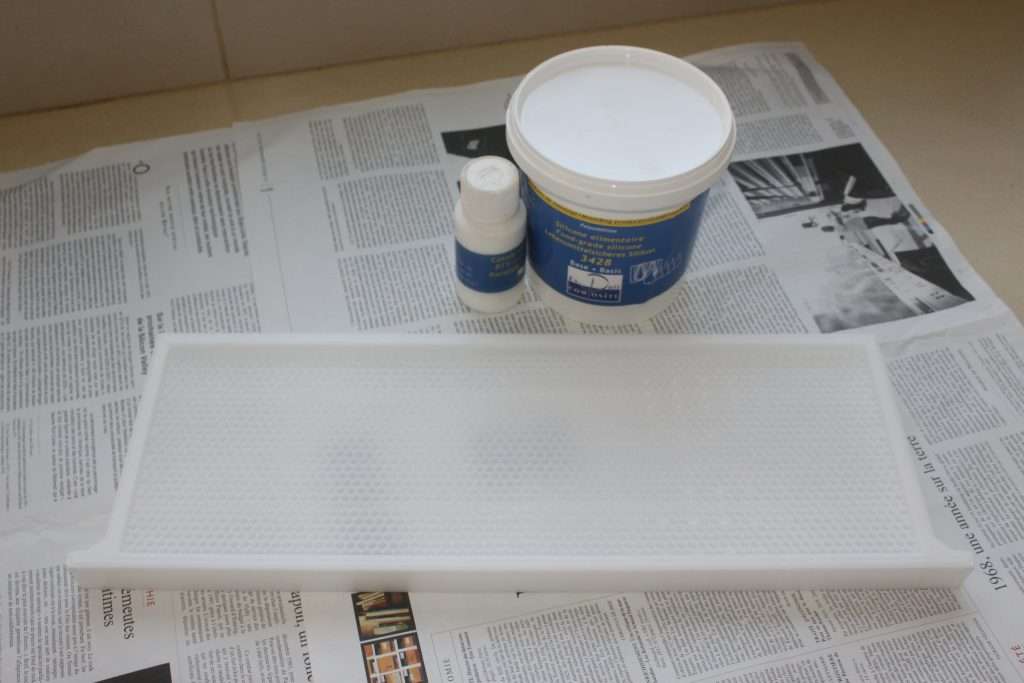
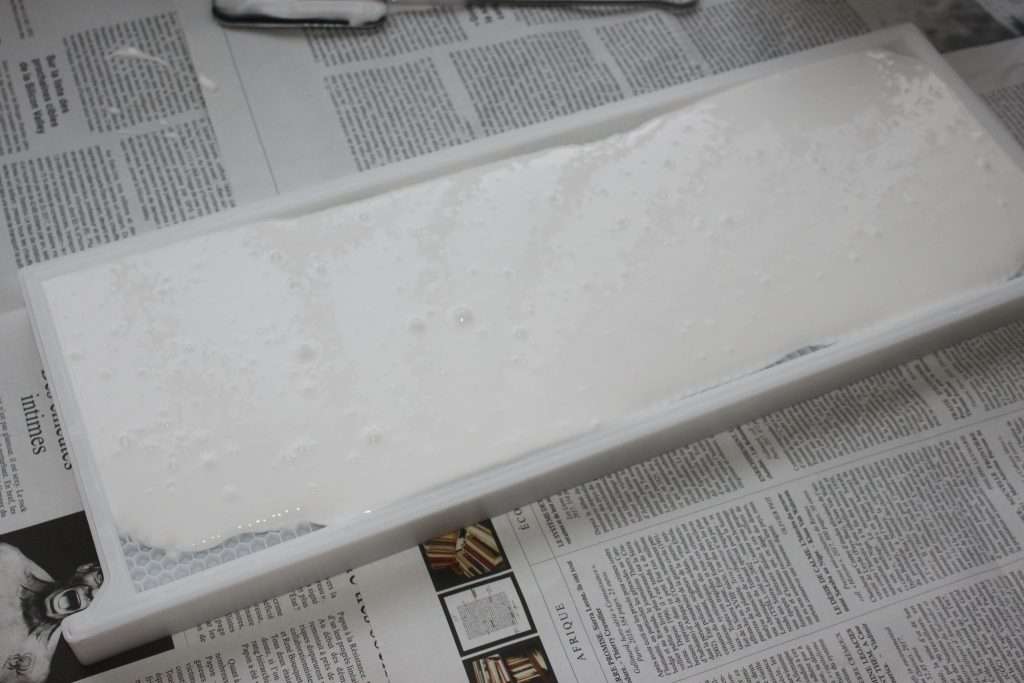
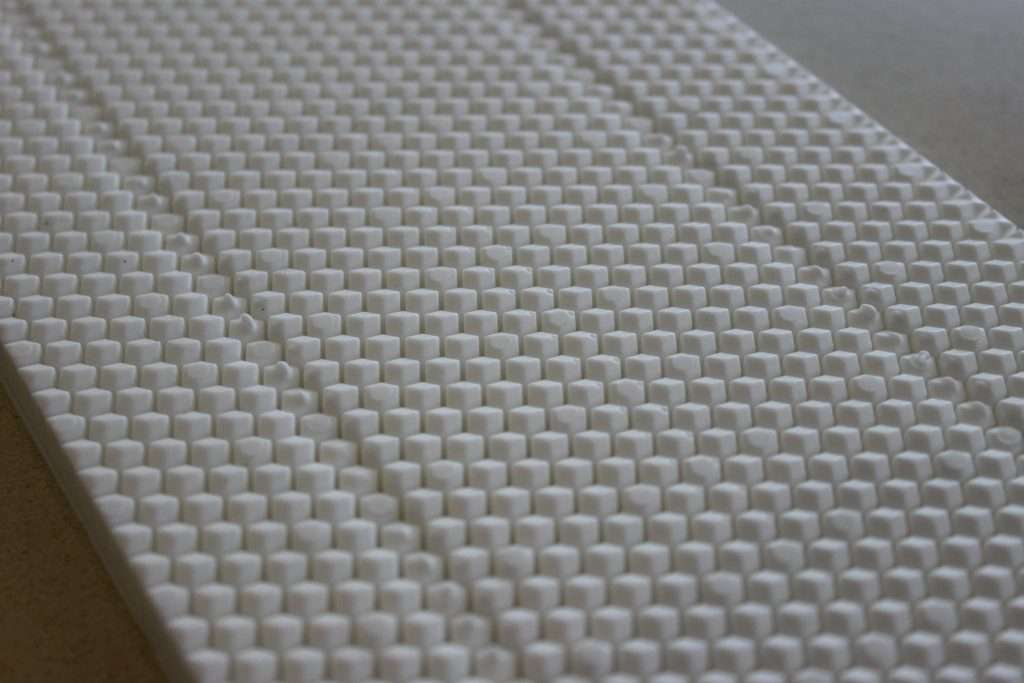
Mélangez très soigneusement le silicone et le catalyseur. J’ai versé la catalyseur blanc dans le pot de silicone transparent. En mélangeant on obtient le silicone blanc.
Versez-en une partie pour recouvrir les trous du nid d’abeille. Protégez le plan de travail avec des journaux. Tapez bien le baticadre sur le plan pour que le silicone ne fasse pas de bulle d’air. J’ai tapé vraiment longtemps, genre 10 minutes !
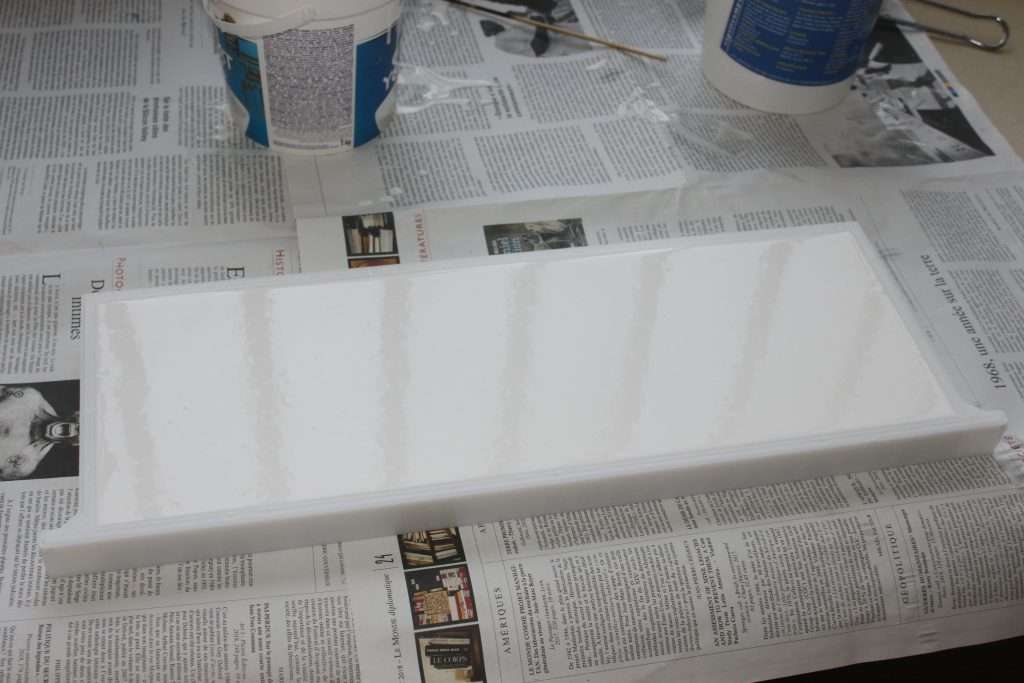
Remplissez cette fois jusqu’à ras de la hauteur du baticadre. Tapez de nouveau pour enlever le maximum de bulle d’air. J’ai tellement tapé qu’il n’y en avait plus aucune.
Laissez sécher une journée dans un endroit aéré. Avec une fourchette, démoulez dans un coin, puis attrapez à la main pour tirer le silicone délicatement. Il est quand très solide, donc pas d’inquiétude.

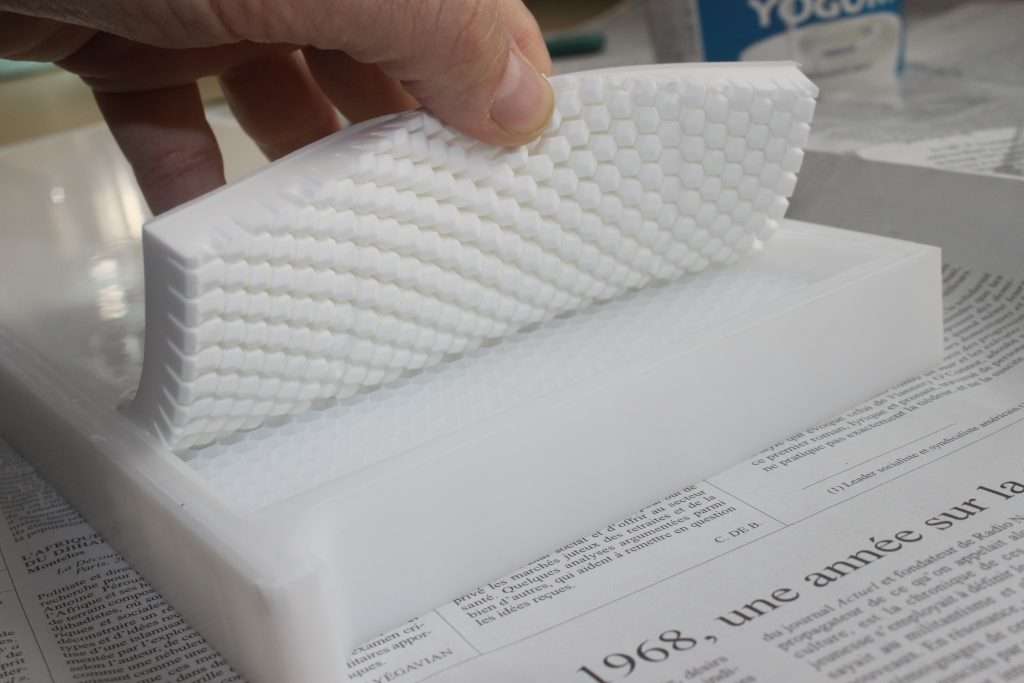
Et voilà le beau moule dans lequel vous pourrez verser la pâte pour faire des gaufrettes en nid d’abeille !
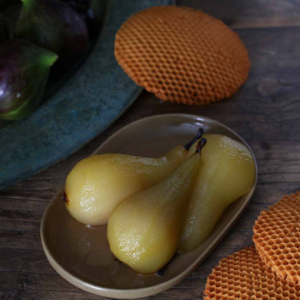
Dans mon livre Scandaleusement Décadent, j’ai proposé cette recette archi délicieuse : une base cuite d’amande, servie tiède, avec des poires pochées à la vanille, une crème montée au yaourt grec, des morceaux de noix et la fameuse gaufrette ! Je proposerai la recette de la gaufre sur le blog très prochainement.

Homemade Honeycomb Silicone Mould


I made this recipe a bit like that, with vegetables from the market and it turned out delicious and very appreciated by my guests! We have an impression of freshness with the lime, the vegetables are cooked as it should be. The delicious homemade pesto with coriander, peanuts, spinach and lime adds a very original touch. Don’t hesitate to put in the vegetables you like the most!
Pâtes« PRIMAVERA » AU PESTO FRAIS ET CITRON VERT, LÉGUMES VERTS Pour 4 à 6 personnes :
- a dozen green asparagus
- 200g fresh or frozen peas
- 2 zucchinis (I took white ones)
- 500g of dough
- 200g spinach, lime, coriander and peanut pesto (recipe HERE)
- the zest of a lime
- parmesan cheese
- olive oil
- salt pepper
Instructions :
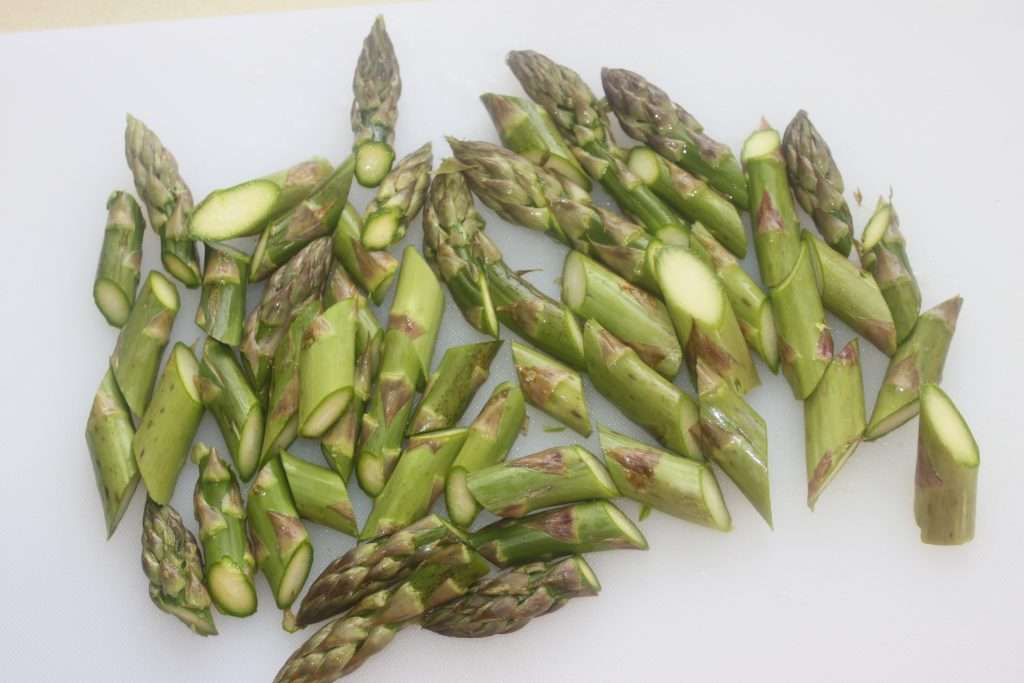
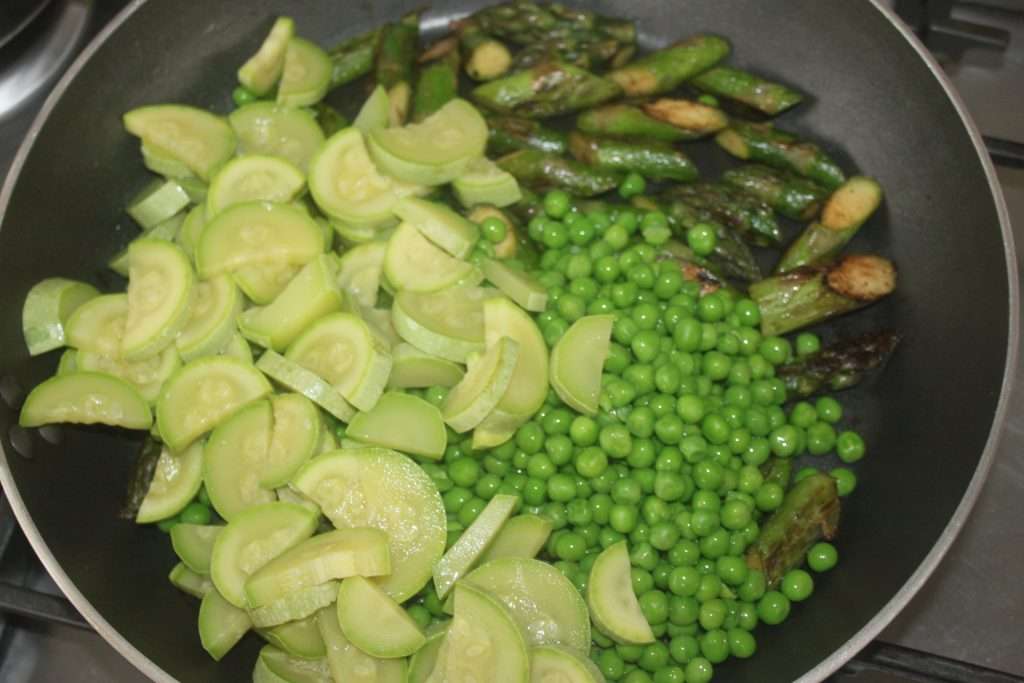
Wash the green asparagus. Trim the base as needed if they are soft or damaged.
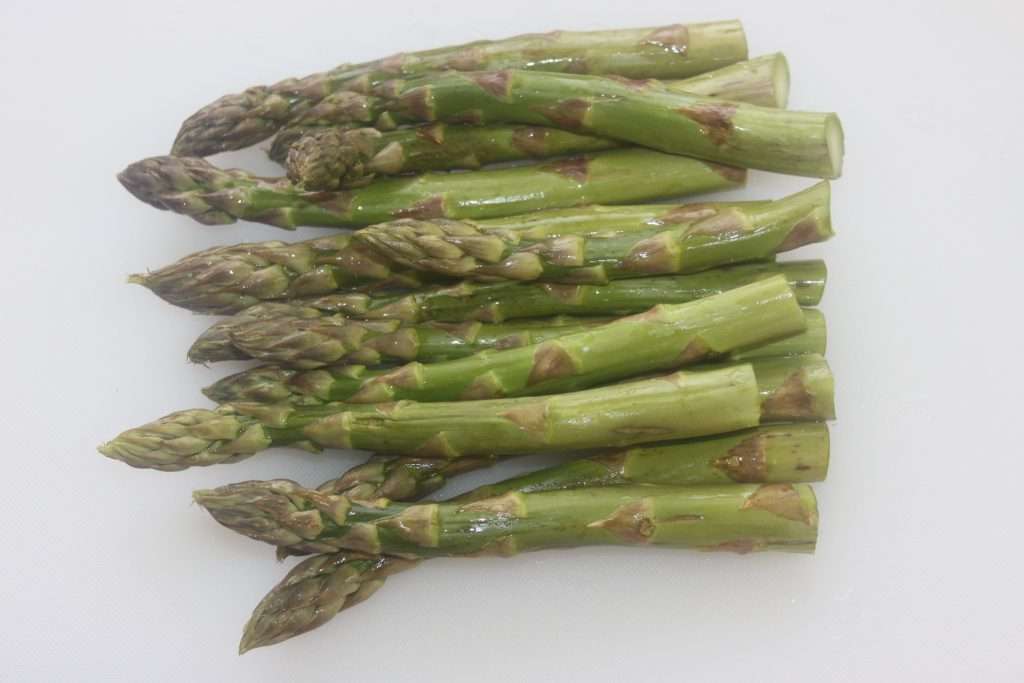
Cut them into pieces.
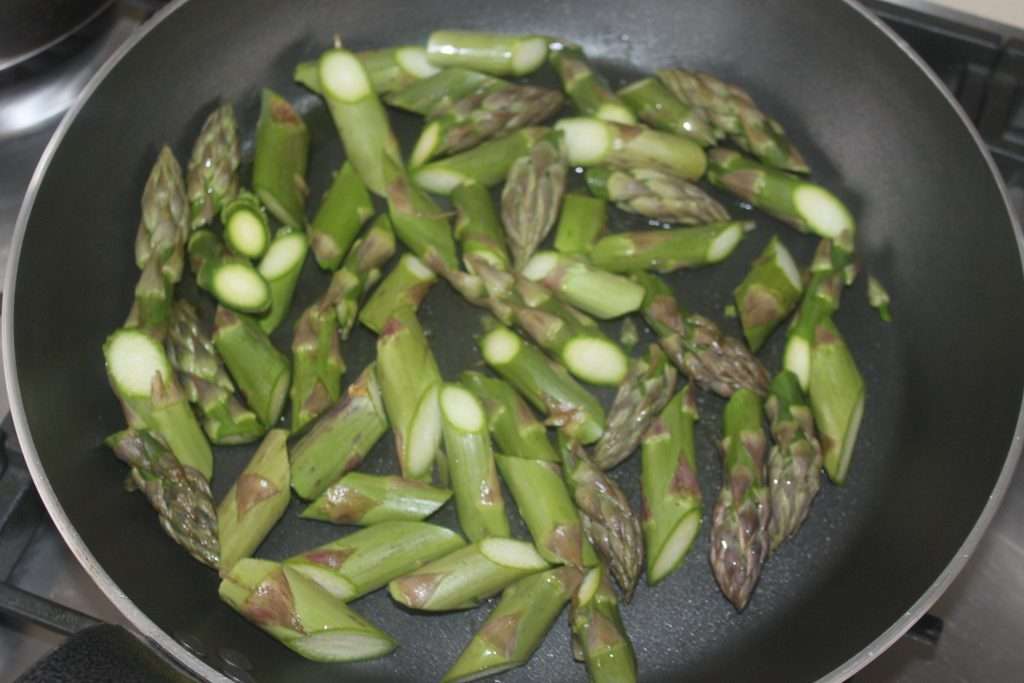
Put them in a large frying pan with two to three tablespoons of olive oil. Heat over high heat.
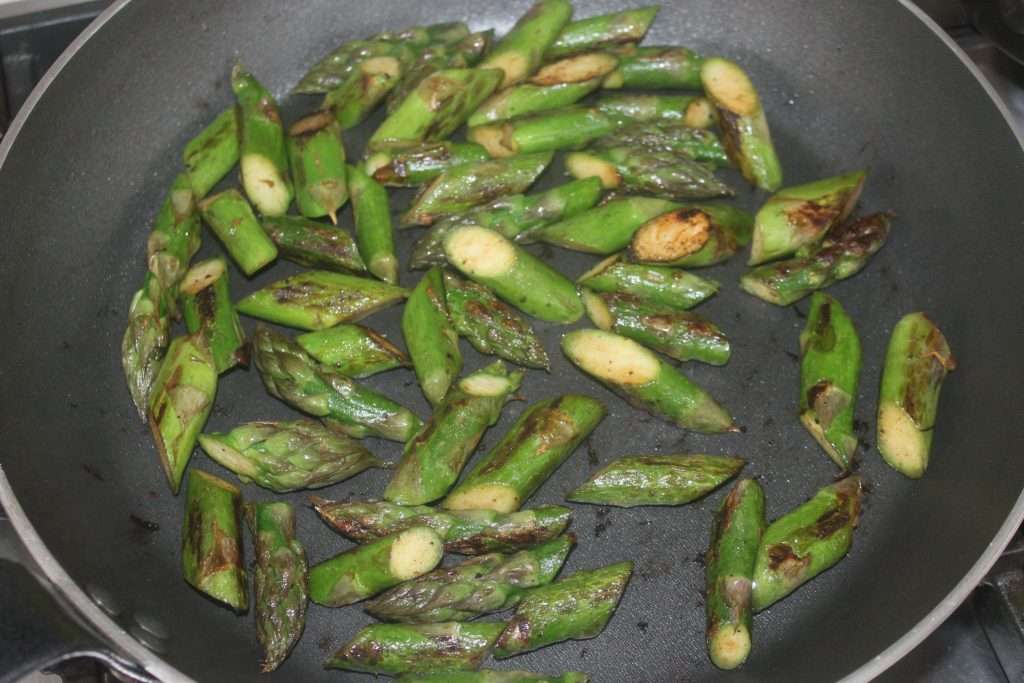
Put a lid on and cook for 5-7 minutes, shaking occasionally. Put salt and pepper at your taste.
Wash the zucchini and cut off the ends.
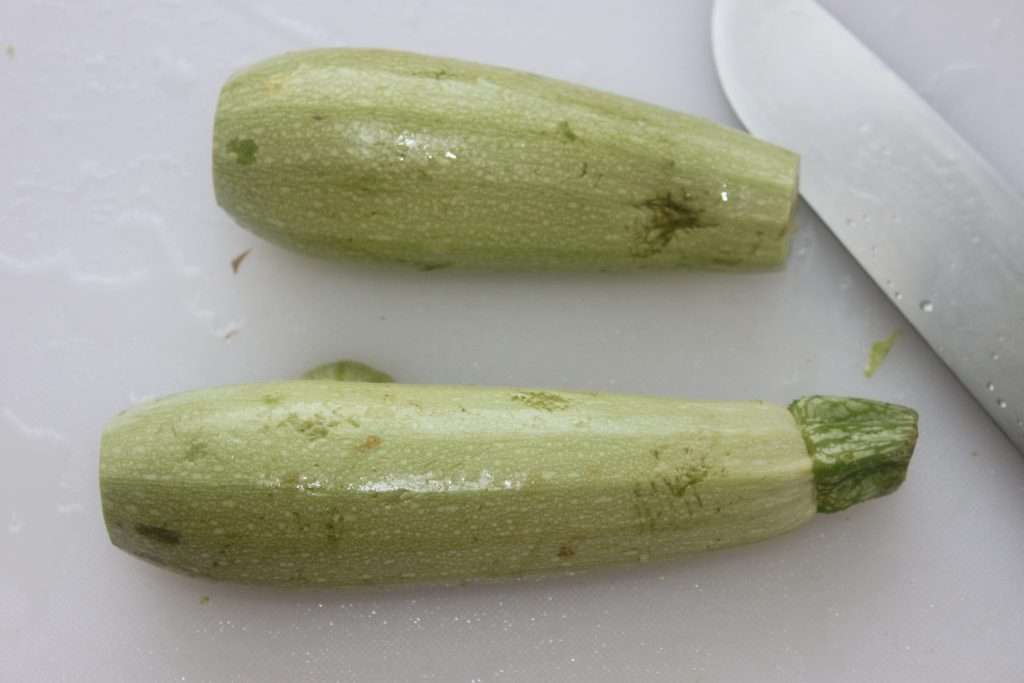
Cut them in half lengthwise and then into slices.
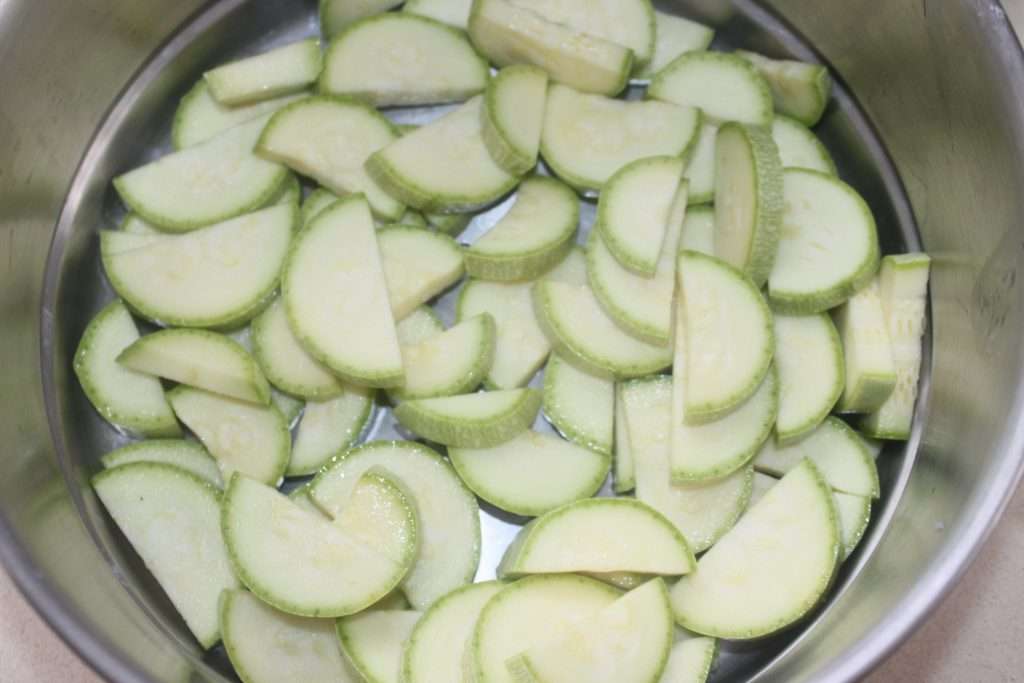
Steam them for 6 minutes. Stop cooking by running them under cold water.

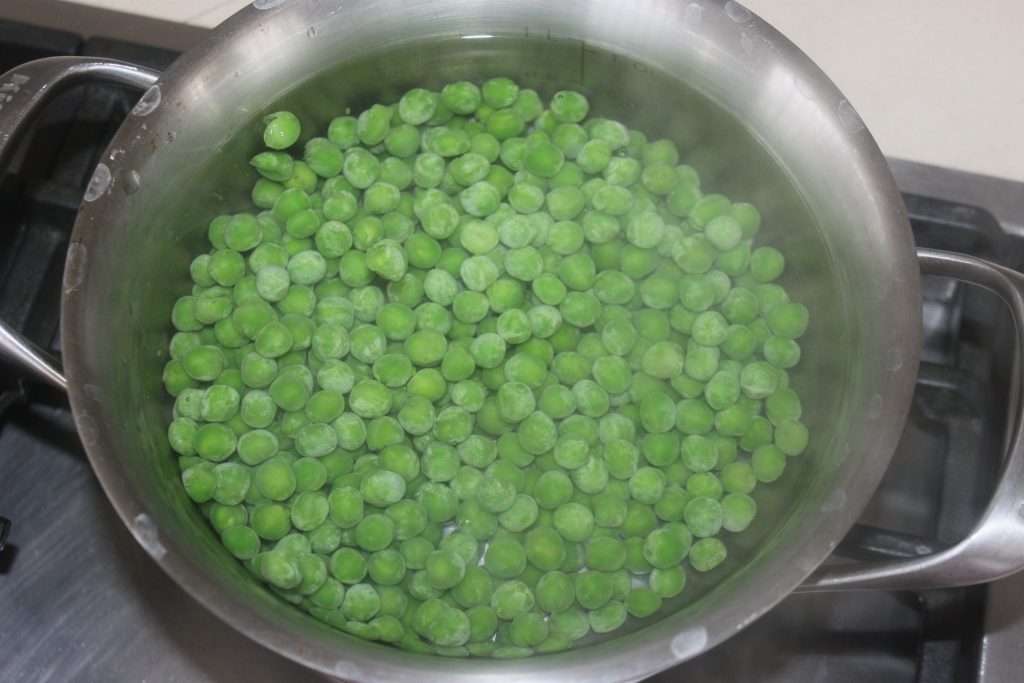
Cook the peas for 6 minutes in boiling water. Drain, rinse in cold water and drain again.
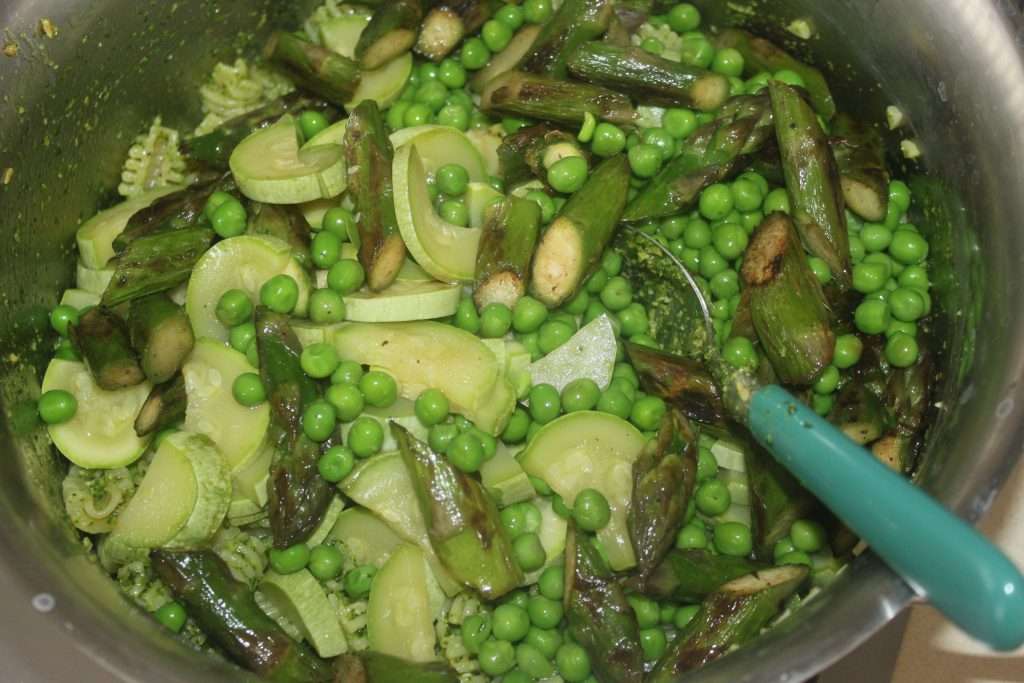
Gather all the vegetables together.
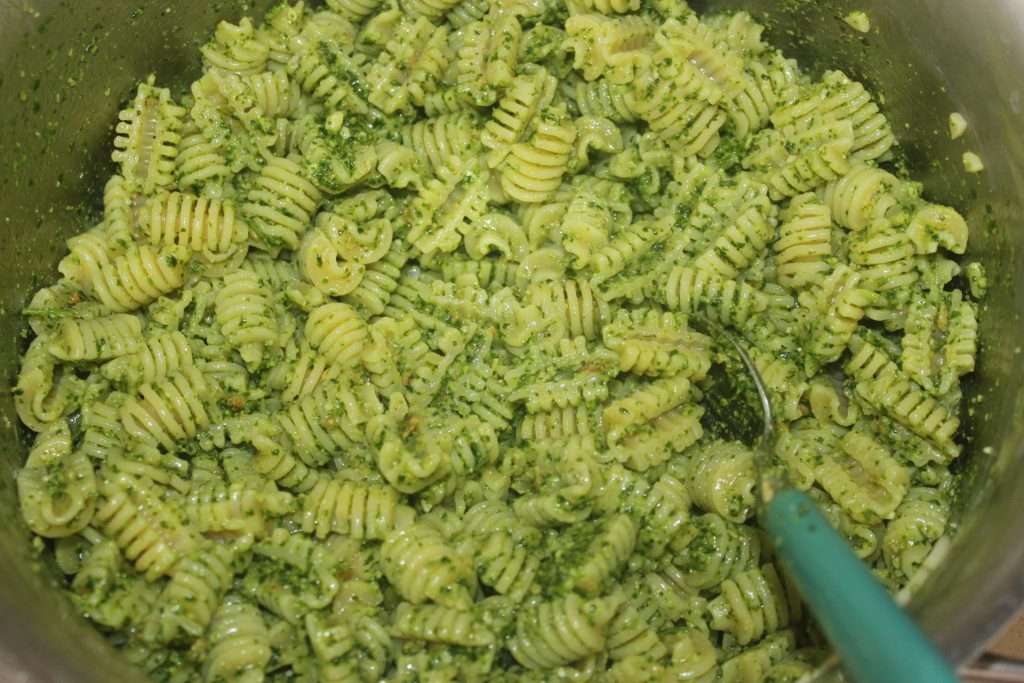
When you’re ready to eat, cook the pasta al dente as directed on the package. Drain them, add the pesto.
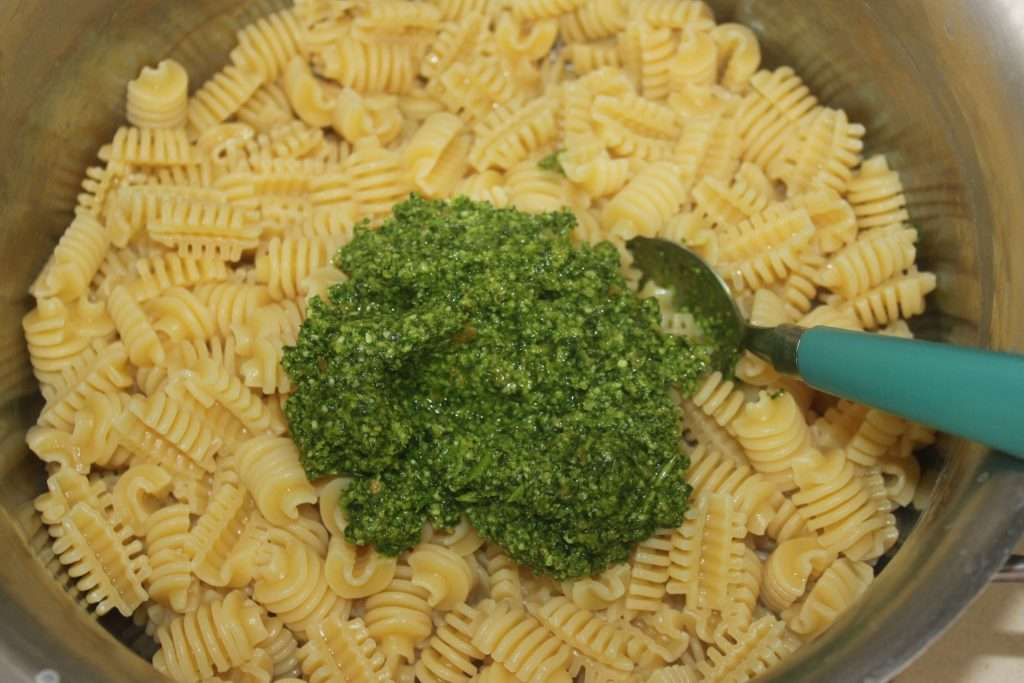
Mix well.
Pour in the vegetables.
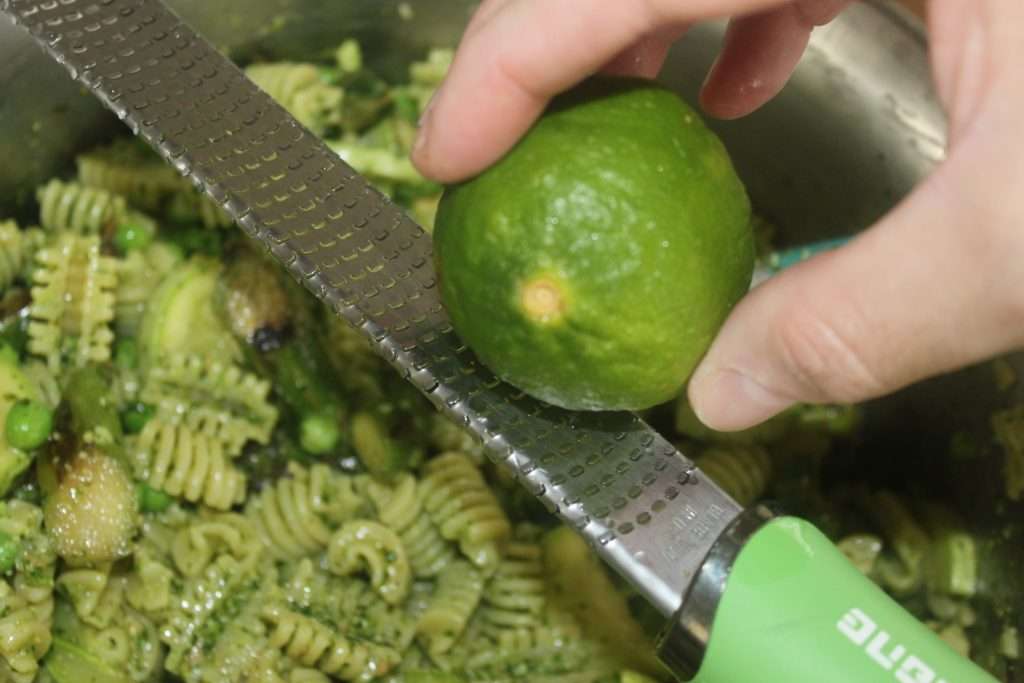
Add the zest of a lime.
Put salt and pepper at your taste. I also add two tablespoons of olive oil.
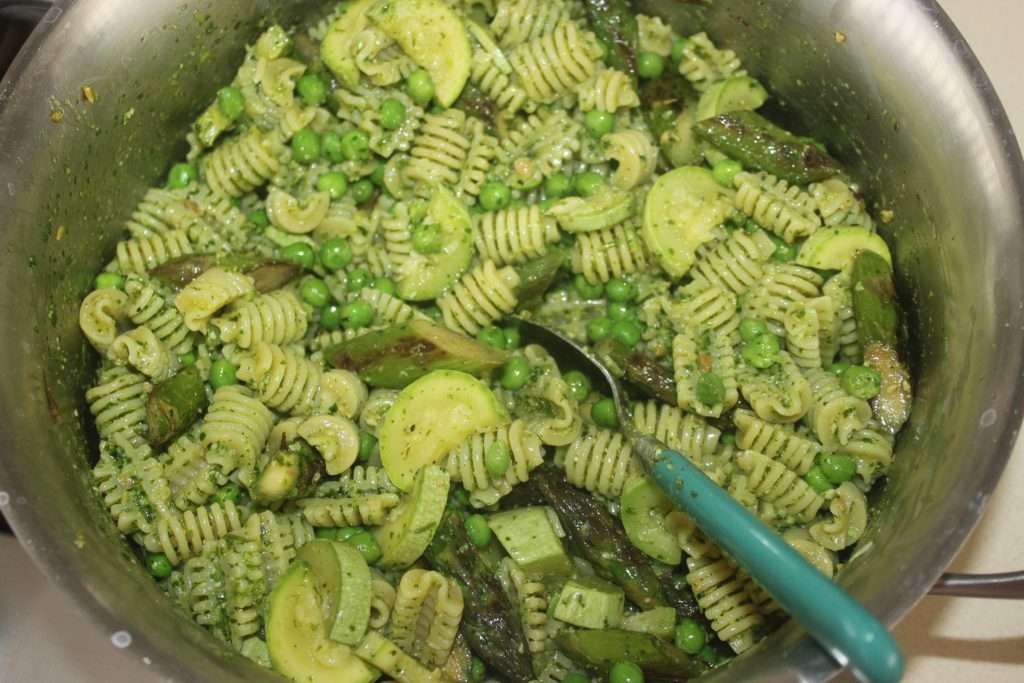
Serve immediately with a few shavings of Parmesan cheese.
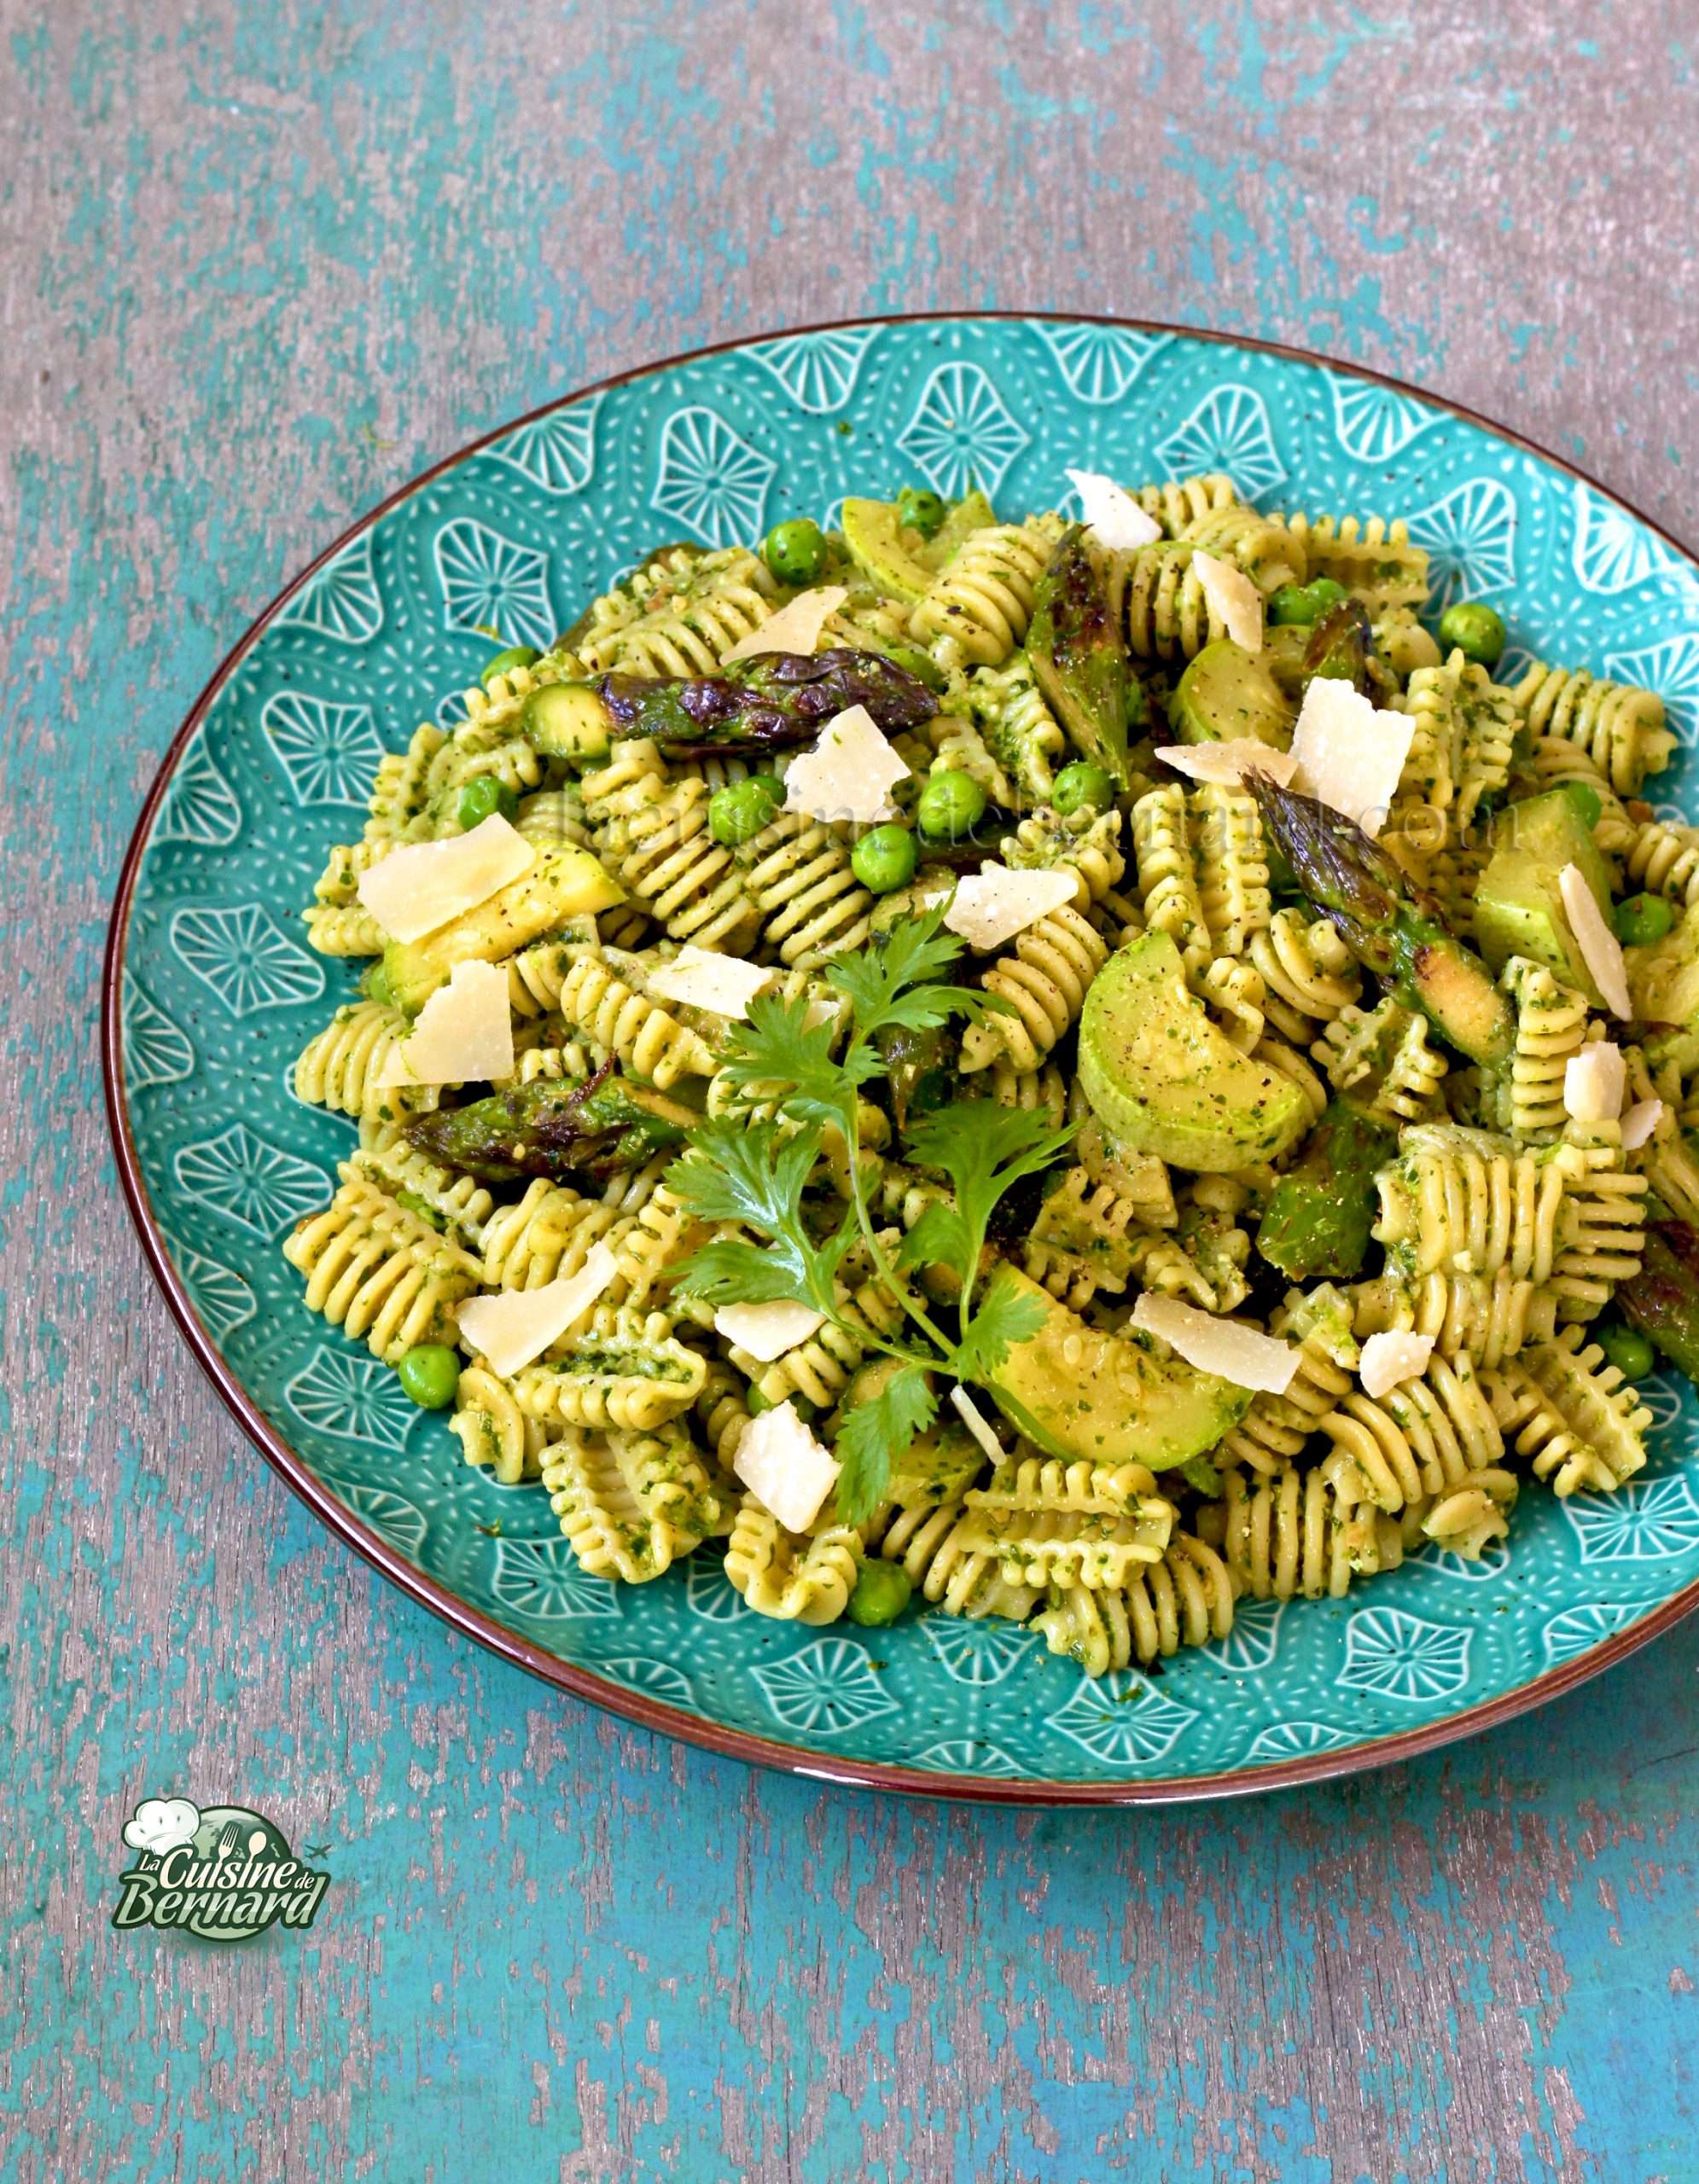
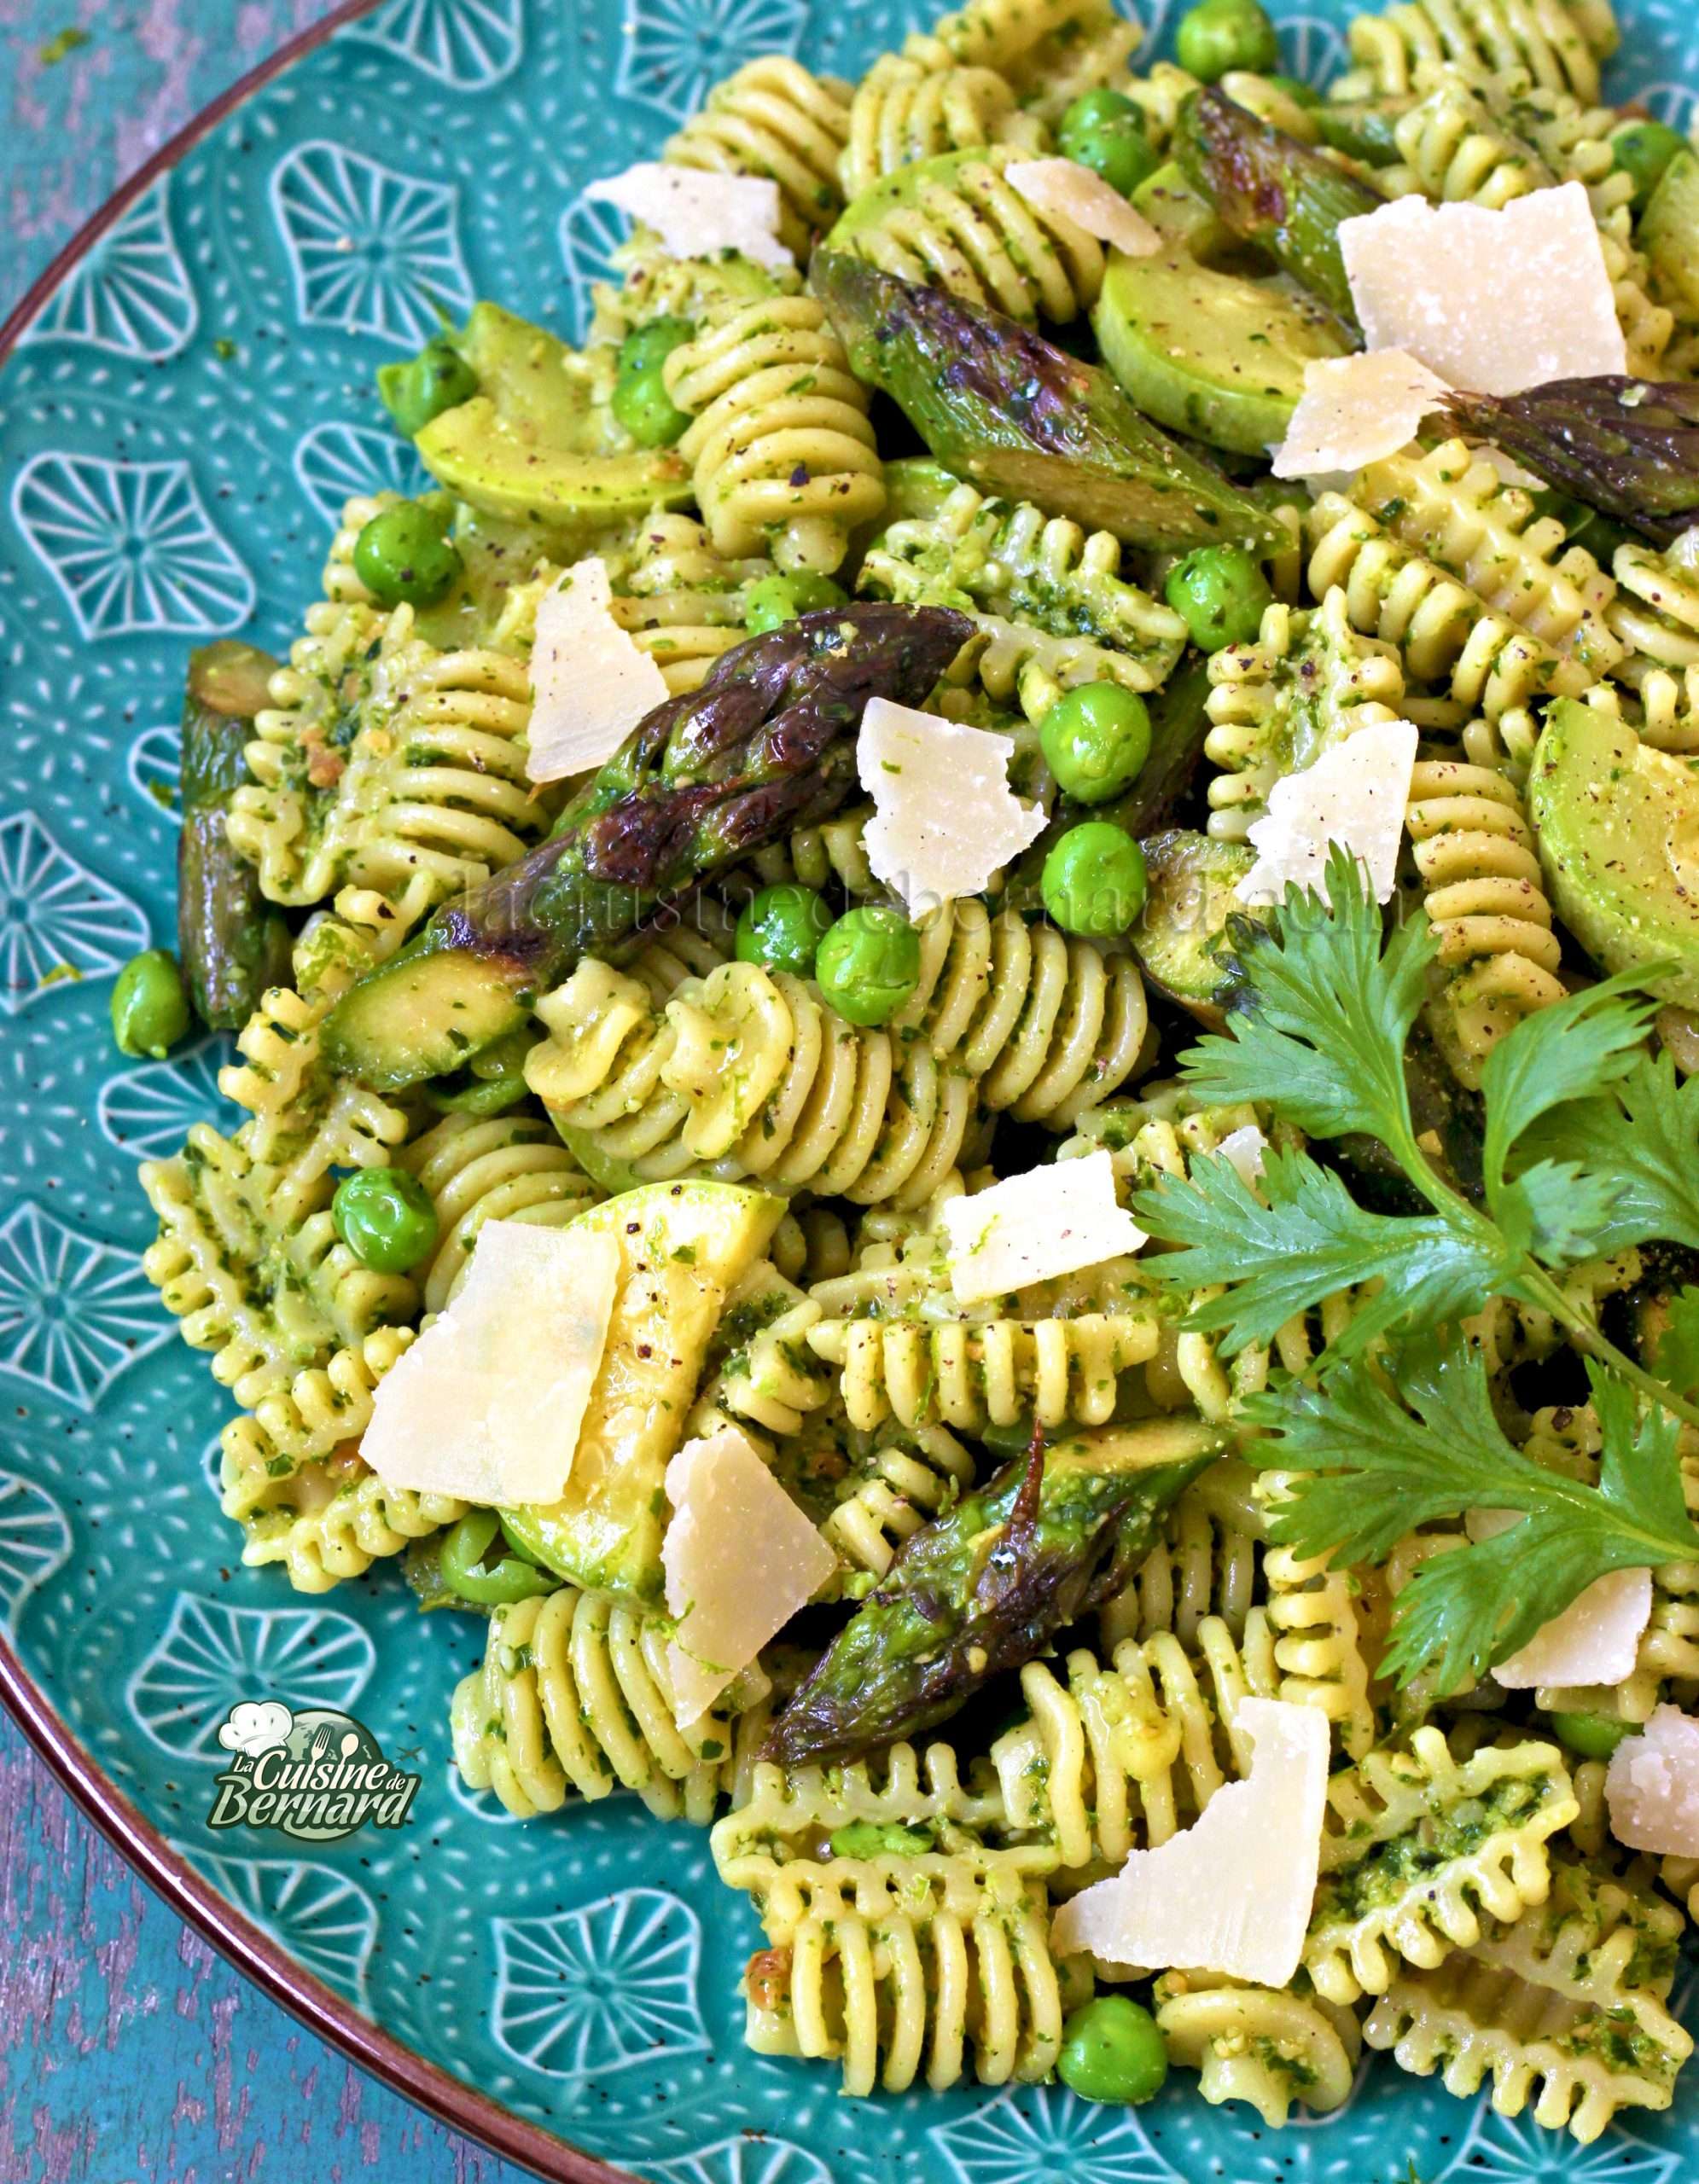

Pasta "Primavera" with fresh pesto and lime, green vegetables


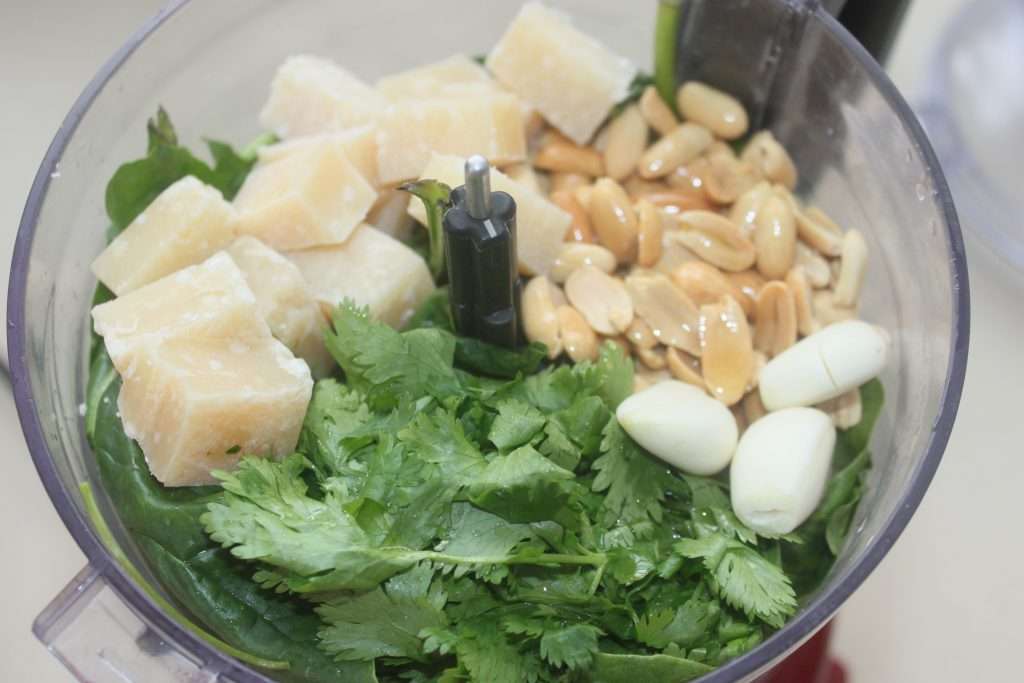
Now that I’ve finished my next book, I can get back into my kitchen for my favorite activity! So I’m starting off easy with a new pesto, this time a little different. With spinach leaves, fresh cilantro, roasted peanuts and lime! It has an unexpected pep and gives a delicious freshness. It will be perfect in many recipes or simply on toast!
Pesto :
- 100g spinach leaves
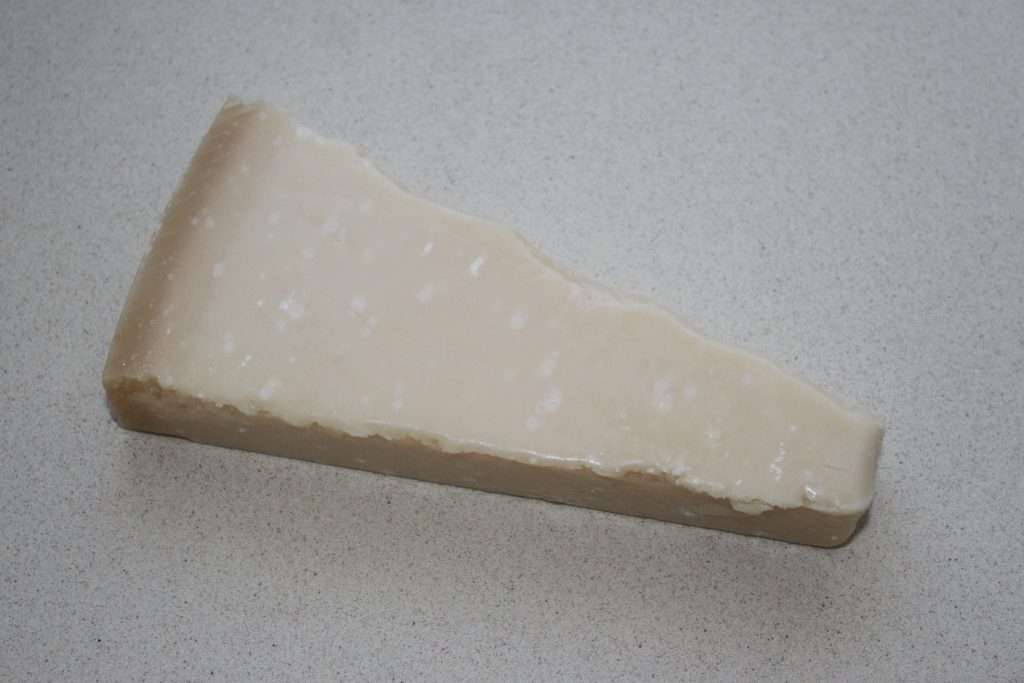
- 80g of parmesan cheese
- 2-3 small cloves of garlic
- 75g of roasted peanuts (if unsalted, add salt at the bottom, if already salted, forget it!)
- 50g of fresh coriander
- 100g of olive oil
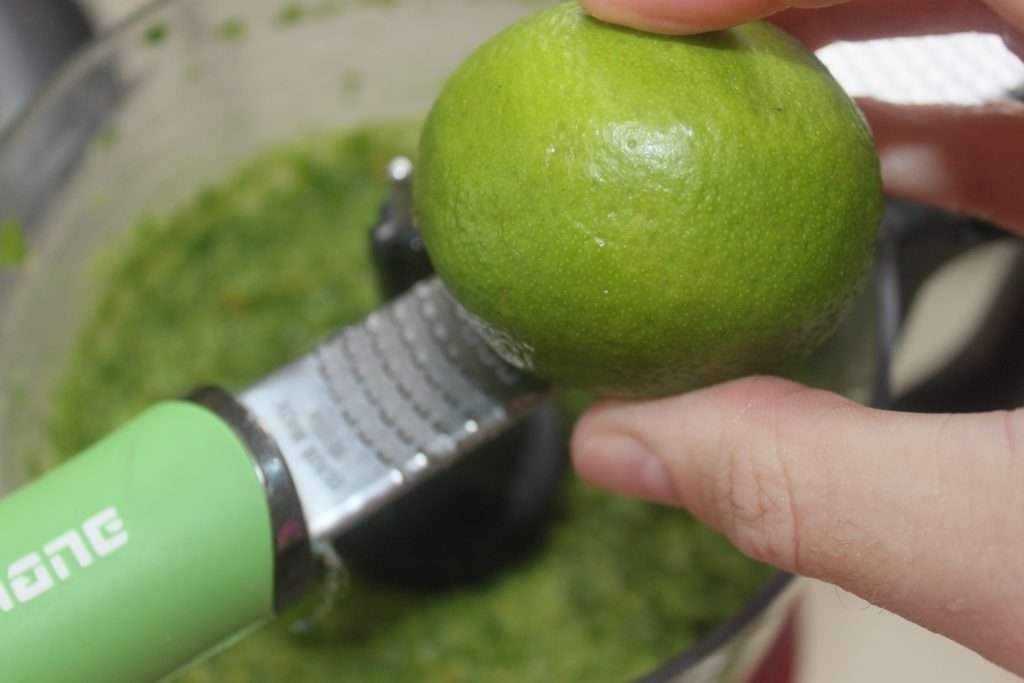
- juice of half a lime
- the zest of half a lime
Instructions :
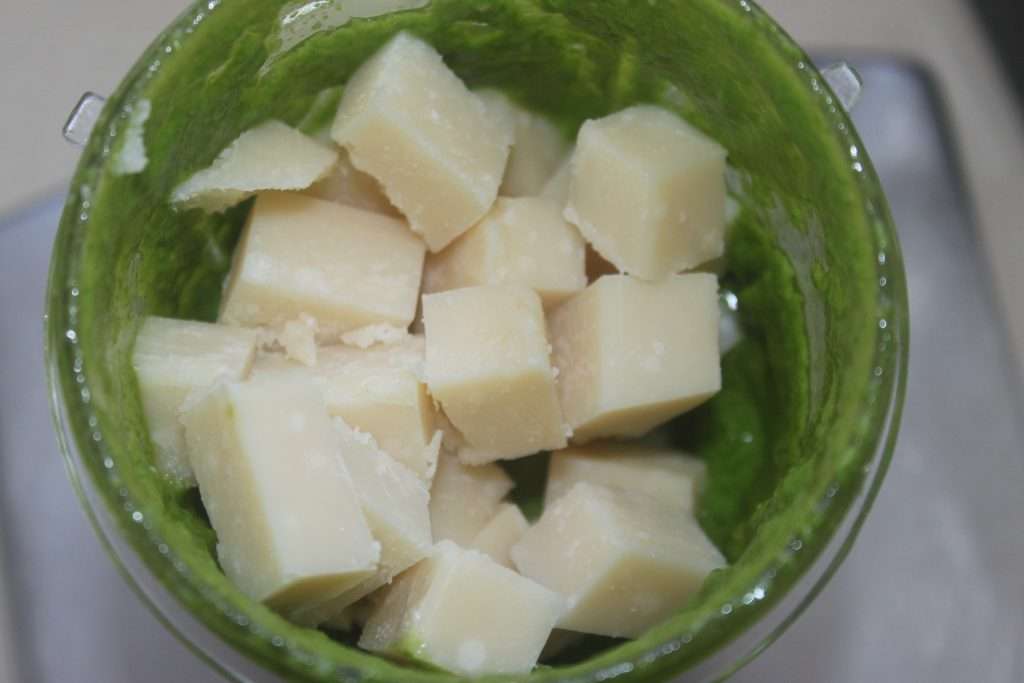
Wash and spin-dry the spinach and coriander leaves. Peel the garlic cloves. Cut the Parmesan cheese into pieces. Put it all together with the other ingredients in a small blender and start it up.
Don’t forget the zest and juice of half a lime.
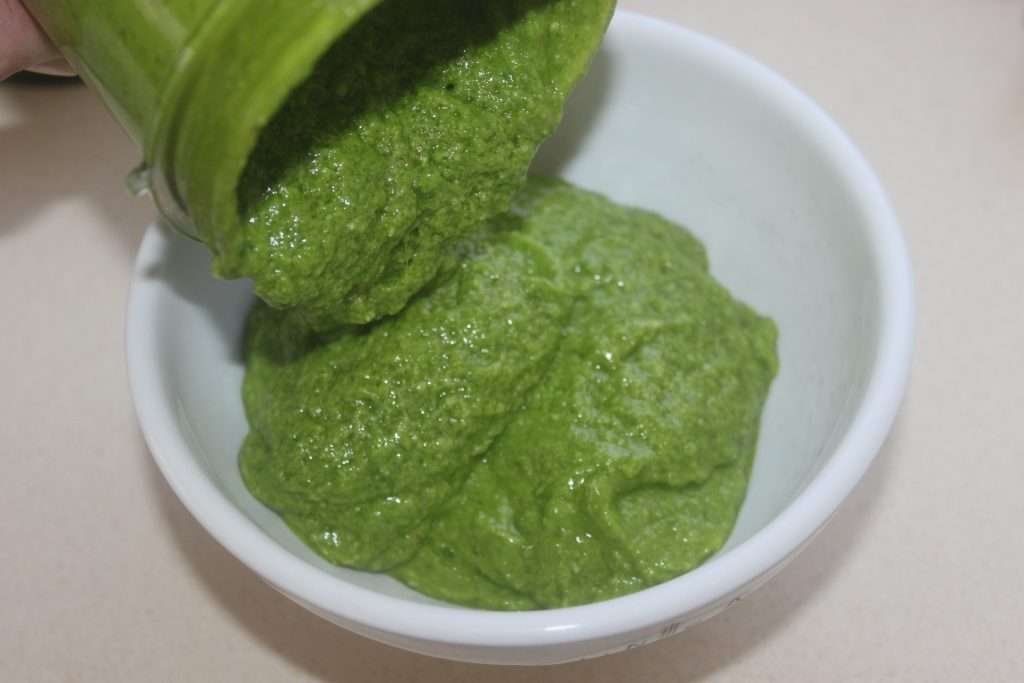
Mix carefully.
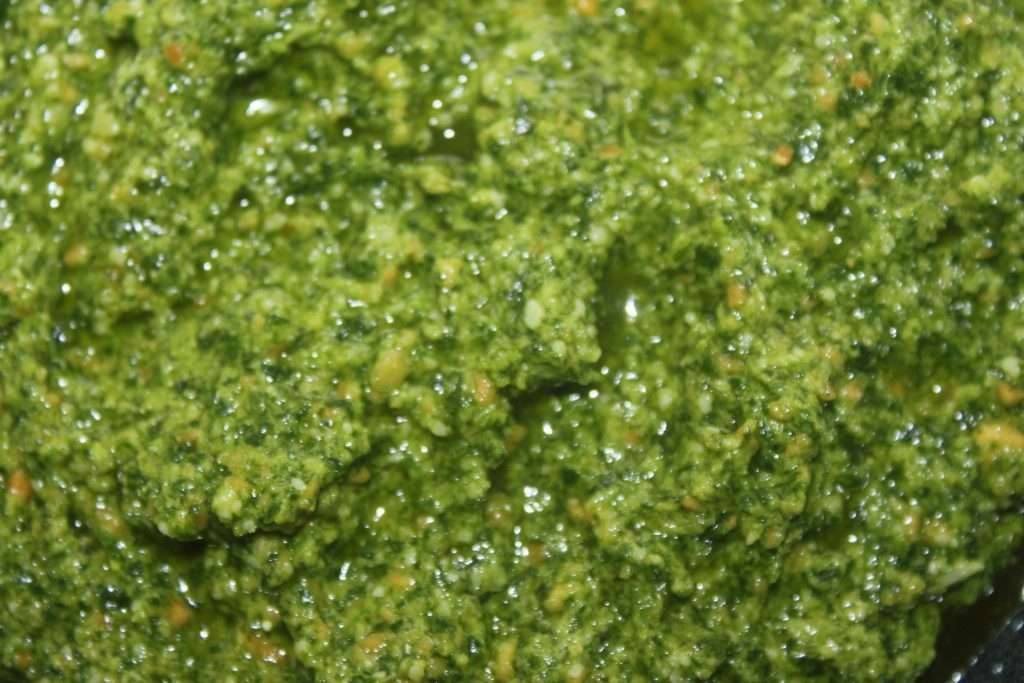
It’s already ready! I give you a delicious recipe to make with this incredible pesto. It is also very good on a simple piece of toast!
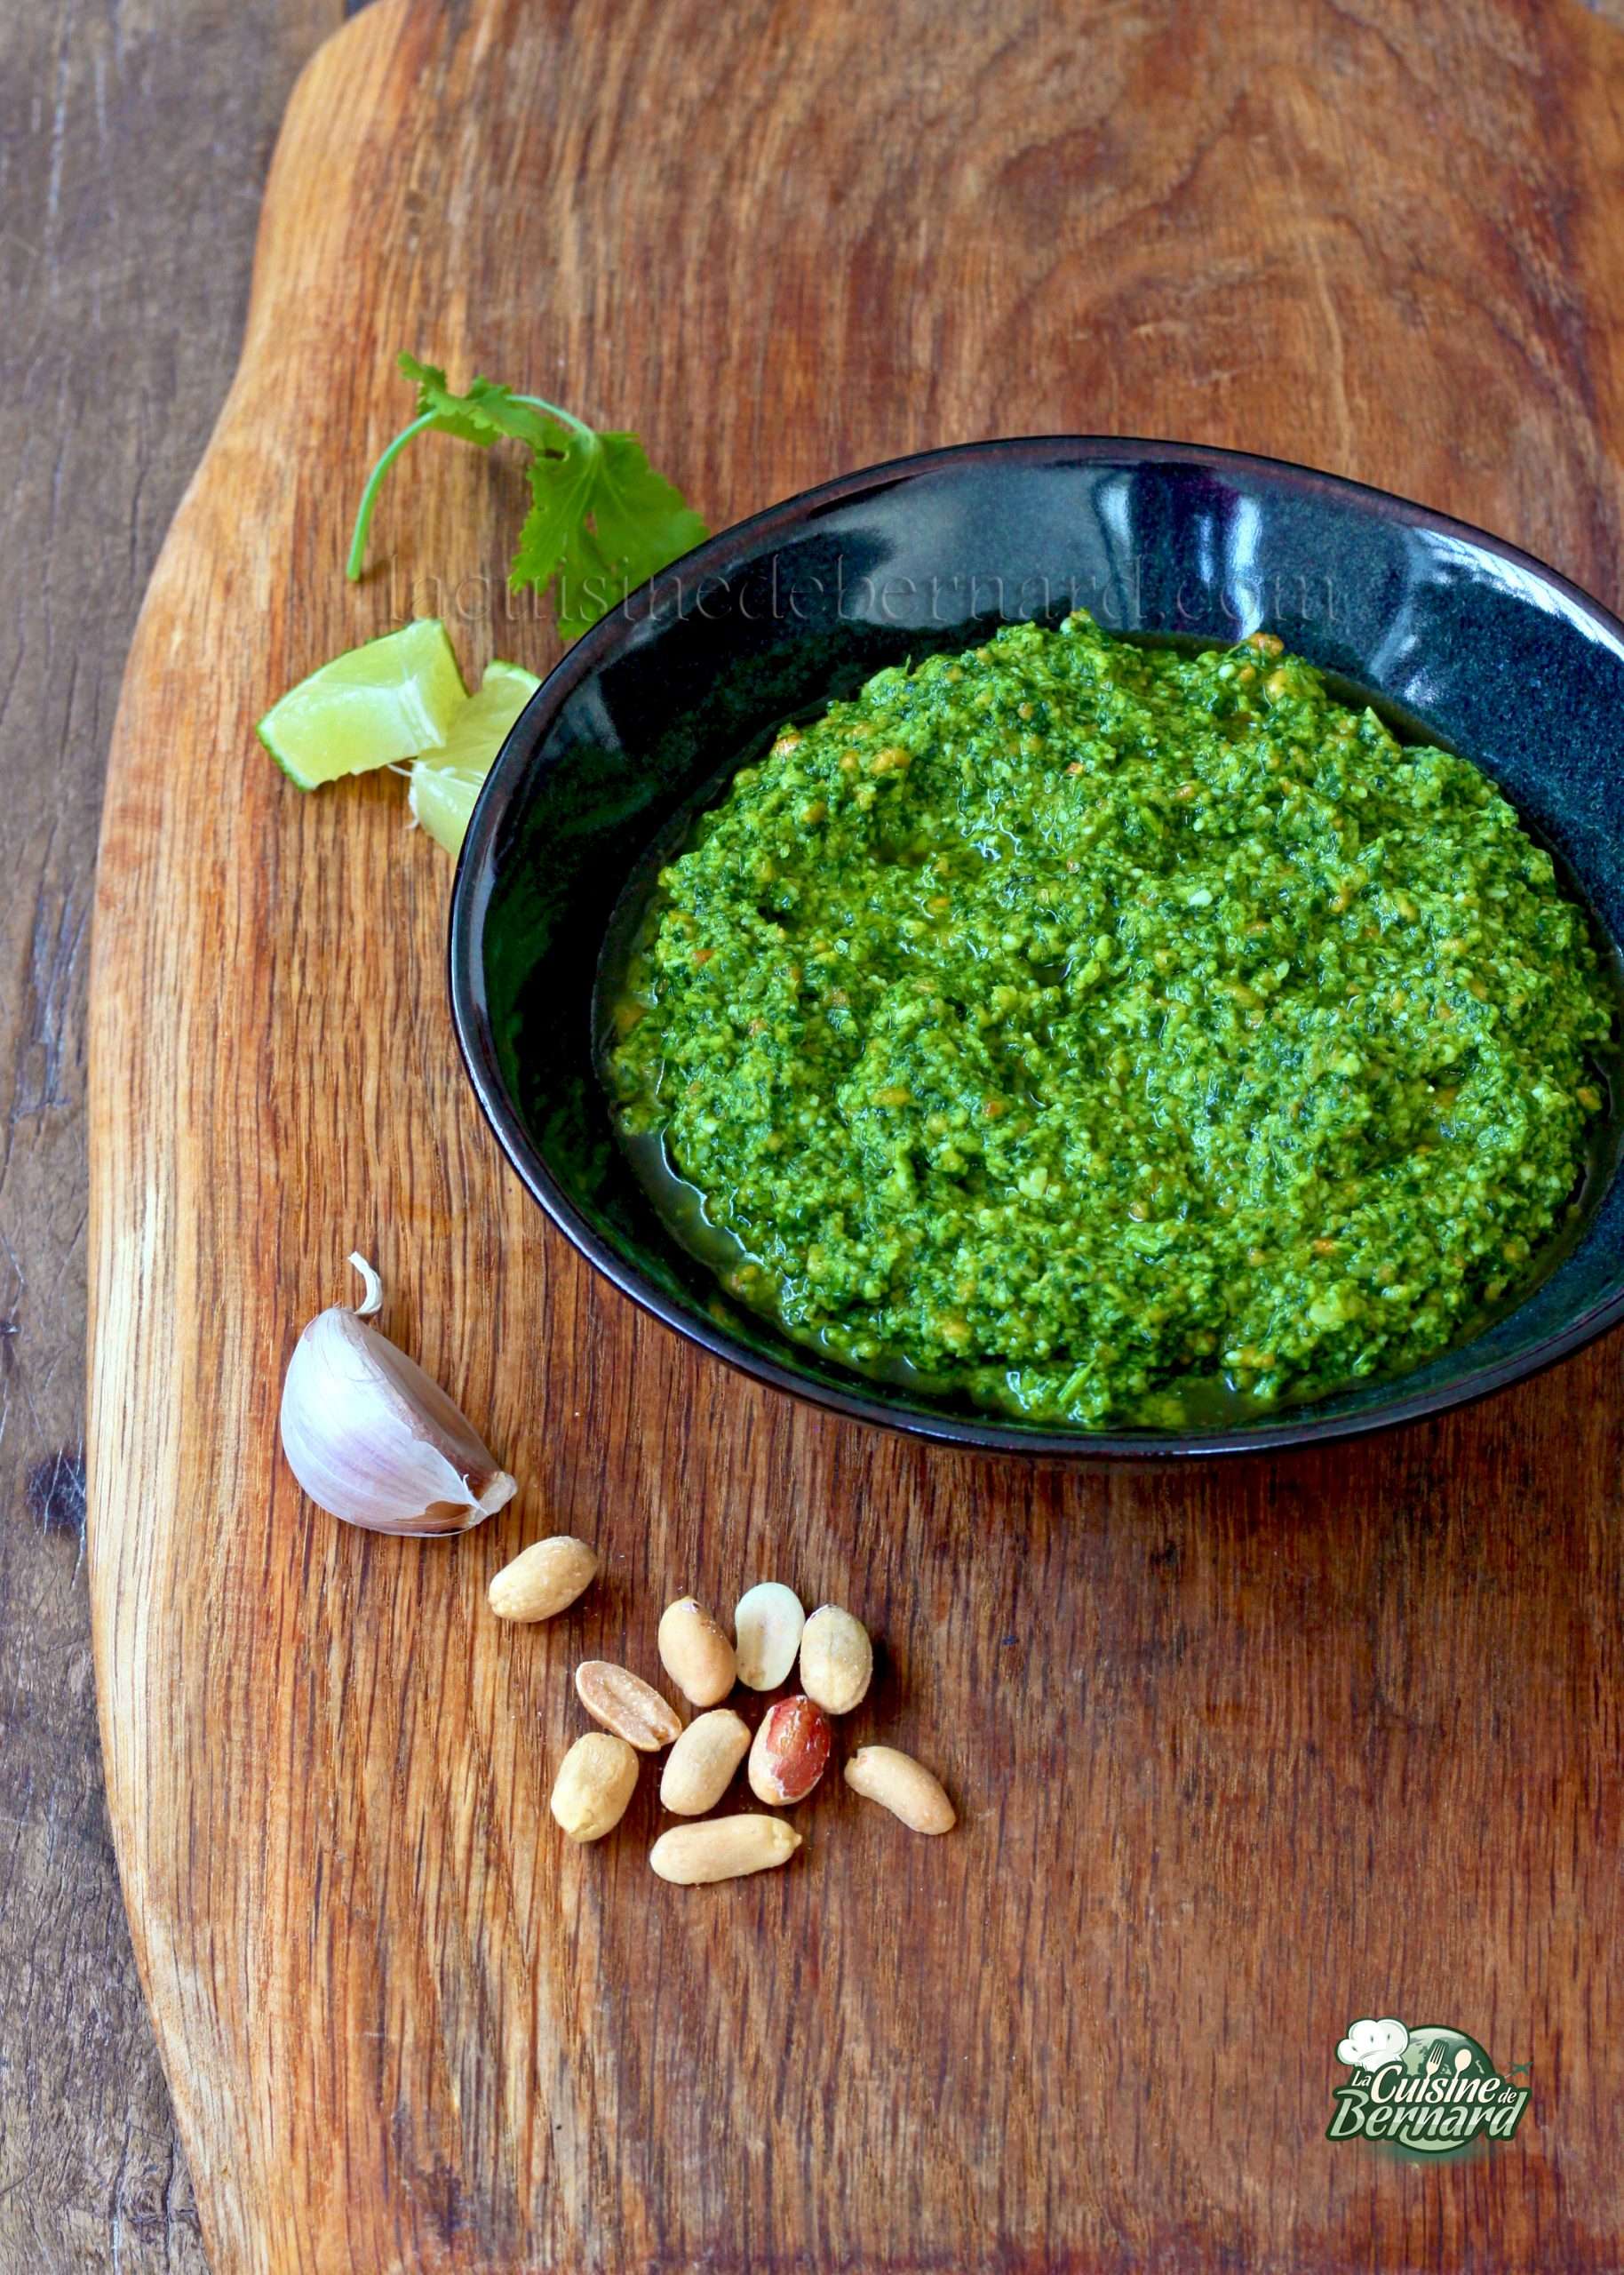
Cilantro peanut spinach and lime pesto


Last recipe with wild garlic for this year. At the moment I am publishing a little less, as I have just finished my 7th book which will be released in October 2021, and I also often go to Brittany with my family. This time I propose a tasty bear garlic pie, simple to make and very original. As soon as I can post a little more, I promise, I will! But you should know that I have a lot of new and amazing recipes in the next book.
Tarte à l’ail des ours, pour une tarte de 20cm de diamètre :
Pastry (enough for at least two pies):
- 400g flour
- 280g semi-salted butter
- 1 egg
Migaine:
- 2 eggs
- 250ml full cream
- 70g of wild garlic pesto (recipe HERE)
- 60g of grated comté cheese
- 100g of chopped wild garlic
- salt pepper
Instructions :
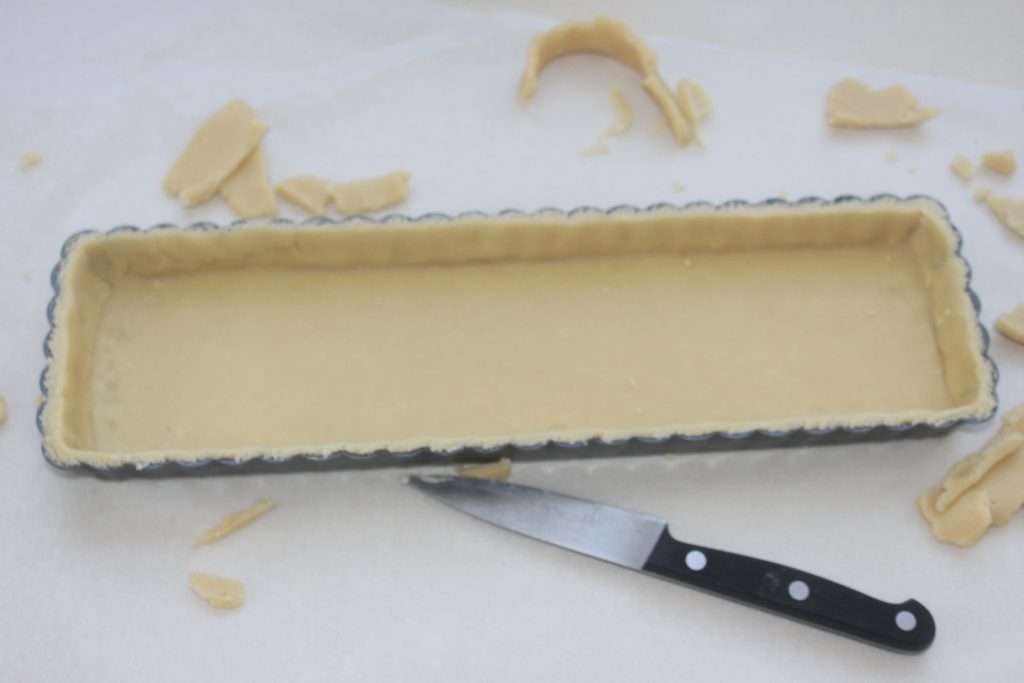
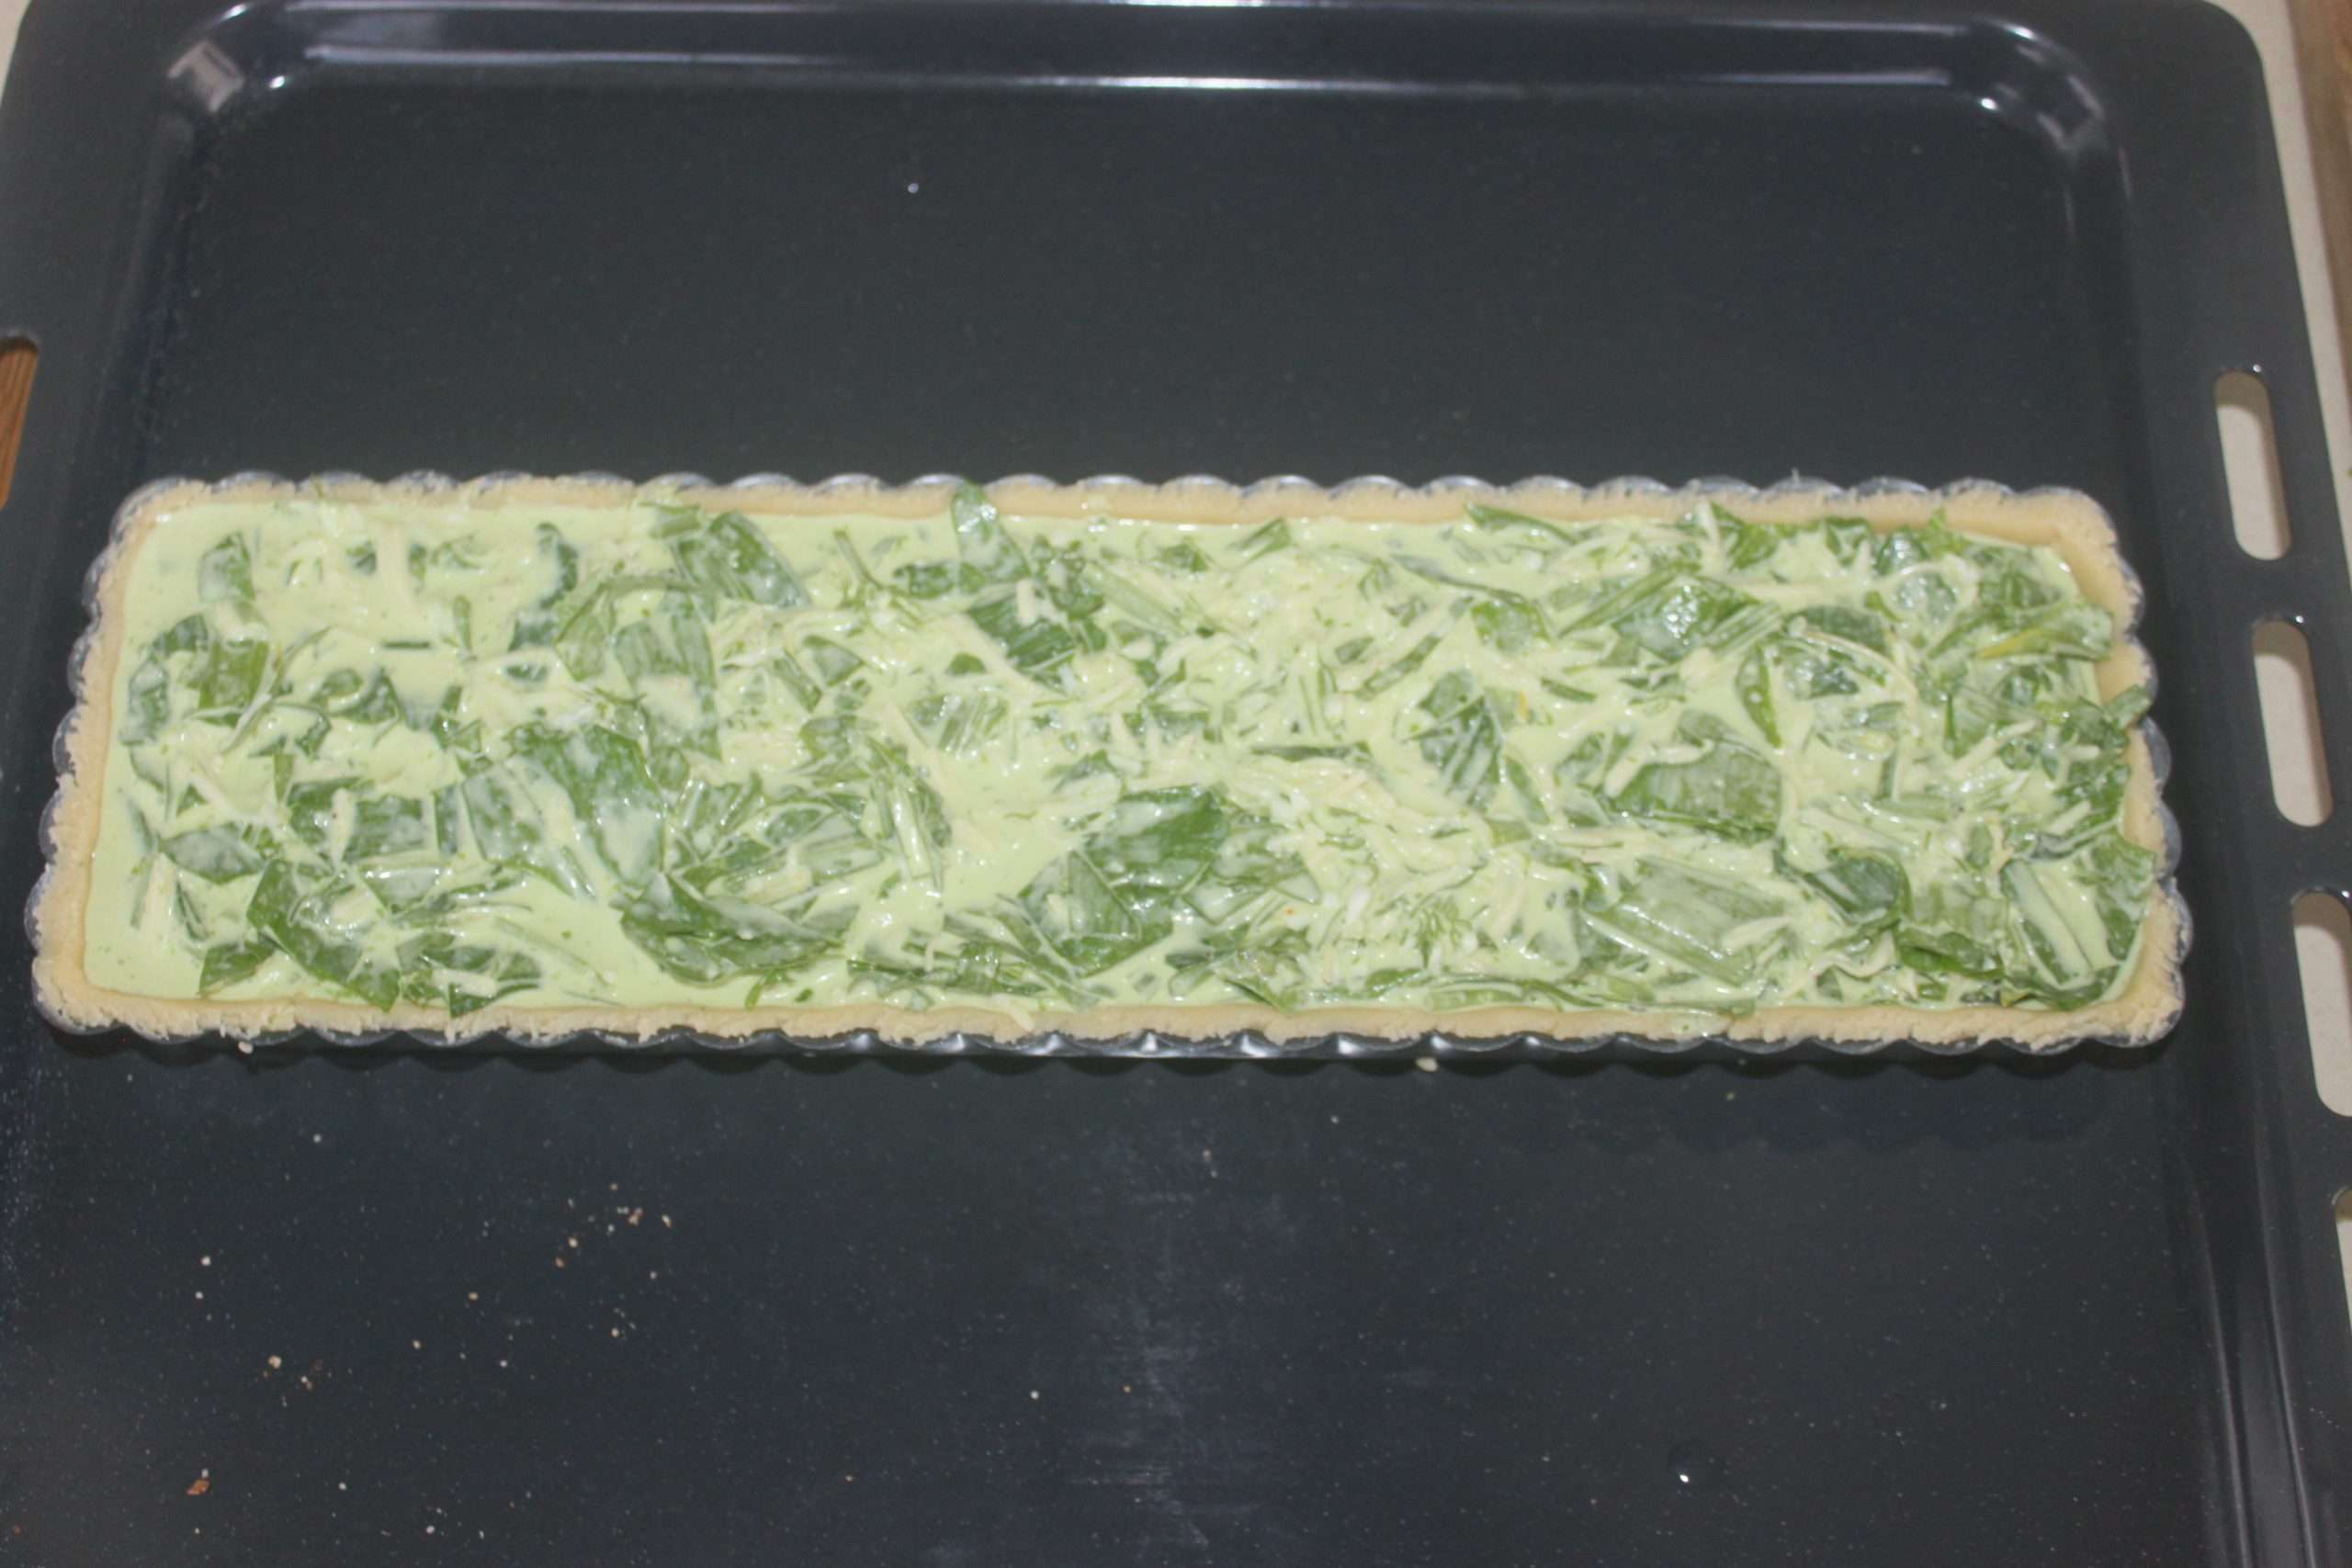
First, prepare your dough as described in the recipe HERE. I took my empadas dough which is perfect. Roll out half of the dough (wrap and freeze the rest). I’m using a rectangular pan here, but the recipe is valid for a circular pan of 20cm diameter. I just wanted to change the format for the photo.
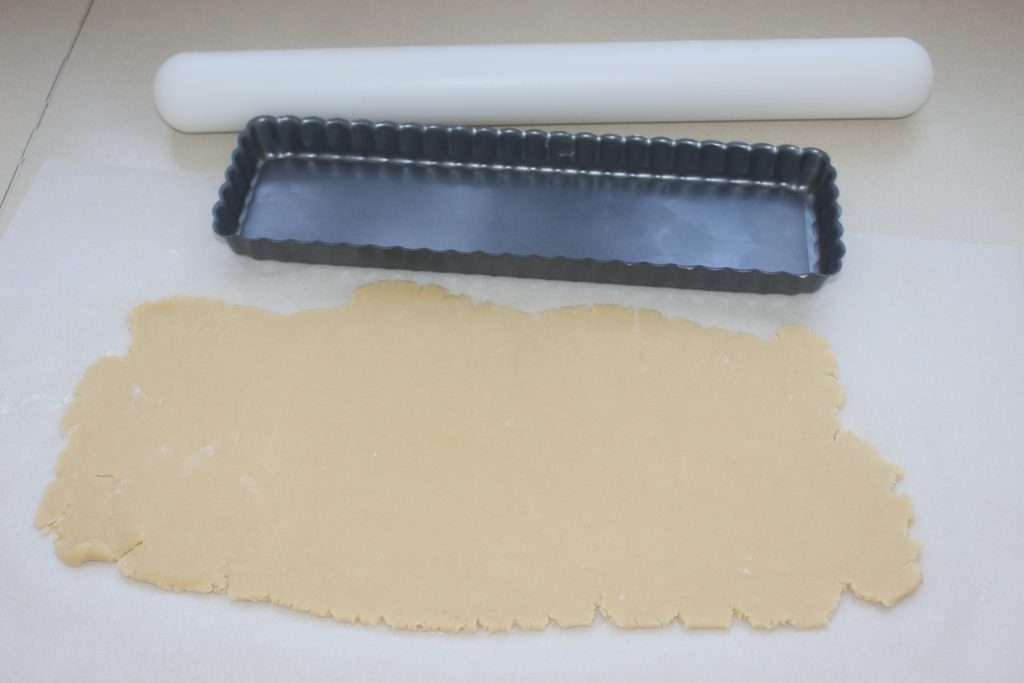
Place the rolled out dough in the chosen pan and cut off the excess.
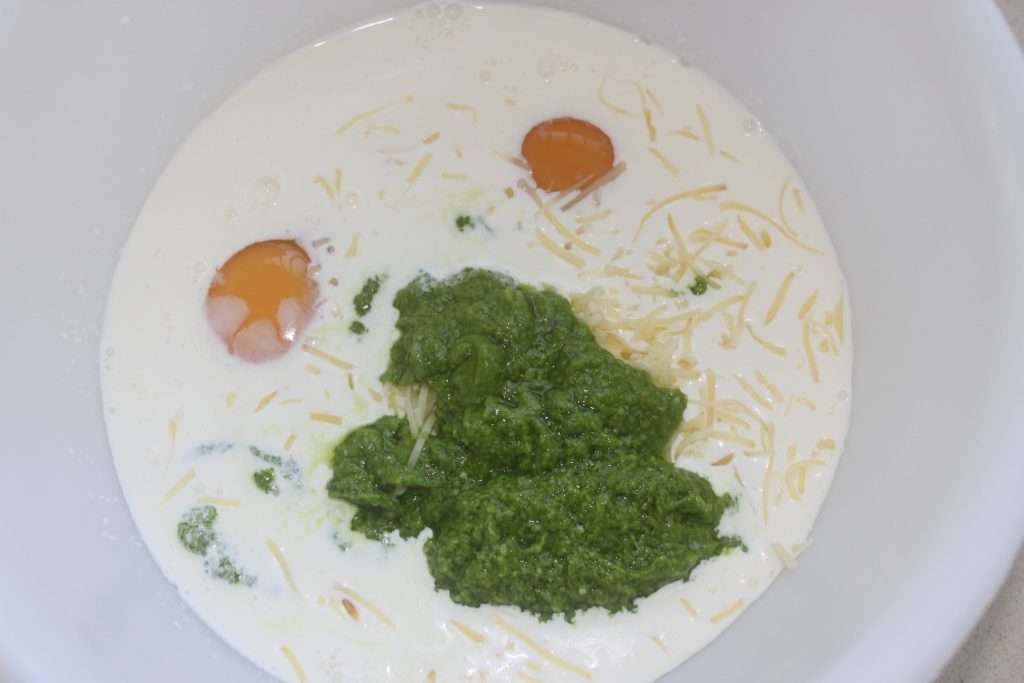
Pour the eggs, whole cream (liquid or not), pesto and comté into a bowl.
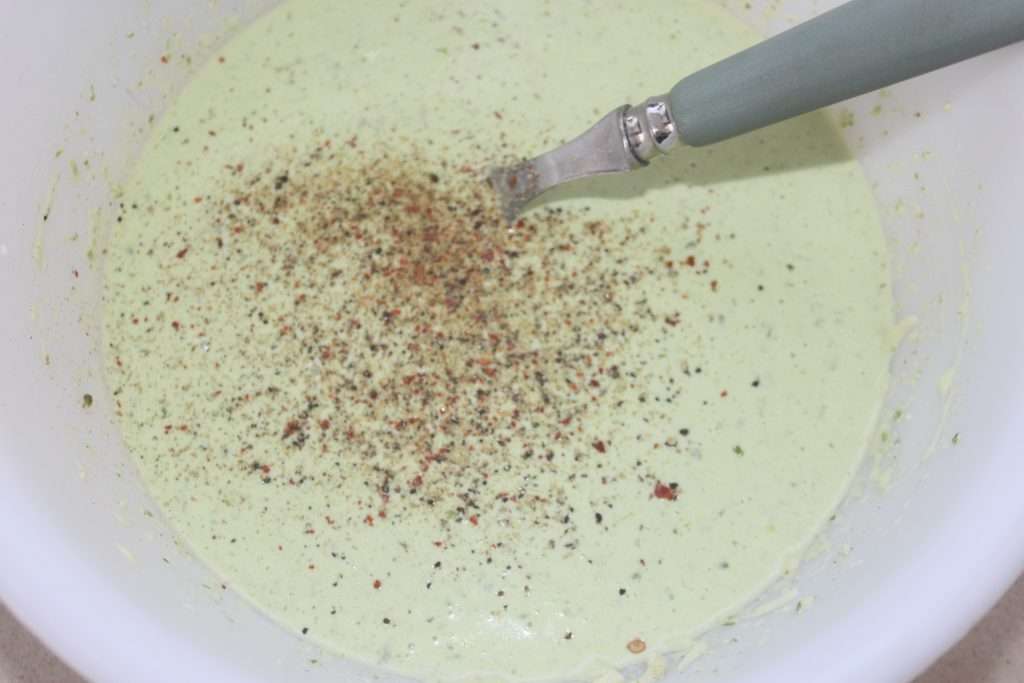
Mix well, add salt and pepper. I also put a little chili powder.
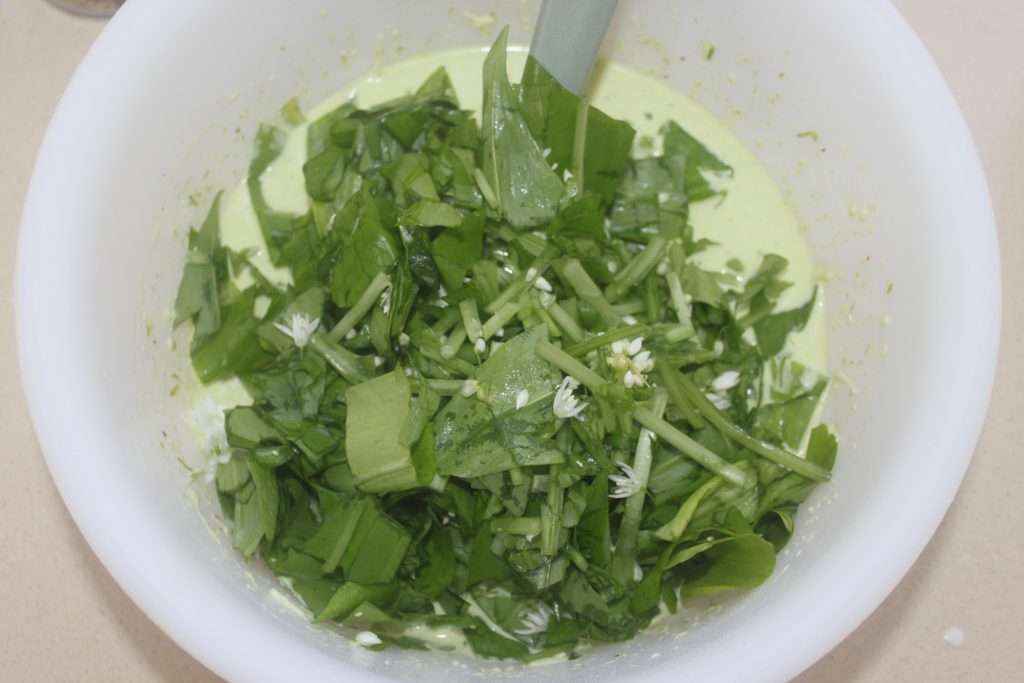
Chop the washed and dried wild garlic, including the flowers, and pour it into the cream.
Pour into the dough base.
Bake for 1h15 at 170°C.
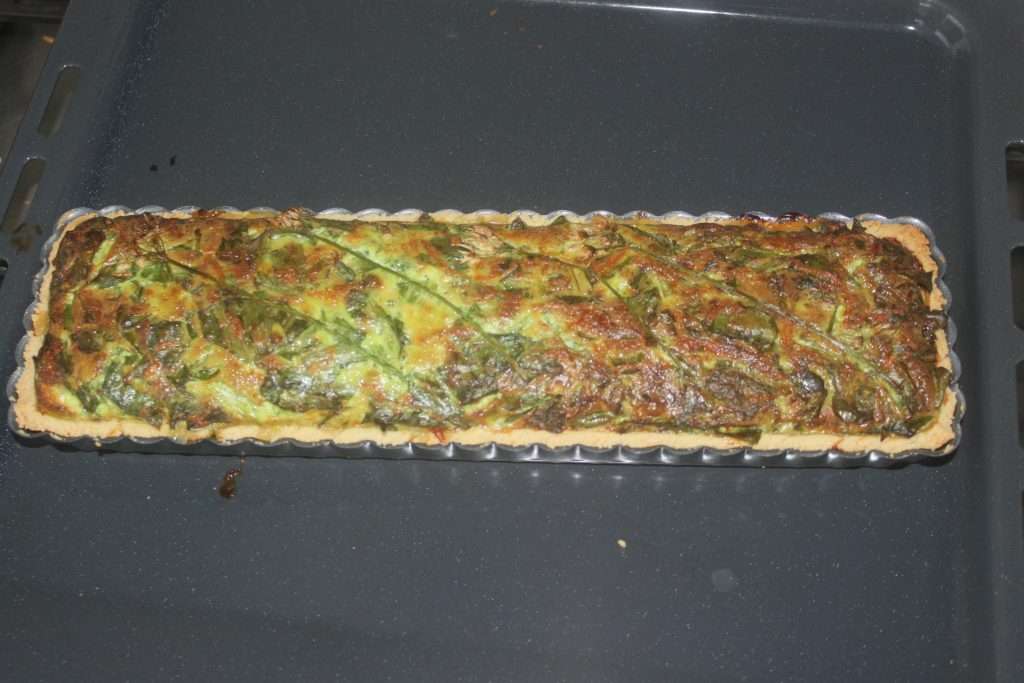
Let cool and then enjoy this delicious pie!

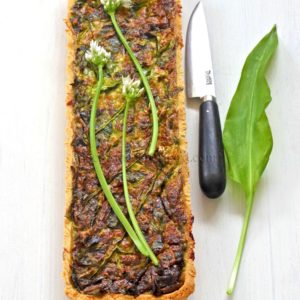
Bear's garlic pie


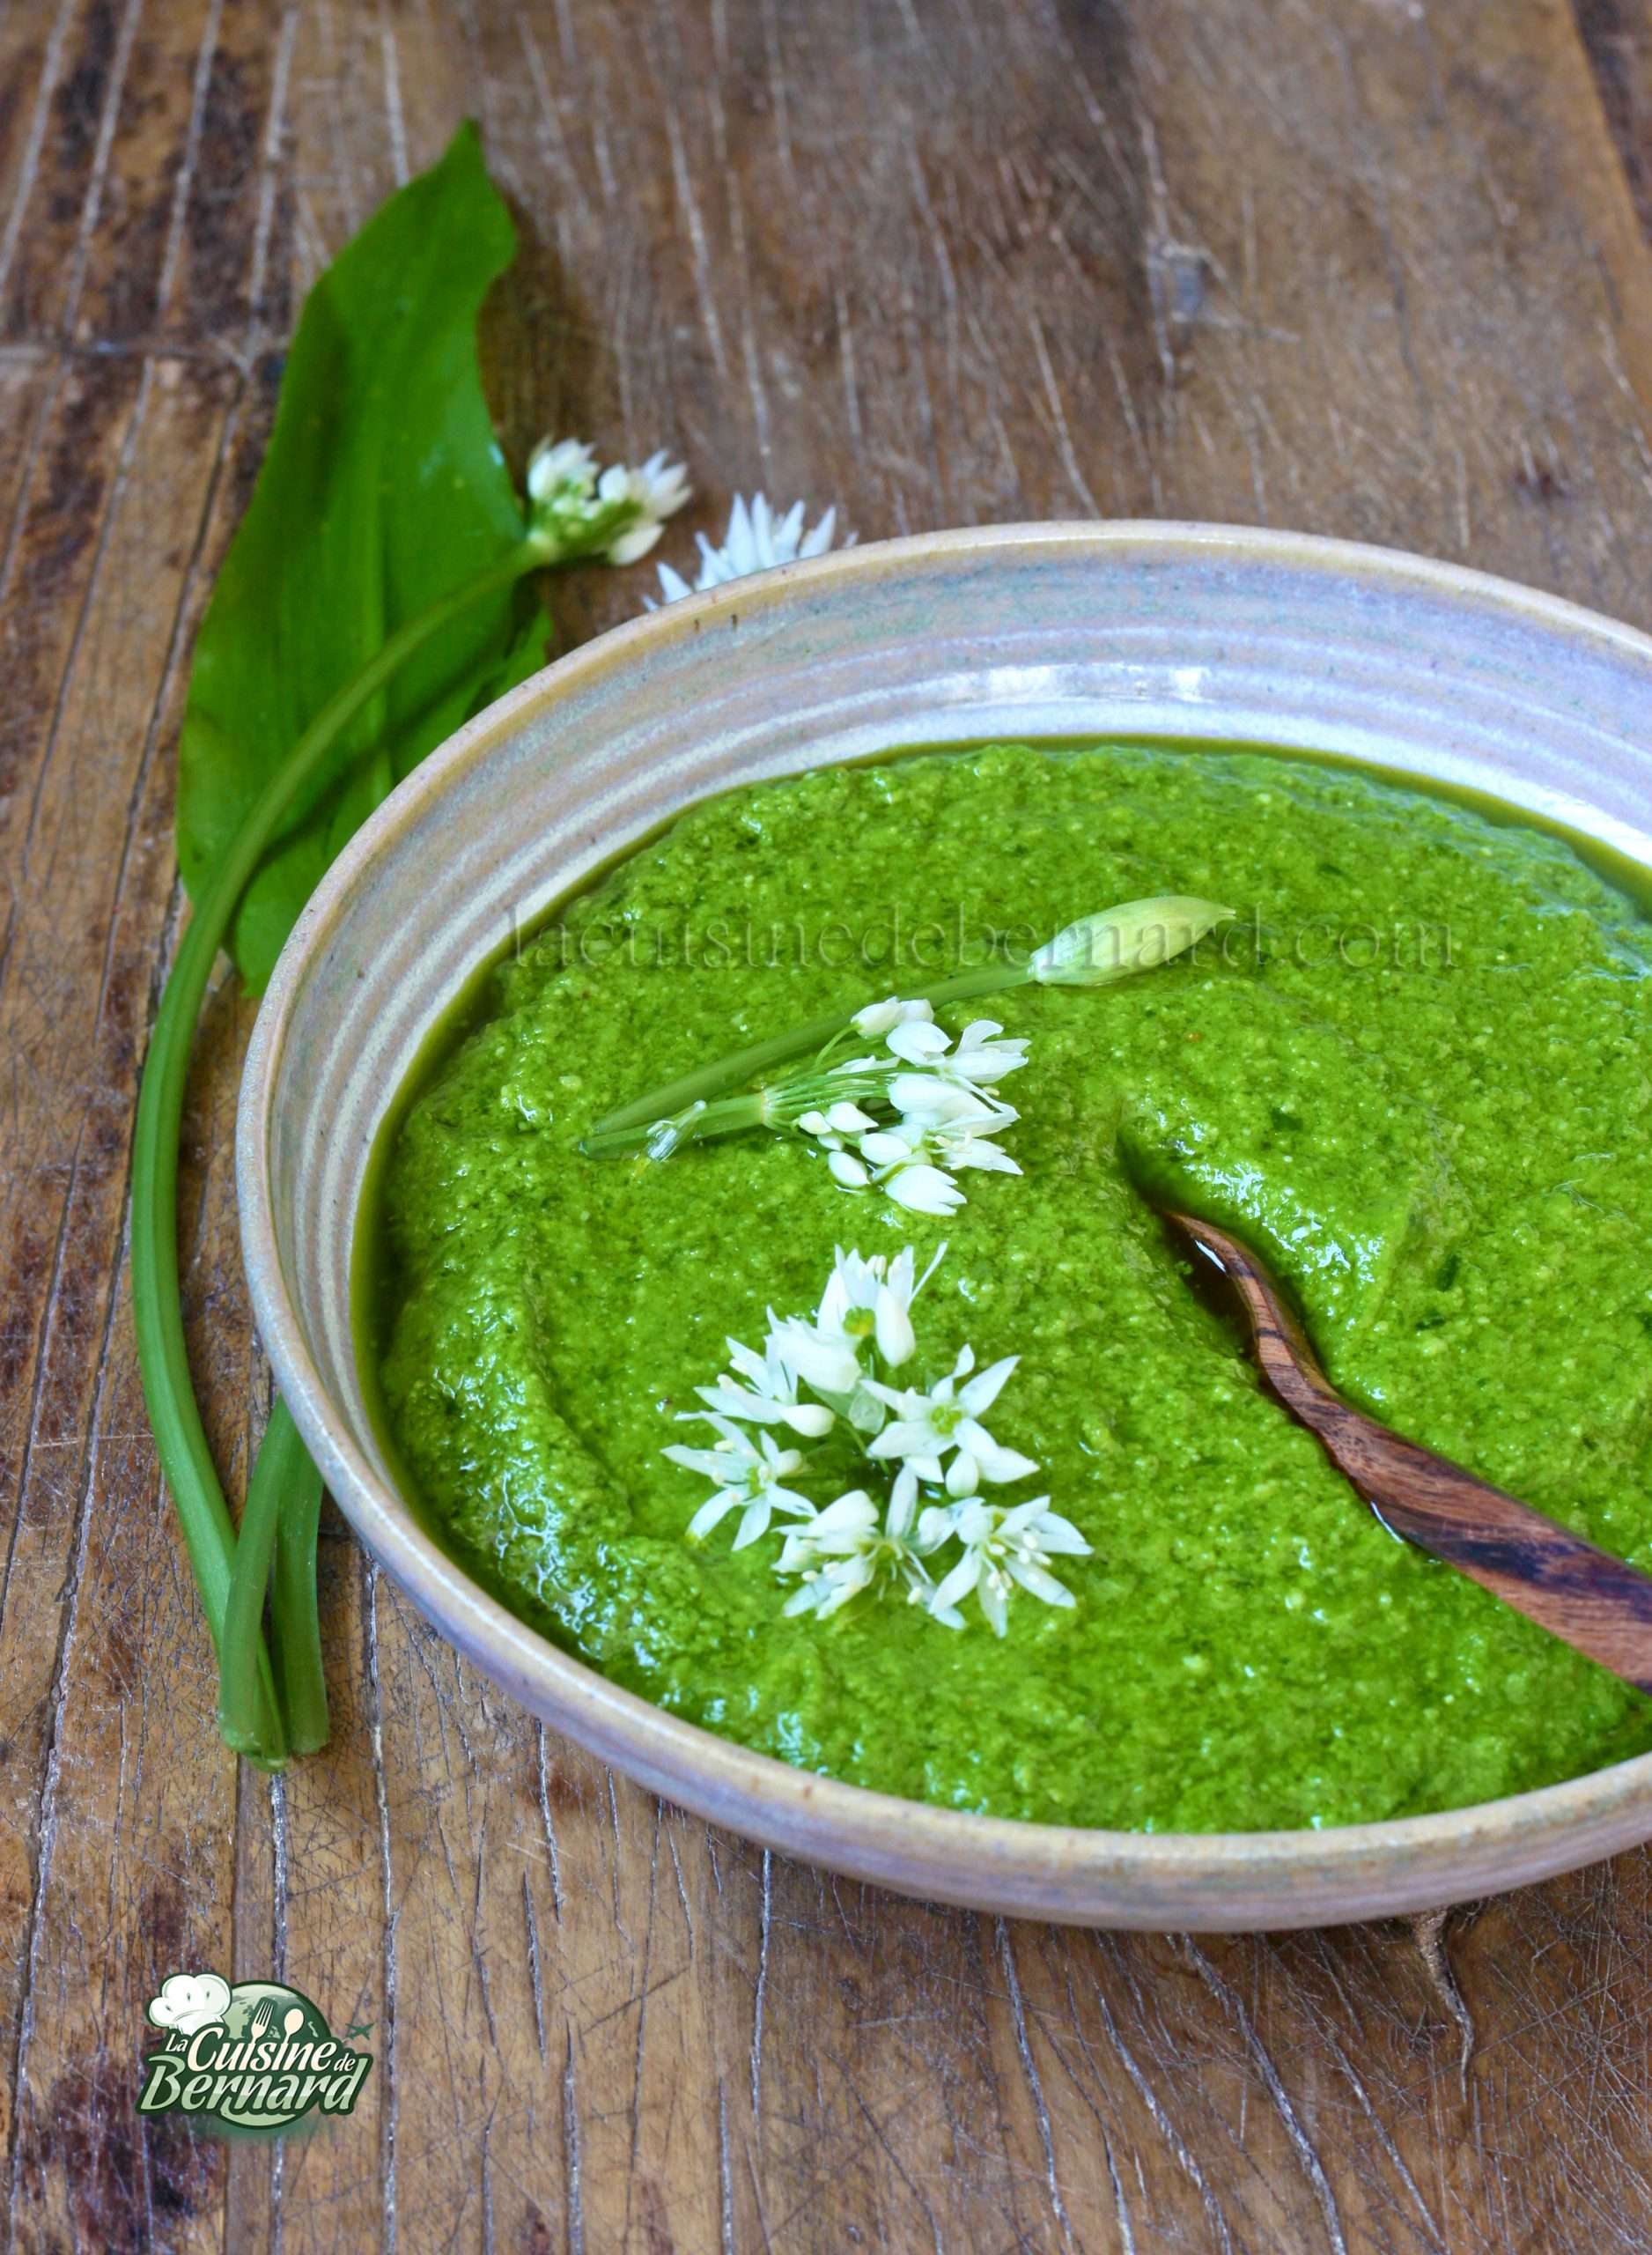
It’s still the season, so I’m enjoying it. The wild garlic pesto is totally irresistible! I put it everywhere, in pasta, coral lentils, on bread… Thanks again to my friend Flore who picked me plenty of wild garlic. Not to be confused with lily of the valley (the leaves look a lot alike!).
Bear garlic pesto :
- 150g of wild garlic
- 125g of olive oil
- 100g of pine nuts or other dried fruits (almonds, hazelnuts etc.)
- 100g of parmesan cheese
- 5g of salt
Here is the bear’s garlic. Make sure if you pick it, that it is wild garlic and not a plant unfit for consumption!
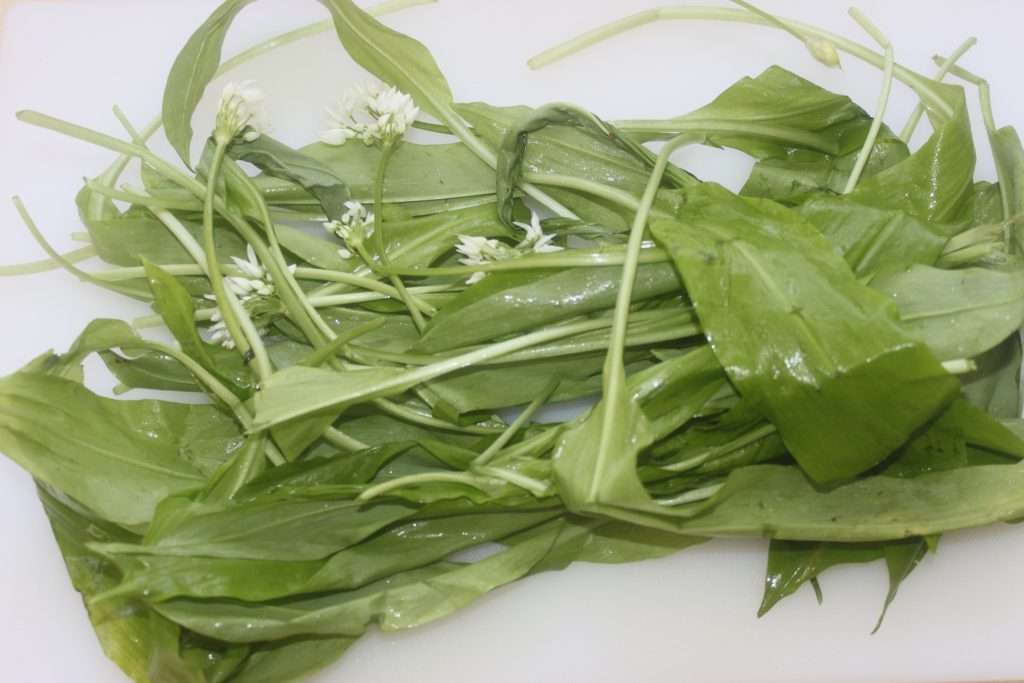
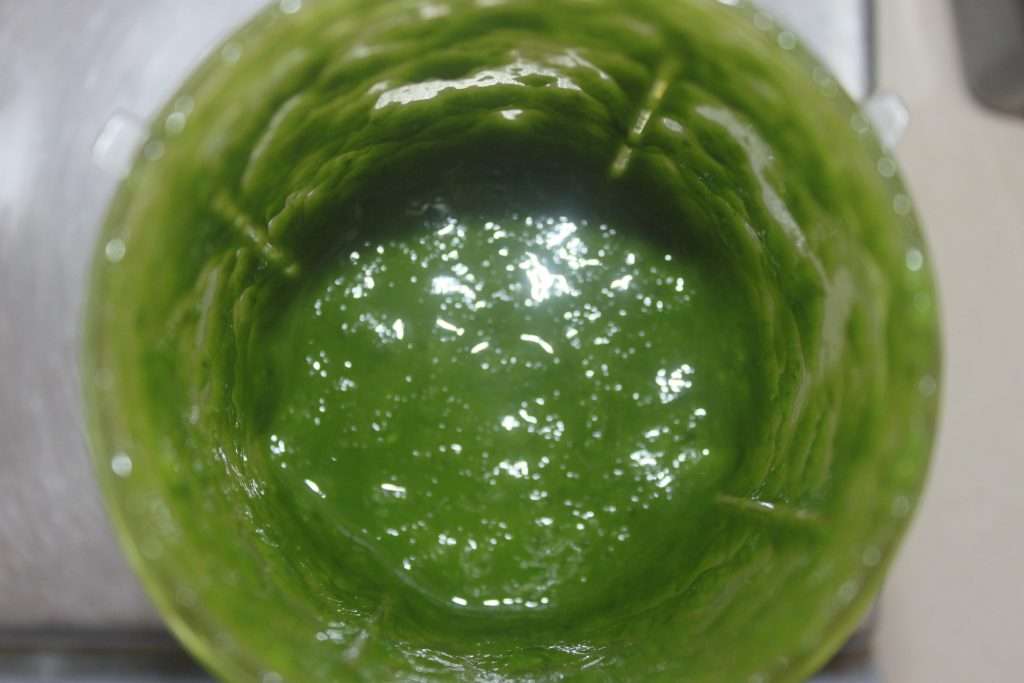
Wash and dry the garlic (including the flowers) and chop coarsely. Put everything in a small blender with the olive oil.

Blend to a fine purée.
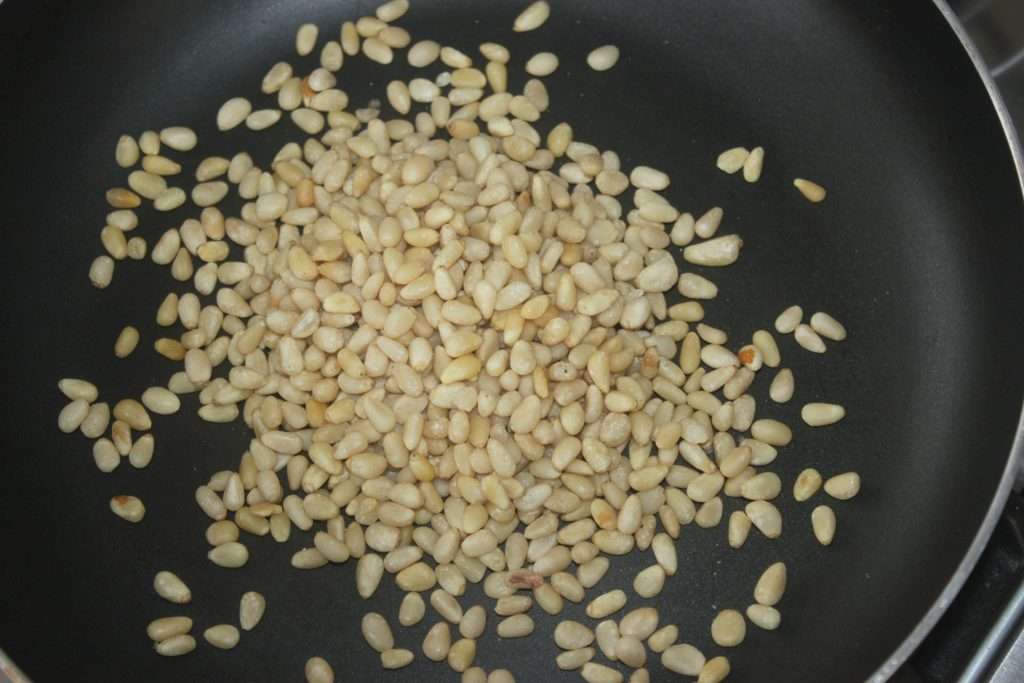
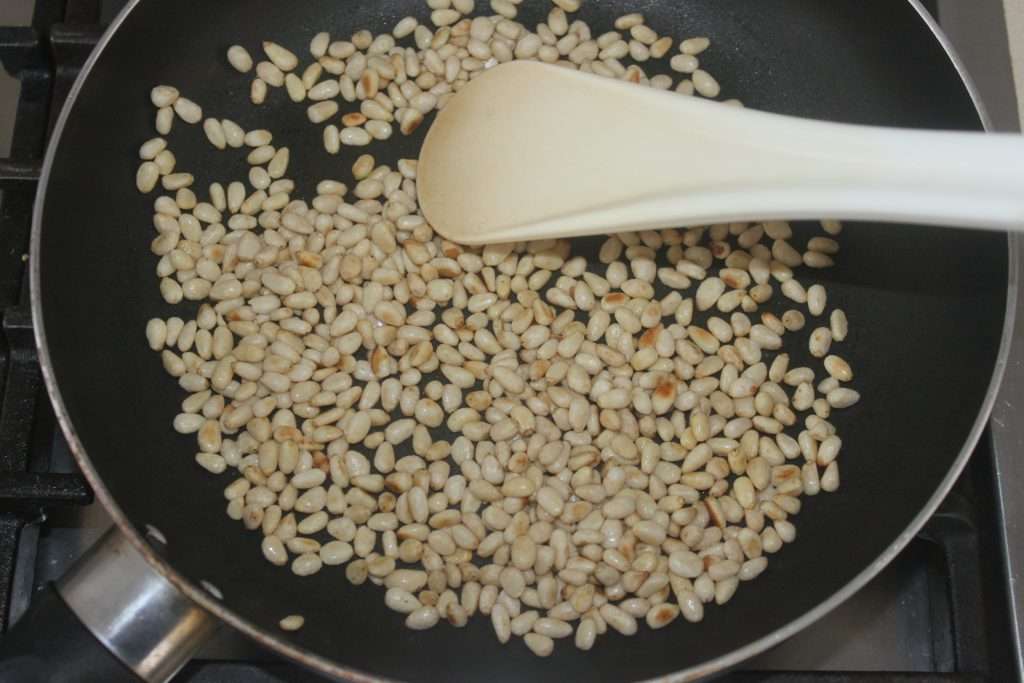
Toast the pine nuts in a pan and add them to the blender.
Don’t forget the salt.
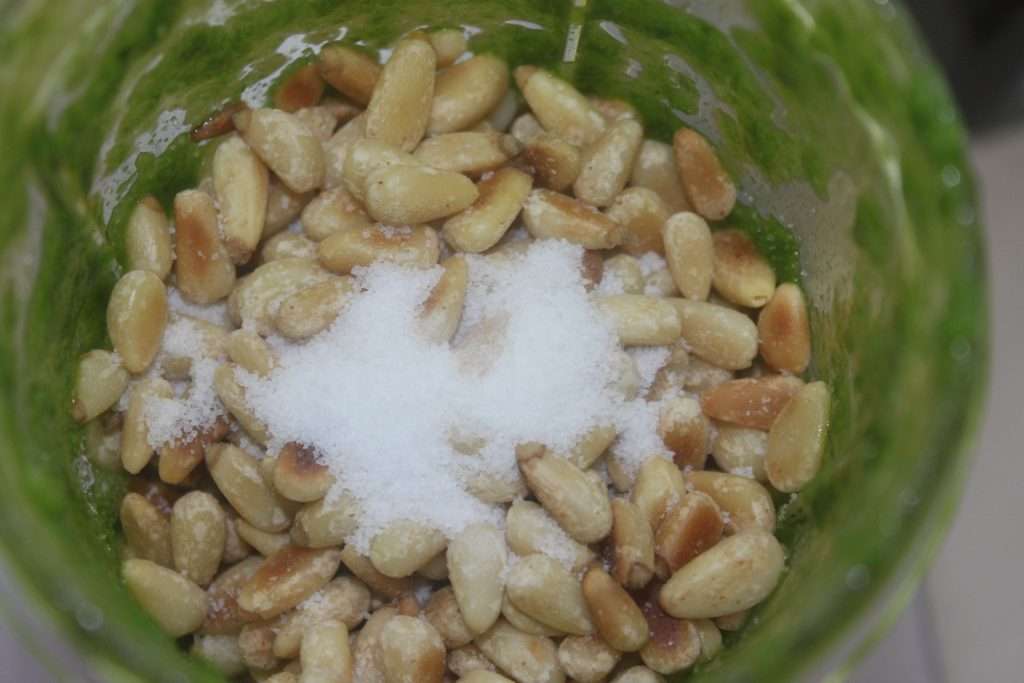
Finish with the parmesan cheese in small pieces to make the blender easier to use!
We mix and it’s already finished!
You can keep it for a week in the fridge and freeze it without any problem.