

I recently made this amarena cherry tiramisu for some friends, as I had just bought a large jar of these delicious, incredibly fragrant cherries. I remade the tiramisu for my cooking blog to offer you the recipe. If you prefer the classic tiramisu, know that the recipe has been available for years HERE! To compensate for the syrup, I reduced the sugar a lot. The result is a tiramisu with an airy texture that holds together, and a strong cherry flavor, without being overly sweet at all. Then it’s up to you if you add more cherries!
For 4 to 6 people:
- 2 large eggs
- 35g of caster sugar (for the yolks)
- 15g powdered sugar (for the whites)
- 500g of mascarpone
- amarena cherries
- spoon cookies
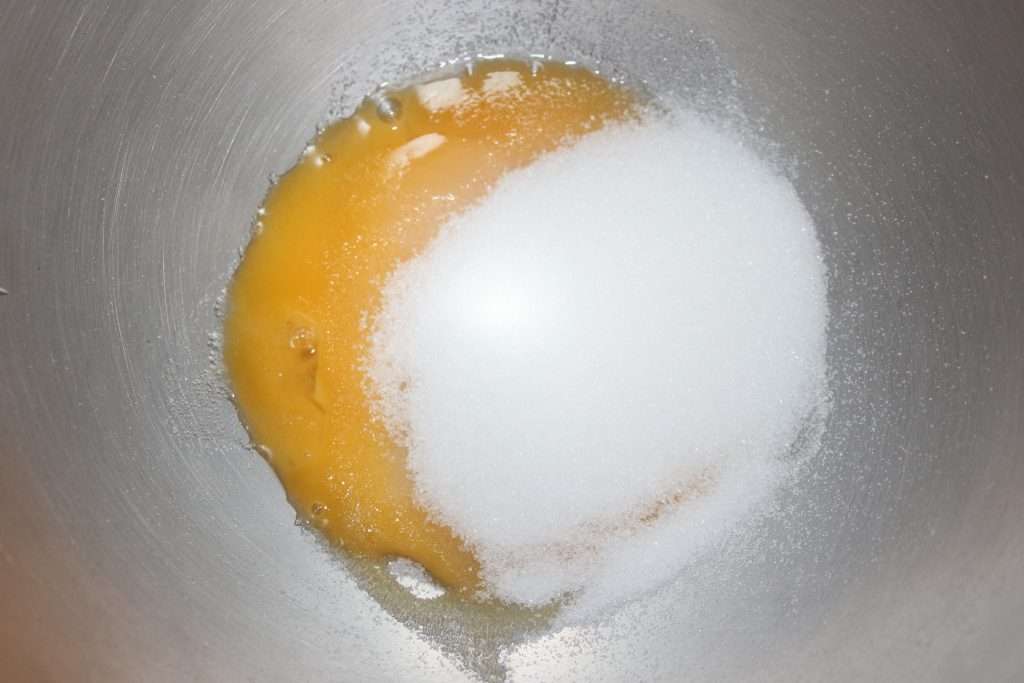
Separate the egg whites from the yolks. Put the caster sugar with the yolks and whisk briskly for 3 minutes until you have an airy and fluffy texture.
Add the mascarpone and 2 tablespoons of amarena cherry syrup.

Whisk again for 3 minutes to get a texture that holds together. The whole thing should not be liquid. The mascarpone ends up rising a bit like whipped cream.
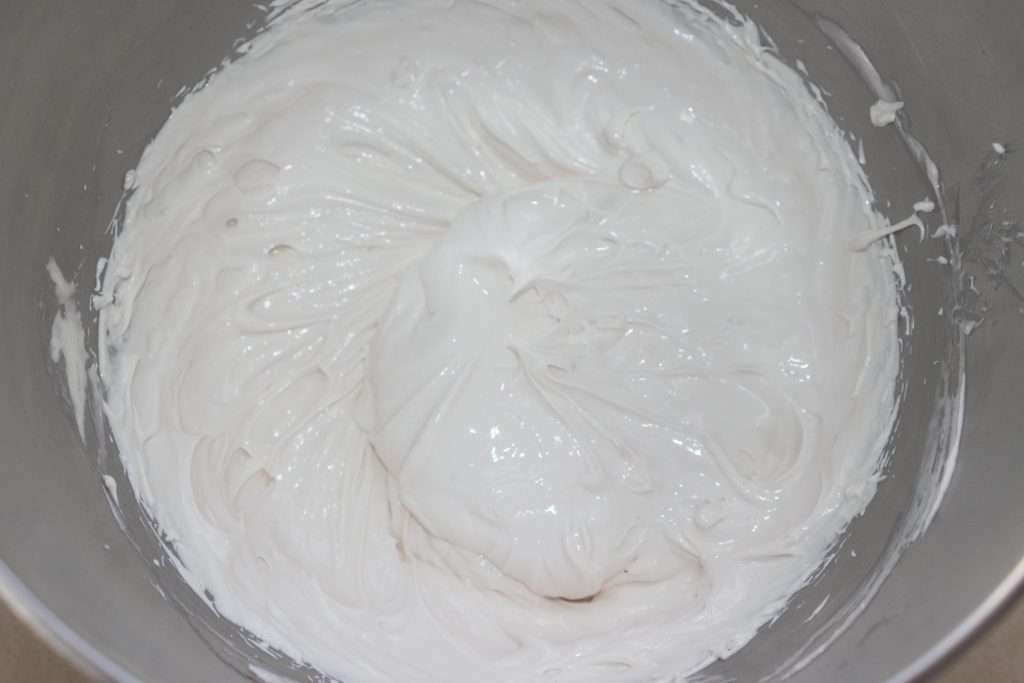
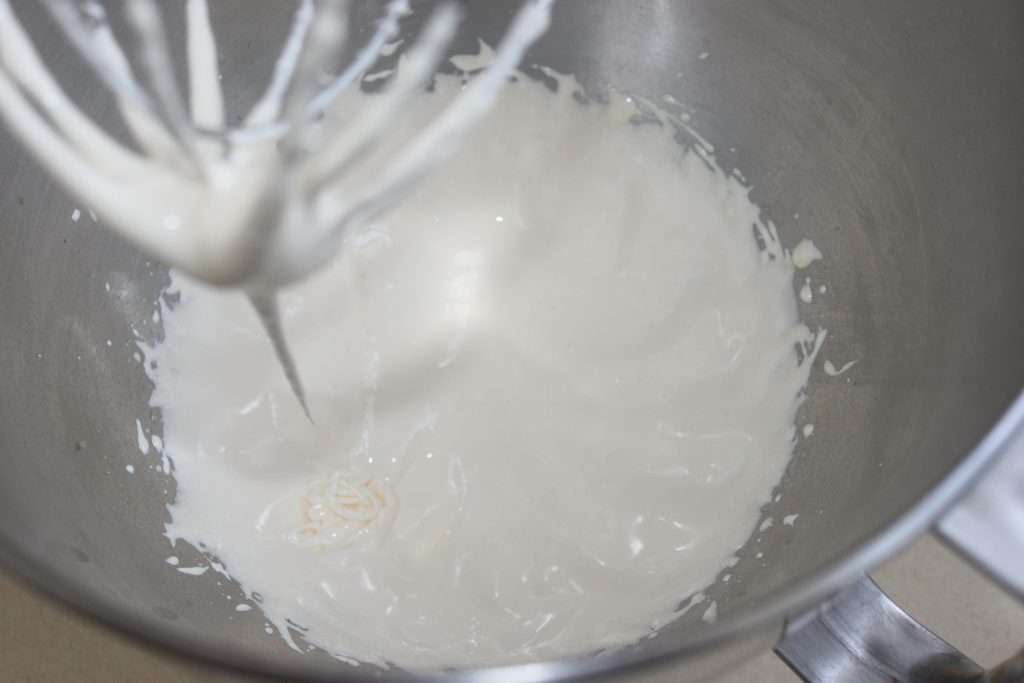
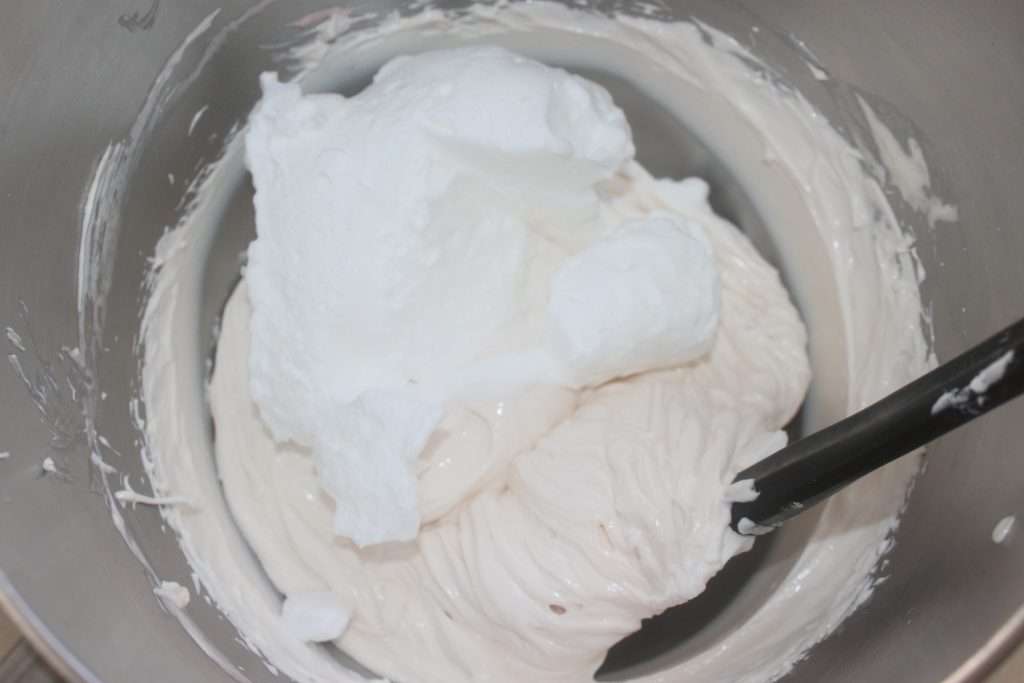
In a separate bowl, place the egg whites with the powdered sugar and whisk until the eggs are stiff.


Add the first third of the meringue to the mascarpone cream, and mix it all together without breaking the texture of the whites, like a chocolate mousse.
Do the same with another third of the meringue, then the rest.

Pour 3-4 tablespoons of cherry syrup into a small container.
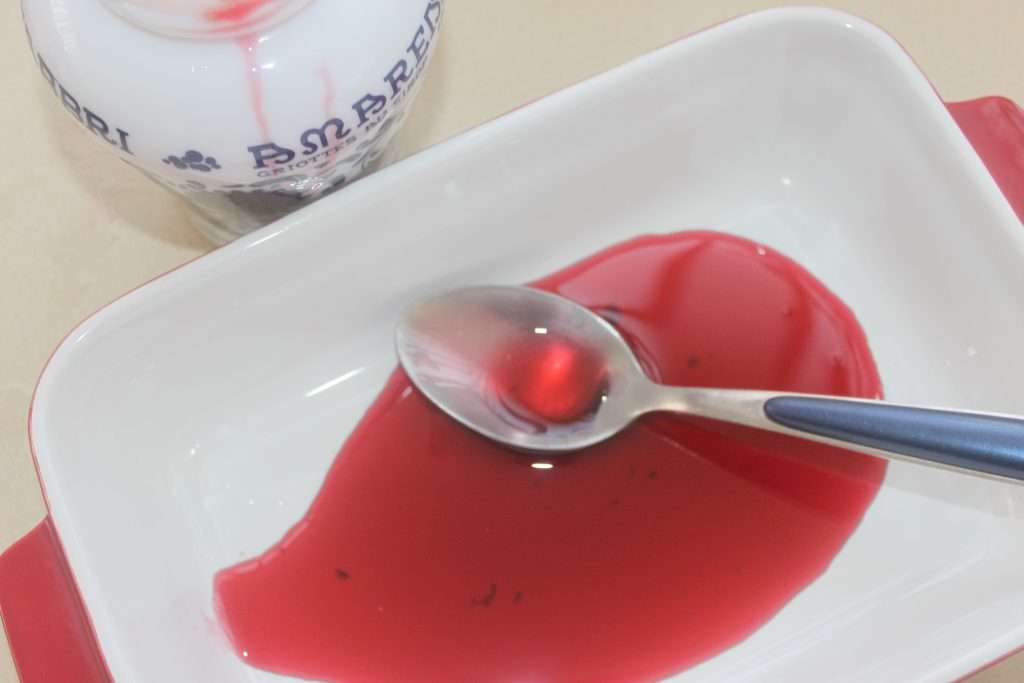
Pour a little hot water to dilute the whole, it is to your taste. However, it must be liquid. Pour in the first 6 cookies and let them soak in, turning them once.

Place soaked cake pieces in the bottom of cups of your choice. I have taken here 4 individual cuts quite large. If needed, you can cut the cakes to arrange them as you wish. Add 2-3 drained cherries, then cover with half the cream.

Add again 6 cookies soaked in the same way (you can crush them a little to remove if there is too much juice amarena), drained cherries.

Then cover with the remaining cream.

Chill for at least 3 hours before serving chilled. You can improve the presentation. I wanted these desserts to be fairly plain, without cocoa powder, to leave the cherries all the way through. It is a delight!


Tiramisu Amarena


After this complicated period since the beginning of the year which unfortunately ended with what we feared (my previous post is quite explicit), I come back with an ultra simple recipe to make. I’m not gluten free or lactose free, considering the butter and flour I usually use! But from time to time, I find it interesting to look into it. I had tasted a similar cake and obviously wanted to make it again at home. The result is amazing and the softness incomparable! A great option when you’re looking for a good recipe for your gluten-free or lactose-free friends, or for yourself to try out new textures.
Recette pour un moule de 18 ou 20cm :
- 120g egg white
- 115g of neutral rapeseed oil (make sure it is suitable for cooking)
- 95g of sugar
- 65g of rice flour
- 50g of water
- 40g almond powder (with or without skin!)
- 15g of lemon juice
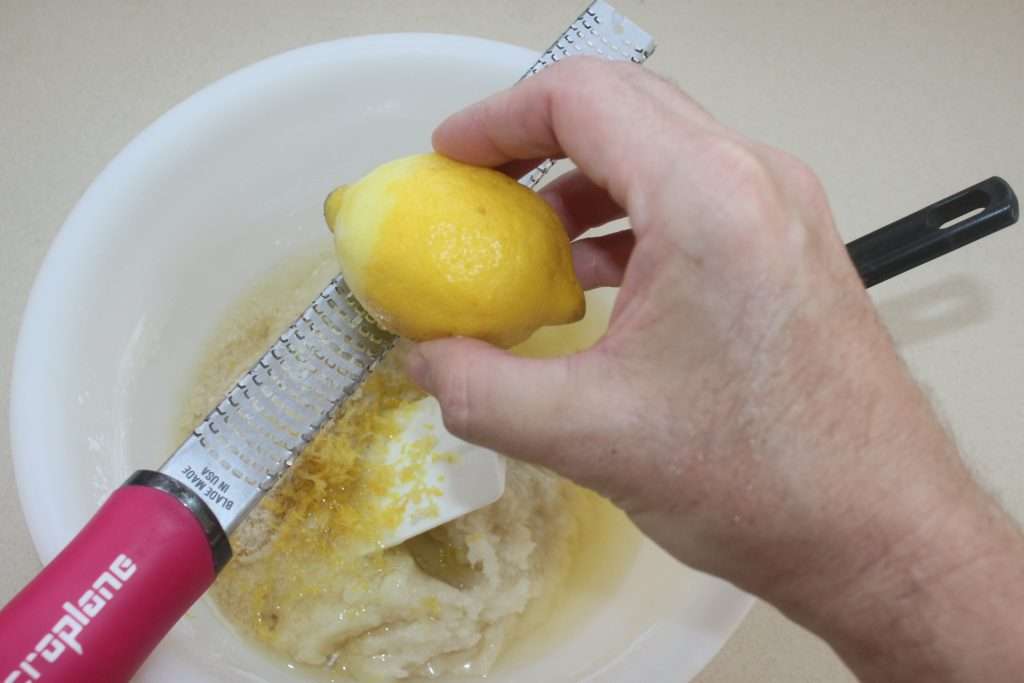
- the zest of an untreated organic lemon
- a good pinch of salt
- 1/2 level teaspoon of baking soda
Instructions :
Put all the ingredients in a container (including the 115g of oil). Preparing the dough will take you 2 minutes.

Zest an organic lemon.
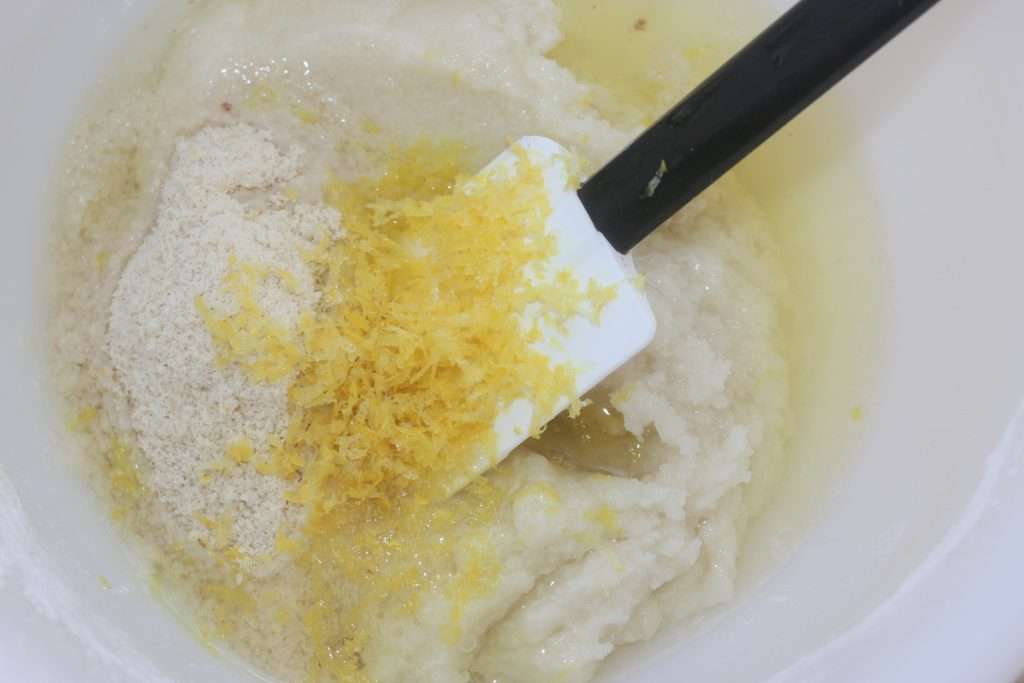
Add the 50g of water and lemon juice, and of course the almond powder and bicarbonate.

Pour the batter into the pan, in which you will have put a paper cut to the size of the bottom. Lightly grease the inner edge with a little oil or release spray.

Bake for 30 minutes at 150°C on heat, then 15 minutes at 140°C with extra steam function if you have, otherwise by putting boiling water in a tray in the bottom of the oven. Turn out of the oven carefully, then place heat-resistant cling film in direct contact with the cake.

Let cool before eating in small portions!

Gluten and lactose free lemon almond cake


Here is the third and final recipe in partnership with Uhaina Organic Beer. This time I propose you a healthy poke bowl, with whole grain rice, marinated salmon and tuna and lots of good things, to go with an organic beer Uhaina IPA ice cold (silver medal Paris 2020)! It’s summer on the plate! I often cook poke bowls, because the few times I buy them, I’m always a little disappointed, so I might as well make it myself. In addition to that, I put here a mango passion sauce that will deliciously excite the taste buds! Find all Uhaina beers HERE!
Recette du POKE BOWL THON SAUMON SAUCE MANGUE-PASSION :
For 2-3 people:
For rice:
- 200g of brown rice
- 300g of water
- 2 tablespoons of toasted sesame oil
- salt
For fish:
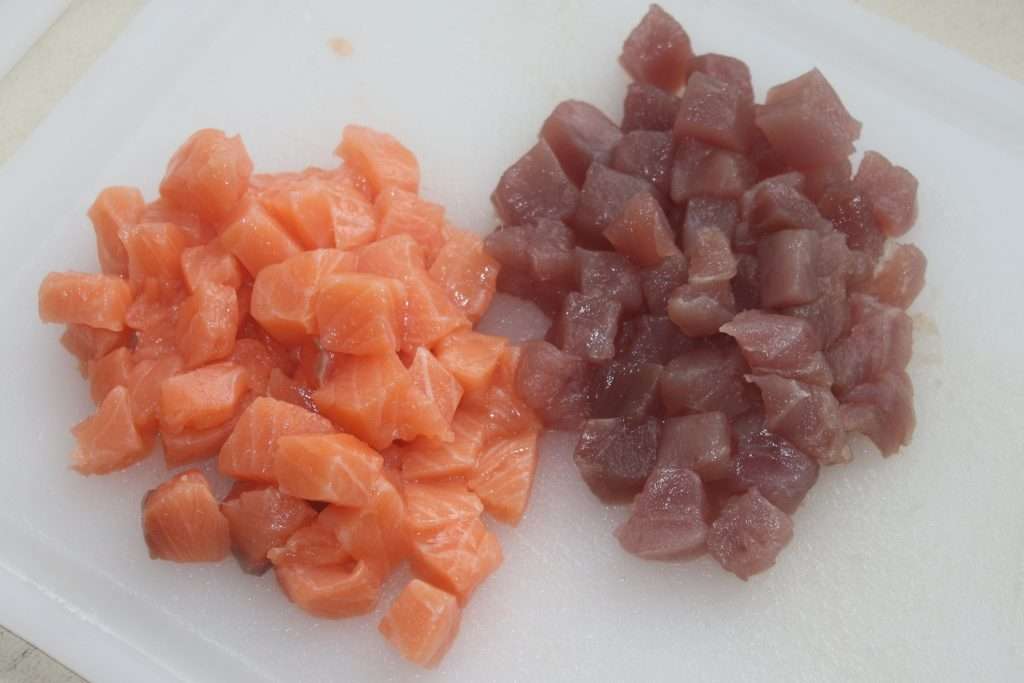
- 1 tuna steak
- 1 salmon steak without skin or bones
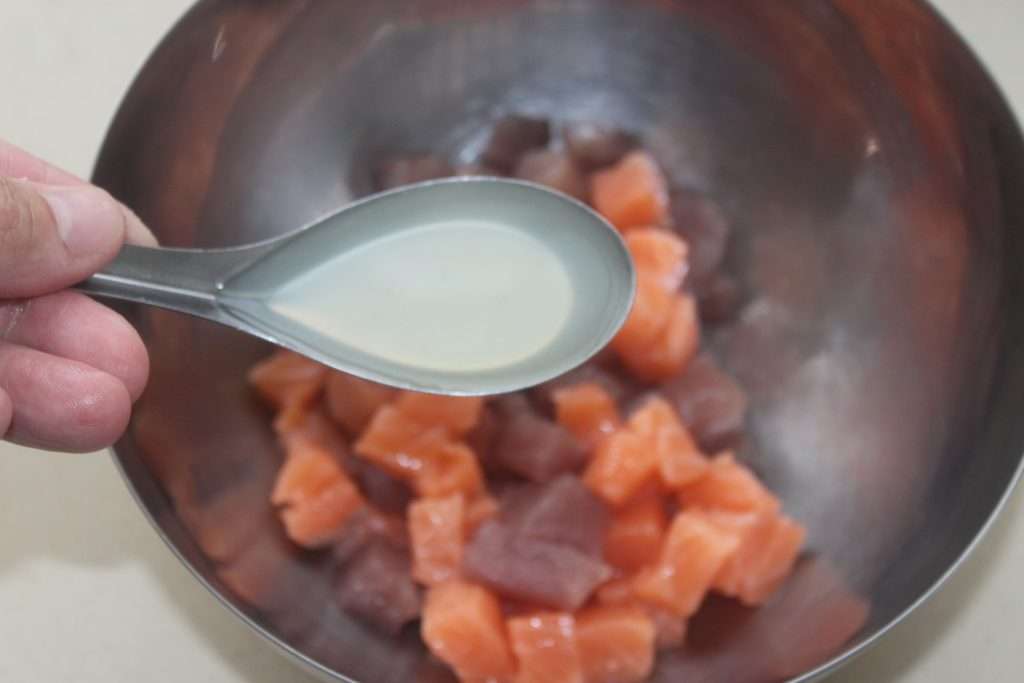
- 1 tablespoon of lime juice
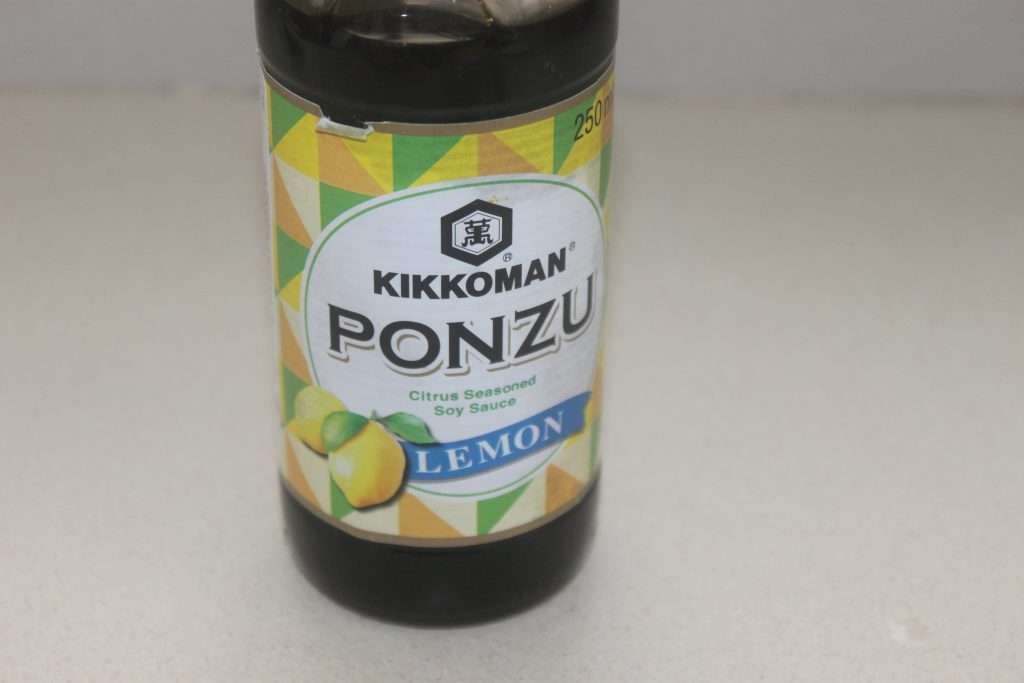
- 1 tablespoon of ponzu
- 1 tablespoon of toasted sesame oil
- a few sesame seeds
For the rest :
- 1 lawyer
- 1 mango
- some radishes
- 1 carrot
- 1 quarter red cabbage, finely chopped
- 150g of edamame steamed for 12 minutes
- 1 mini cucumber
- some raspberries
- a handful of raw cashews
For the sauce
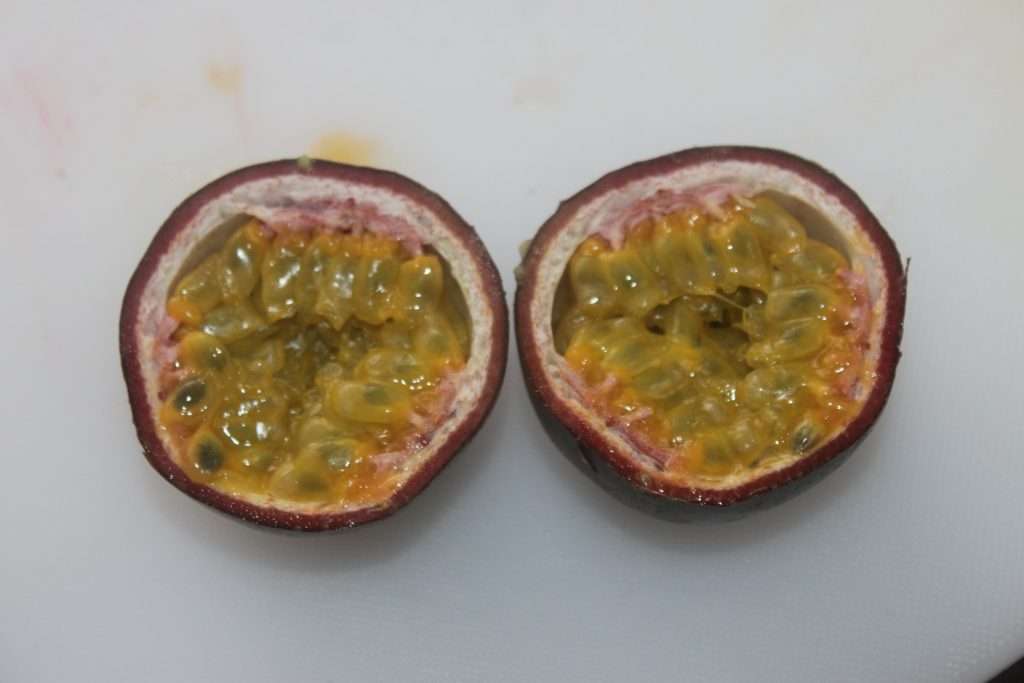
- 1 passion fruit
- 3 small pieces of mango
- 1 tablespoon of olive oil
- 1 tablespoon of clear soy sauce
- 1cm freshly grated ginger
Instructions :
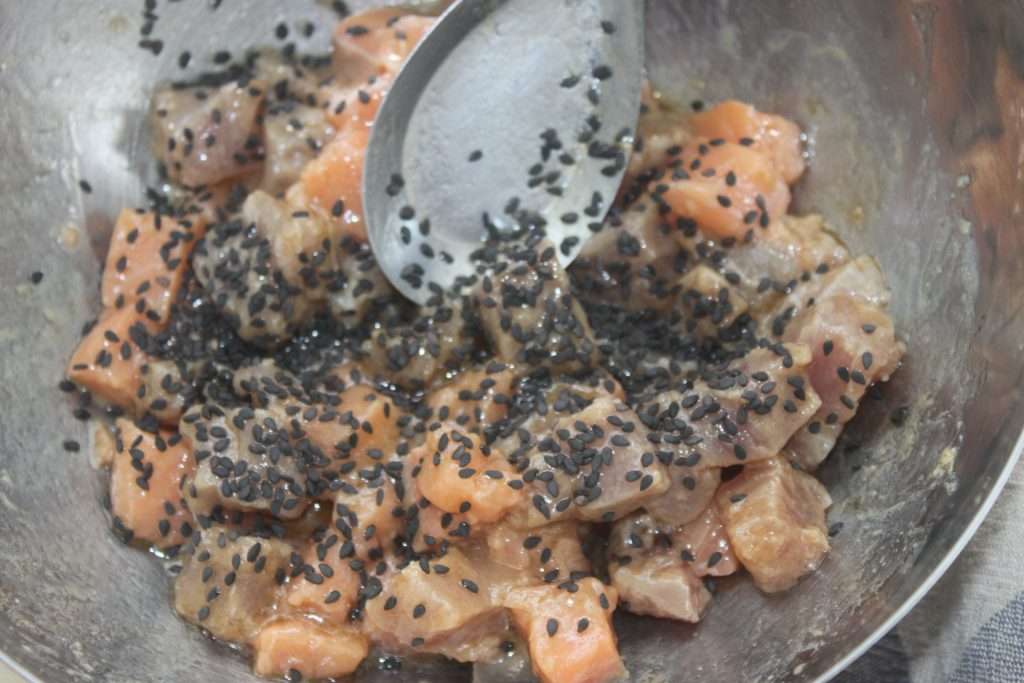
The day before or in the morning, cut the fish into pieces.

Pour in lime juice, ponzu and toasted sesame oil.
For information, here is the ponzu. It can be replaced by classic soy sauce with 3/4 of yellow lemon juice.
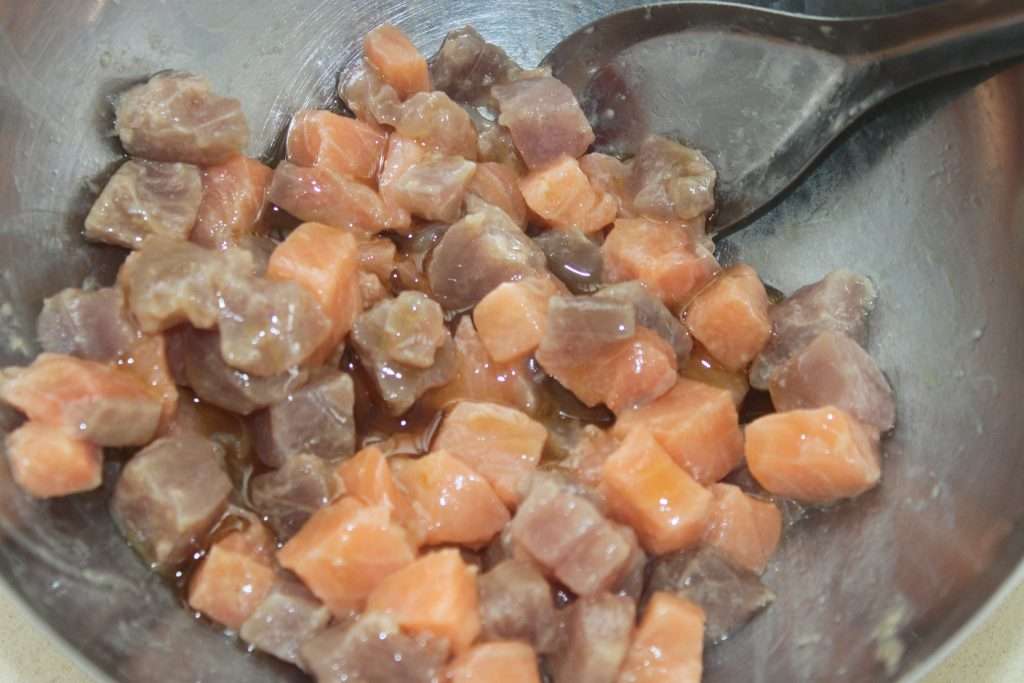
Sprinkle with sesame seeds. Then let it sit overnight or in the morning in a cool place under a cling film.
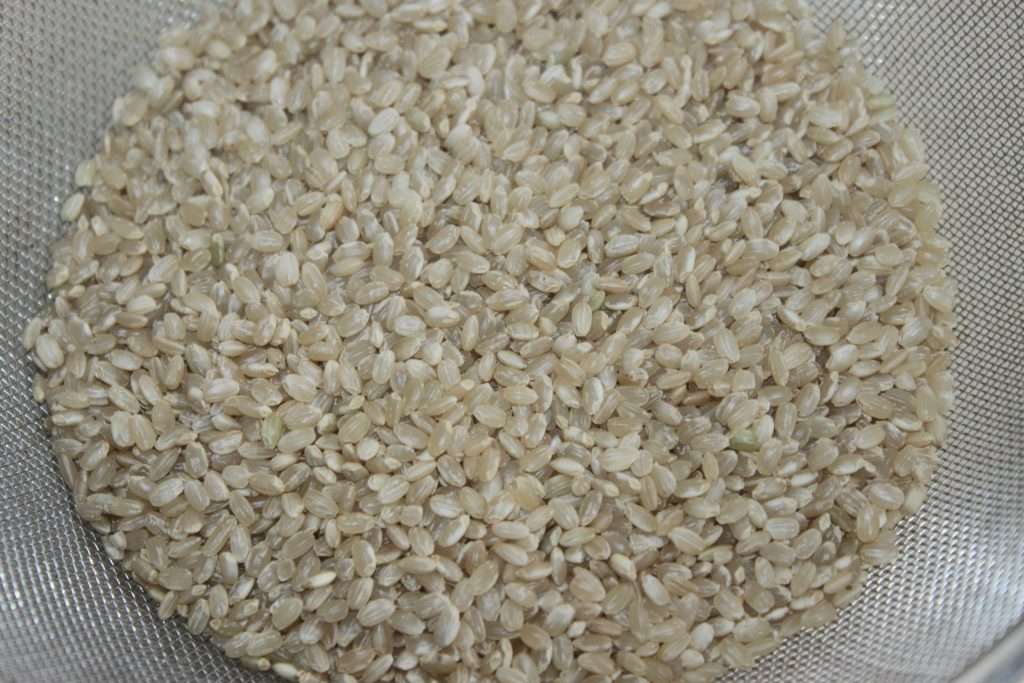
The next day, cook the brown rice. Wash it in cold water for 1 minute. Place it in a rice cooker with 300g of water, close the lid and start.

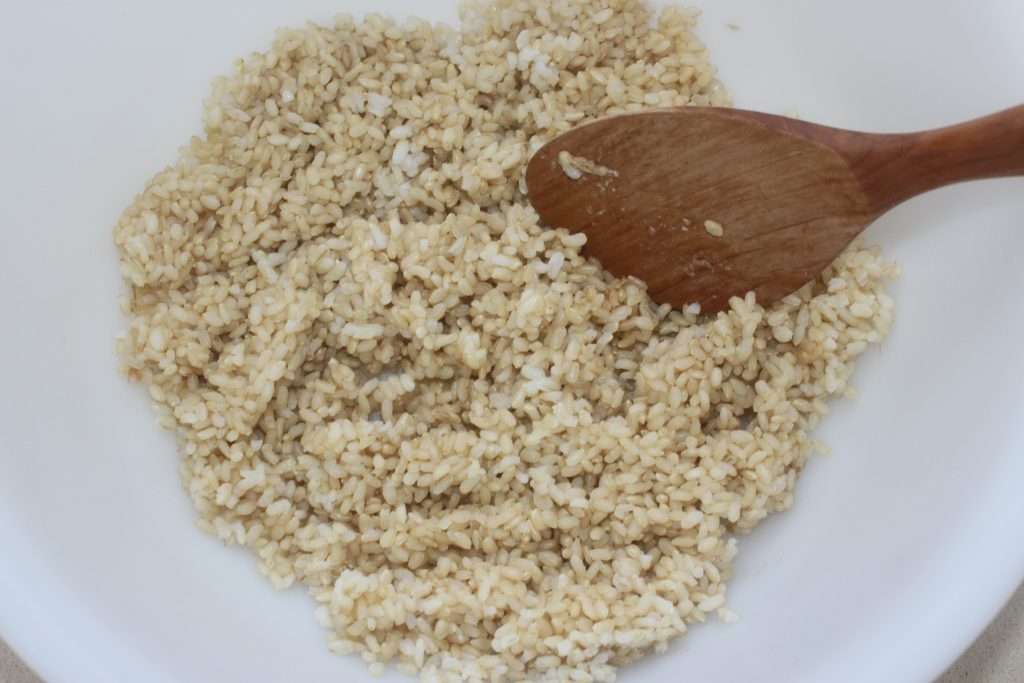
When the rice is cooked, pour in the sesame oil and salt to taste.
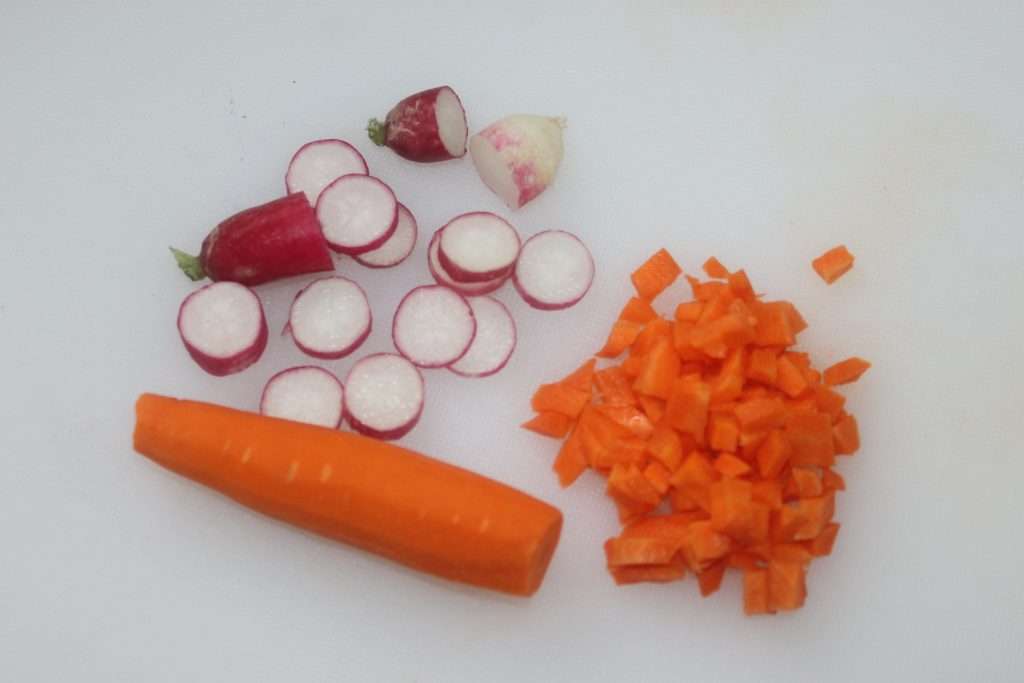
While the rice is cooking, take the opportunity to cut the vegetables and fruits into pieces. There are also avocados, red cabbage. Don’t forget to cook the edamame, which can be replaced by peas.
For the sauce, use the flesh of a beautiful passion fruit.
Add olive oil and soy sauce.

Mix well then pour into a small sieve placed over a bowl.
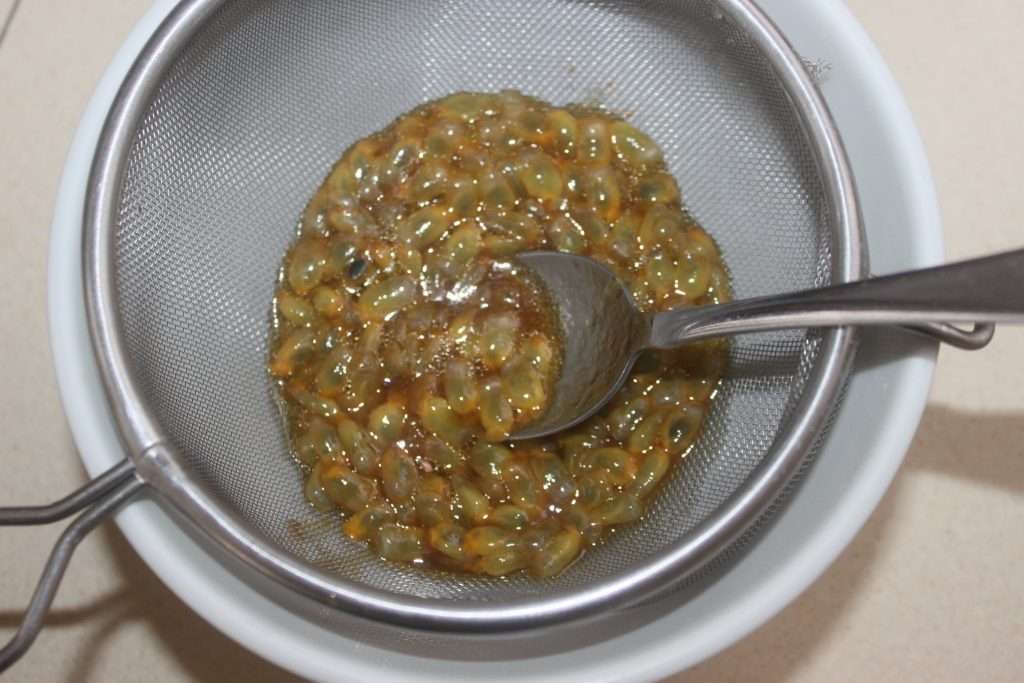
Add 2-3 pieces of mango. I had taken frozen mango which crushes well. Crush it well with a fork and then mix it in the sieve. Stir so that all the liquid falls to the bottom. Only the seeds of the passion fruit will remain in the sieve. It is therefore necessary to crush the mango!
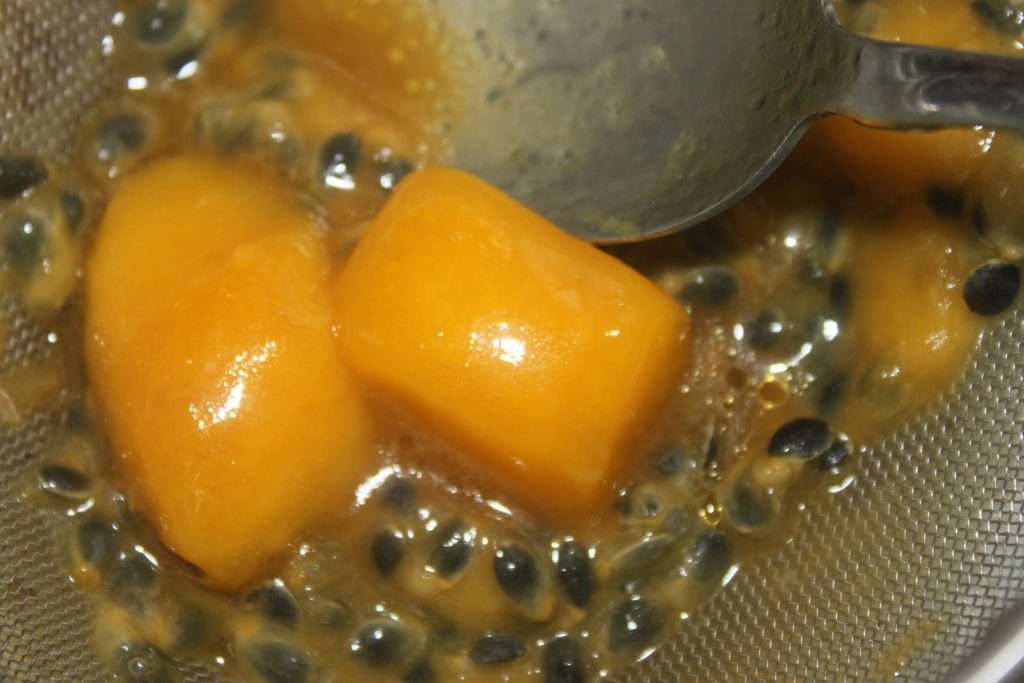
You will get a very liquid and tasty sauce.

Take two bowls (for big eaters like me). I think we can serve even 3 or 4 people with all this!
Pour the rice in the bottom, arrange the fish, then the rest of the ingredients. Make the sauce available and serve without delay!
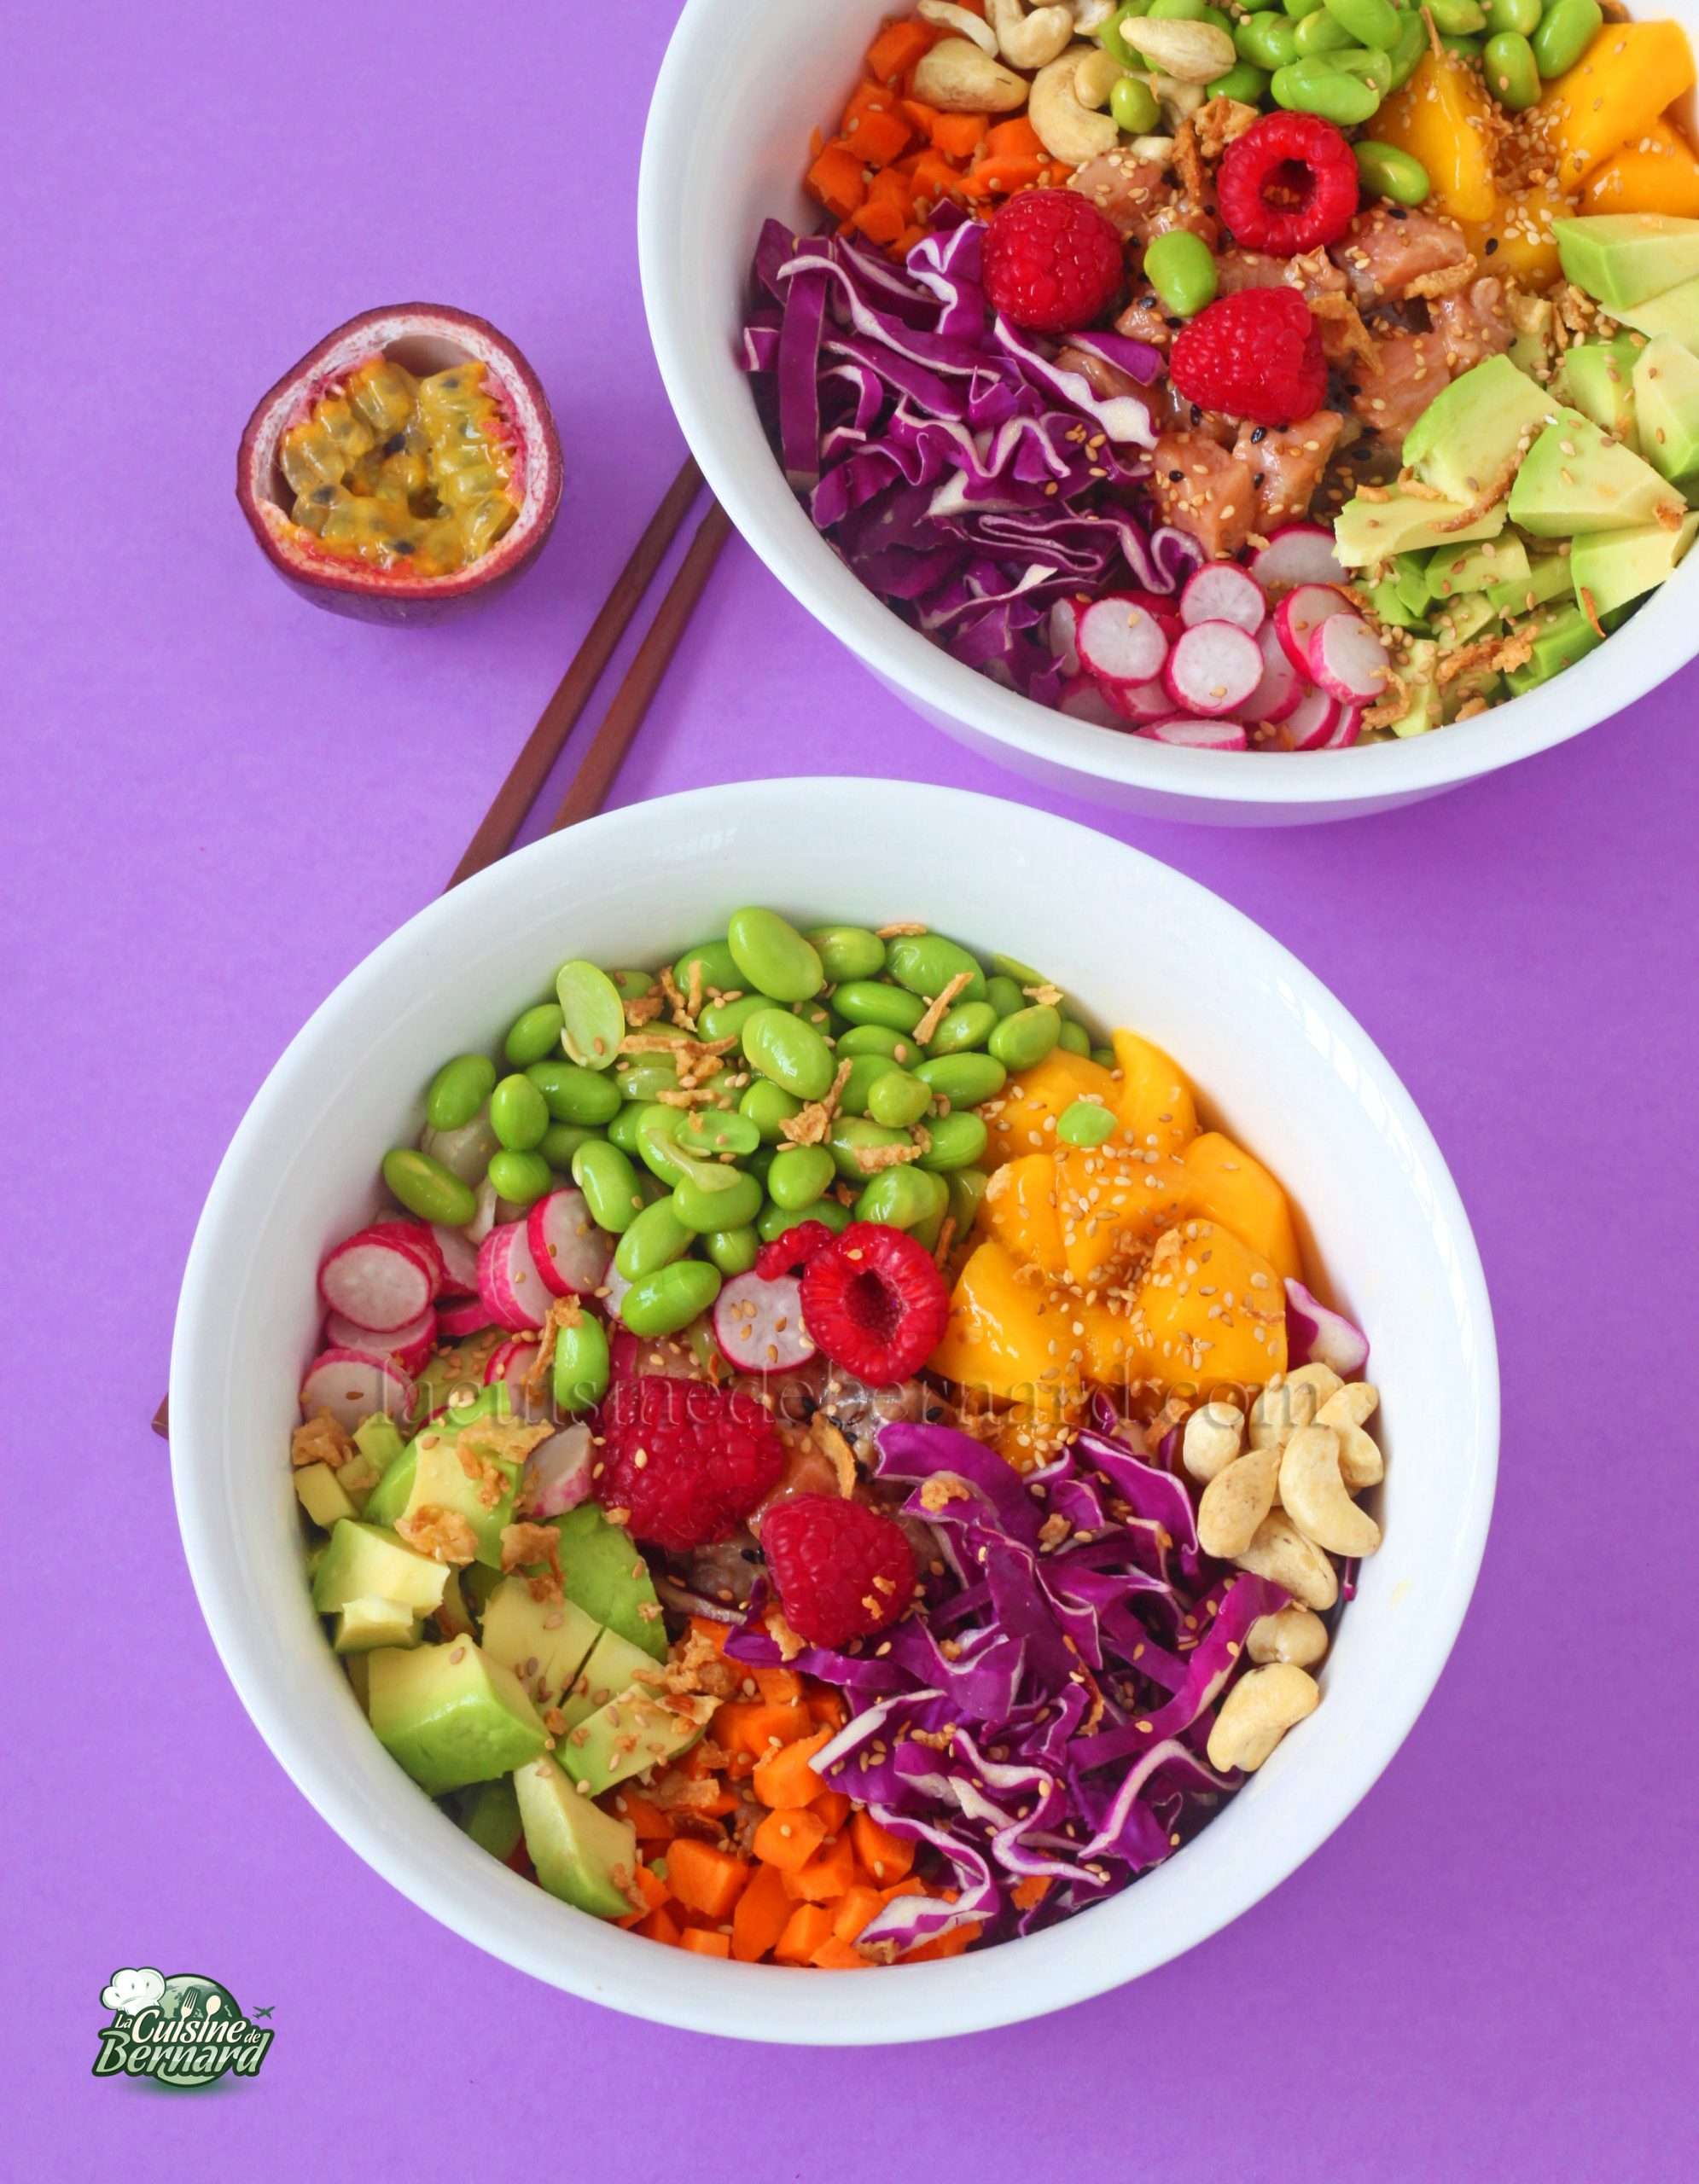
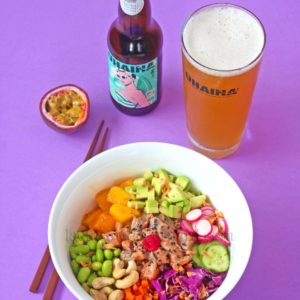
Tuna salmon poke bowl with mango-passion sauce


Here is my second recipe (out of 3) for my partnership with Uhaina organic beers! This time I propose an American fried chicken that will be perfect with an ice cold lager! I give you all the little secrets to get the beautiful texture of the chicken. It should be cooked well and not fried in too hot oil, which will color the chicken without cooking it inside. With a sauce and a good salad to accompany it, it smells like a vacation with friends!
Recette du FRIED CHICKEN :
For 4 people :
For the chicken:
- 4 chicken legs with thighs
- 4 tablespoons of ketchup
- 2 teaspoons of clear soy sauce
- 1 teaspoon garlic powder
- 1 teaspoon onion powder
- salt pepper
For the breading:
- 360g of flour
- 80g of cornstarch
- 1 half teaspoon paprika
- 1 half teaspoon curry powder
- 1 teaspoon garlic powder
- 1 teaspoon onion powder
- 1 good pinch of hot pepper powder
- salt pepper
For the sauce:
- 1 egg
- 20g of vinegar
- 190g of oil
- 1 teaspoon onion powder
- 1 teaspoon garlic powder
- 50g of heavy cream
- 1 spoonful of dehydrated parsley
- 1 spoonful of dehydrated chives
- 1 spoonful of dehydrated dill
- salt, pepper, chilli
Instructions :
Take the thighs (in photo 3, but take 4). Separate the thighs from the tops.

Remove excess fat.

Pour into a container with the marinade ingredients. Season with salt and pepper. Mix carefully.
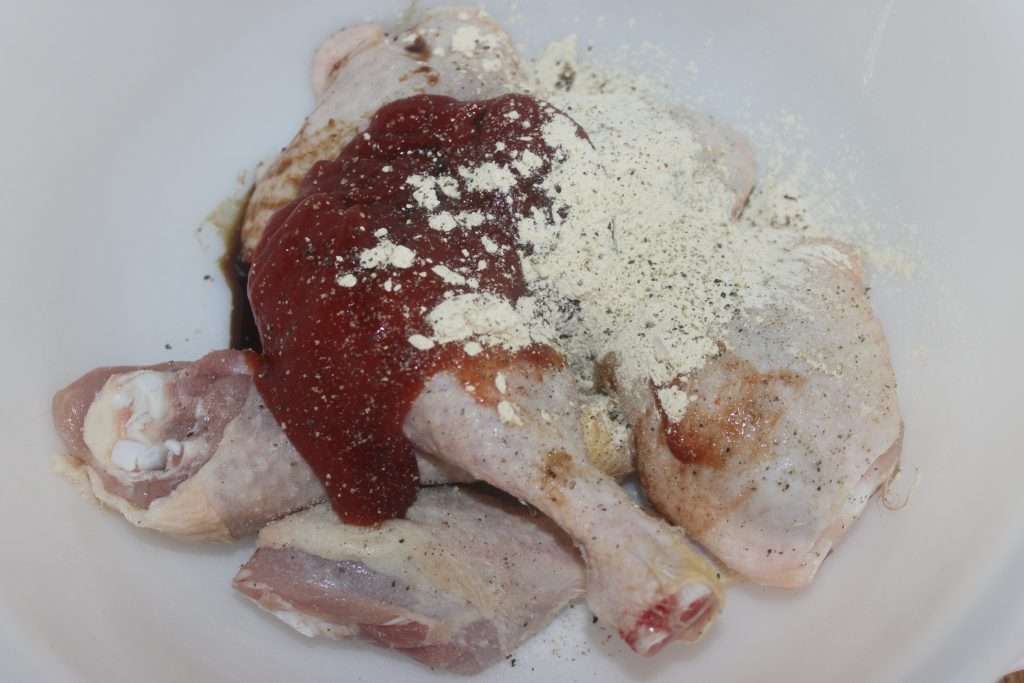
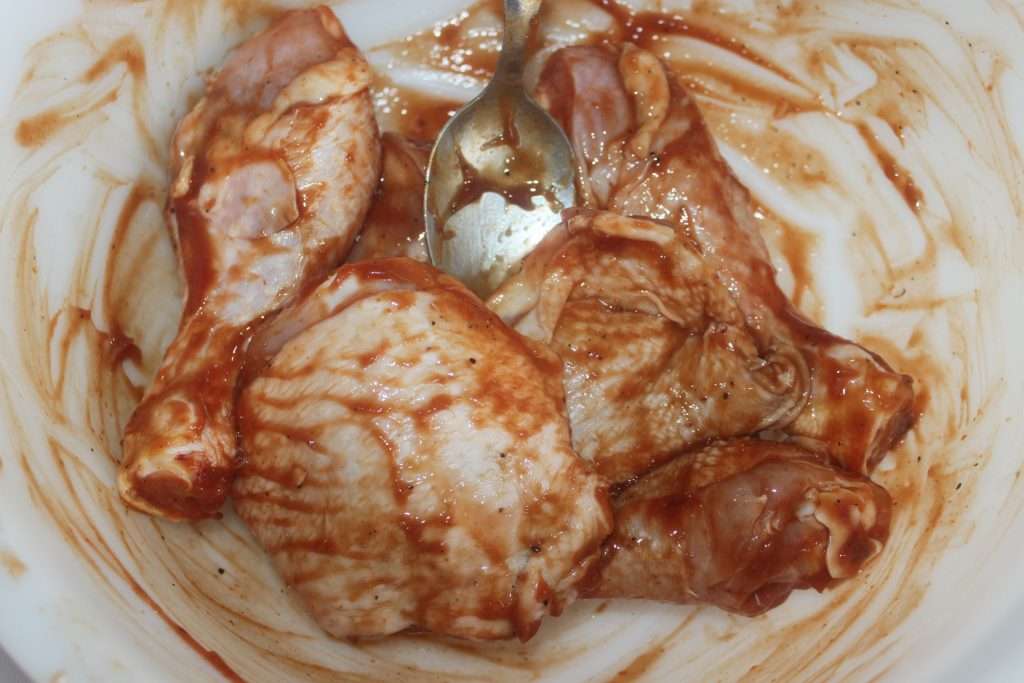
Let it rest while you prepare the next step. Pour the breading ingredients into another large container. I use garlic and onion powder and not semolina.
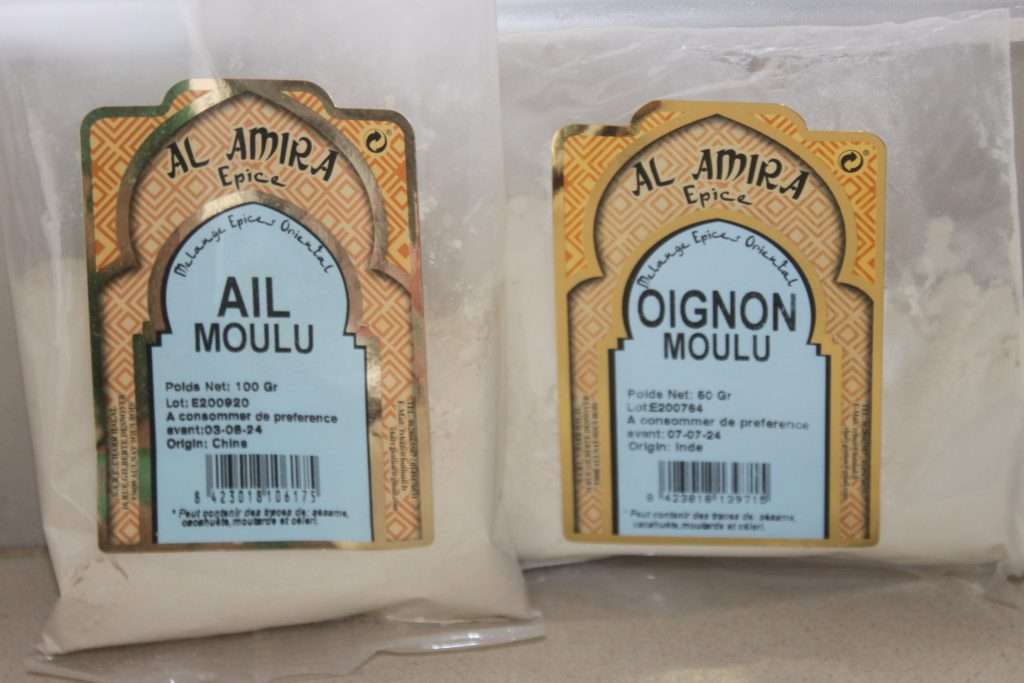

Add the spices. Season with salt and pepper.

Place a piece of chicken in the breading and wrap it well.
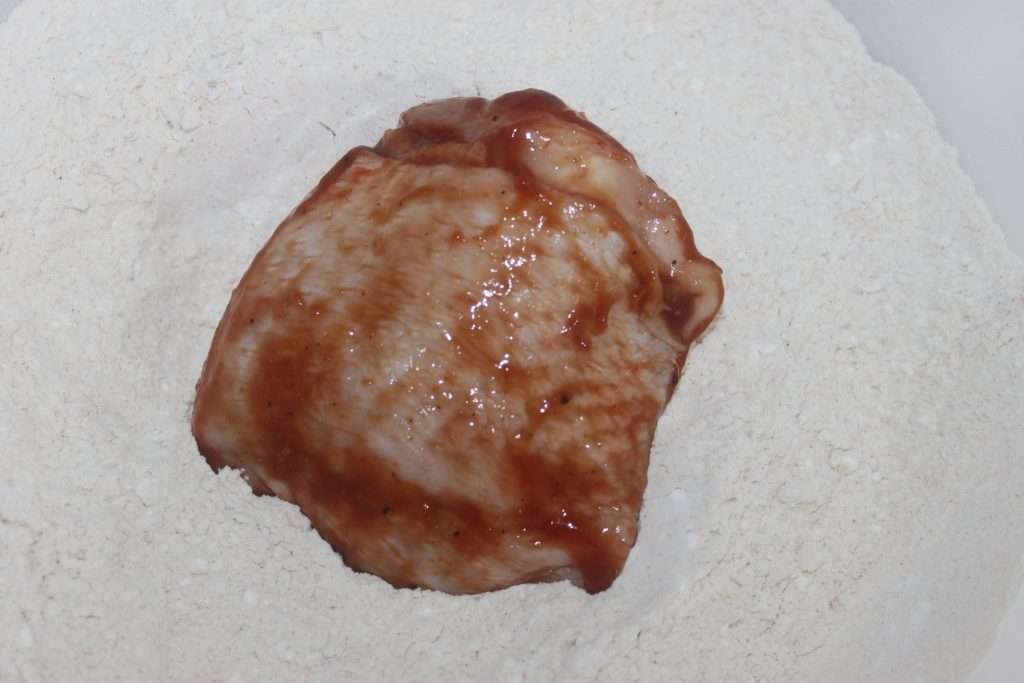

Do the same for all the pieces.

To get the special texture, dip the chicken in a bowl of cold water for a second and then put it right back into the breading.
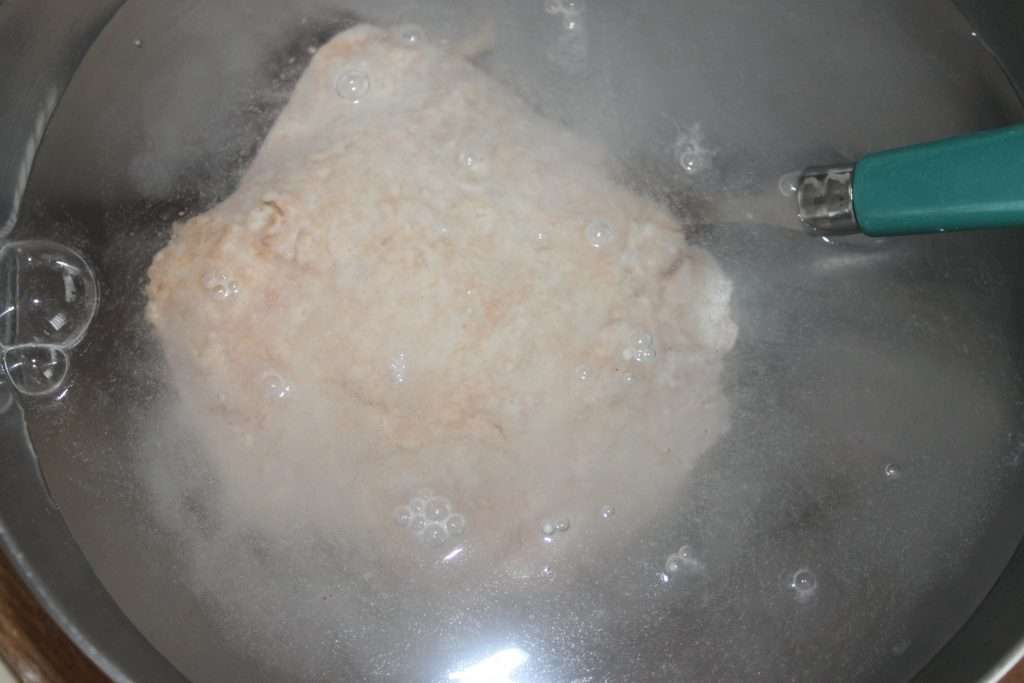
This second bath of breading will give the texture of fried chicken.


Heat a wok or frying pan with at least 4 cm of oil. The oil should be hot, but not too hot, otherwise the chicken will over color without having time to cook inside.
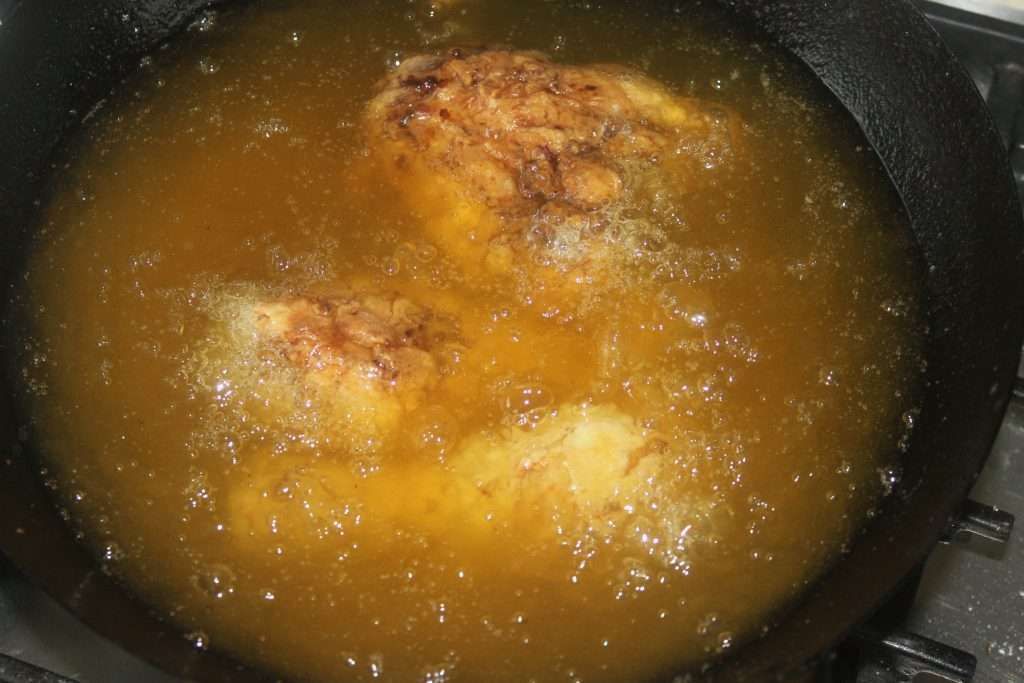
The chicken needs to cook for about 9-10 minutes to be cooked in, so adjust the heat of the oil.

Meanwhile, prepare the sauce. Place the whole egg in a high-sided blender jar. Pour in the vinegar and oil. Add salt and pepper and a little chilli pepper if desired.

Blend from the bottom up and then very gently to emulsify the sauce as it thickens.


This is the garlic and onion powder. Add to the sauce with the cream.
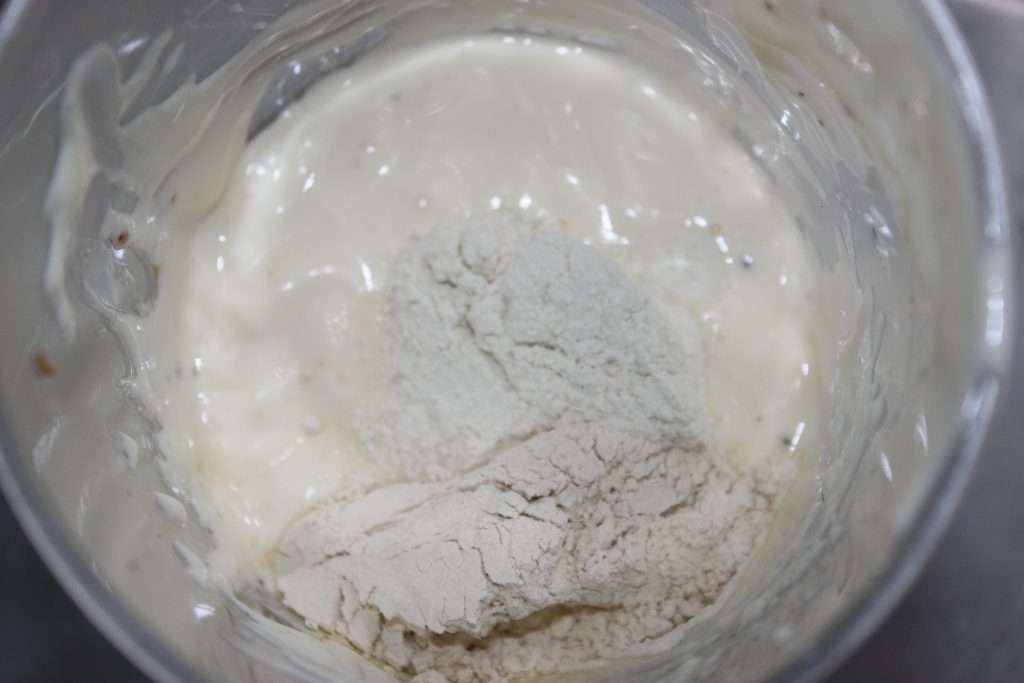
Pour in the dehydrated herbs as well.

Serve the chicken hot with the sauce at hand.
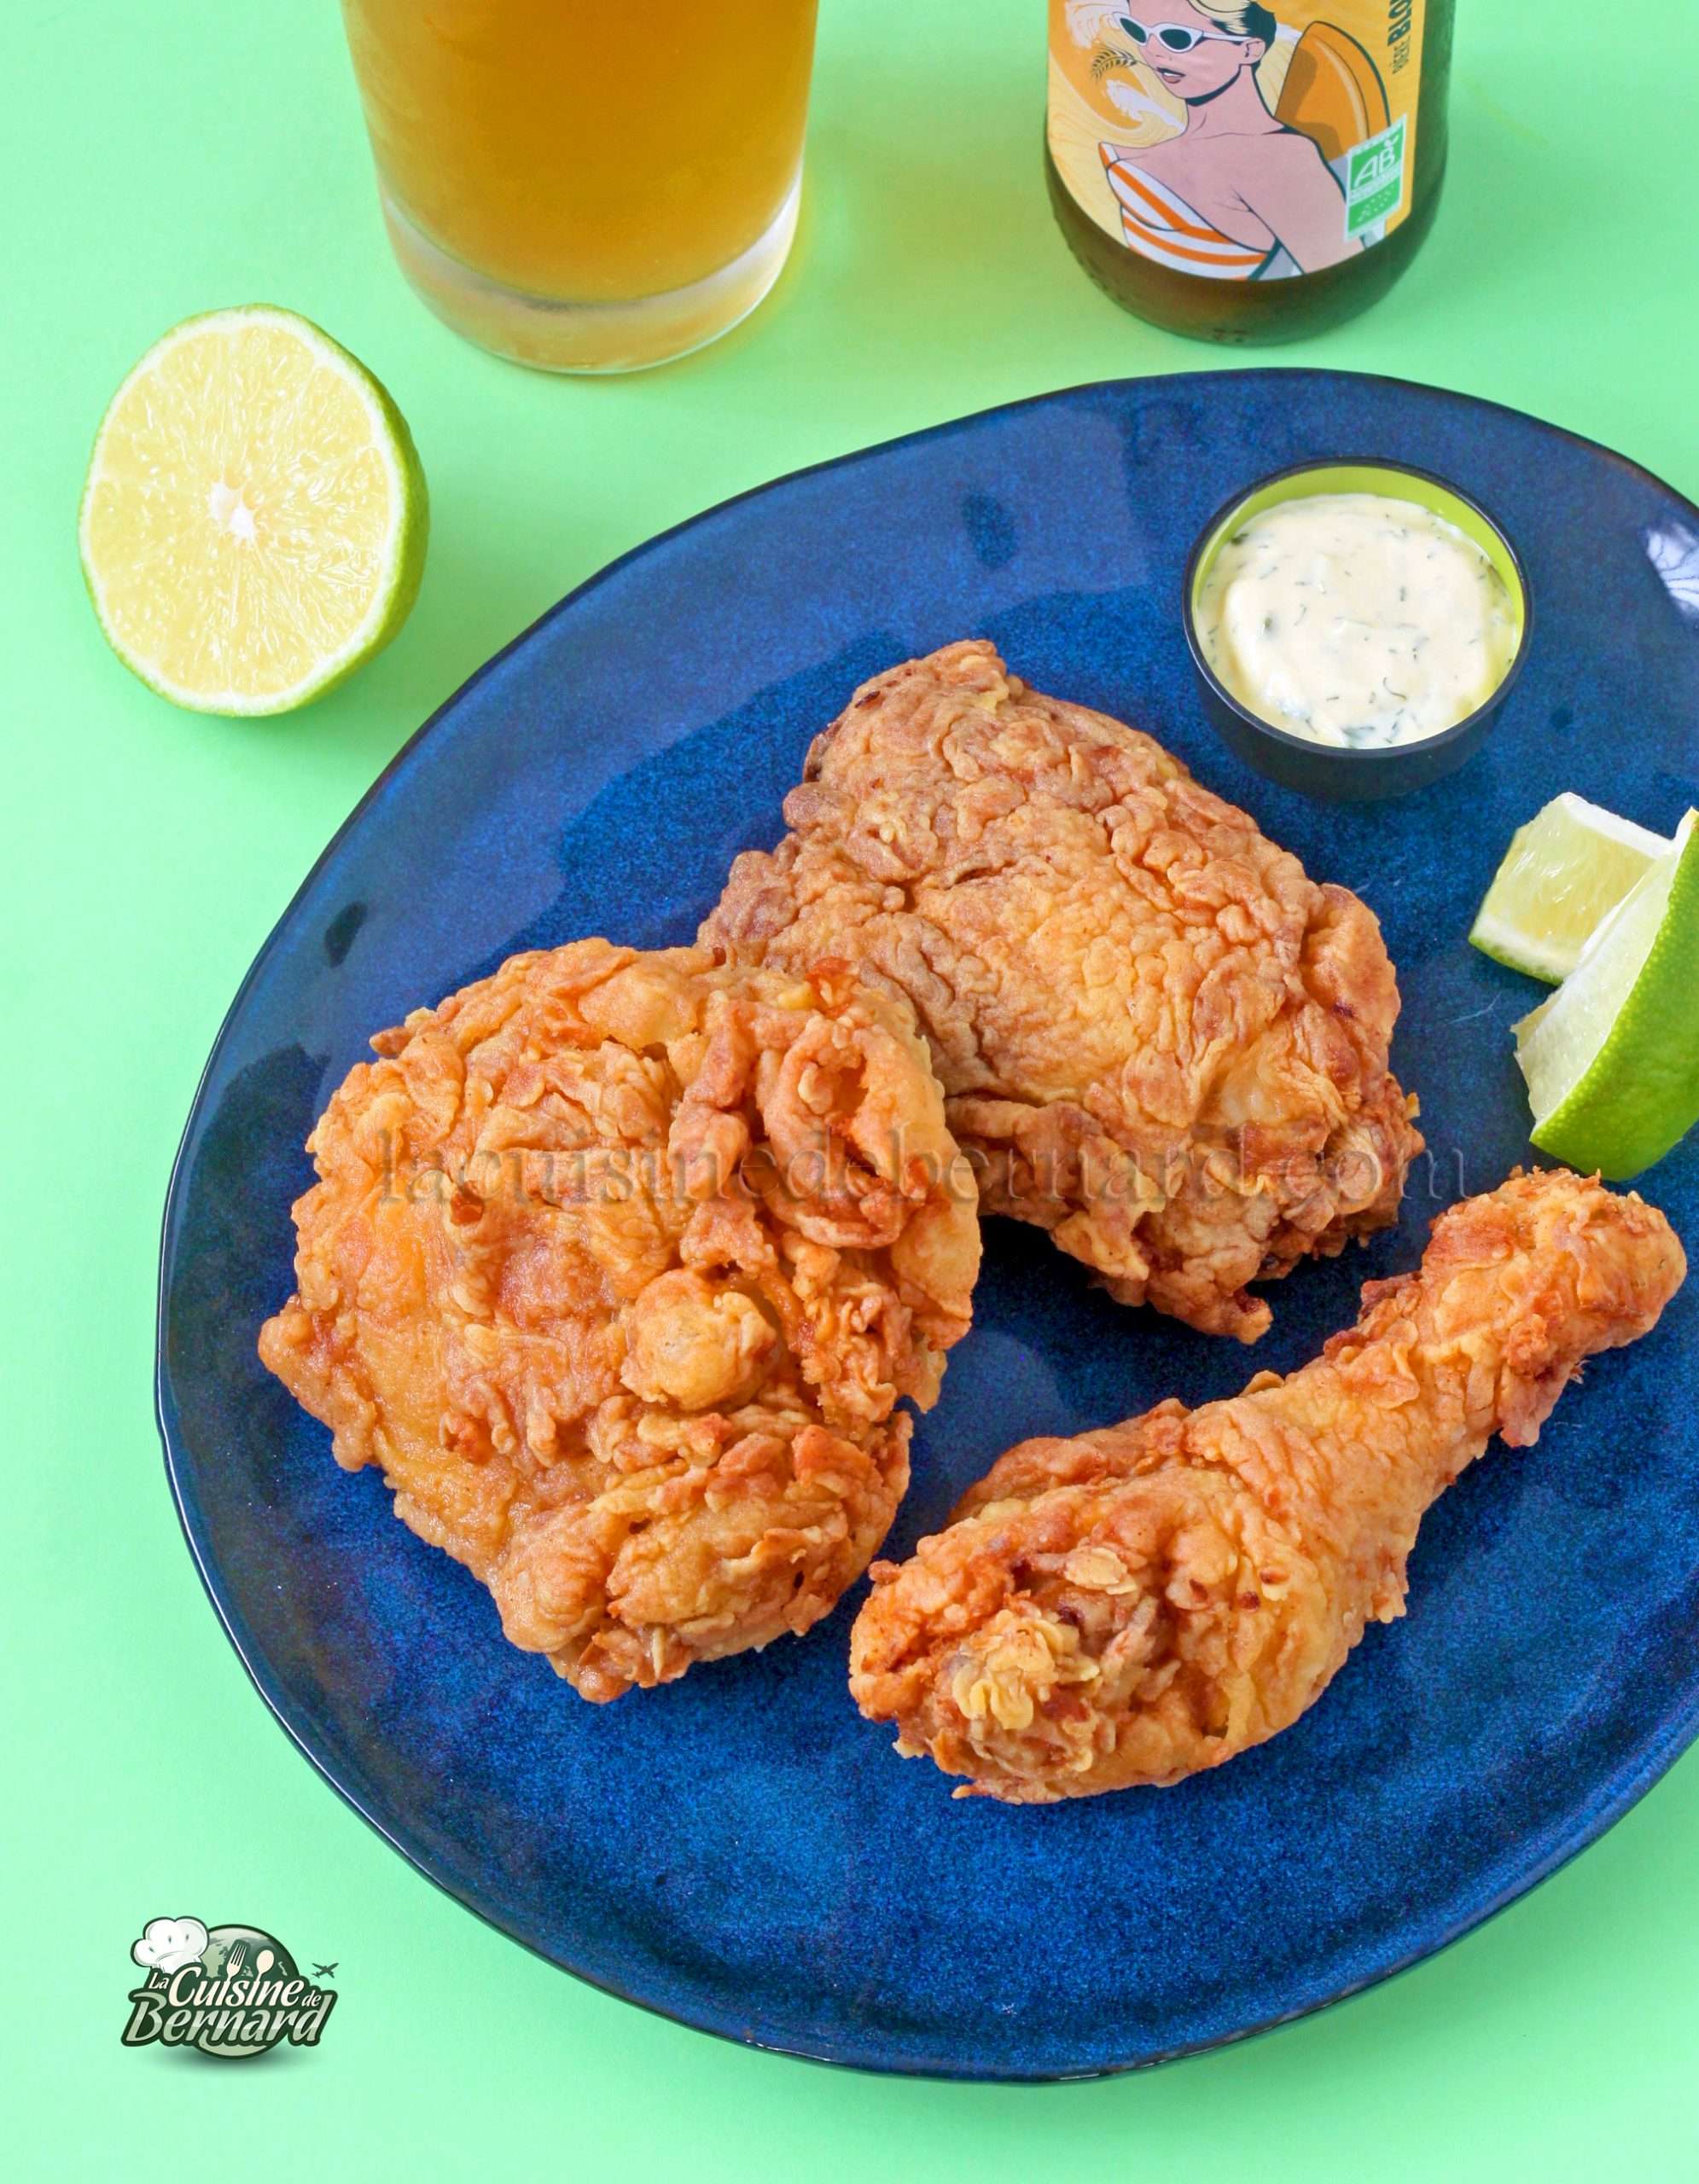

Fried Chicken


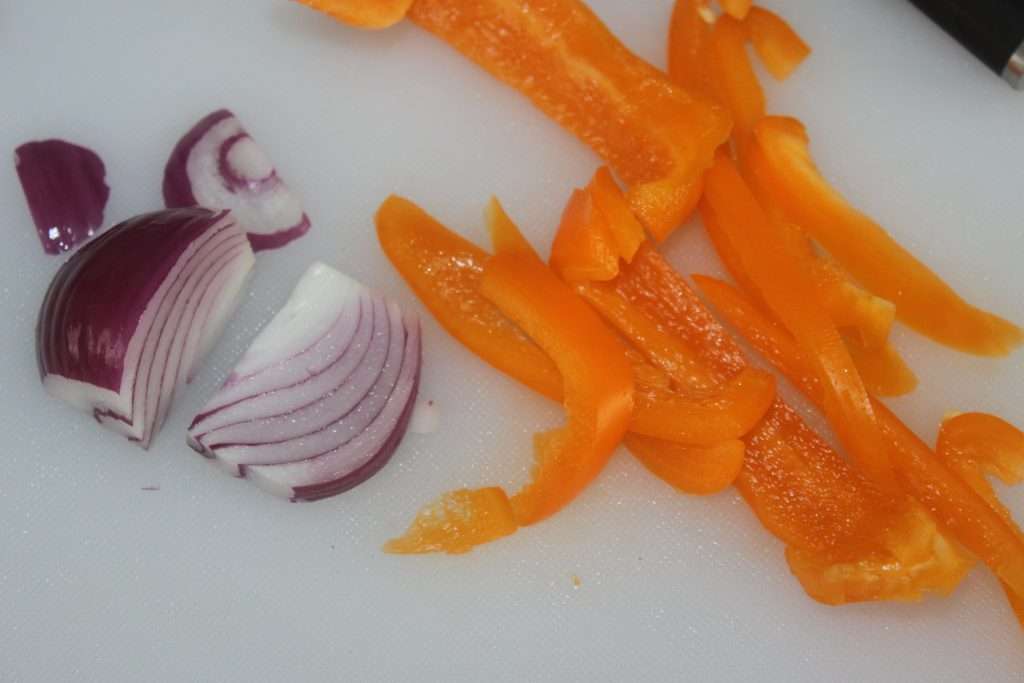
Let’s go for 3 recipes in partnership with Uhaina organic beer! I love ice cold beer in summer and I was asked to create 3 sunny recipes for this original French organic brand. We start with the white one with a colorful and crunchy salad, full of good things, amazing textures and delicious flavors. I suggest a tomato salad, with avocado, figs, bell pepper, pomegranate seeds, red onions, crispy Lebanese bread with olive oil, but most of all a very tasty sesame cream sauce!
Ingrédients de la “Salade craquante d’été”:
For 4 people :
- 1 kilo of mixed tomatoes
- 3 Lebanese flat breads “khabez
- 1 red onion
- 1 bell pepper
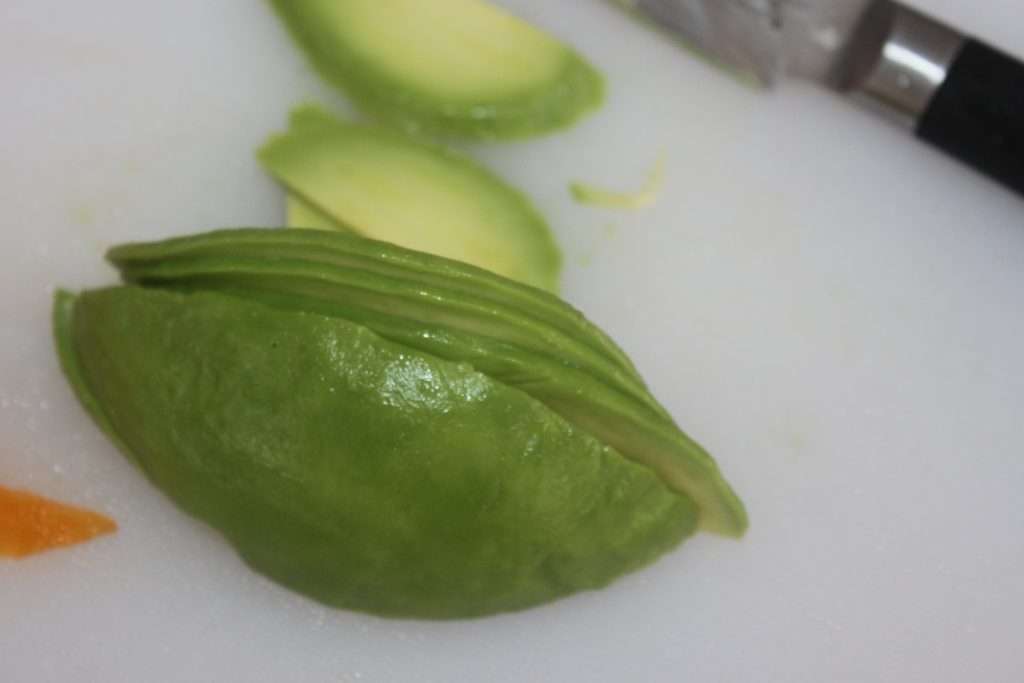
- 1 lawyer
- 1 pomegranate
- 2-3 figs
- olive oil
- salt pepper
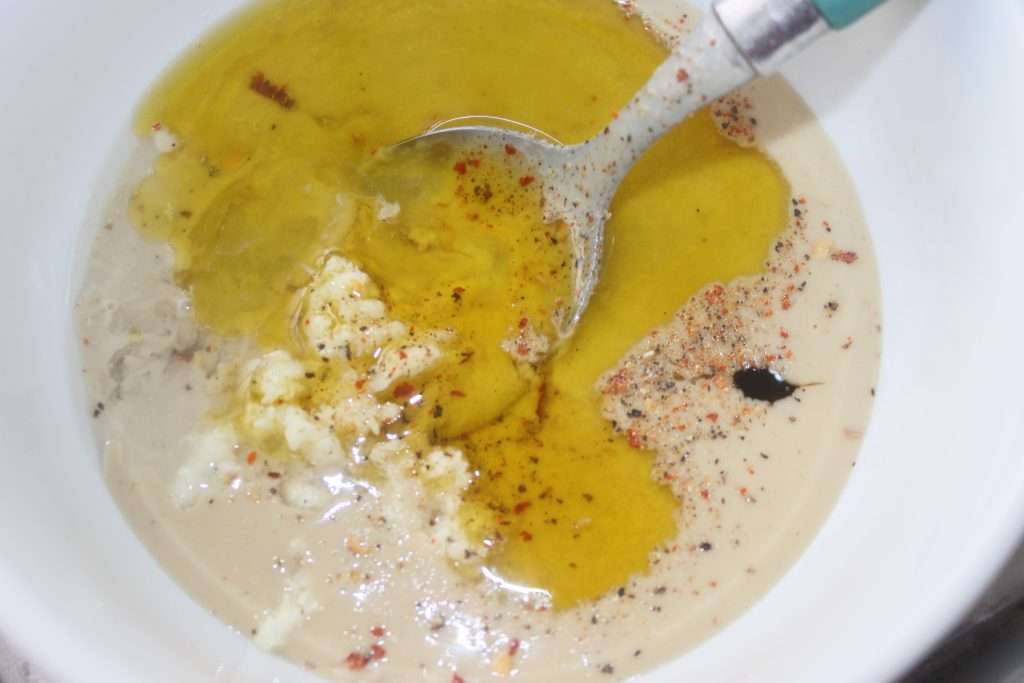
Tahine Sauce
- 100g of tahini (sesame puree)
- 100ml of water
- 25g of olive oil
- 15g of white vinegar
- 1 teaspoon agave or maple syrup
- 1 clove of garlic
- salt, pepper, chilli
To be added:
- Pecan nuts
- Coriander leaves
Instructions:
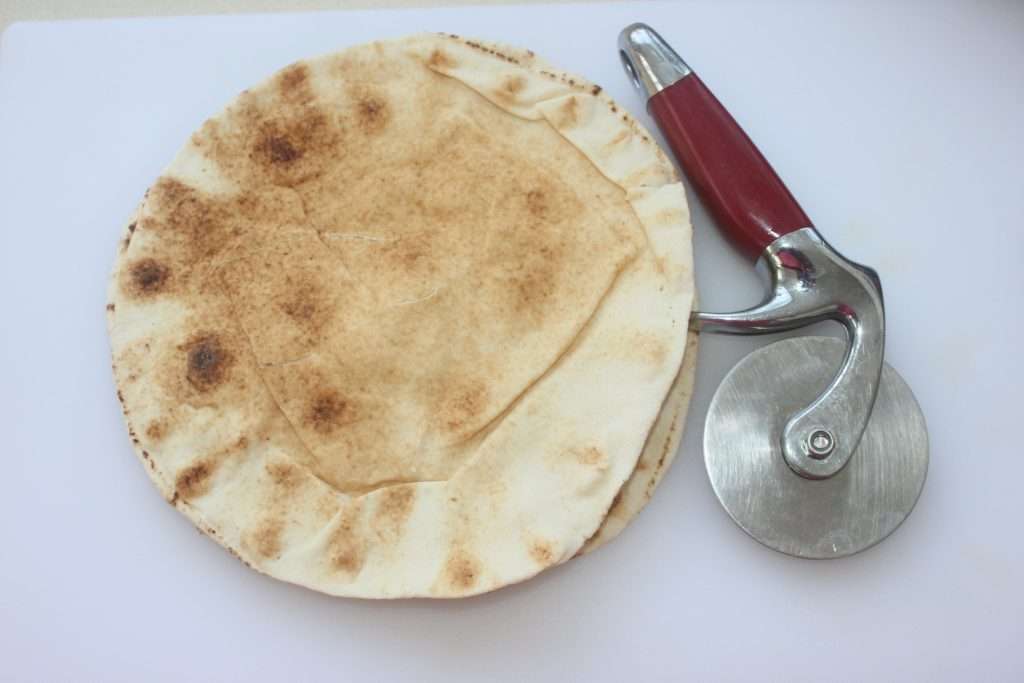
Start by cutting the Lebanese flatbread into pieces. I used a pizza cutter, but you can obviously do it with a knife.

Place the pieces on a baking sheet and sprinkle generously with olive oil.

Add salt and pepper (I also added a little chili pepper).

Bake in the oven at 180°C on revolving heat for 12 minutes.

The bread becomes ultra crispy. You can keep it several weeks in an airtight box.
For the tomatoes, take the ones you like and don’t hesitate to take many beautiful colors and different shapes.

Cut them into pieces or quarters.
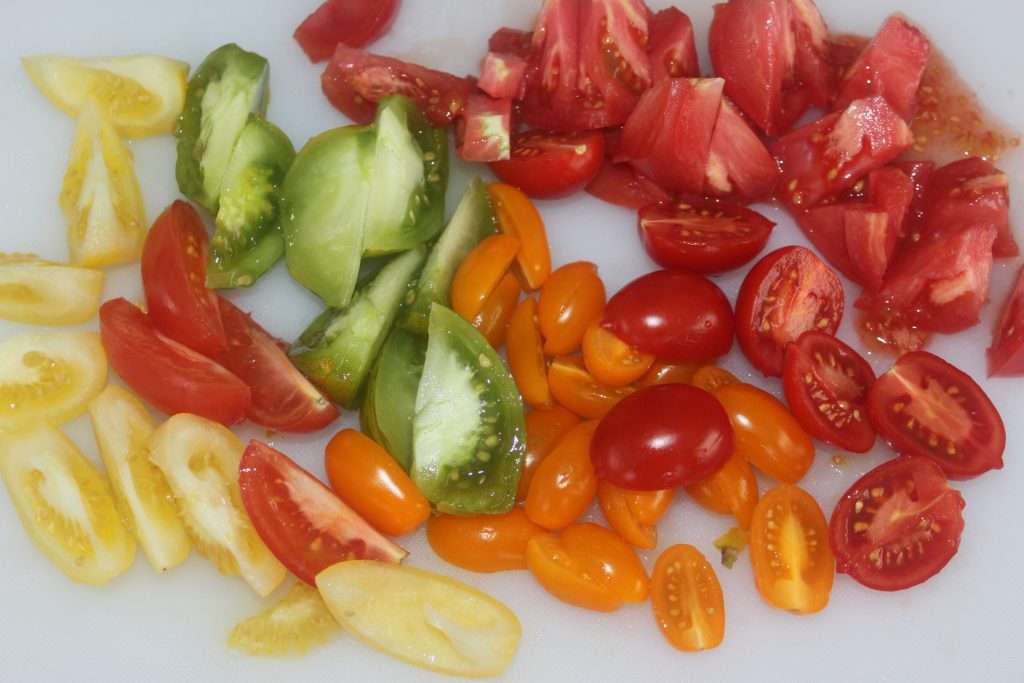
Place them in your salad bowl.

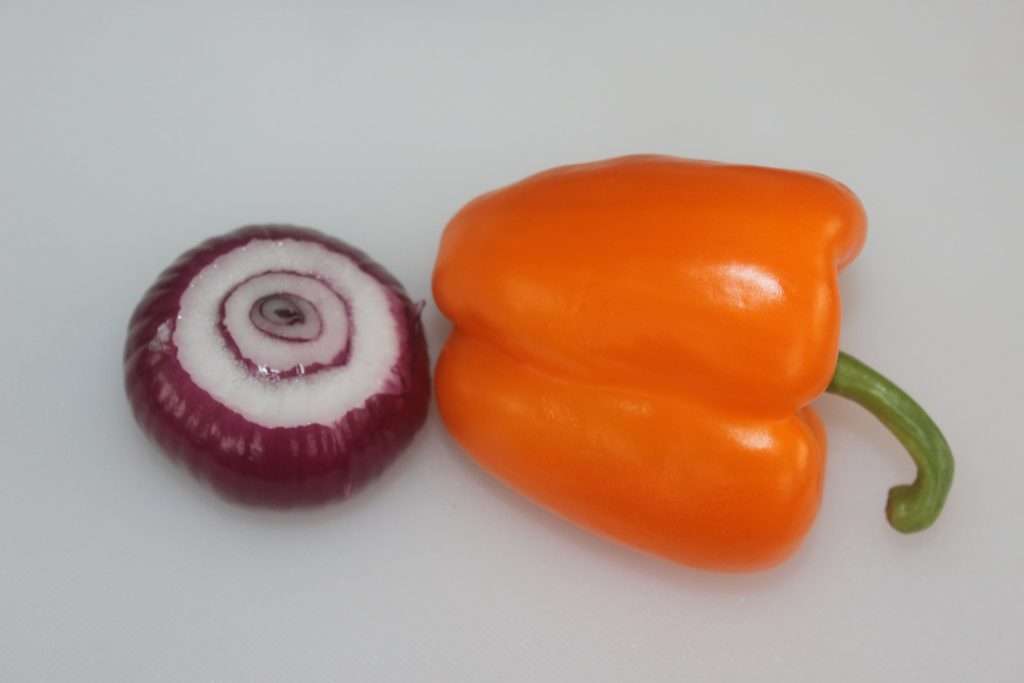
Peel and cut the red onion into thin strips, remove the seeds from the bell pepper and cut into strips.
The same goes for avocado. If you make very thin slices, you can twist it nicely!
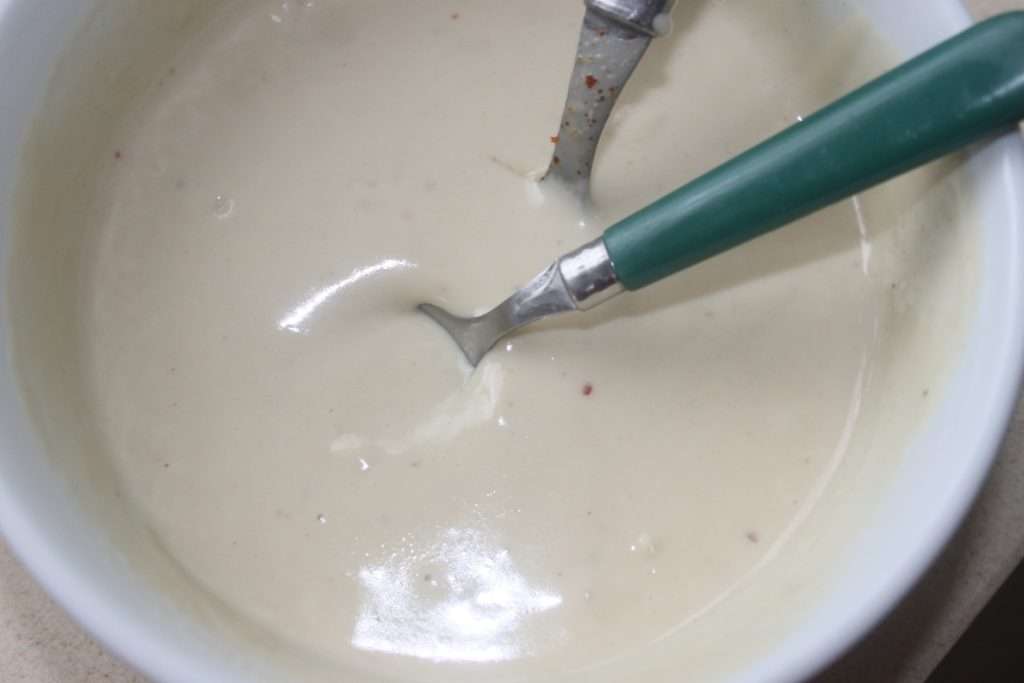
For the sauce, place all ingredients in a large bowl. For the garlic, I peel it and crush it with a garlic press. Add salt, pepper and spice to taste.
With the water, the sauce becomes as creamy as you like!
To serve it is simple, gather all the ingredients in your salad bowl. Sprinkle with pomegranate seeds, add the figs cut into strips or pieces, put the crispy bread at will. Put the creamy tahini sauce at your disposal. Serve the dish this way as it is still very beautiful.
As soon as you mix it, it obviously becomes less pretty, but on the other hand ultra tasty. The crusty bread will also soak up the sauce and still have a great texture.

Feel free to add cilantro and oilseeds like a few pecans. To be enjoyed chilled with an ice cold Uhaina beer!
Find the entire Uhaina line on their website HERE.
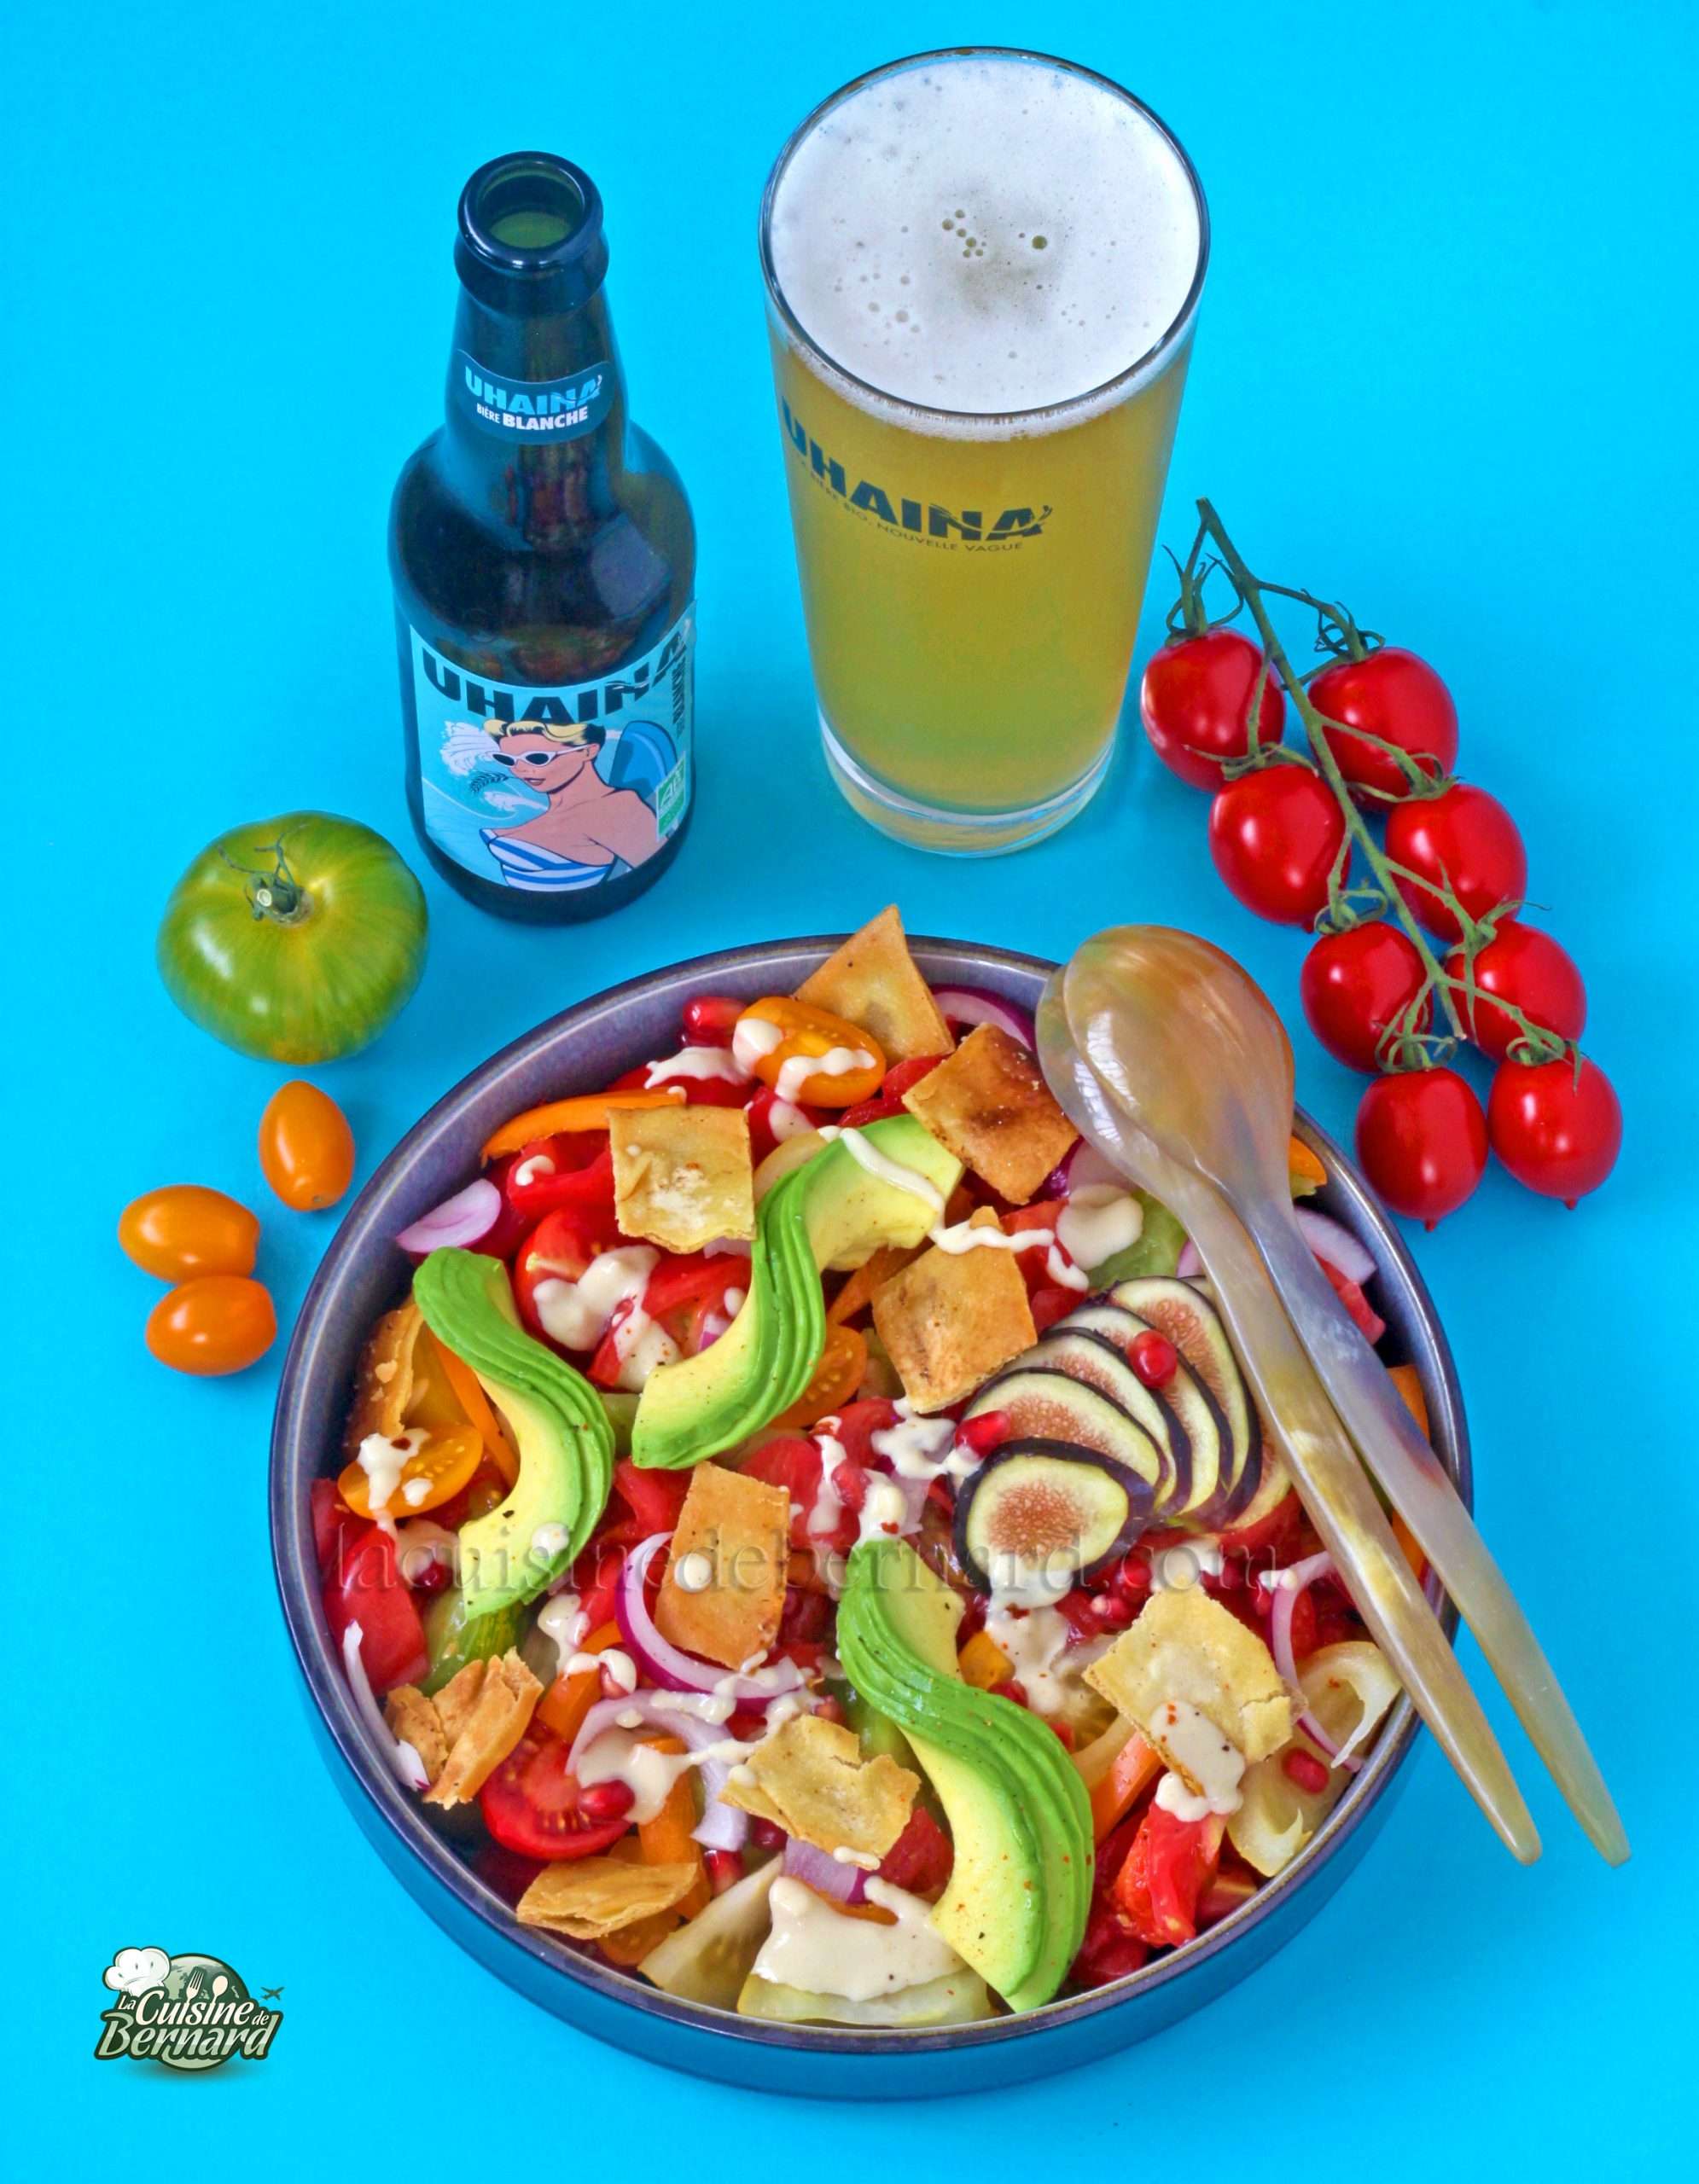

Crunchy Summer Salad


In a small Japanese restaurant that I really like, the Sake Lover (83 rue de Turbigo in Paris) that I adore, the food is traditional and you will only find excellent dishes there. I was inspired by their beans which I never fail to devour when they are on the menu. Everything is ready in 20 minutes. The sauce is made of sesame of course, tahini (sesame paste) and toasted sesame oil. But also a little soy sauce and mirin, a very mild sake for cooking that you can easily find in Japanese, exotic or Asian grocery stores, but also on the internet.
For 4 people :
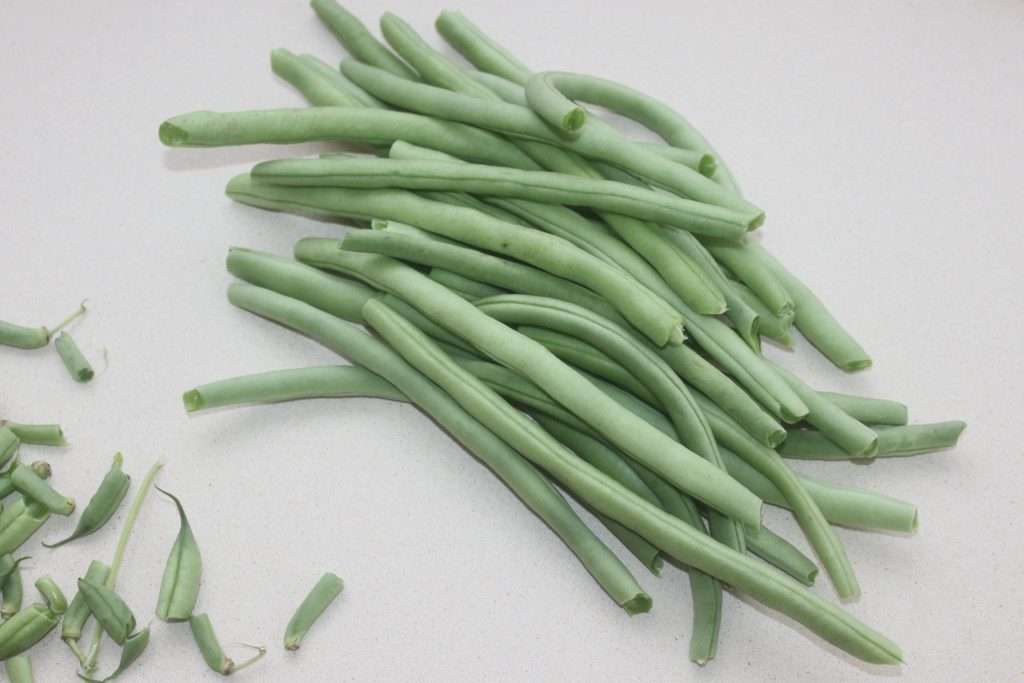
- 900g to 1 kilo of fresh green beans
For the sauce:
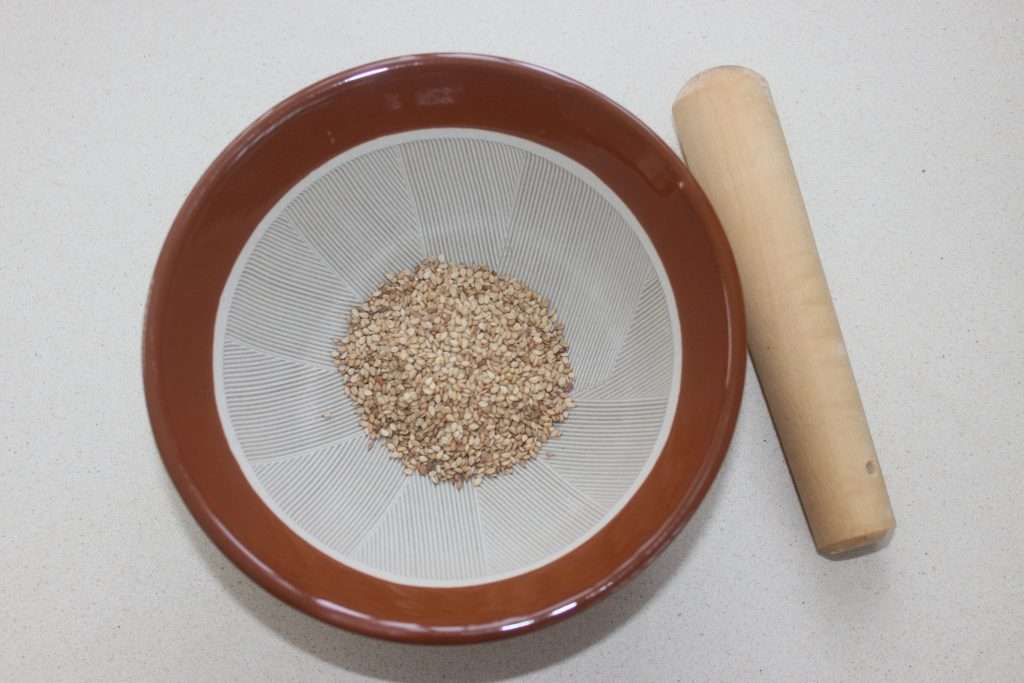
- 50g toasted sesame seeds
- 30g tahini
- 40g mirin
- 15g soy sauce
- 25g of water
- 1 to 2 heaping tablespoons toasted sesame oil
- salt
Stalk your green beans, pulling out any threads.
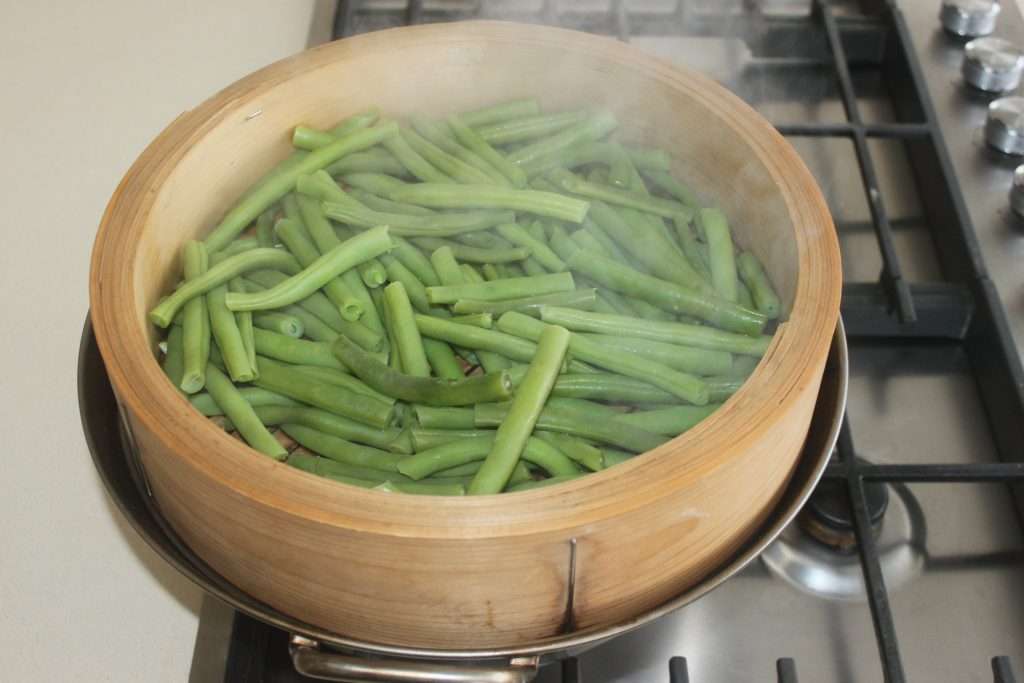
Wash them then place in a steamer basket (stainless steel will do just fine!).
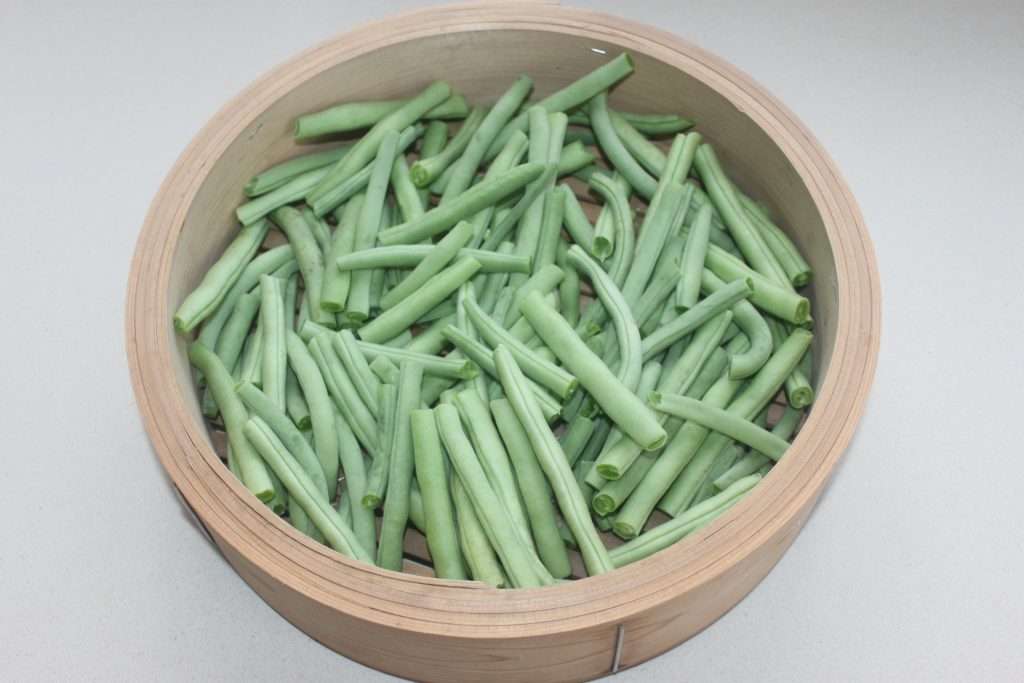
Cook for 15 minutes covered (there I opened to show you!) Steam. As soon as they are cooked, run them under cold water until they are cool.
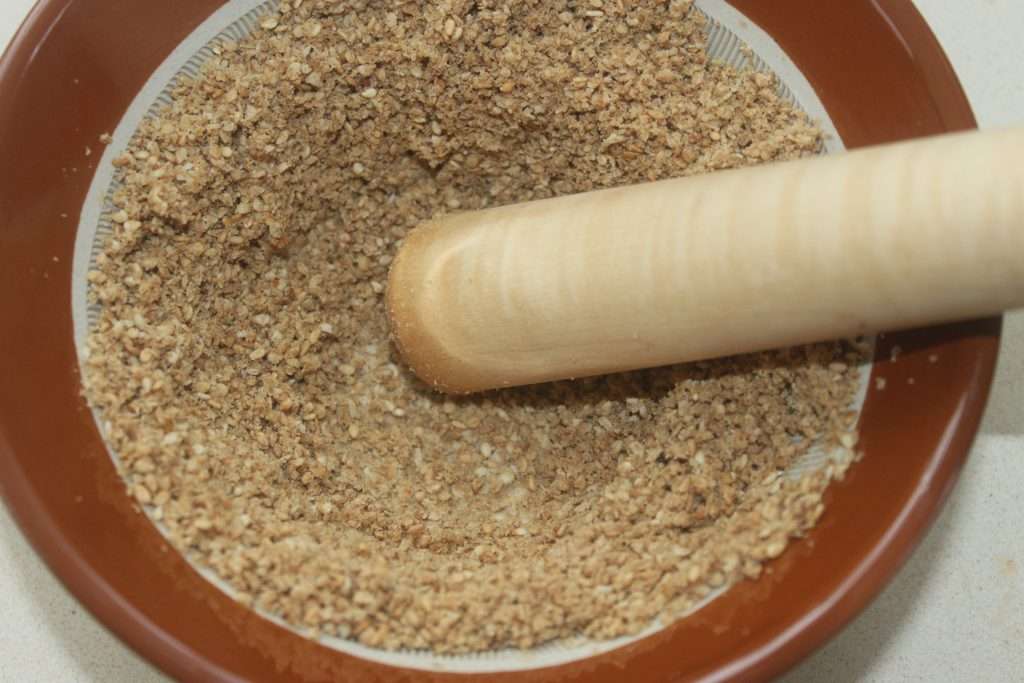
While cooking, you can make the sauce. Crush the toasted sesame seeds. I have a Japanese bowl here, but in a small blender or classic mortar it will work too.
Put the crushed seeds with tahini, mirin, soy sauce and water.
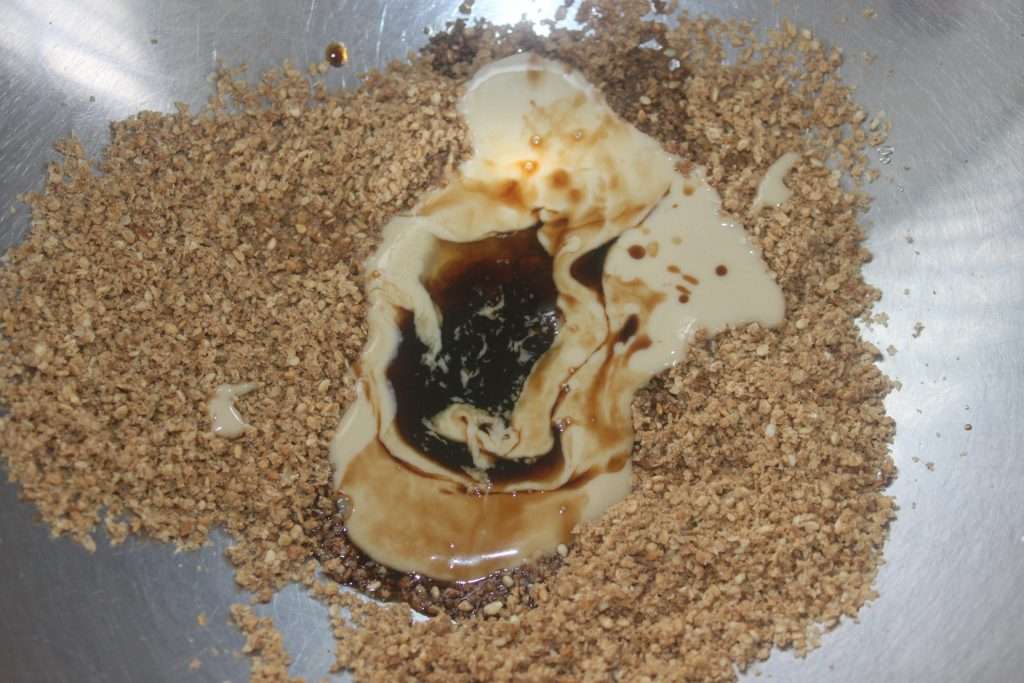

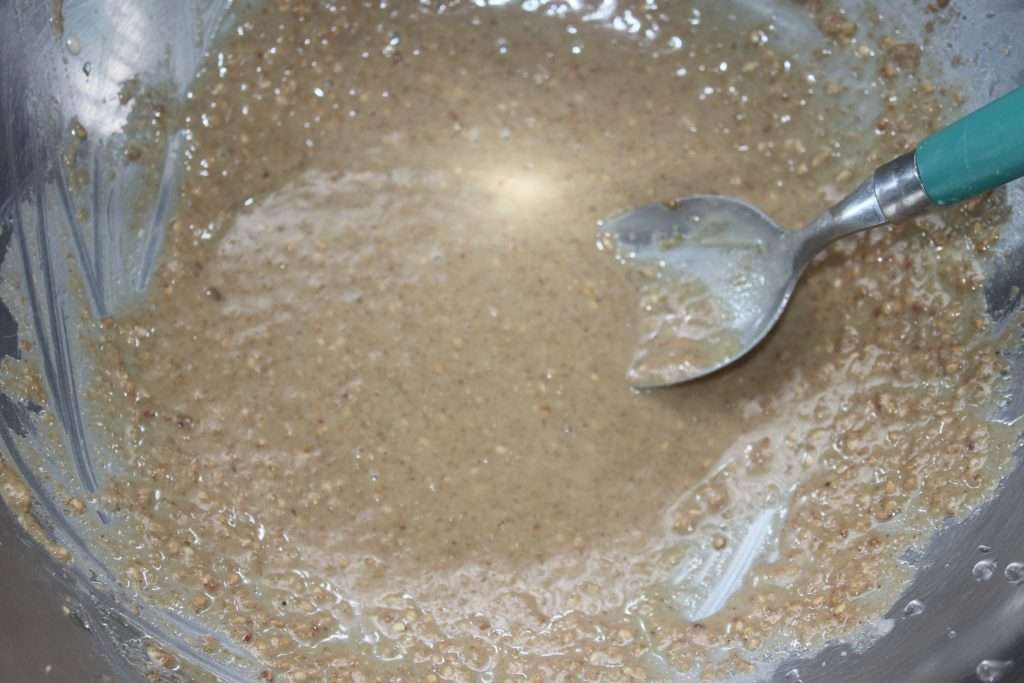
Mix well, pour the toasted sesame oil.
Salt to your taste.
Add the cooled, well-drained beans.
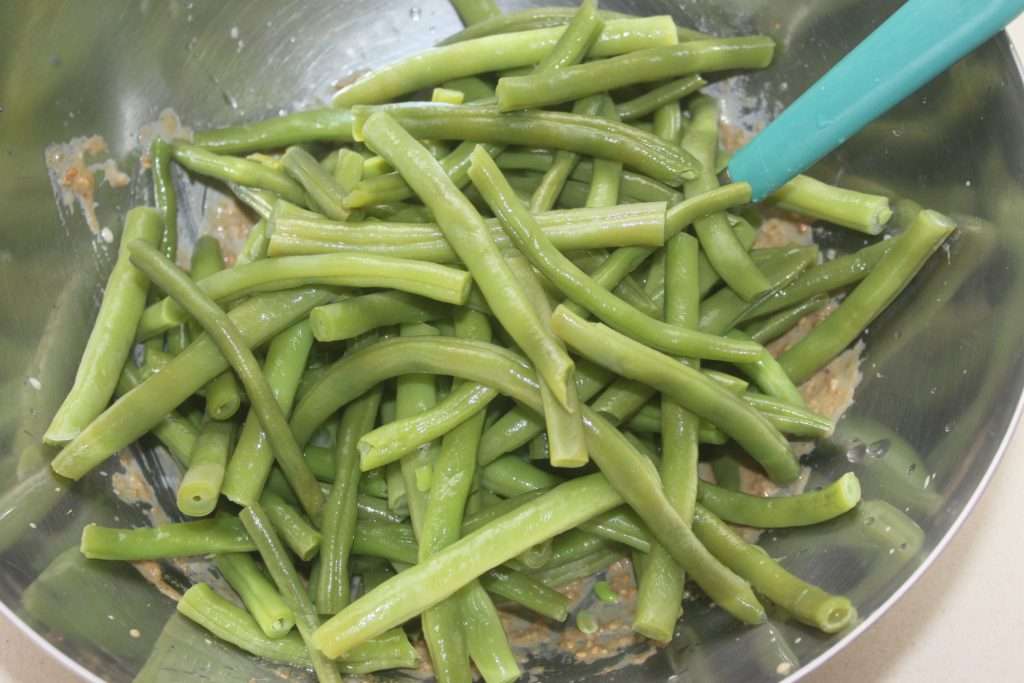
Mix carefully.

You can taste them immediately, or taste them very cold, but also lukewarm if you heat them up for a few seconds in the microwave for example!
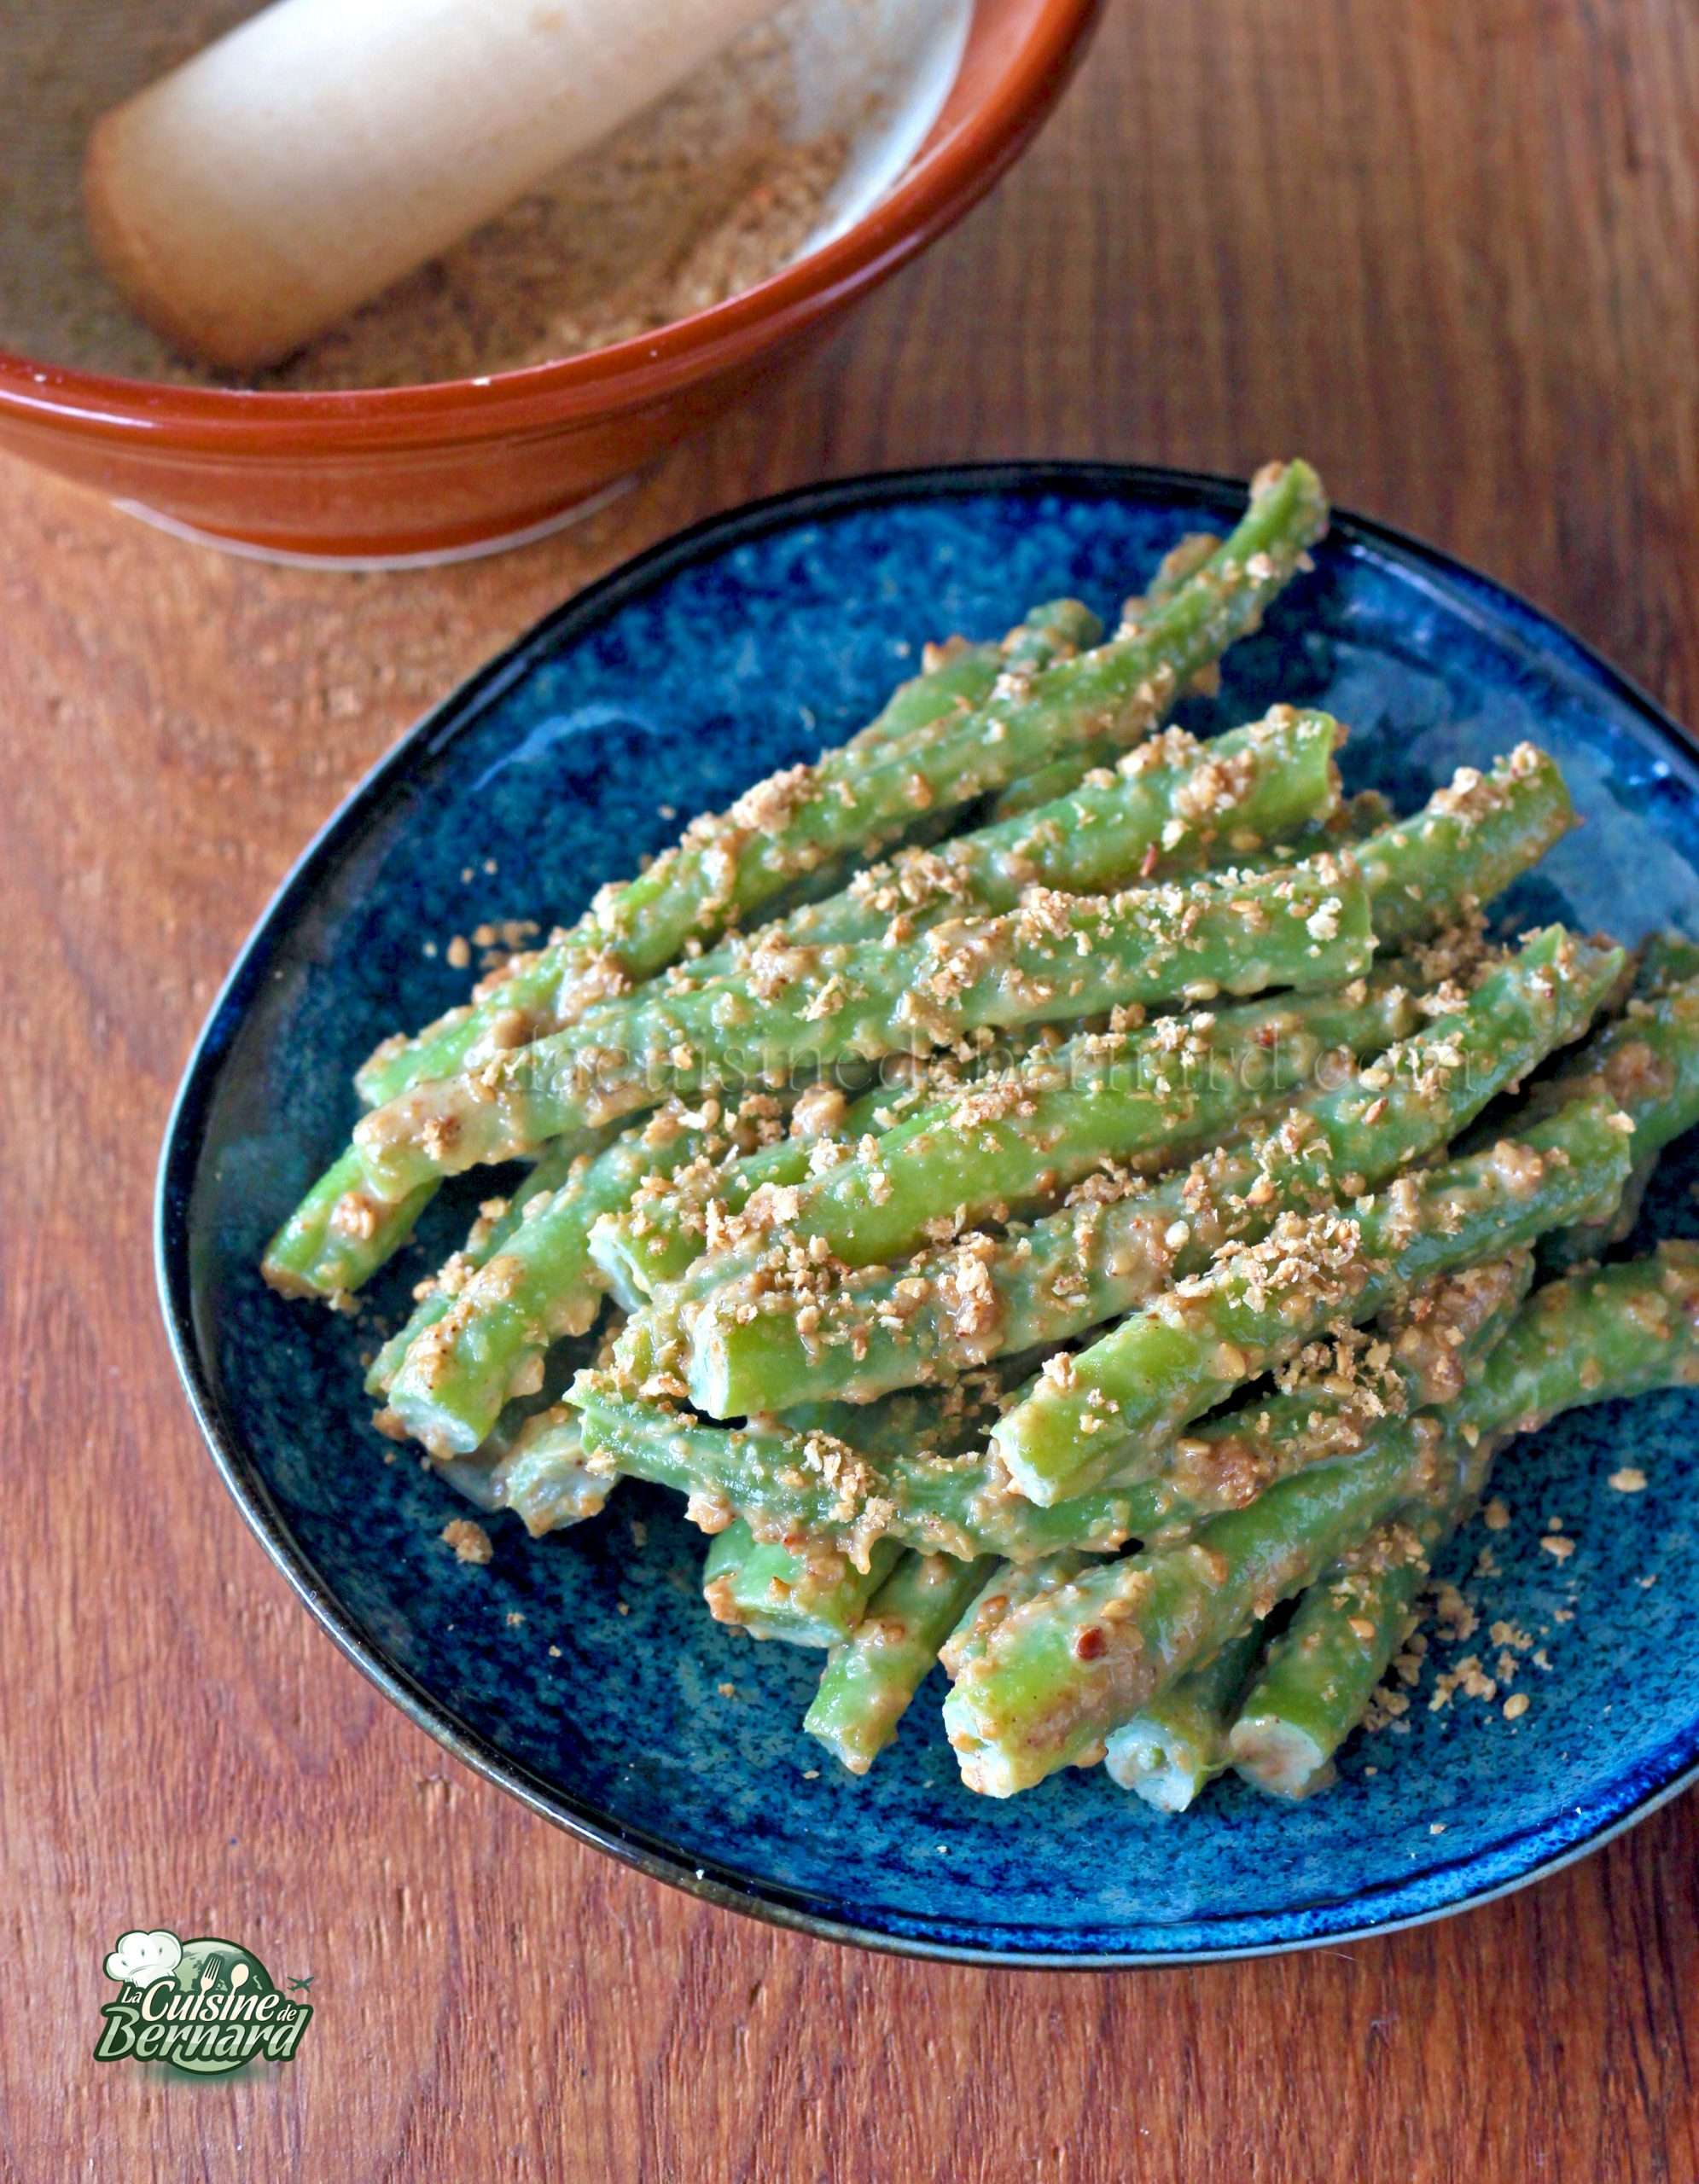
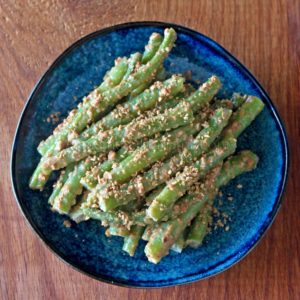
Green beans with sesame sauce


Recently, an event around pork meat was organized in my workshop with the finalist of Top Chef, Alexia Duchêne, Julien from French Naked Chef and myself. Everyone was able to draw a few people via a game on our networks (everyone had to have a Covid test or be vaccinated to cook and eat together). Thank you to Let’s Talk About Pork for this lunch where we made a filet mignon, chanterelles, fresh cherries and creamy alfalfa sauce, Alexia’s top recipe!
Alexia, Julien and I each had our own team! With the same ingredients and the same recipe, the result was always different!

The recipe was really successful and we all loved the flavors.
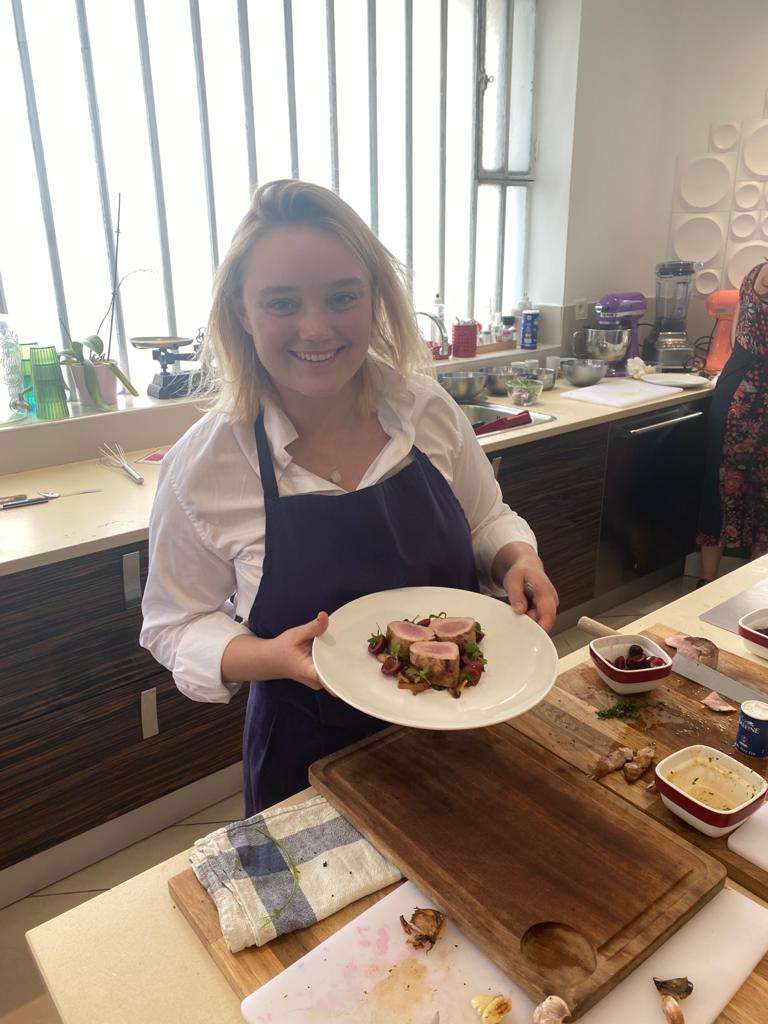
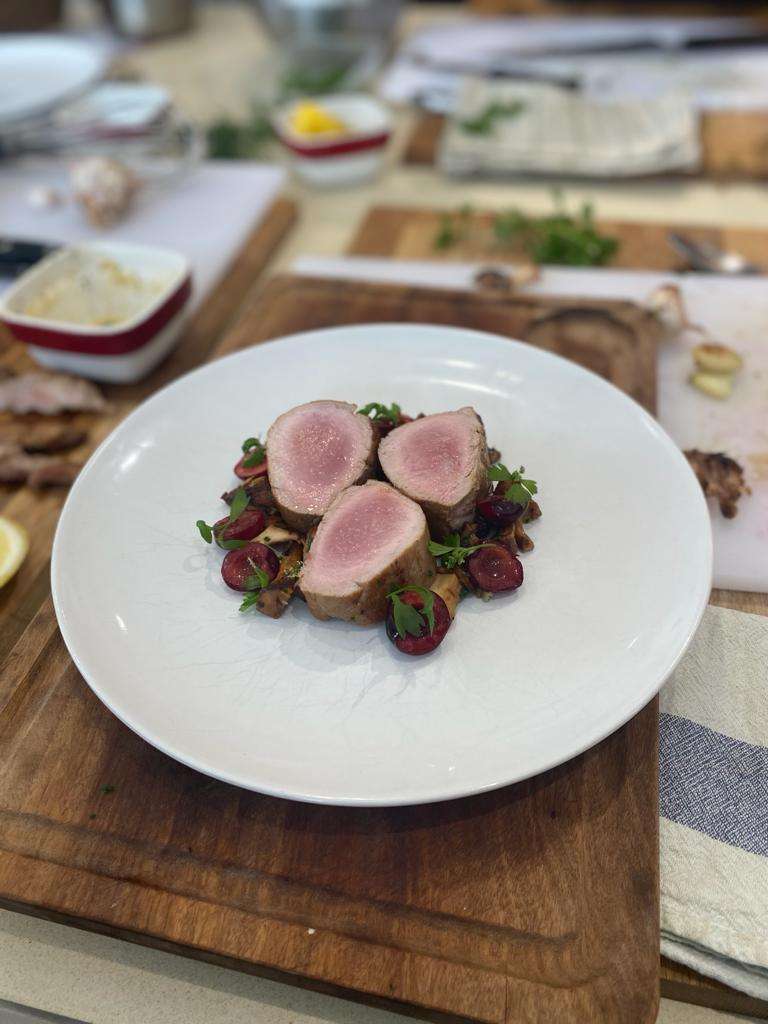
The presentations are different, but in the end, everything was devoured. I wasn’t sure how the cherry and chanterelle mixture would turn out, but it was a delight.

The instagram pages of:
Alexia Duchêne HERE
Julien from French Naked Chef HERE
Letstalkabouteupork THERE


This time on my cooking blog, I propose a pistachio and lemon cake. Its texture is both rich and melting, soft and dense. I put a little lemon zest in the dough and bitter almond flavor. This gives a special flavor that highlights the pistachio. To finish, a fine icing covered with roasted pistachio powder that will keep this cake soft!
Pour un moule à cake de 24cm :
- 230g of soft butter
- 300g of sugar
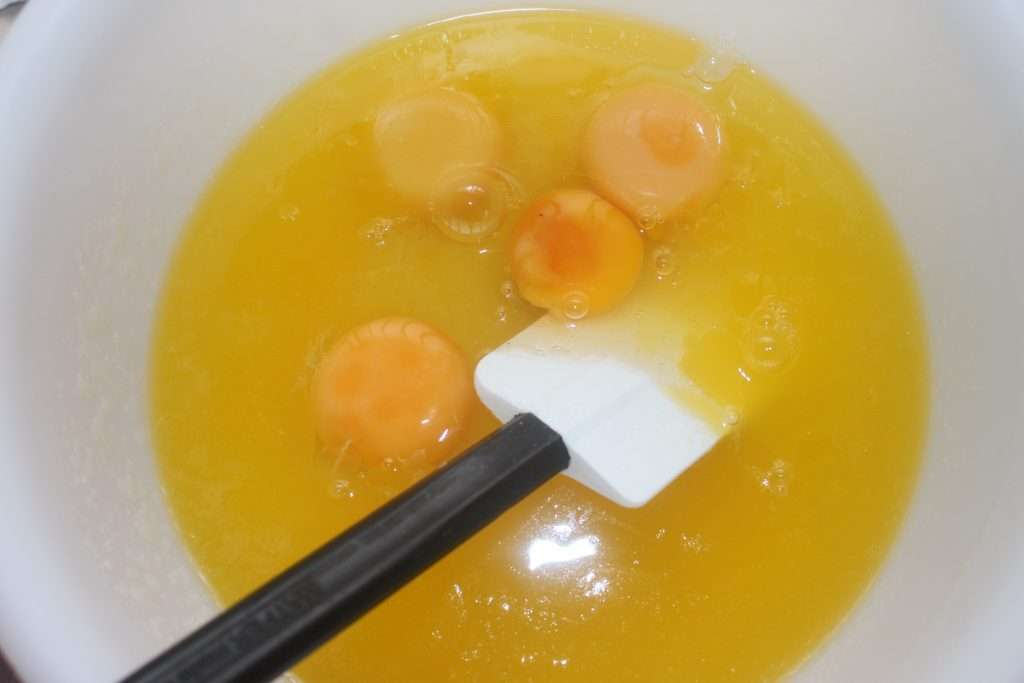
- 4 eggs
- 250g roasted pistachios (225g for the cake and 25g for the icing)
- 75g almond powder
- 70g of flour
- 1 teaspoon of bitter almond flavor
- the zest of an untreated lemon
Icing:
- 25g of lemon juice
- 140g of powdered sugar
Les instructions :
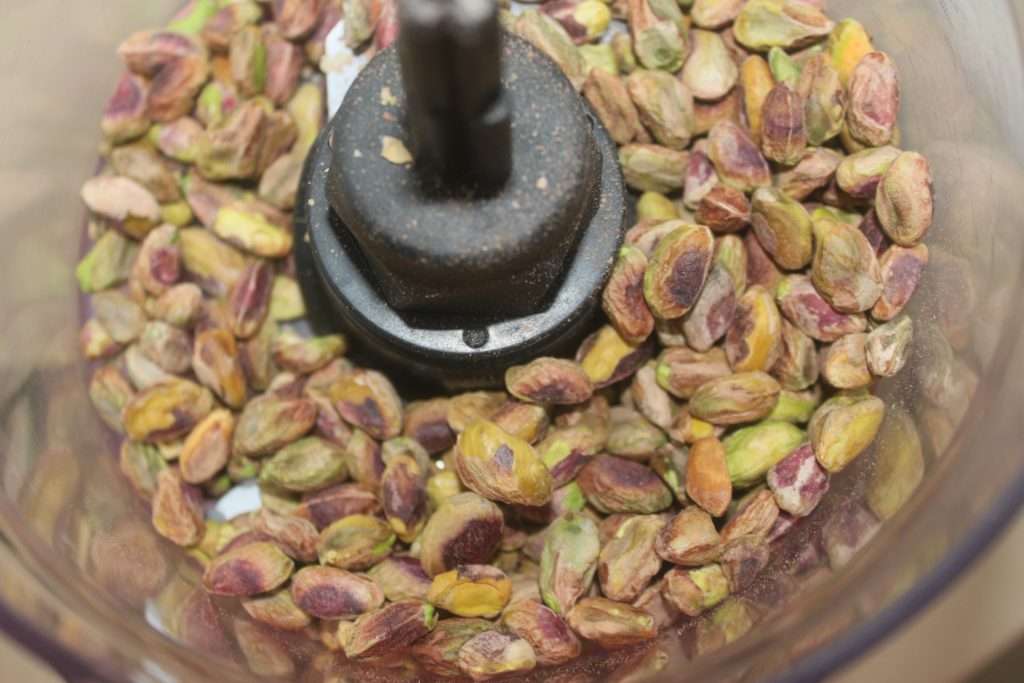
Start by toasting 250 pistachios at 170°C for 15 minutes.
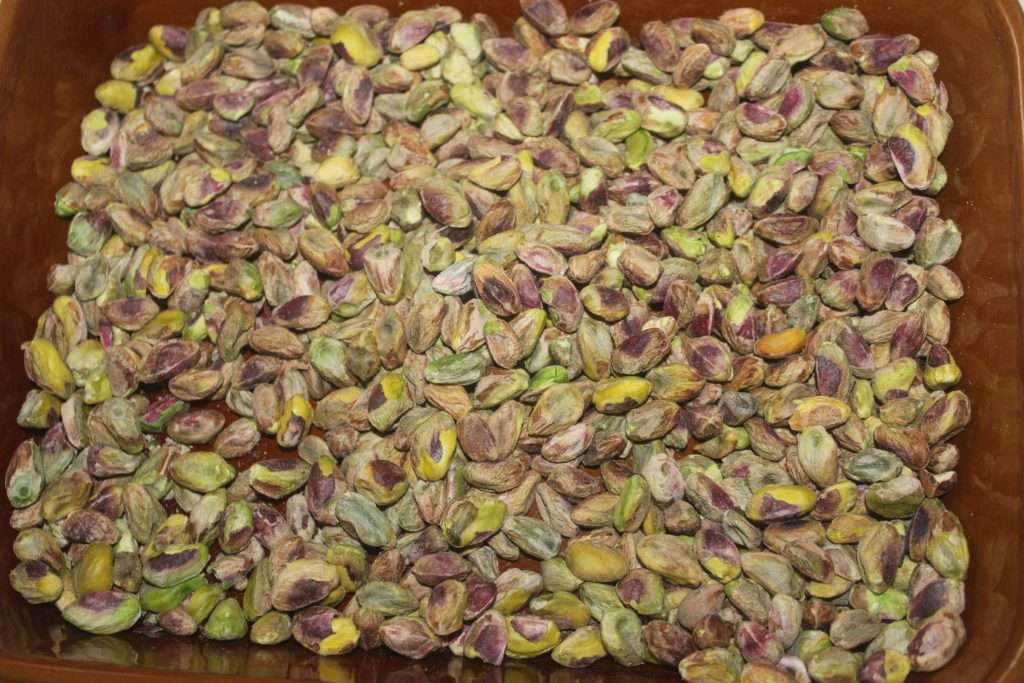
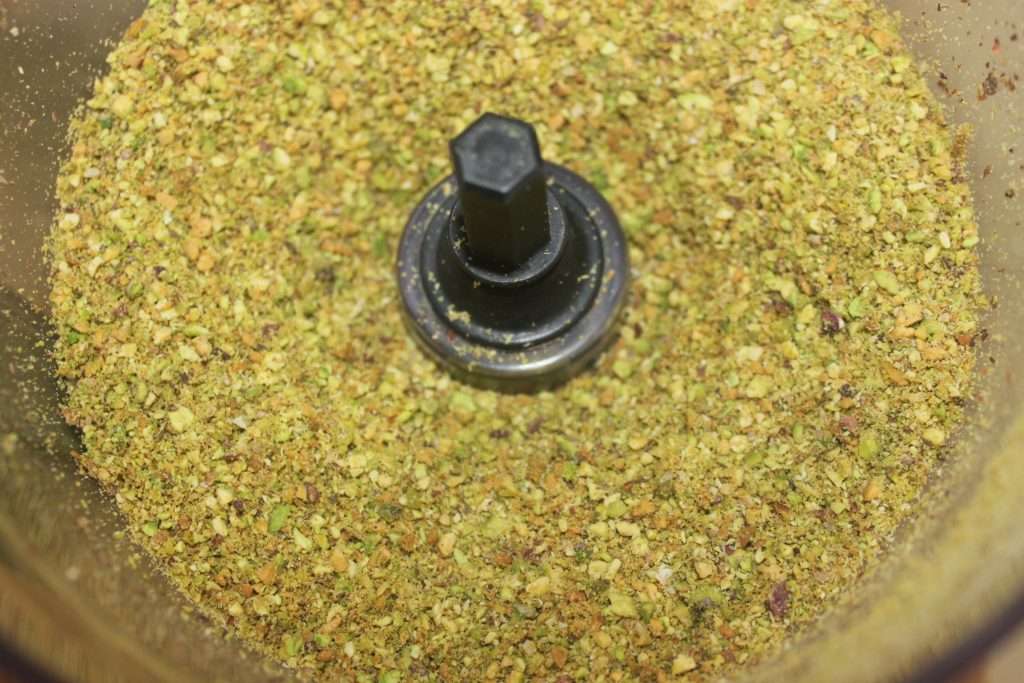
Let them cool and then mix them into powder.
Put the melted butter and sugar in a bowl. The sugar may seem like a lot, but the texture of the cake will be perfect and not at all too sweet. On the contrary, it is perfect as it is. By using less, you will change the final result.

Mix and add the eggs.
Mix then pour 225g of pistachio powder and almond powder.
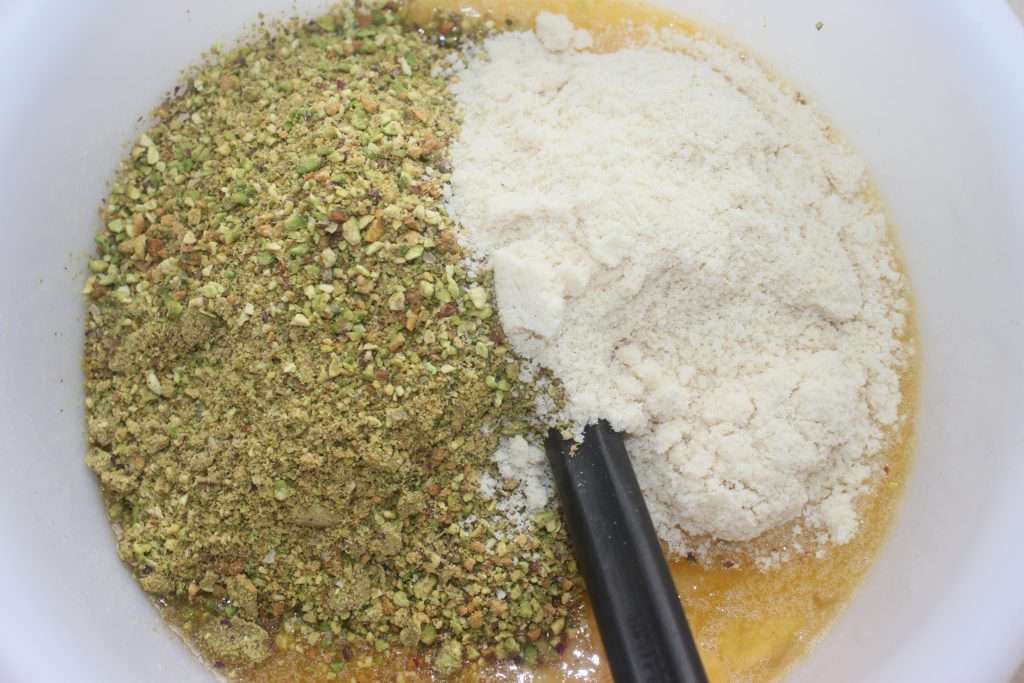
Mix and add the flour.

Mix well and then pour in the freshly grated lemon zest.
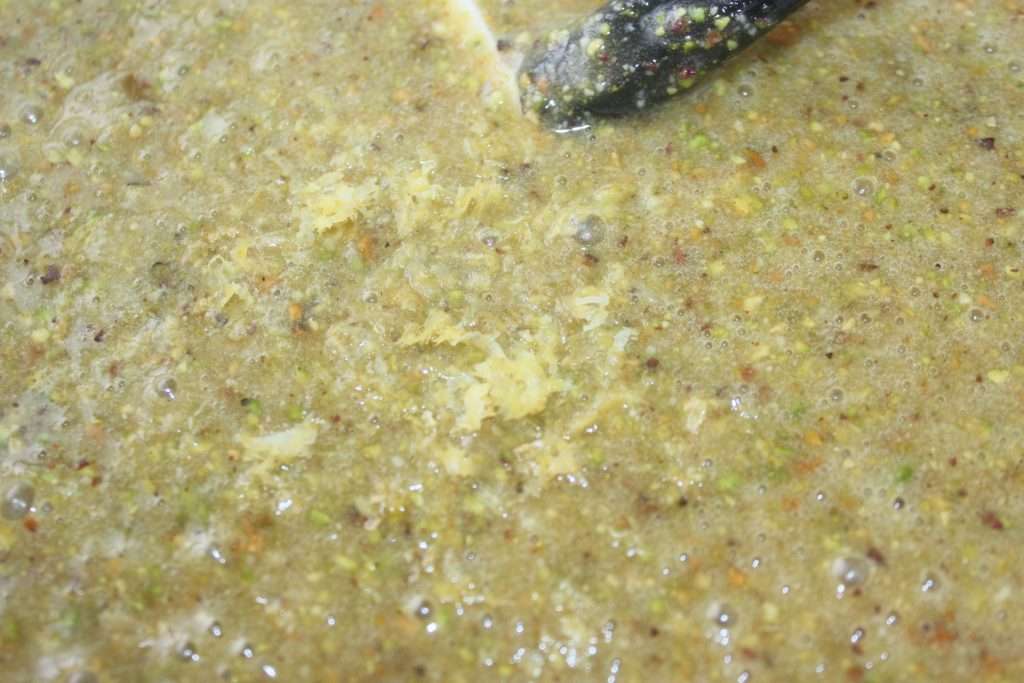
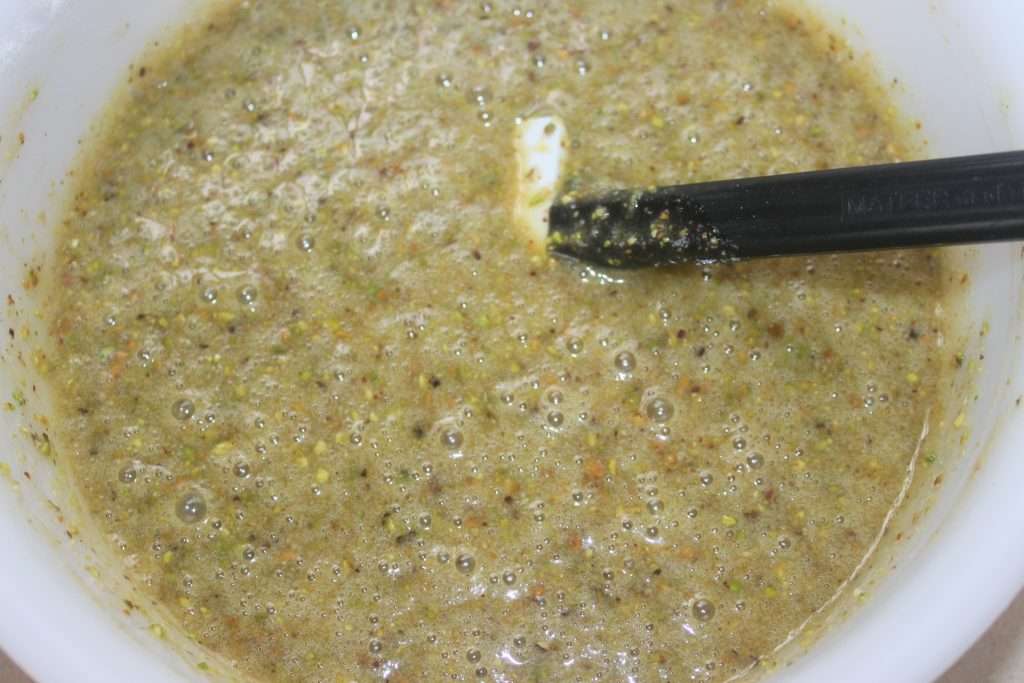
Pour into a cake pan lined with parchment paper.
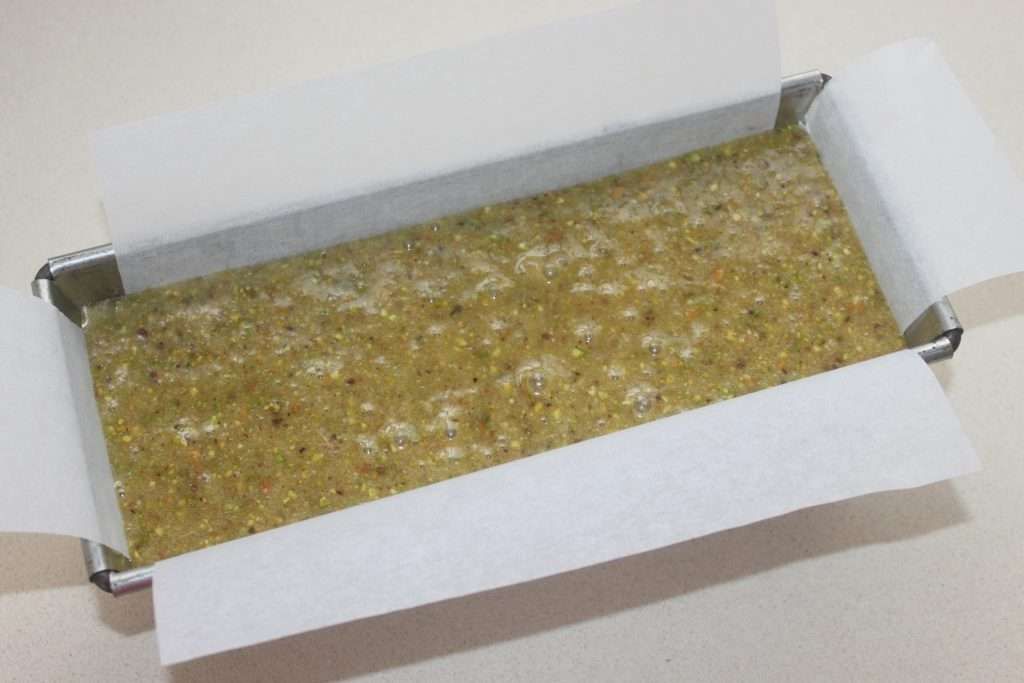
Bake for 1 hour and 40 minutes at 155°C on a convection oven.

Prepare the glaze by mixing the lemon juice and powdered sugar. Pour over cake.

Of course, put the whole thing on a griddle on top of a baking sheet.

Sprinkle with remaining roasted pistachio powder.
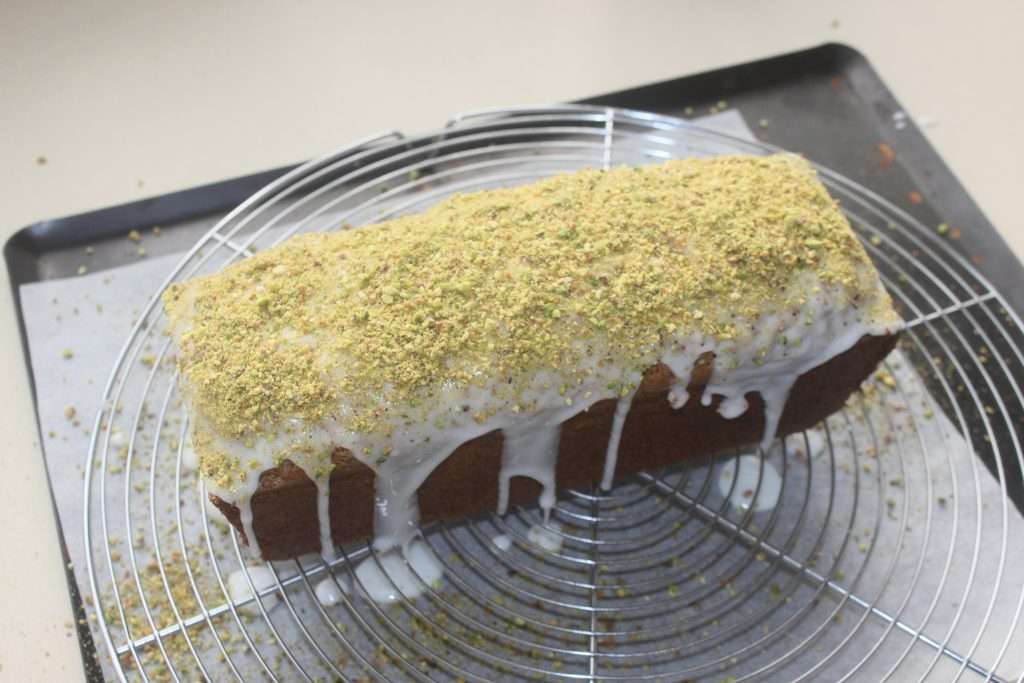
Return to 60°C for 1 hour to dry the glaze.
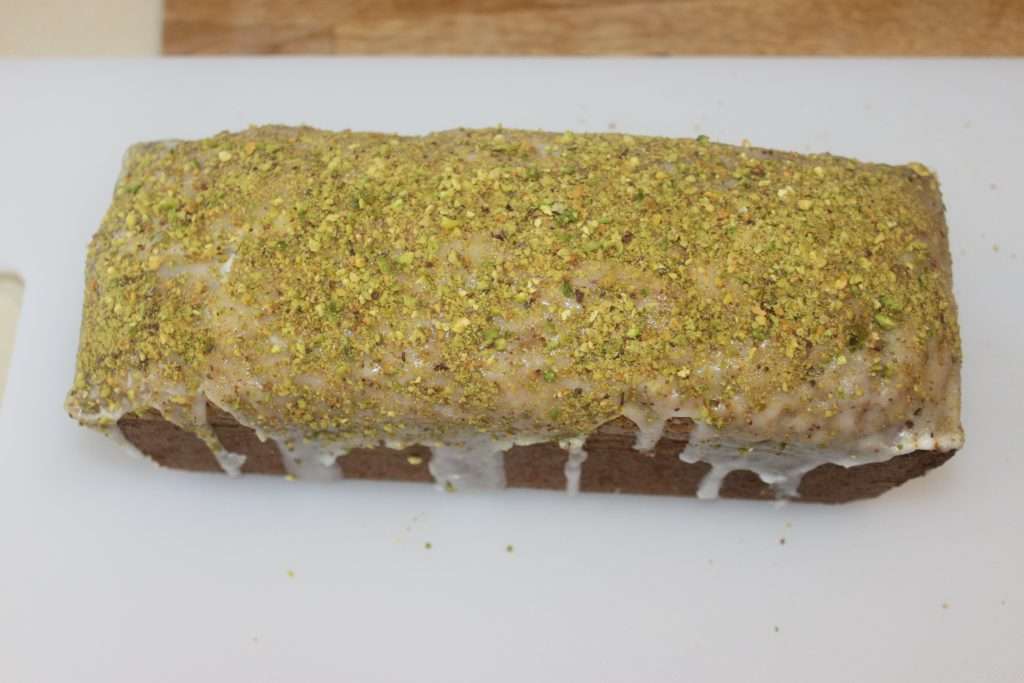
The cake will keep its incomparable softness!


Pistachio Lemon Cake


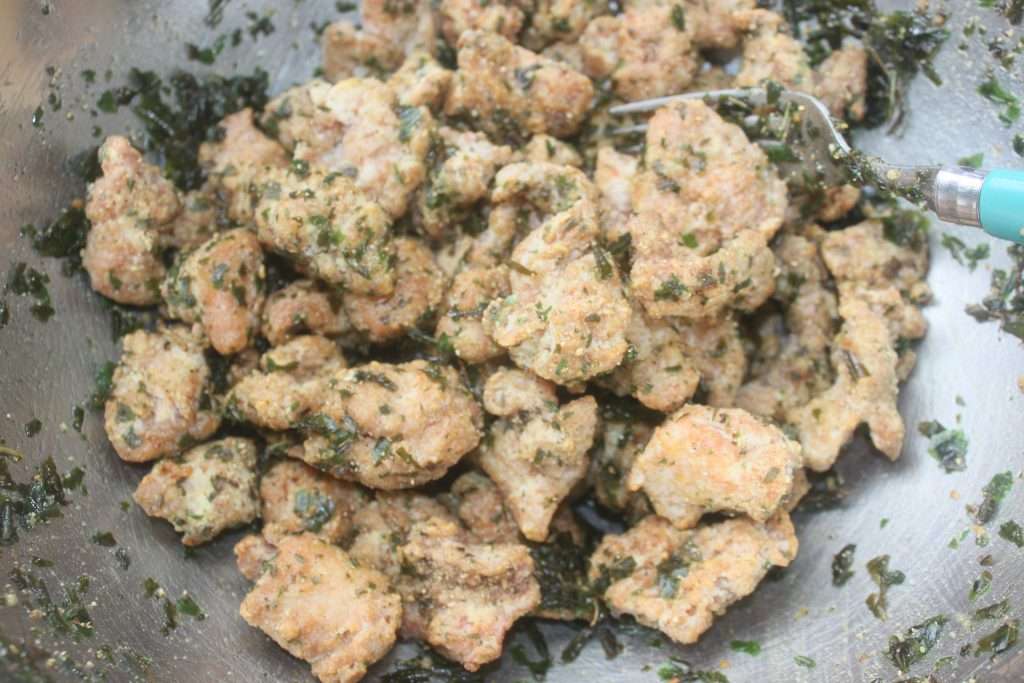
Here is the second step by step recipe from my facebook live on Monday, July 5, 2021 for Taiwan Tourism! I also put the video in replay. This crispy Taiwanese popcorn chicken with Thai basil is just sensational! The texture is incredible and the flavors unexpected. To be made again and again as an appetizer or as a main course, served with a little sautéed rice for example. Thanks to the tapioca starch, this chicken will stay crispy until the next day…
Recette du POP CORN CHICKEN TAÏWANAIS EXTRA CROUSTILLANT :
For 4 people :
For seasoning:
- 1 tablespoon of sichuan pepper
- 1 tablespoon of white pepper
- 1 tablespoon of salt
Then:
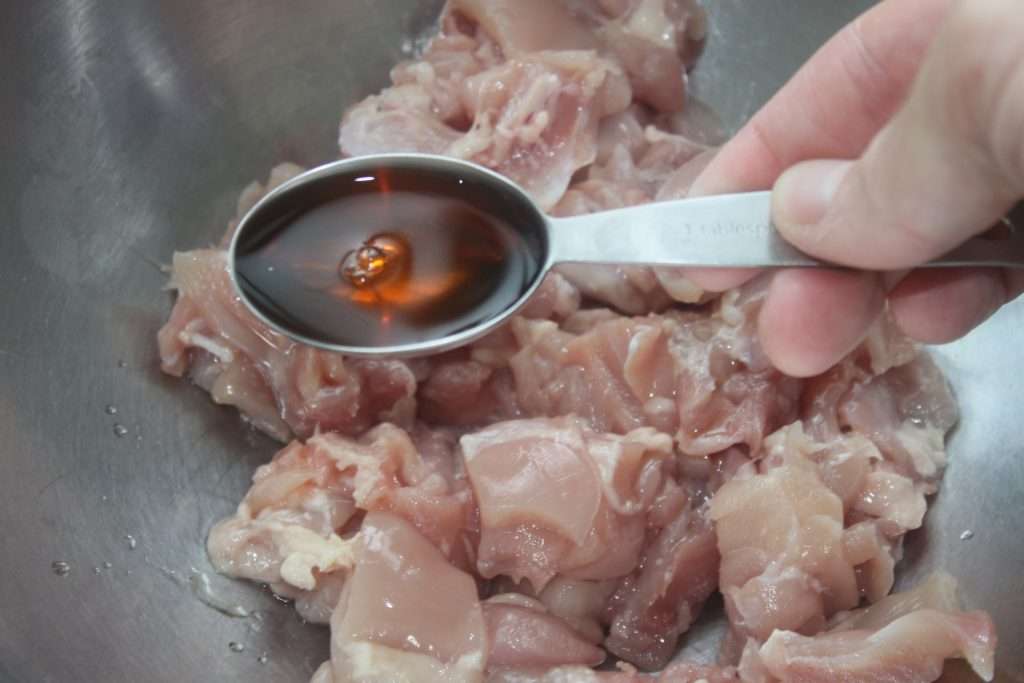
- 400g boneless thigh meat (take 8 nice thighs)
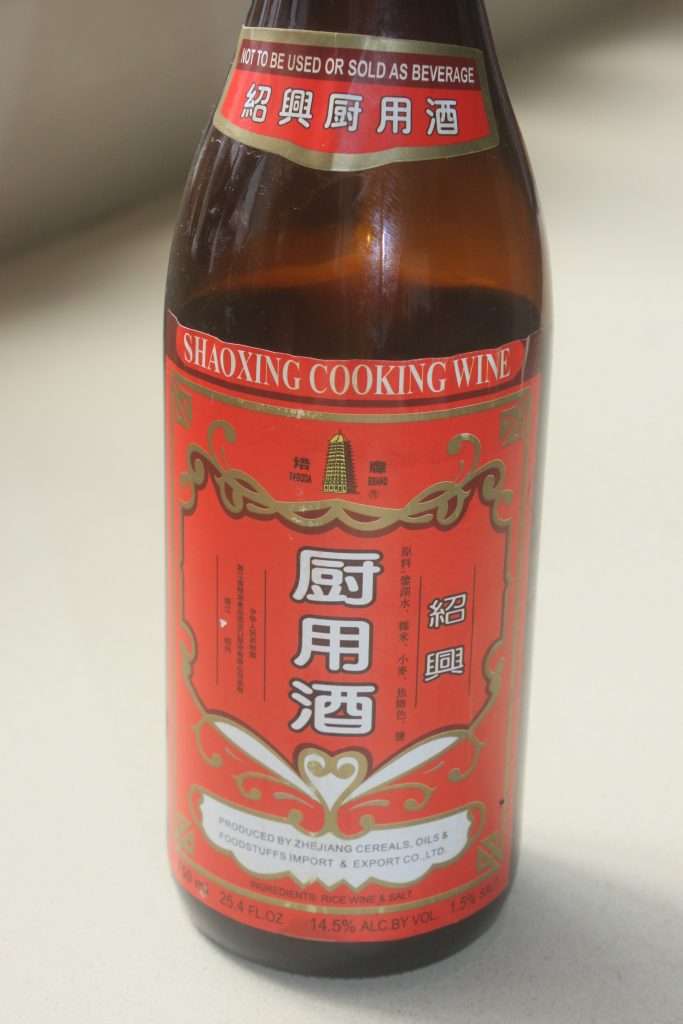
- 1 tablespoon of Chinese cooking wine
- 1 tablespoon of soy sauce
- 1/2 teaspoon of 5 flavors
- 2-3 garlic cloves
- 1cm freshly grated ginger
- 2 teaspoons cornstarch
- 1 teaspoon onion powder
- 1 teaspoon of powdered sugar
- 2 egg whites
For frying:
- 400g of tapioca starch
- 1 liter of oil
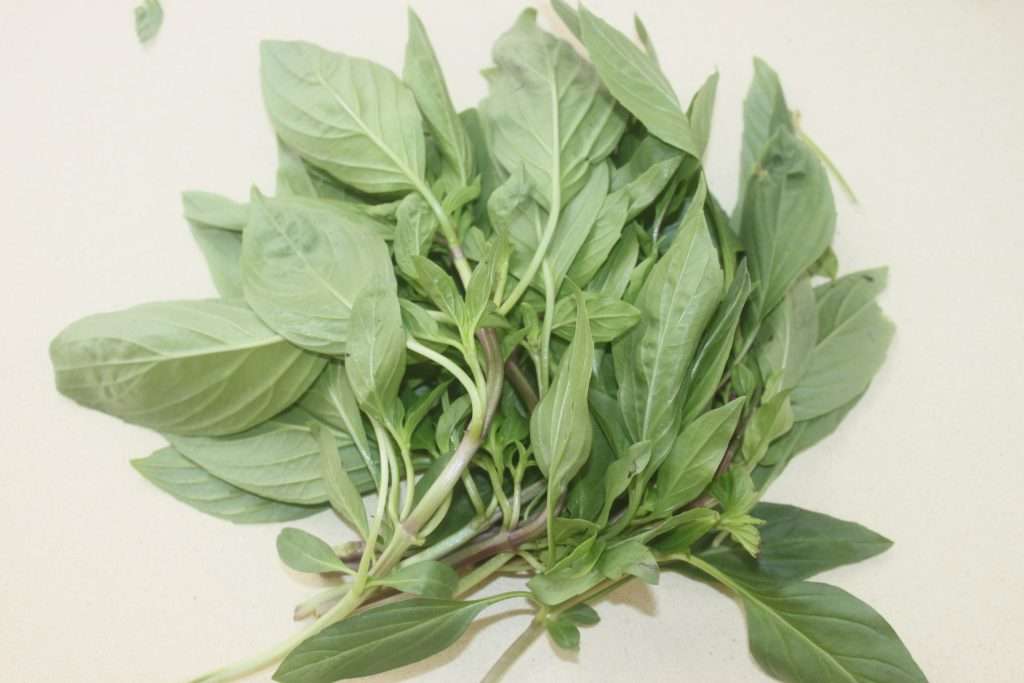
- 1 bunch of Thai basil
Instructions:
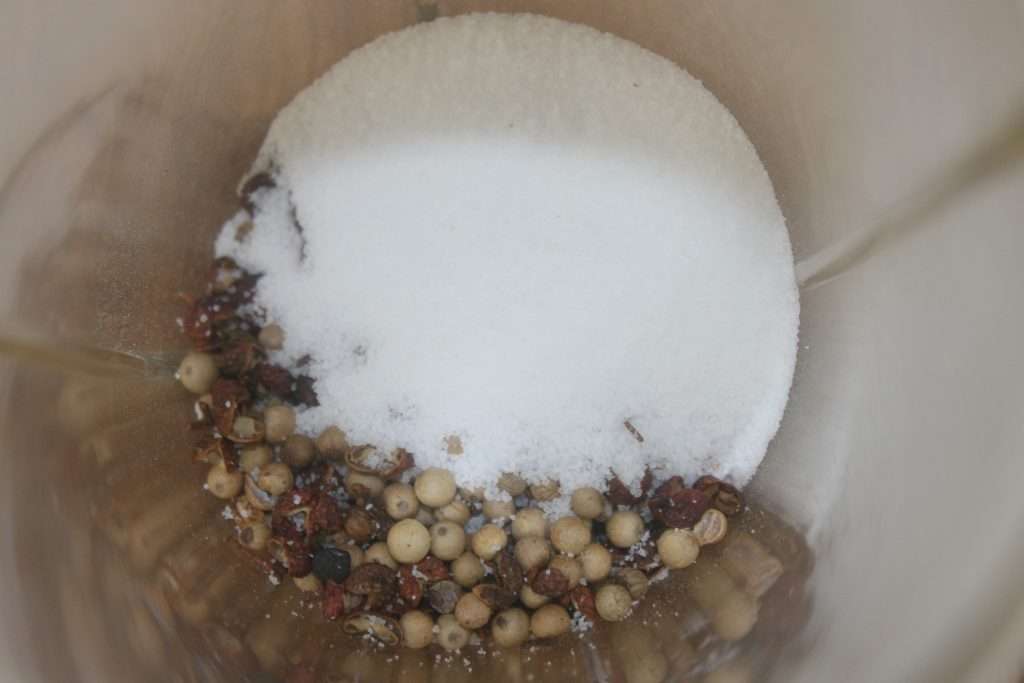
First, put the Szechuan pepper and white pepper in a small pan over moderate heat and lightly toast.
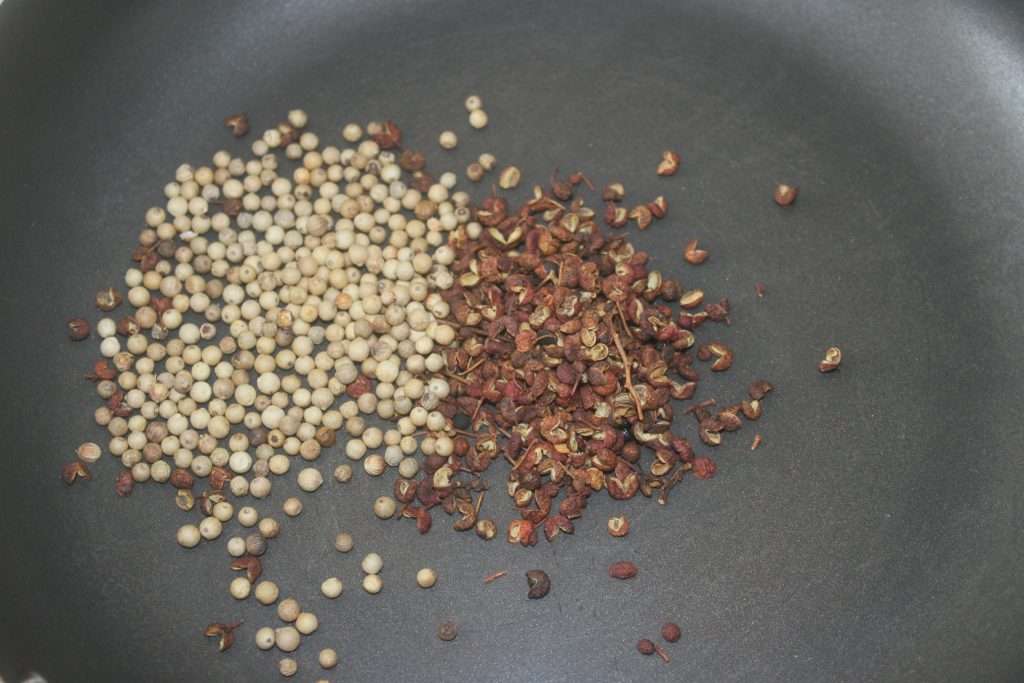
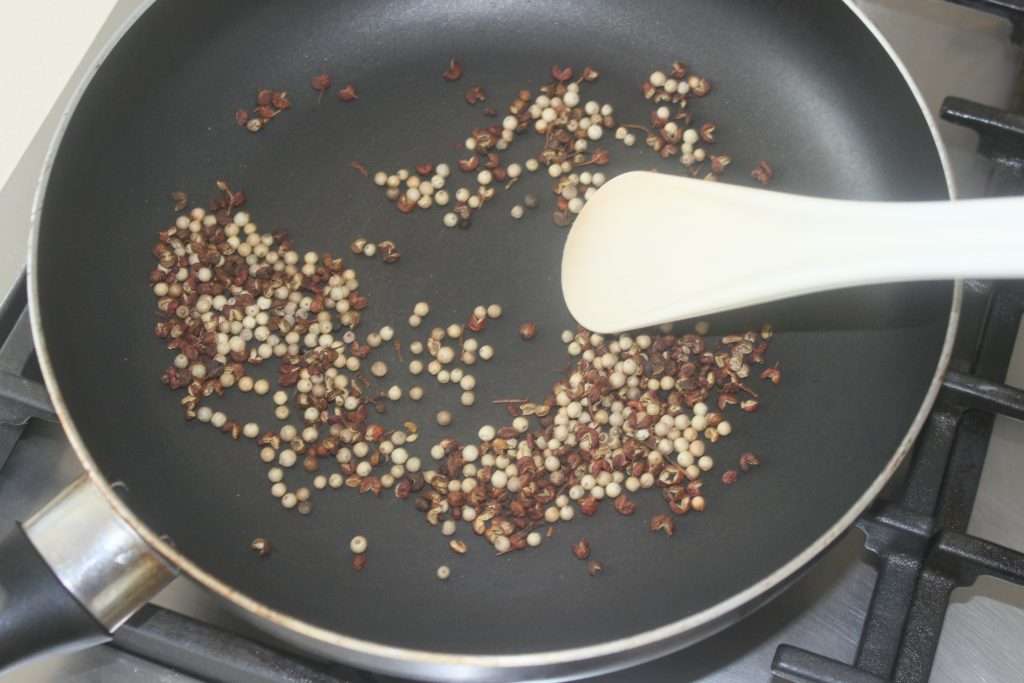
Then put in a small blender with the salt and grind to a fine powder. Set aside.
Prepare the thighs. You must have 400g of flesh in total. Cut the meat into small pieces.

Here is the wine of kitchen.
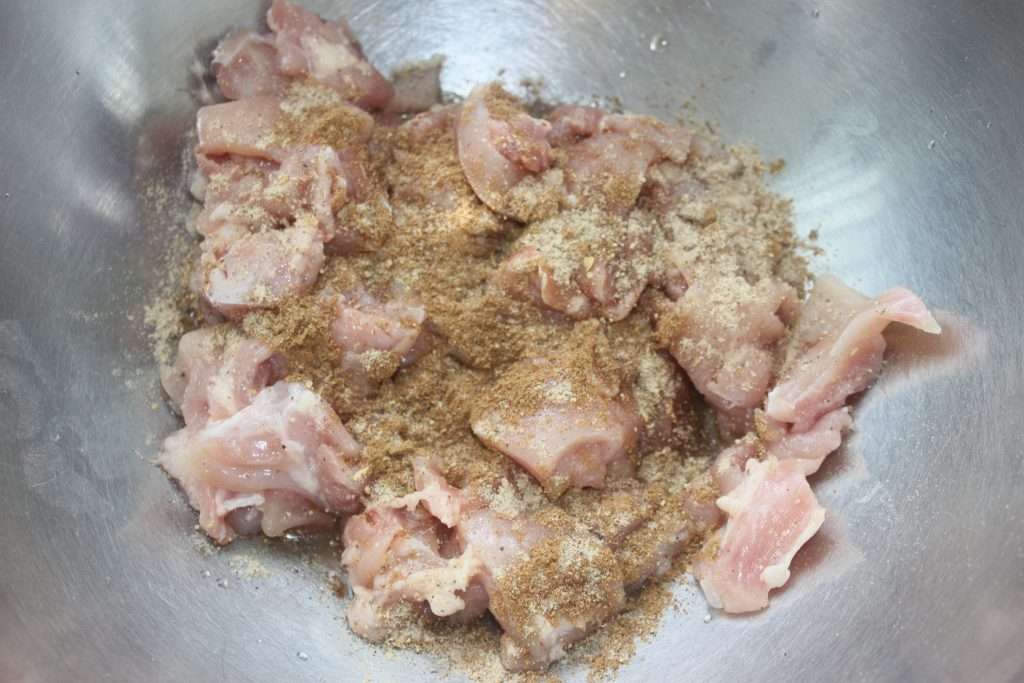
Put all the ingredients for the marinade in a container with the chicken.
Spices etc.
Finely chop the garlic.
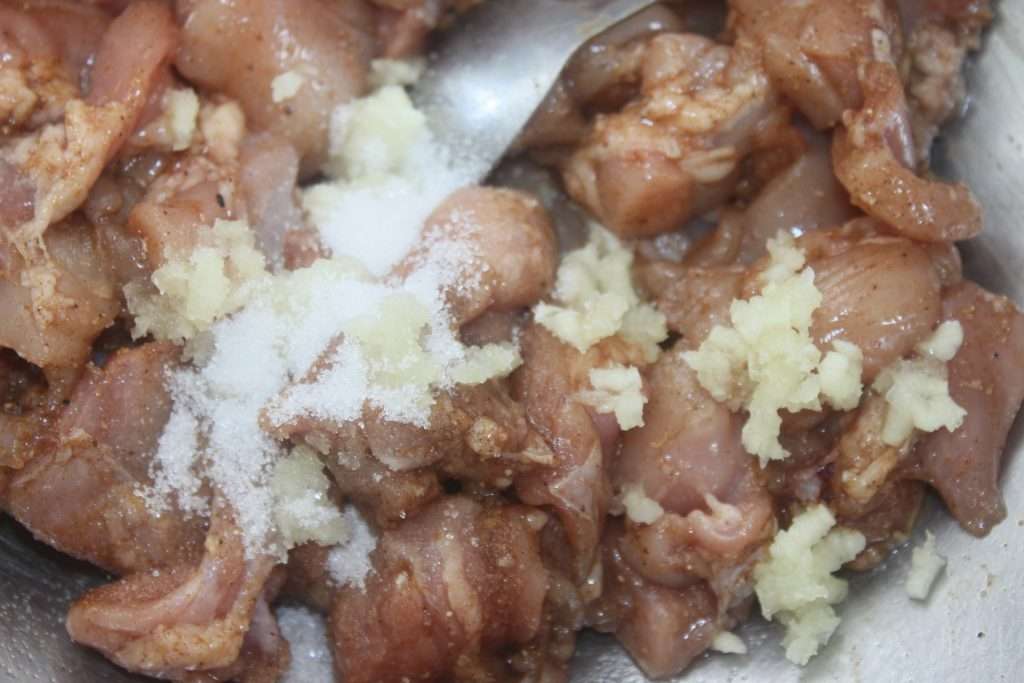
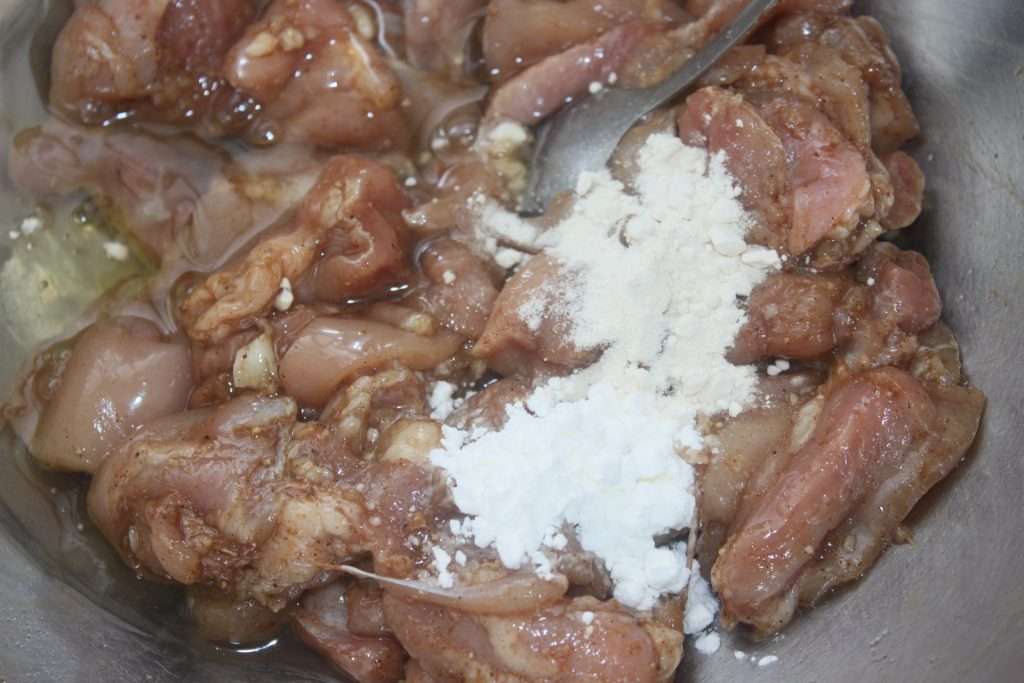
Don’t forget the onion powder, cornstarch and egg white.
Pour the tapioca starch into another container. Even if it says flour on it, it is really starch (in English it says starch).

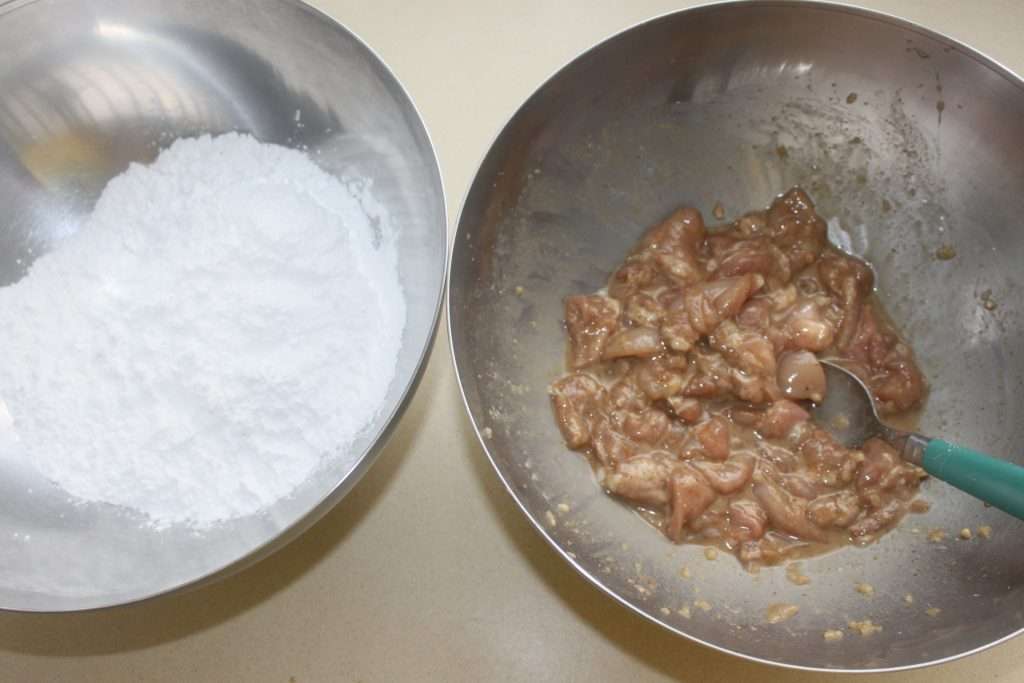
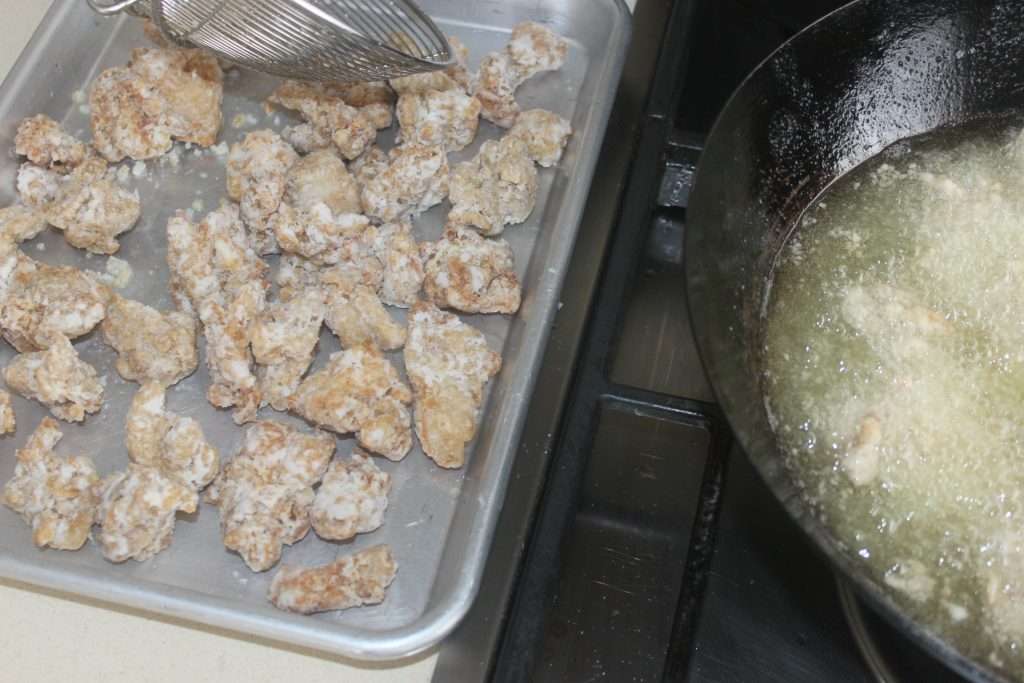
Pour the chicken with its marinade, piece by piece, into the starch.

Cover immediately with cornstarch to coat well. Do the same for all the chicken. Leave it in the starch for 20 minutes.

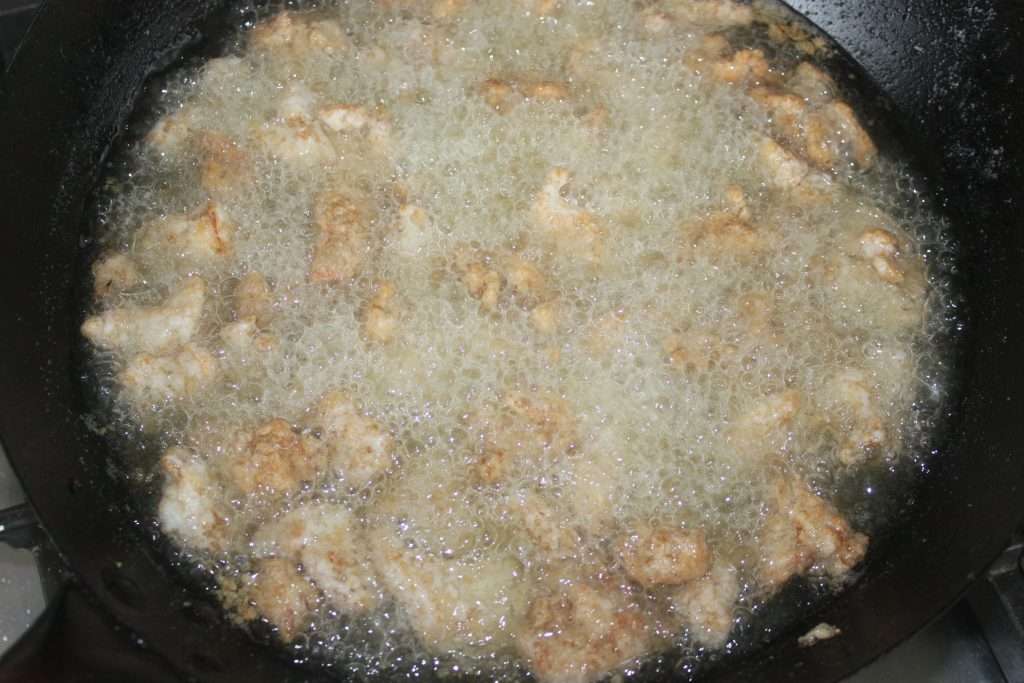
Heat the oil to 180°C. Pour in the chicken piece by piece, slightly removing the excess starch.
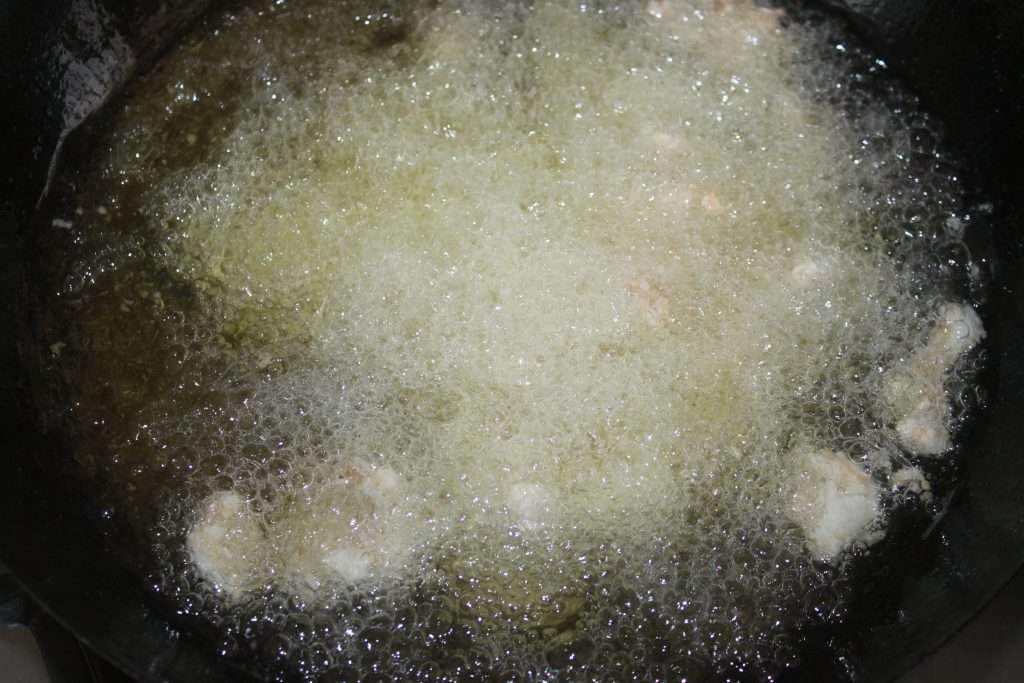
When it browns slightly, set it aside to fry the rest.
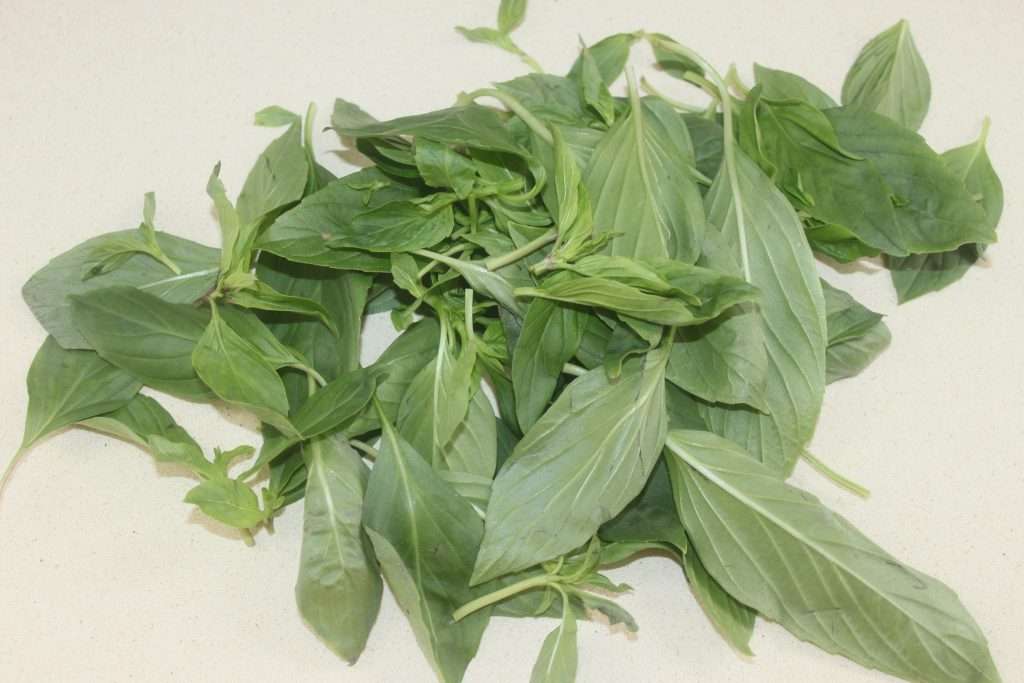
During this first frying, thin out the Thai basil.
When all the chicken has fried once, pour all the pieces together into the wok (or pan) for a second bath, this time to get a nice amber color.
When it is, add the Thai basil leaves.
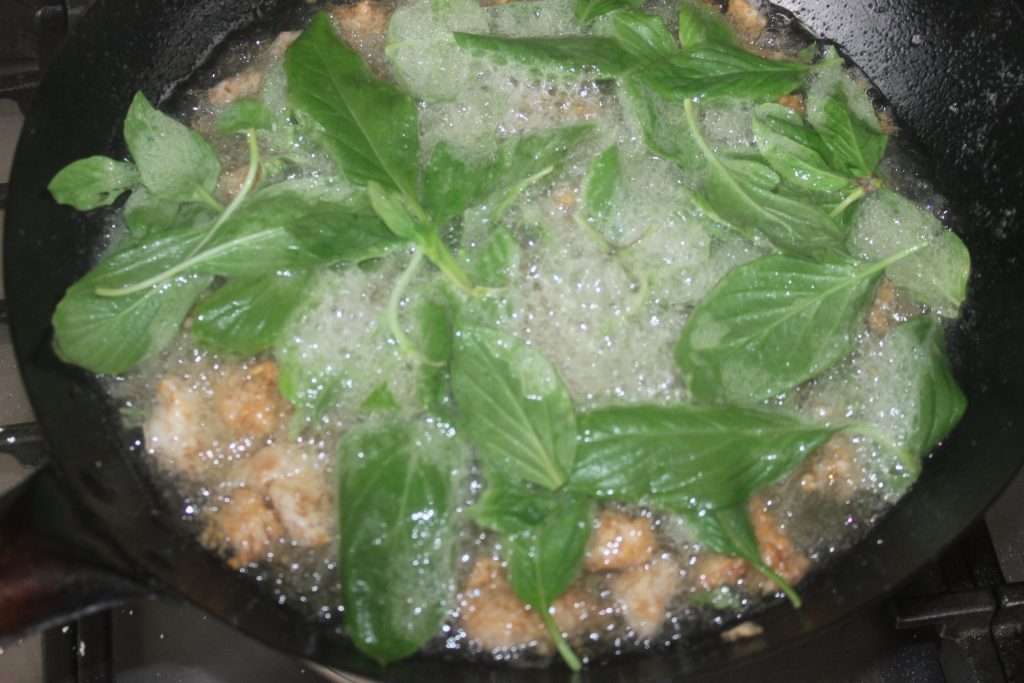
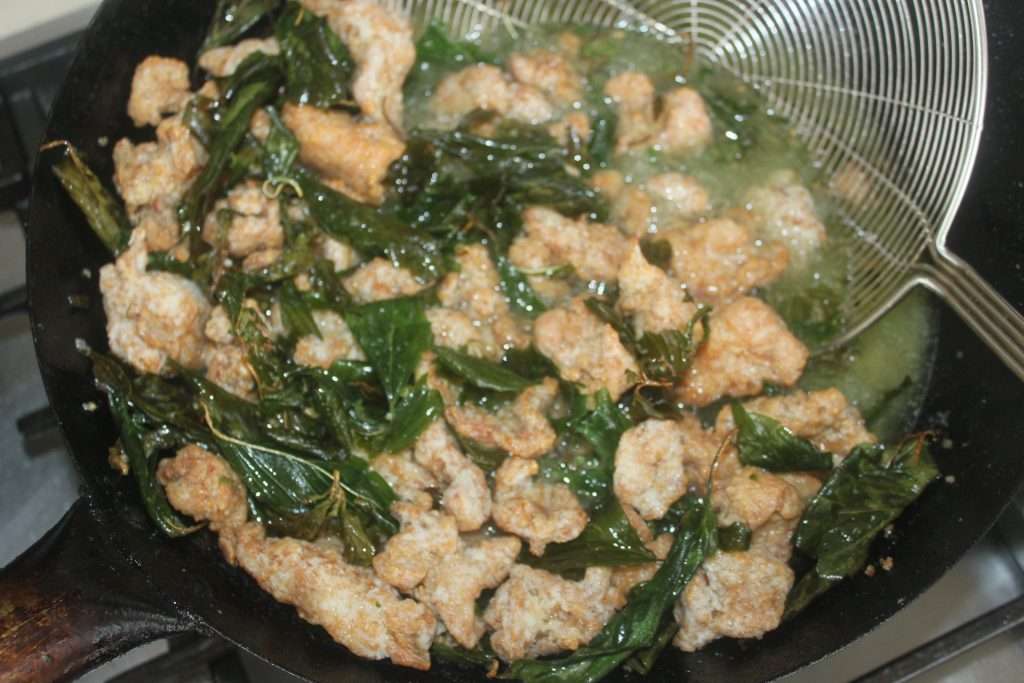
It will cook well and become crispy too.

When everything is ready, put it in a container and drain perfectly.
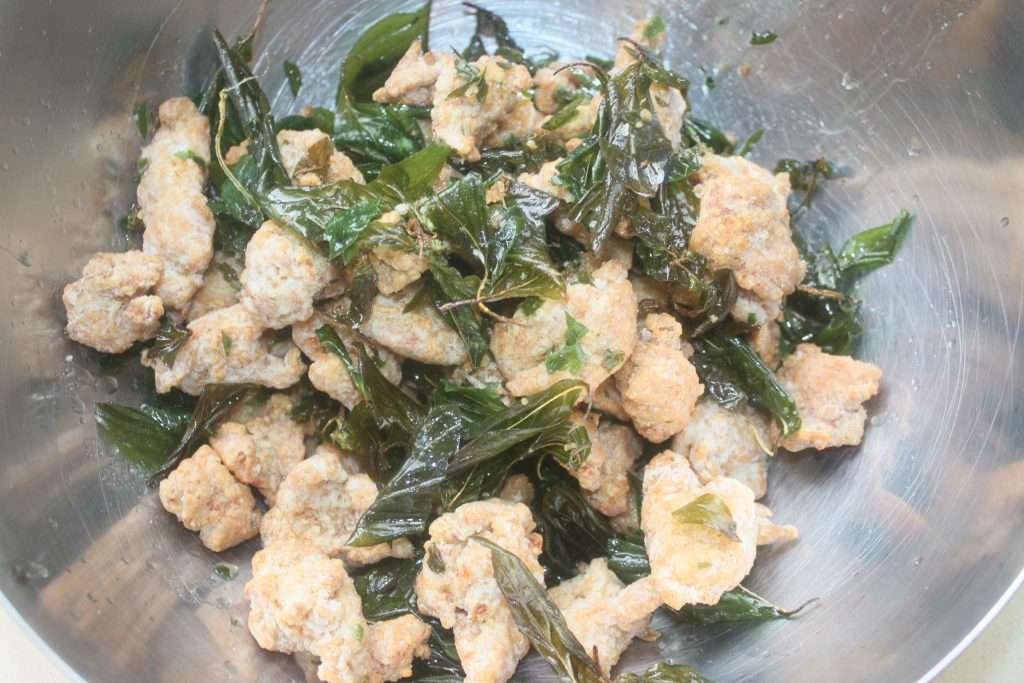
Sprinkle with a tablespoon of the Szechuan pepper, white pepper and salt mixture.
Mix one last time, it’s ready! Enjoy it when it’s hot, even if the chicken will stay crispy for more than 24 hours!


Extra crispy Taiwanese popcorn chicken


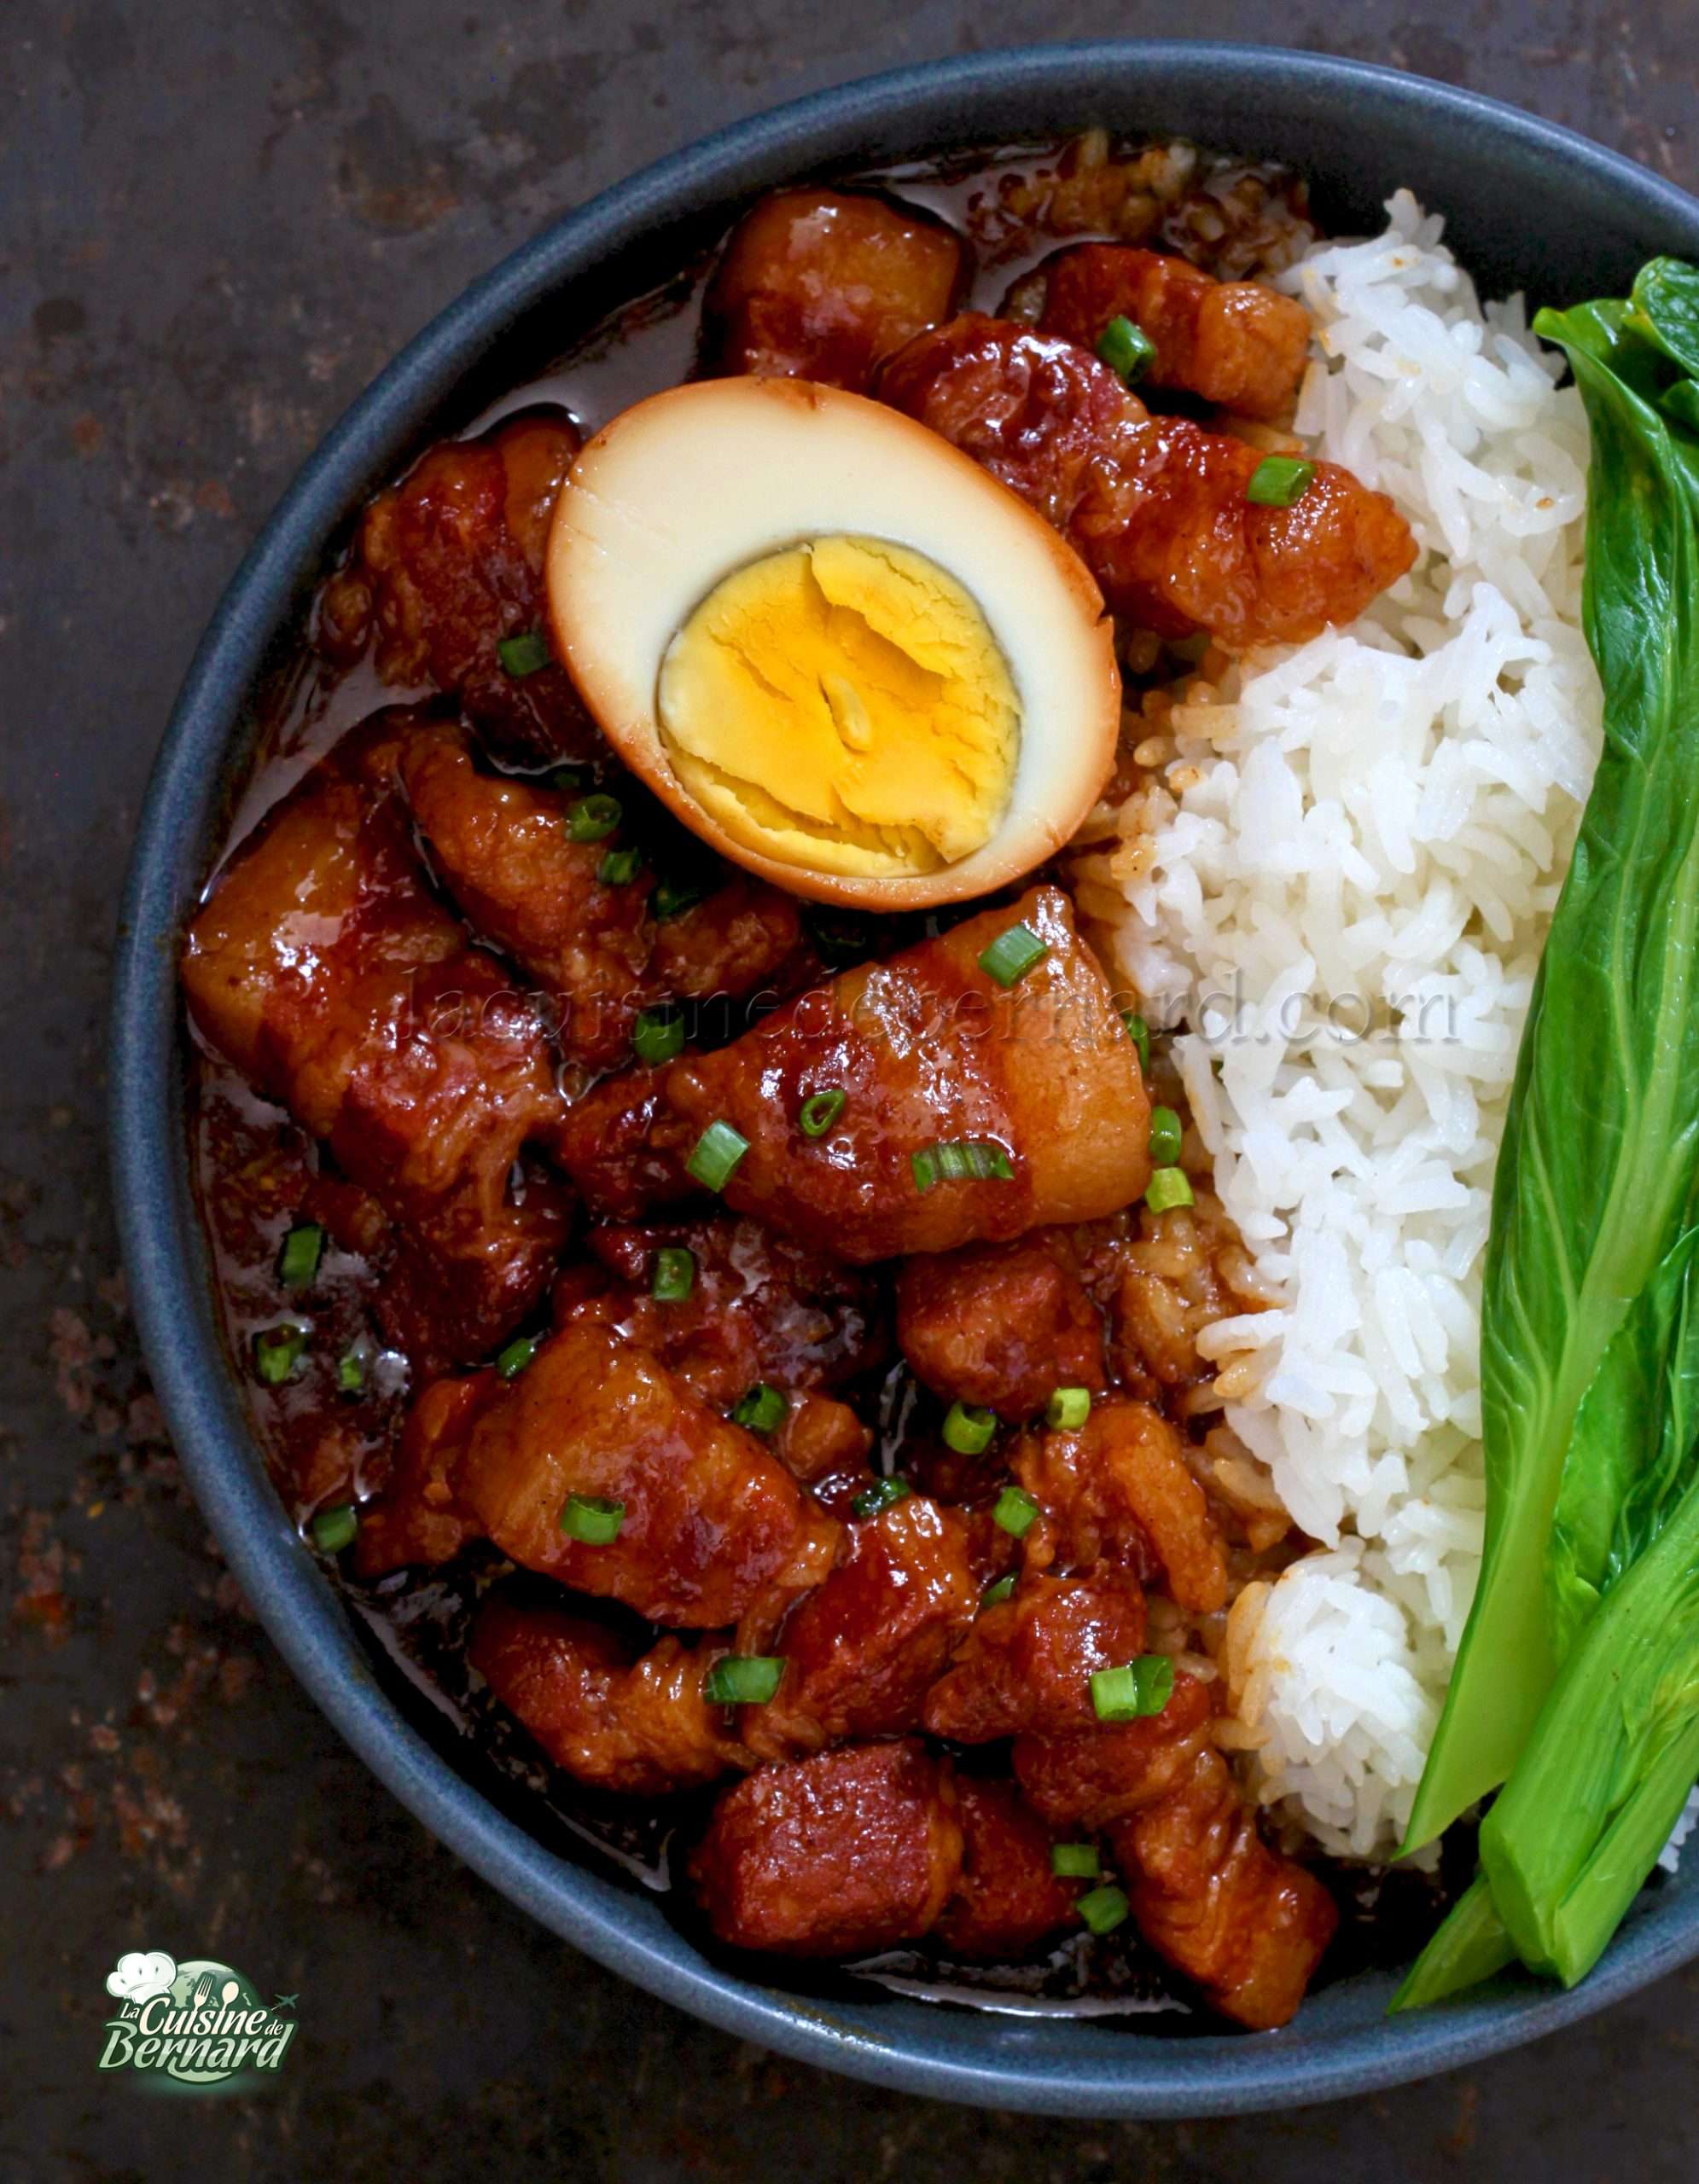
A delicious braised pork that comes to us from Taiwan. The recipe is really very simple to make, there will be just a few ingredients to get in Asian grocery stores. In addition to the step by step, like all the recipes on the blog, I’m also putting you the replay video of the facebook live of Monday July 5, 2021. In partnership with Taiwan Tourism, also to be found on their facebook page HERE !
For 6 to 8 people:
- 1kg of pork belly with skin or without (I was without)
- 10 cloves of garlic
- 4 tablespoons of fried shallots
- 4 tablespoons of brown vergeoise
- 2 teaspoons of 5 flavors
- 4 tablespoons of Chinese cooking wine (shaoxing)
- 1 liter of water
- 150ml of clear soy sauce
- 4 hard-boiled eggs
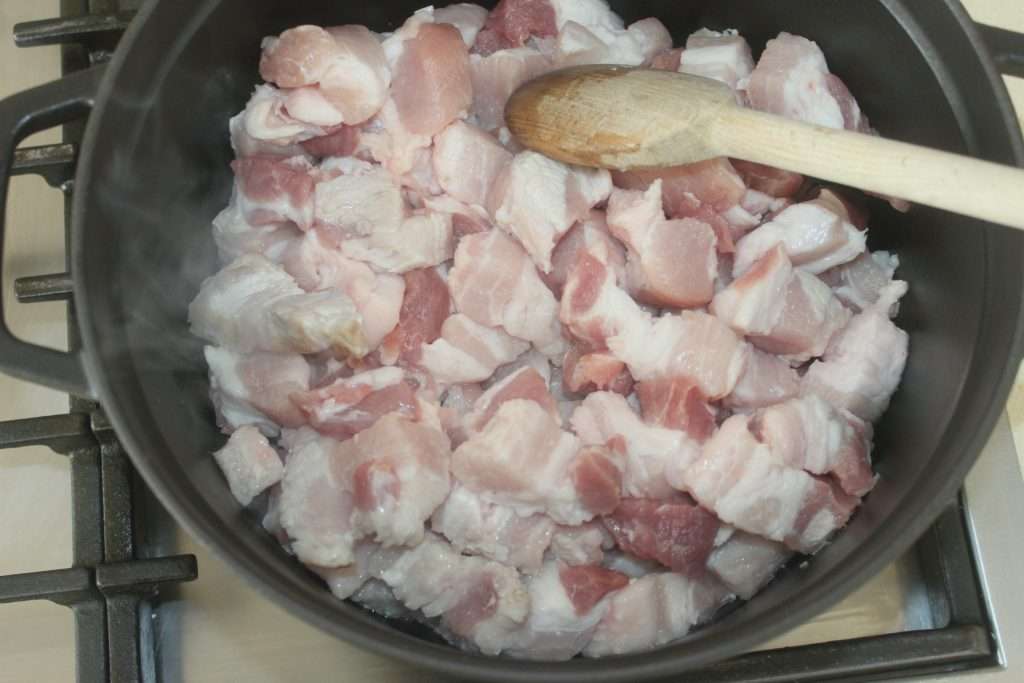
Cut the meat into small pieces.


Pour it into a casserole dish and heat over high heat.
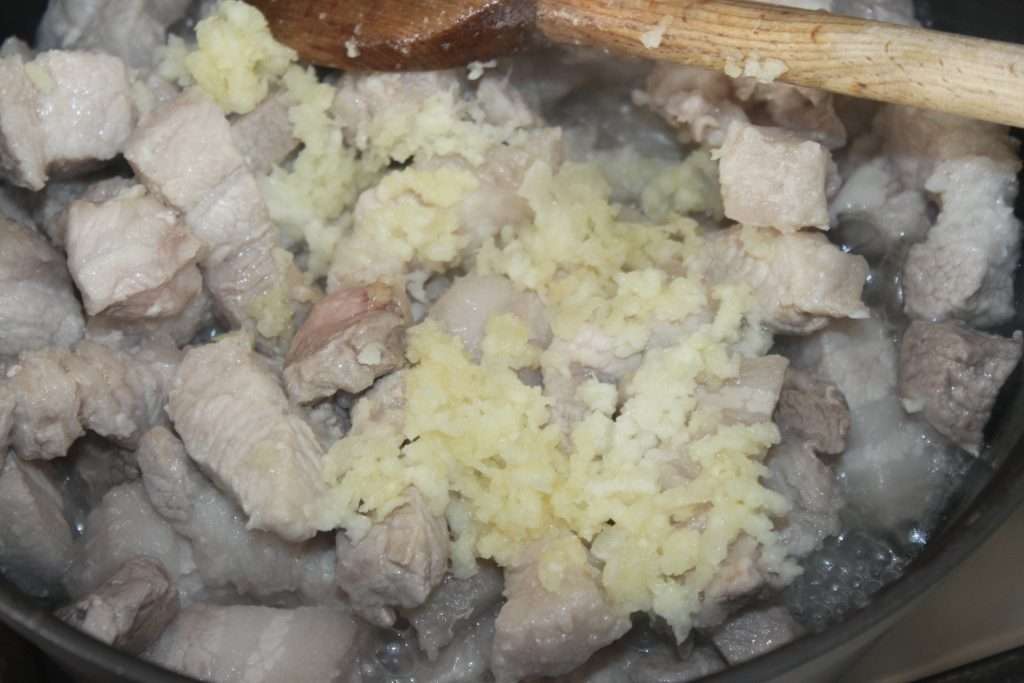
When the meat is more cooked or slightly colored, add the finely chopped or pressed garlic.
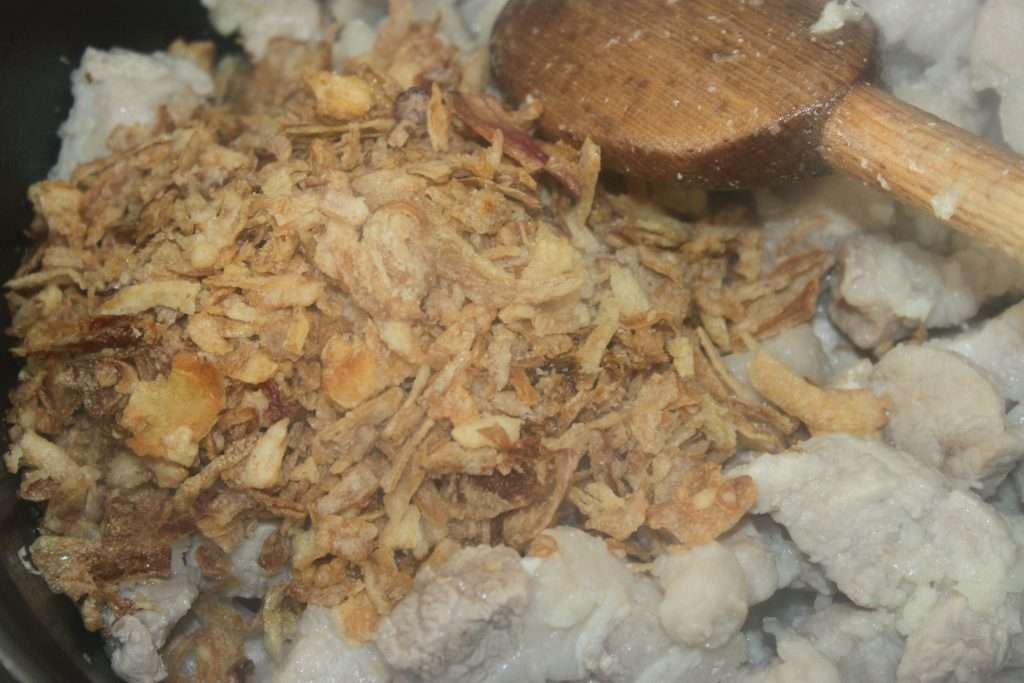
Here are the fried shallots.

Add them to the pork.
Also pour in the “5 flavors” and the brown vergeoise.
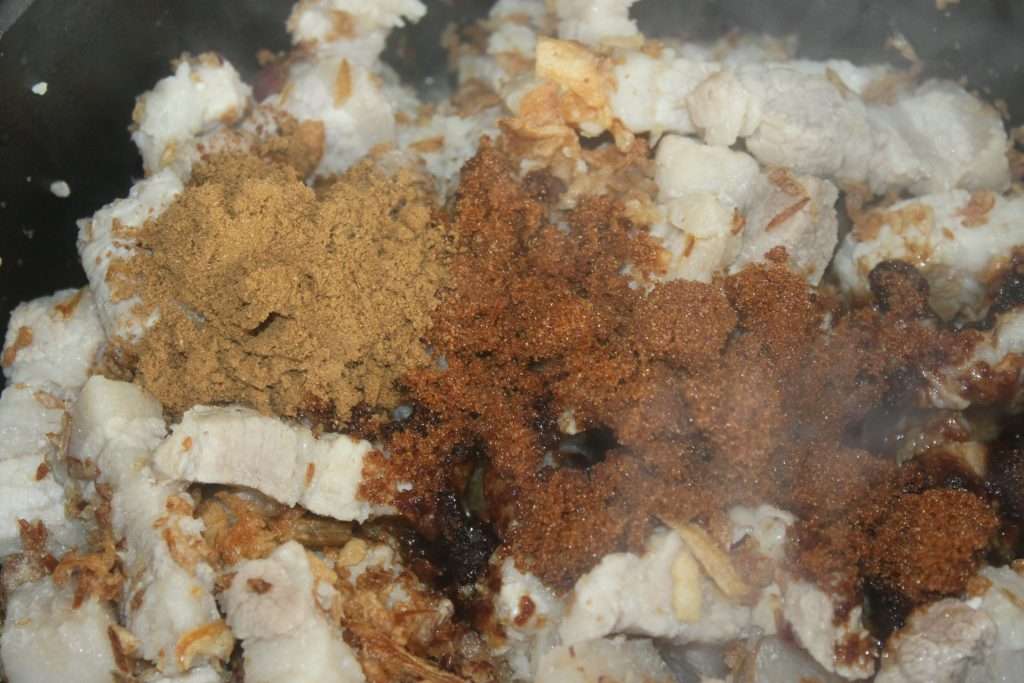
Pour the Chinese cooking wine.
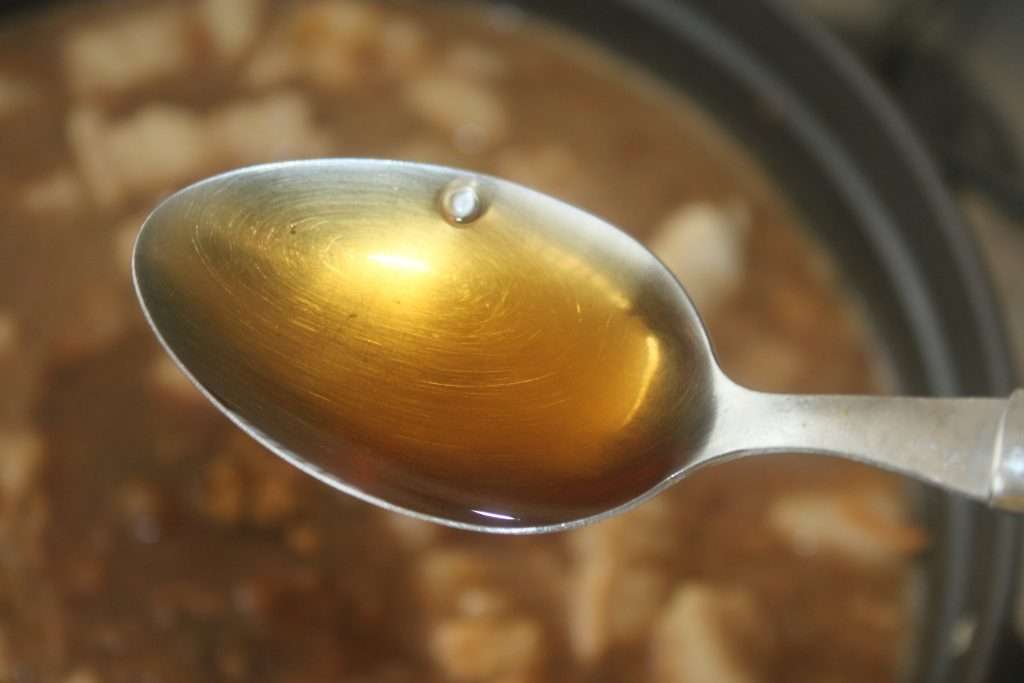
Water and soy sauce.
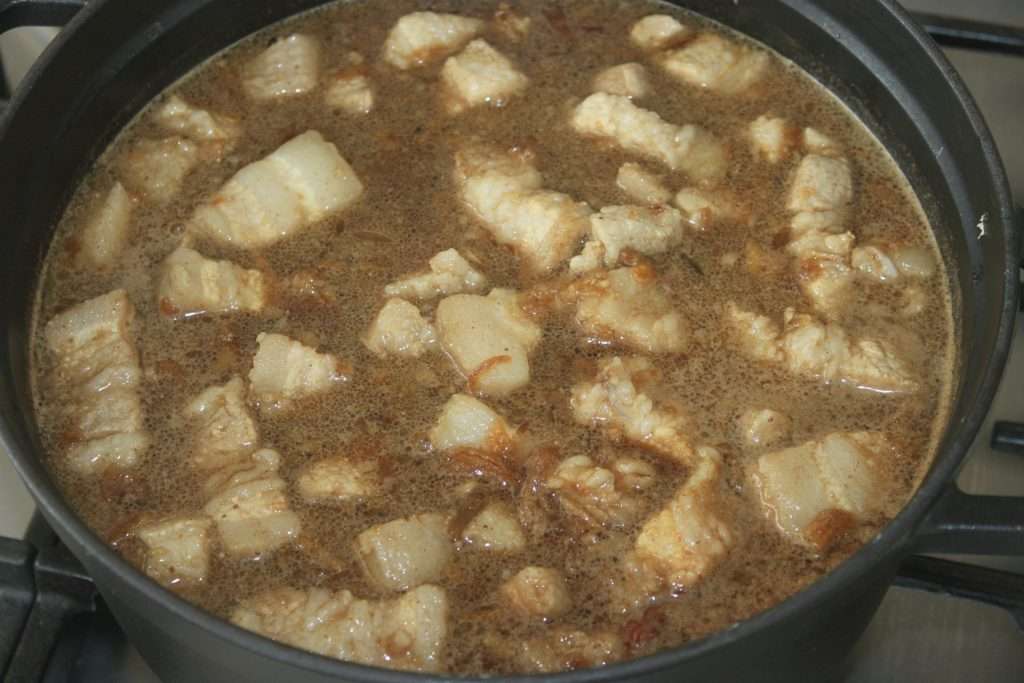
That’s all ! Bring to a boil and then lower the heat with the lid on. Let cook for 2 hours on low heat.

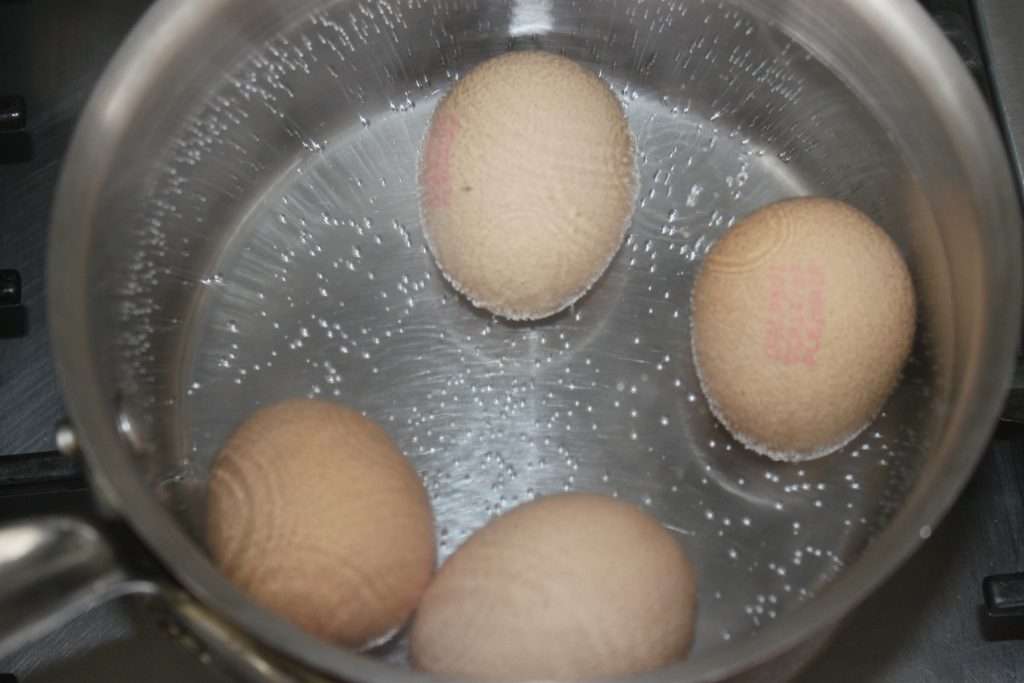
In the meantime, cook the eggs, starting in cold water, then 10 minutes from boiling.
When the meat has cooked for 2 hours, add the shelled hard-boiled eggs.
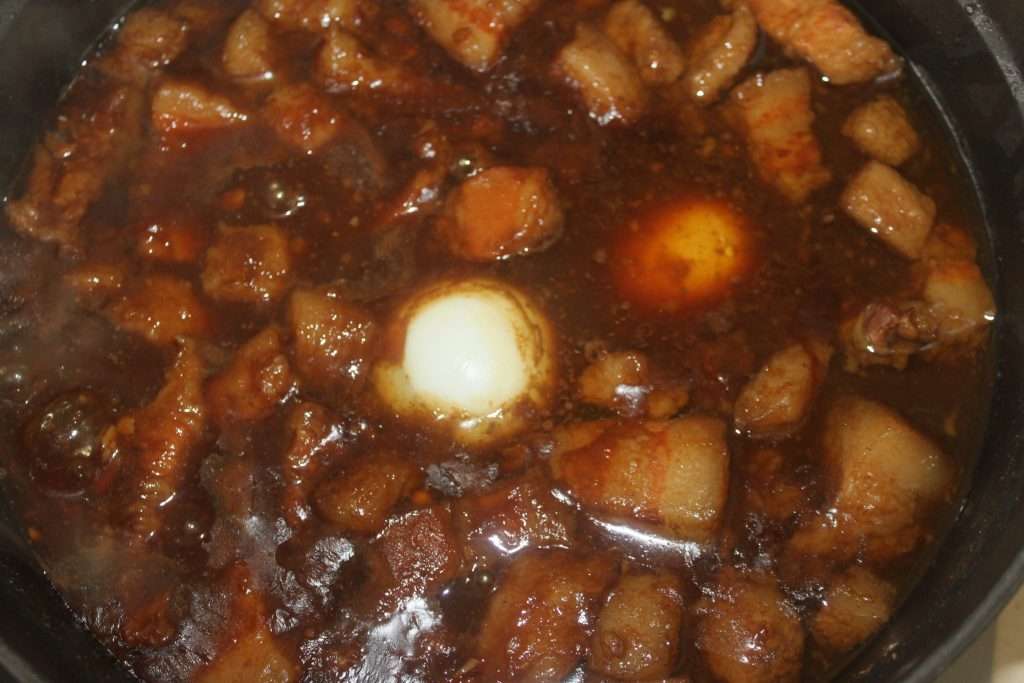
Cook for an additional 20 minutes.
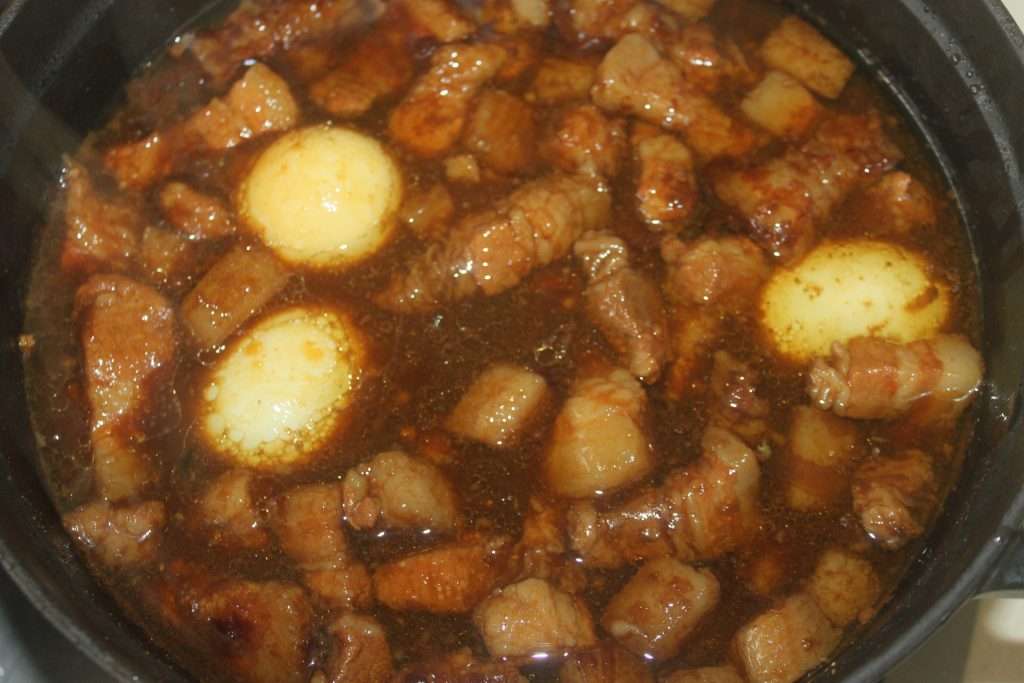
Serve with plain rice and, if you like, a little kailan or pak choi blanched in water for 5 minutes.