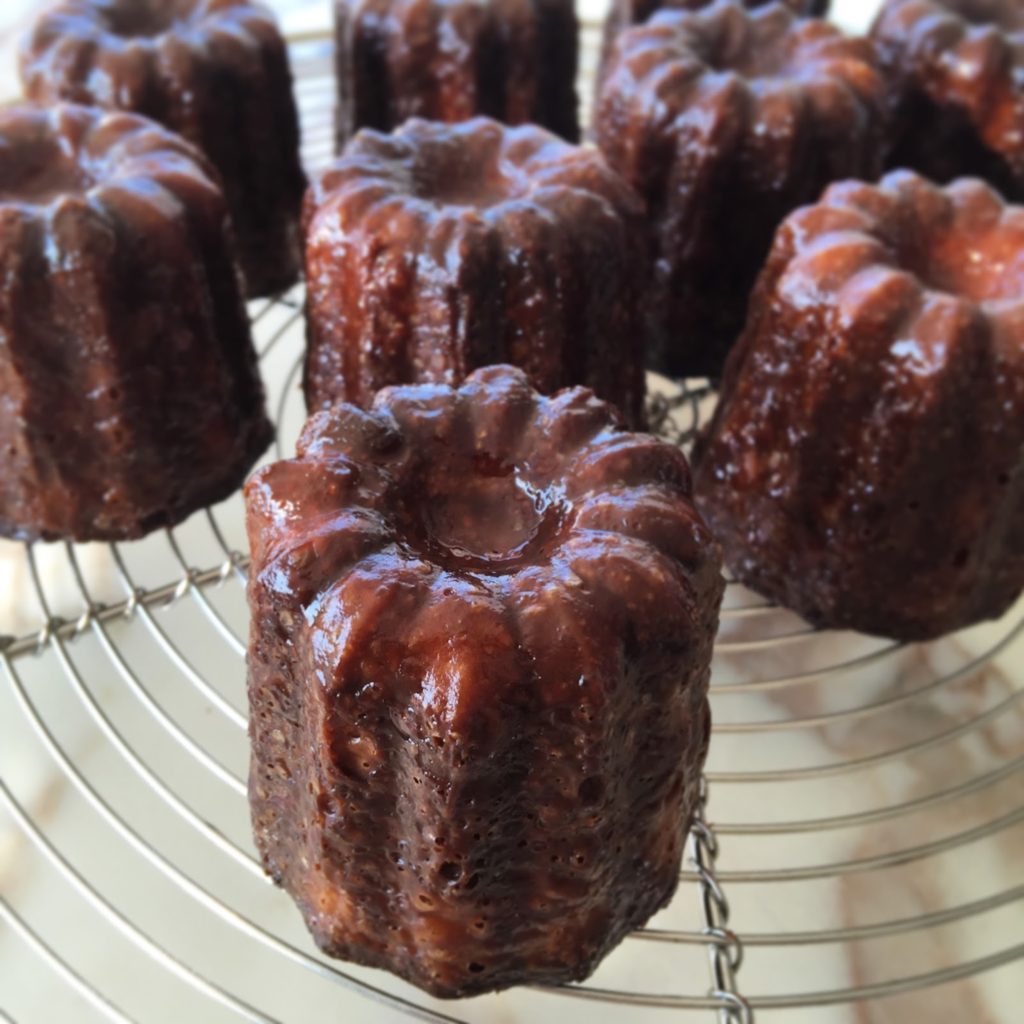
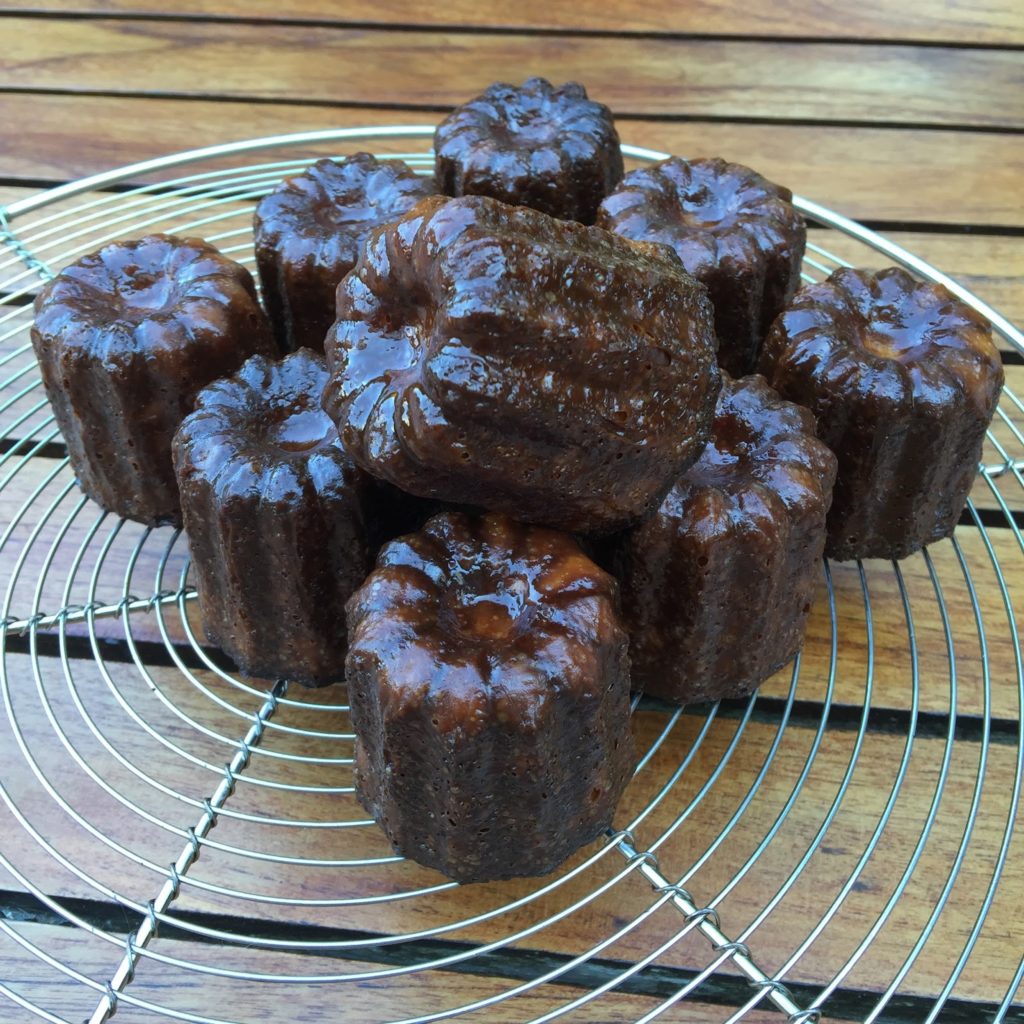
Canelés Bordelais
Ingredients
Recette pour 22 grands canelés:
- 1 litre de lait entier frais
- 2 œufs entiers
- 4 jaune d'oeufs
- 280 g farine
- 475 g sucre
- 50 g de beurre doux
- 10 cl de rhum brun
- 2 c à soupe de vanille liquide
- 2 gousses de vanille
Instructions
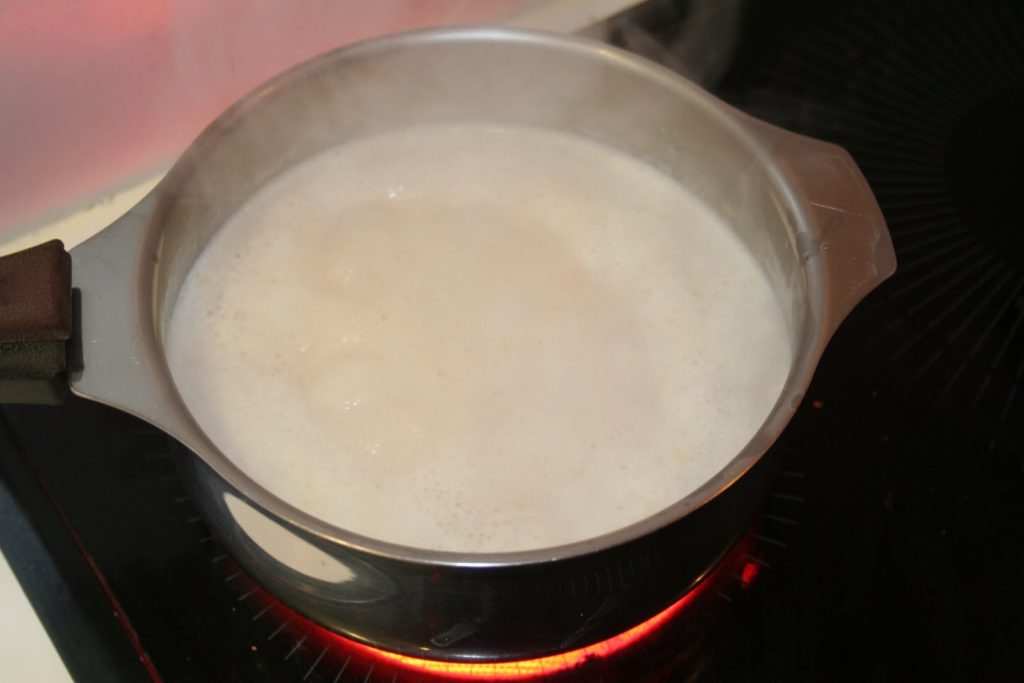
- Faire bouillir le lait avec le beurre, le rhum, la vanille liquide, et les gousses fendues en deux dans la longueur.
- À ébullition, arrêter le feu et laisser infuser pendant 15 minutes.
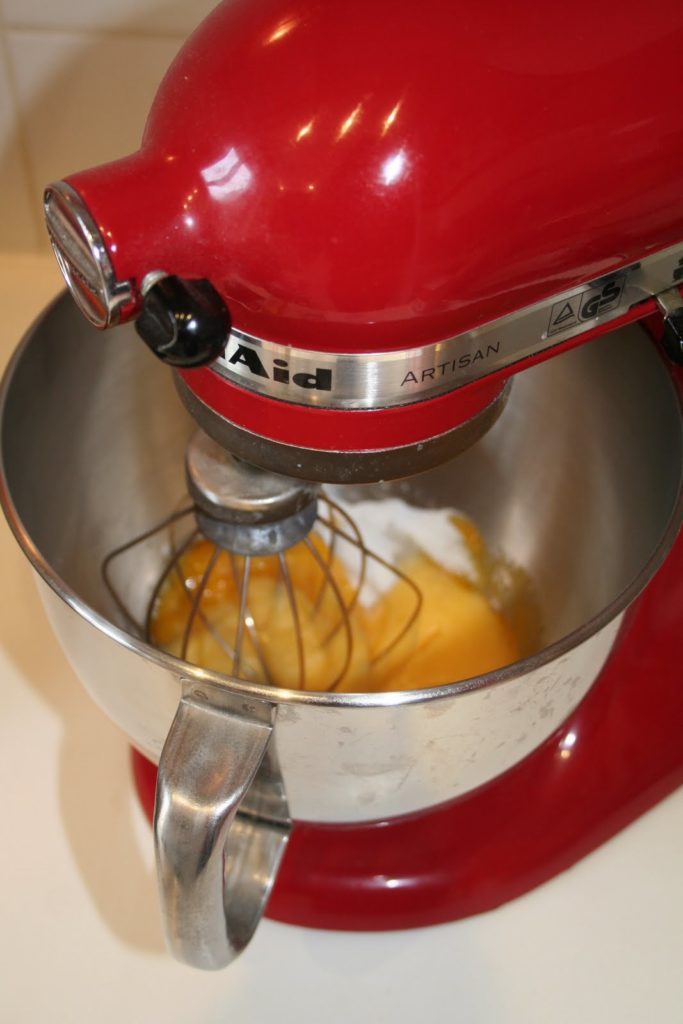
- Dans un autre récipient, blanchir au fouet les œufs et les jaunes avec le sucre.
- Dans un autre récipient, blanchir au fouet les œufs et les jaunes avec le sucre.
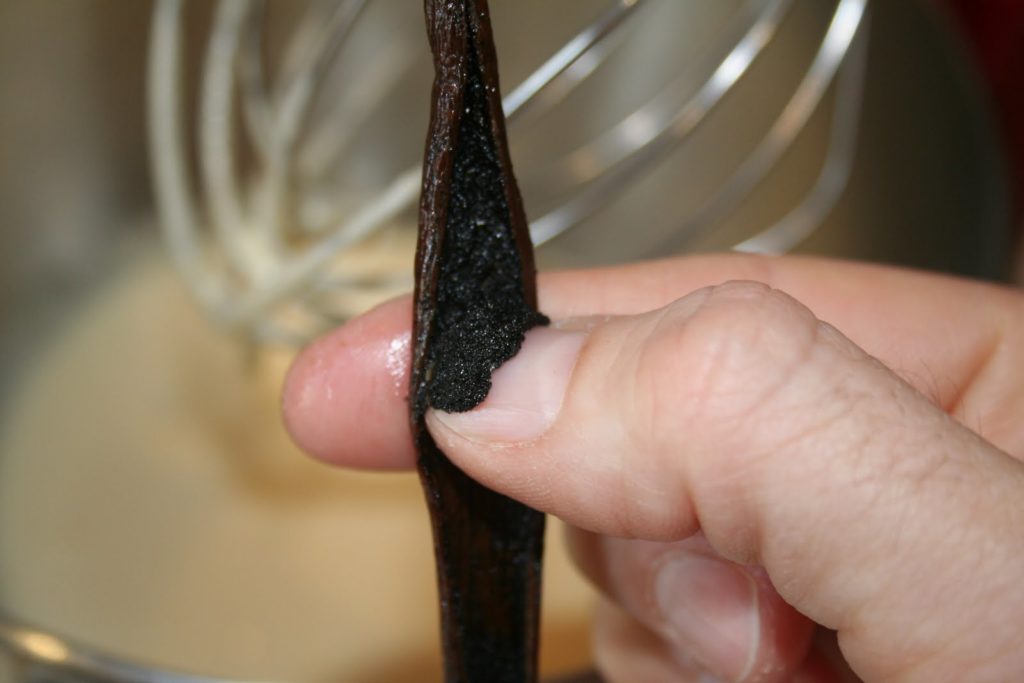
- Enlever les gousses du lait puis ajouter l’intérieur de celles-ci dans le mélange jaunes/sucre en grattant avec le pouce. Remettre les gousses vidées dans le lait.
- Ensuite, il faut réchauffer le lait infusé jusqu’à ce qu’il frémisse de nouveau, couper le feu puis le laisser reposer 2 minutes et en verser une petite partie (plus au moins un cinquième) sur le mélange sucre+œufs. Bien mélanger, puis ajouter toute la farine, mélanger encore, puis finir en ajoutant le reste du lait. De cette façon on évite parfaitement les grumeaux.
- Conseil de Bernard: il faut vraiment verser le lait très chaud (mais pas non plus bouillant) sur le mélange œufs+sucre, car ainsi la pâte va légèrement pré-cuire (les œufs du moins) et la consistance du canelé sera parfaite.Il faut ensuite laisser reposer cette pâte pendant 24 heures. Je ne la mets même pas au frais, je la laisse à température ambiante. Il faut la remuer de temps en temps pour faire retomber la mousse en surface.
- Le lendemain donc, il faut bien mélanger la pâte pendant 2 minutes au fouet, pour bien réintégrer le beurre!
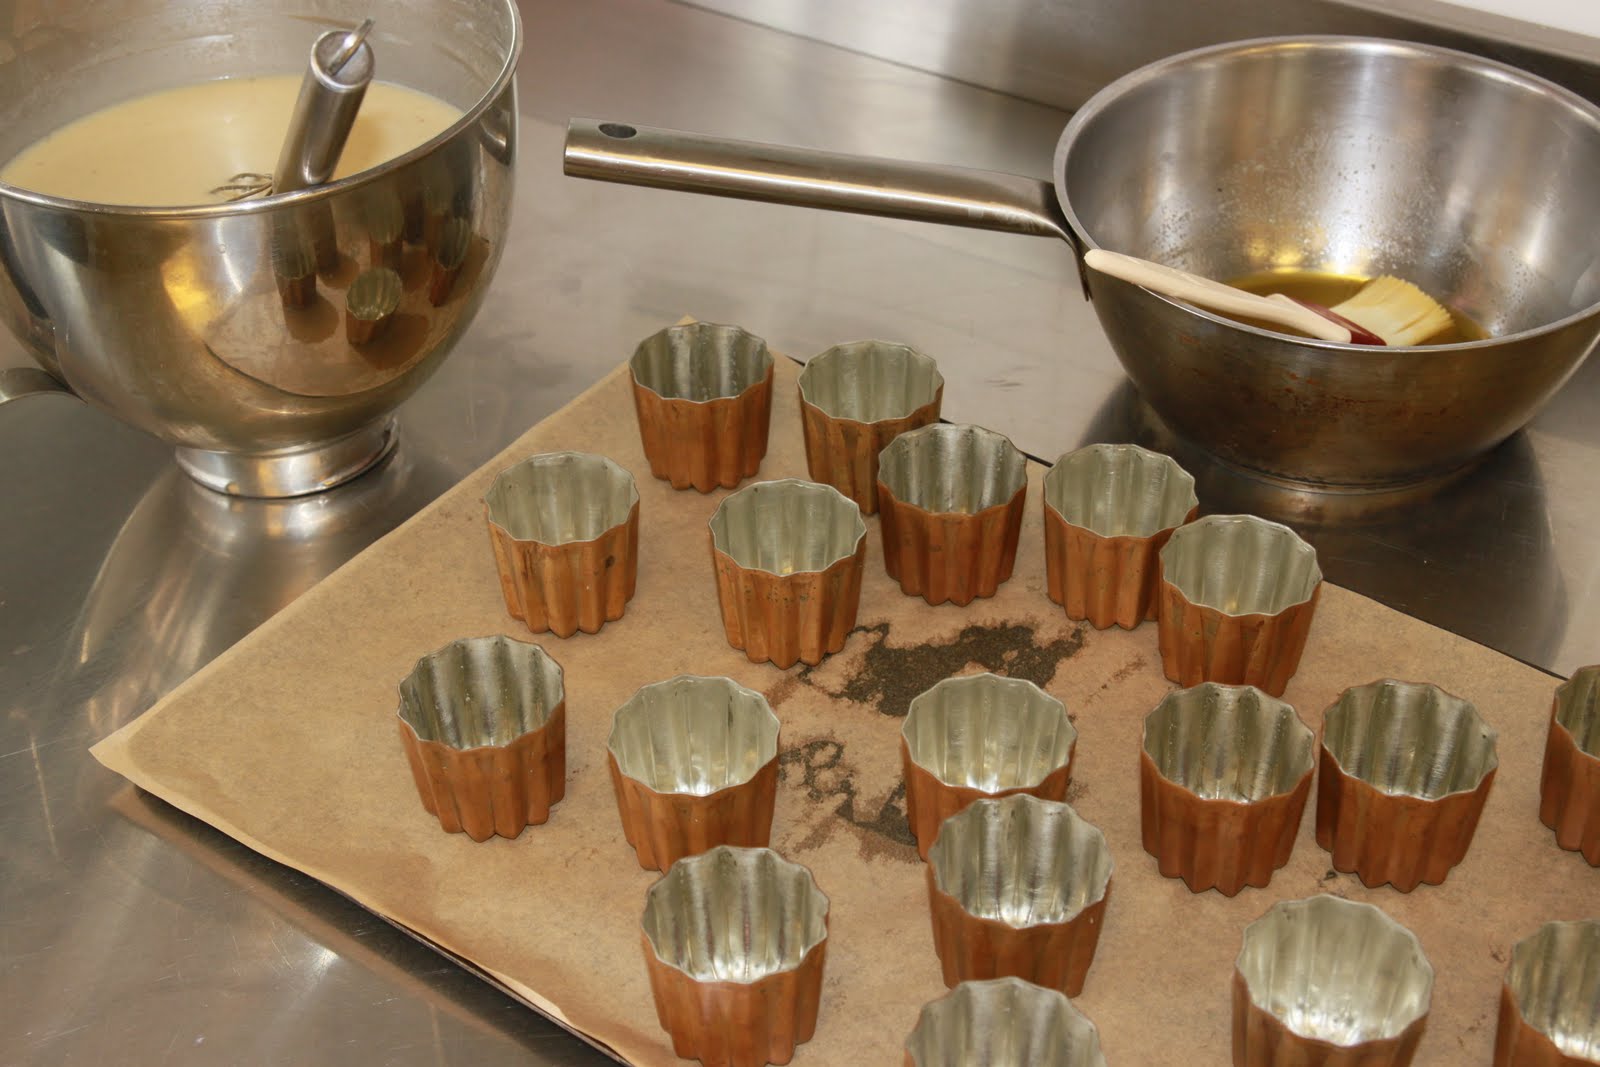
- Conseil de Bernard: il faut oublier le beurre pour le graissage des moules!!! En effet le beurre n’empêche nullement l’adhérence de la pâte à canelé en fin de cuisson, et bonjour le cauchemar pour les démouler! Mais il y a une façon simple (et à mon avis indispensable) pour faciliter le démoulage. Il faut utiliser le même produit que les professionnels: une bombe de graisse avec des agents de démoulage (esthers cireux et lécithine de soja). Il suffit de vaporiser l’intérieur du moule puis de les mettre à l’envers sur un papier absorbant pour enlever le surplus (moi je les tapote un peu à l’envers sur le papier à fin d’éclater les bulles de la pulvérisation).
- Cette bombe se trouve chez G.Detou (Rue Tiquetonne, à Paris) ou chez Mora (à côté). Vous pouvez également la trouver sur internet.
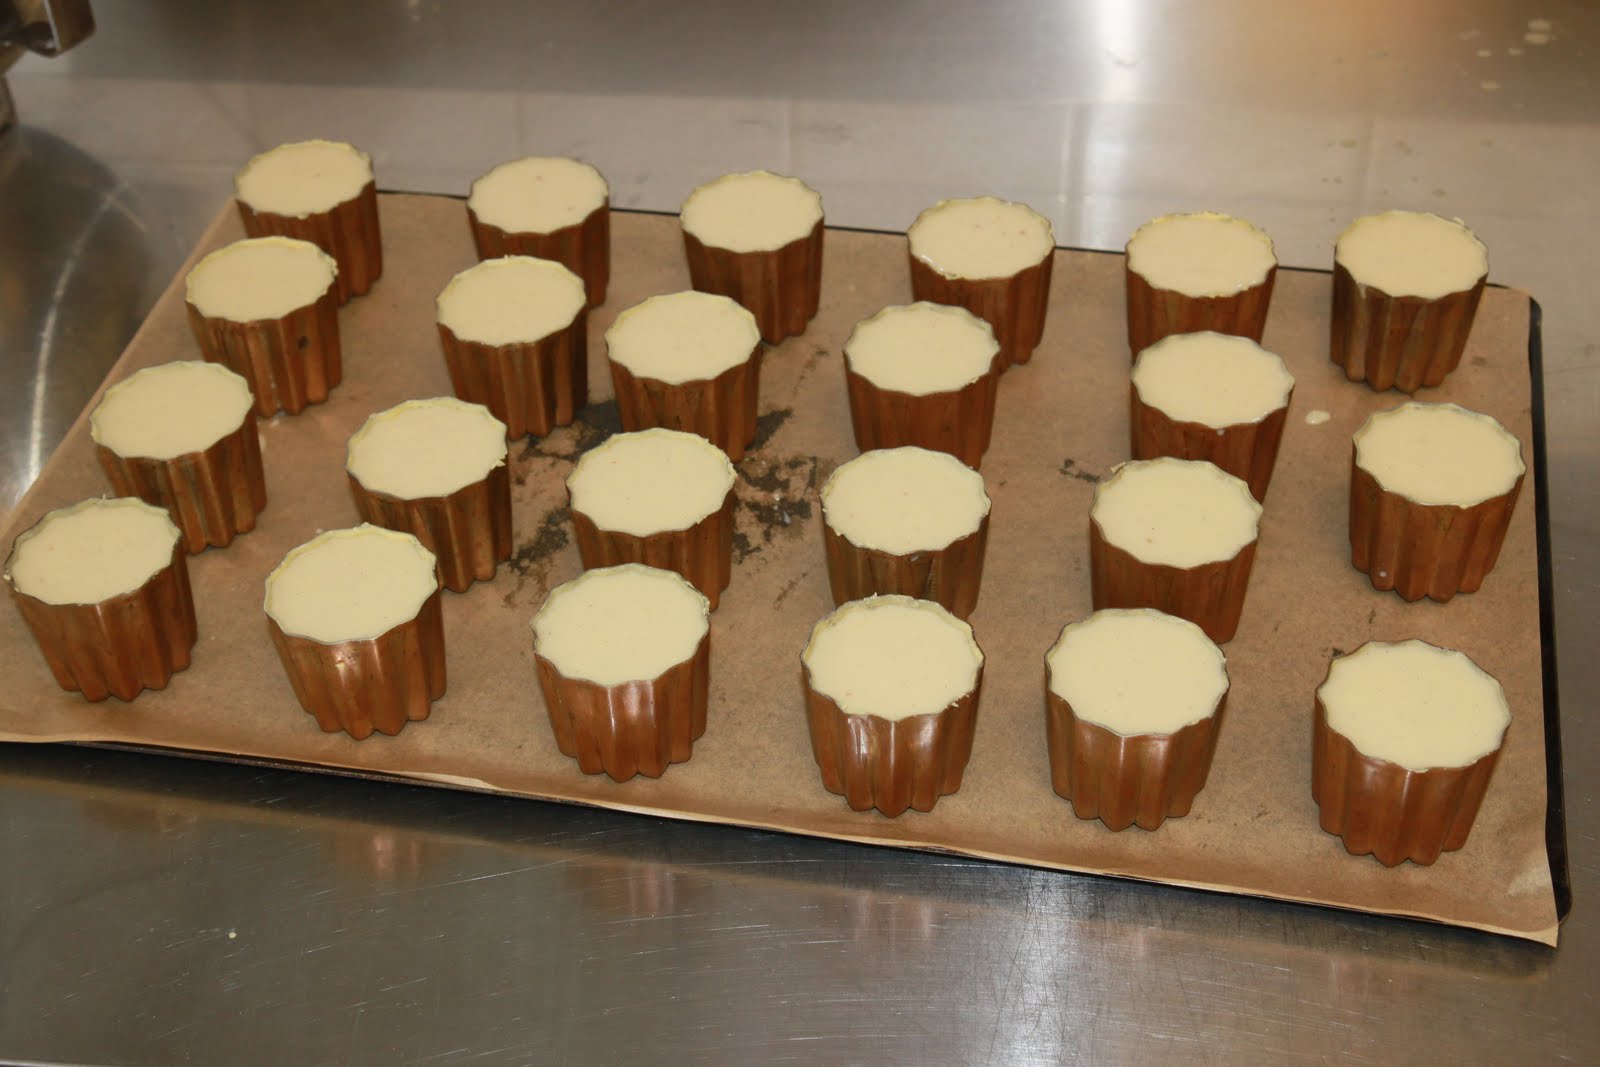
- Enlever et bien essorer les gousses de vanille. Remplir ensuite les moules avec la pâte jusqu’à 1mm du bord (il y a des recettes qui conseillent de ne remplir les moules qu’aux 2/3; mais je ne le recommande pas, car le canelé,une fois cuit, fait la même taille que la pâte versée avant la cuisson.)
- Enlever et bien essorer les gousses de vanille. Remplir ensuite les moules avec la pâte jusqu’à 1mm du bord (il y a des recettes qui conseillent de ne remplir les moules qu’aux 2/3; mais je ne le recommande pas, car le canelé,une fois cuit, fait la même taille que la pâte versée avant la cuisson.)
- La première cuisson (pour mon four en tout cas!) est de 15 minutes à 275°C, puis sans arrêter le four, baisser à 200°C pour 35 minutes supplémentaires (bien sûr chaque four a sa puissance, il faut donc trouver la cuisson qui va convenir au vôtre).Démouler aussitôt sur une grille à l’envers et laisser refroidir.
- Septembre 2011: Je vous ajoute aujourd’hui une méthode plus traditionnelle avec la même recette. J’utilise cette fois mes moules en cuivre. Pour graisser les moules, on peut utiliser de la cire d’abeilles alimentaire:
- On fait fondre 120g de beurre pour 80g de cire d’abeilles.
- Voici les moules à être badigeonnés:
- Passer une couche de beurre à la cire avec un pinceau. Attention, car le mélange refroidit vite.
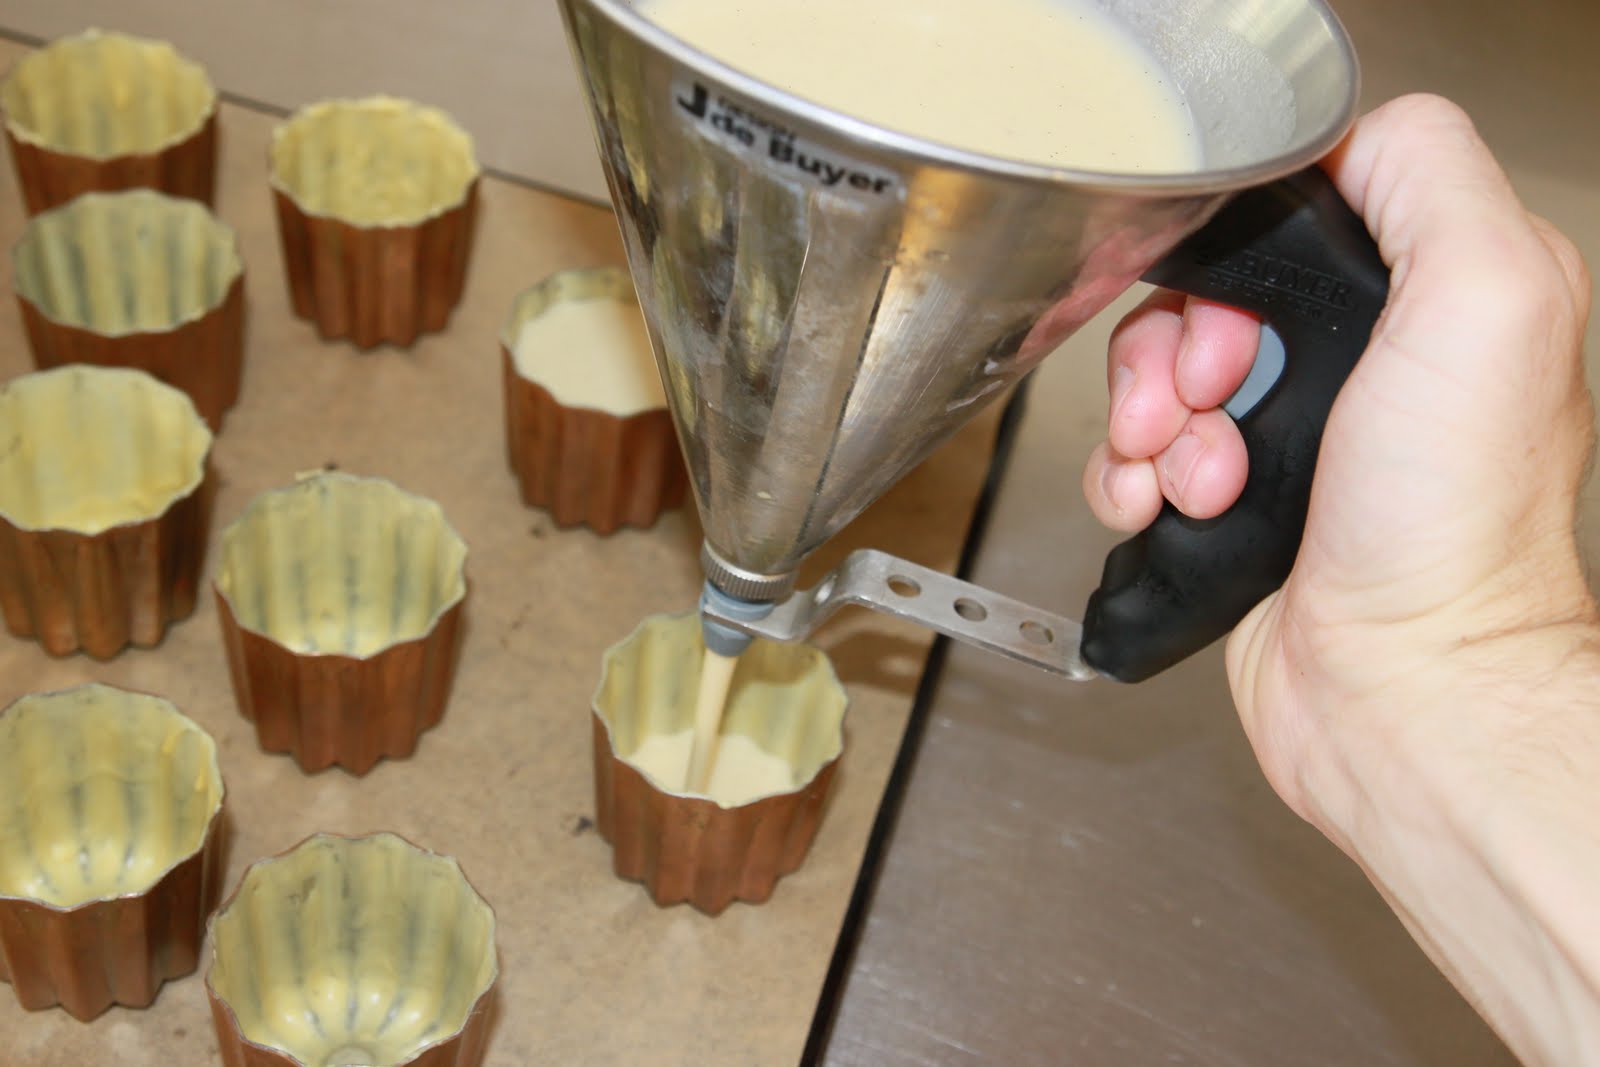
- Quand tous les moules sont prêts, verser la pâte. Avec un entonnoir à piston, c’est tellement plus pratique!
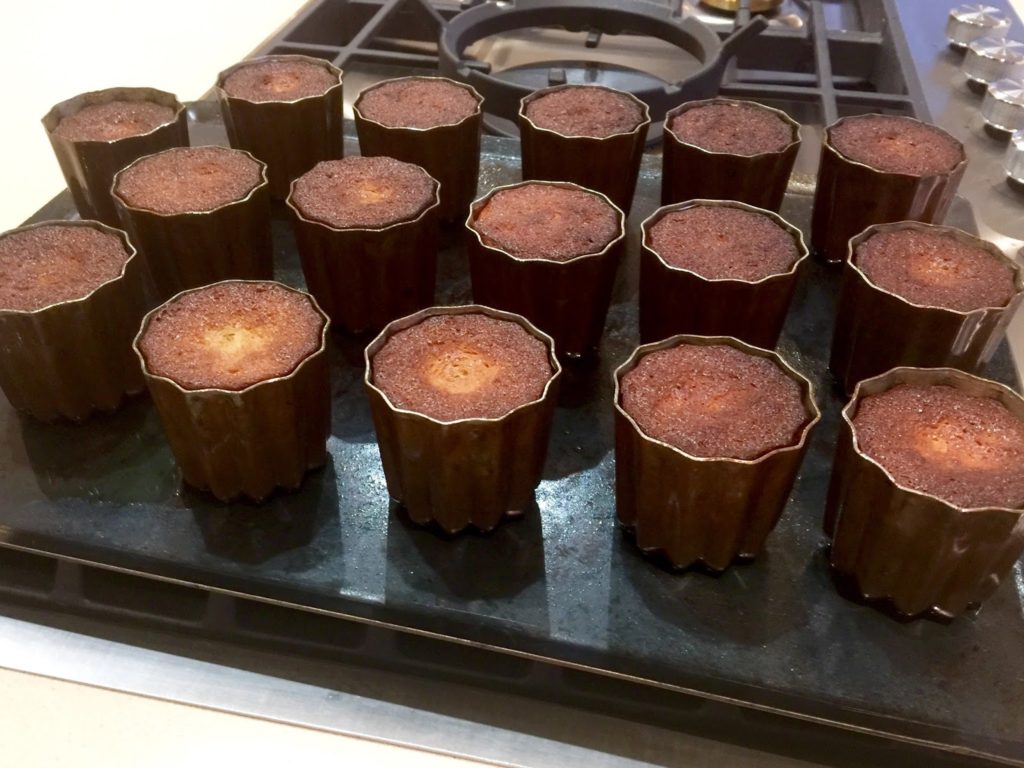
- Faire cuire comme indiqué dans la recette en haut. Comme toujours, le secret de la cuisson, c’est une forte chaleur pendant les 10 premières minutes. J’ai cuit à 290°C pendant 8-10 minutes et on voit bien les canelés ne gonflent pas!
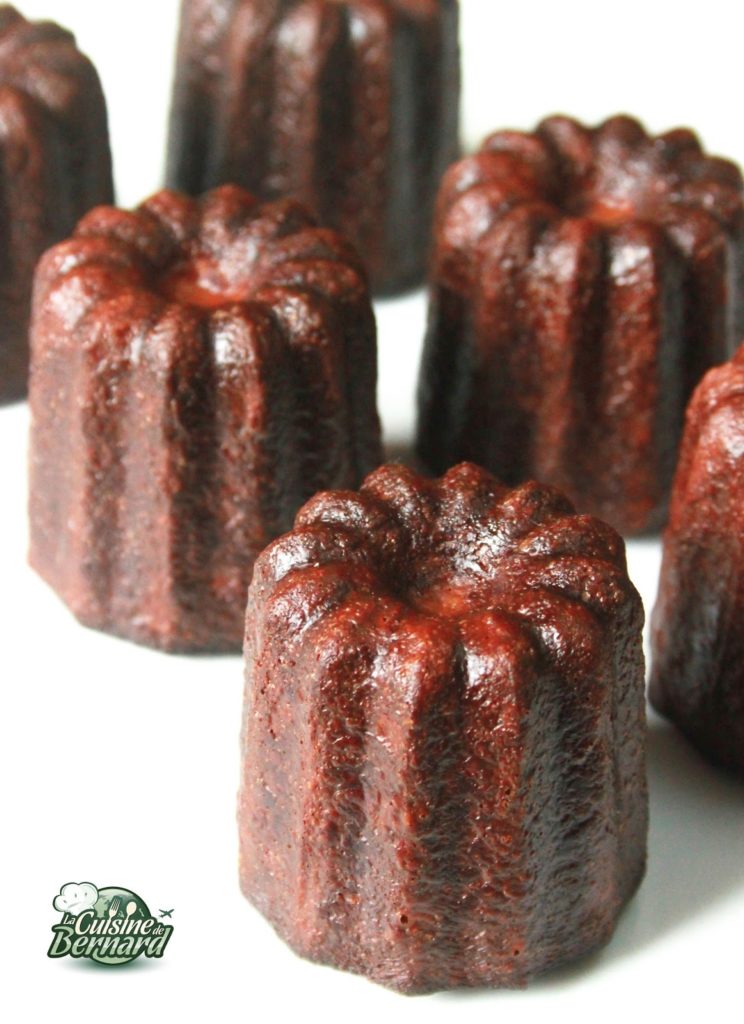
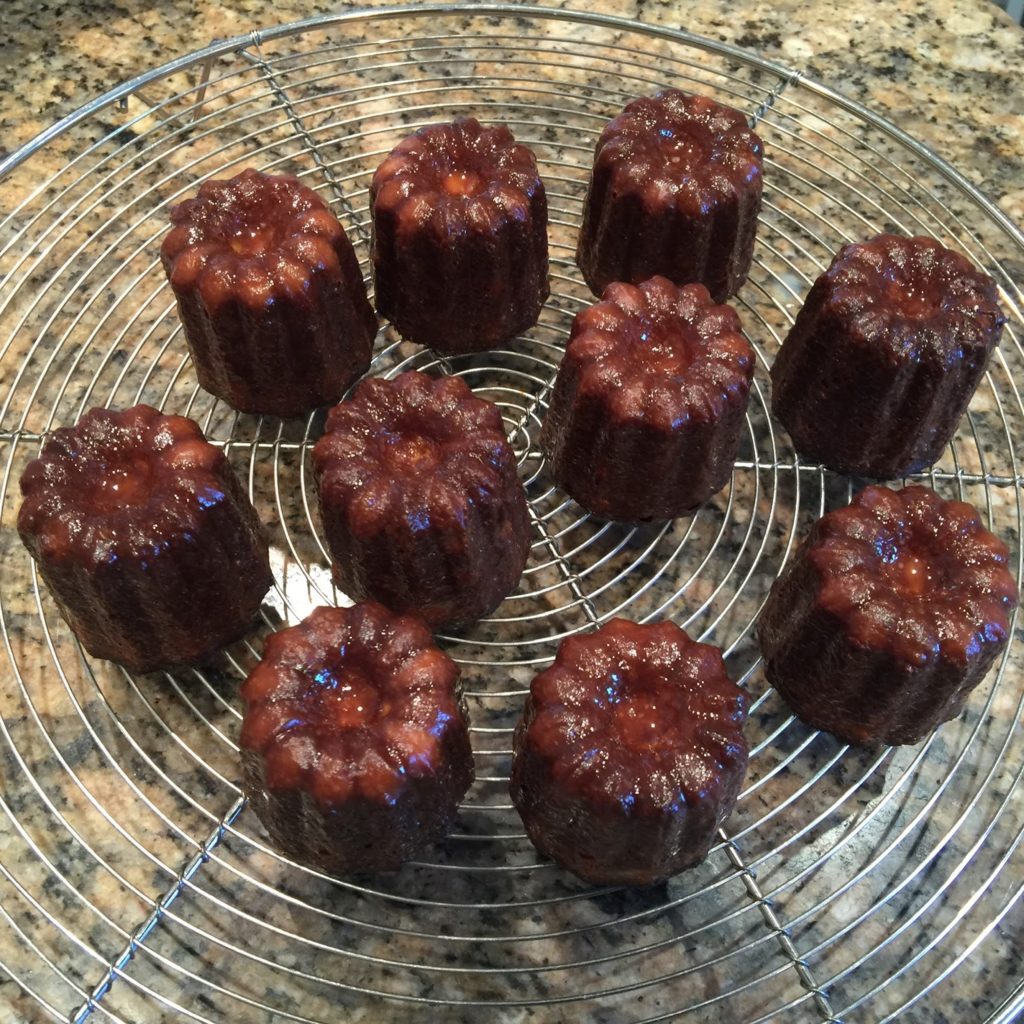
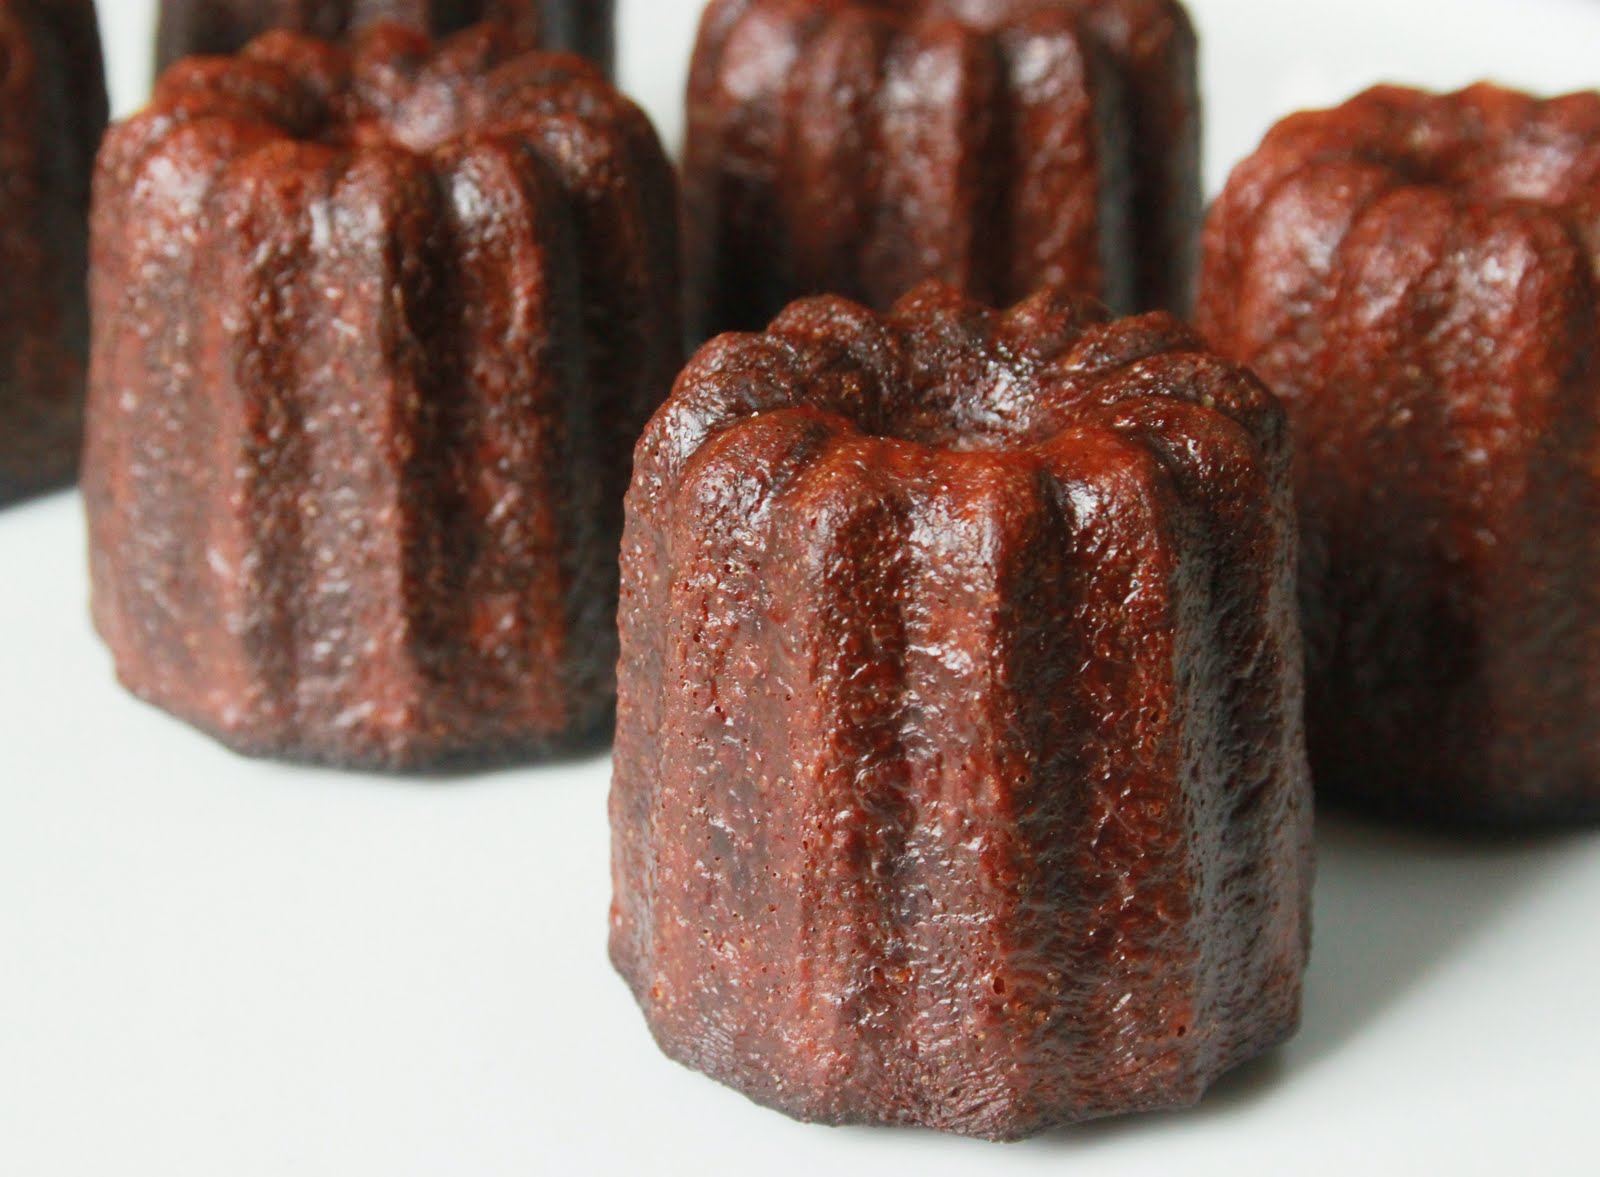
- Les canelés se démoulent tous seuls! On voit qu’avec cette méthode, on se rapproche encore plus du visuel professionnel! Note de Bernard: la cire a beau être plus traditionnelle, son nettoyage est un cauchemar! Je reste donc avec mon spray de graisse démoulante. Il marche aussi bien avec les moules en cuivre qu’avec les moules en aluminium et le résultat est quasi identique. Mais surtout pas de moules en silicone par pitié!!!! Ils sont pratiques pour certaines recettes, mais pas pour les canelés!
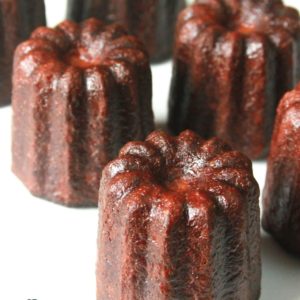
- On voit très bien la différence avec les canelés réalisés avec des moules en cuivre…
- …et ceux cuits dans un moule en aluminium! Pourtant il s’agit de la même recette.
- Le canelé se consomme au moins 2 heures après cuisson, car en sortant du four la pâte est encore compacte, elle va s’aérer en refroidissant.Ci après, mes cuissons avec moules en cuivre !
Nutrition
Recipe for 22 large canelés:
Boil the milk with the butter, the rum, the liquid vanilla, and the pods split in half lengthwise.
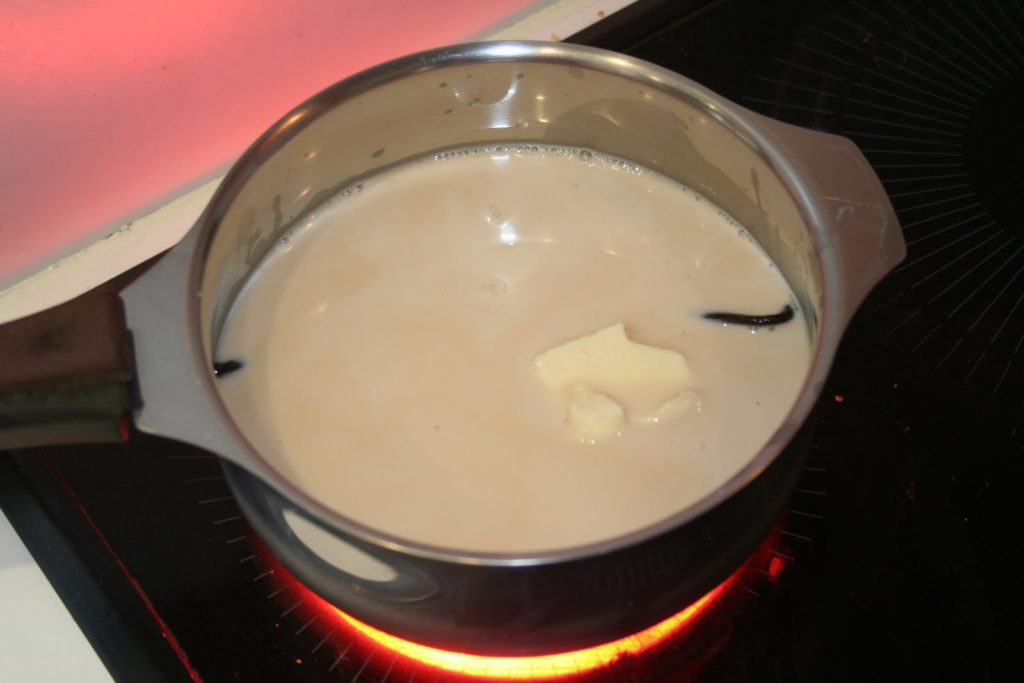
When boiling, turn off the heat and let steep for 15 minutes.
In another container, whisk the eggs and yolks with the sugar.

Then, you have to heat the infused milk until it simmers again, turn off the heat then let it rest for 2 minutes and pour a small part of it (plus at least a fifth) on the sugar+egg mixture. Mix well, then add all the flour, mix again, then finish by adding the rest of the milk. This way lumps are completely avoided.


Bernard’s tip: you have to forget the butter for greasing the molds!!! In fact the butter in no way prevents the adhesion of the dough to canelé at the end of cooking, and hello the nightmare to unmold them! But there is a simple (and in my opinion essential) way to make unmolding easier. You have to use the same product as the professionals: a grease bomb with release agents (waxy esters and soy lecithin). Just spray the inside of the mold then put them upside down on absorbent paper to remove the excess (I tap them a little upside down on the paper to burst the bubbles from the spray) .


We continue the recipe:
Remove and squeeze the vanilla pods well. Then fill the molds with the dough up to 1mm from the edge (there are recipes that recommend filling the molds only 2/3; but I do not recommend it, because the canelé, once cooked, makes the same size as the poured batter before baking.)

Put all the molds on a baking sheet and put it on a rack in the middle of the oven.

The first cooking (for my oven in any case!) is 15 minutes at 275°C , then without stopping the oven, lower it to 200°C for an additional 35 minutes ( of course each oven has its own power, so you have to find the cooking that will suit yours).
Immediately turn out onto a rack upside down and leave to cool.


The canelé is eaten at least 2 hours after cooking, because when it comes out of the oven the dough is still compact, it will air out as it cools.
Below, my cooking with copper molds!