
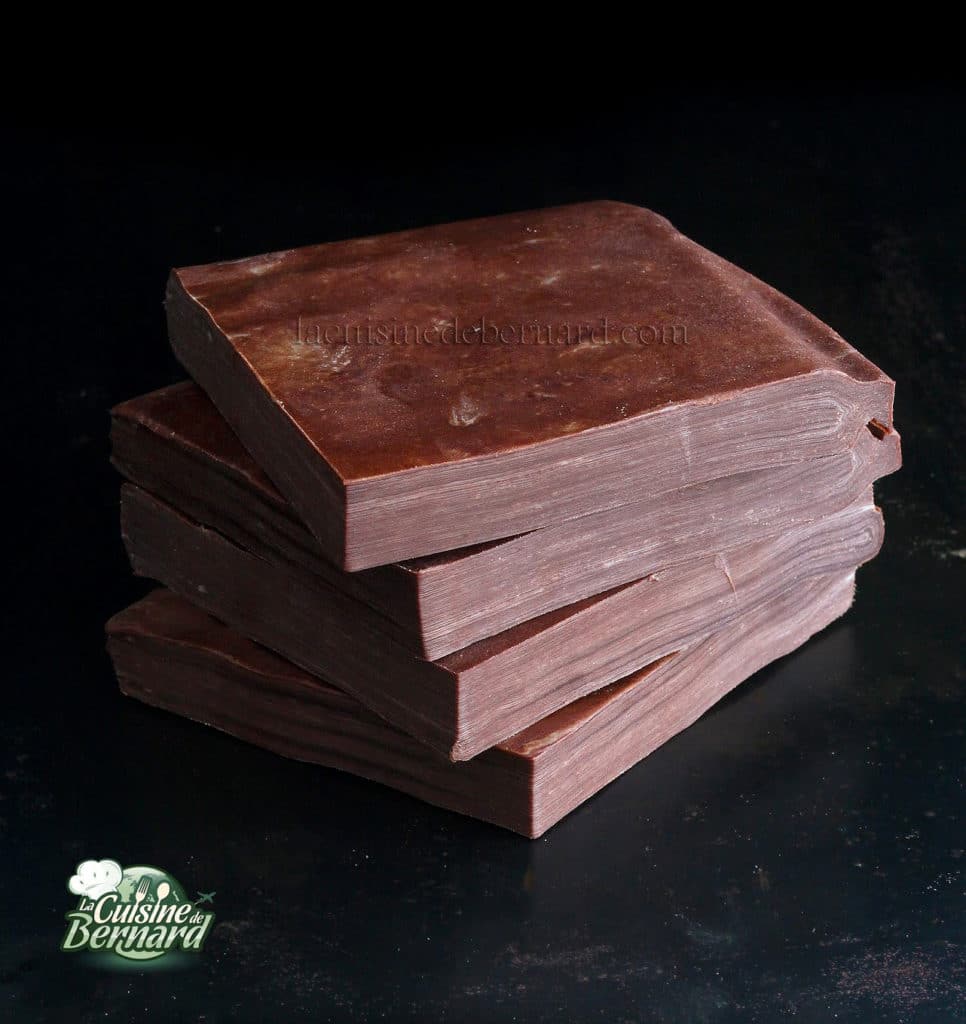
Pâte feuilletée inversée au cacao
Ingredients
Détrempe :
- 350 g farine
- 8 g sel
- 110 g beurre à 82/% de matière grasse minimum fondu
- 150 g eau
- 1 c. à soupe vinaigre blanc
Instructions
- Pour cette recette, nul besoin de s’embêter avec un beurre de feuilletage. Cela fonctionne très bien avec un beurre du commerce. Il faut juste vérifier qu’il est à 82% minimum de matière grasse. Le beurre AOP Charentes-Poitou l’est en général. Regardez simplement la composition en lipides !Mettez tous les ingrédients de la détrempe dans la cuve de votre robot muni de la feuille.
- Mélangez 20 secondes, juste le temps que le tout s’agglomère, sans insister.
- Ne mélangez plus la pâte. Juste un peu si il a un endroit vraiment mal mélangé.
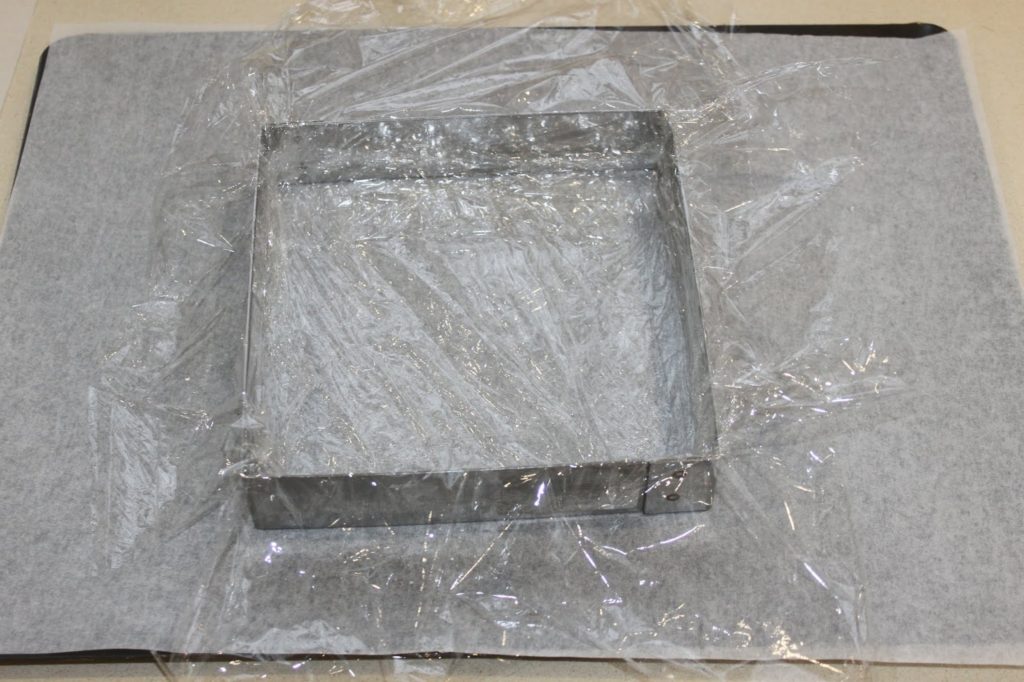
- Prenez un cadre de 16cm de côté. Posez le sur une plaque garnie de papier sulfurisé. Mettez une feuille de film étirable dans un sens, et une autre dans l’autre sens.
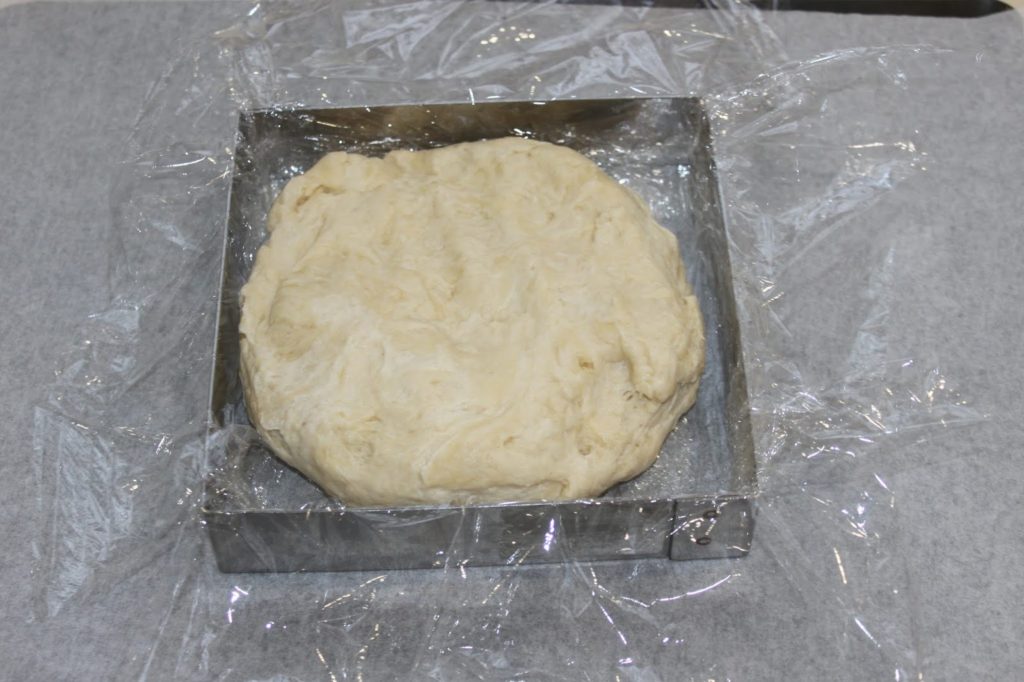
- Posez la détrempe et aplatissez-la à la main pour qu’elle prenne bien la forme du cadre. Faites bien attention dans les angles pour avoir un carré parfait.
- Refermez le film étirable pour couvrir la pâte. Mettez la plaque au frais au moins 2 heures.
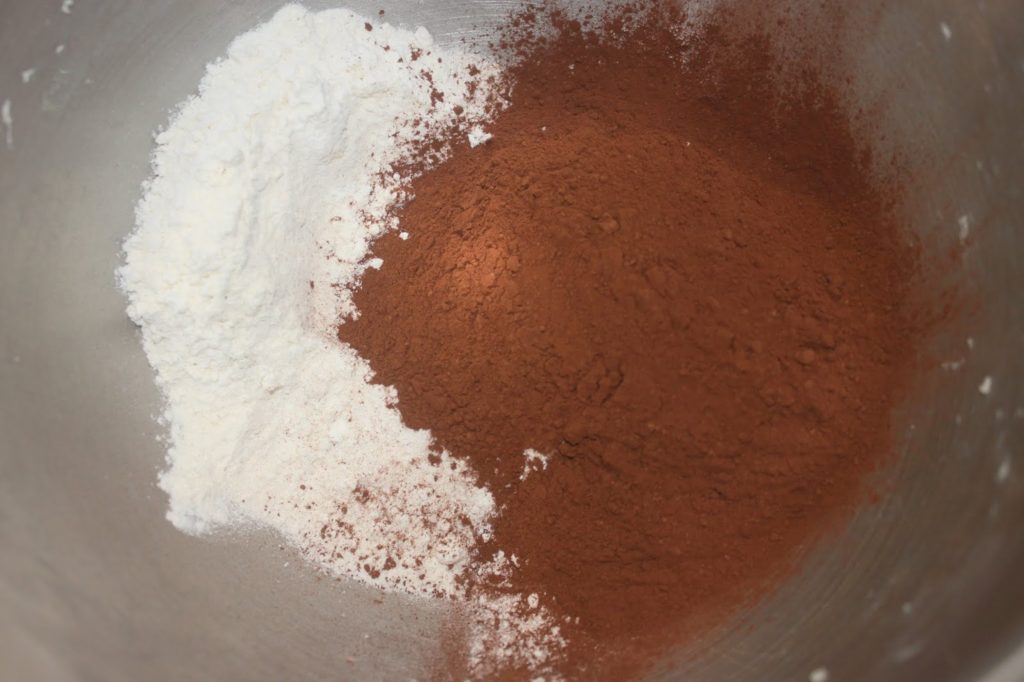
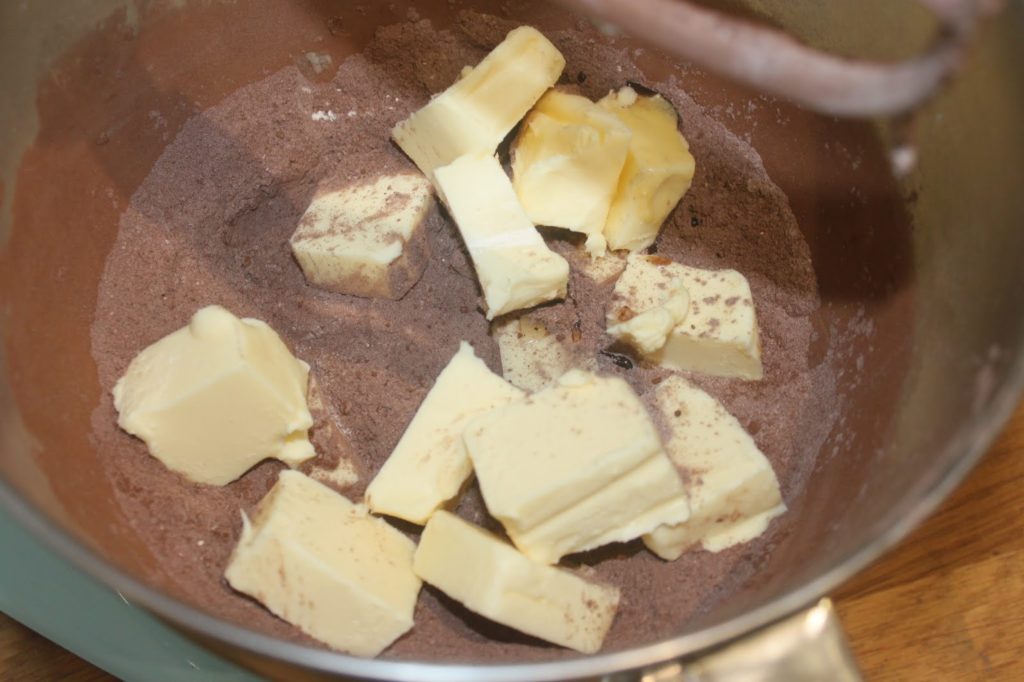
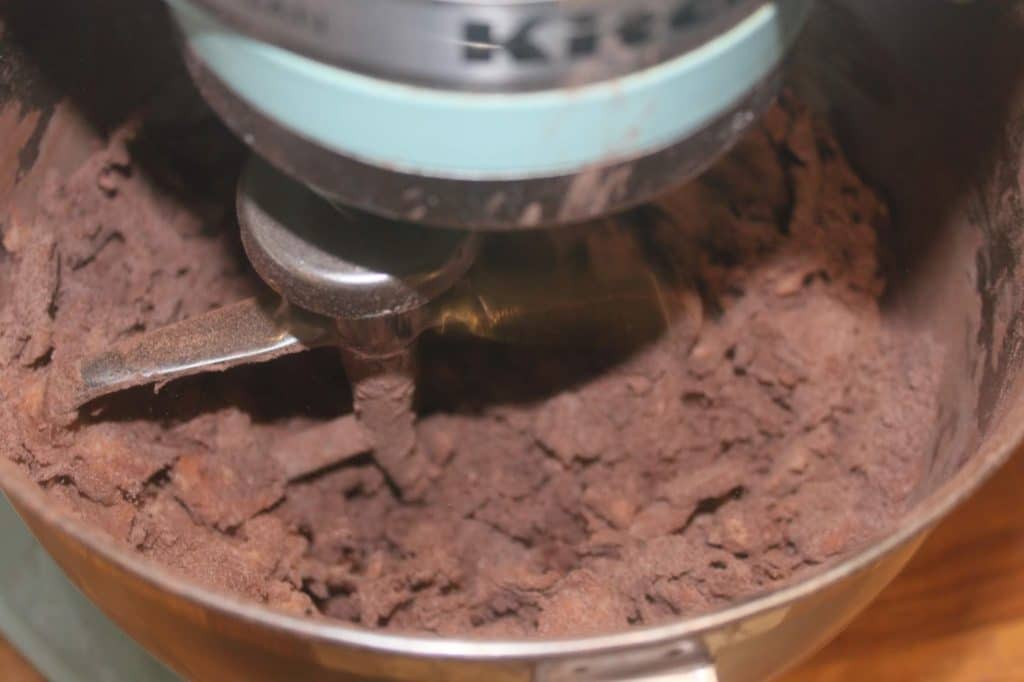
- Dans la même cuve (sans la nettoyer) placez la farine, le cacao et le beurre mou.
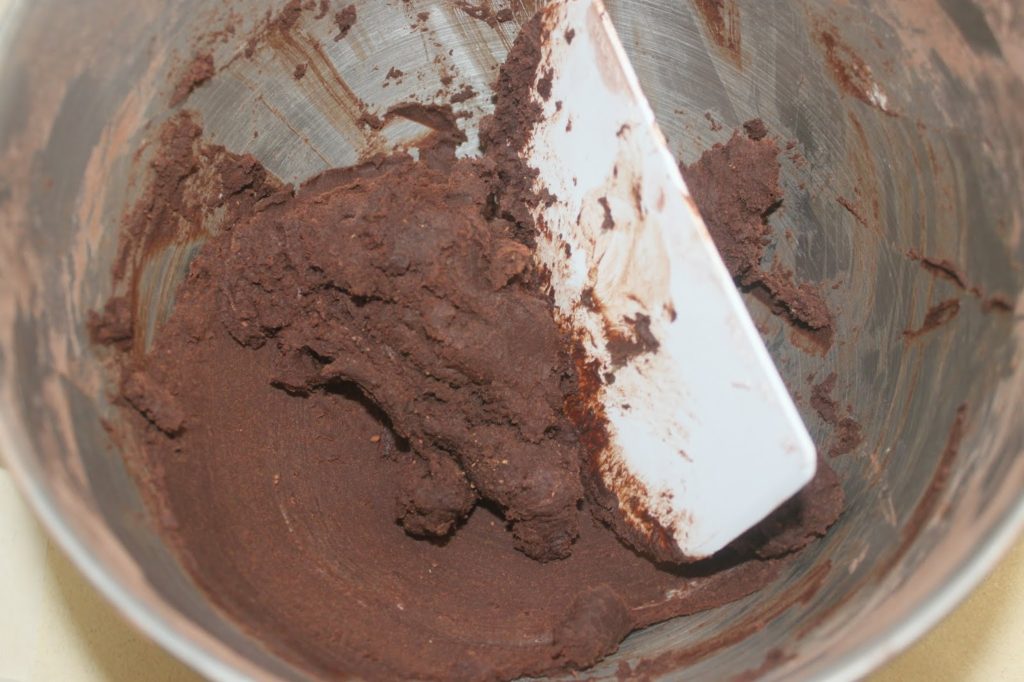
- Mélangez jusqu’à avoir une sorte de pâte homogène.
- Cette fois vous pouvez mélanger en insistant. Il ne doit pas y avoir de paquet de beurre non mélangé. Raclez au besoin dans le fond de la cuve.
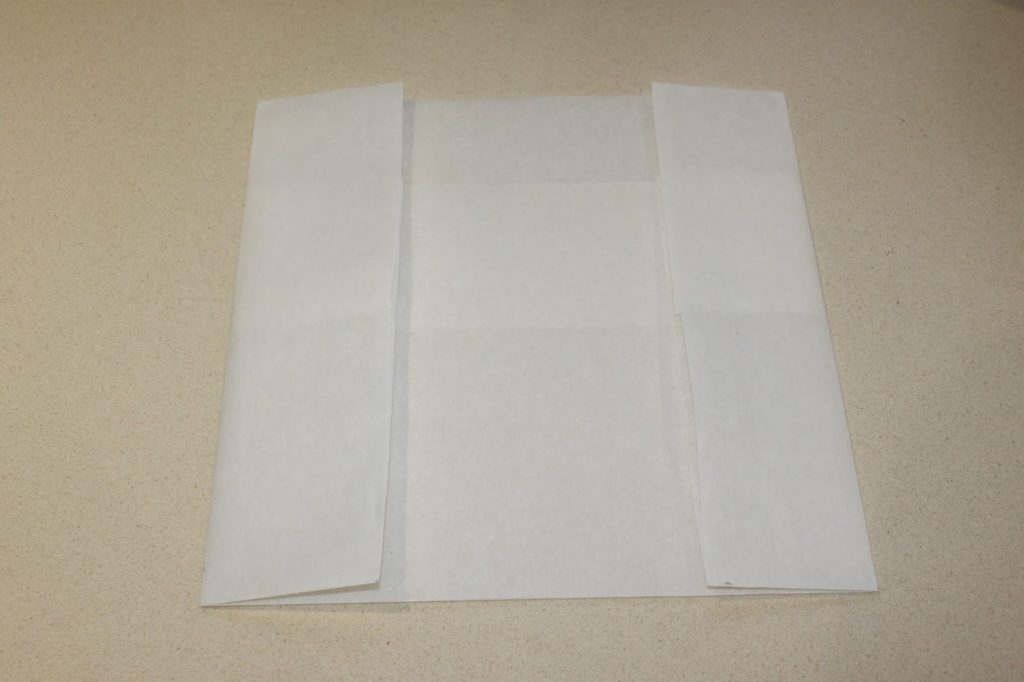
- Prenez une grande feuille de papier sulfurisé. Pliez la sur un bord. Mesurez 26cm en haut et en bas, puis pliez aux marques.
- Faites la même chose dans l’autre sens pour avoir une enveloppe carrée parfaite de 26cm de côté.
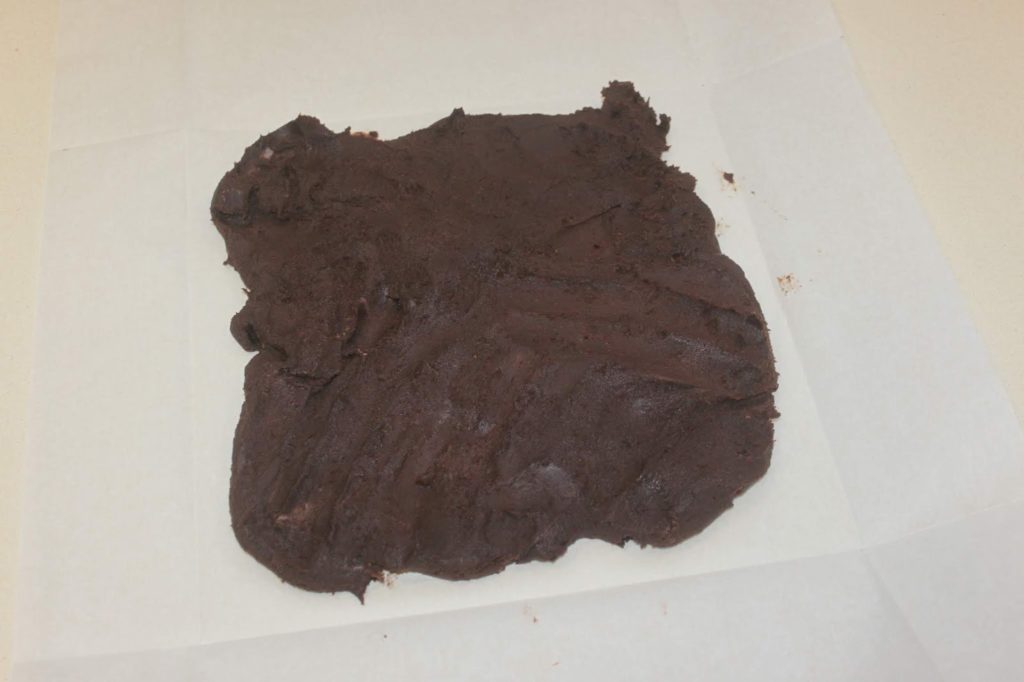
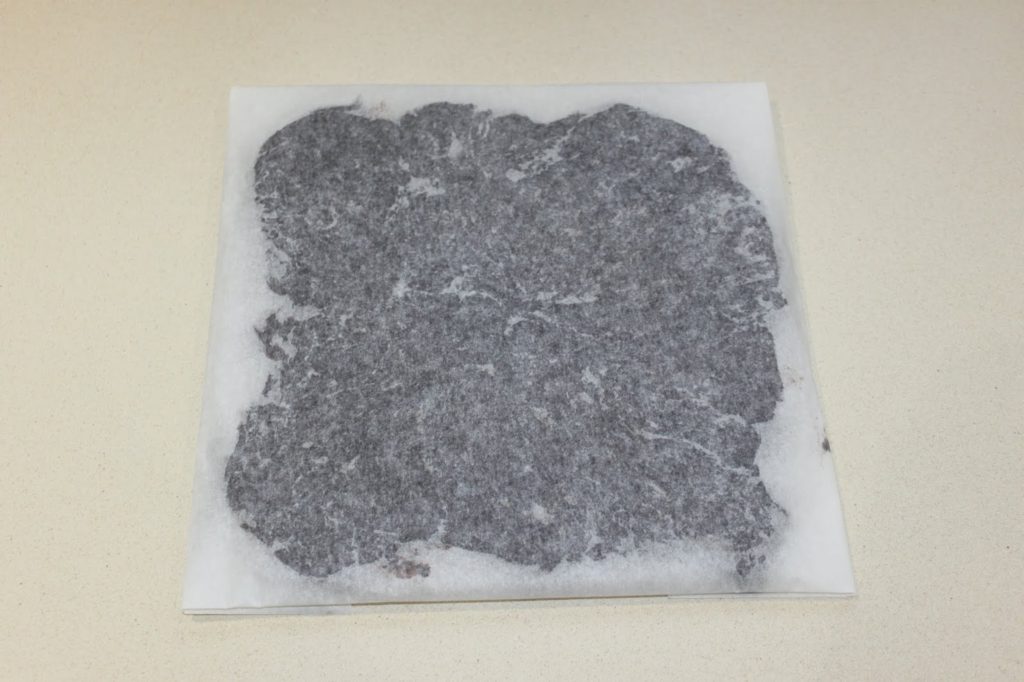
- Posez le beurre manié (on va l’appeler comme ça) et étalez-le à la main dans l’enveloppe ouverte, en l’aidant pour aller dans les coins.
- Refermez l’enveloppe et retournez-la.
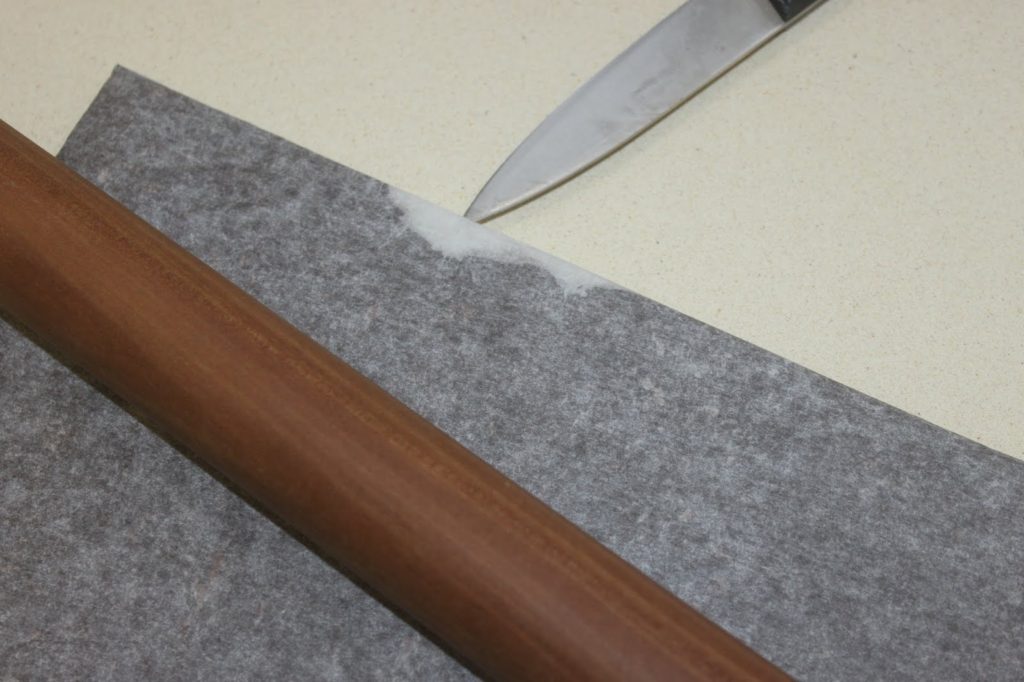
- Étalez au rouleau pour pour que la pâte ait une épaisseur homogène et aille dans les coins.
- Si la pâte bloque à cause d’une bulle d’air, percez-la avec la pointe d’un couteau.
- Puis étalez à nouveau doucement pour combler le trou.
- Prenez votre temps ! Plus cette enveloppe sera homogène en épaisseur et bien plate (sans bosse), plus la pâte feuilletée finale sera parfaite.
- Placez au frais pour une bonne heure puis ouvrez l’enveloppe délicatement. Si le beurre ets encore mou, remettez au frais.
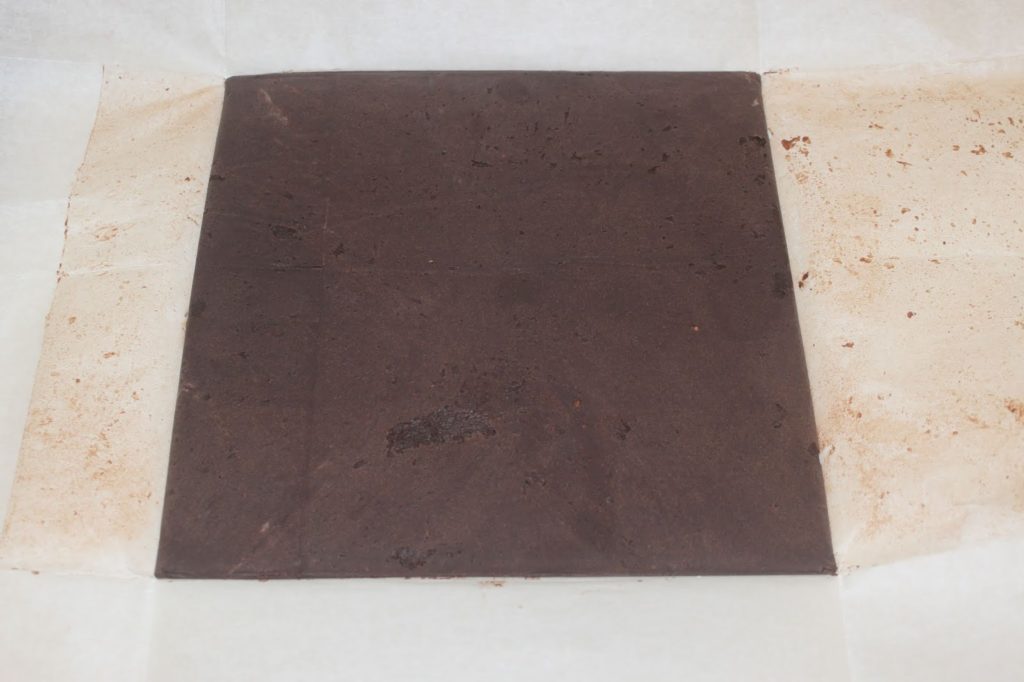
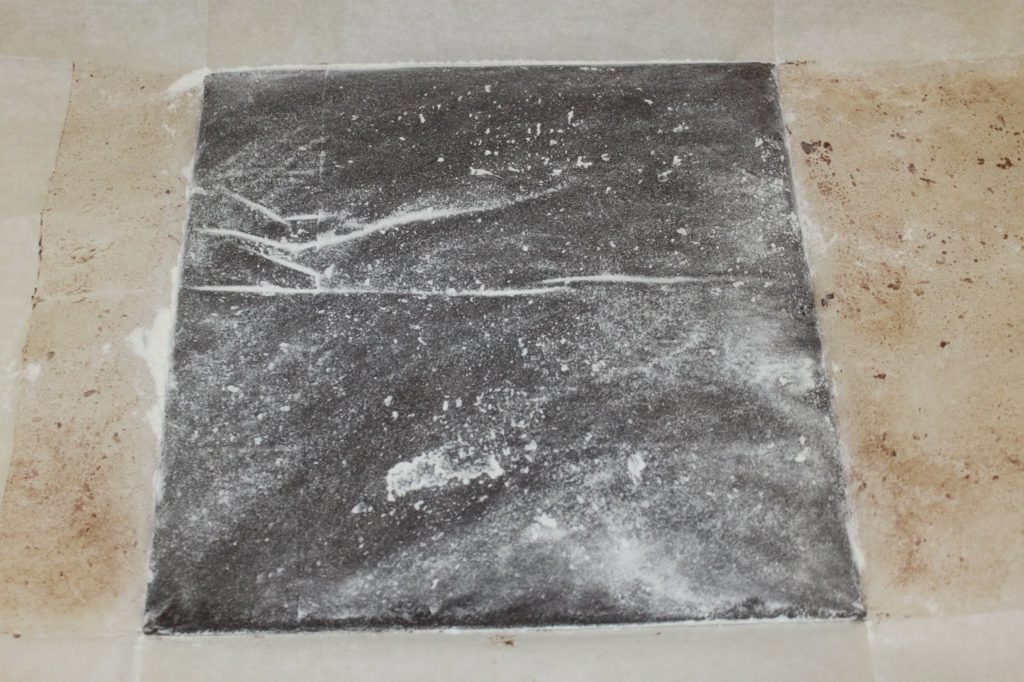
- Farinez le dessus du beurre.
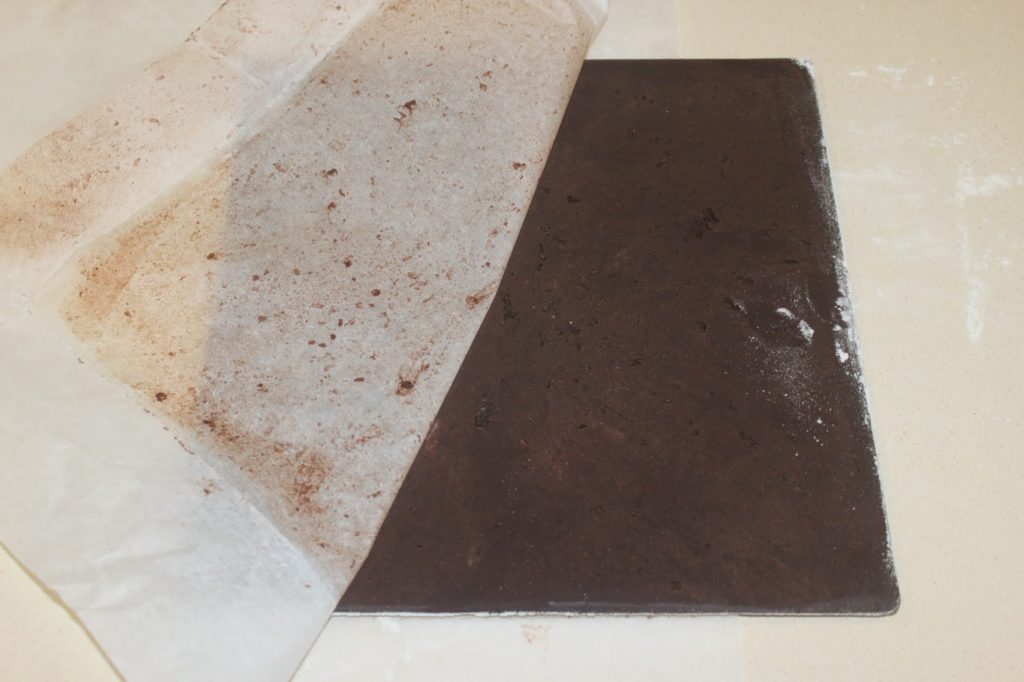
- Puis retournez le tout sur un plan de travail fariné et enlevez cette fois complètement le papier.
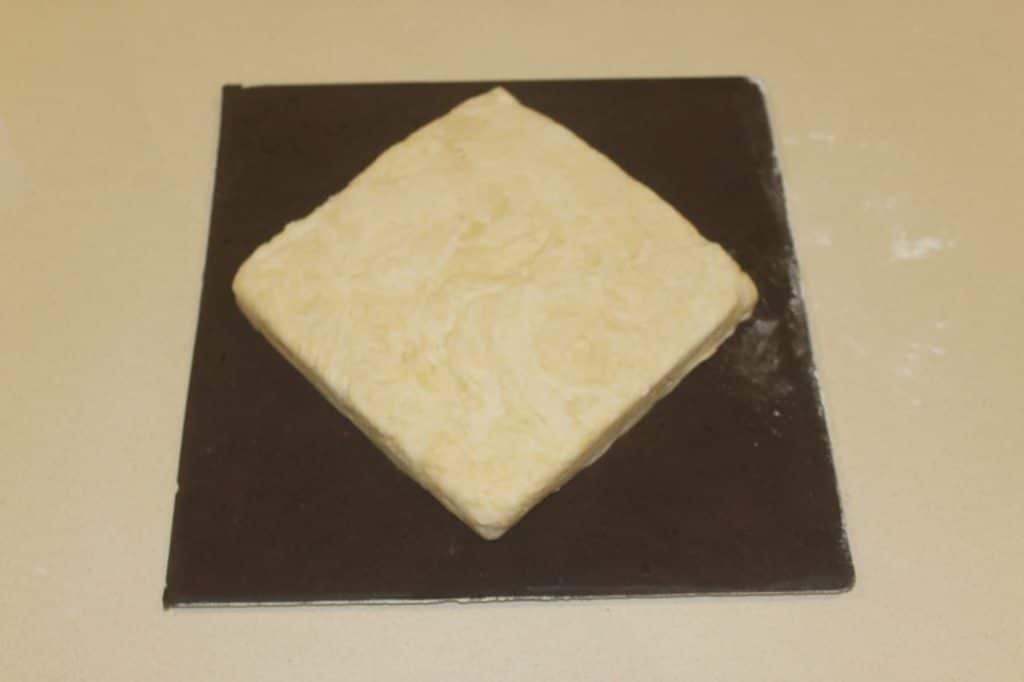
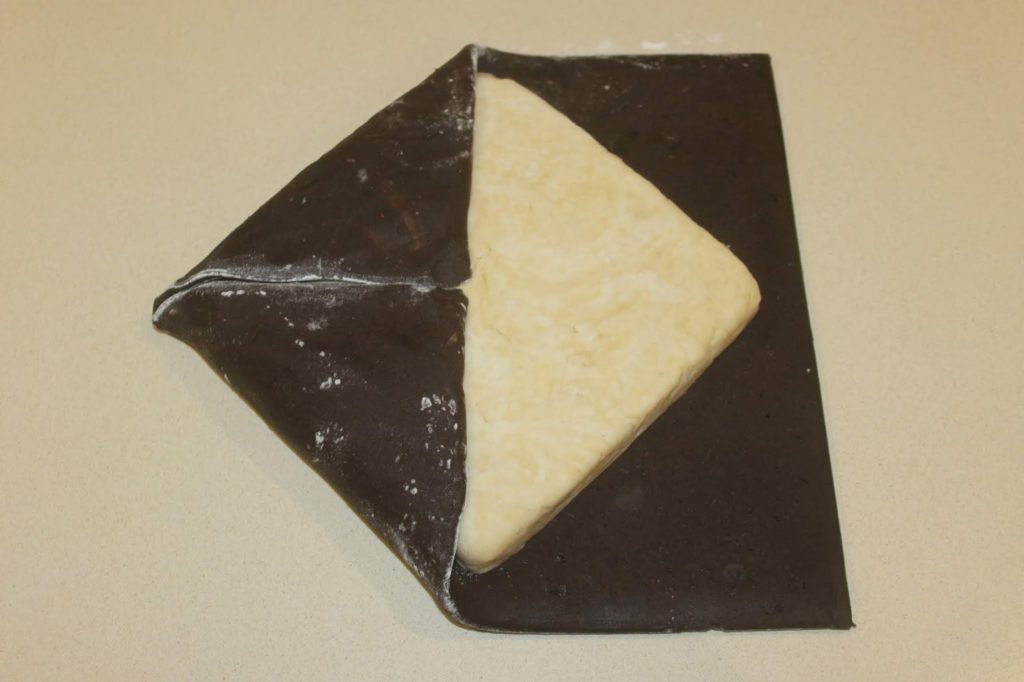
- Posez le carré de détrempe au centre.
- Refermez le beurre au cacao sur la détrempe. Normalement tout se rejoint pile-poil au centre.
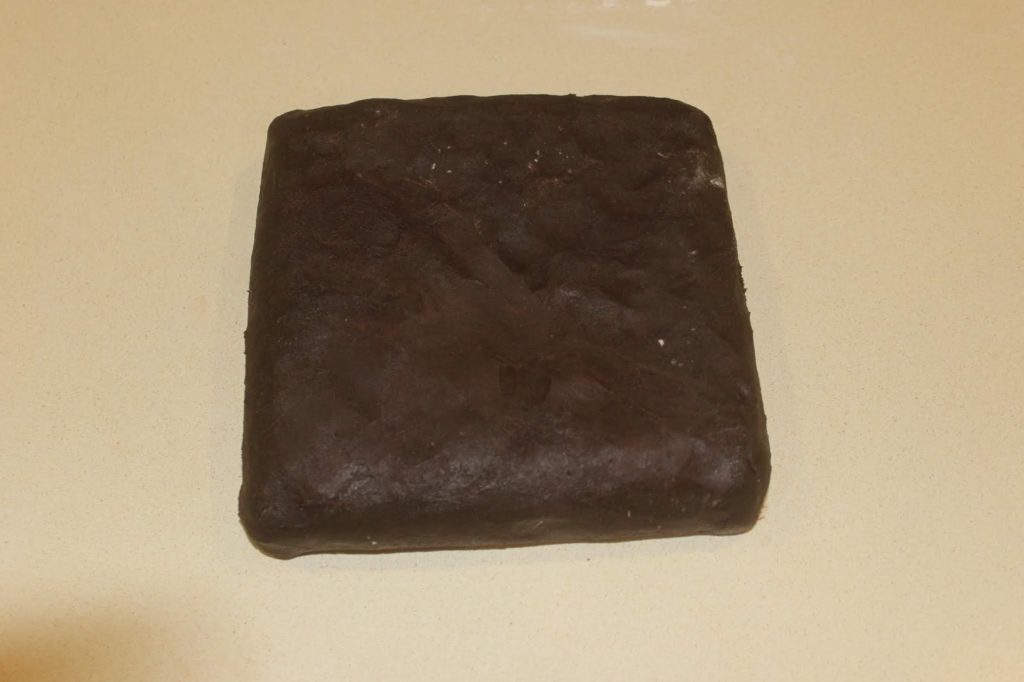
- Fermez bien les jointures. Le beurre au cacao est comme une pâte à modeler.
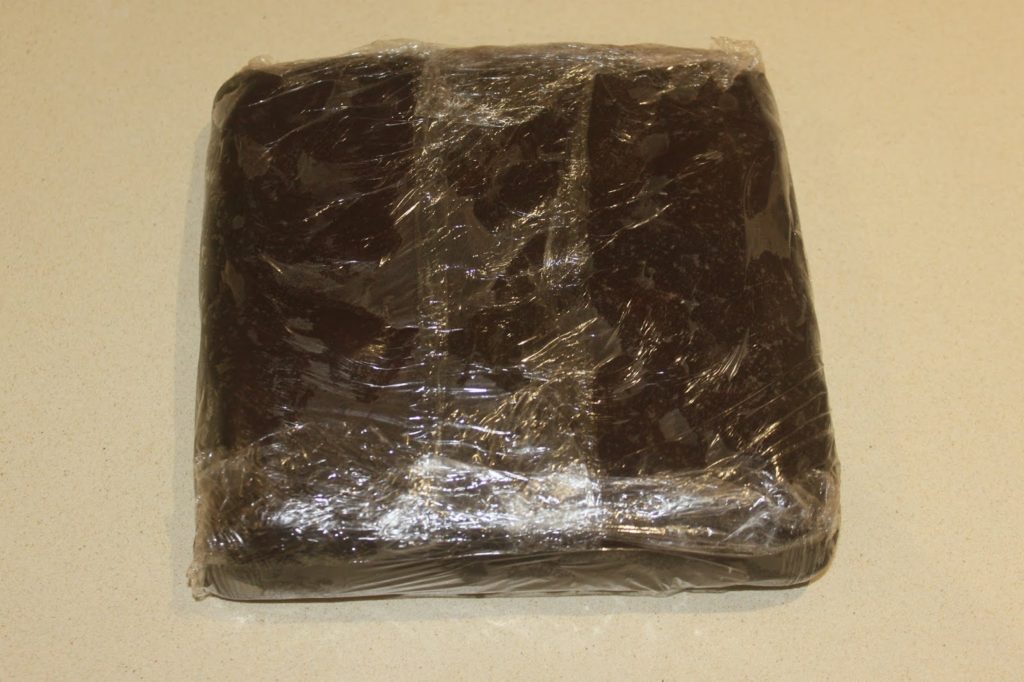
- Mettez le tout dans un film étirable et remettez la pâte au frais une heure.
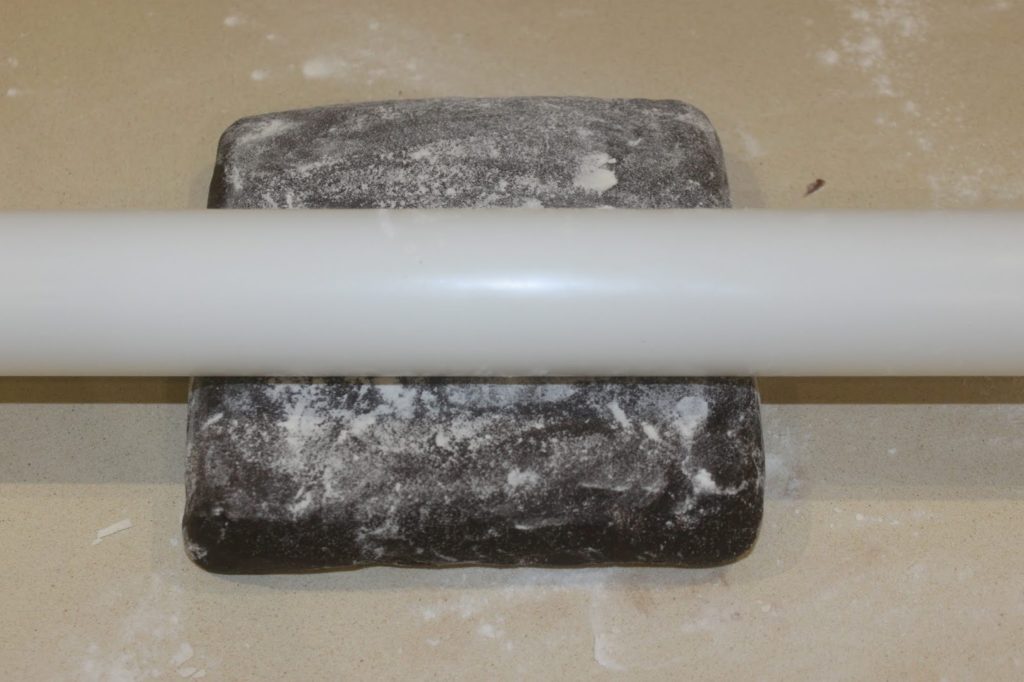
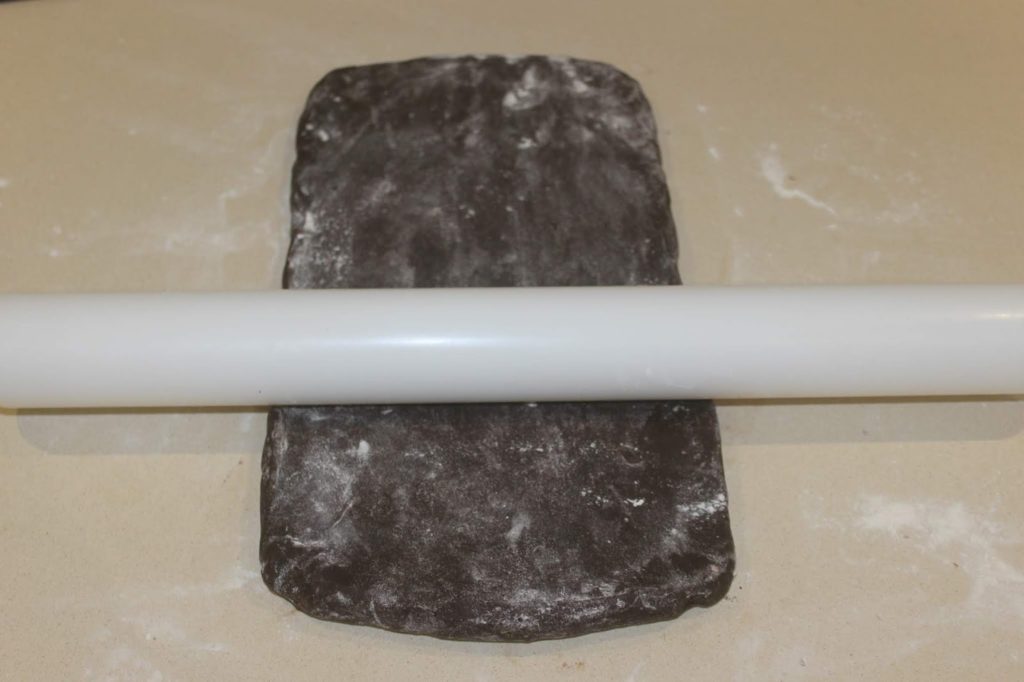
- Farinez de nouveau un peu la pâte et le plan de travail. Étalez la pâte au rouleau dans un seul sens, dans la longueur. On part d’un carré, donc peu importe le sens du départ. Mais une fois la position choisie, il ne faut pas la changer.
- Étalez doucement et uniformément. Si vous sentez que le tout est trop froid, laissez à température ambiante une dizaine de minutes. En étalant, le beurre au cacao à l’extérieur peut se briser comme une banquise. N’hésitez pas à le remodeler pour que la couche soit lisse. Essayez d’être le plus régulier possible, que les bords soient tous bien parallèles et que la couche ne fasse pas de bosse ou de vague.
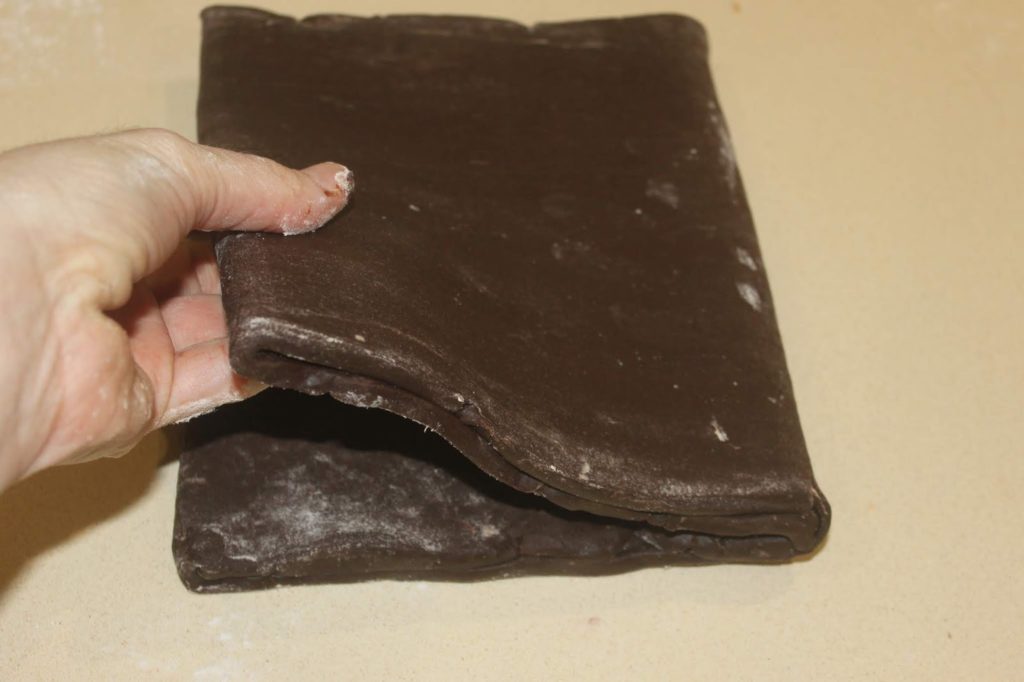
- Étalez en un rectangle 4 fois plus long que large. Rabattez la pâte sur un quart de la longueur, puis rabattez l’autre côté pour qu’il rejoigne le premier. On voit ci-dessous la jointure qui se trouve donc excentrée. On voit aussi que les bords sont bien superposés.
- Pliez le tout en deux, vous avez fait un premier tour double.
- Mettez la pâte sous film étirable au frais 50 minutes. Tournez de 90° puis étalez de la même façon en un rectangle 4 fois plus long que large. Puis refaites un tour double. Au frais 50 minutes, 90° puis étalez cette fois en rectangle 3 fois plus long que large. Coupez légèrement au besoin les extrémités pour avoir un bord bien net puis pliez la pâte en 3. On voit ci-dessous un premier pli, le côté droit va ensuite se rabattre sur le côté gauche, faisant ainsi un tour simple.
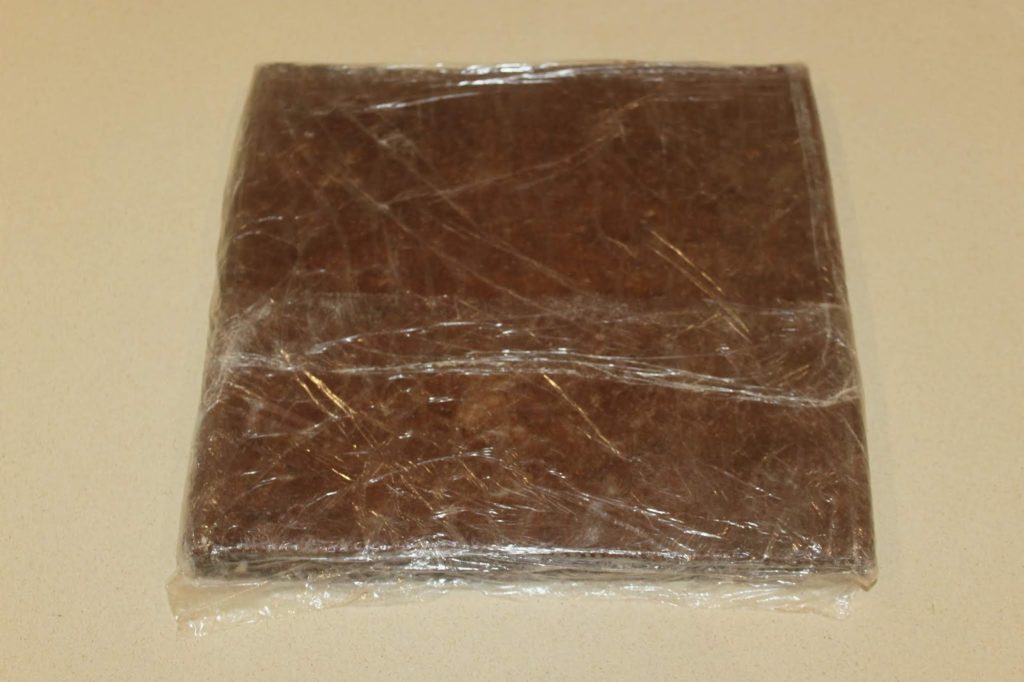
- La pâte est terminée et prête à l’emploi !! Filmez-la cette fois parfaitement.
- Le mieux (quand on peut !) est de la mettre dans un paquet sous vide. Cela va la rendre parfaite. Elle se congèlera très bien car elle ne prendra aucune odeur. Si vous la mettez sous film au congélateur, je conseille de la couper en 4 morceaux, de les filmez et de les mettre dans une boite hermétique.
- Il ne reste plus qu’à l’employer. Et pour cela, les recettes vont vite venir sur mon blog de cuisine !
Nutrition
Recipe for CACAO INVERTED LEAF PASTE :
Distemper :
- 350g of flour
- 8g of salt
- 110g of melted butter with a minimum of 82% fat content
- 150g of water
- 1 teaspoon of white vinegar
Cocoa butter: (it’s not technically a handled butter, but it’s easier to call it that!)
- 390g of butter 82/% minimum fat content at room temperature
- 150g flour
- 95g unsweetened cocoa powder
Instructions:
For this recipe, there is no need to bother with puff pastry butter. This works very well with a commercial butter. You just have to check that it is at least 82% fat. The Charentes-Poitou PDO butter is generally so. Just look at the lipid composition!
Put all the ingredients for the tempera in the bowl of your food processor fitted with the sheet.
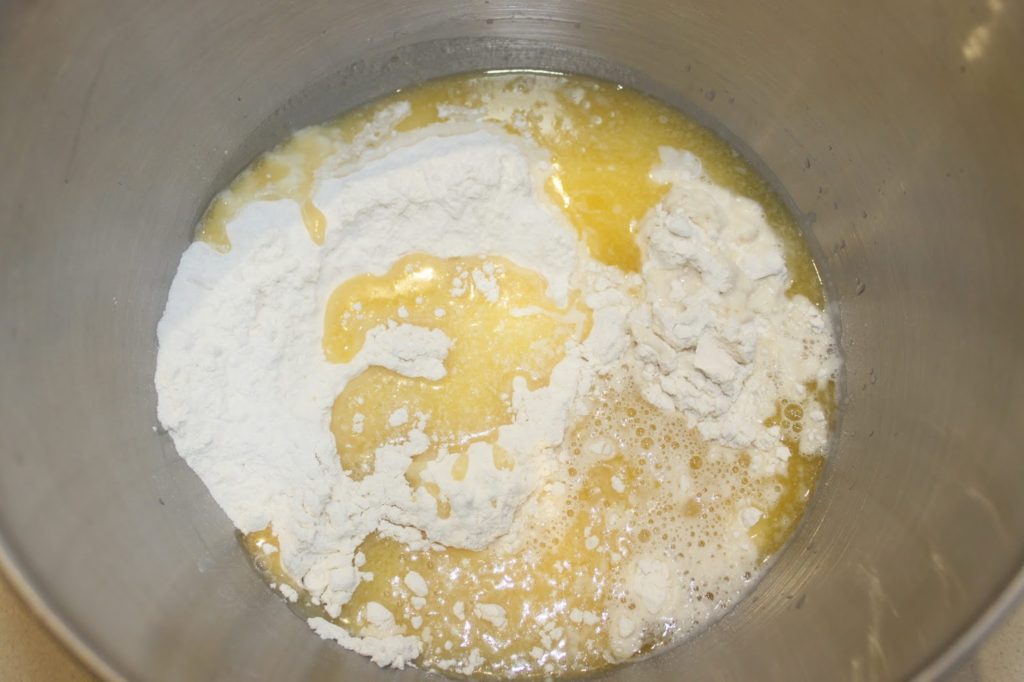

Stir for 20 seconds, just until it all comes together, without insisting.
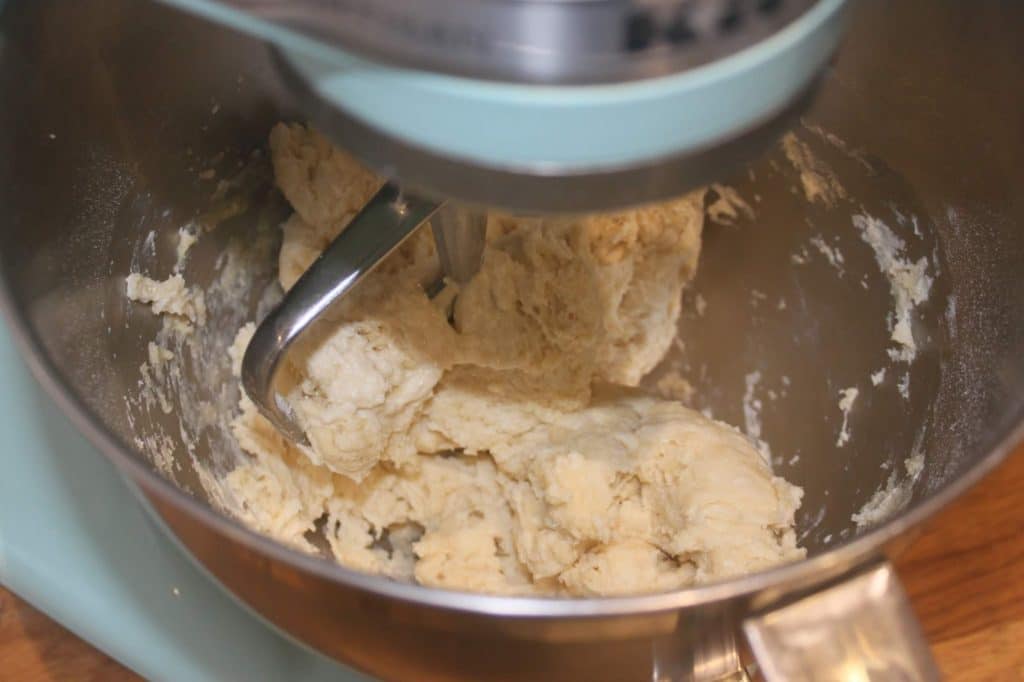
Do not mix the dough any more. Just a little bit if it has a really bad mixed place.

Take a 16cm square frame. Place it on a baking sheet lined with parchment paper. Put a sheet of cling film in one direction, and another in the other direction.
Close the cling film to cover the dough. Put the plate in a cool place for at least 2 hours.

In the same bowl (without cleaning it) place the flour, cocoa and soft butter.
Mix until you have a kind of homogeneous paste.
This time you can mix by insisting. There should not be any unmixed butter packets. Scrape the bottom of the tank as needed.
Take a large sheet of parchment paper. Fold it on one edge. Measure 26cm at the top and bottom, then fold at the marks.

Do the same thing the other way around to get a perfect 26cm square envelope.
Lay the handled butter (we’ll call it that) and spread it by hand in the open envelope, helping it to get into the corners.
Close the envelope and turn it over.
Roll out with a rolling pin so that the dough has an even thickness and goes into the corners.

If the dough gets stuck because of an air bubble, pierce it with the tip of a knife.
Then gently spread again to fill the hole.
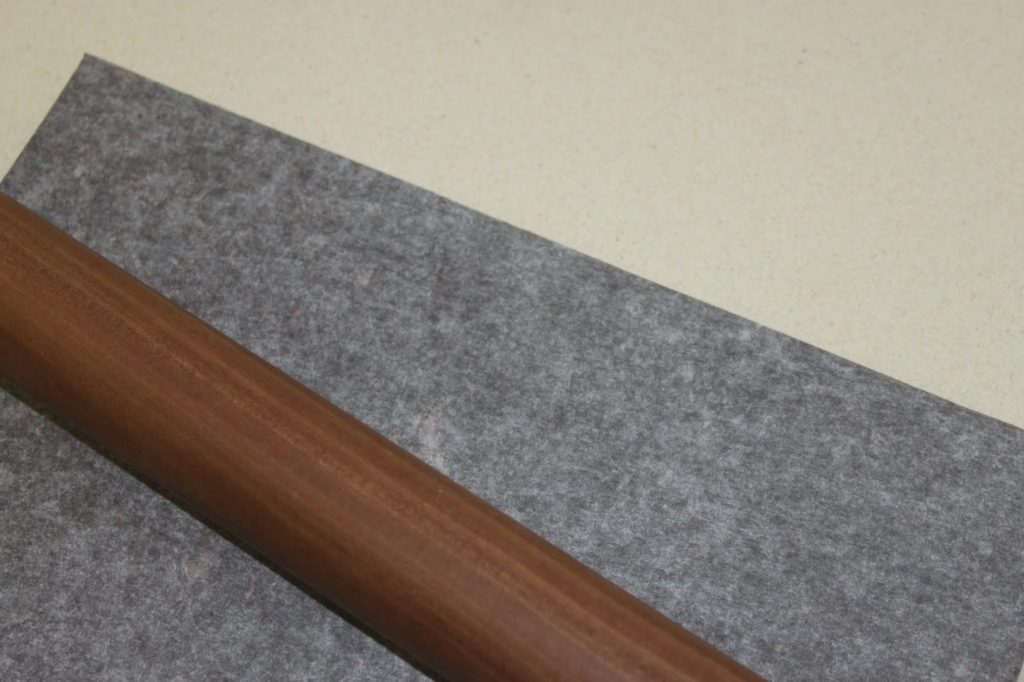
Take your time! The more evenly this envelope is spread out and the flatter it is (without any lumps), the better the final puff pastry will be.
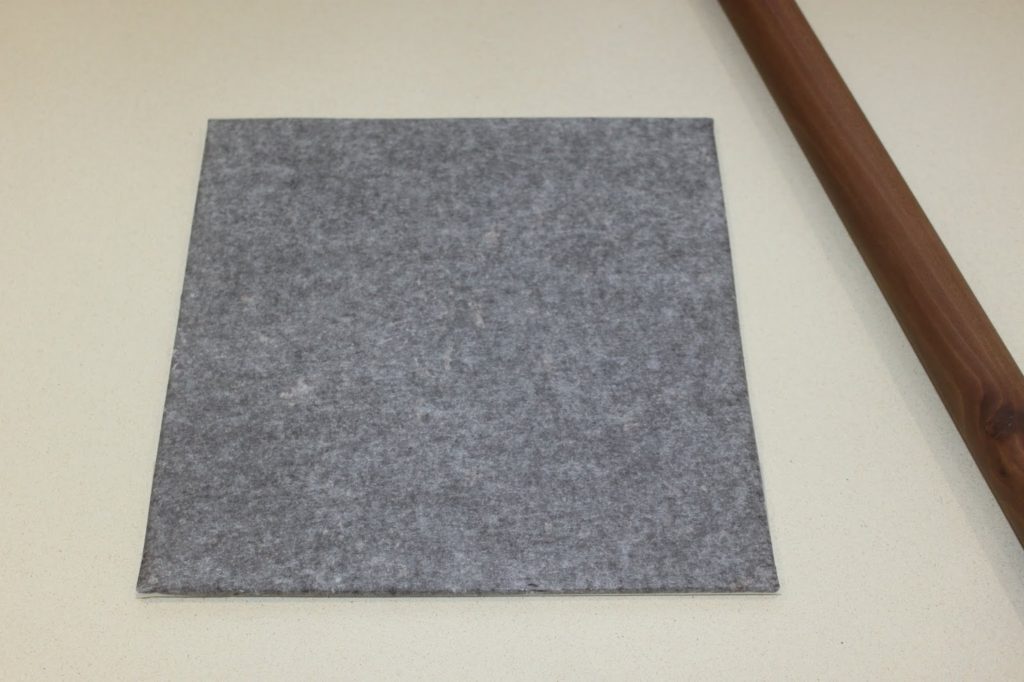
Place in a cool place for a good hour and then gently open the envelope. If the butter is still soft, put it back in the fridge.
Flour the top of the butter.
Then turn it out onto a floured work surface and remove the paper completely.
Place the distemper square in the center.
Close the cocoa butter on the distemper. Normally everything meets right in the center.
Wrap in cling film and chill for one hour.

Fold it in half, you have made a first double turn.


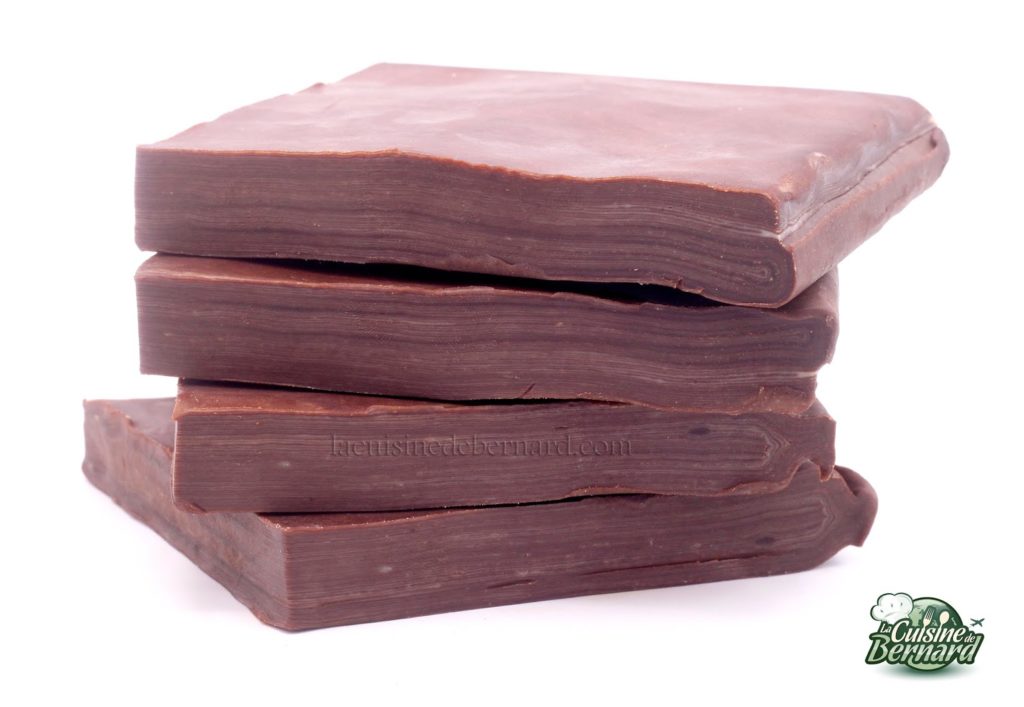
On attend avec impatience les recettes. Je suis tres curieux de voir ce que vous realiserez avec cette pate feuilletee inversee au cacao