
Here is a naturally vegan and gluten-free recipe. I like to offer this kind of choice from time to time, especially when the result is so delicious. I put “flapjacks” because these bars are very close, but the consistency is very reminiscent of a big, chewy cookie. My friends and I enjoyed it and I must admit that I didn’t expect it to be this good! To be tested urgently…
Recipe for a 31x10cm cake pan (I took the Kitchenaid cake pan):
- 30g melted deodorized coconut oil
- 45g unsweetened peanut butter (peanut puree)
- 95g of maple syrup
- 40g of brown vergeoise
- 1 teaspoon of liquid vanilla
- 120g of oatmeal
- 40g of powdered oats in a blender
- 80g of nuts
- 80g of dark chocolate
Instructions:
Pour the melted coconut oil, peanut butter, maple syrup, vergeoise and vanilla into a container.

Add the whole flakes and the ground flakes.

Also add the chopped nuts.

Mix well and add the chocolate pieces. I had some large Cacao Barry nuggets left over, but a bar cut into large pieces (80g) will do just fine.

One last mix and you’re done!

Pour into a 31X10cm pan lined with parchment paper. Or in a 17cm square pan.

Bake in a preheated oven at 175°C in rotating heat for 18-20 minutes.

Let cool completely before cutting into pieces.

You can keep them for a long time in an airtight box!

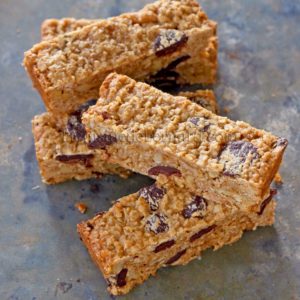
Vegan Flapjacks, chocolate nuts and peanut butter
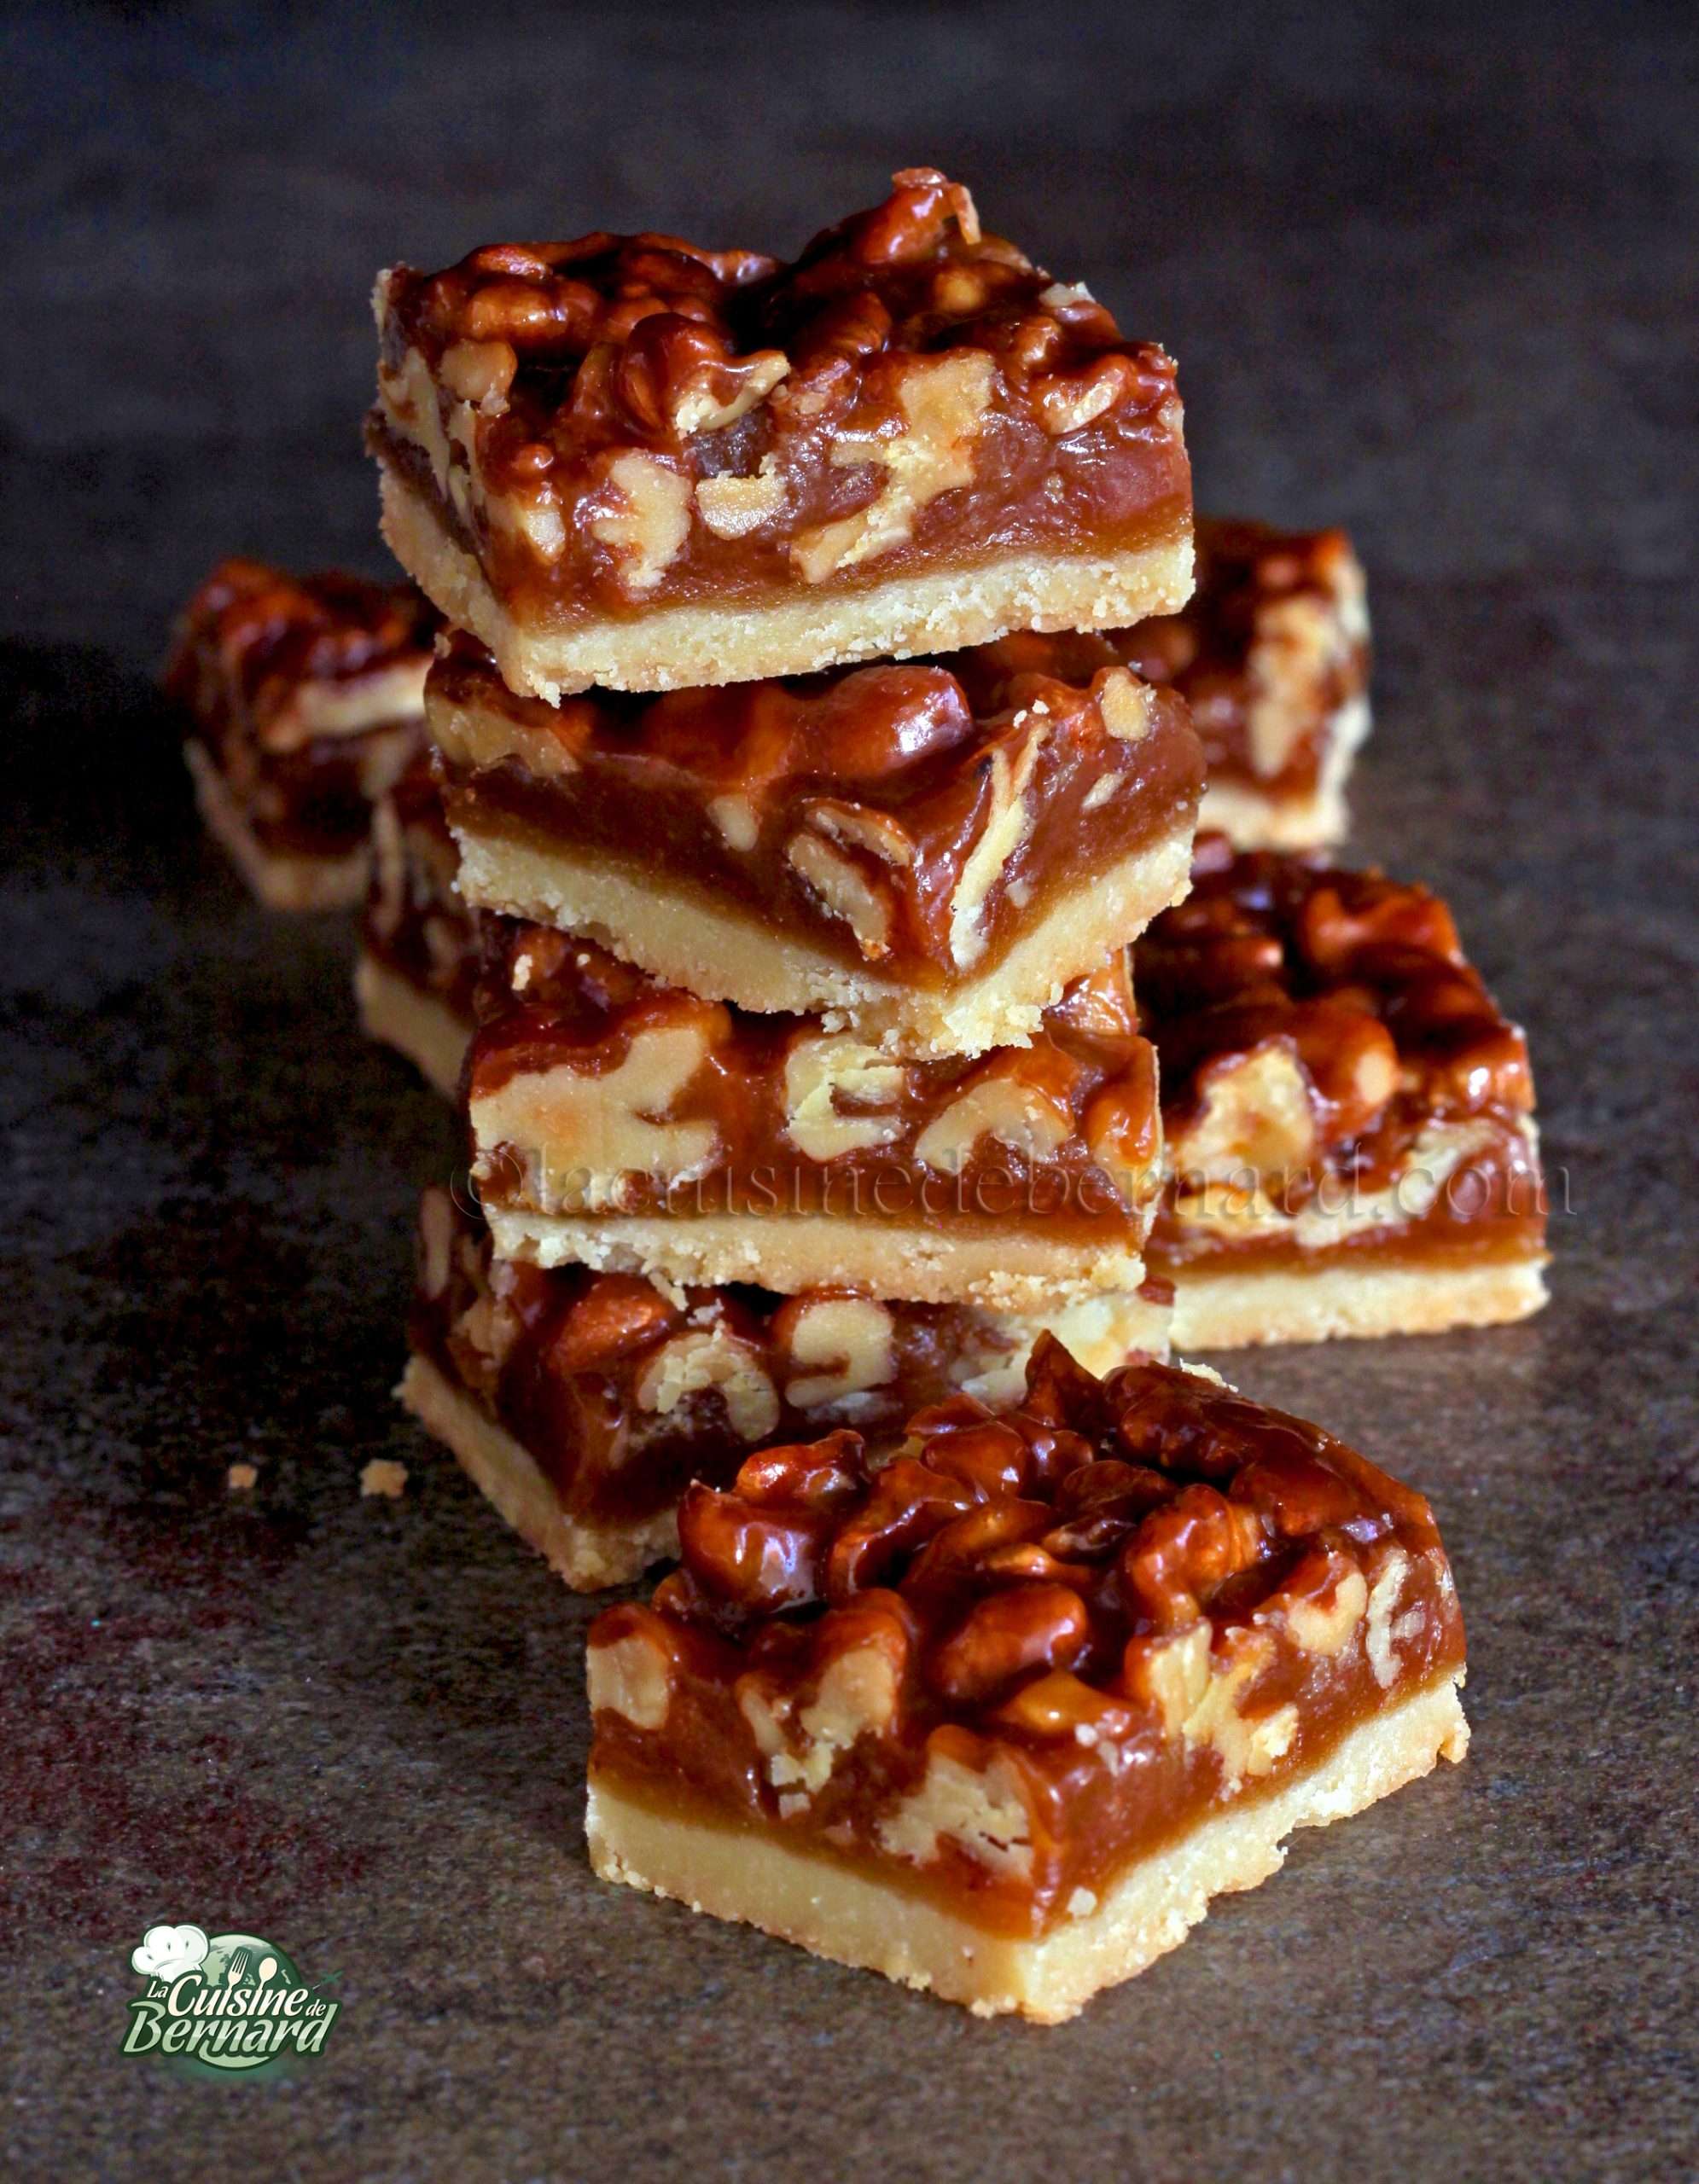
Fall is here with its share of comforting delights. I love nuts, and while I’ve probably come up with recipes mixing honey and nuts on my blog, I always enjoy looking for new textures. Here, the dough resembles a shorbread, topped with a honey and semi-salted butter caramel, richly garnished with nuts. The texture is fantastic and these squares are very addictive! To be eaten in small portions…
Recette pour un moule carré de 20cm de côté
Dough:
- 155g of flour
- 60g icing sugar
- 135g of semi-salted butter
For the “caramel”:
- 100g of semi-salted butter
- 125g of brown vergeoise
- 200g of honey
- 70g of cream
- 1 teaspoon liquid vanilla extract
- 180g of nuts
The instructions
Start by preparing the dough. Put the ingredients in the bowl of your food processor or in a container.

Mix with the sheet or with your fingertips until you have a homogeneous paste.


Line your baking pan with parchment paper. Roll out the dough to about the size of the pan.

Place the dough in the pan and trim off the excess (there’s almost none!). Make sure the dough is even in thickness and goes well into the corners of the pan.

Bake in a preheated oven at 175°C on revolving heat for 25 minutes. The dough will brown slightly.

For the “caramel”, pour the butter, brown vergeoise and honey into a saucepan. I put caramel in quotes, because it’s not a caramel per se. We will not go very high in temperature, not enough to have a true caramelization in the pan.

Bring to a boil, stirring occasionally. Boil over moderate heat for 5 minutes.

Turn off the heat and add the cream.

Then the nuts and liquid vanilla. Mix carefully.


Pour the entire amount into the pan over the batter.

Bake again for 25 minutes, still at 175°C. The top is covered with bubbles.

Which will then disappear as it cools.

Let sit overnight, or at least 4-5 hours to allow it to set to the right texture.

Cut into small pieces and enjoy!
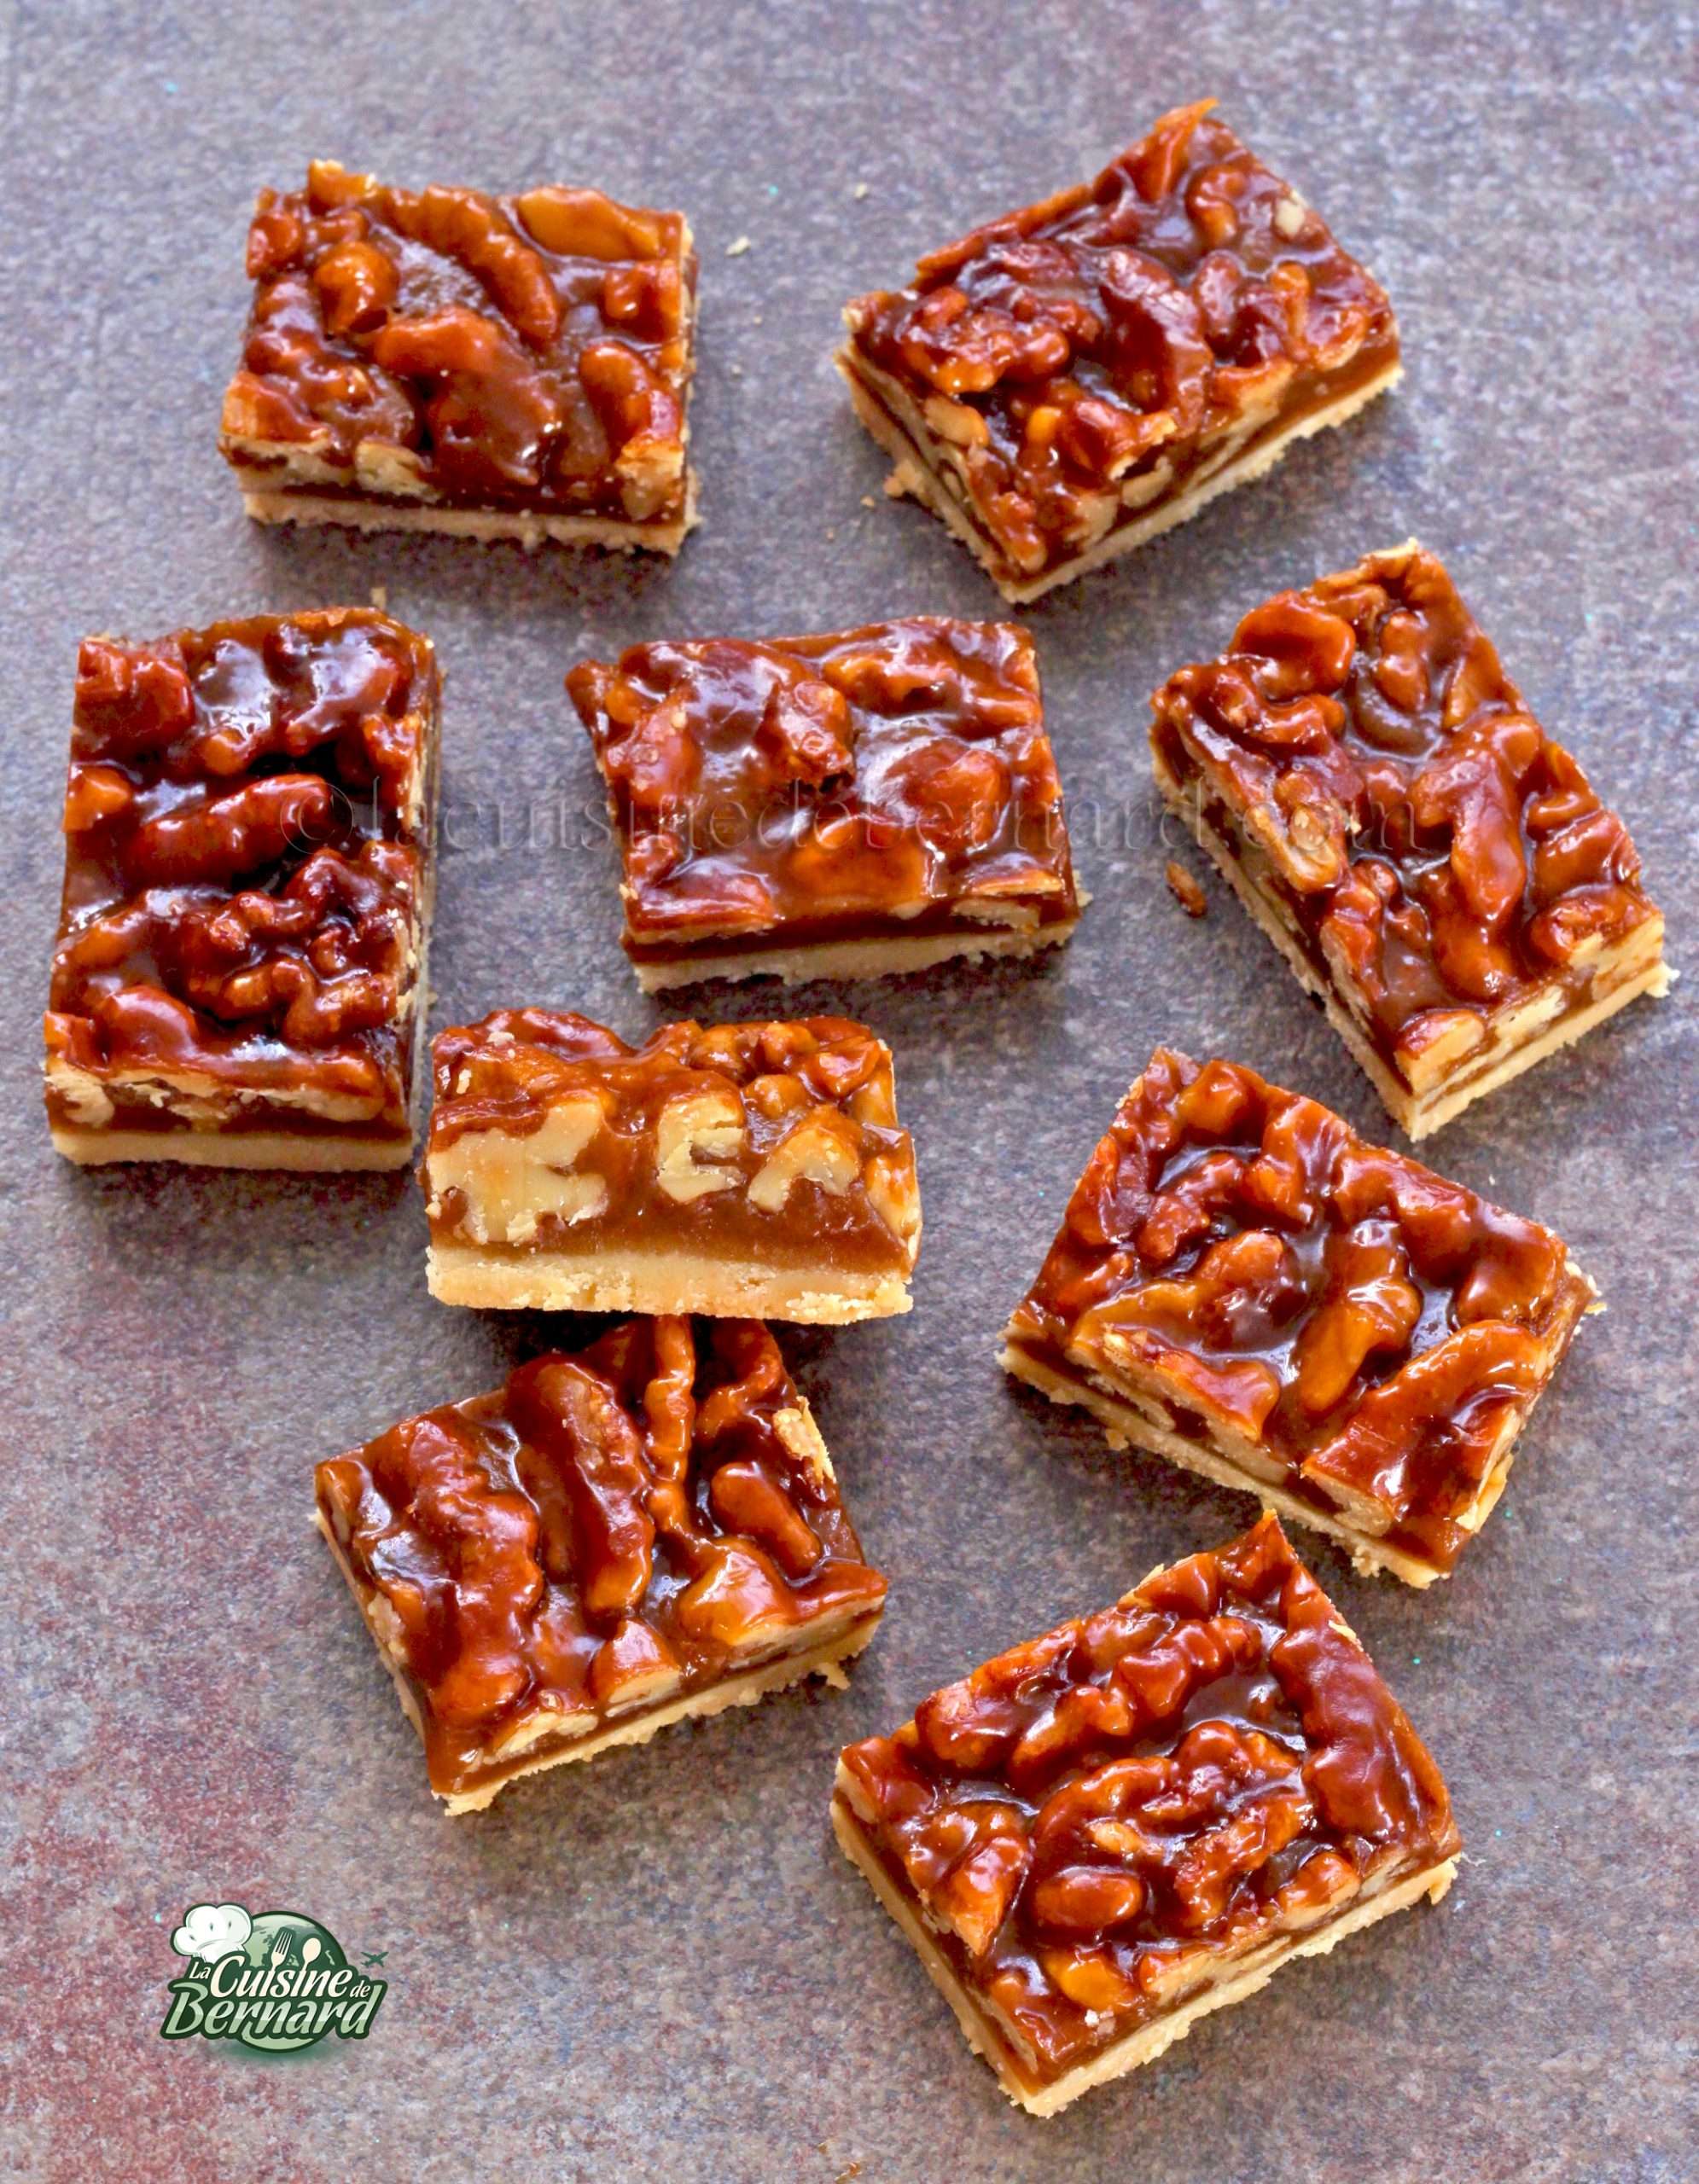
Mélangez avec la feuille ou du bout des doigts jusqu’à avoir une pâte homogène.

Honey-nut squares
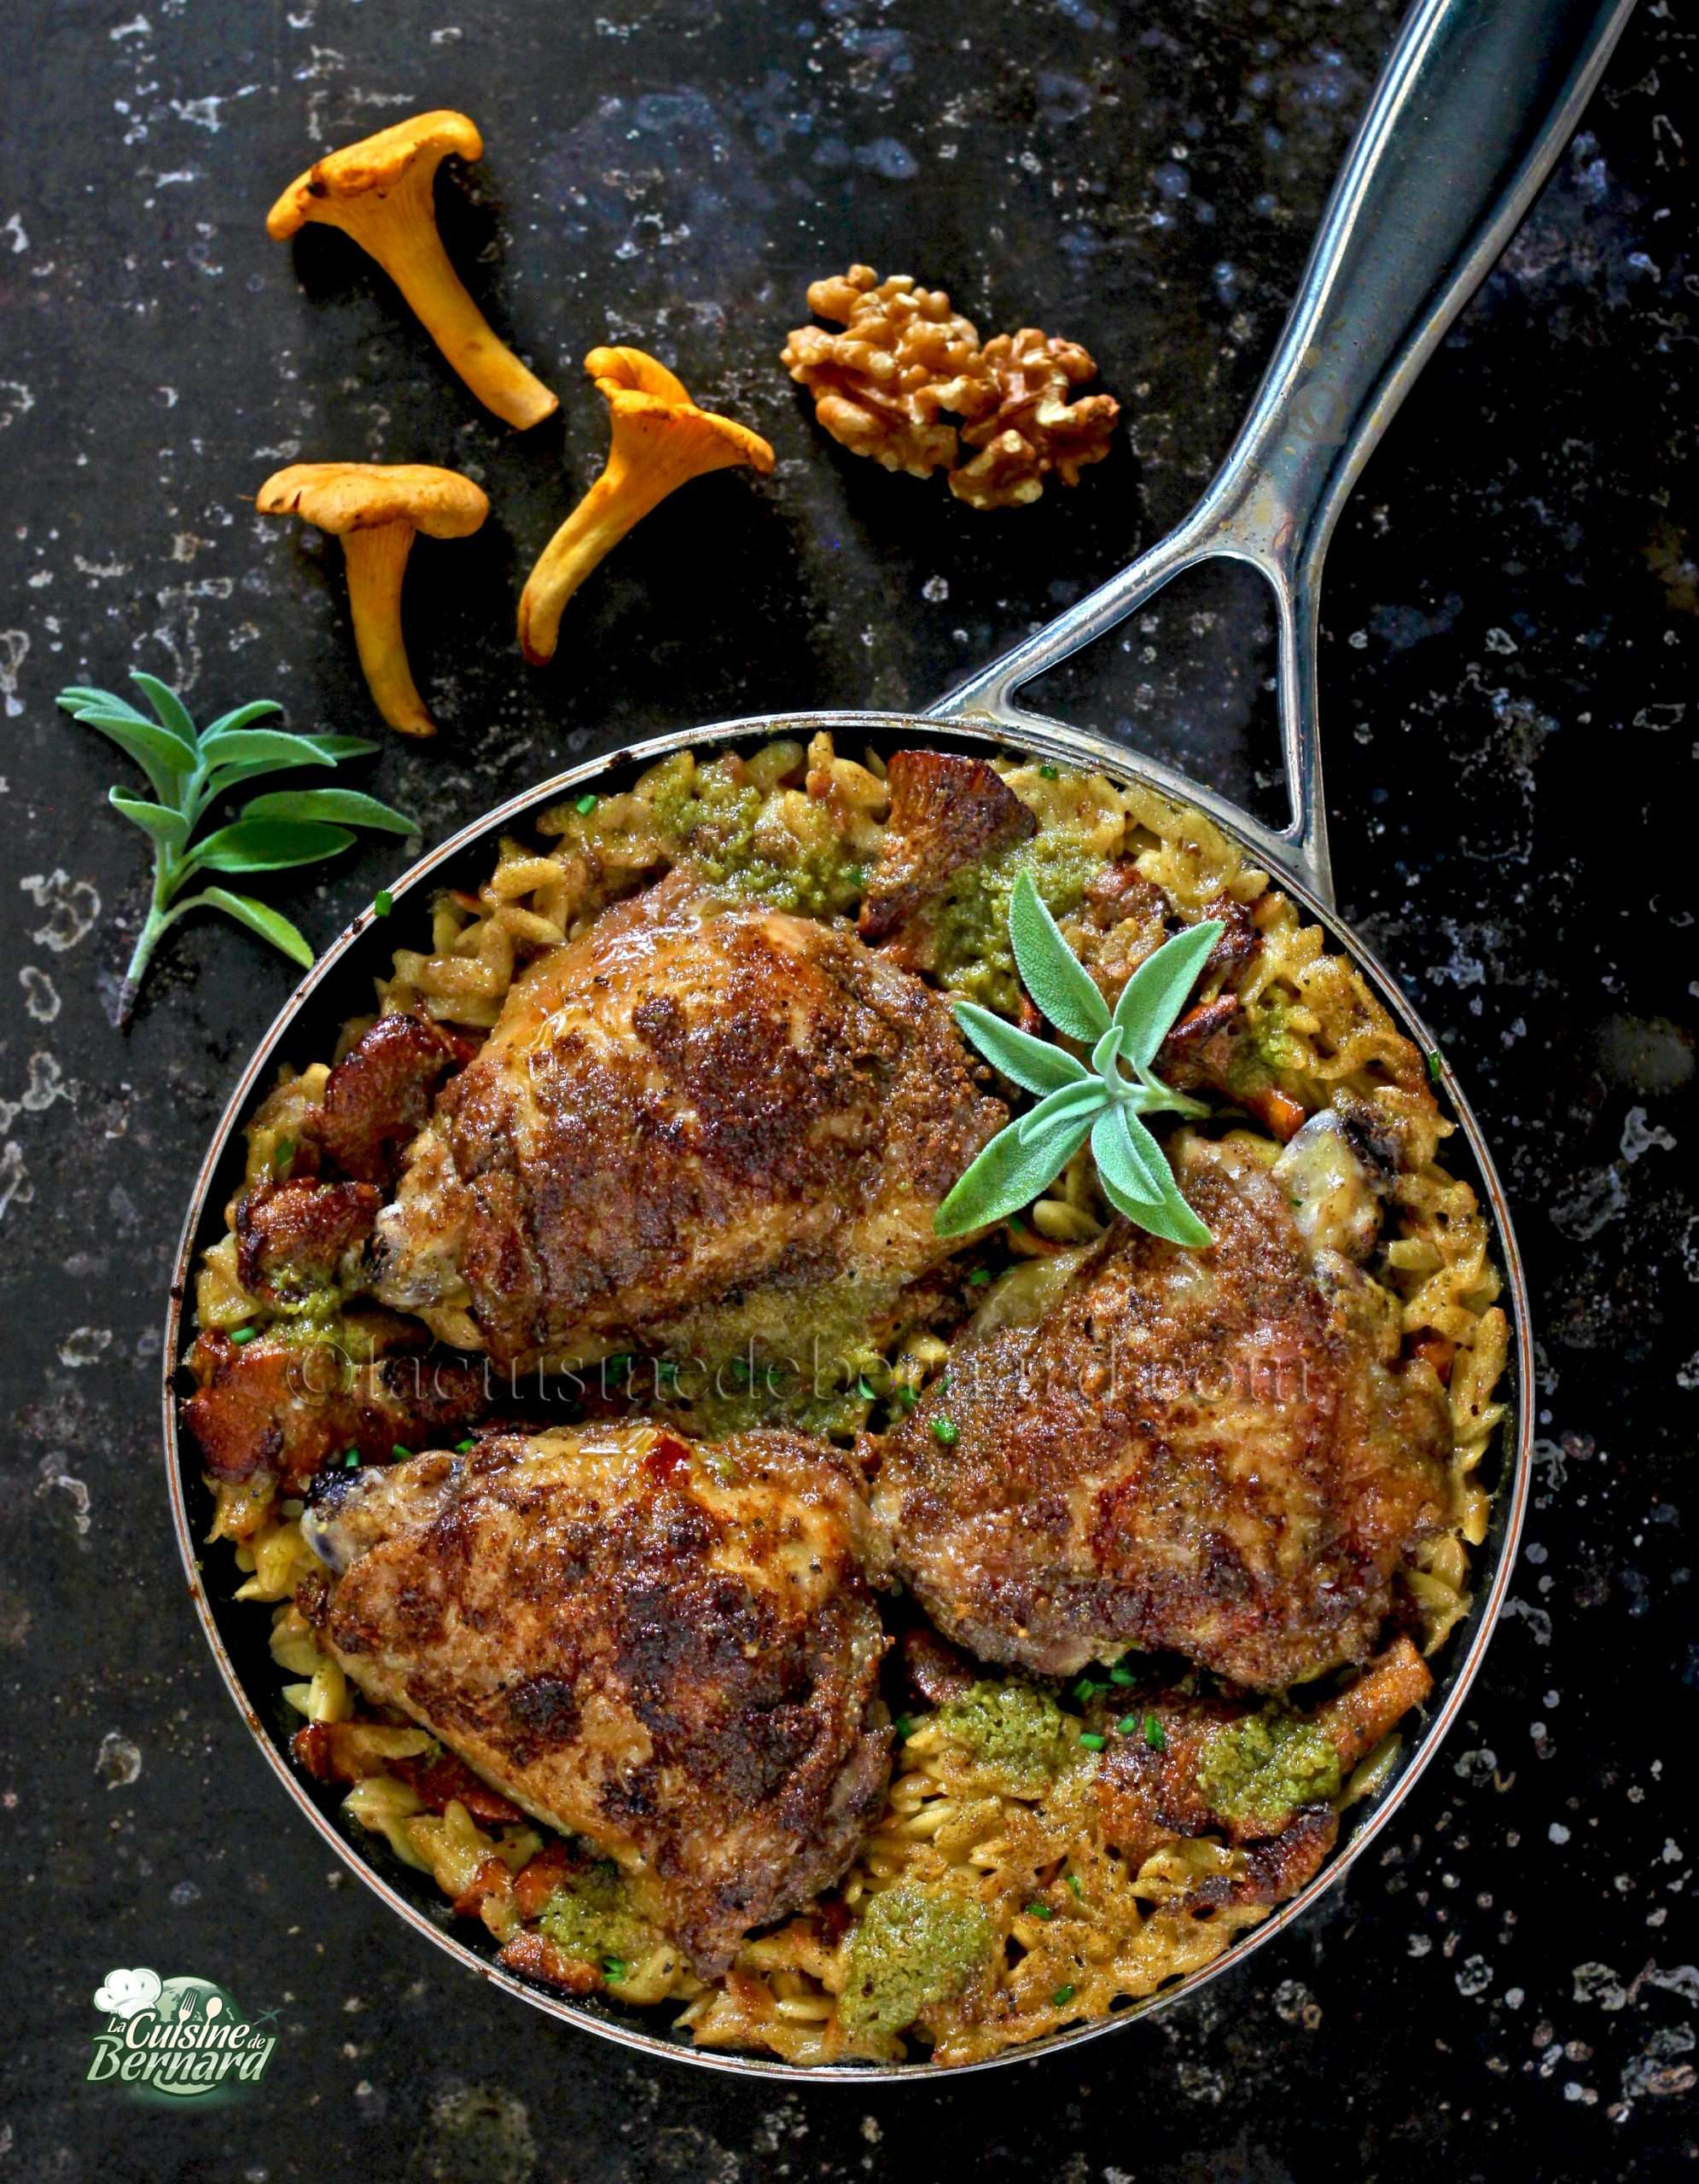
Olav offered me a nice partnership for a recipe with their pots and pans that you can find HERE. I’ve been looking for a way to offer you a recipe, where everything is done in the pan I received. So I give you this dish that I particularly like, especially during the fall, my favorite season! Everything is done in a frying pan, first on the fire, then in the oven and it is ready in 45 minutes. The walnut sage pesto is a pure delight, and mixes perfectly with orzo pasta, prepared with chanterelles. You can of course change the mushrooms! Feel free to visit www.olav.fr
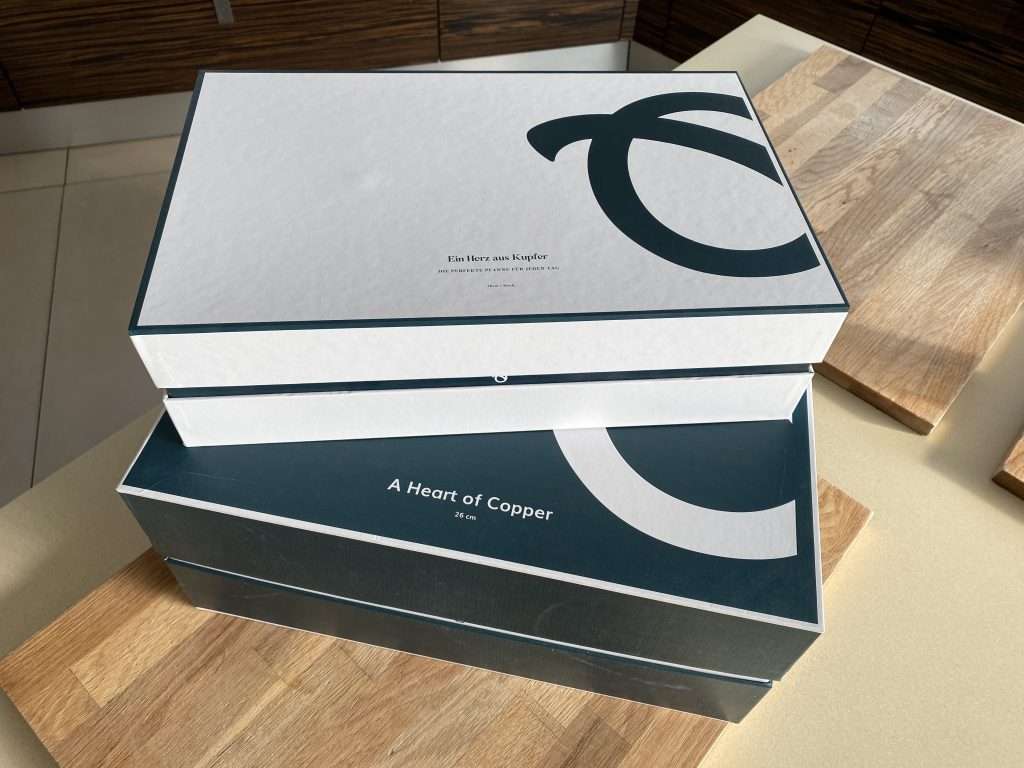
Here are the boxes I received. The packaging is really perfect to make a nice gift. Olav is a German start-up. All pots and pans have a copper core, and they offer their own coating service.
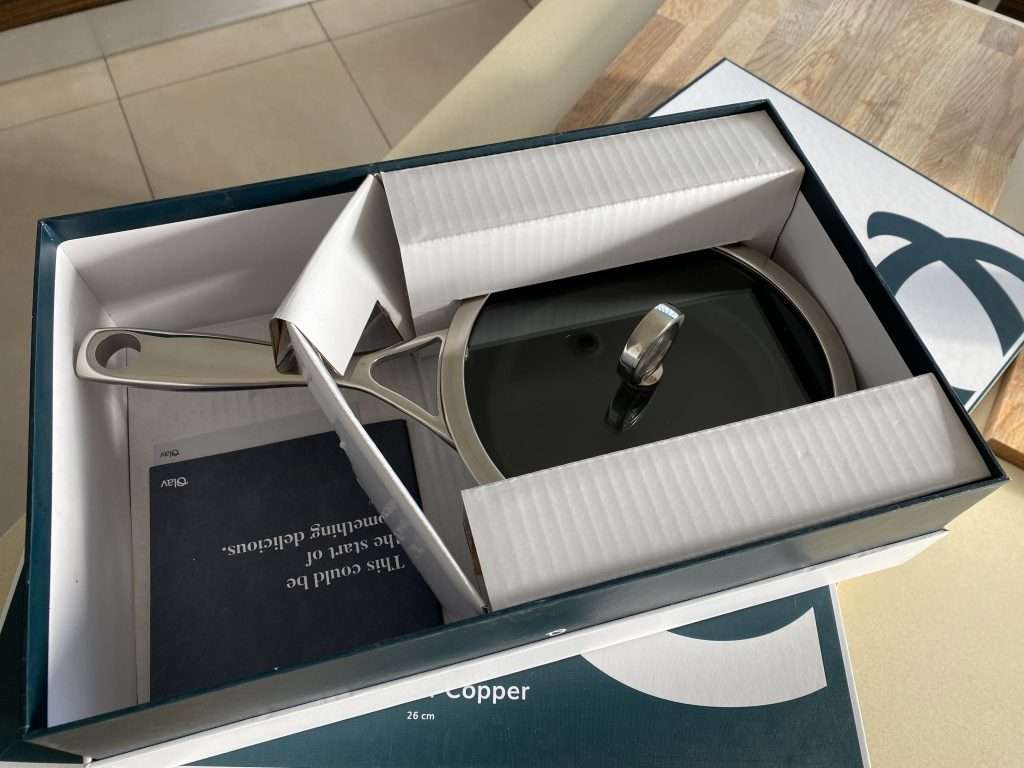
I received a nice 20cm diameter pan and a 28cm pan. We really feel that the quality is there.
They can be used on all types of fires, as well as in the oven!
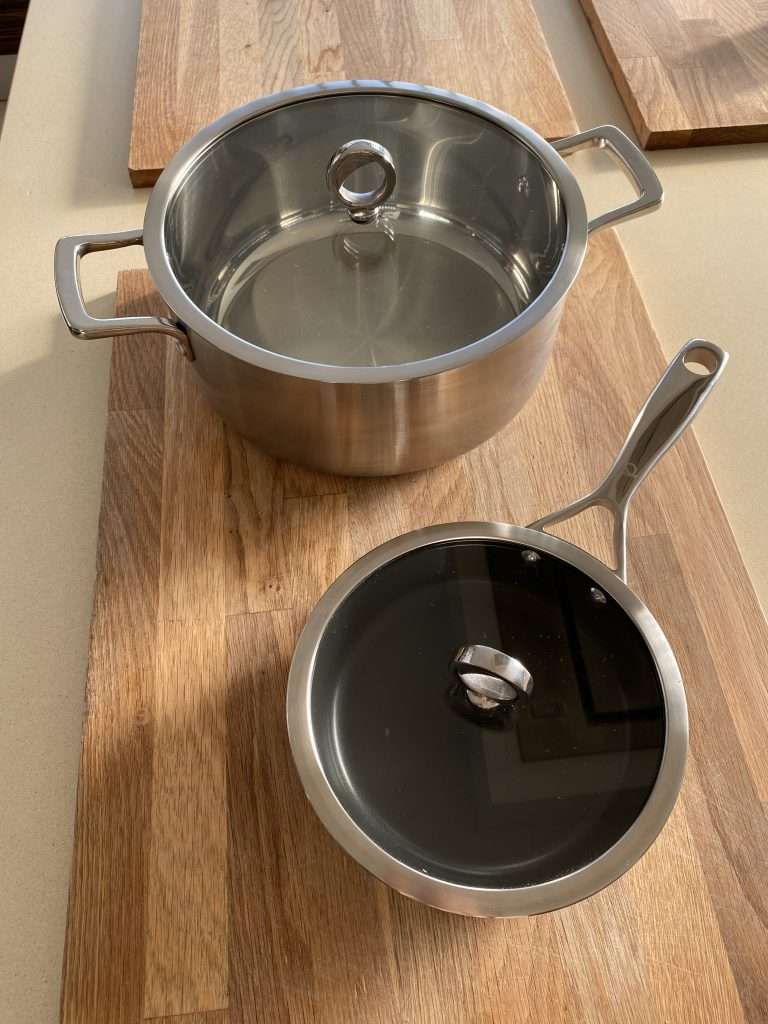
For 4 people, in the 20cm pan (it’s not big, but everything fits!):
For the parsley sage walnut pesto:
- 1 clove of garlic
- 30g of sage
- 20g of parsley
- 50g of nuts
- 75g of olive oil
- 40g of parmesan or pecorino cheese
For pasta and chicken:
- 4 chicken thighs
- 100g of chanterelles
- 250g of orzo pasta
- 400ml of chicken broth
- salt pepper
First, prepare the pesto.
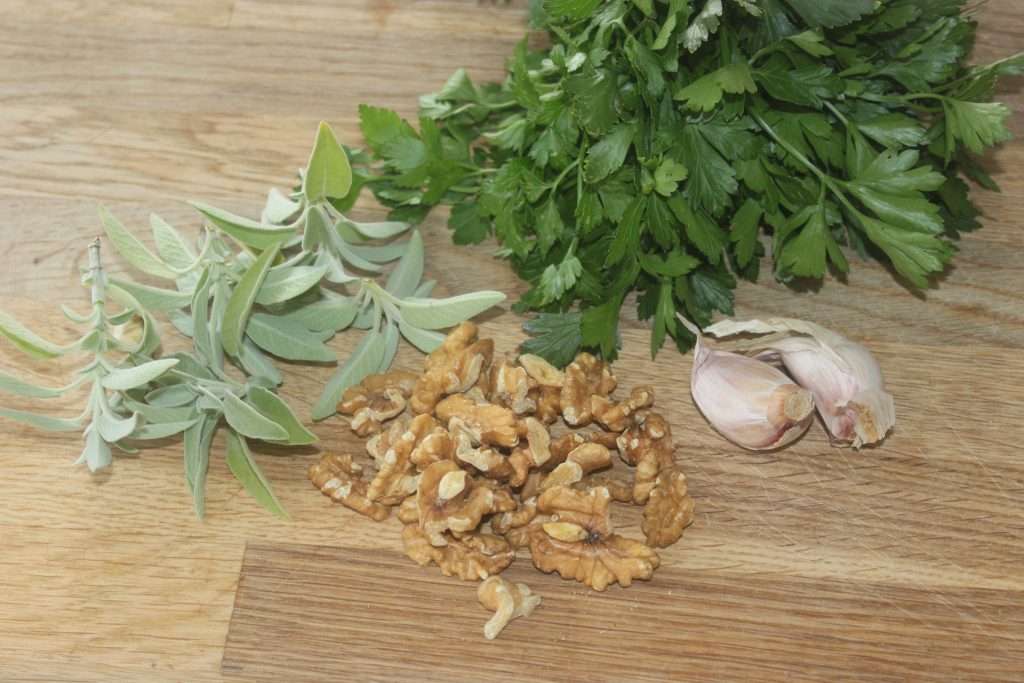
Put all ingredients in a small blender.
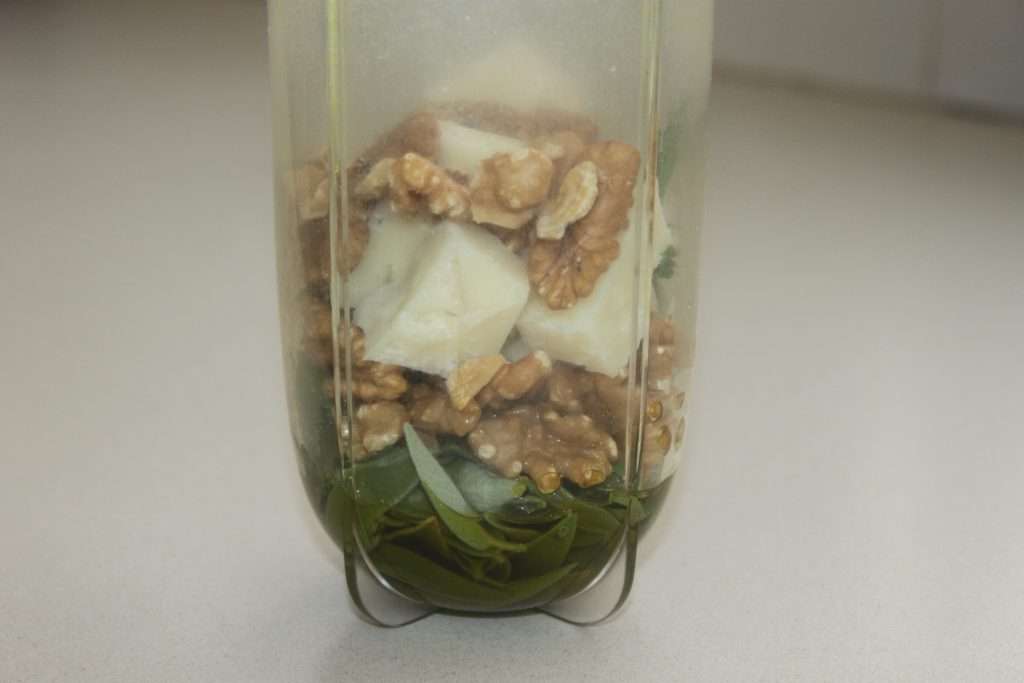
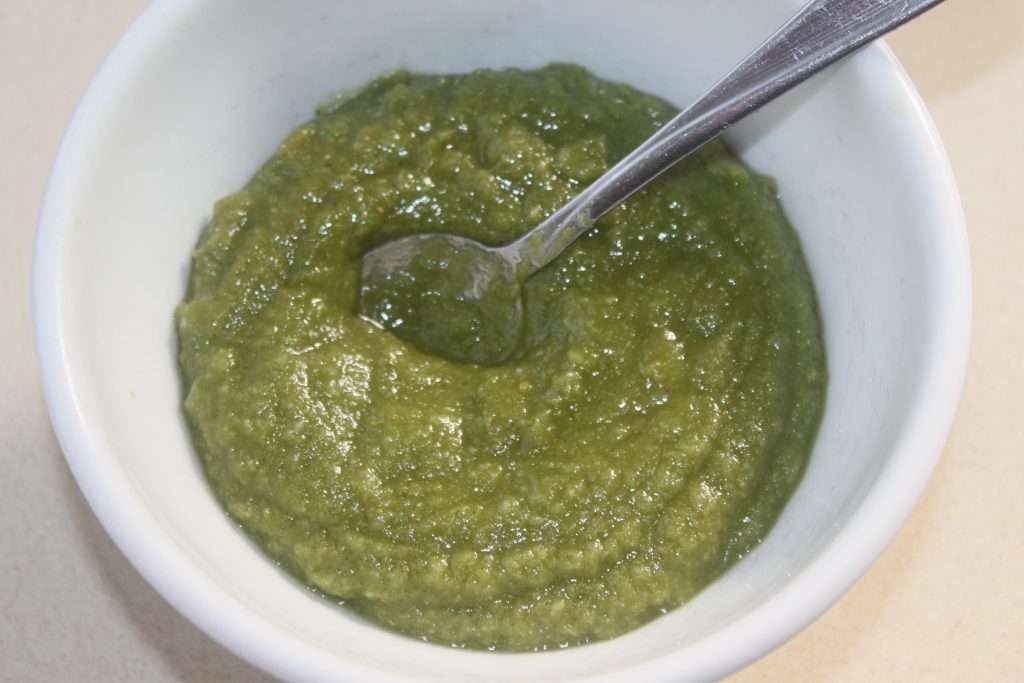
Grind to a nice paste.
Take the thighs and brush them with pesto on all sides. Save 2-3 teaspoons of pesto for later. I only have three thigh highs, but get four!
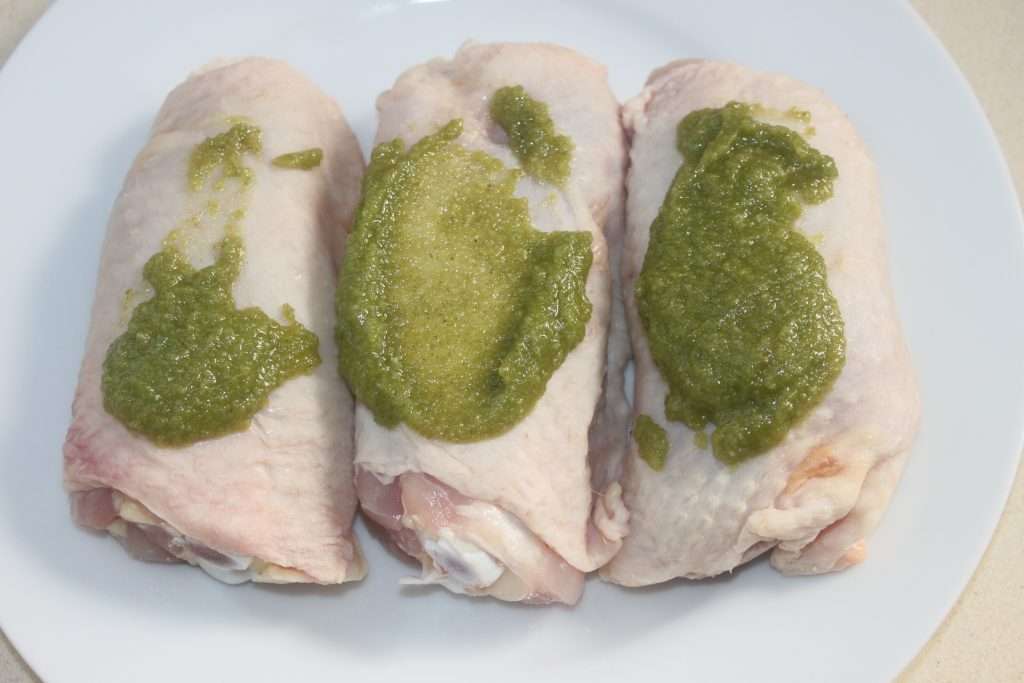
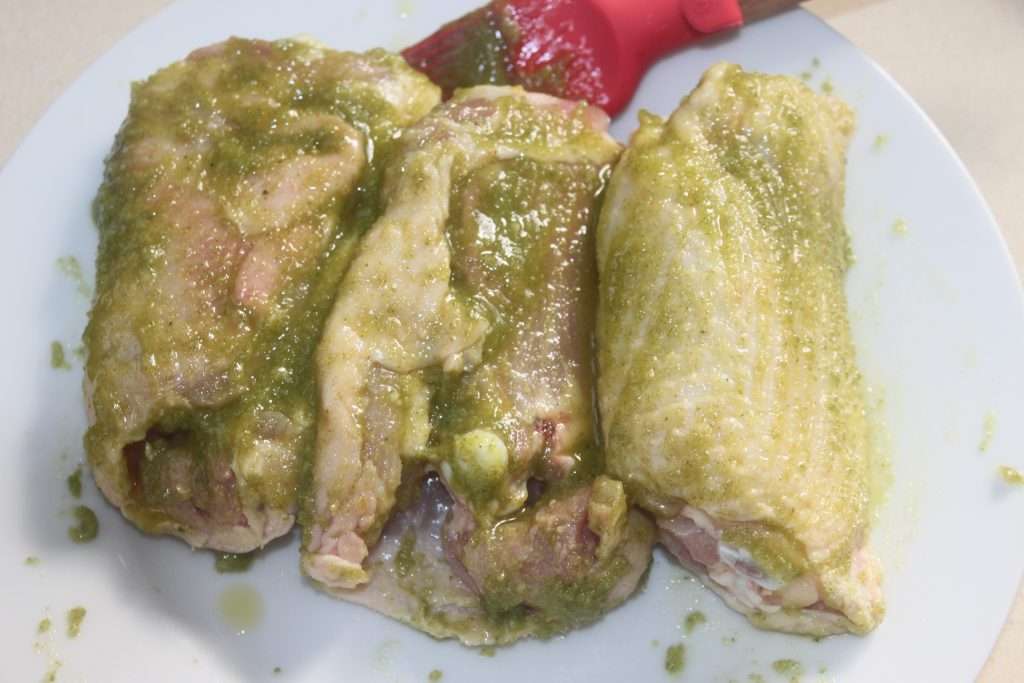
You can leave them to marinate for an hour, or continue in the process. Place the pan over high heat and place the thighs, skin side down.
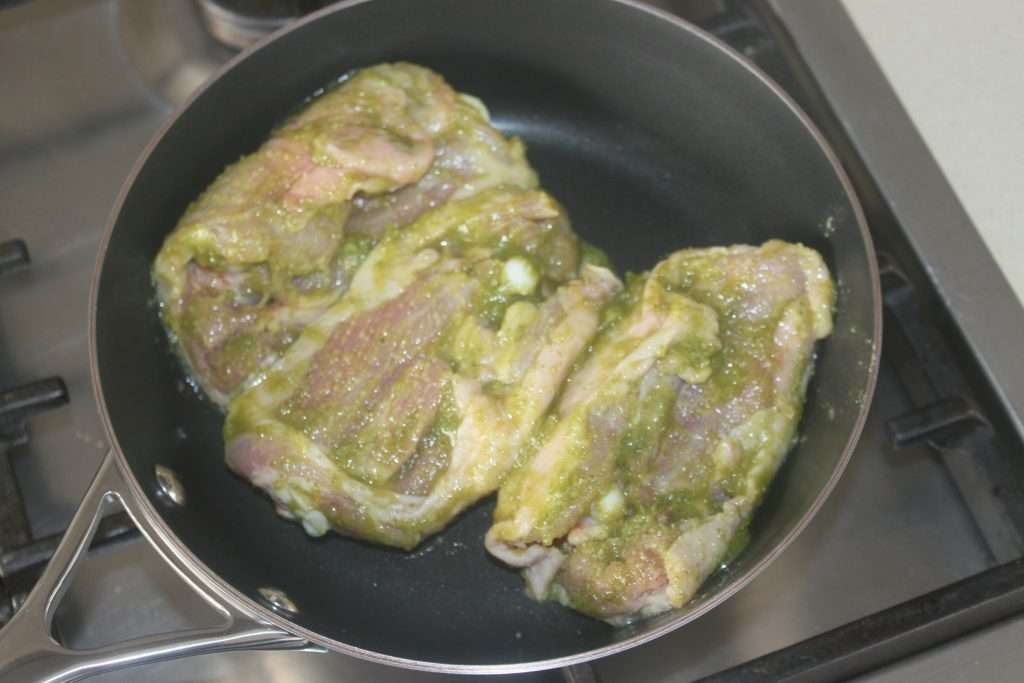
Let them color well. This will take 7-8 minutes. Turn them over and let them brown slightly on the other side as well.
Preheat your oven to 200°C.
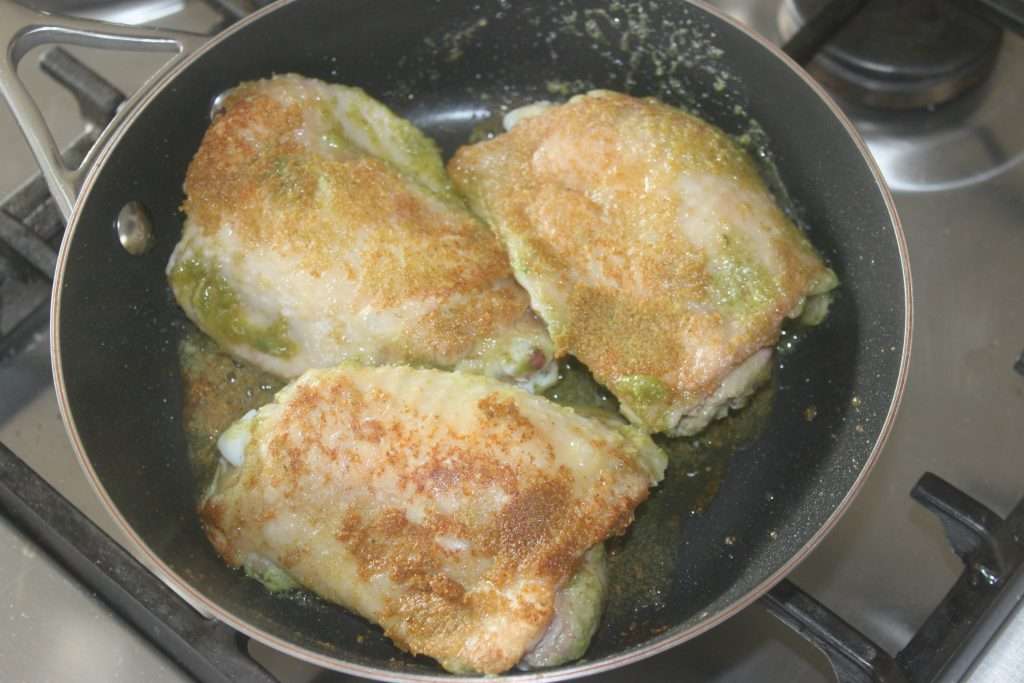
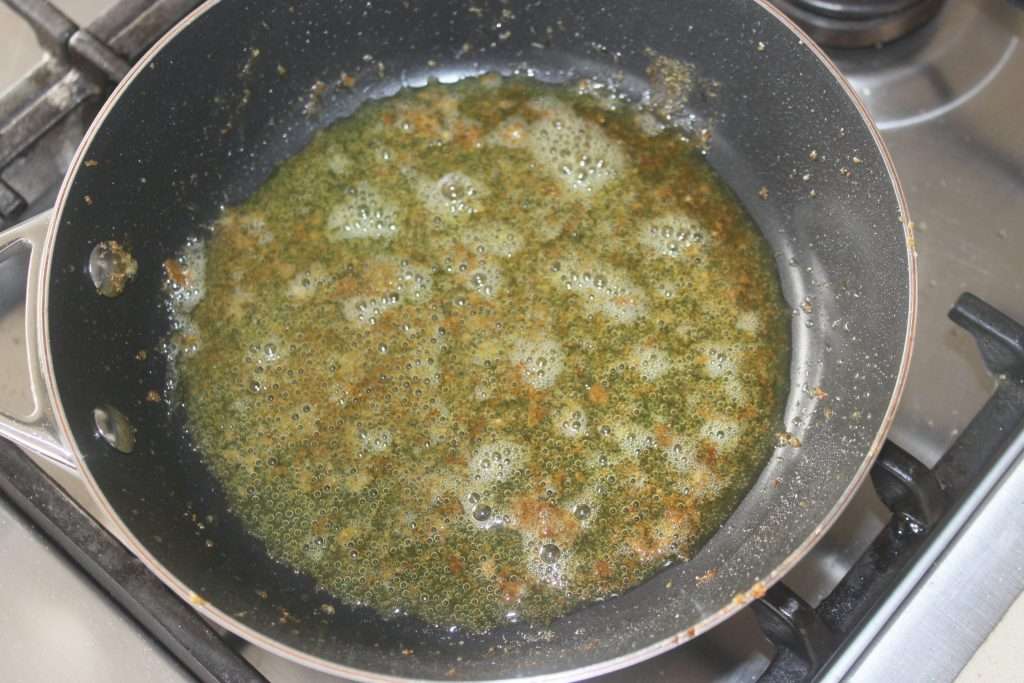
The goal is not to cook them all the way through, but just to color them. Remove them from the pan. Remove some of the fat from the bottom. Here we see that there are many!
For chanterelles, clean them with a small brush, without running them under water!
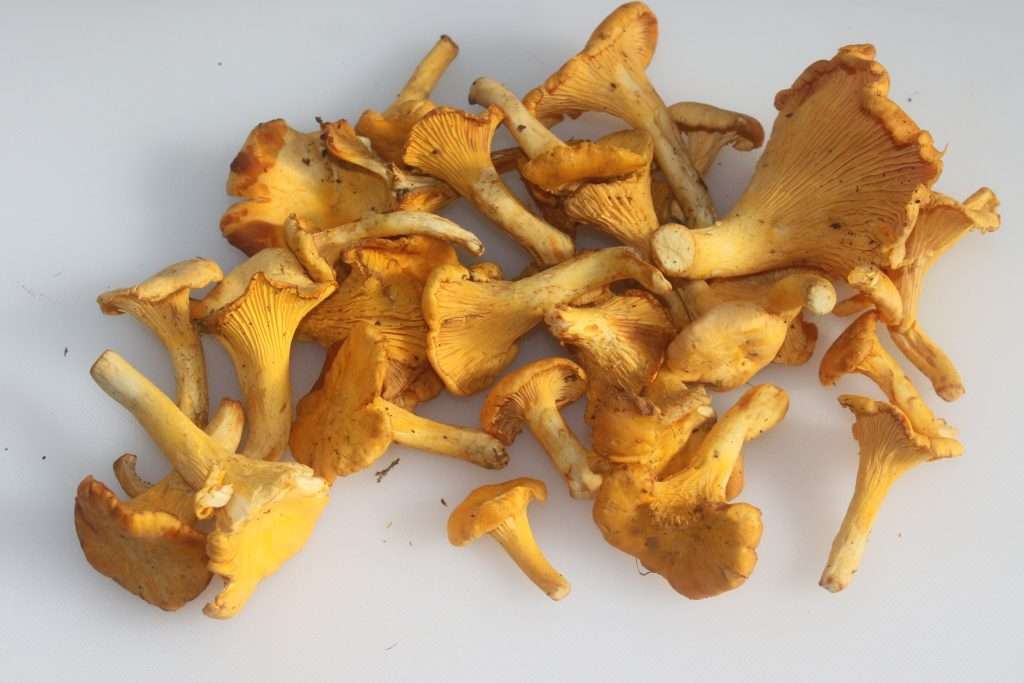
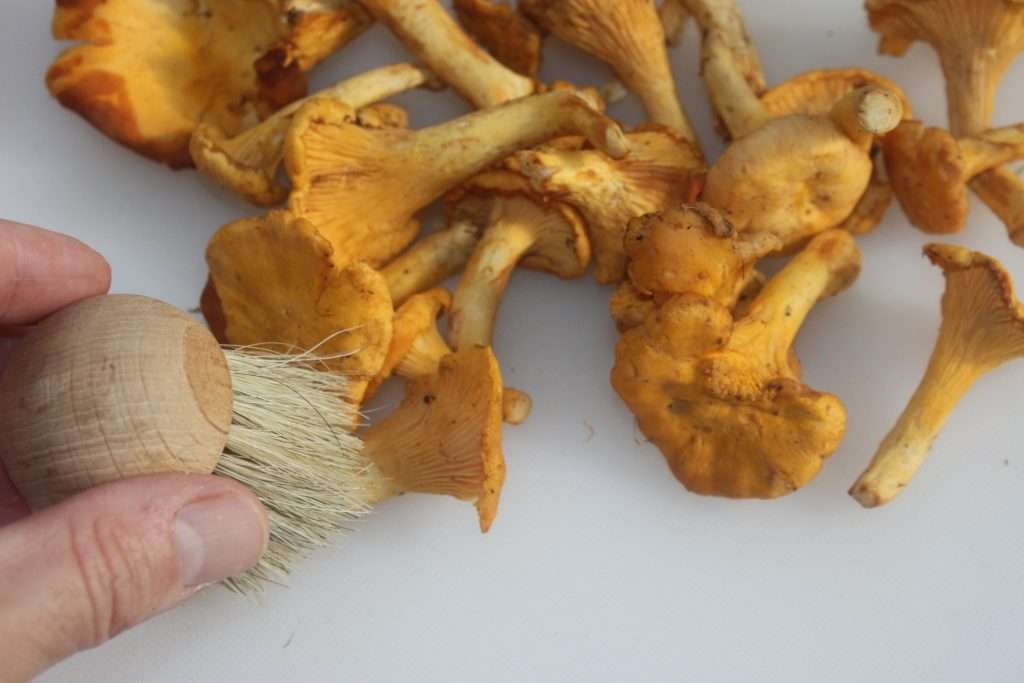
Cut them into pieces if necessary if any are too large, then place them in the pan over high heat.
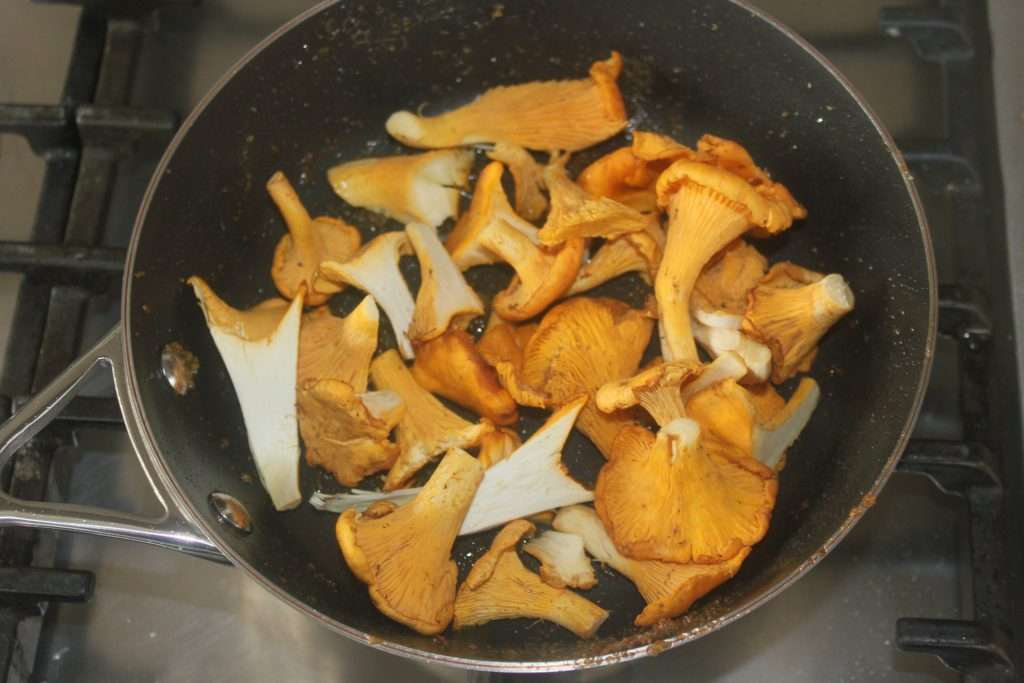
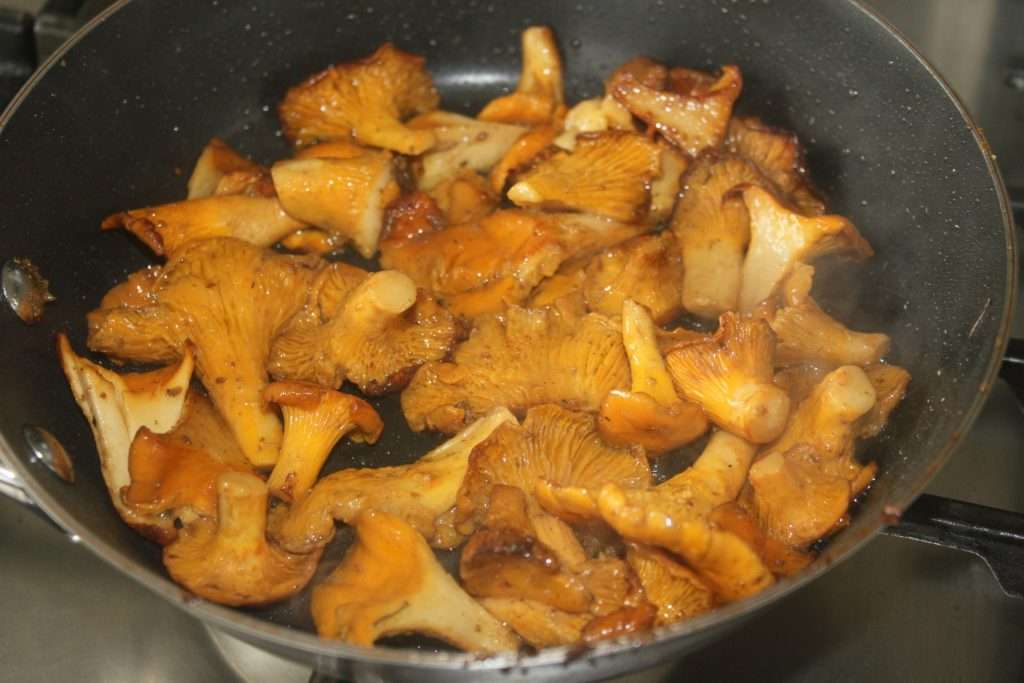
Cook, stirring occasionally, for 5 minutes.
Here is the pasta.
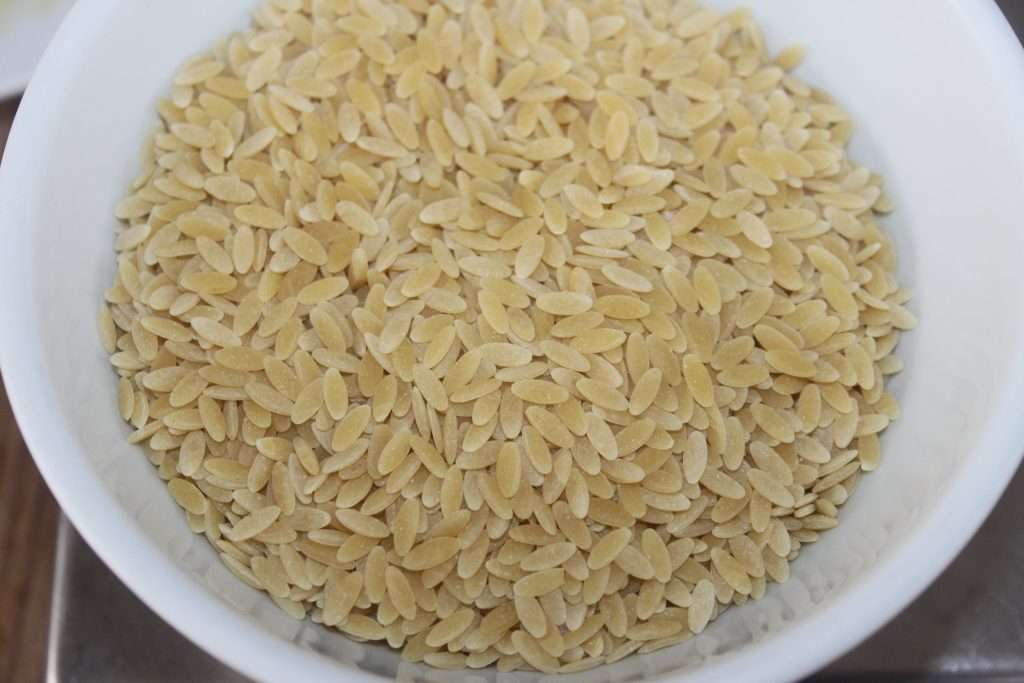
Pour them into the pan.
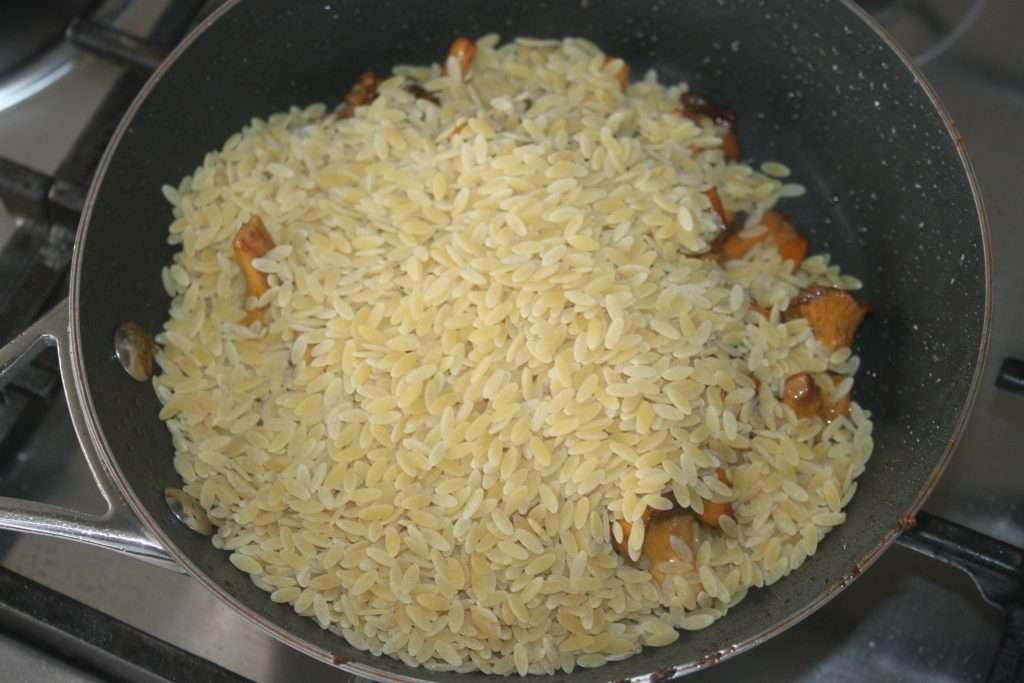
Add 2 teaspoons of pesto.
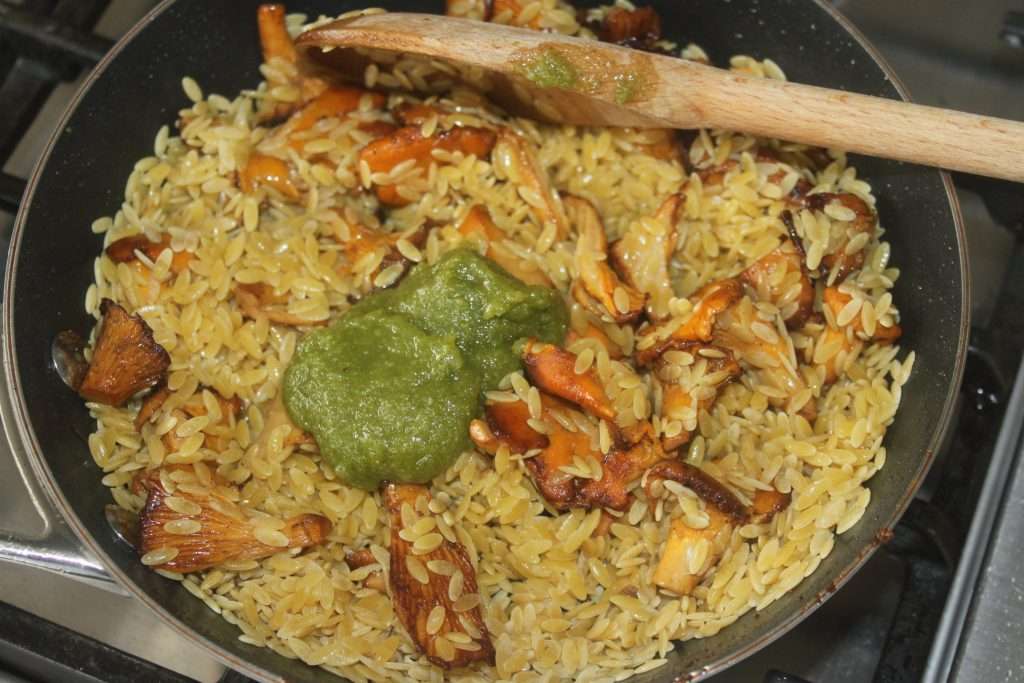
Let cook for 2-3 minutes while stirring.
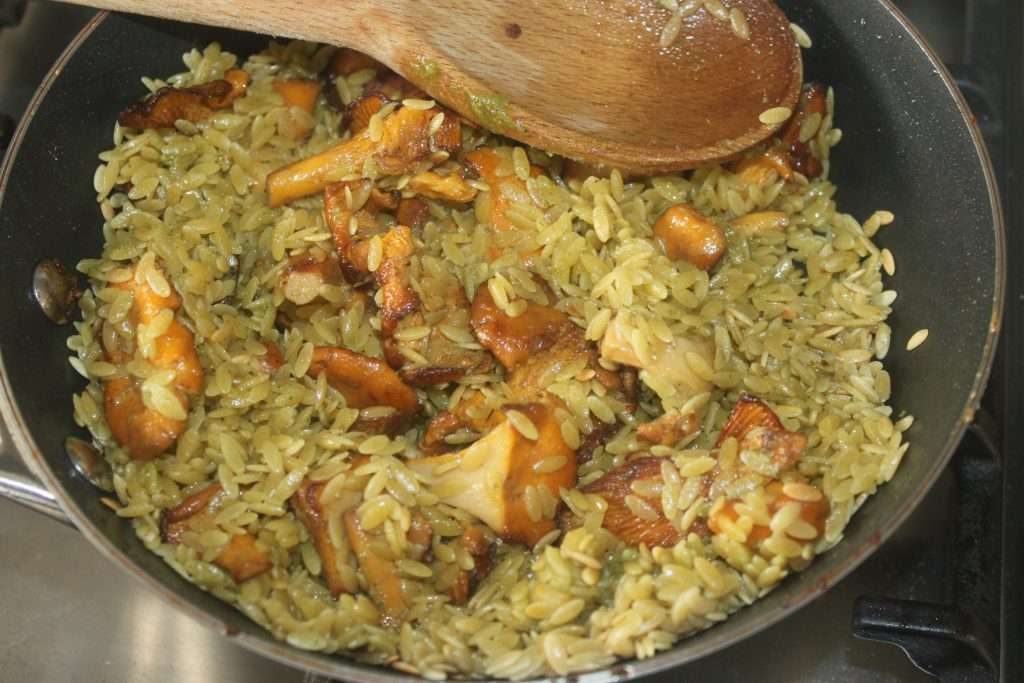
The pasta will brown slightly, which is exactly what we want.
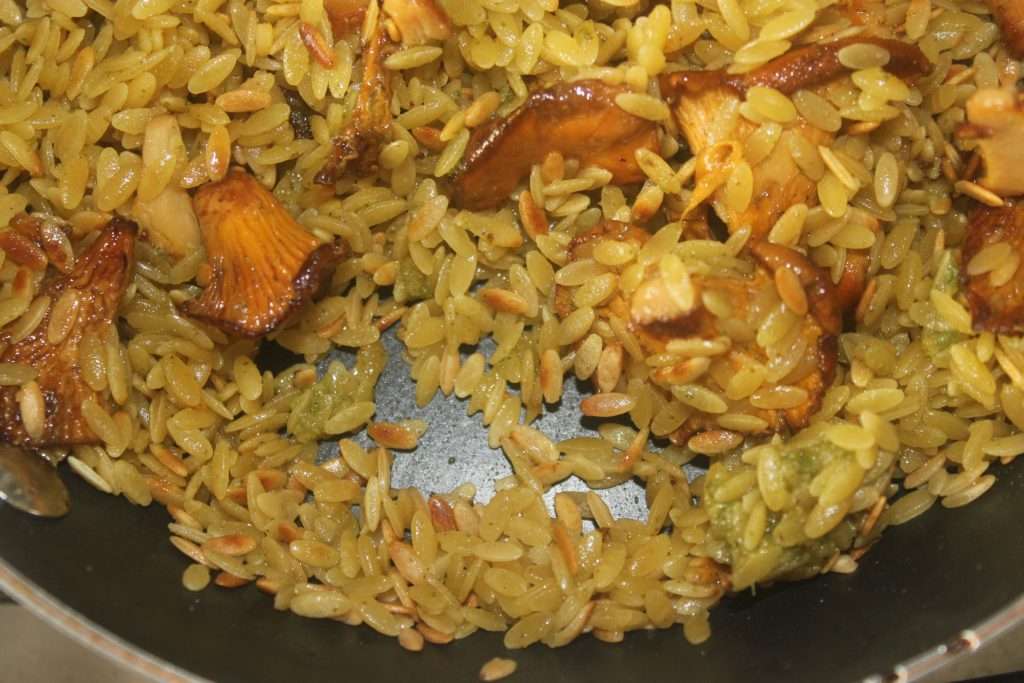
Pour in the broth.
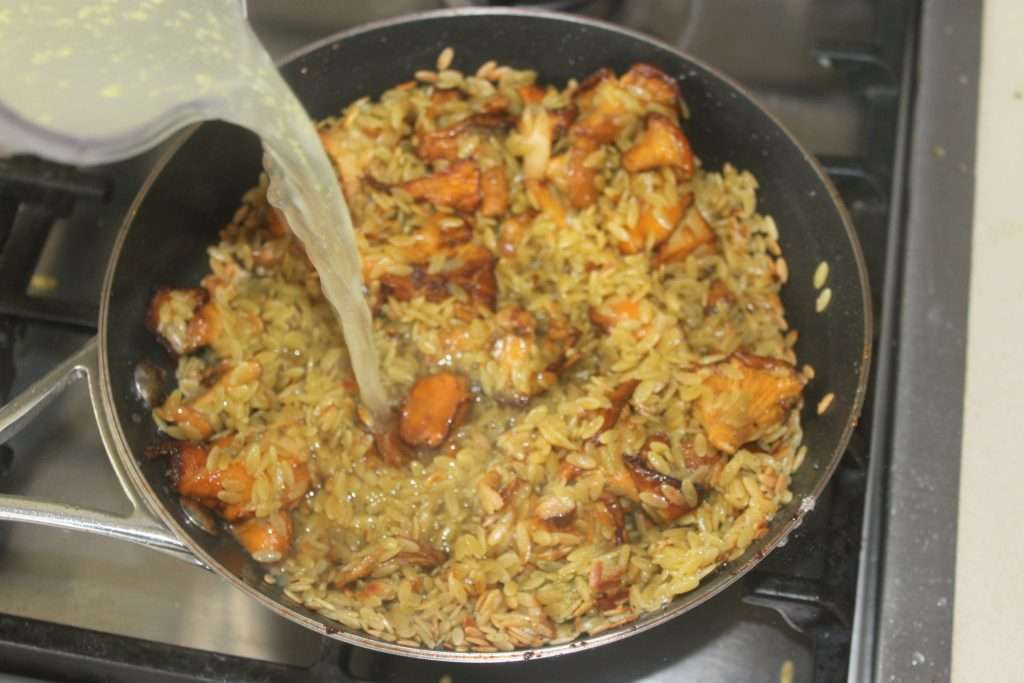
Add pepper and salt to taste.
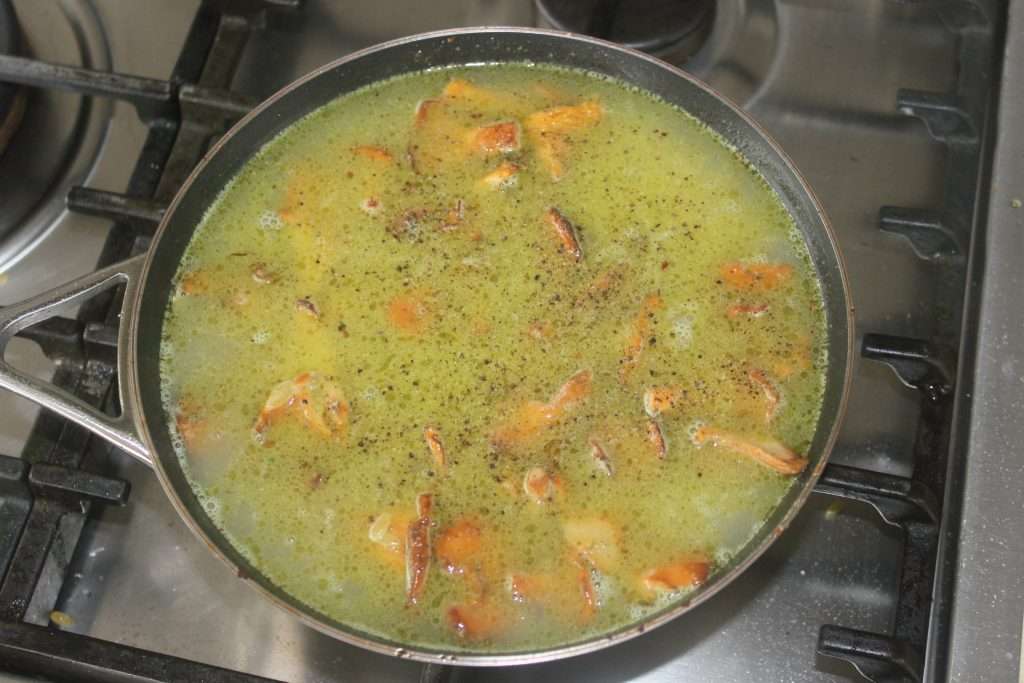
Bring the liquid to a boil. Place the pan on a baking sheet.
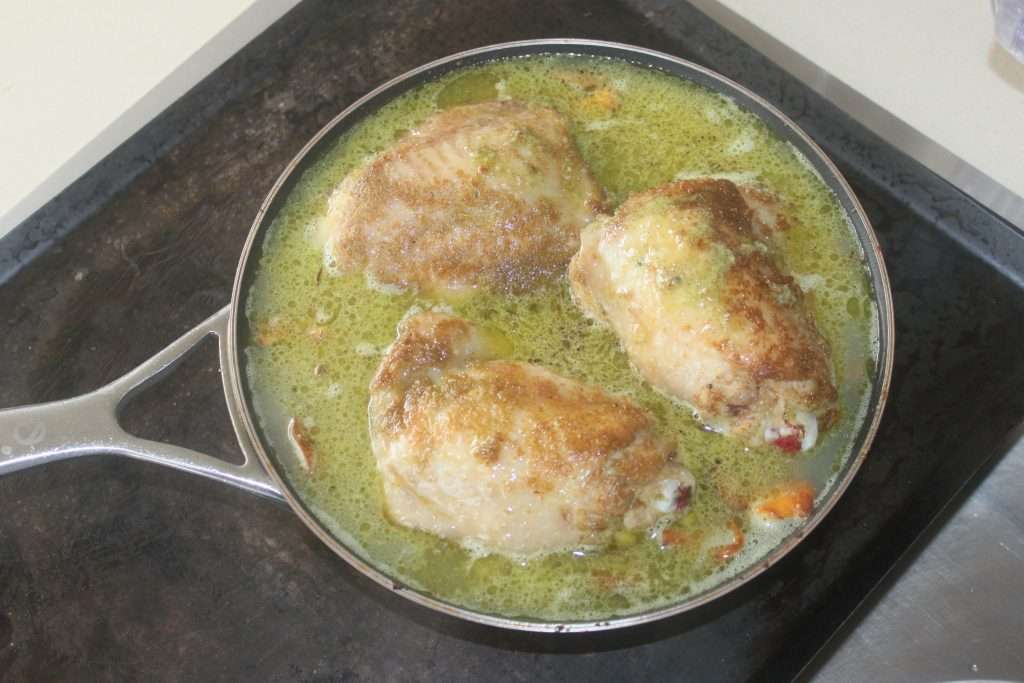
Bake for 30 minutes at 200°C in the preheated oven. 5-7 minutes before the end of cooking, I add a little pesto on the surface, which will regrind! A delight!
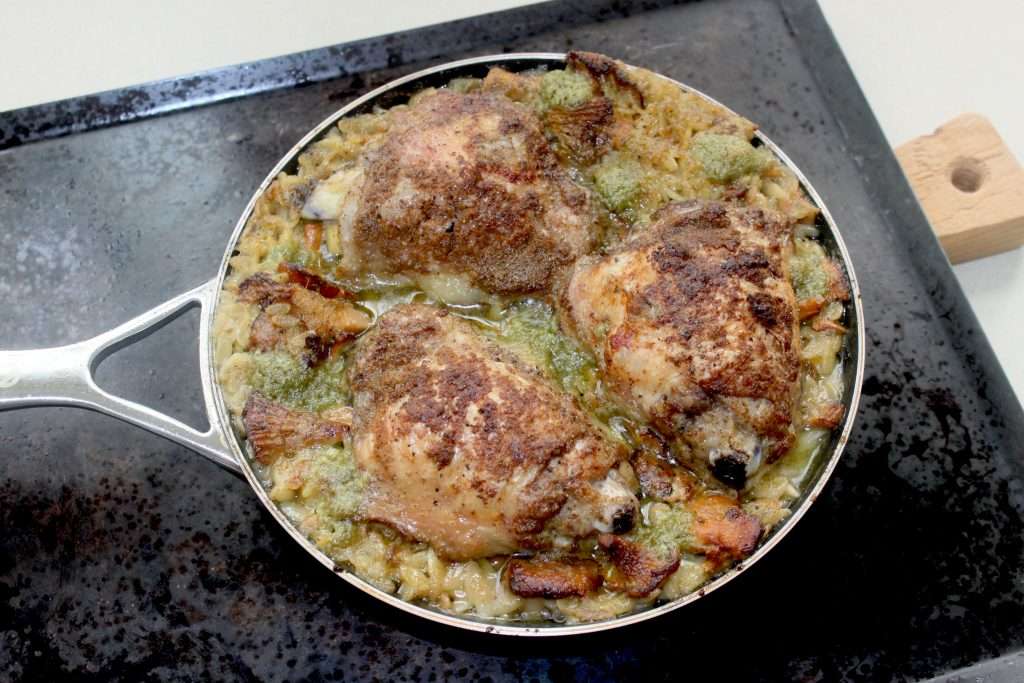
Everything is ready, all that’s left to do is serve! With a salad on the side for example!
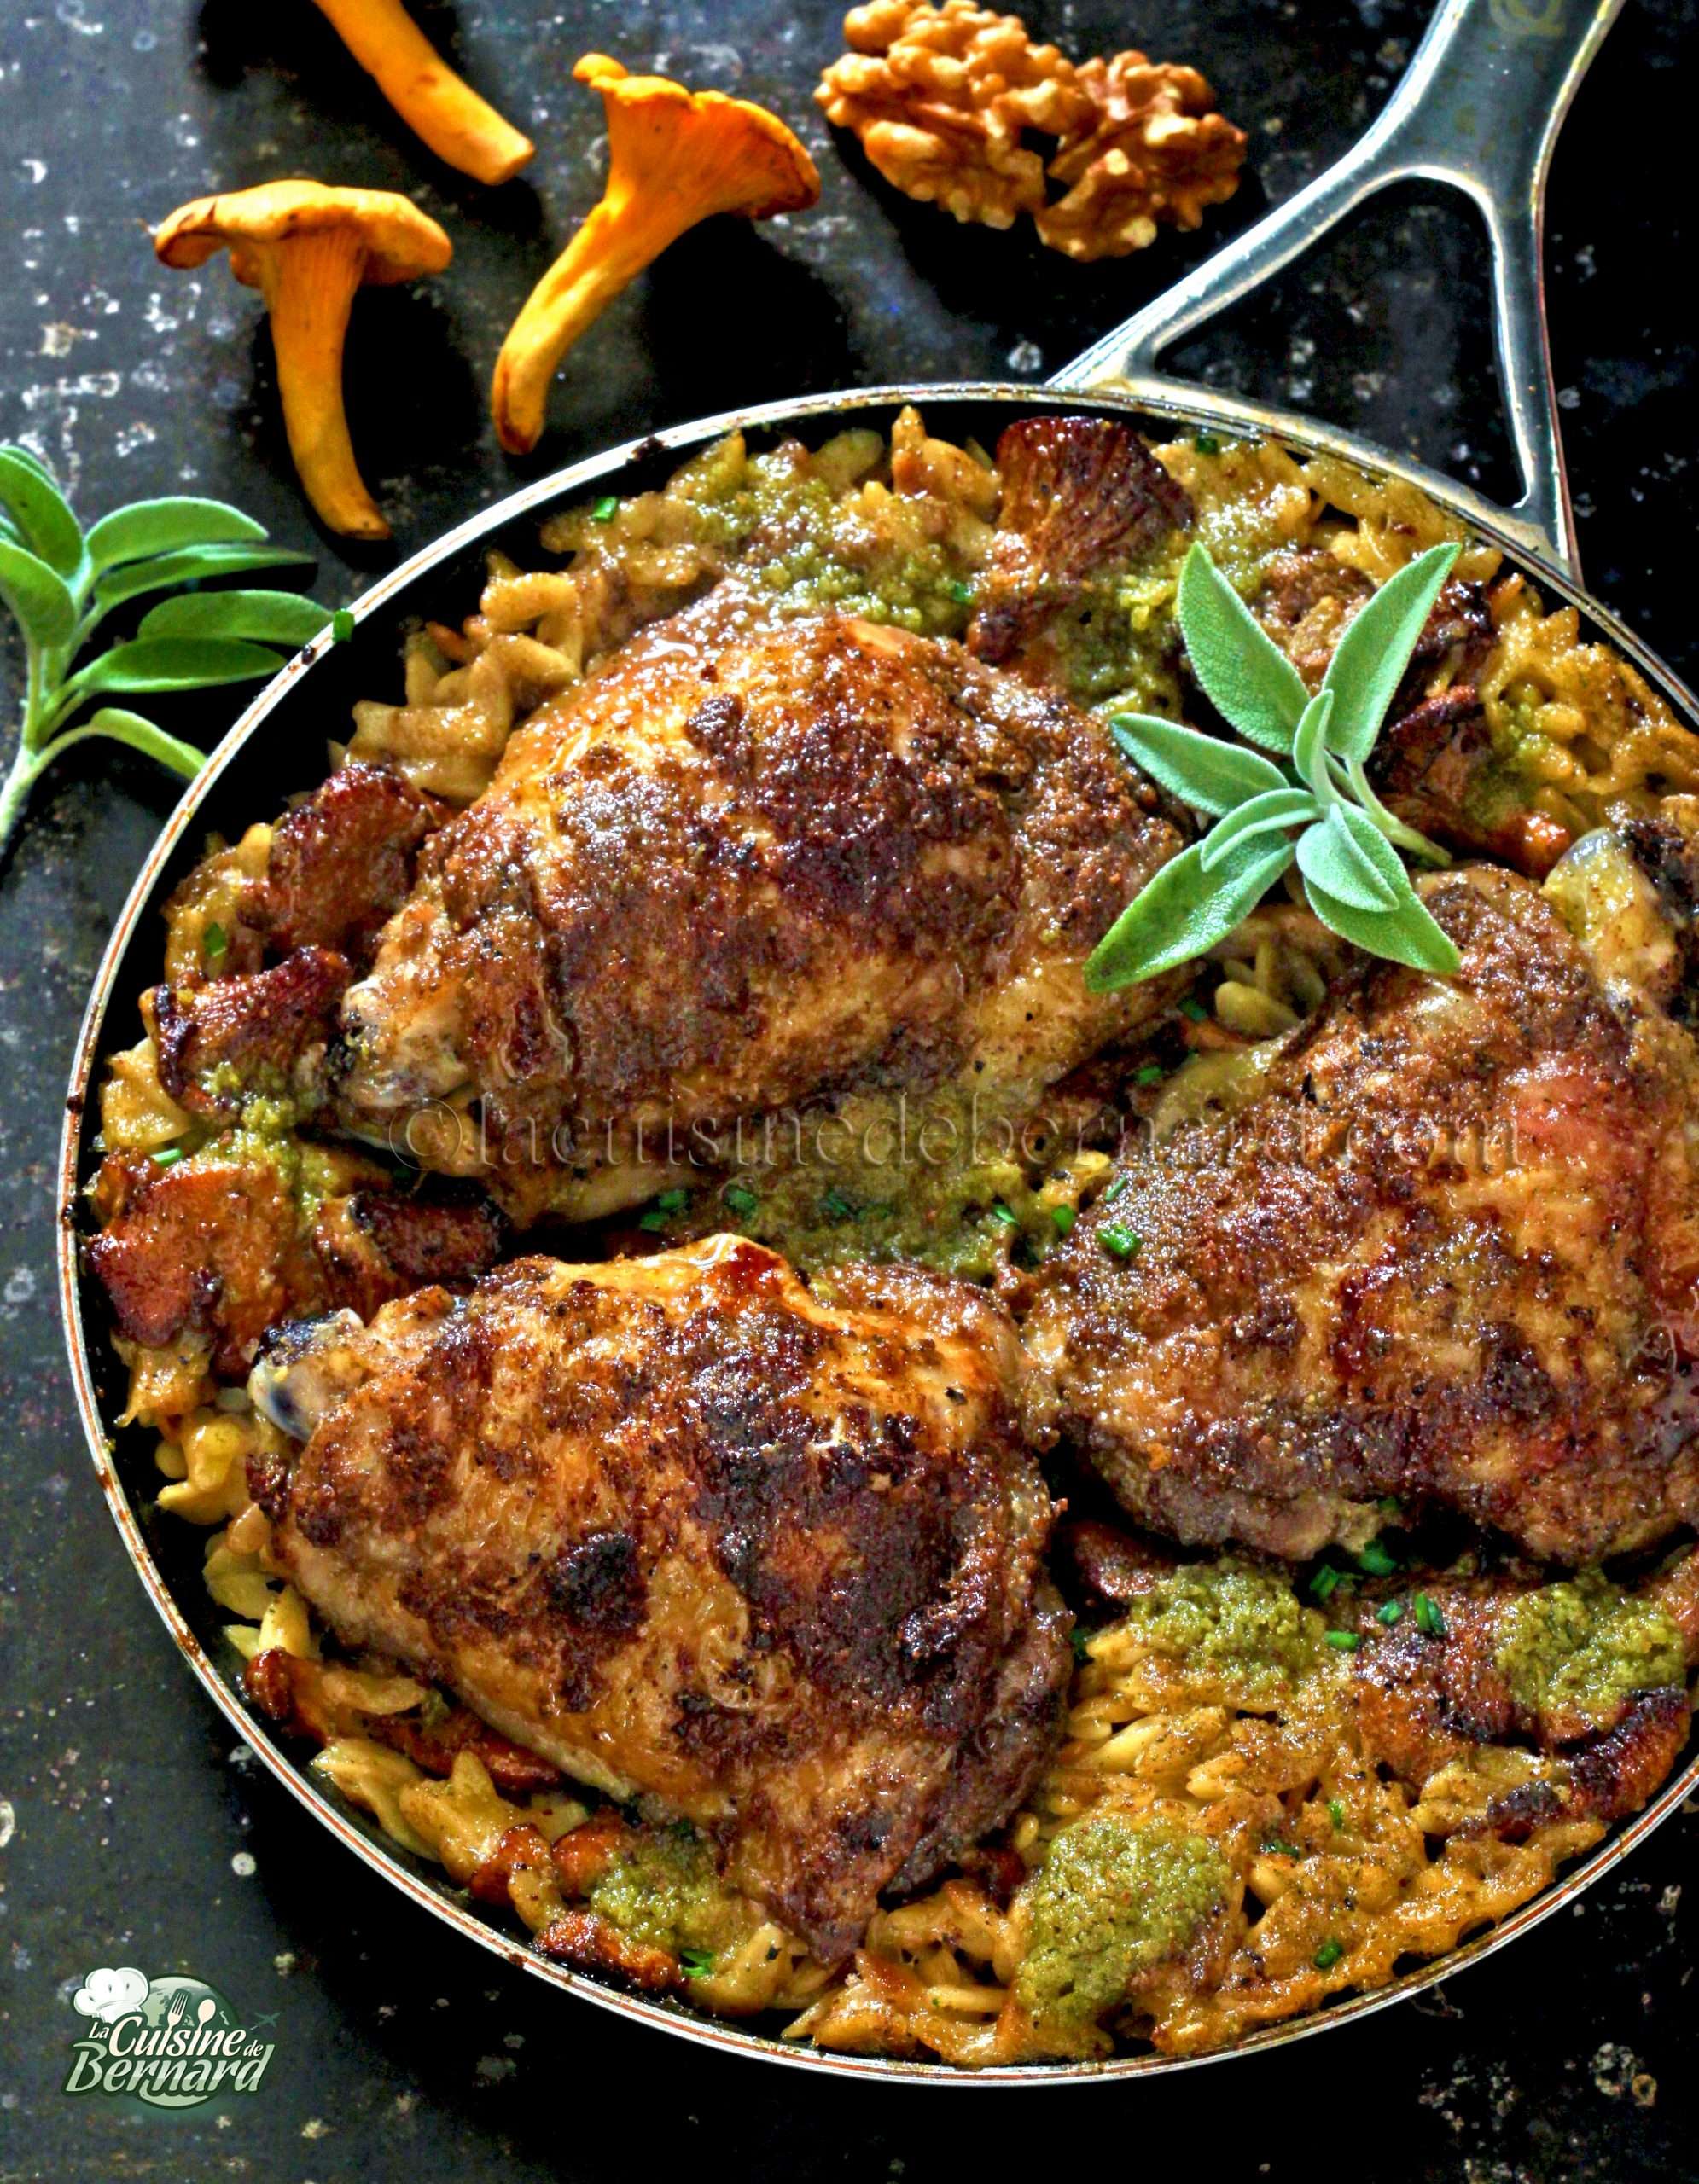

Pan-fried Orzo pasta, chanterelles, chicken and nut-sage pesto

My new book, simply entitled “La cuisine de Bernard”, published by Flammarion, will be released on October 20th and is already available for pre-order at your local bookstore, or on all online book selling platforms. WARNING, this is a best-of, a selection of my first 4 books (Mes desserts, Mon grain de sel, Je n’en ferai qu’une bouchée and Végéterrien) with 30 new recipes! This is my first book that includes everything I like, starters, main courses and desserts on almost 400 pages at 24,90€.
And for your information, it’s Flammarion who wanted me to be on the cover! ????
If you already have one of my first 4 books (out of the 6, because there is also “I make my own chocolate” and “Scandalously Decadent”), you will find some of the recipes already published. So I tell you again and again, that you will have duplicates. This book will appeal to those who have only one or none of my books. I greedily chose 150 delights from these books, then added 30 unpublished ones. I let you discover below the index of the recipes, as well as some pages of the book.


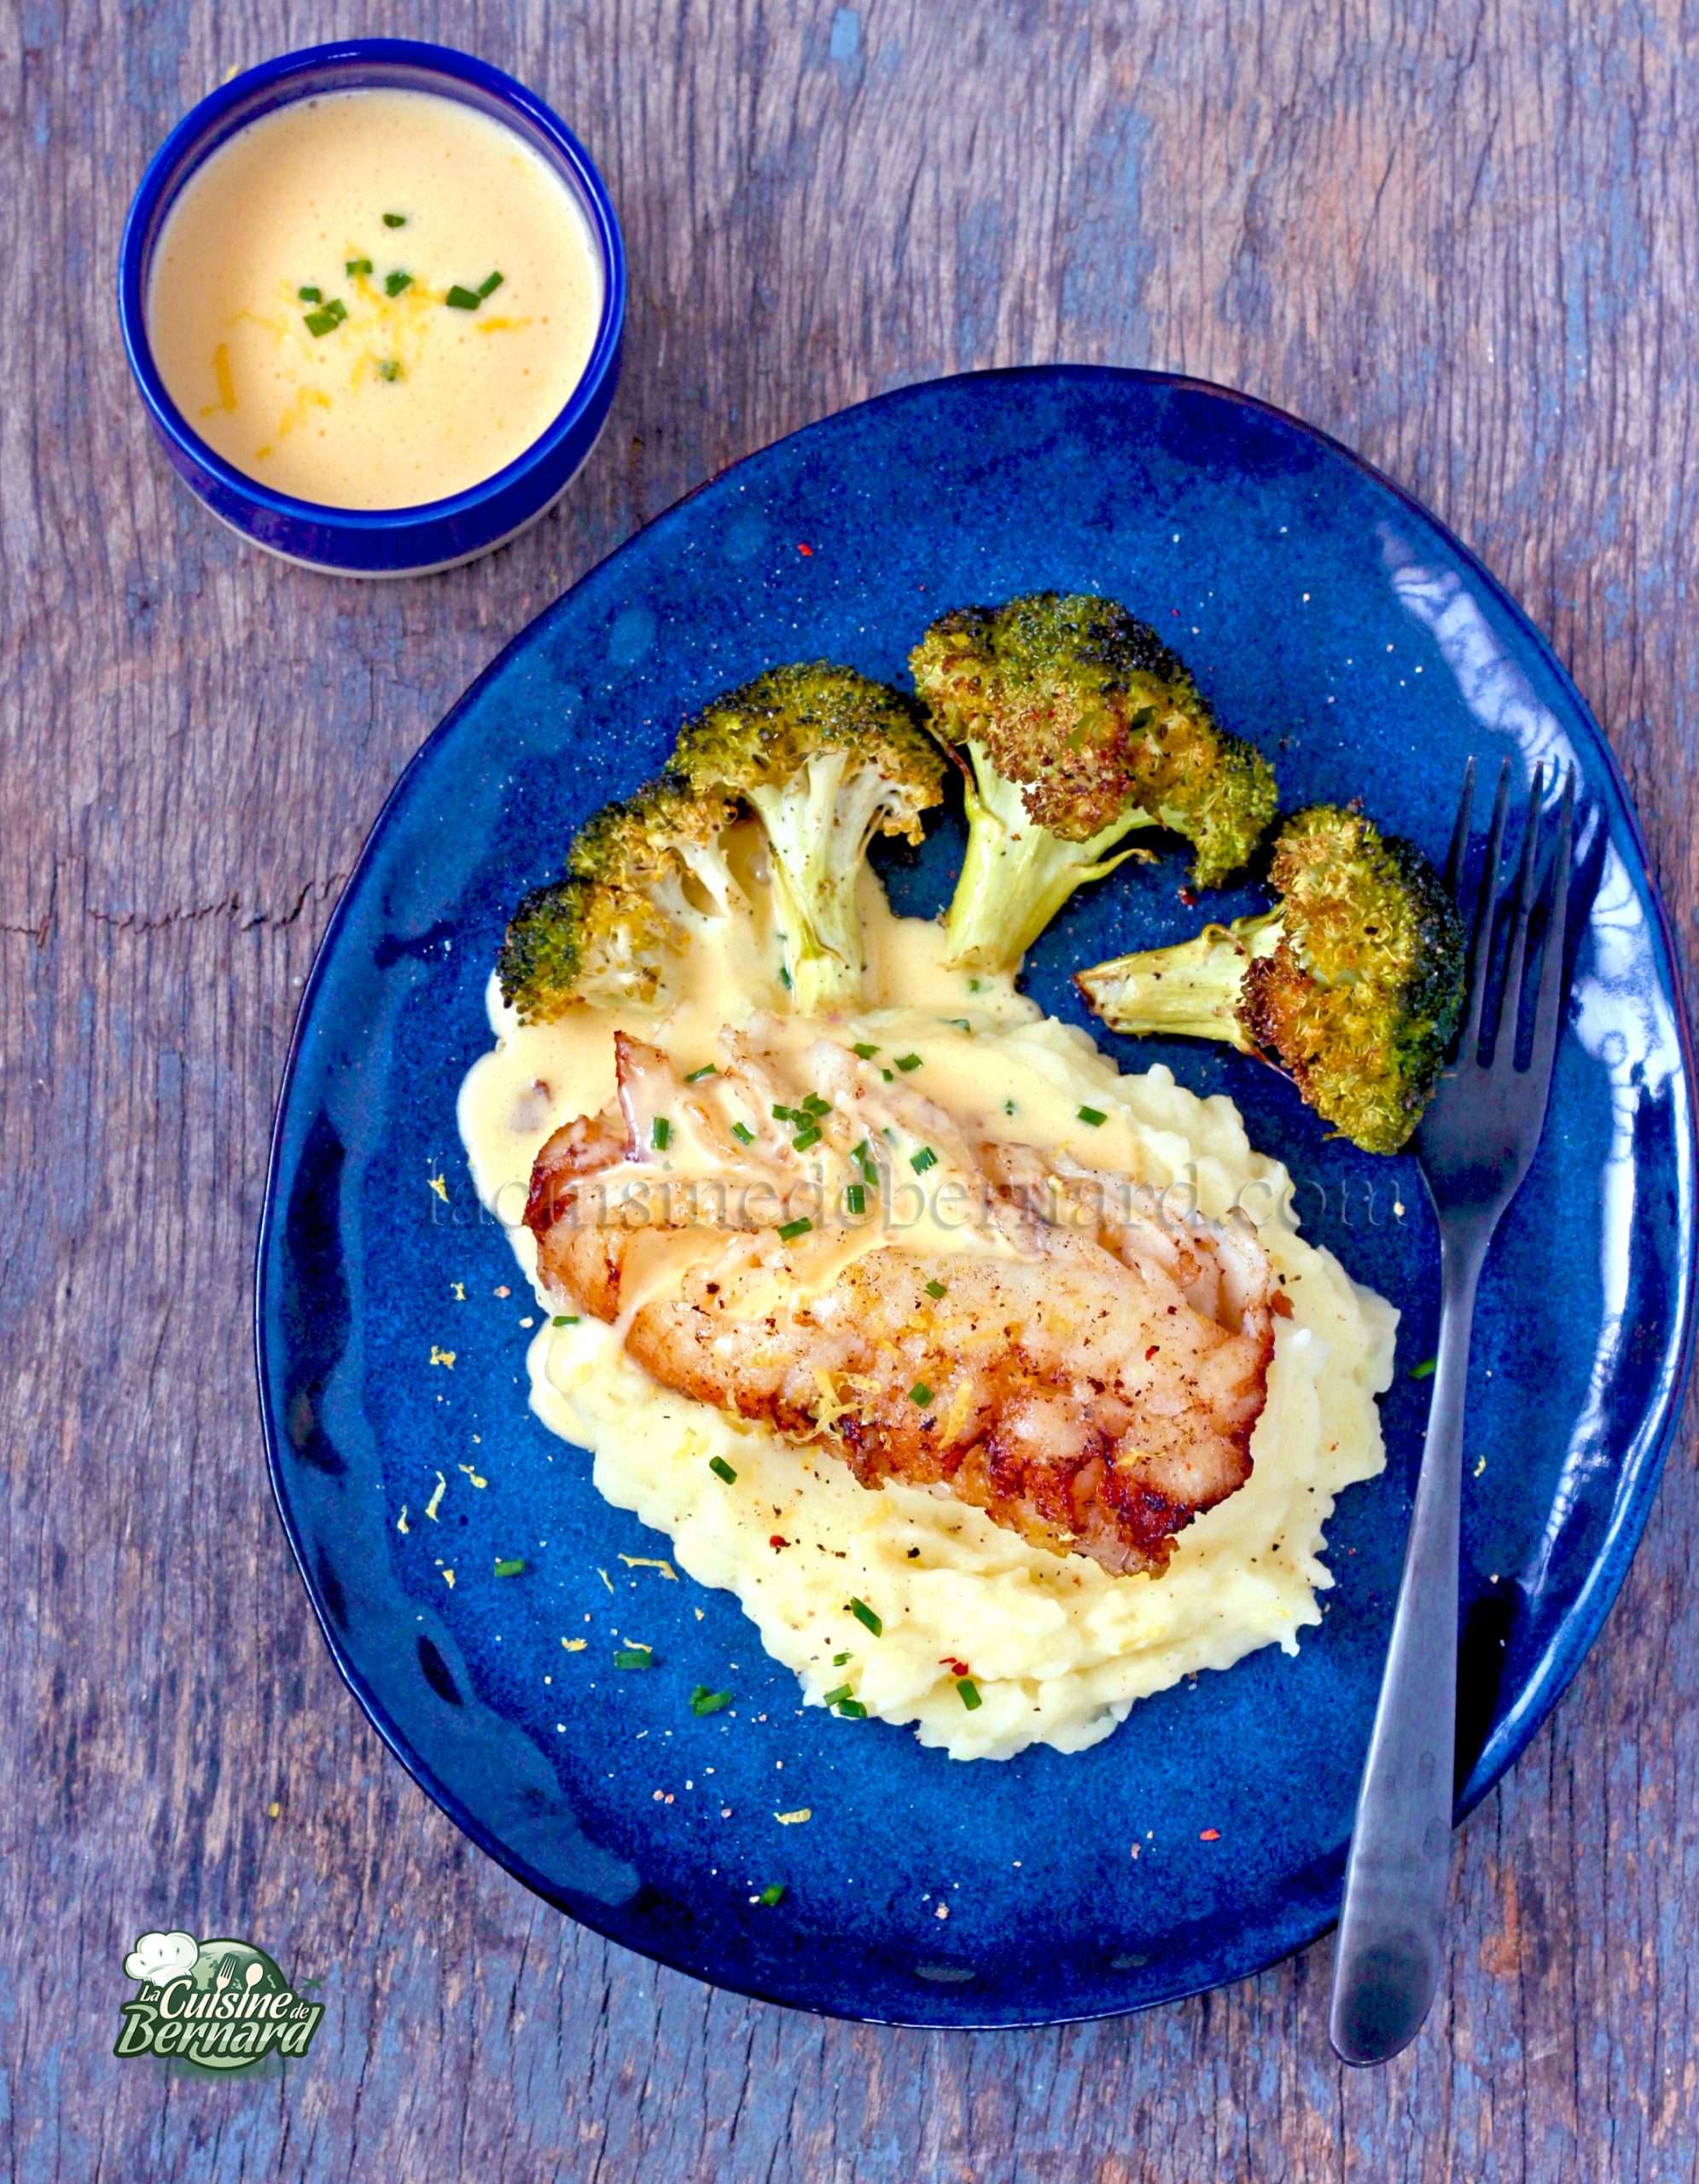
I was contacted to realize this recipe of cod by fishmas.fr. I had been lucky enough to be invited to Iceland in 2017 for a culinary trip (which you can see HERE) and I had discovered the production circuit of this fish from the cold seas of northern Europe and therefore more specifically from this beautiful country. So I offer you this recipe that was proposed to me and I immediately salivated. I suggest a pan-fried cod, golden brown, with homemade mashed potatoes, broccoli grilled in the oven with olive oil (a delight), but above all a divine hollandaise sauce, with a nice lemon flavour! I invite you at the same time to visit the site of fishmas.fr
Icelandic cod can be found in all large and medium-sized stores.
For information the Icelandic industry uses two certifications to ensure sustainable fishing, the Icelandic Responsible Fishing :
– Based on the guidelines of the FAO (Food and Agriculture Organization of the United Nations), the
Iceland Responsible Fisheries Management Certification is a model for certification of
third party whose function is to certify the responsible management of fishermen in Icelandic waters and the respect
of marine resources. Within this framework, seven species have been certified in Icelandic waters, including cod.
– MSC (Marine Stewardship Council) is an international certification program that aims to ensure the sustainability of
fish populations, minimize the impact of fishing on the environment, and promote effective fisheries management.
fisheries. The MSC has certified more species in Icelandic waters than the IRF program. In total, 15 species are
certified, including the wolffish (Loup de Mer) which is part of the Fishmas campaign.
And finally for the recipe:
For 4 people :
Mashed:
- 4-5 large potatoes
- 50g semi-salted butter
- a little whole milk (for the desired consistency)
- salt pepper
Baked Broccoli:
- a head of broccoli
- olive oil
- salt, pepper, chilli
Hollandaise sauce:
- 4 egg yolks
- 200g of melted semi-salted butter
- the zest of an untreated lemon
- 40ml lemon juice (two tablespoons)
For the cod :
- 4 large codfish steaks
- 3 tablespoons of oil
- 40g of semi-salted butter
- salt pepper
Start by preparing the mashed potatoes. Peel and wash the potatoes.

Cut them into pieces.

Place them in a large pot of cold salted water and bring to a boil. Bake for 20 minutes or until potatoes are tender when inserted with a fork.

Drain and return them to the pan with the butter and a little milk. Mash with a fork until you have a nice purée. Pour in more milk as needed to achieve your desired consistency.


Cut the washed and dried broccoli head and separate it into pieces. Add a little olive oil, salt and pepper to taste. I also add a little chili powder.

Bake for 25-30 minutes at 195°C on a convection oven. The broccoli is starting to brown slightly and the texture is perfect!

For the hollandaise sauce. Melt your semi-salted butter in a small container. In a double boiler, or in a bowl set over a pan of simmering water, place the 4 egg yolks.

Whisk the yolks in the water bath until they foam slightly. Then add the melted butter spoon by spoon or in a stream, while whisking to emulsify everything.

Add lemon juice and zest.


Still whisking, pour in the remaining melted butter to get a thicker custard consistency.

If, despite your precautions, the sauce has gone off, simply start again without throwing away the sauce you made. In this case, pour it all into another container, then put a single egg yolk into the water bath. This time, take an electric whisk and very gently pour the failed liquid sauce back in to emulsify it gradually. Normally, it always makes up for it!
For the cod, here are the beautiful fillets I received! In a hot pan, pour the oil, cod and butter.
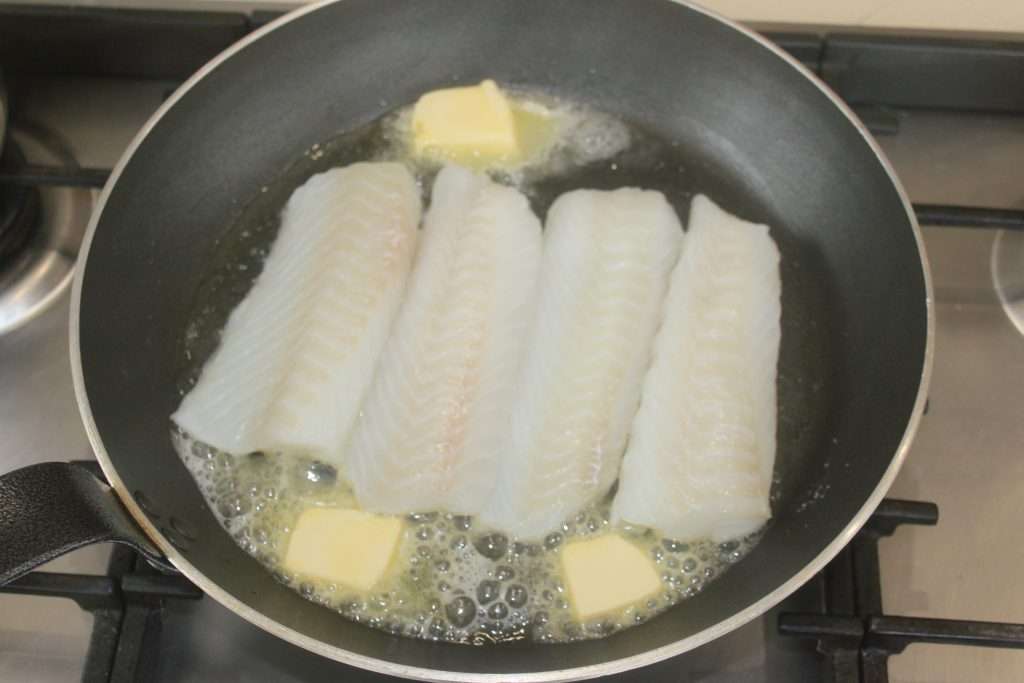
Baste regularly with the fat. Salt and pepper the fillets. Let cook for 3-4 minutes on one side.

Turn them over gently and cook for another 3-4 minutes, basting.

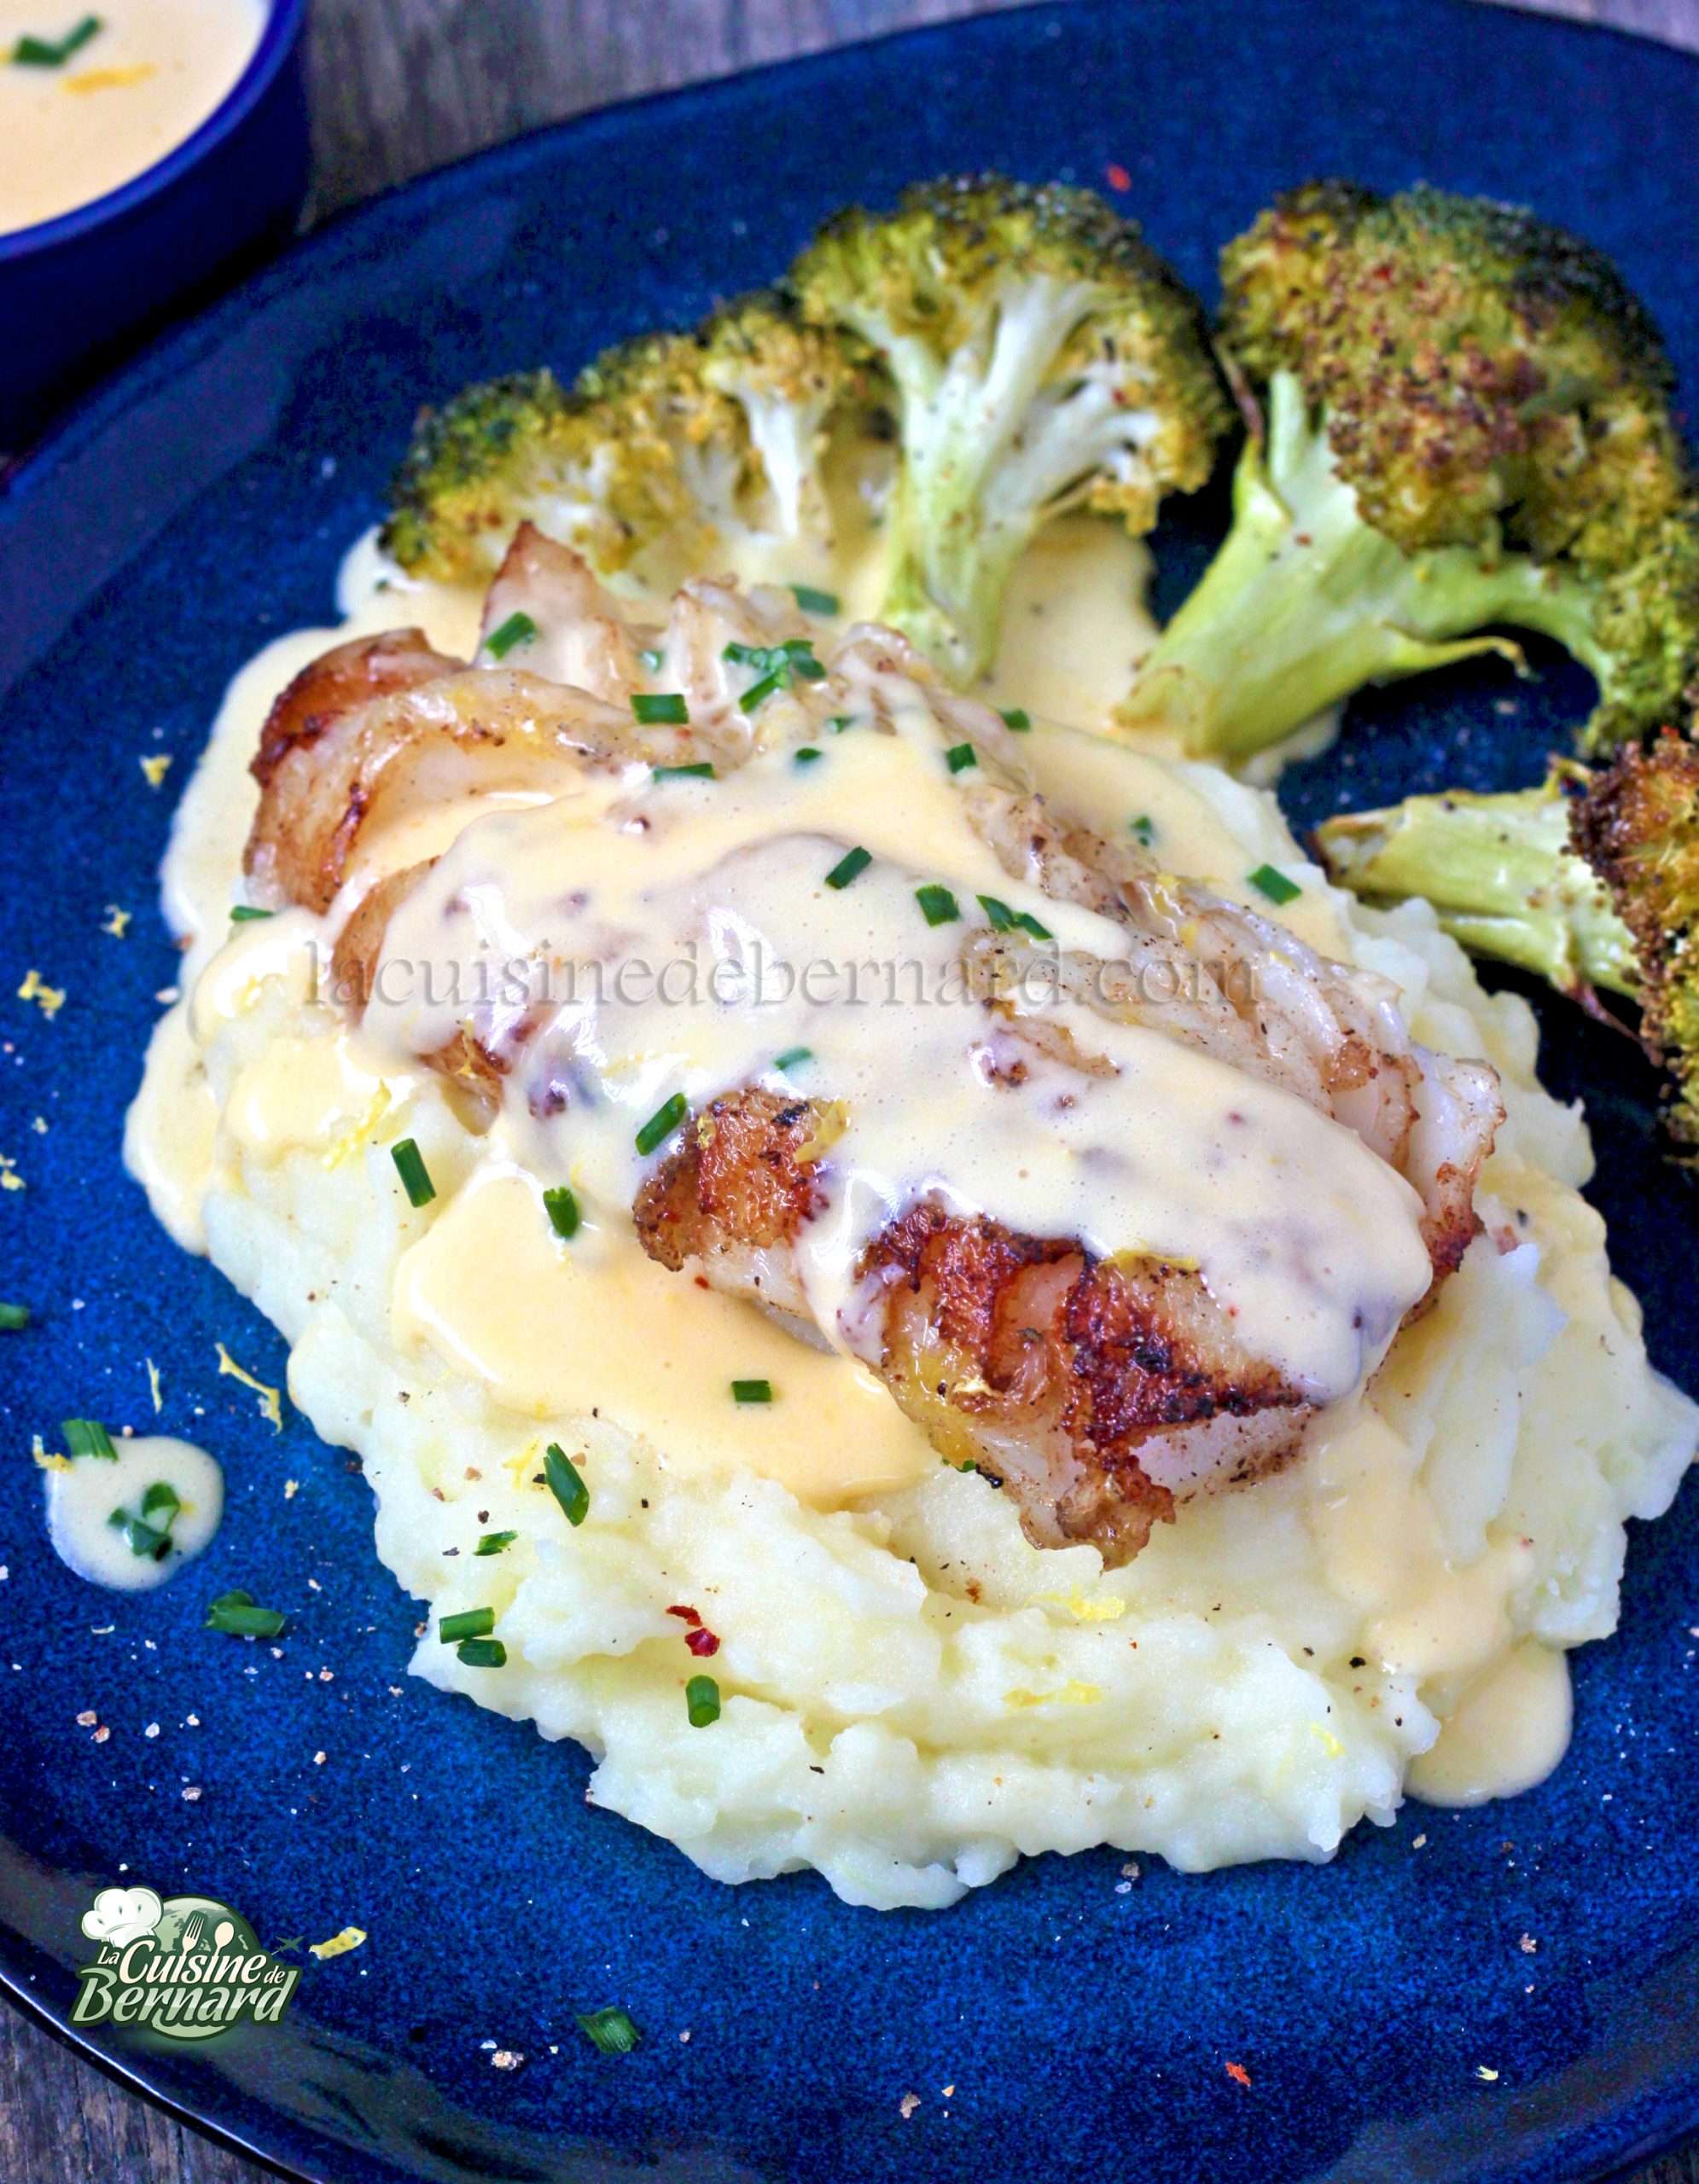
Arrange the dish with the mashed potatoes, grilled broccoli, golden cod fillet and hollandaise sauce to taste. Sprinkle with freshly grated lemon zest and snipped chives! Let’s eat!
Place them in a large pot of cold salted water and bring to a boil. Bake for 20 minutes or until the potatoes are tender when a fork is stuck in them, basting regularly with the fat. Salt and pepper the fillets. Let cook for 3-4 minutes on one side.

Pan-fried cod, hollandaise sauce, homemade mashed potatoes and oven-roasted broccoli

I recently made this amarena cherry tiramisu for some friends, as I had just bought a large jar of these delicious, incredibly fragrant cherries. I remade the tiramisu for my cooking blog to offer you the recipe. If you prefer the classic tiramisu, know that the recipe has been available for years HERE! To compensate for the syrup, I reduced the sugar a lot. The result is a tiramisu with an airy texture that holds together, and a strong cherry flavor, without being overly sweet at all. Then it’s up to you if you add more cherries!
For 4 to 6 people:
- 2 large eggs
- 35g of caster sugar (for the yolks)
- 15g powdered sugar (for the whites)
- 500g of mascarpone
- amarena cherries
- spoon cookies
Separate the egg whites from the yolks. Put the caster sugar with the yolks and whisk briskly for 3 minutes until you have an airy and fluffy texture.


Add the mascarpone and 2 tablespoons of amarena cherry syrup.

Whisk again for 3 minutes to get a texture that holds together. The whole thing should not be liquid. The mascarpone ends up rising a bit like whipped cream.

In a separate bowl, place the egg whites with the powdered sugar and whisk until the eggs are stiff.


Add the first third of the meringue to the mascarpone cream, and mix it all together without breaking the texture of the whites, like a chocolate mousse.

Do the same with another third of the meringue, then the rest.

Pour 3-4 tablespoons of cherry syrup into a small container.

Pour a little hot water to dilute the whole, it is to your taste. However, it must be liquid. Pour in the first 6 cookies and let them soak in, turning them once.

Place soaked cake pieces in the bottom of cups of your choice. I have taken here 4 individual cuts quite large. If needed, you can cut the cakes to arrange them as you wish. Add 2-3 drained cherries, then cover with half the cream.

Add again 6 cookies soaked in the same way (you can crush them a little to remove if there is too much juice amarena), drained cherries.

Then cover with the remaining cream.

Chill for at least 3 hours before serving chilled. You can improve the presentation. I wanted these desserts to be fairly plain, without cocoa powder, to leave the cherries all the way through. It is a delight!


Tiramisu Amarena

After this complicated period since the beginning of the year which unfortunately ended with what we feared (my previous post is quite explicit), I come back with an ultra simple recipe to make. I’m not gluten free or lactose free, considering the butter and flour I usually use! But from time to time, I find it interesting to look into it. I had tasted a similar cake and obviously wanted to make it again at home. The result is amazing and the softness incomparable! A great option when you’re looking for a good recipe for your gluten-free or lactose-free friends, or for yourself to try out new textures.
Recette pour un moule de 18 ou 20cm :
- 120g egg white
- 115g of neutral rapeseed oil (make sure it is suitable for cooking)
- 95g of sugar
- 65g of rice flour
- 50g of water
- 40g almond powder (with or without skin!)
- 15g of lemon juice
- the zest of an untreated organic lemon
- a good pinch of salt
- 1/2 level teaspoon of baking soda
Instructions :
Put all the ingredients in a container (including the 115g of oil). Preparing the dough will take you 2 minutes.

Zest an organic lemon.


Add the 50g of water and lemon juice, and of course the almond powder and bicarbonate.

Pour the batter into the pan, in which you will have put a paper cut to the size of the bottom. Lightly grease the inner edge with a little oil or release spray.

Bake for 30 minutes at 150°C on heat, then 15 minutes at 140°C with extra steam function if you have, otherwise by putting boiling water in a tray in the bottom of the oven. Turn out of the oven carefully, then place heat-resistant cling film in direct contact with the cake.

Let cool before eating in small portions!

Gluten and lactose free lemon almond cake
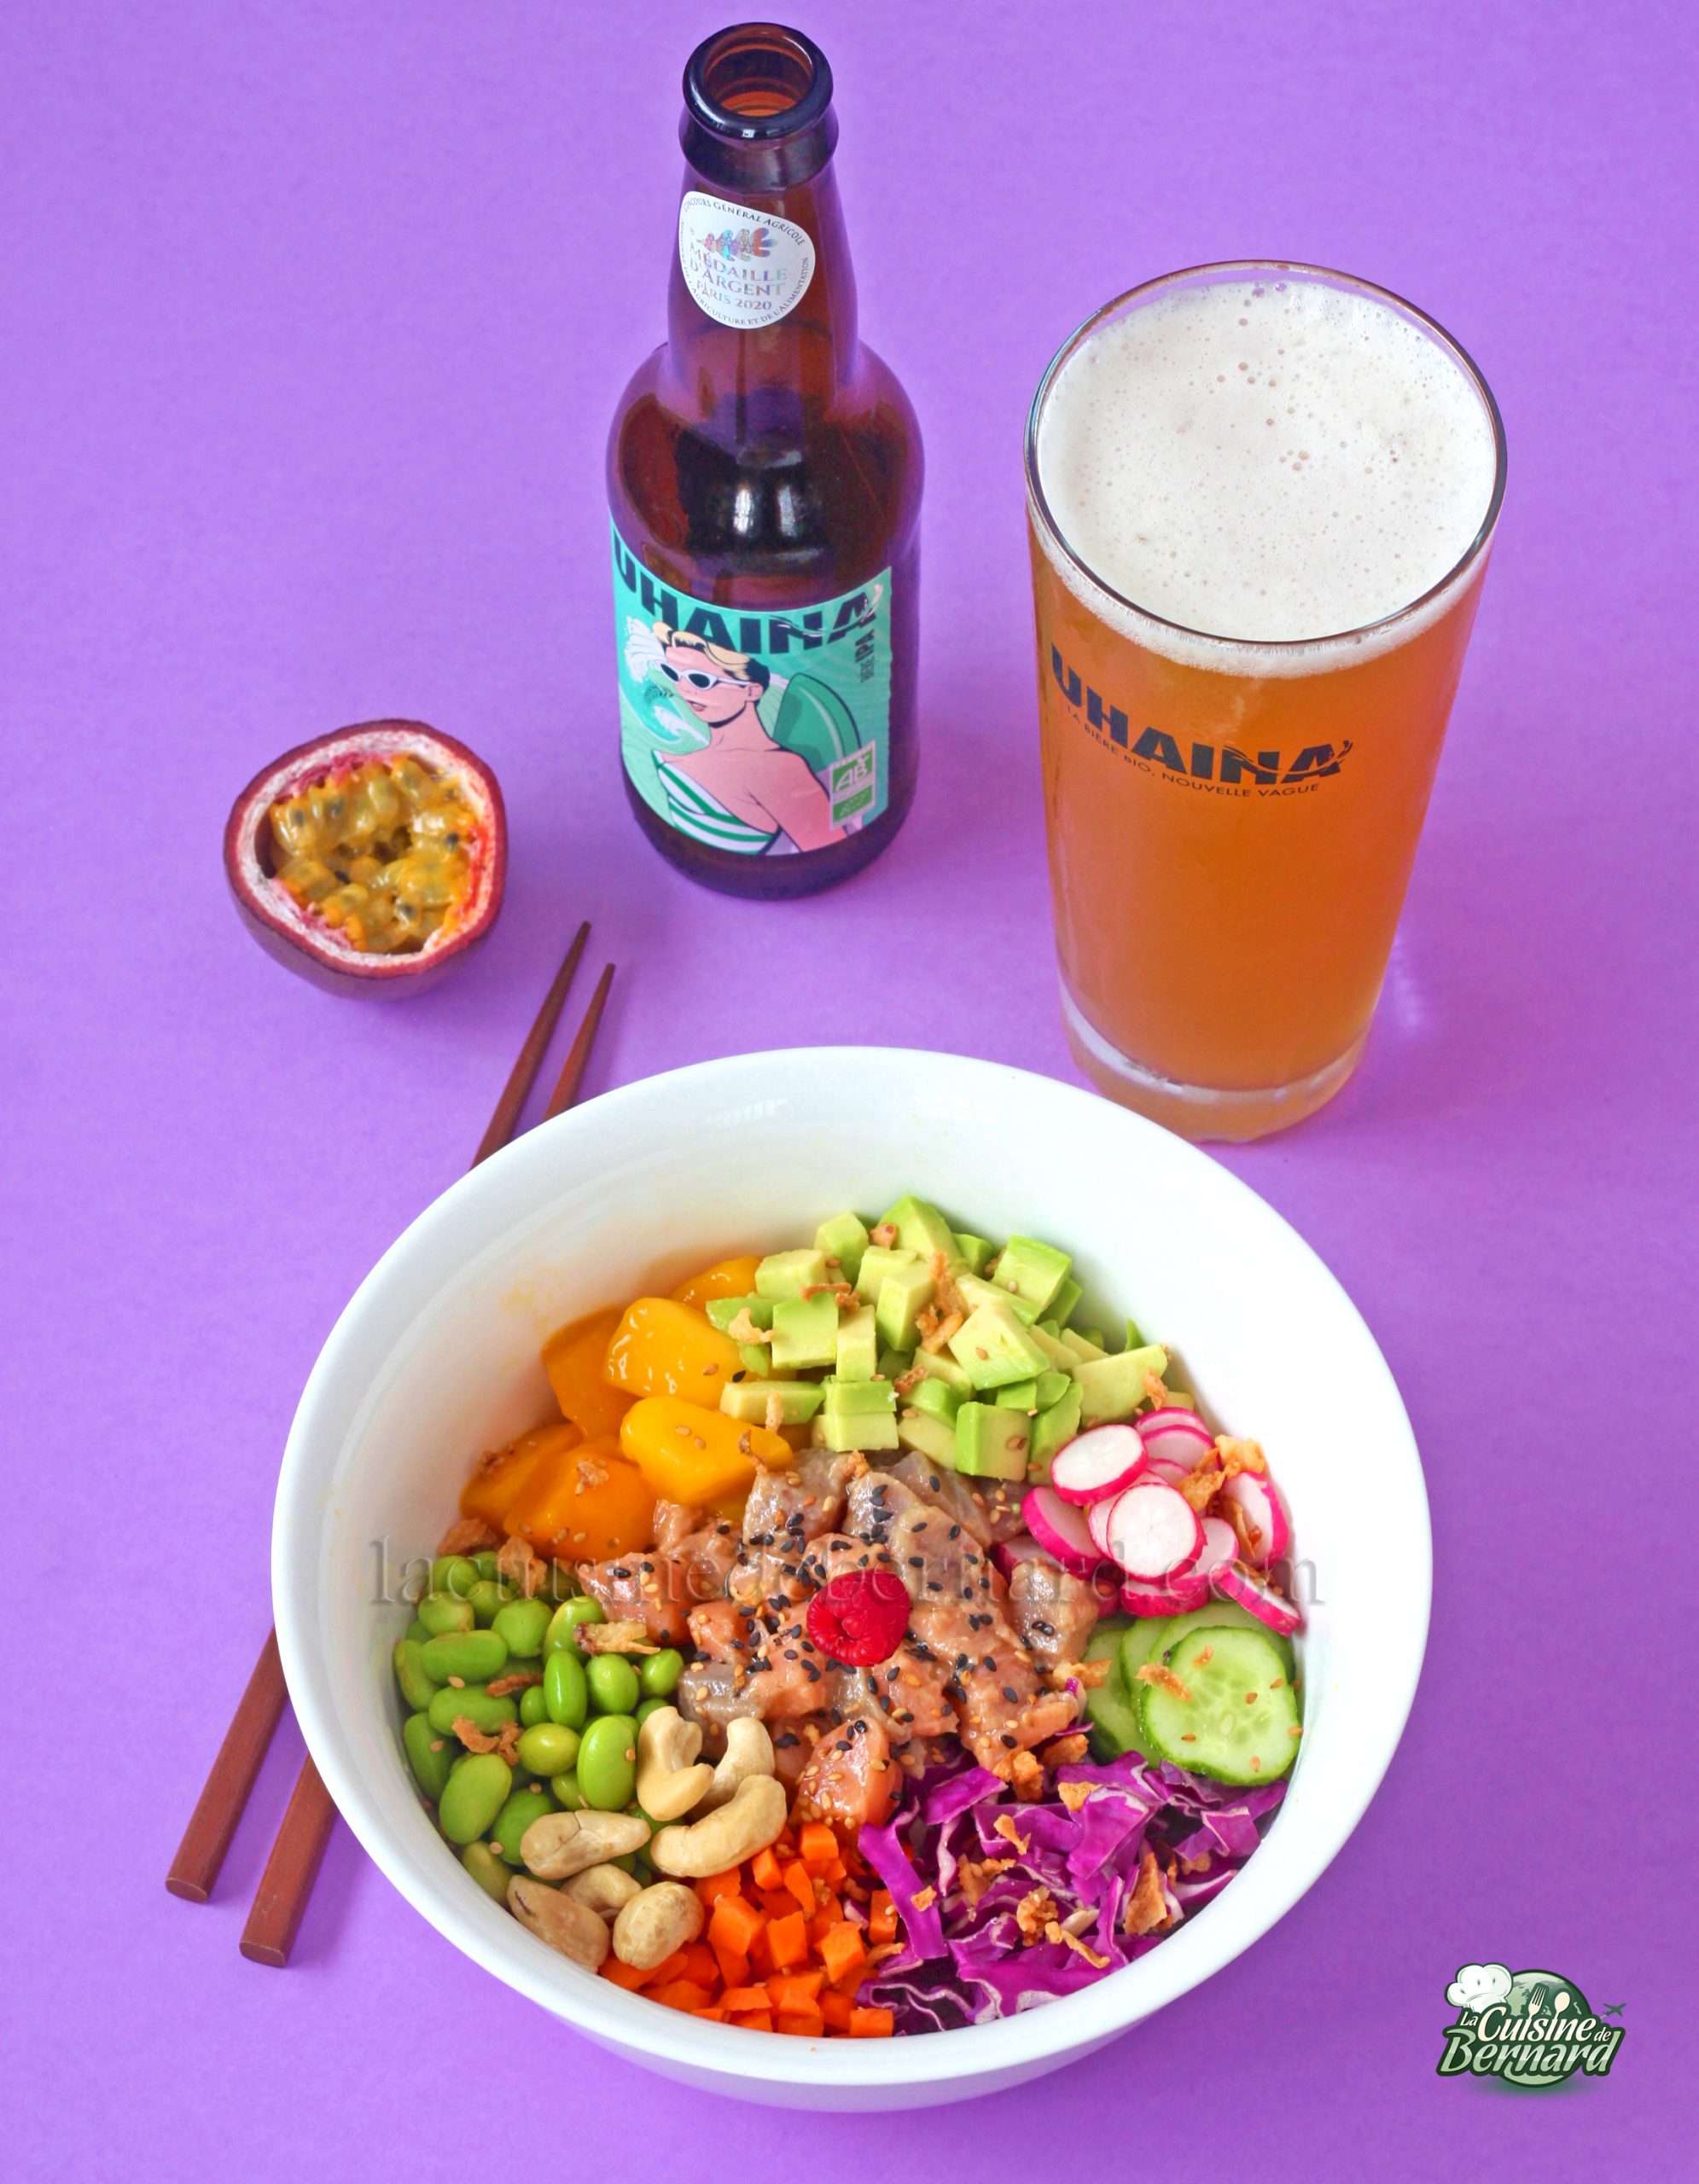
Here is the third and final recipe in partnership with Uhaina Organic Beer. This time I propose you a healthy poke bowl, with whole grain rice, marinated salmon and tuna and lots of good things, to go with an organic beer Uhaina IPA ice cold (silver medal Paris 2020)! It’s summer on the plate! I often cook poke bowls, because the few times I buy them, I’m always a little disappointed, so I might as well make it myself. In addition to that, I put here a mango passion sauce that will deliciously excite the taste buds! Find all Uhaina beers HERE!
Recette du POKE BOWL THON SAUMON SAUCE MANGUE-PASSION :
For 2-3 people:
For rice:
- 200g of brown rice
- 300g of water
- 2 tablespoons of toasted sesame oil
- salt
For fish:
- 1 tuna steak
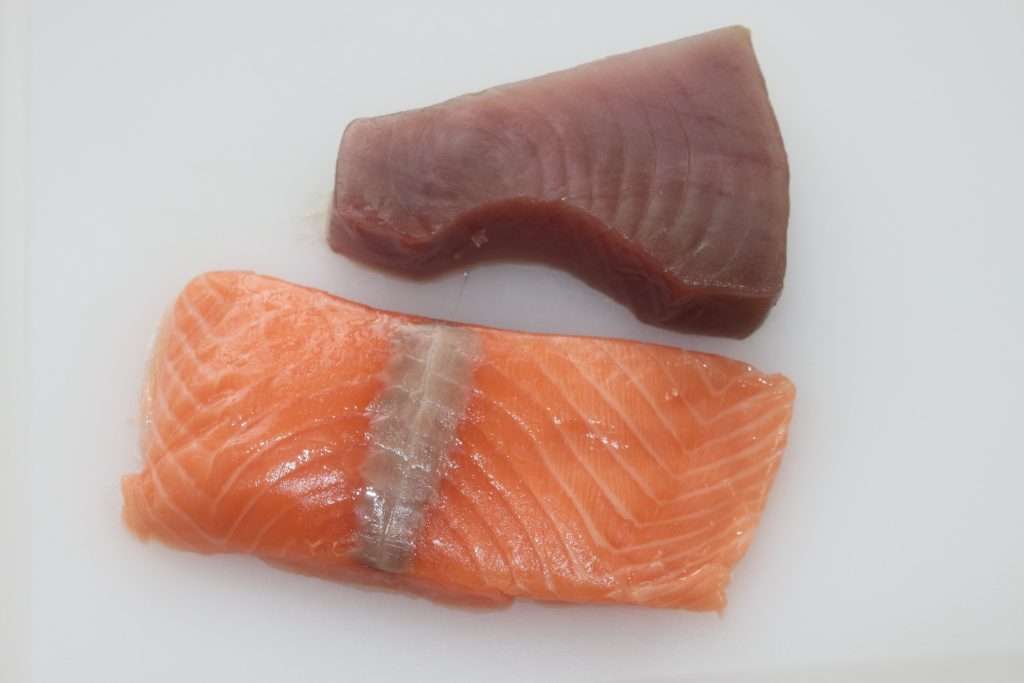
- 1 salmon steak without skin or bones
- 1 tablespoon of lime juice
- 1 tablespoon of ponzu
- 1 tablespoon of toasted sesame oil
- a few sesame seeds
For the rest :
- 1 lawyer
- 1 mango
- some radishes
- 1 carrot
- 1 quarter red cabbage, finely chopped
- 150g of edamame steamed for 12 minutes
- 1 mini cucumber
- some raspberries
- a handful of raw cashews
For the sauce
- 1 passion fruit
- 3 small pieces of mango
- 1 tablespoon of olive oil
- 1 tablespoon of clear soy sauce
- 1cm freshly grated ginger
Instructions :
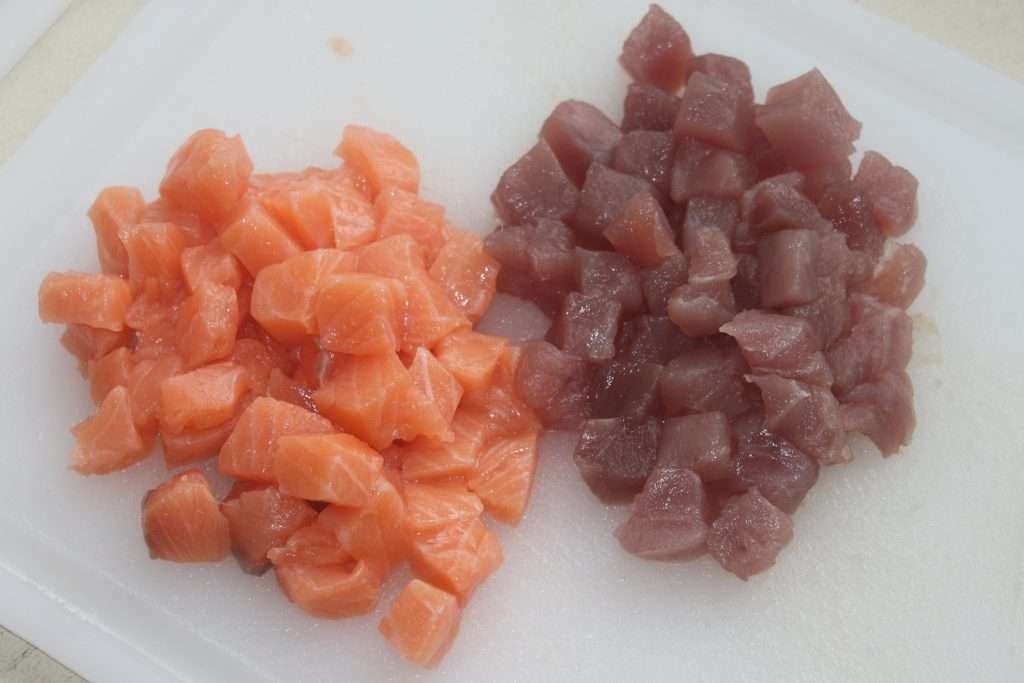
The day before or in the morning, cut the fish into pieces.
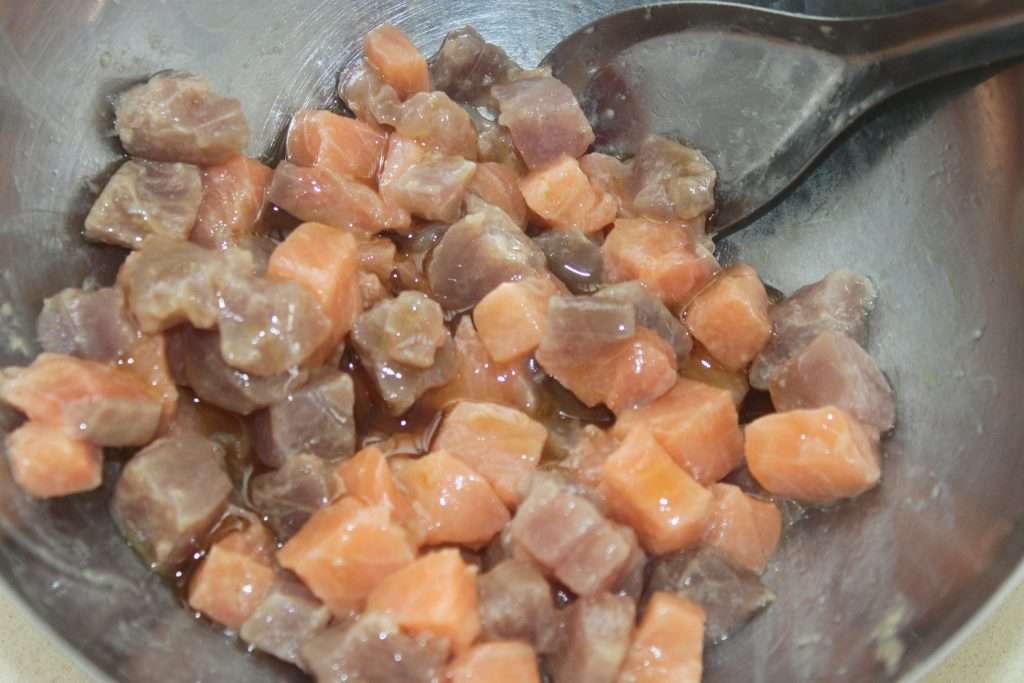
Pour in lime juice, ponzu and toasted sesame oil.

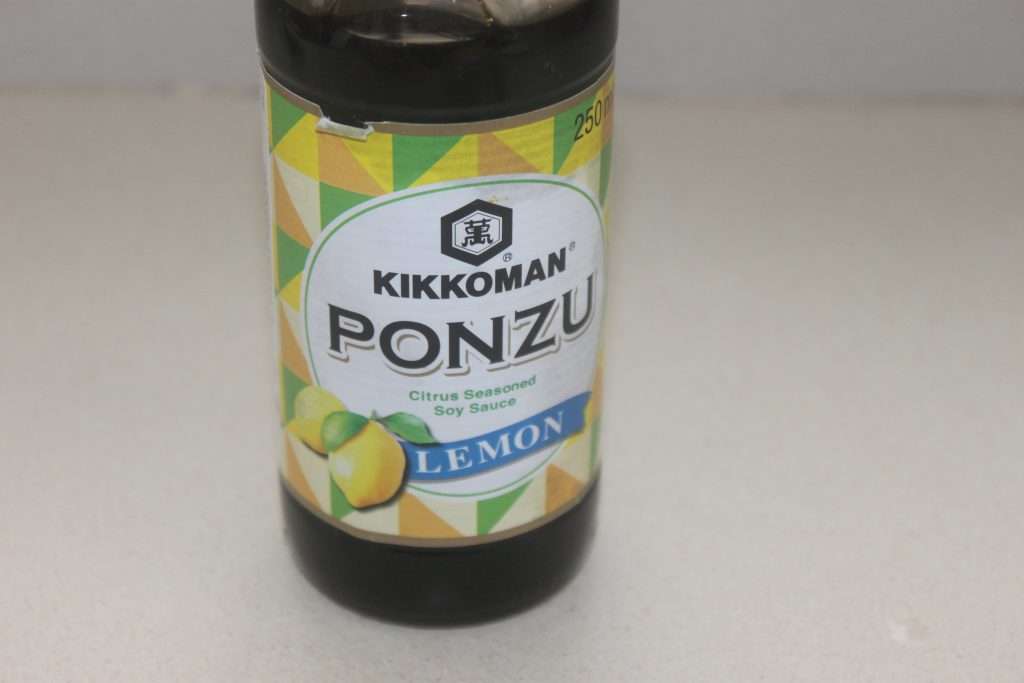
For information, here is the ponzu. It can be replaced by classic soy sauce with 3/4 of yellow lemon juice.
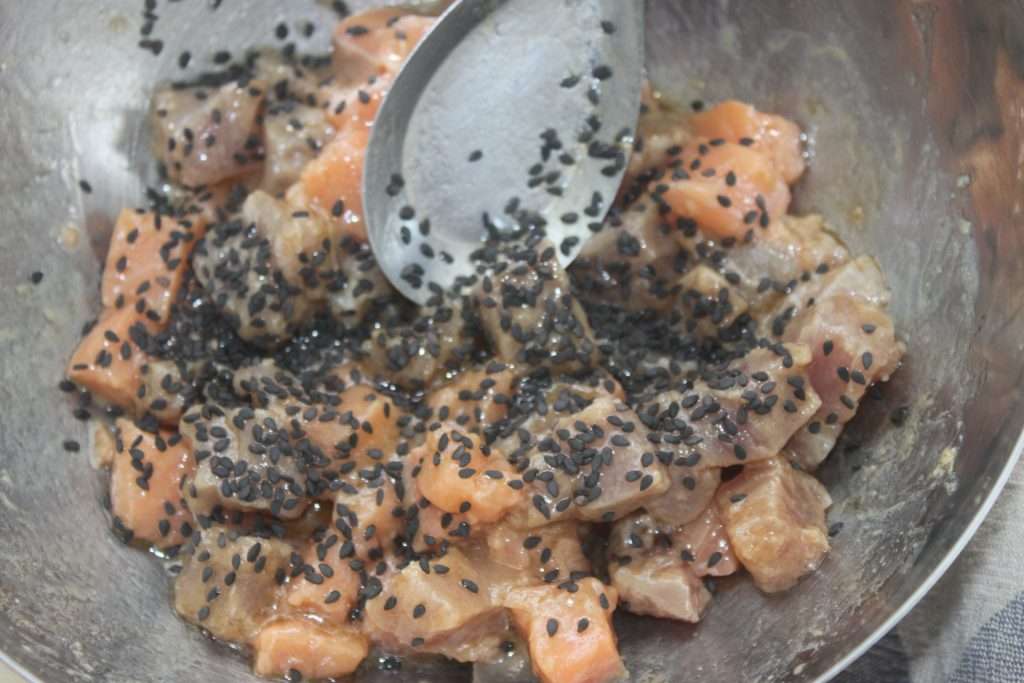
Sprinkle with sesame seeds. Then let it sit overnight or in the morning in a cool place under a cling film.
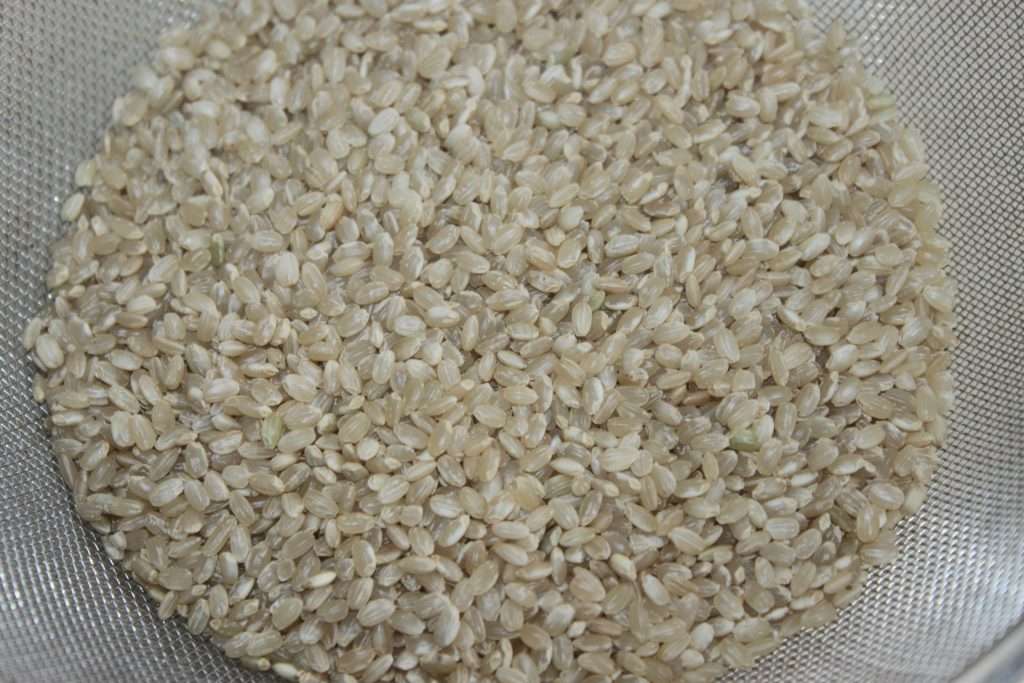
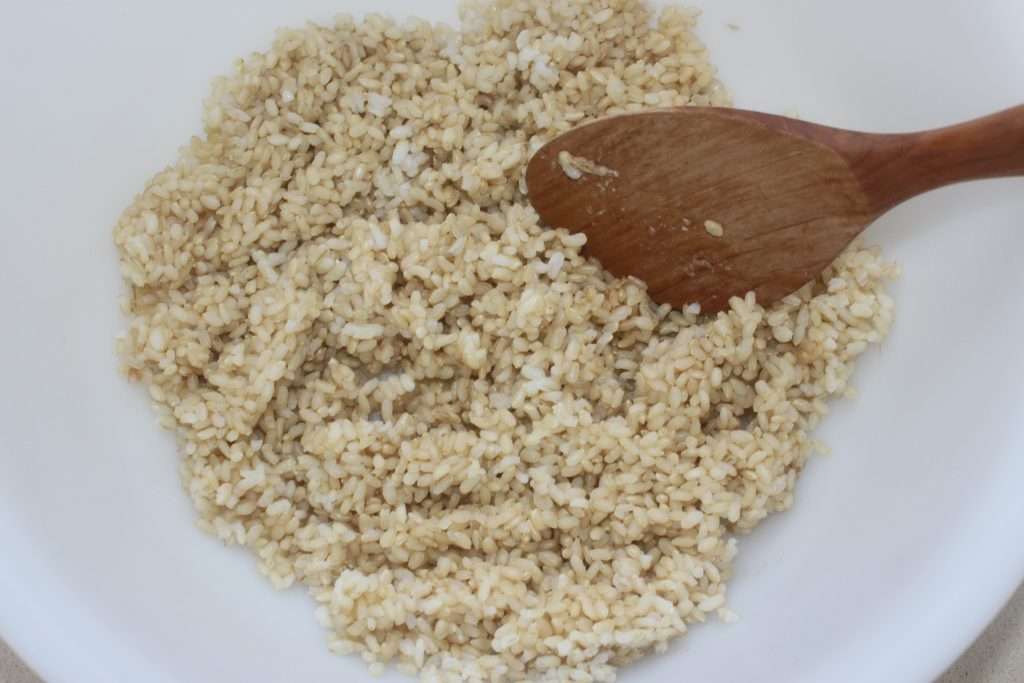
The next day, cook the brown rice. Wash it in cold water for 1 minute. Place it in a rice cooker with 300g of water, close the lid and start.
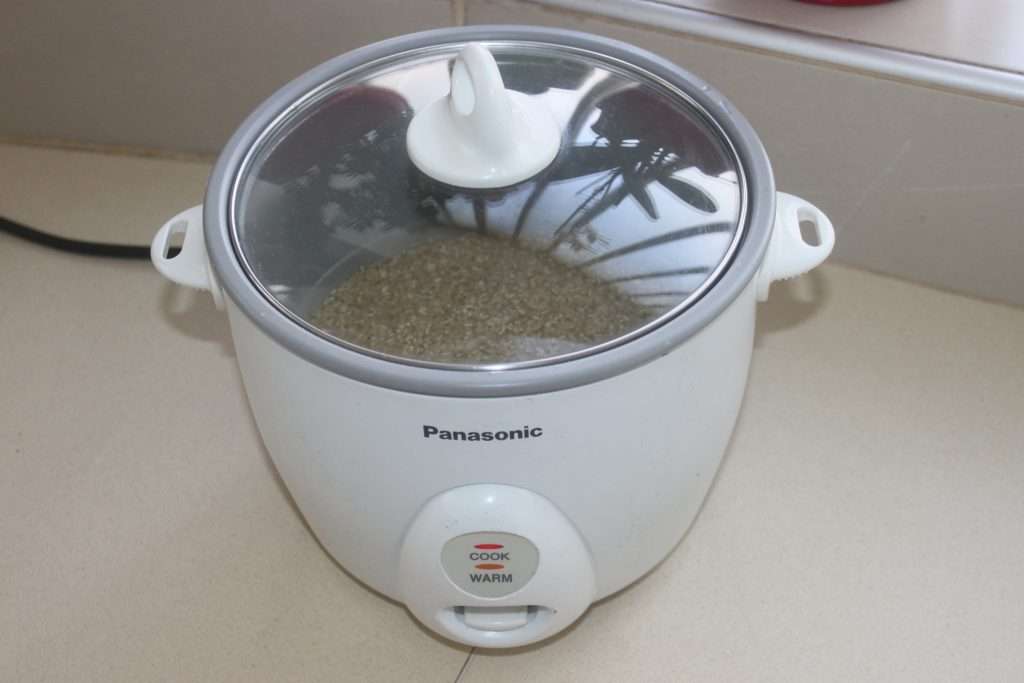
When the rice is cooked, pour in the sesame oil and salt to taste.
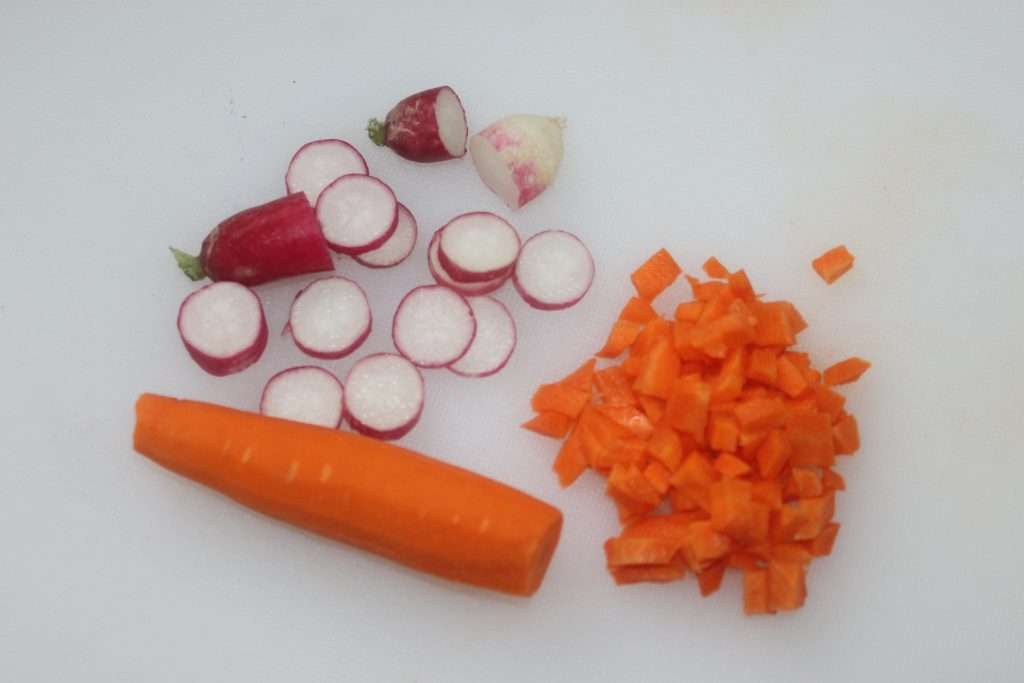
While the rice is cooking, take the opportunity to cut the vegetables and fruits into pieces. There are also avocados, red cabbage. Don’t forget to cook the edamame, which can be replaced by peas.
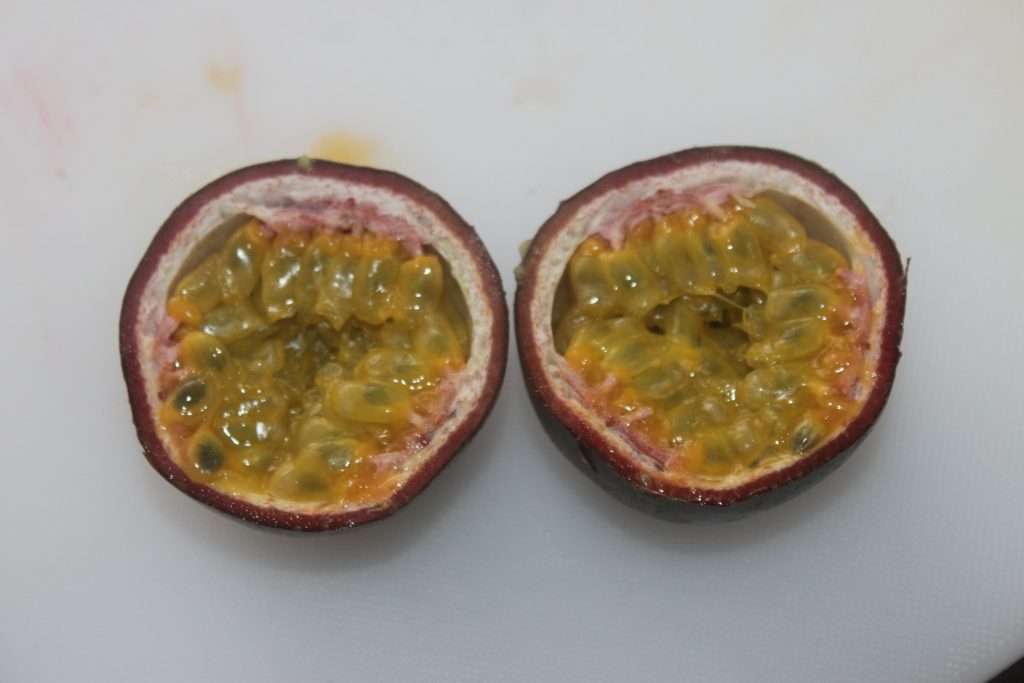
For the sauce, use the flesh of a beautiful passion fruit.
Add olive oil and soy sauce.
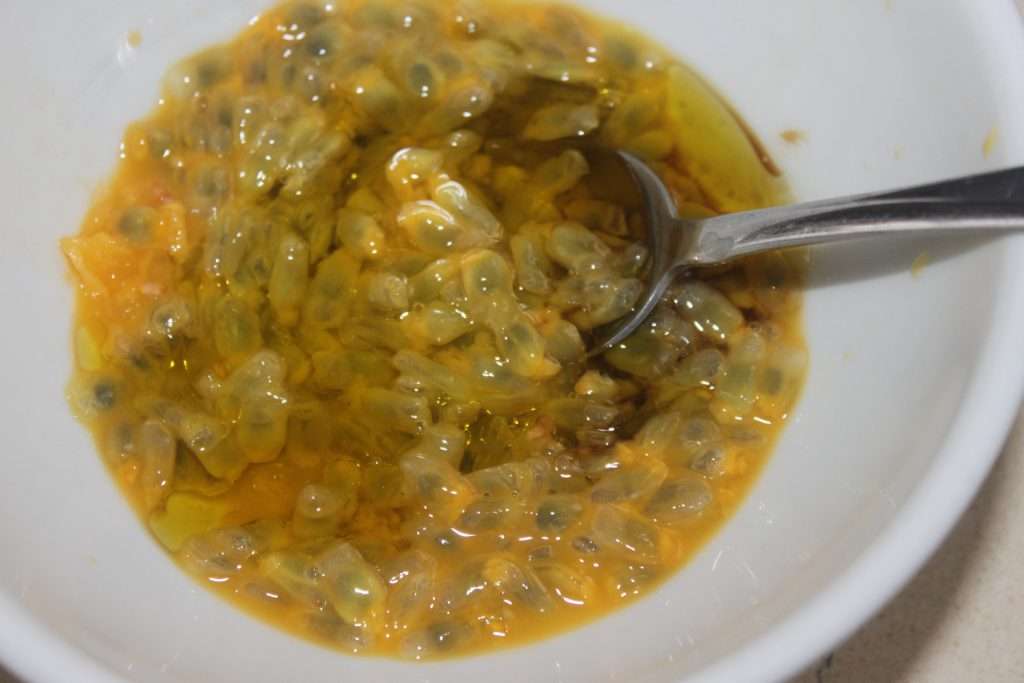
Mix well then pour into a small sieve placed over a bowl.
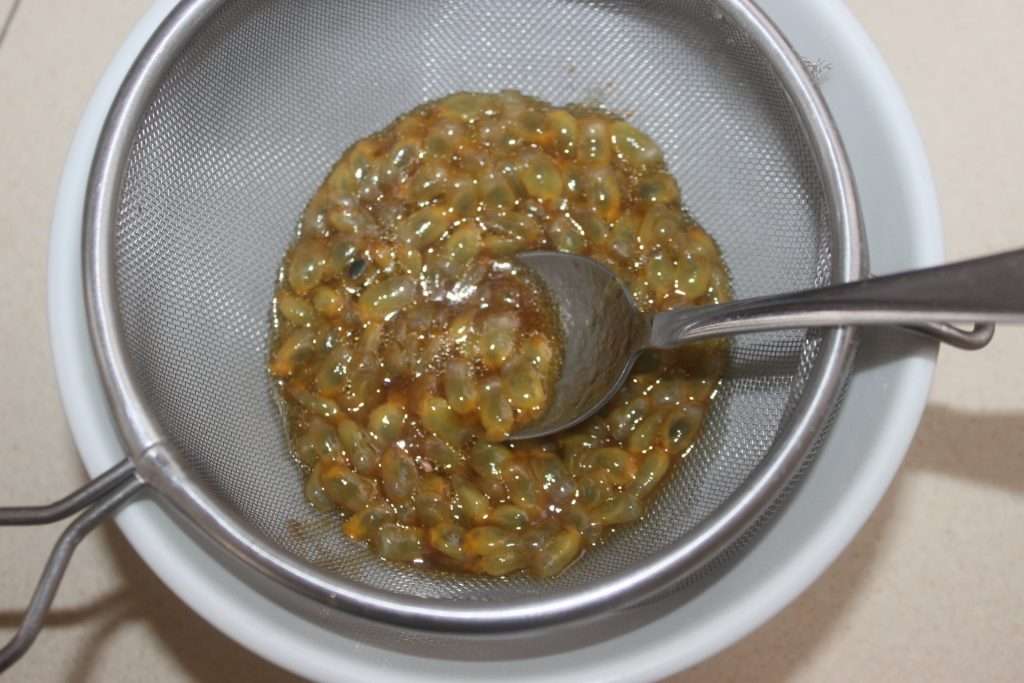
Add 2-3 pieces of mango. I had taken frozen mango which crushes well. Crush it well with a fork and then mix it in the sieve. Stir so that all the liquid falls to the bottom. Only the seeds of the passion fruit will remain in the sieve. It is therefore necessary to crush the mango!
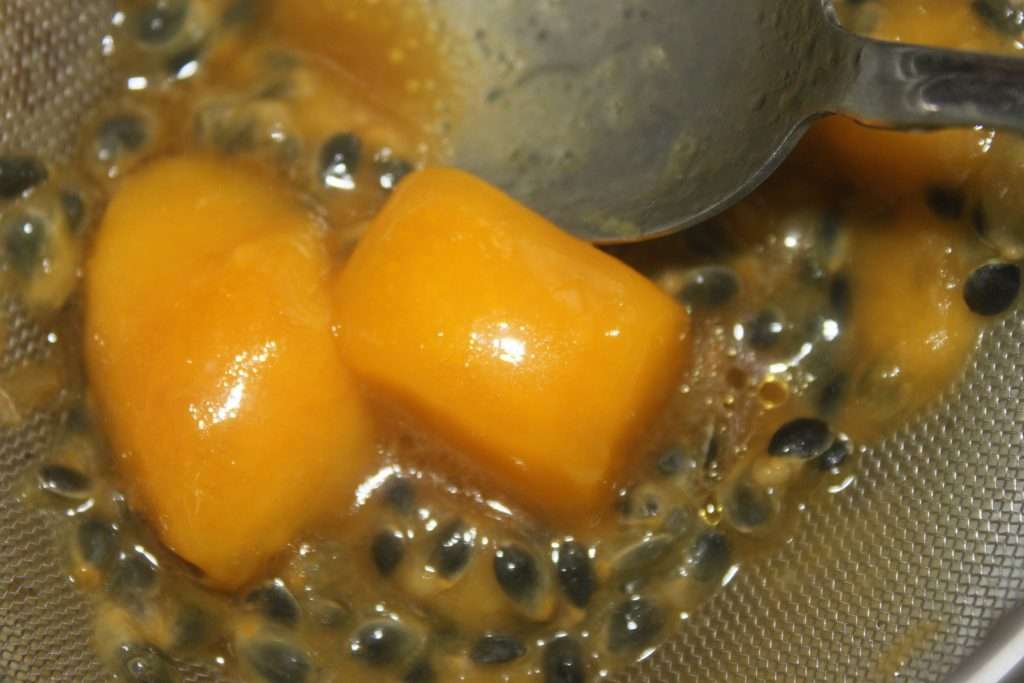
You will get a very liquid and tasty sauce.
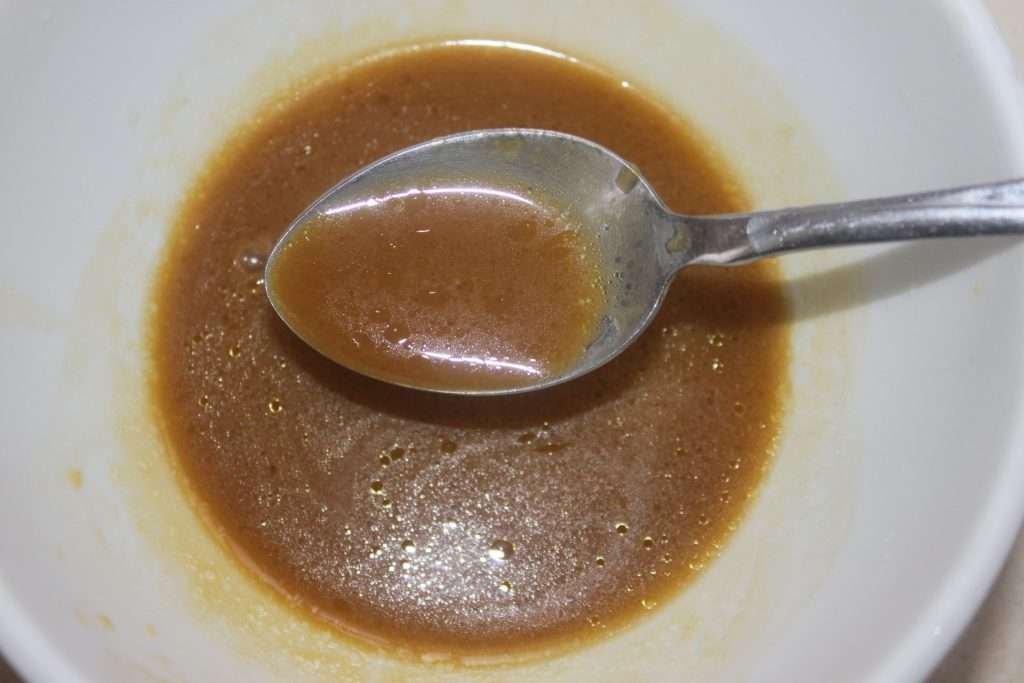
Take two bowls (for big eaters like me). I think we can serve even 3 or 4 people with all this!
Pour the rice in the bottom, arrange the fish, then the rest of the ingredients. Make the sauce available and serve without delay!
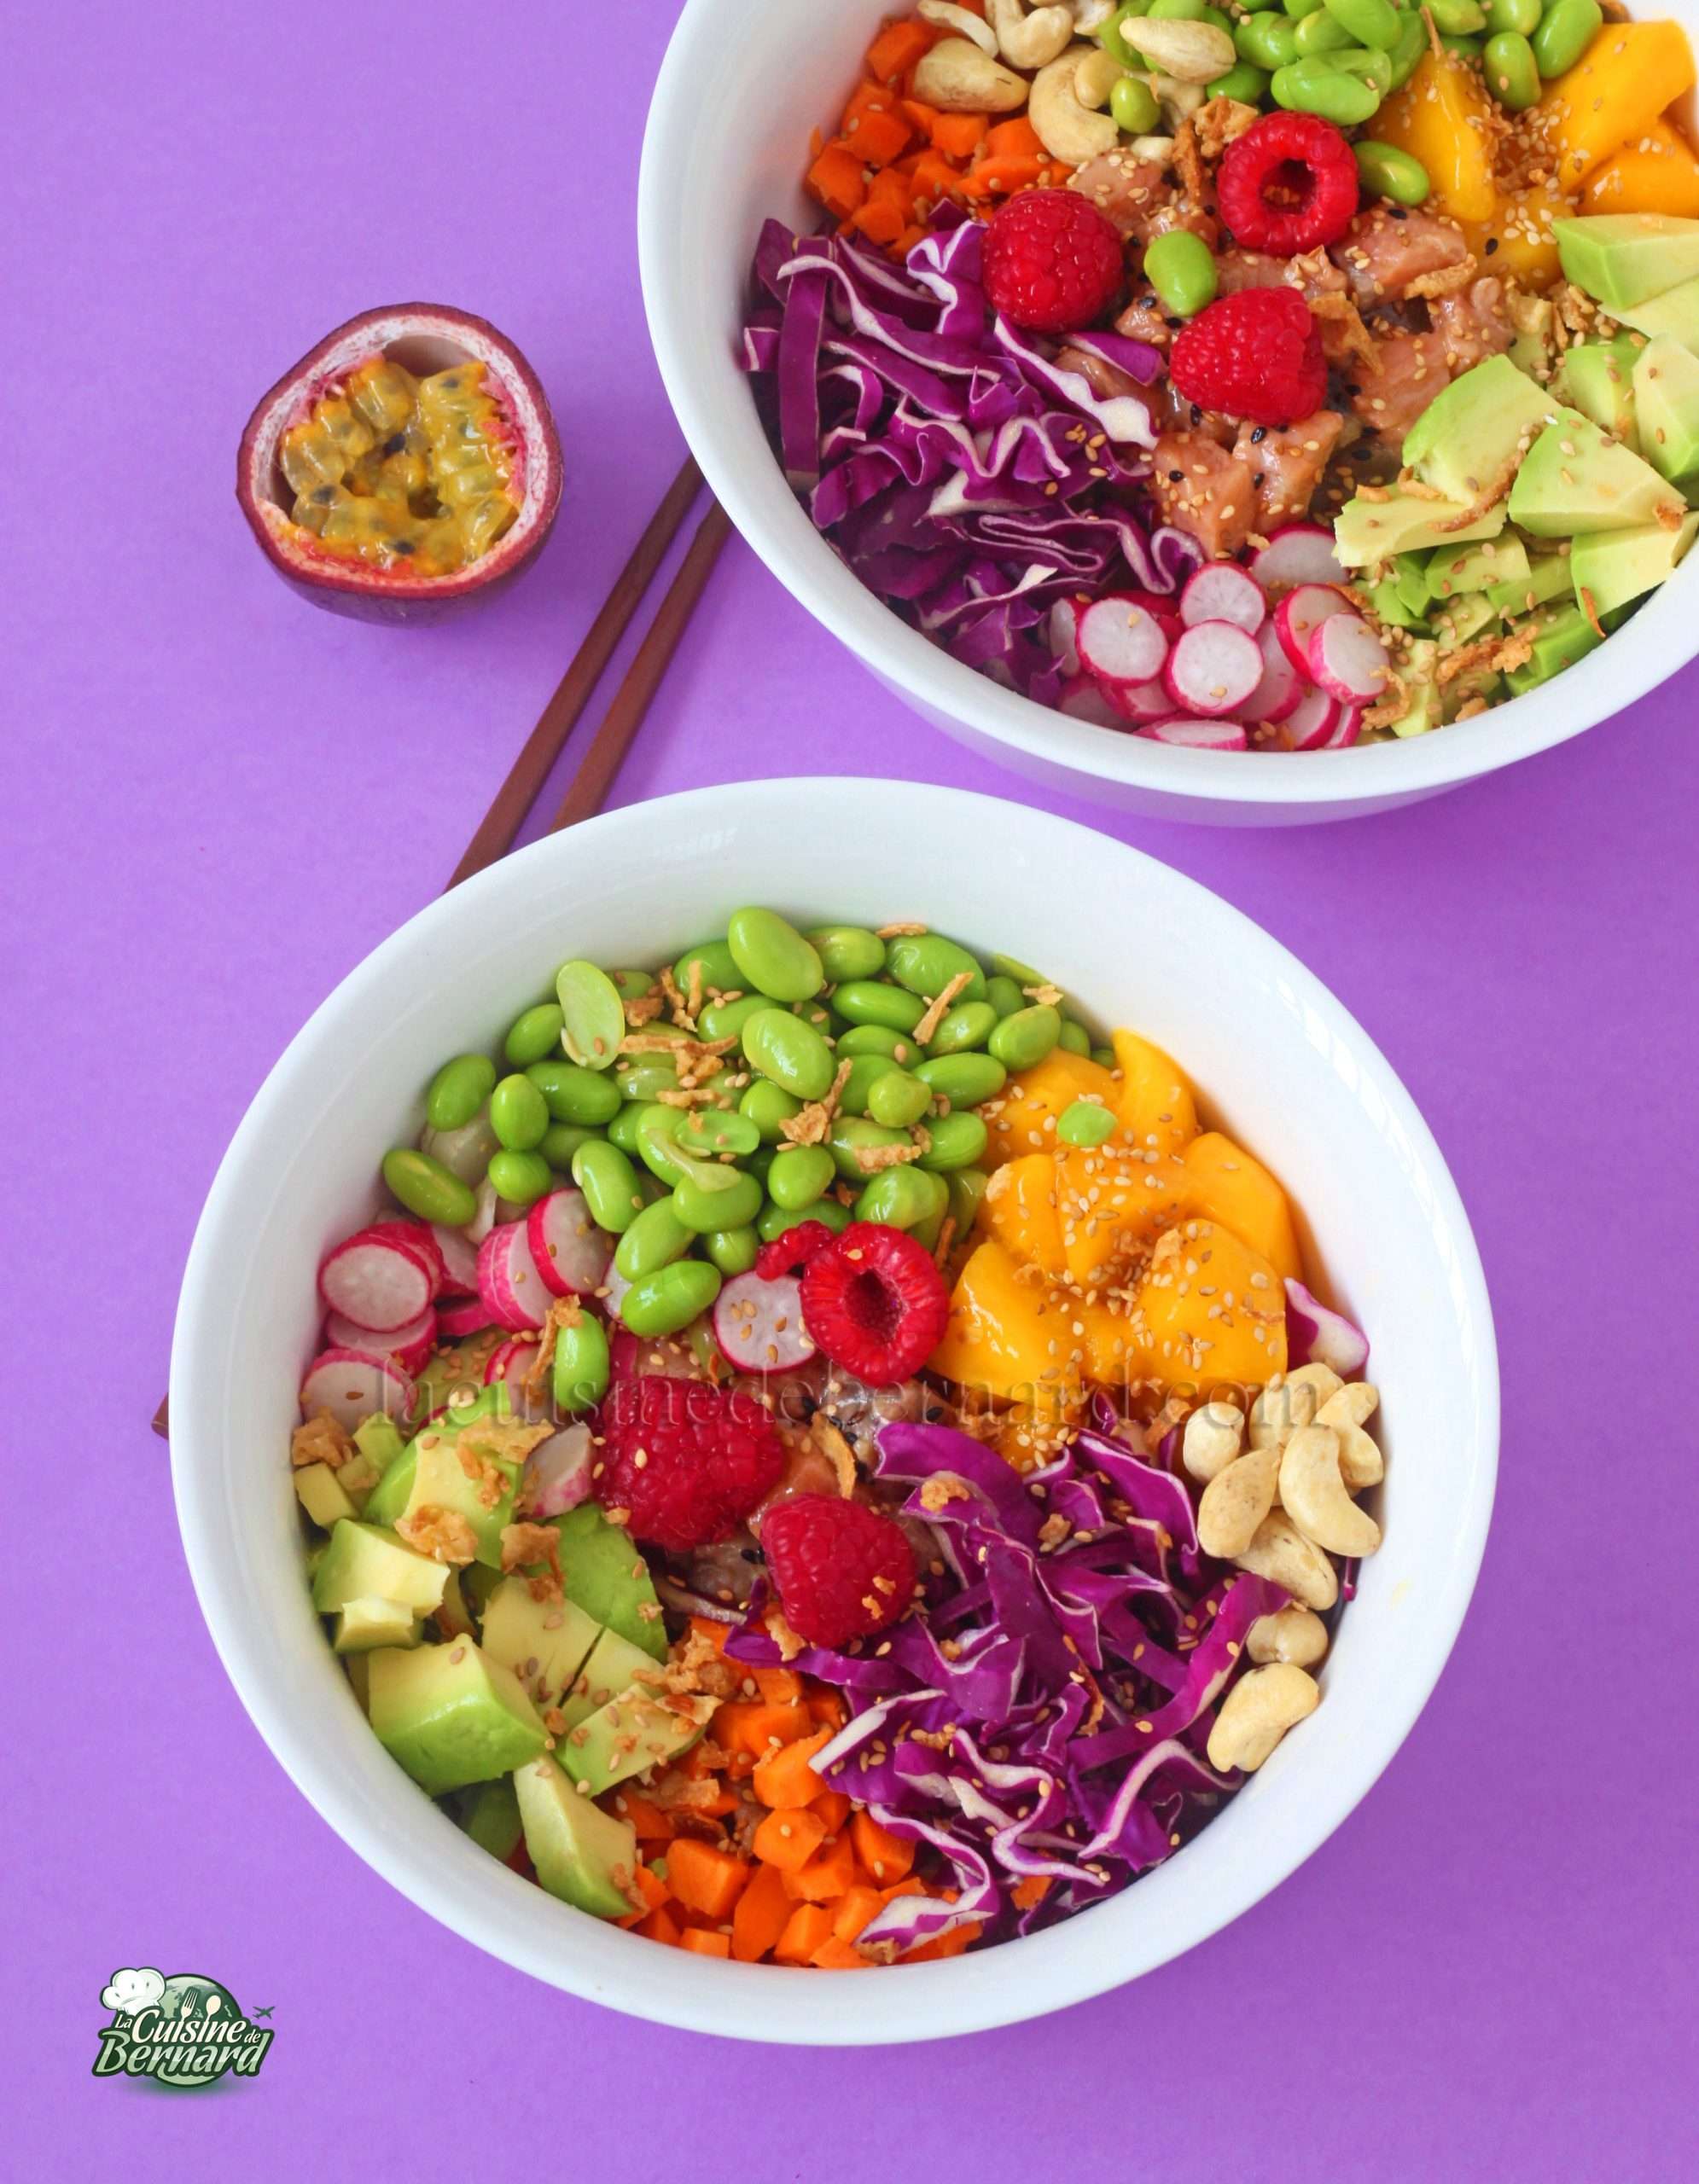
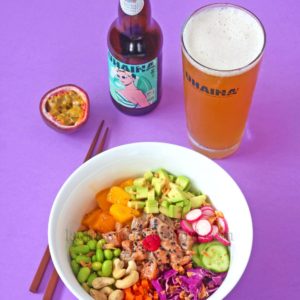
Tuna salmon poke bowl with mango-passion sauce

Here is my second recipe (out of 3) for my partnership with Uhaina organic beers! This time I propose an American fried chicken that will be perfect with an ice cold lager! I give you all the little secrets to get the beautiful texture of the chicken. It should be cooked well and not fried in too hot oil, which will color the chicken without cooking it inside. With a sauce and a good salad to accompany it, it smells like a vacation with friends!
Recette du FRIED CHICKEN :
For 4 people :
For the chicken:
- 4 chicken legs with thighs
- 4 tablespoons of ketchup
- 2 teaspoons of clear soy sauce
- 1 teaspoon garlic powder
- 1 teaspoon onion powder
- salt pepper
For the breading:
- 360g of flour
- 80g of cornstarch
- 1 half teaspoon paprika
- 1 half teaspoon curry powder
- 1 teaspoon garlic powder
- 1 teaspoon onion powder
- 1 good pinch of hot pepper powder
- salt pepper
For the sauce:
- 1 egg
- 20g of vinegar
- 190g of oil
- 1 teaspoon onion powder
- 1 teaspoon garlic powder
- 50g of heavy cream
- 1 spoonful of dehydrated parsley
- 1 spoonful of dehydrated chives
- 1 spoonful of dehydrated dill
- salt, pepper, chilli
Instructions :
Take the thighs (in photo 3, but take 4). Separate the thighs from the tops.

Remove excess fat.

Pour into a container with the marinade ingredients. Season with salt and pepper. Mix carefully.


Let it rest while you prepare the next step. Pour the breading ingredients into another large container. I use garlic and onion powder and not semolina.


Add the spices. Season with salt and pepper.

Place a piece of chicken in the breading and wrap it well.


Do the same for all the pieces.

To get the special texture, dip the chicken in a bowl of cold water for a second and then put it right back into the breading.

This second bath of breading will give the texture of fried chicken.


Heat a wok or frying pan with at least 4 cm of oil. The oil should be hot, but not too hot, otherwise the chicken will over color without having time to cook inside.

The chicken needs to cook for about 9-10 minutes to be cooked in, so adjust the heat of the oil.

Meanwhile, prepare the sauce. Place the whole egg in a high-sided blender jar. Pour in the vinegar and oil. Add salt and pepper and a little chilli pepper if desired.

Blend from the bottom up and then very gently to emulsify the sauce as it thickens.


This is the garlic and onion powder. Add to the sauce with the cream.

Pour in the dehydrated herbs as well.

Serve the chicken hot with the sauce at hand.
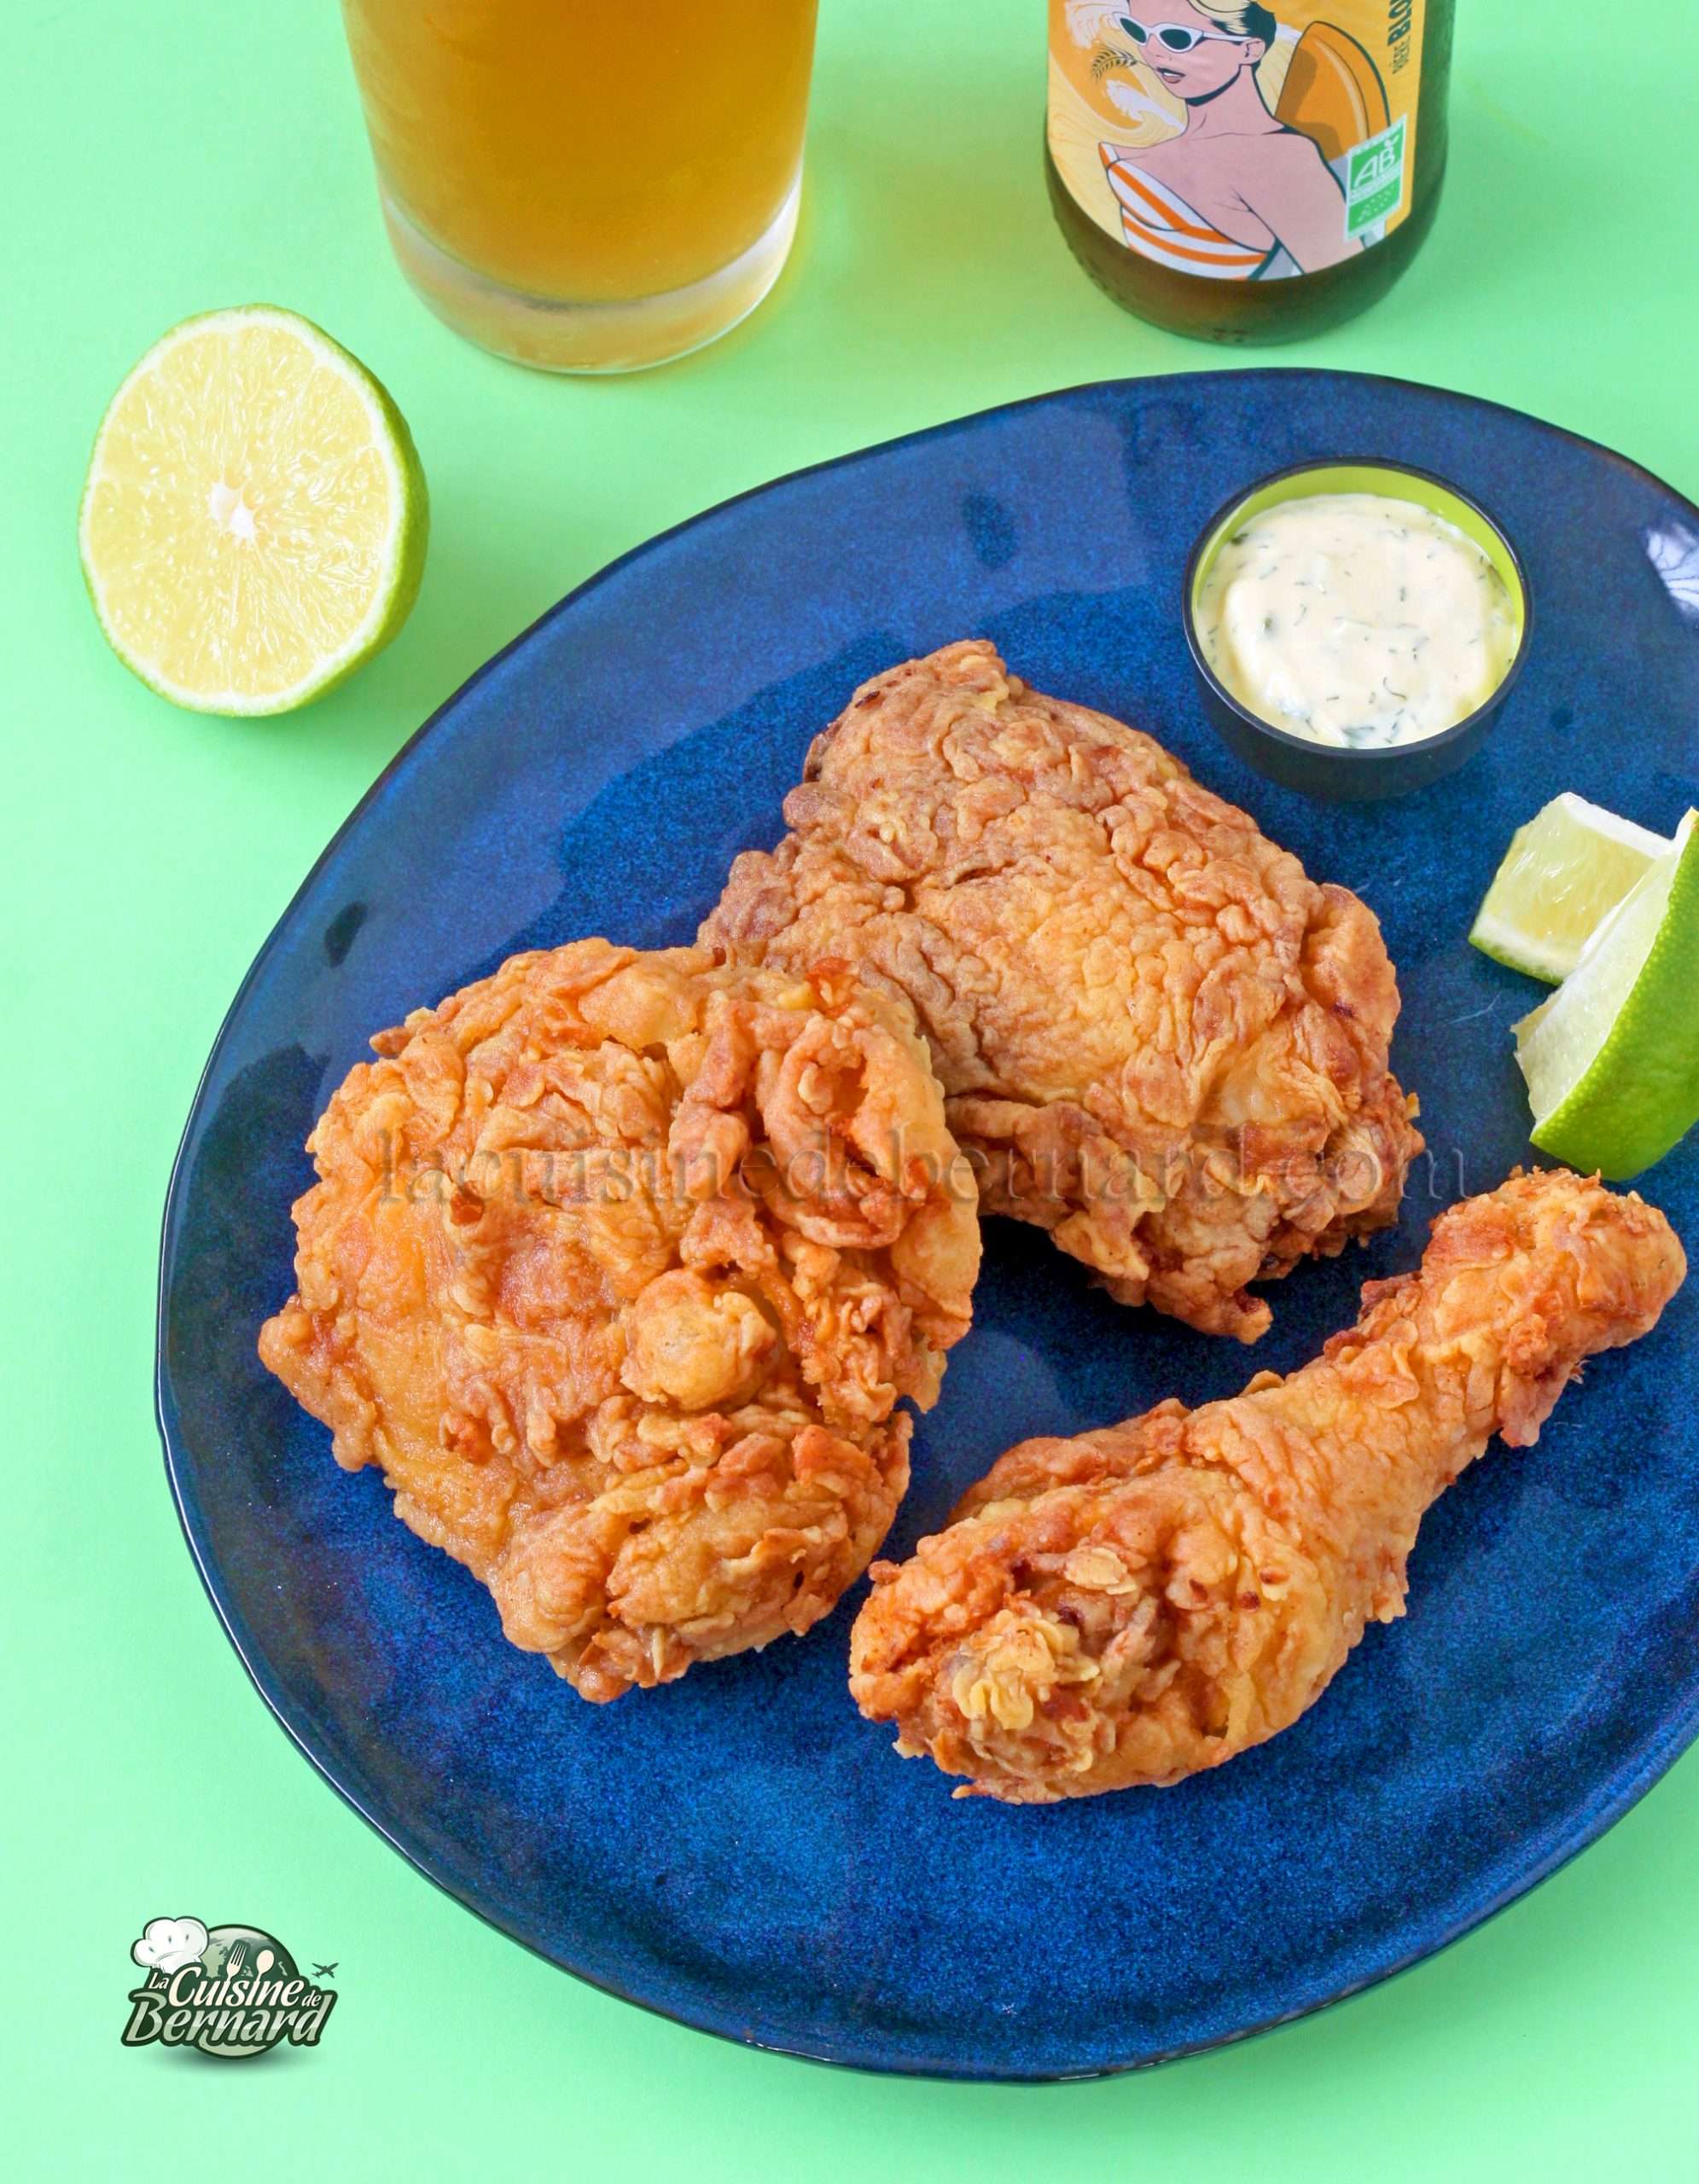

Fried Chicken
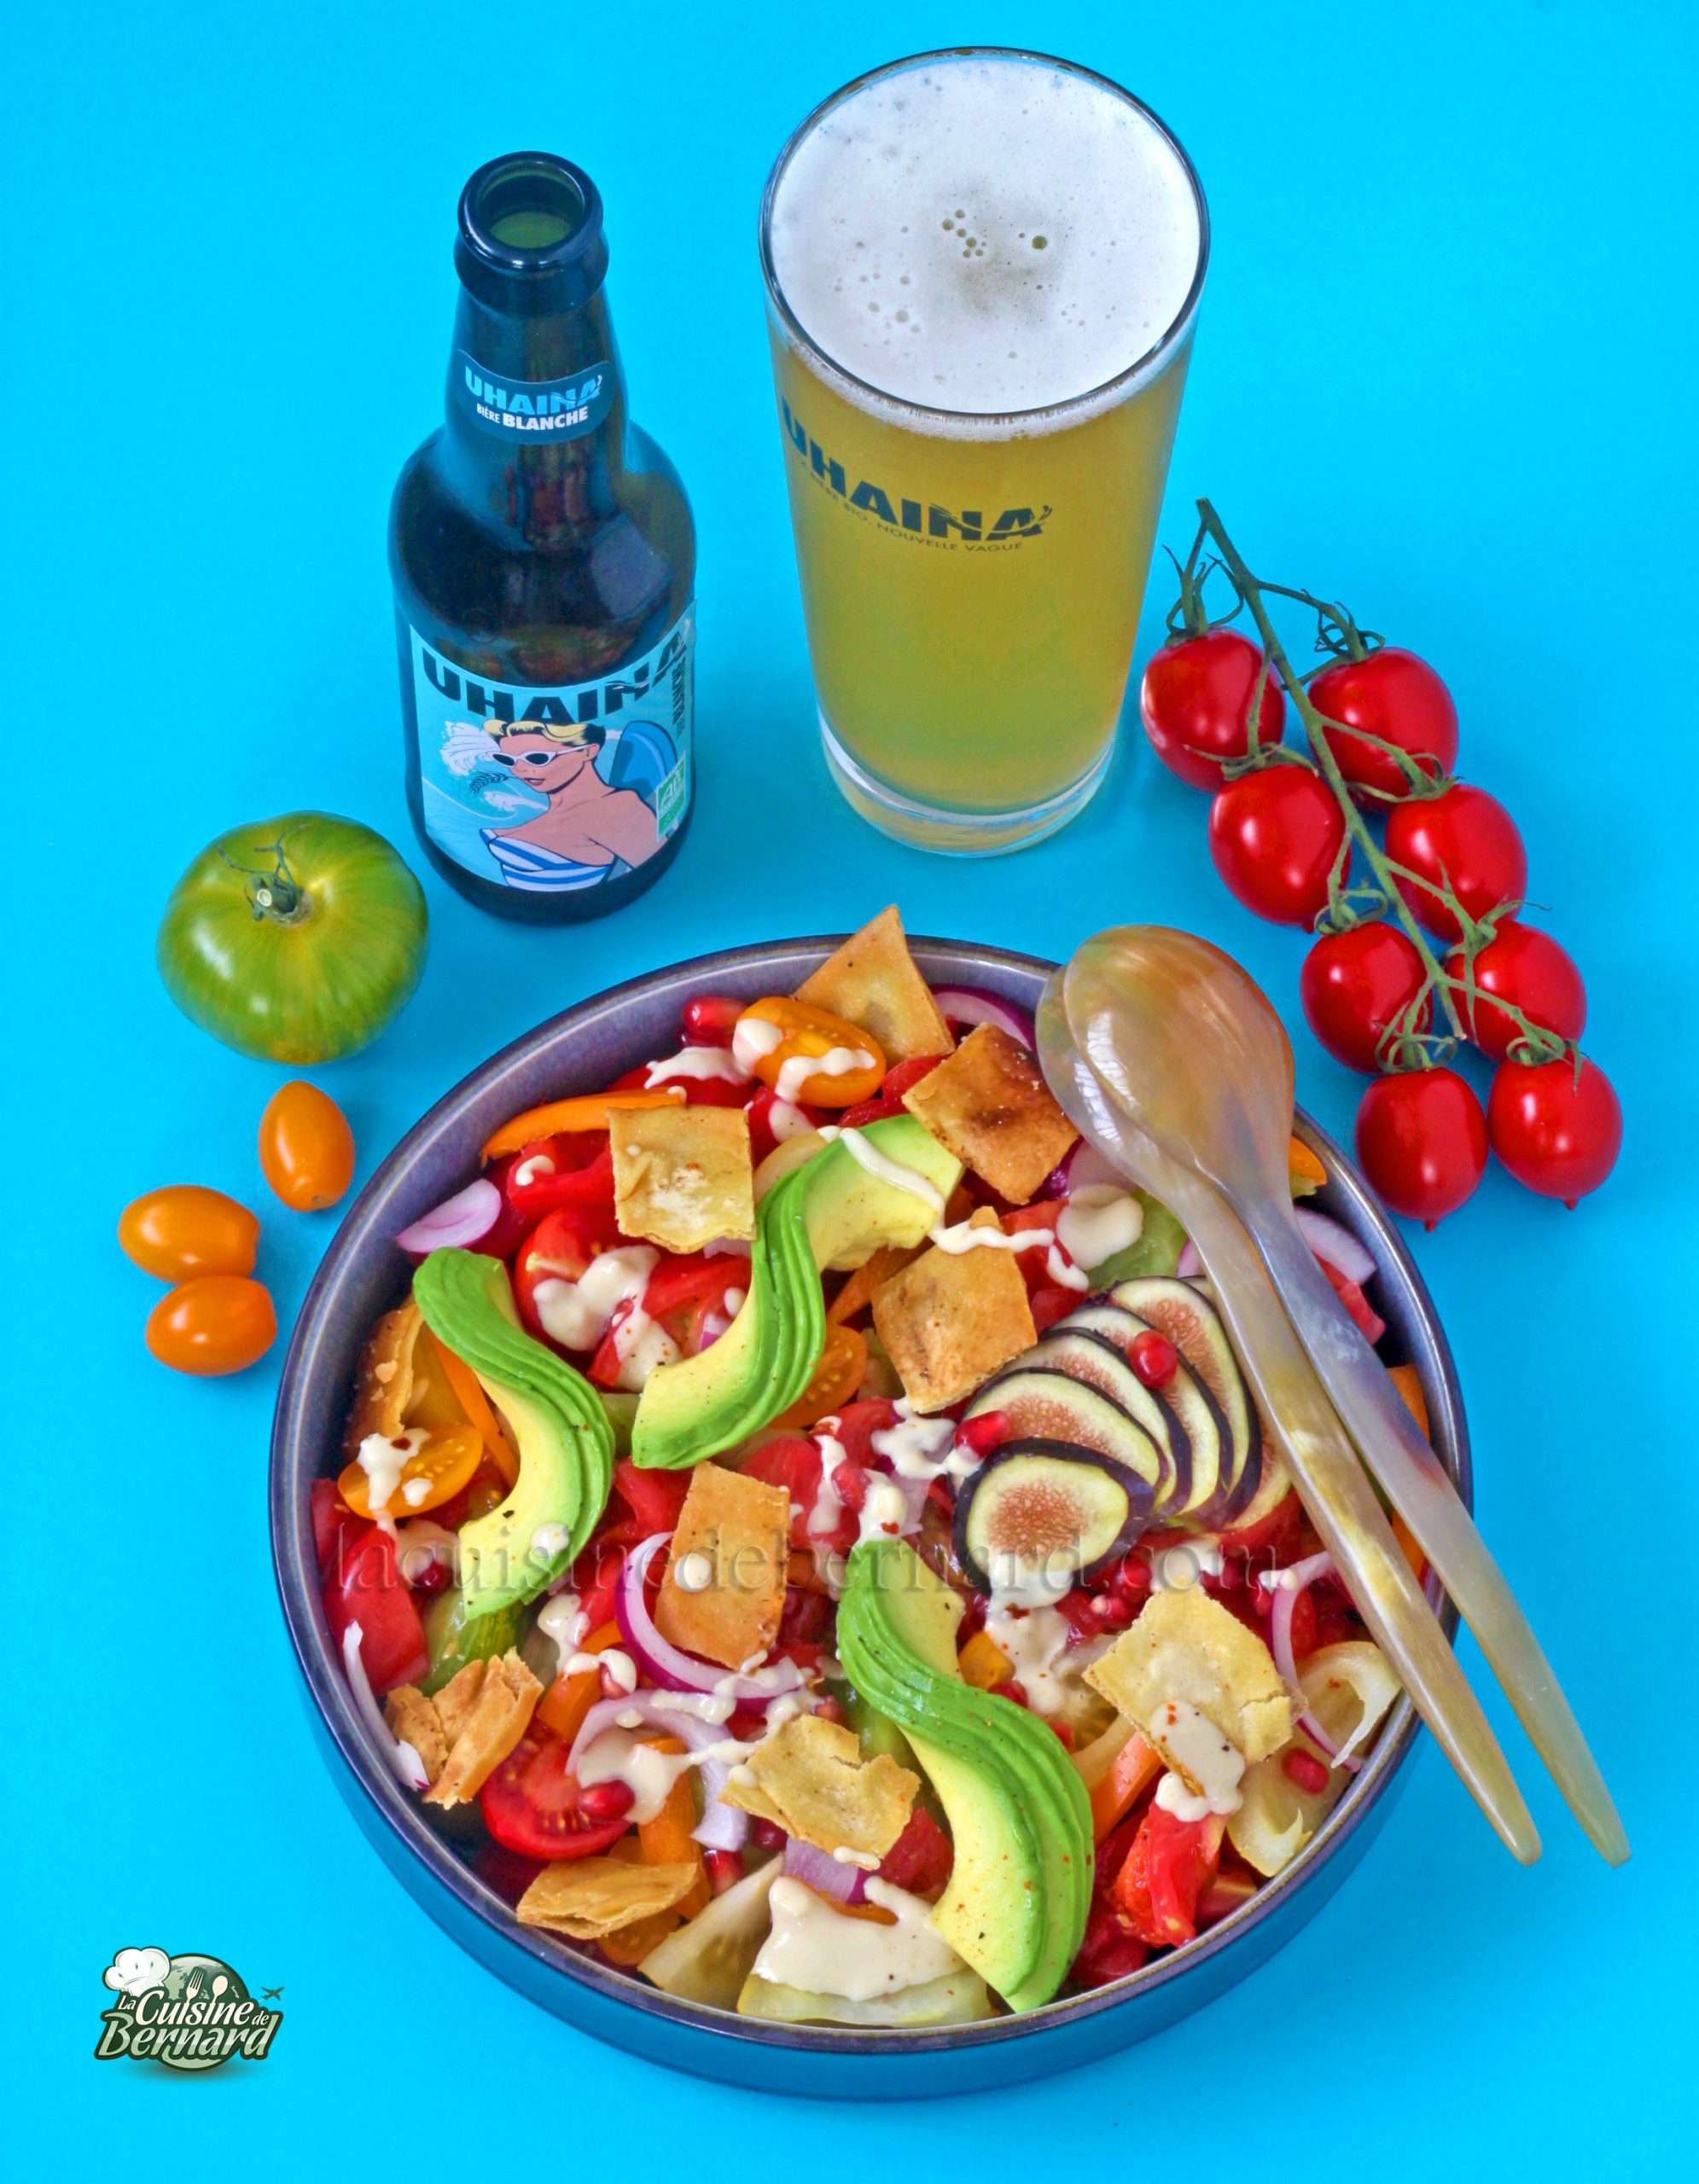
Let’s go for 3 recipes in partnership with Uhaina organic beer! I love ice cold beer in summer and I was asked to create 3 sunny recipes for this original French organic brand. We start with the white one with a colorful and crunchy salad, full of good things, amazing textures and delicious flavors. I suggest a tomato salad, with avocado, figs, bell pepper, pomegranate seeds, red onions, crispy Lebanese bread with olive oil, but most of all a very tasty sesame cream sauce!
Ingrédients de la “Salade craquante d’été”:
For 4 people :
- 1 kilo of mixed tomatoes
- 3 Lebanese flat breads “khabez
- 1 red onion
- 1 bell pepper
- 1 lawyer
- 1 pomegranate
- 2-3 figs
- olive oil
- salt pepper
Tahine Sauce
- 100g of tahini (sesame puree)
- 100ml of water
- 25g of olive oil
- 15g of white vinegar
- 1 teaspoon agave or maple syrup
- 1 clove of garlic
- salt, pepper, chilli
To be added:
- Pecan nuts
- Coriander leaves
Instructions:
Start by cutting the Lebanese flatbread into pieces. I used a pizza cutter, but you can obviously do it with a knife.


Place the pieces on a baking sheet and sprinkle generously with olive oil.

Add salt and pepper (I also added a little chili pepper).

Bake in the oven at 180°C on revolving heat for 12 minutes.

The bread becomes ultra crispy. You can keep it several weeks in an airtight box.
For the tomatoes, take the ones you like and don’t hesitate to take many beautiful colors and different shapes.

Cut them into pieces or quarters.

Place them in your salad bowl.

Peel and cut the red onion into thin strips, remove the seeds from the bell pepper and cut into strips.


The same goes for avocado. If you make very thin slices, you can twist it nicely!

For the sauce, place all ingredients in a large bowl. For the garlic, I peel it and crush it with a garlic press. Add salt, pepper and spice to taste.

With the water, the sauce becomes as creamy as you like!

To serve it is simple, gather all the ingredients in your salad bowl. Sprinkle with pomegranate seeds, add the figs cut into strips or pieces, put the crispy bread at will. Put the creamy tahini sauce at your disposal. Serve the dish this way as it is still very beautiful.
As soon as you mix it, it obviously becomes less pretty, but on the other hand ultra tasty. The crusty bread will also soak up the sauce and still have a great texture.

Feel free to add cilantro and oilseeds like a few pecans. To be enjoyed chilled with an ice cold Uhaina beer!
Find the entire Uhaina line on their website HERE.


