

Pour ceux qui possèdent mon livre Scandaleusement Décadent, paru chez Flammarion en novembre dernier, vous aurez peut-être remarqué cette recette avec une gaufrette en forme de nid d’abeille. J’avais précisé que je donnerai le processus sur le blog, mais je n’avais jamais trouvé le temps de le faire. C’est enfin chose faite ! Je vous explique comment j’ai crée mon propre moule en silicone alimentaire, résistant à la chaleur pour y cuire ces jolies gaufrettes. Bien sûr vous pourrez appliquer cette méthode à d’autres choses qu’un baticadre à abeilles ! Et pour ceux qui ne l’ont pas encore, le livre est en vente chez votre libraire ou sur internet !

Recette pour un moule :
- Un pot de silicone alimentaire 3428 et son catalyseur
- Un baticadre à ruche en PVC
Instructions :
Voici le fameux silicone alimentaire 3428 sui résiste à la chaleur et donc à la cuisson, comme les moules Silikomart ou de marque similaire. J’ai acheté le mien ICI.

Pour avoir le moule nid d’abeille, j’ai acheté un baticadre de hausse dadant en PVC. On peut le trouver par exemple ICI. Celui-ci coûte moins de 3 euros et vous pourrez faire autant de moule en silcone que vous voulez.

Mélangez très soigneusement le silicone et le catalyseur. J’ai versé la catalyseur blanc dans le pot de silicone transparent. En mélangeant on obtient le silicone blanc.

Versez-en une partie pour recouvrir les trous du nid d’abeille. Protégez le plan de travail avec des journaux. Tapez bien le baticadre sur le plan pour que le silicone ne fasse pas de bulle d’air. J’ai tapé vraiment longtemps, genre 10 minutes !

Remplissez cette fois jusqu’à ras de la hauteur du baticadre. Tapez de nouveau pour enlever le maximum de bulle d’air. J’ai tellement tapé qu’il n’y en avait plus aucune.

Laissez sécher une journée dans un endroit aéré. Avec une fourchette, démoulez dans un coin, puis attrapez à la main pour tirer le silicone délicatement. Il est quand très solide, donc pas d’inquiétude.


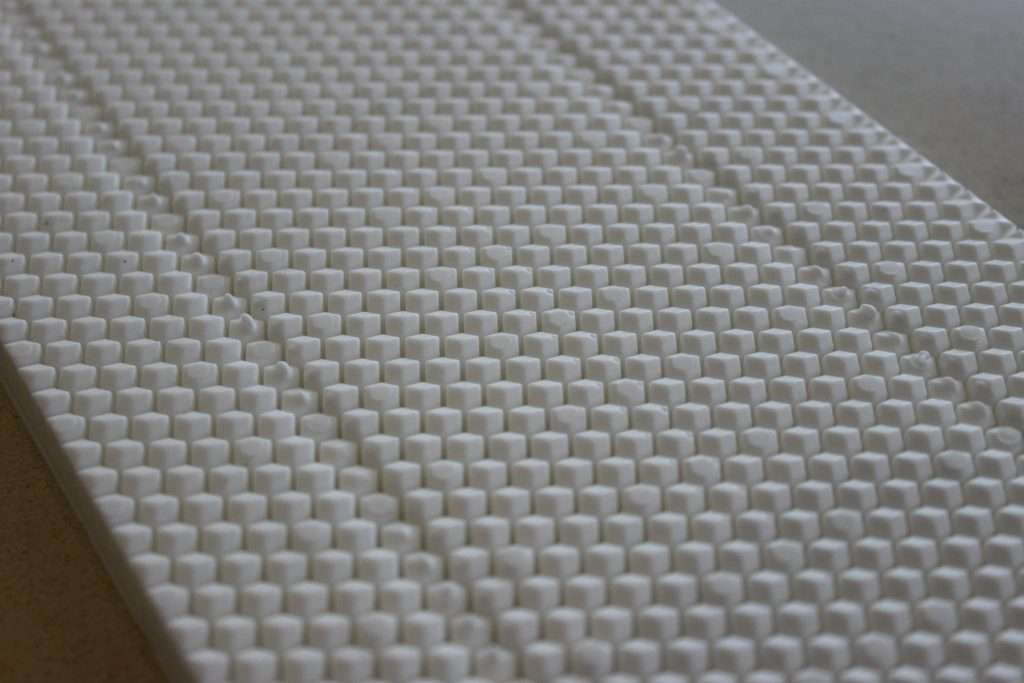
Et voilà le beau moule dans lequel vous pourrez verser la pâte pour faire des gaufrettes en nid d’abeille !

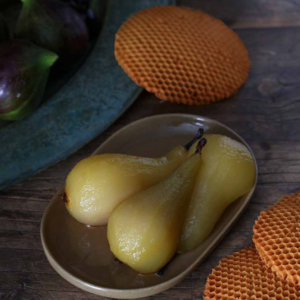
Dans mon livre Scandaleusement Décadent, j’ai proposé cette recette archi délicieuse : une base cuite d’amande, servie tiède, avec des poires pochées à la vanille, une crème montée au yaourt grec, des morceaux de noix et la fameuse gaufrette ! Je proposerai la recette de la gaufre sur le blog très prochainement.


Homemade Honeycomb Silicone Mould


I made this recipe a bit like that, with vegetables from the market and it turned out delicious and very appreciated by my guests! We have an impression of freshness with the lime, the vegetables are cooked as it should be. The delicious homemade pesto with coriander, peanuts, spinach and lime adds a very original touch. Don’t hesitate to put in the vegetables you like the most!
Pâtes« PRIMAVERA » AU PESTO FRAIS ET CITRON VERT, LÉGUMES VERTS Pour 4 à 6 personnes :
- a dozen green asparagus
- 200g fresh or frozen peas
- 2 zucchinis (I took white ones)
- 500g of dough
- 200g spinach, lime, coriander and peanut pesto (recipe HERE)
- the zest of a lime
- parmesan cheese
- olive oil
- salt pepper
Instructions :
Wash the green asparagus. Trim the base as needed if they are soft or damaged.

Cut them into pieces.

Put them in a large frying pan with two to three tablespoons of olive oil. Heat over high heat.

Put a lid on and cook for 5-7 minutes, shaking occasionally. Put salt and pepper at your taste.

Wash the zucchini and cut off the ends.

Cut them in half lengthwise and then into slices.

Steam them for 6 minutes. Stop cooking by running them under cold water.

Cook the peas for 6 minutes in boiling water. Drain, rinse in cold water and drain again.

Gather all the vegetables together.

When you’re ready to eat, cook the pasta al dente as directed on the package. Drain them, add the pesto.

Mix well.

Pour in the vegetables.

Add the zest of a lime.

Put salt and pepper at your taste. I also add two tablespoons of olive oil.

Serve immediately with a few shavings of Parmesan cheese.
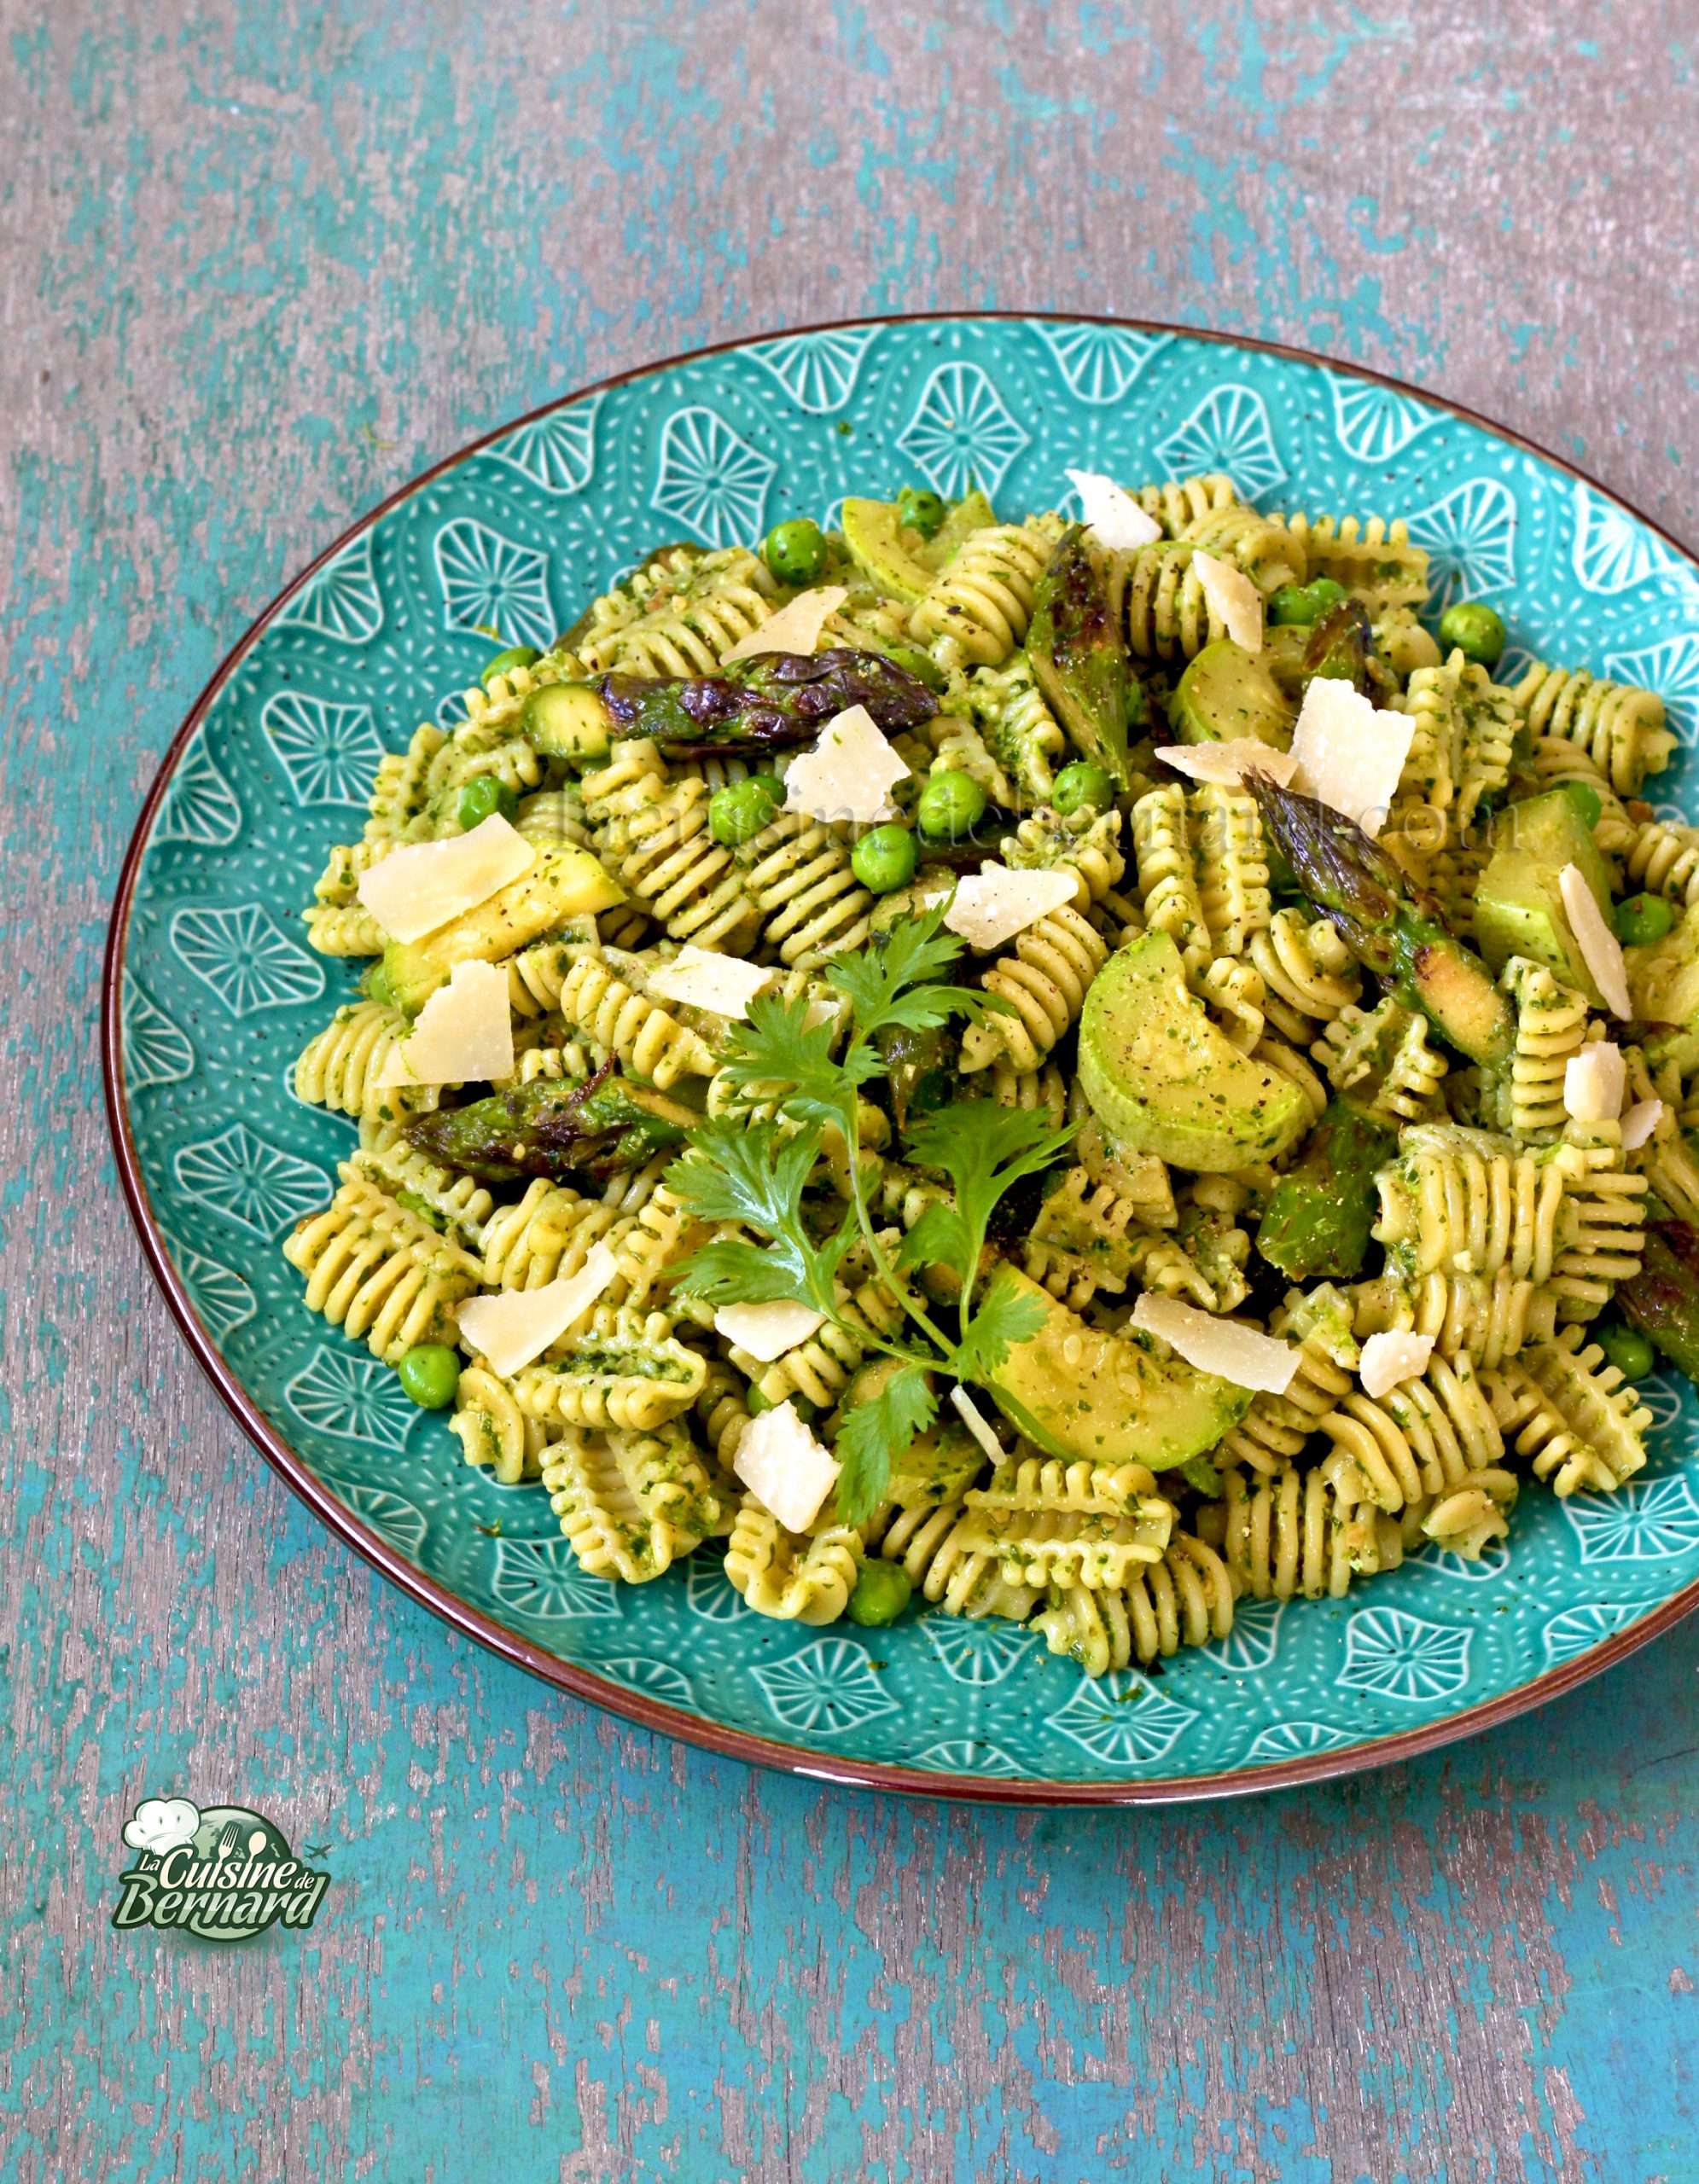
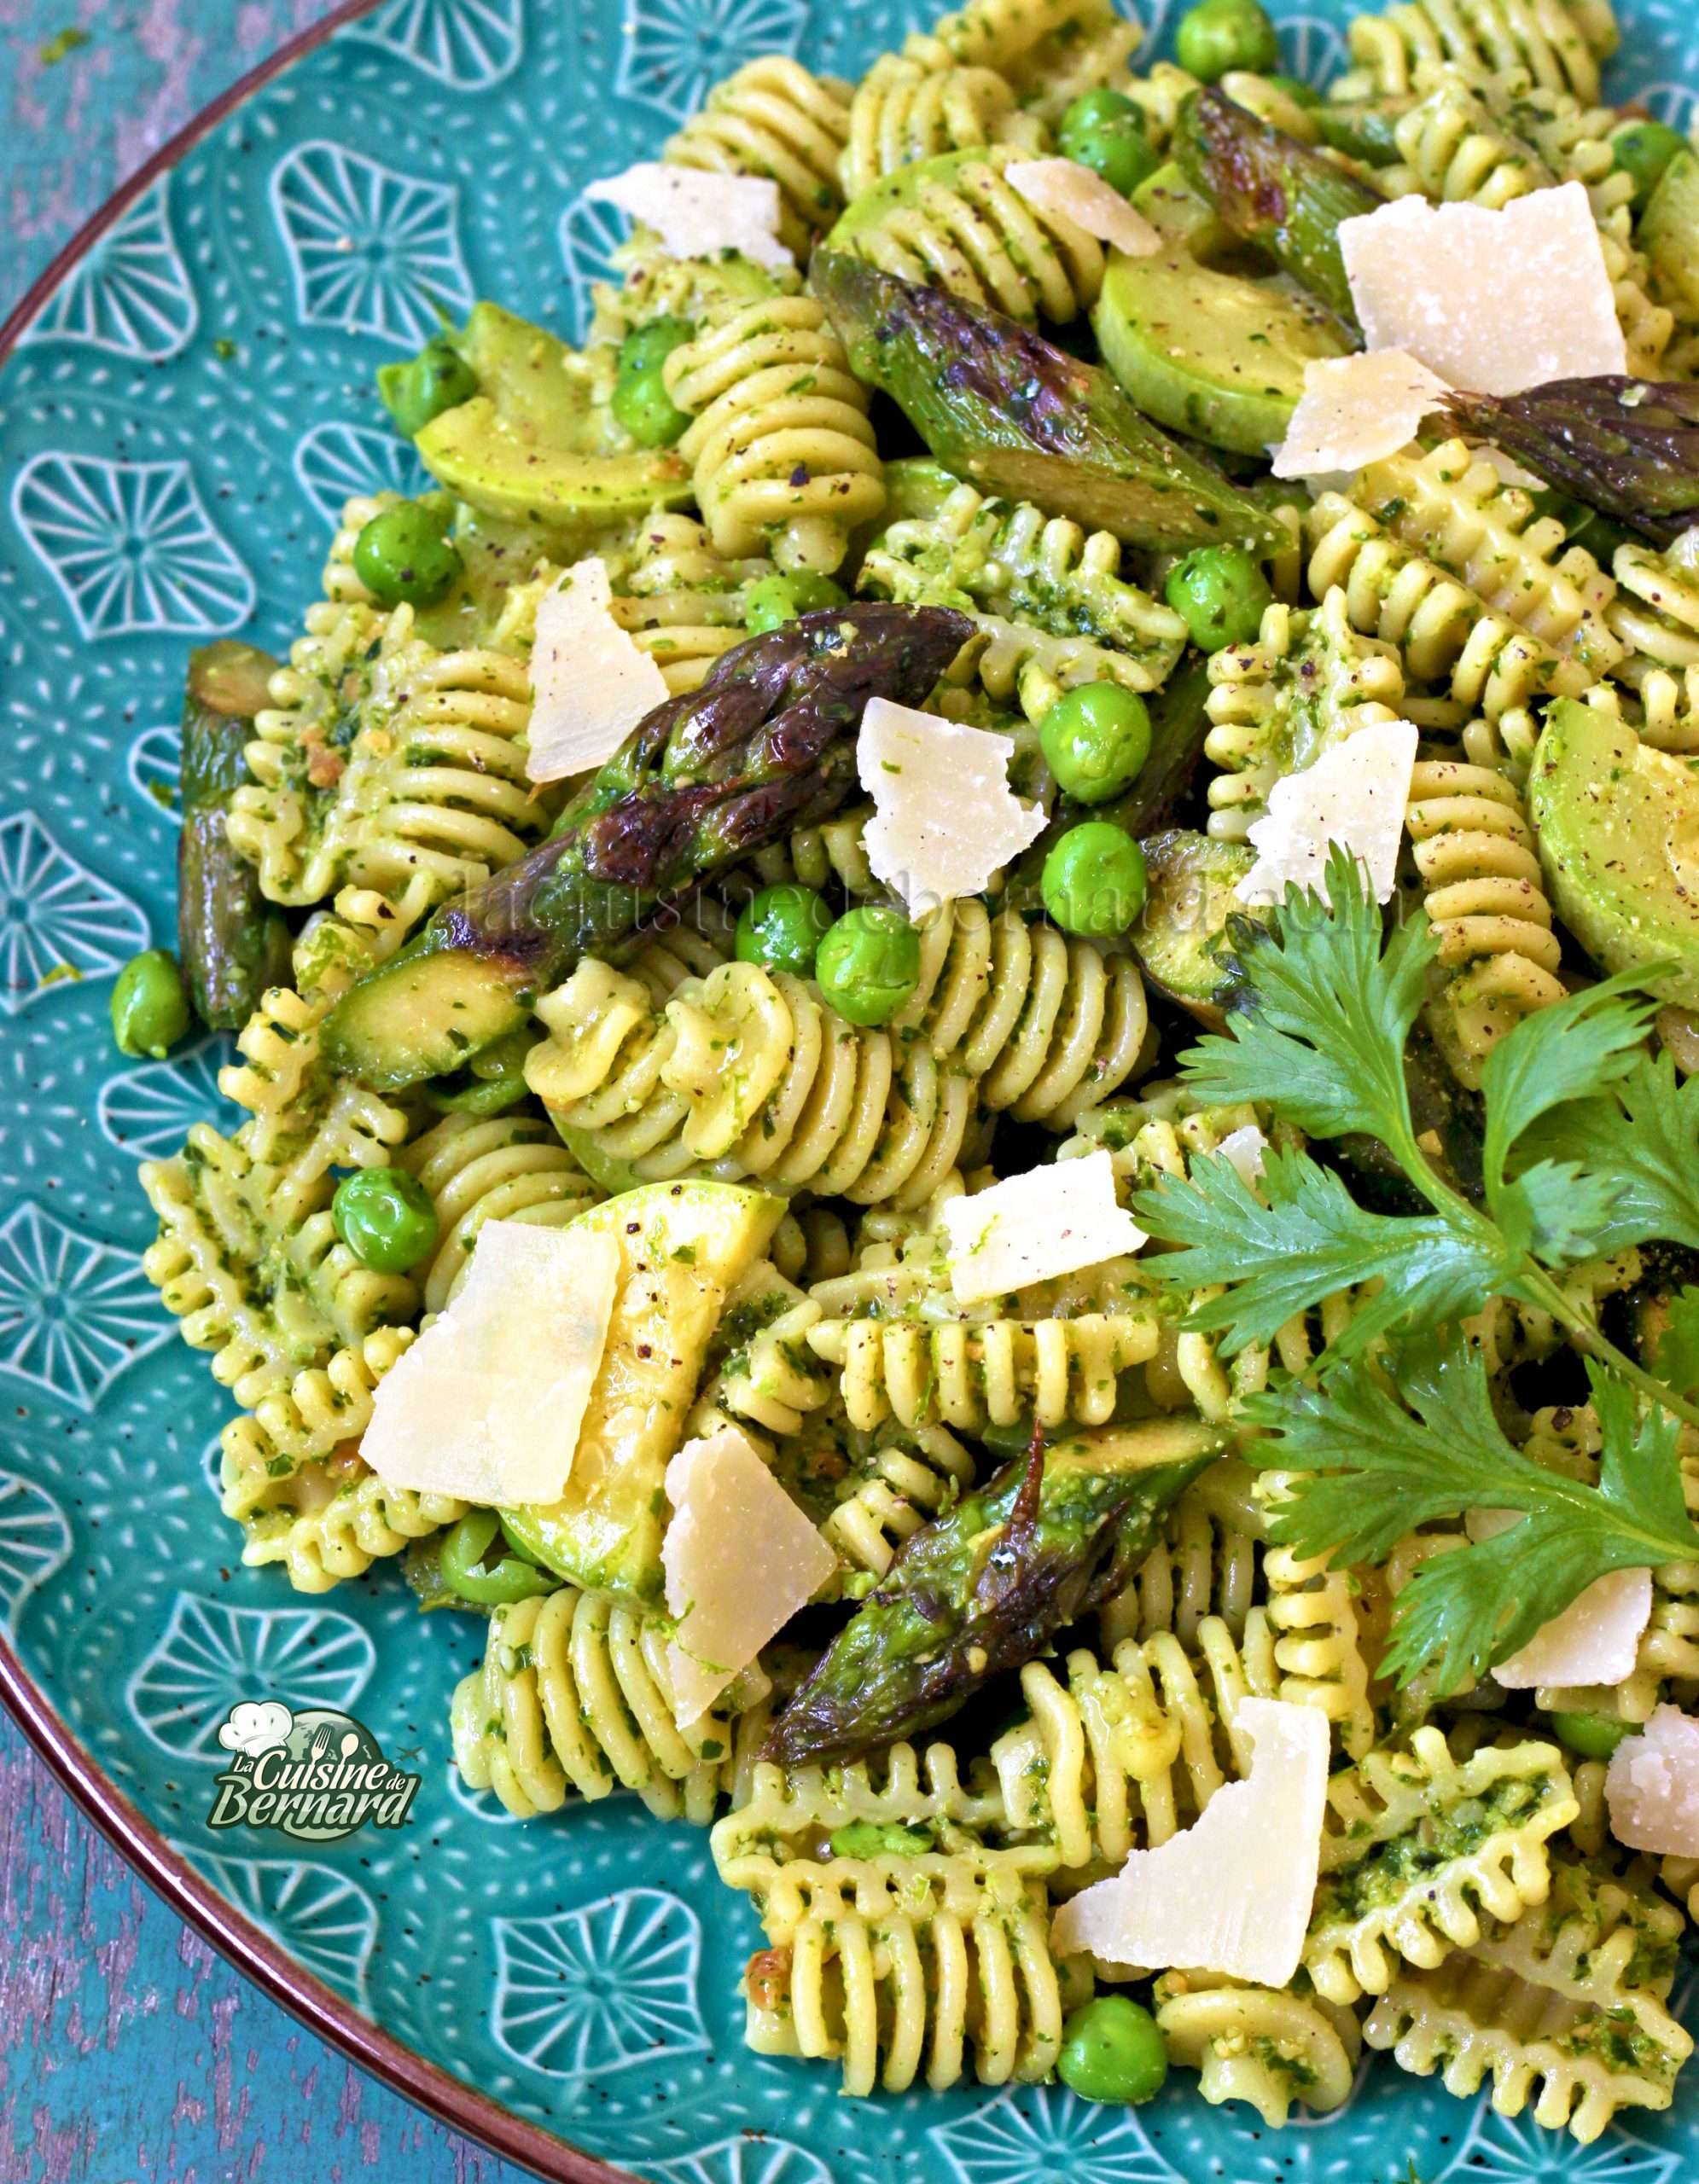
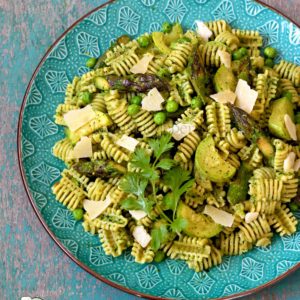
Pasta "Primavera" with fresh pesto and lime, green vegetables


Now that I’ve finished my next book, I can get back into my kitchen for my favorite activity! So I’m starting off easy with a new pesto, this time a little different. With spinach leaves, fresh cilantro, roasted peanuts and lime! It has an unexpected pep and gives a delicious freshness. It will be perfect in many recipes or simply on toast!
Pesto :
- 100g spinach leaves
- 80g of parmesan cheese
- 2-3 small cloves of garlic
- 75g of roasted peanuts (if unsalted, add salt at the bottom, if already salted, forget it!)
- 50g of fresh coriander
- 100g of olive oil
- juice of half a lime
- the zest of half a lime
Instructions :
Wash and spin-dry the spinach and coriander leaves. Peel the garlic cloves. Cut the Parmesan cheese into pieces. Put it all together with the other ingredients in a small blender and start it up.

Don’t forget the zest and juice of half a lime.

Mix carefully.

It’s already ready! I give you a delicious recipe to make with this incredible pesto. It is also very good on a simple piece of toast!

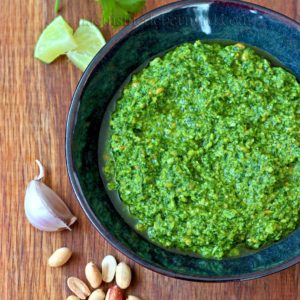
Cilantro peanut spinach and lime pesto


Last recipe with wild garlic for this year. At the moment I am publishing a little less, as I have just finished my 7th book which will be released in October 2021, and I also often go to Brittany with my family. This time I propose a tasty bear garlic pie, simple to make and very original. As soon as I can post a little more, I promise, I will! But you should know that I have a lot of new and amazing recipes in the next book.
Tarte à l’ail des ours, pour une tarte de 20cm de diamètre :
Pastry (enough for at least two pies):
- 400g flour
- 280g semi-salted butter
- 1 egg
Migaine:
- 2 eggs
- 250ml full cream
- 70g of wild garlic pesto (recipe HERE)
- 60g of grated comté cheese
- 100g of chopped wild garlic
- salt pepper
Instructions :
First, prepare your dough as described in the recipe HERE. I took my empadas dough which is perfect. Roll out half of the dough (wrap and freeze the rest). I’m using a rectangular pan here, but the recipe is valid for a circular pan of 20cm diameter. I just wanted to change the format for the photo.

Place the rolled out dough in the chosen pan and cut off the excess.

Pour the eggs, whole cream (liquid or not), pesto and comté into a bowl.

Mix well, add salt and pepper. I also put a little chili powder.

Chop the washed and dried wild garlic, including the flowers, and pour it into the cream.

Pour into the dough base.

Bake for 1h15 at 170°C.

Let cool and then enjoy this delicious pie!

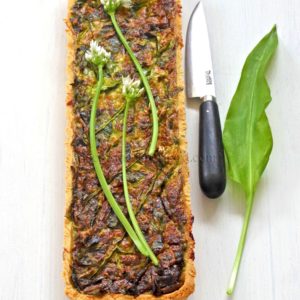
Bear's garlic pie

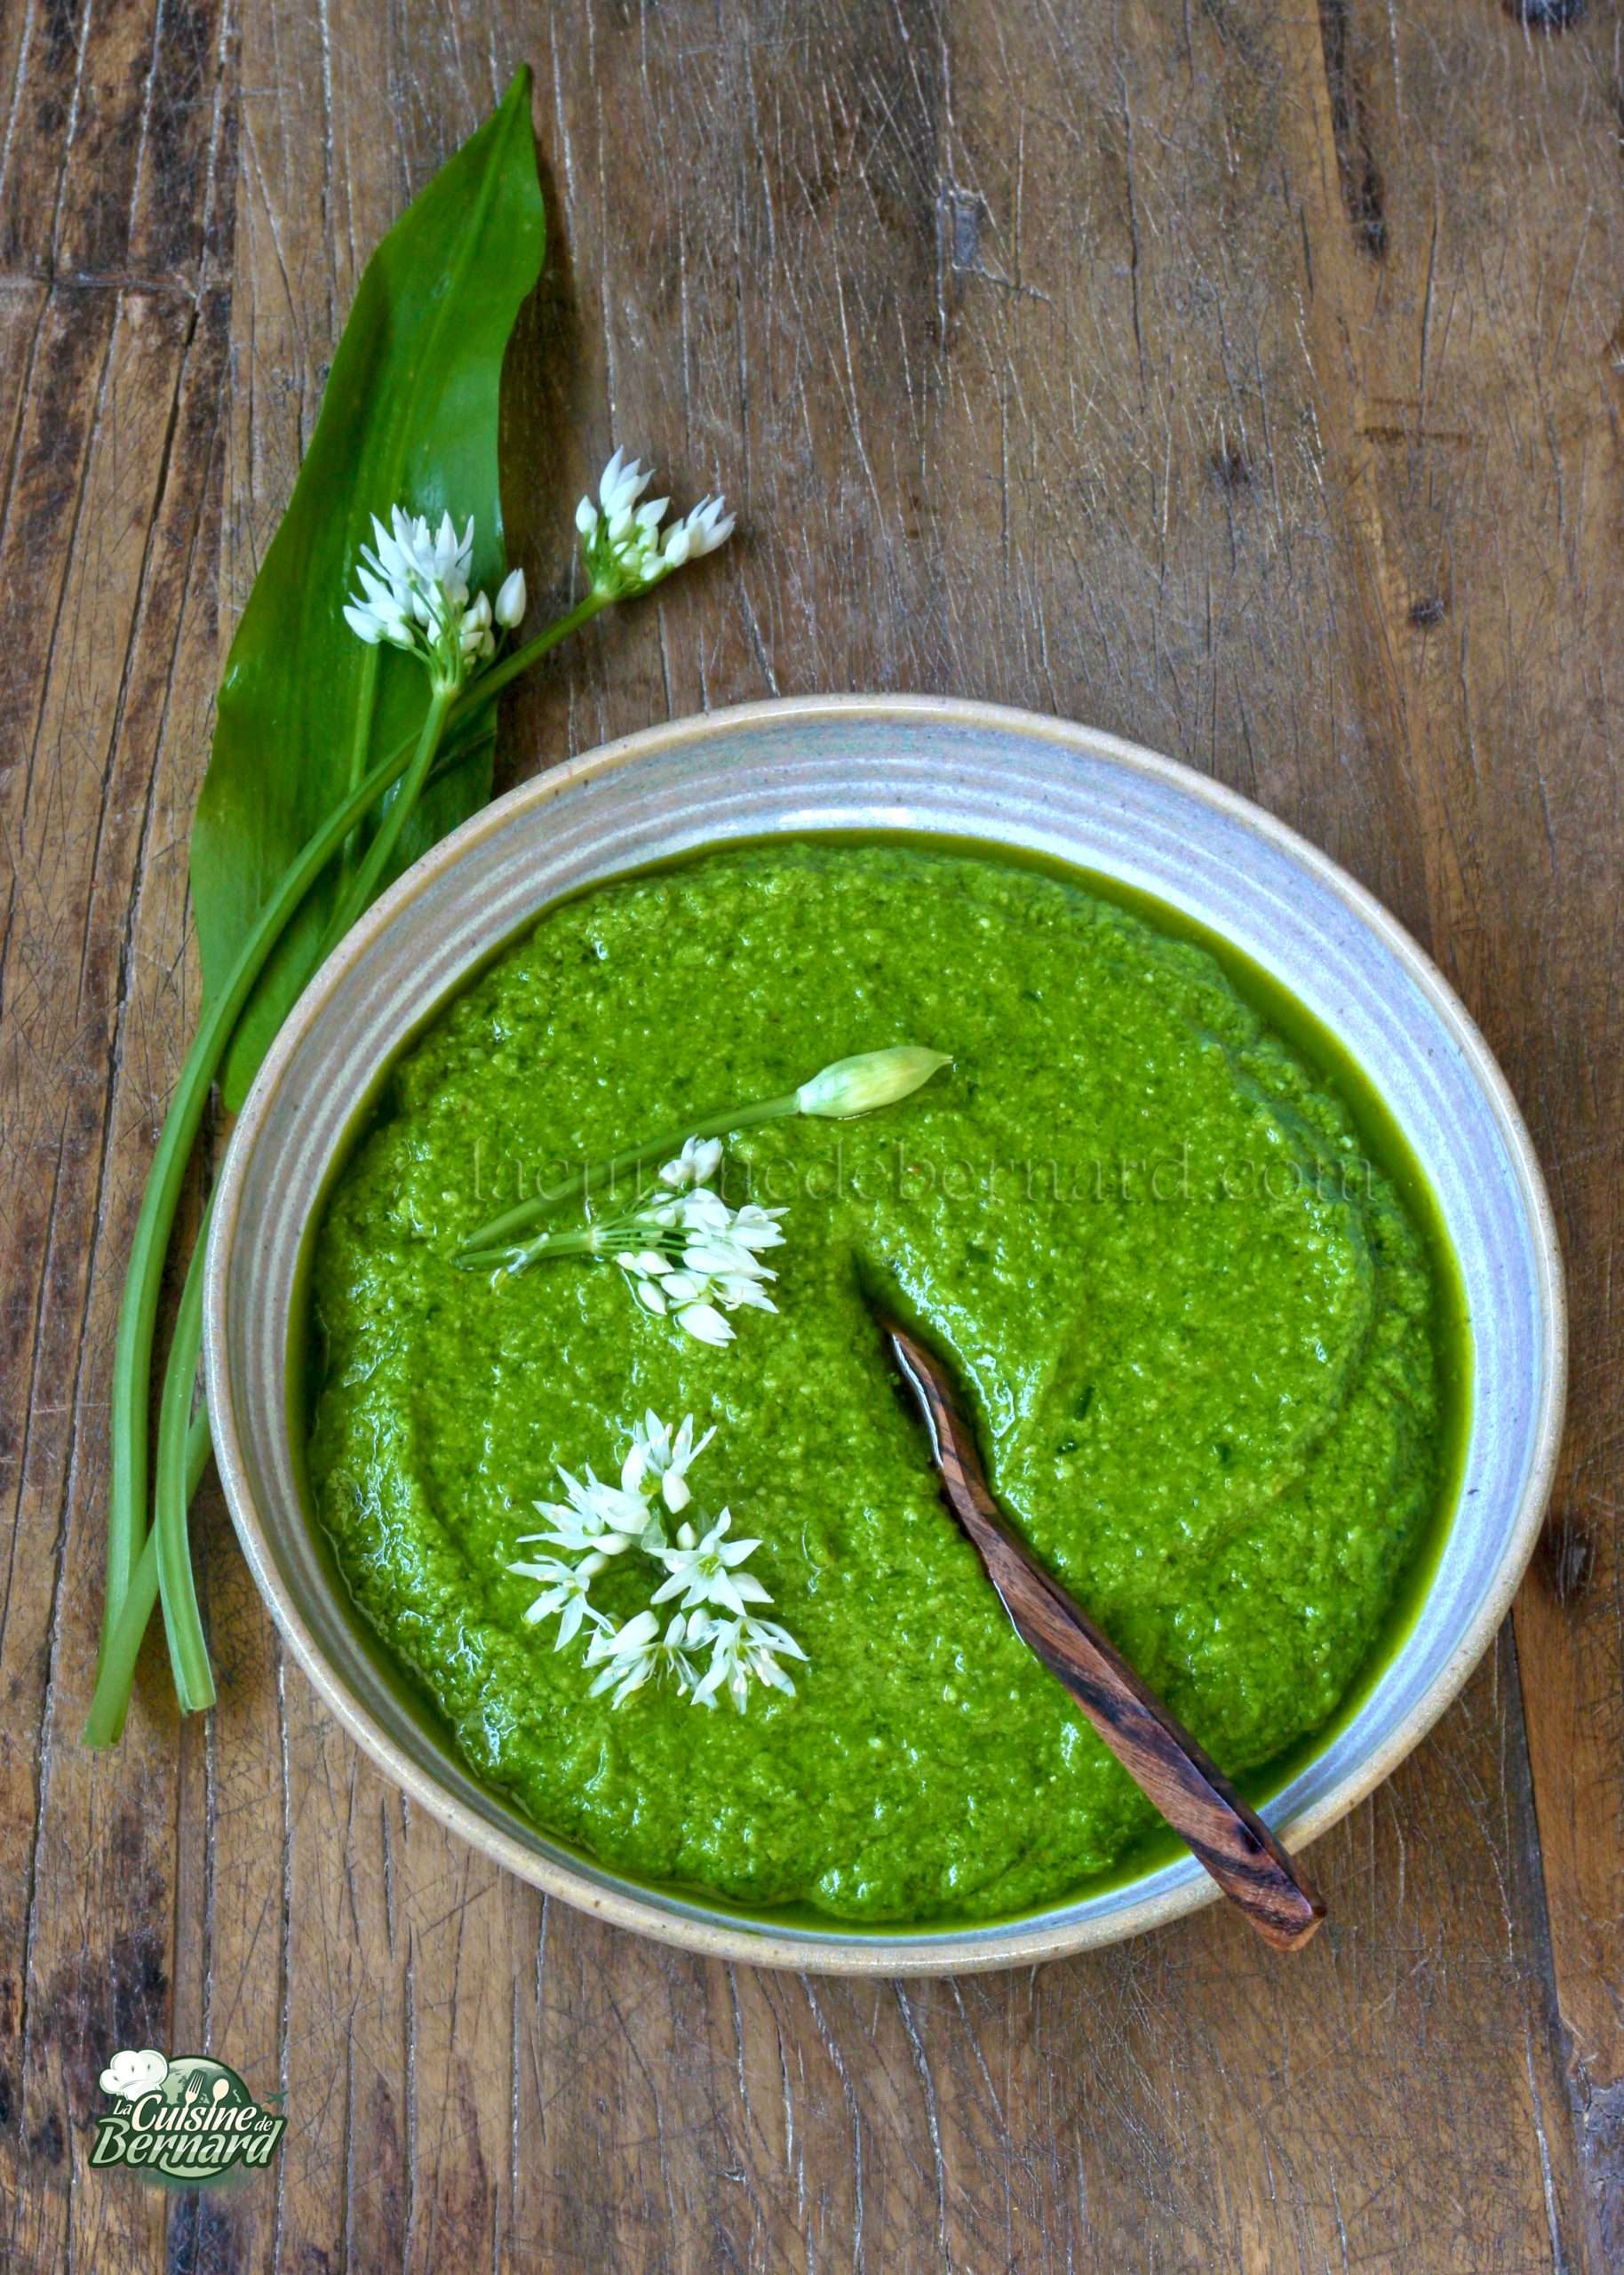
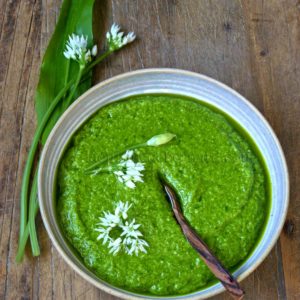
It’s still the season, so I’m enjoying it. The wild garlic pesto is totally irresistible! I put it everywhere, in pasta, coral lentils, on bread… Thanks again to my friend Flore who picked me plenty of wild garlic. Not to be confused with lily of the valley (the leaves look a lot alike!).
Bear garlic pesto :
- 150g of wild garlic
- 125g of olive oil
- 100g of pine nuts or other dried fruits (almonds, hazelnuts etc.)
- 100g of parmesan cheese
- 5g of salt
Here is the bear’s garlic. Make sure if you pick it, that it is wild garlic and not a plant unfit for consumption!

Wash and dry the garlic (including the flowers) and chop coarsely. Put everything in a small blender with the olive oil.

Blend to a fine purée.

Toast the pine nuts in a pan and add them to the blender.


Don’t forget the salt.

Finish with the parmesan cheese in small pieces to make the blender easier to use!


We mix and it’s already finished!

You can keep it for a week in the fridge and freeze it without any problem.

wild garlic pesto


A good friend gave me a huge bag of wild garlic freshly picked in the forest. Many thanks to Flore, I invite you to check out her Instagram page HERE! I took the opportunity to make three recipes, of which this is the first. I love wild garlic and it’s not always easy to find it in stores. So I was over the moon to see what I could do with it. I propose you a very easy salted cake, with wild garlic, tomatoes and feta. Get your whips!
Recette du CAKE SALÉ À L’AIL DES OURS pour un moule à cake de 28cm :
- 300g of flour
- 120g of olive oil
- 3 eggs
- 240g of whole milk
- 1 bag of 11g of baking powder
- 5g of salt
- 15g of sugar
- 120g of grated cheese
- 100g of wild garlic
- 250 to 300g of cherry tomatoes
- 150g of feta cheese
- ground pepper
Instructions :
Put the flour, olive oil, eggs, milk, yeast, salt and sugar in a bowl.

For the cheese, I used Emmental cheese. Hop in the container.

Mix well, the dough is already ready.

Here is the beautiful wild garlic. I put everything: stem, leaves and even flowers. Just wash it well and then wring it out.
Chop it with a knife quite finely.

Put everything in the dough container and mix well.


Add the halved tomatoes.

And the feta cheese in pieces. Add pepper to taste.

Pour the mixture into the parchment paper-lined pan.

Bake in a preheated oven at 180°C for 50 minutes to 1 hour.

Let cool before slicing and eating!


Savoury bear garlic cake


A very good friend Gaëlle, once made me this dish to serve as an aperitif or starter. It’s tasty, fresh and delicious! Its little extra: toasted pine nuts that decorate the labneh, a kind of cream cheese, sprinkled with zaatar, sesame and sumac mixture. With a lot of olive oil and a good Lebanese bread, it’s a trip for the eyes and the taste buds!
Recette du LABNEH AU ZAATAR :
For the mixture:
- 50g of zaatar
- 100g of toasted sesame seeds
- 100g of sumac
- 10g of salt
For the rest :
- a jar of labneh
- 100g of pine nuts
- olive oil
- Lebanese flatbread
Instructions :
This is the zaatar. You can find it in exotic grocery stores or on the internet. It looks a bit like oregano.

Pour the zaatar into a container.

Add the sumac. This spice is slightly lemony and can be found in the same stores as zaatar.

Add the sesame seeds and salt.


Mix it up, it’s done! You can keep this mixture for months in an airtight box.

Toast the pine nuts in a small skillet over moderate heat. They should colour gently.
And here is the labneh. It’s a bit like philadelphia cream cheese, but saltier and tastier!

Pour a good 1 cm layer into a dish.

Sprinkle with zaatar mixture and drizzle generously with olive oil.

Sprinkle with toasted pine nuts and enjoy with a good Lebanese bread, toasted or not!

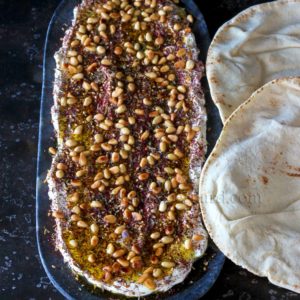
Labneh with zaatar


J’ai crée ce blog en janvier 2010, et pourtant jusqu’à maintenant, je n’avais pas proposé de recette de crème renversée. Je vous avais donné celle du pudim de leite (recette ICI), un flan brésilien délicieux et un peu plus ferme, mais pas encore celle toute simple de notre crème. C’est vraiment une recette facile à faire, avec seulement trois ingrédients. Ça fait aussi du bien parfois de faire des grands classiques, qui nous régalent à mon sens, toujours autant !
Recette pour une crème renversée de 20-22cm:
Pour le caramel:
- 90g de sucre semoule
Pour la crème
- 750ml de lait entier ou demi-écrémé
- 120g de sucre blanc ou roux
- 5 gros œufs
Instructions:
Préparez directement dans le moule, le caramel à sec. Mettez un tiers des 90g de sucre dans le moule sur feu modéré.

Quand il fond, ajoutez un deuxième tiers et secouez le moule.

Faites de même avec le troisième tiers puis laissez caraméliser le tout. Mettez ensuite de côté.

Dans une casserole, mélangez le sucre roux et le lait.

Portez à frémissement.

Dans un récipient, mélangez les œufs au fouet.

Versez le lait chaud petit à petit sur les œufs tout en mélangeant.


Versez dans le moule sur le caramel.

Posez le moule dans un plat allant au four et versez de l’eau bouillante dans le plat autour du moule, pour réaliser un bain-marie.

Enfournez le tout dans un four préchauffé à 185°C sur chaleur ventilé, pendant 40 minutes. La crème ne doit pas bouillir et la surface être joliment dorée.

Laissez refroidir à température ambiante avant de mettre au frais au moins 3-4 heures. Plongez le moule dans de l’eau chaude, secouez le moule, essuyez-le puis placez un plat dessus. Retournez le tout pour avoir votre jolie crème renversée. Vous pouvez réchauffer le fond de caramel avec un peu d’eau, pour ensuite le récupérer et le verser sur la crème.

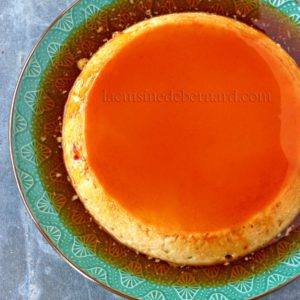
Egg custard


Voici un gâteau très fondant, aux noix, café, chocolat et orange confite. Le tout se marie à merveille. J’ajoute en plus une ganache onctueuse au chocolat noir. Le look rétro me fait penser aux gâteaux dans les livres de cuisine avec lesquels j’ai grandi, mais j’aime bien de temps en temps des décorations simples, où seul le goût compte. De plus, ce gâteau est naturellement sans gluten !
Recette pour un FONDANT CHOCOLAT, CAFÉ, NOIX ET ORANGE CONFITE de 22cm :
- 100g de noix
- 60g de beurre demi-sel
- 100g de chocolat noir
- 1 cuillerée à café de café en poudre soluble instantané
- 4 œufs (220g au total sans coquille)
- 60g de sucre roux
- 100g d’écorce d’orange confite
Ganache :
- 90g de chocolat noir
- 45g de crème liquide entière
- 25g de beurre doux
- noix et orange confite pour servir
Instructions :
Mettez les noix dans un mixeur pour les réduire en poudre grossière.

Faites fondre le chocolat et le beurre ensemble.

Dans un autre récipient, mélangez sans blanchir, les œufs, le sucre et le café instantané.

Versez le chocolat/beurre fondus.

Ajoutez les noix en poudre.

Coupez les oranges confites en petits morceaux.


Versez-les dans la pâte.

Versez dans un moule chemisé de 22cm de diamètre.

Faites cuire 30 minutes à 135°C sur chaleur tournante.

Laissez tiédir le gâteau avant de le mettre au frais au moins 4 heures. Pour la ganache, faites fondre ensemble le chocolat noir, le beurre et la crème.

Mélangez bien pour avoir une belle ganache lisse. Si elle tranche (que le gras ressort), vous pouvez la mixer avec un mixeur plongeant.

Versez sur le gâteau refroidi.

Étalez jusqu’au bord.

Puis décorez avec des noix et des écorces d’oranges confites.

Laissez au frais encore 2 heures avant de servir !


Chocolate, coffee, walnut and candied orange fondant


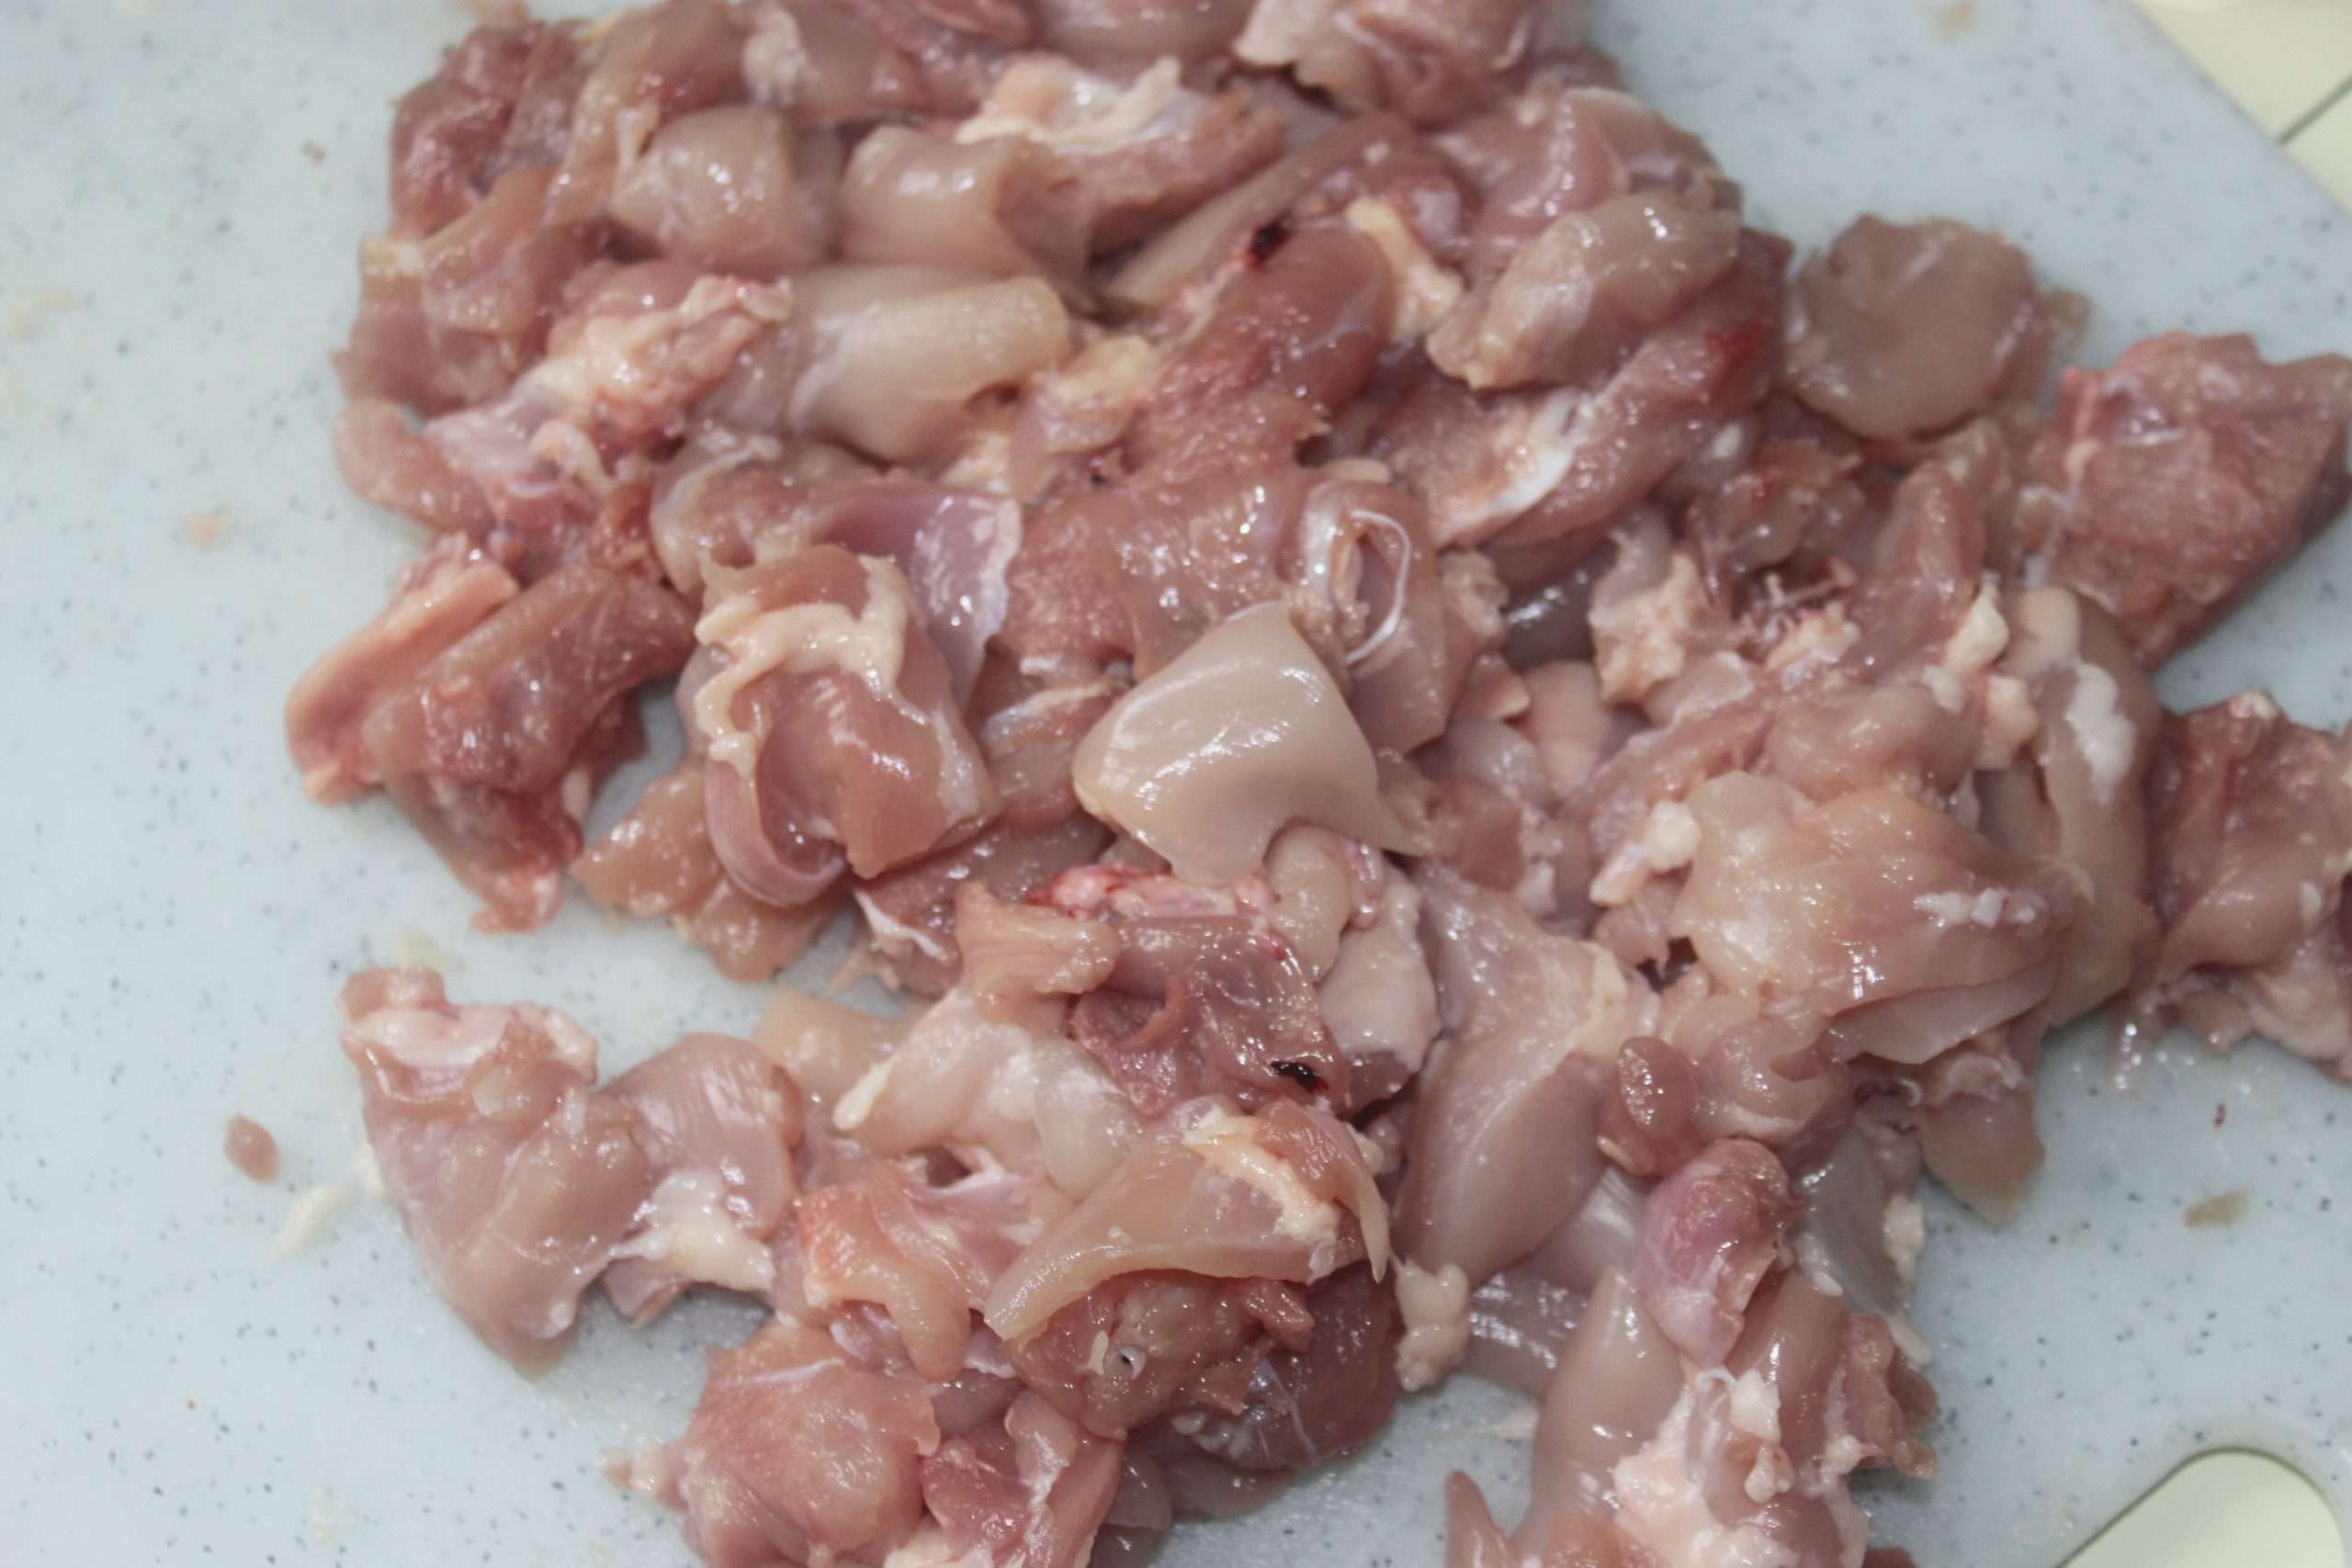
Here is a very simple and fairly quick recipe to make, but above all with products that are easy to obtain. The result is very tasty. We all enjoyed this dish that I made as a family. It’s still nice, with the kitchen, to be able to travel through delicious dishes in these uncertain times! With fluffy chicken thighs, you’ll want to finish everything…
Nouilles sautées au poulet pour 4 personnes :
- 750g chicken thighs
- 1 red pepper
- 1 onion
- 1 carrot
- 100g peas
- 2 eggs
- 250g Asian egg noodles
- 2cm ginger
- 3 cloves of garlic
- 3 tablespoons light soy sauce
- 1 tablespoon of sugar
- 1 tablespoon black or balsamic vinegar
- toasted sesame oil
- oil, salt, pepper
Les instructions
Start by deboning and removing the skin from the chicken thighs. Cut them into small pieces. I had 750g of thighs with skin and bones. So there is less left at the end!
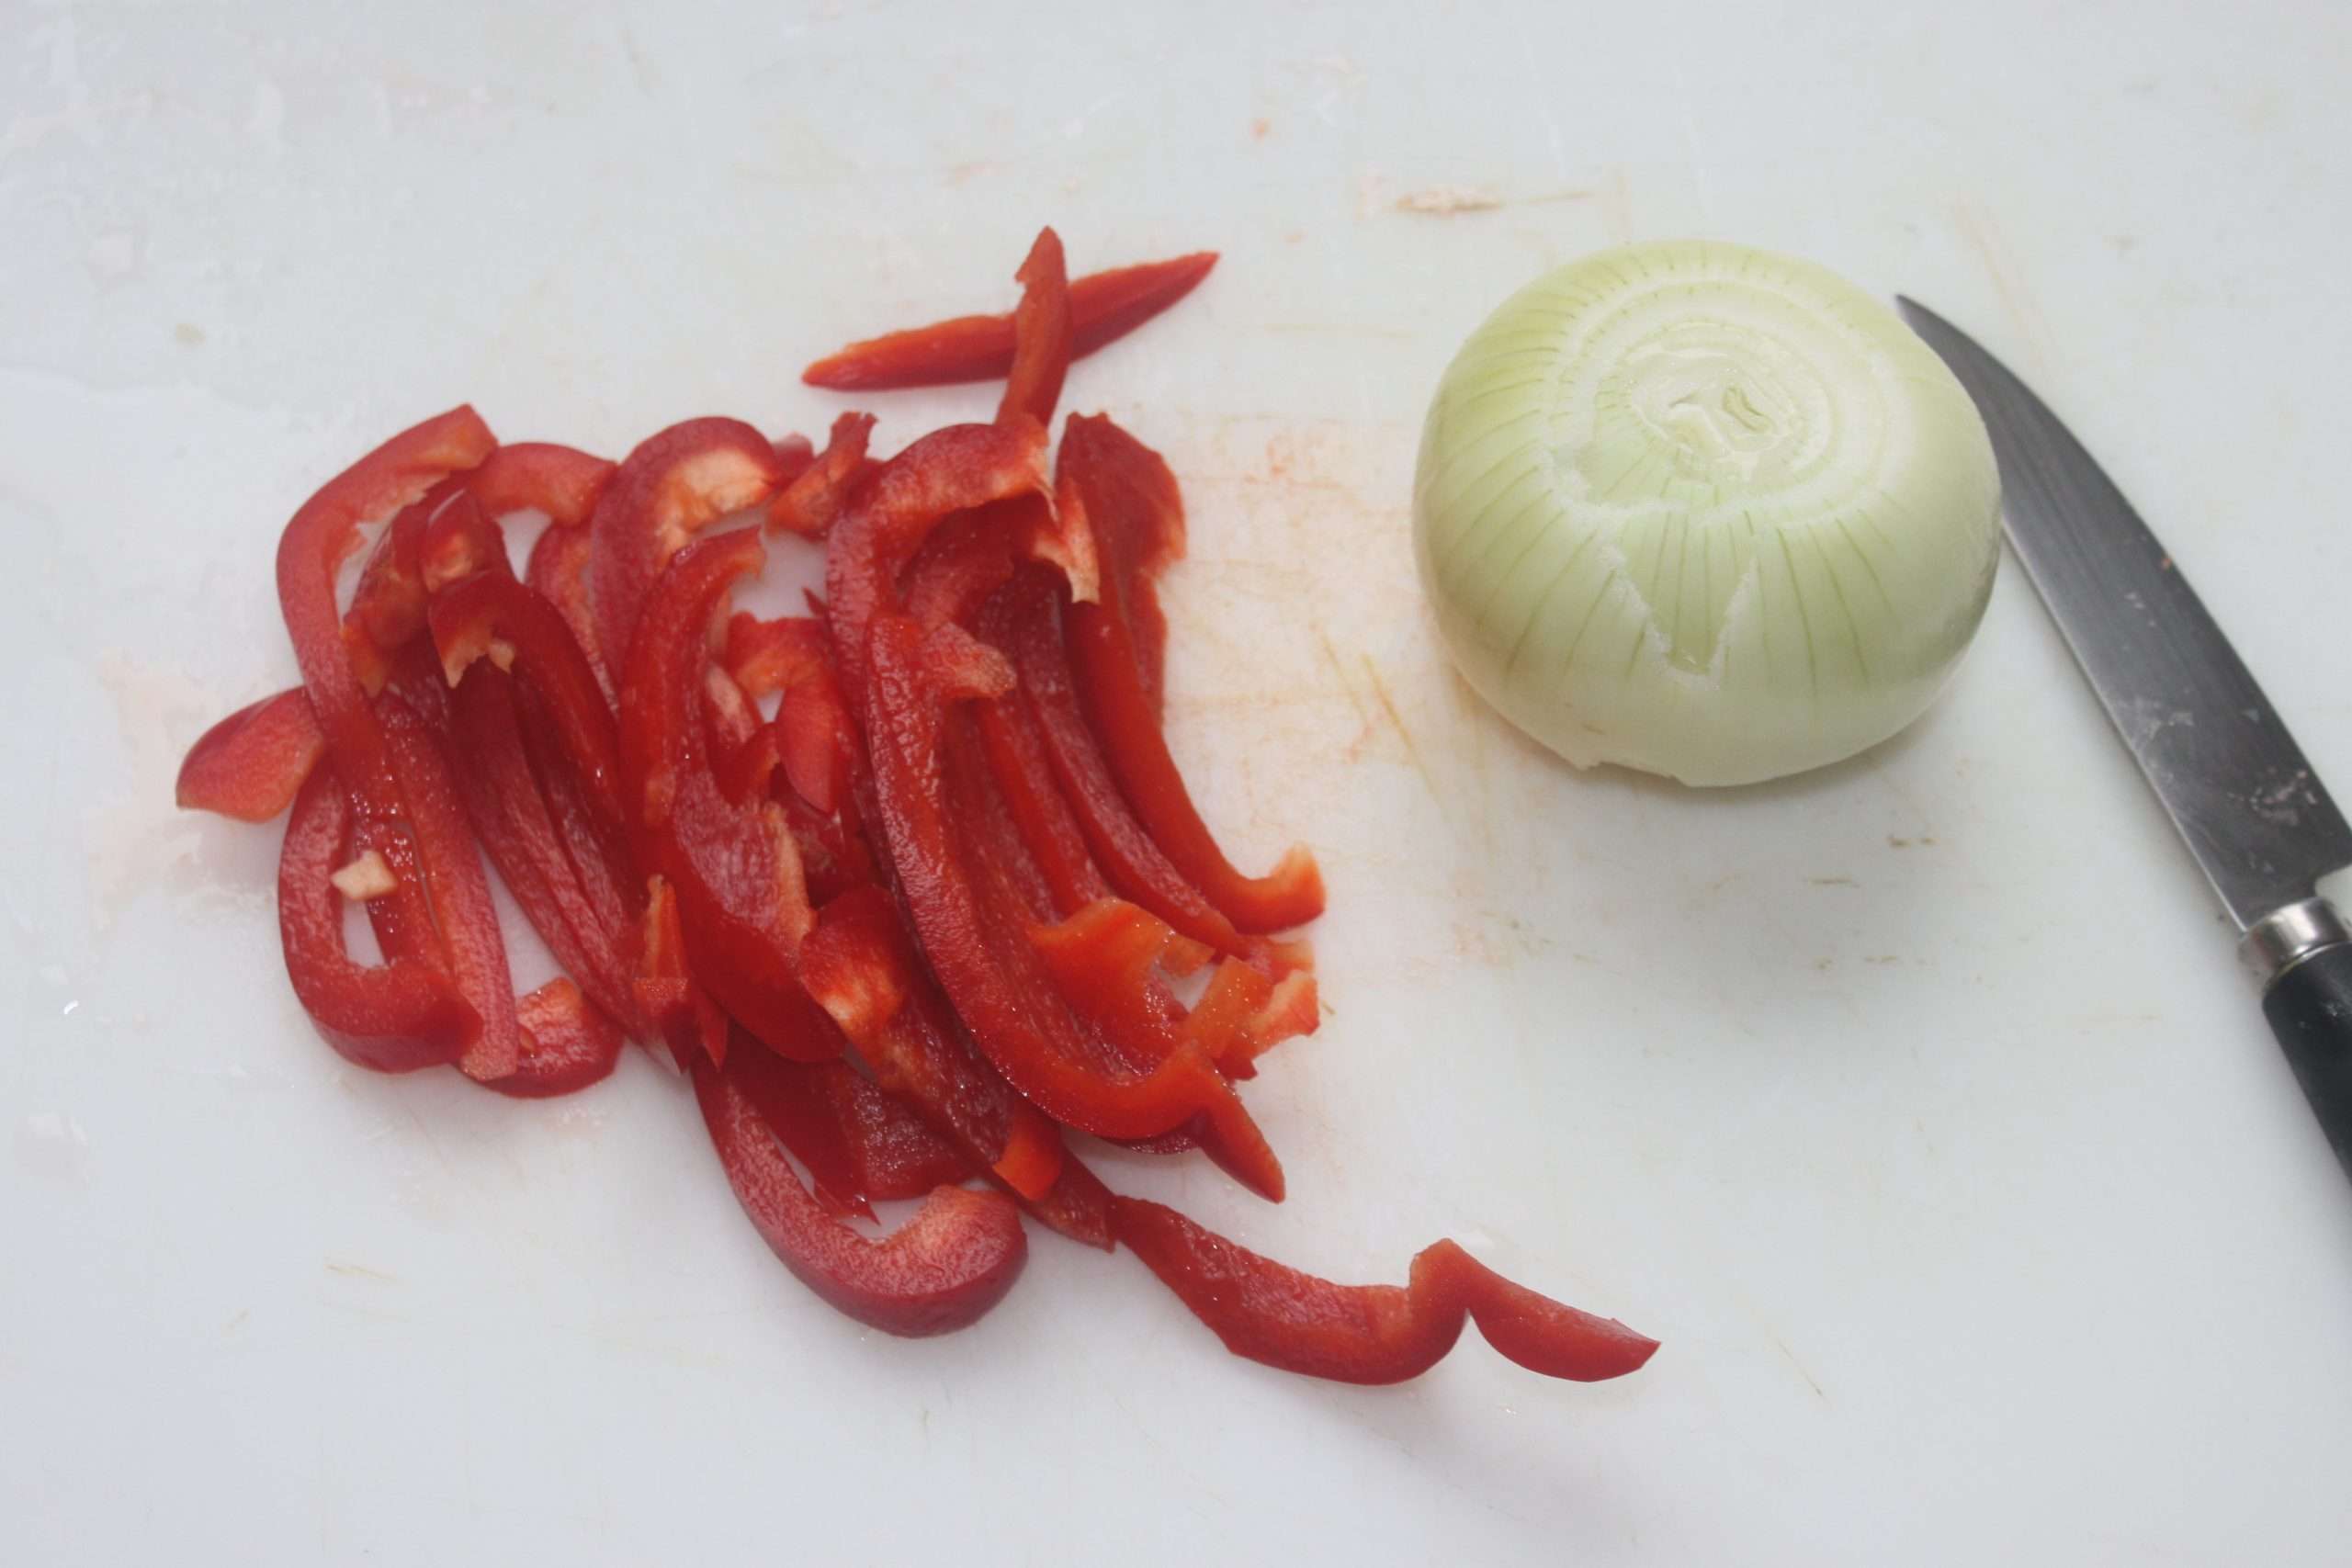
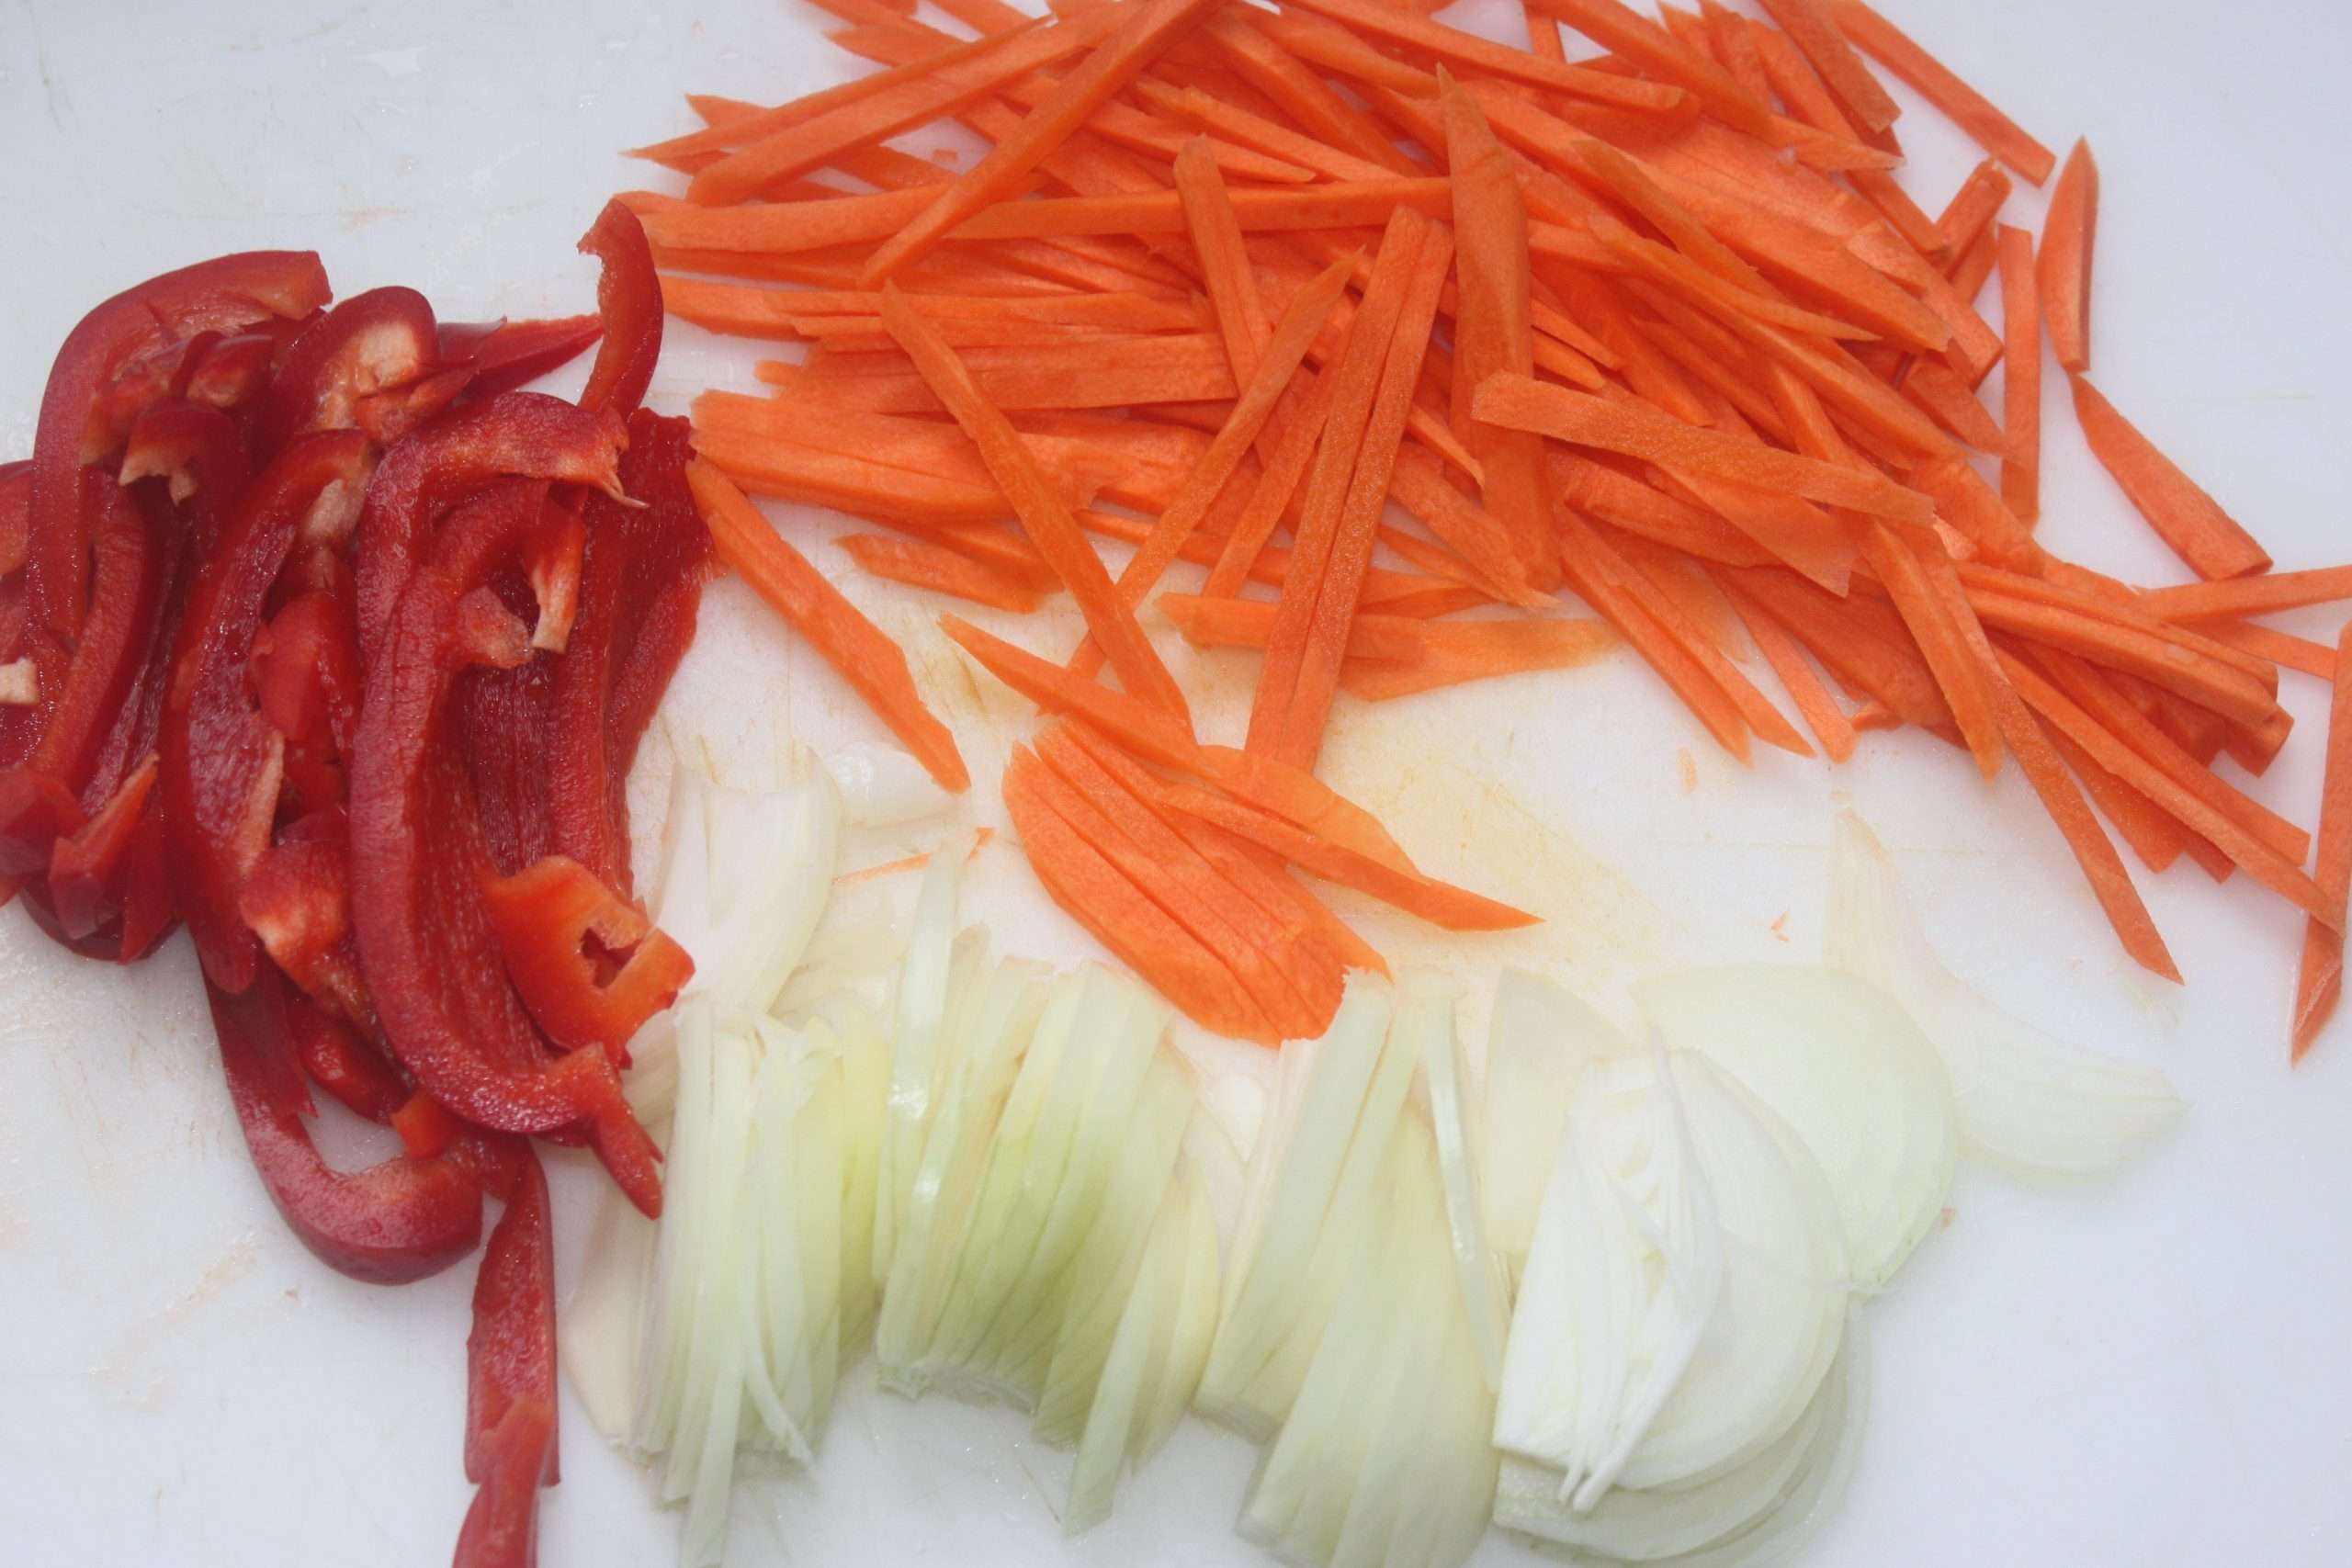
Cut the seeded red pepper into thin strips. Peel and cut the onion into thin slices.
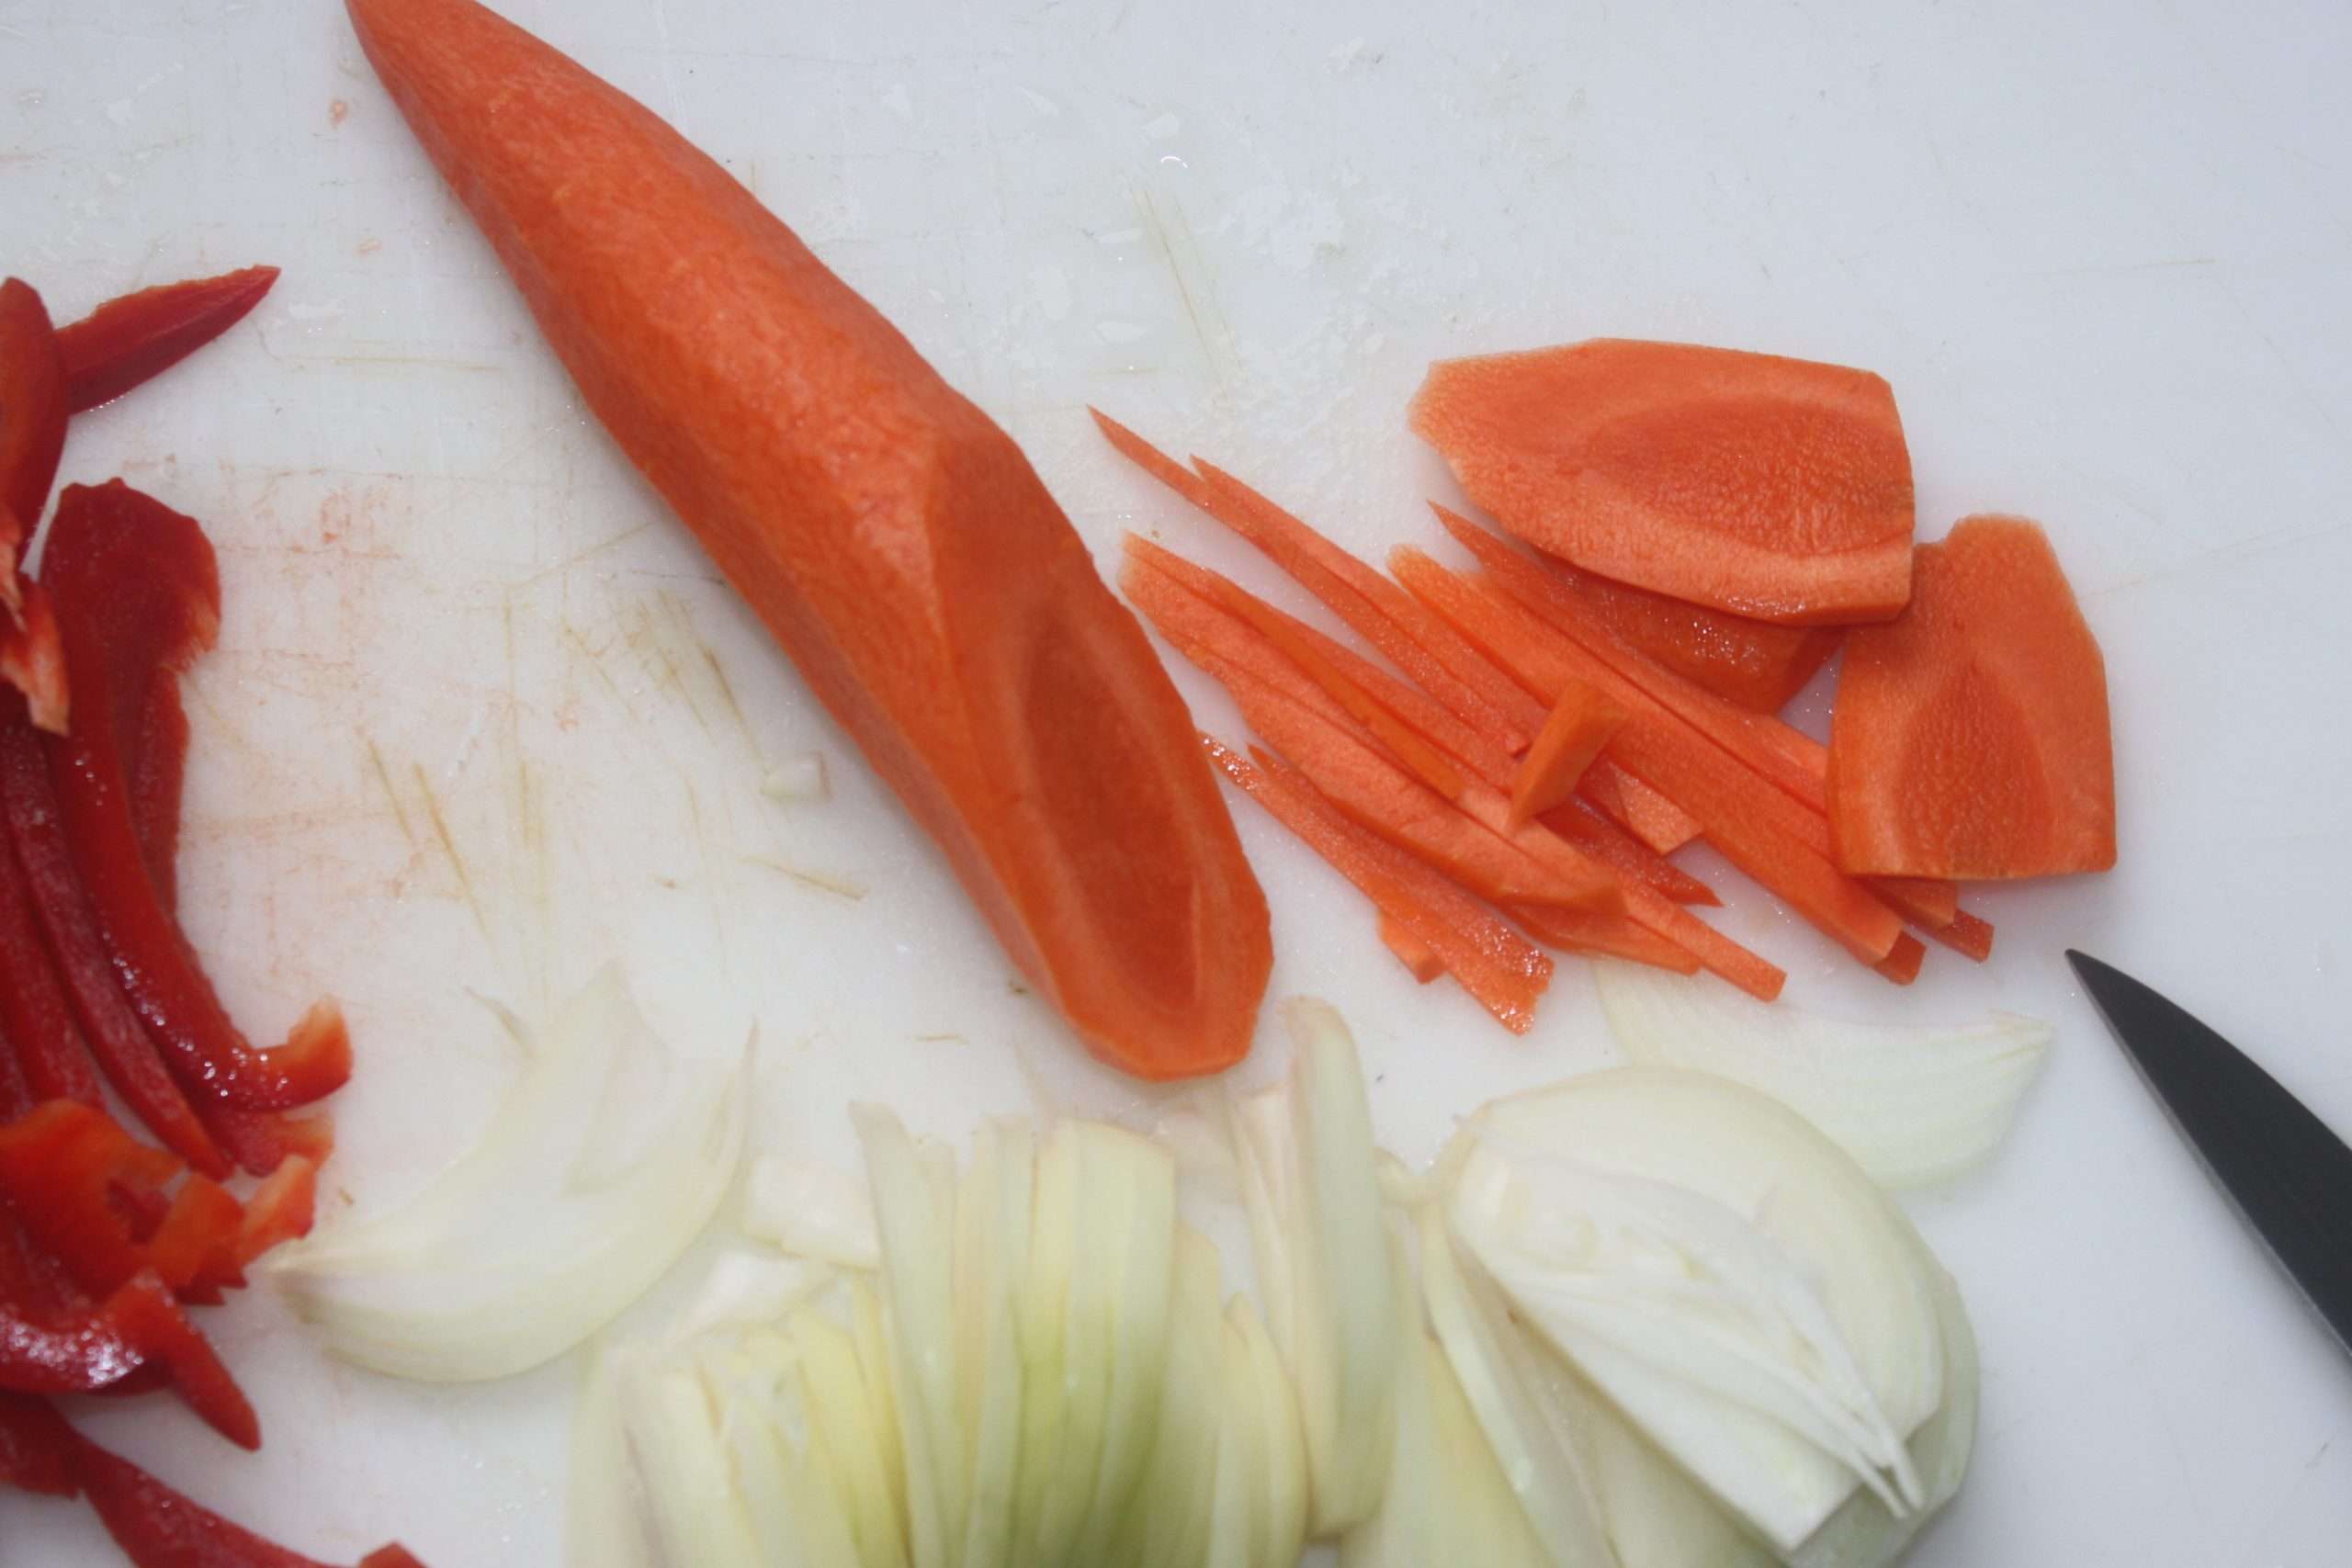
Peel and cut the carrot into slices and then into matchsticks.
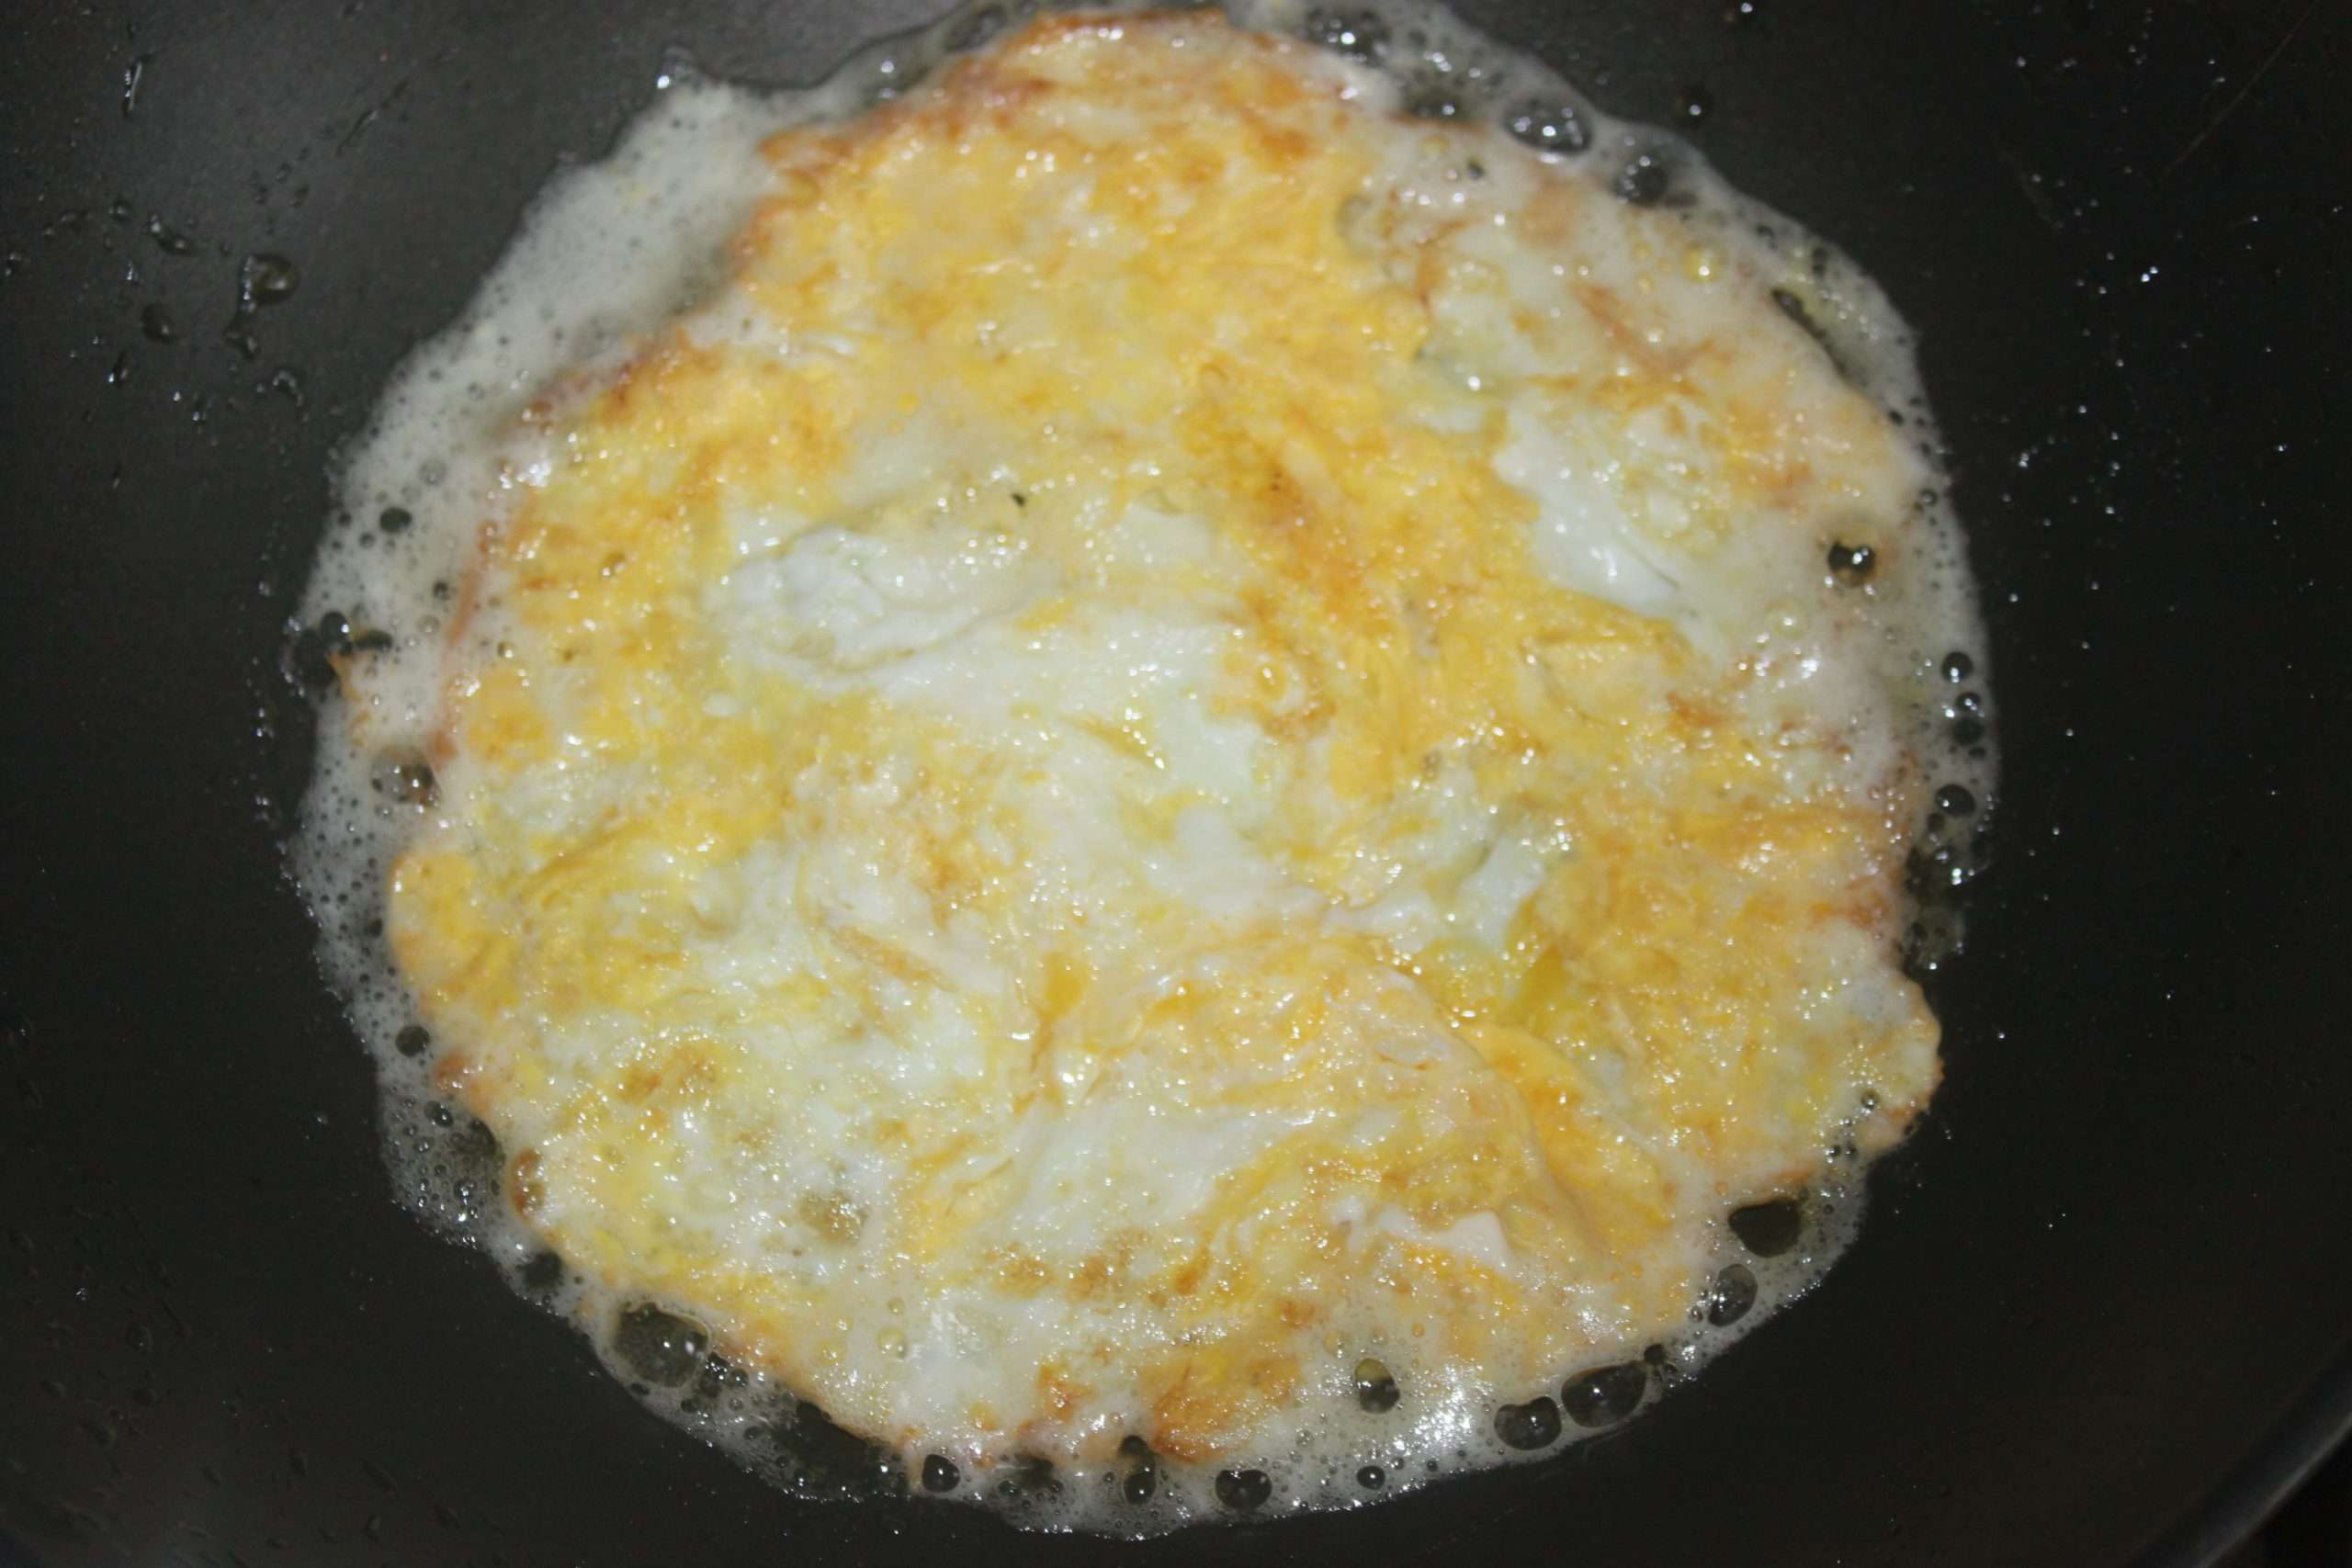
In the wok, pour 3 tablespoons of oil. Heat over high heat. Crack two eggs into it.

Mix coarsely then cook for 1 minute on one side.
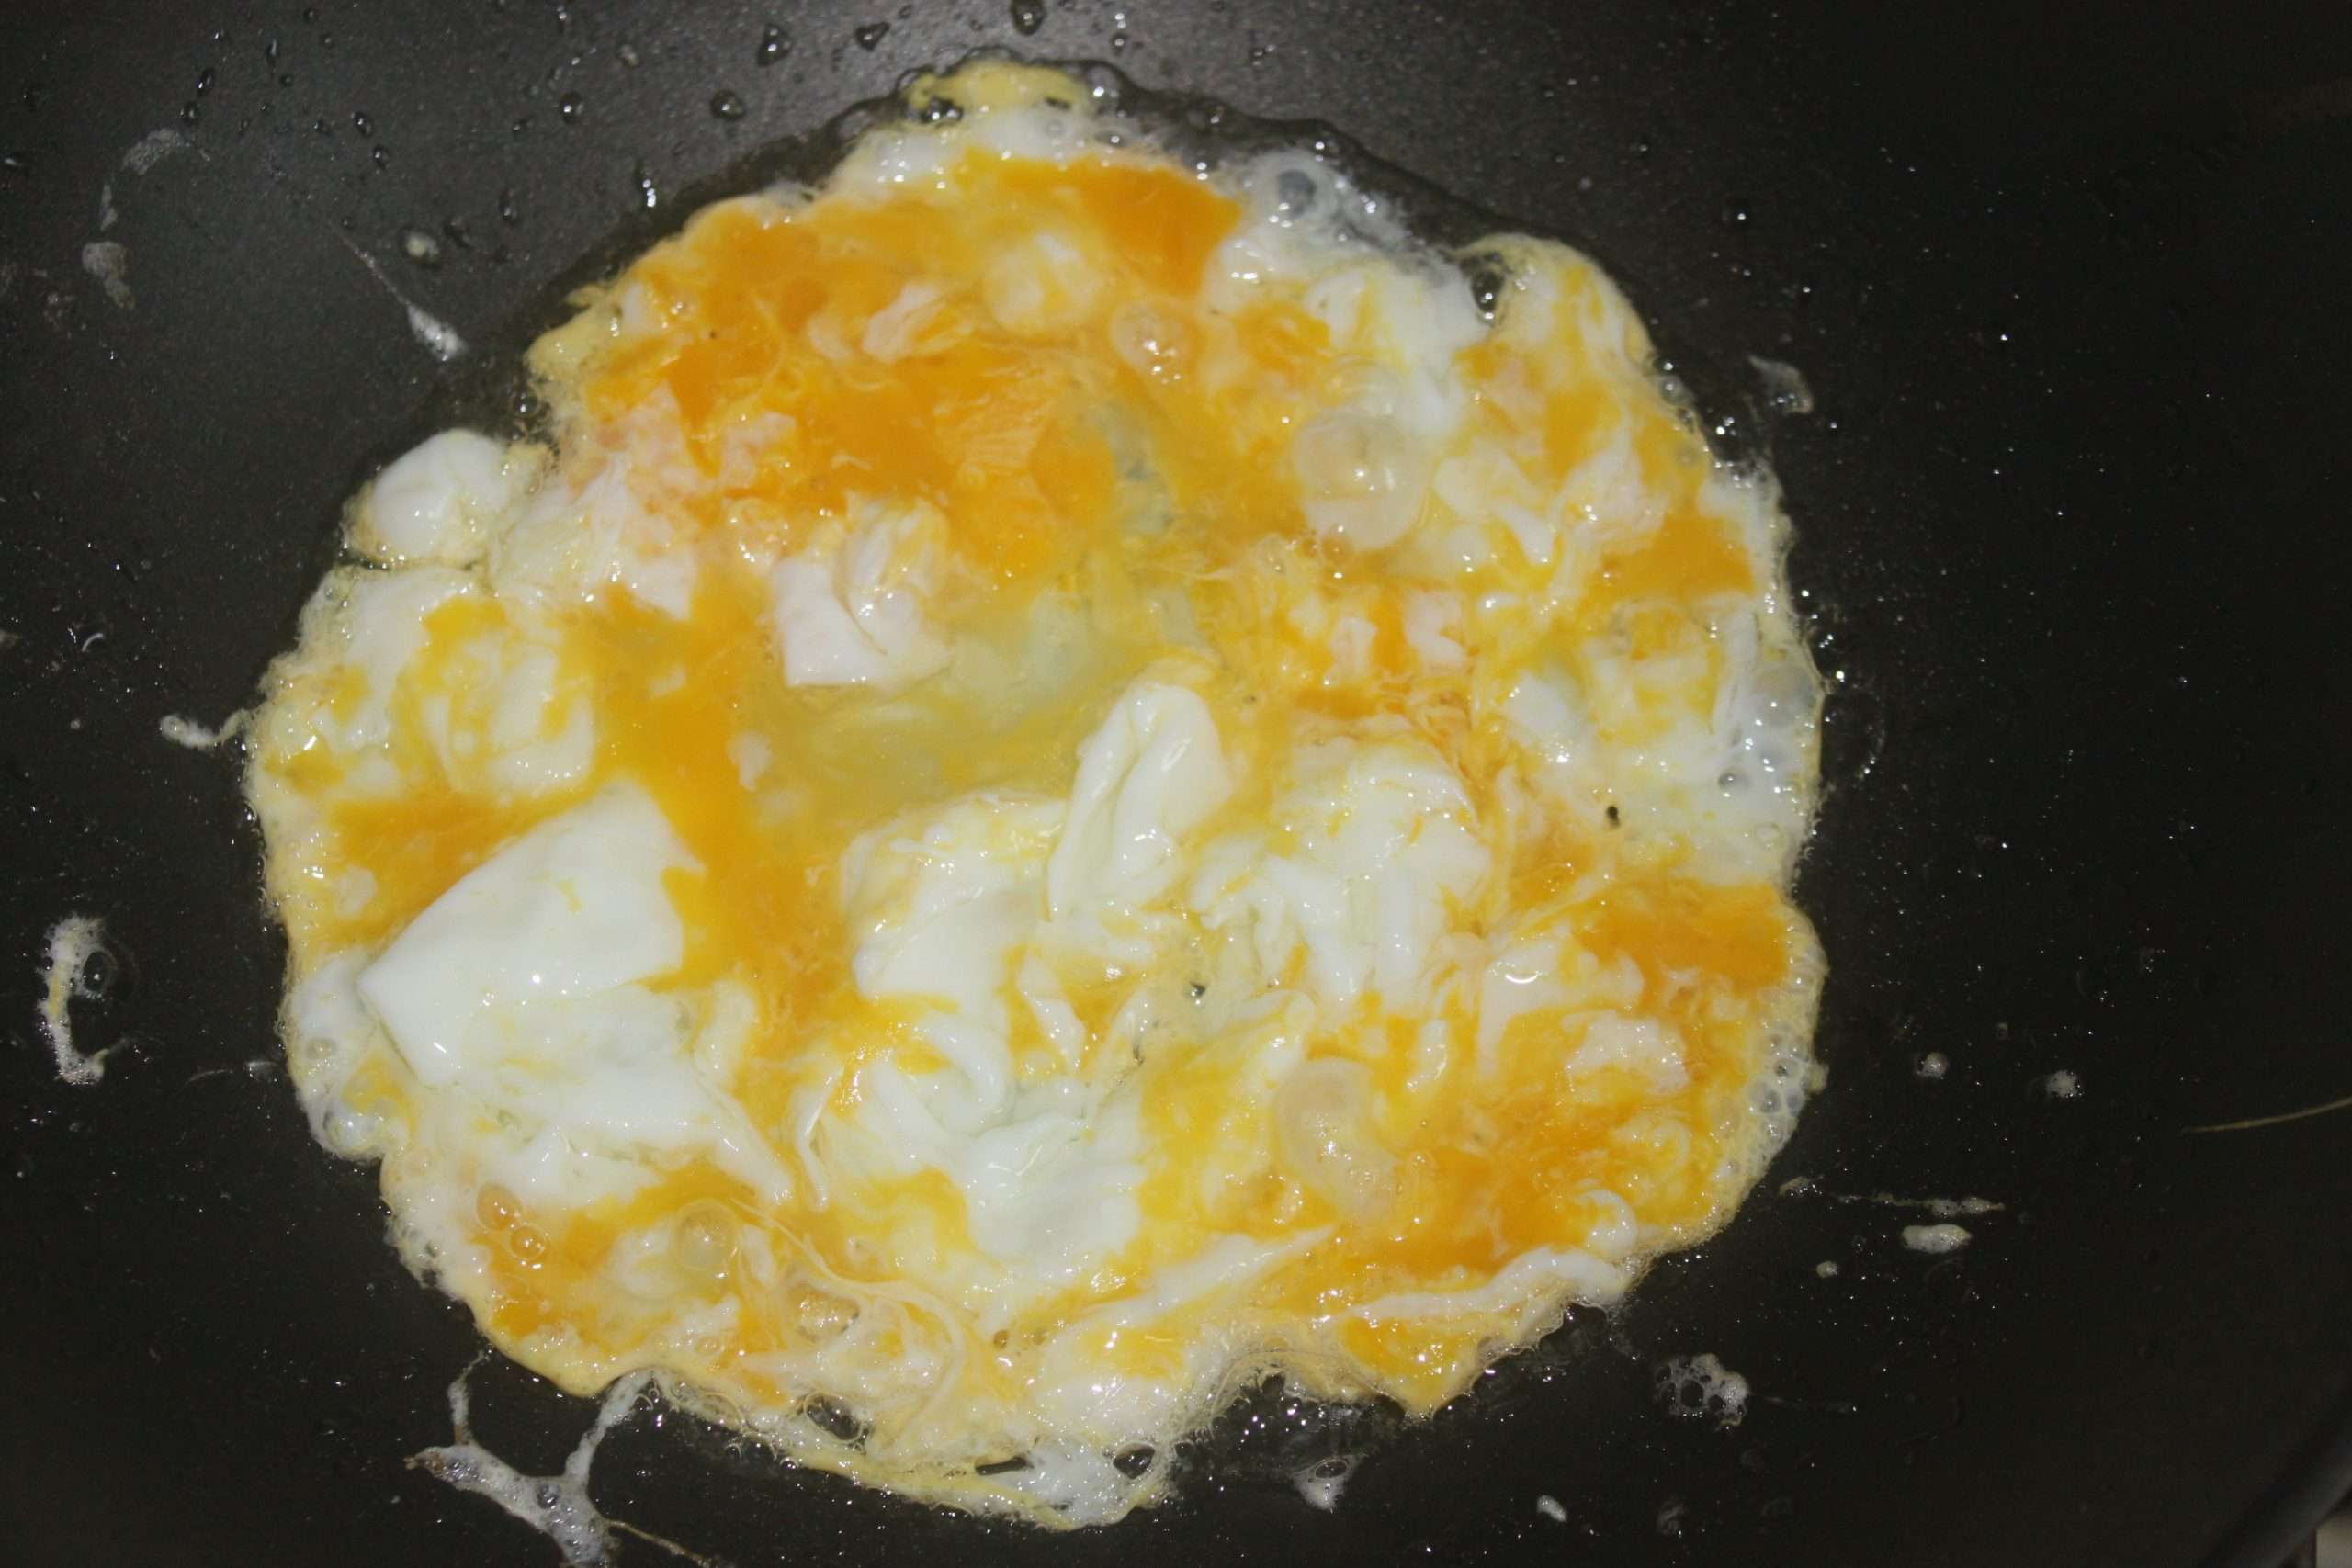
Turn over and cook and color the other side.
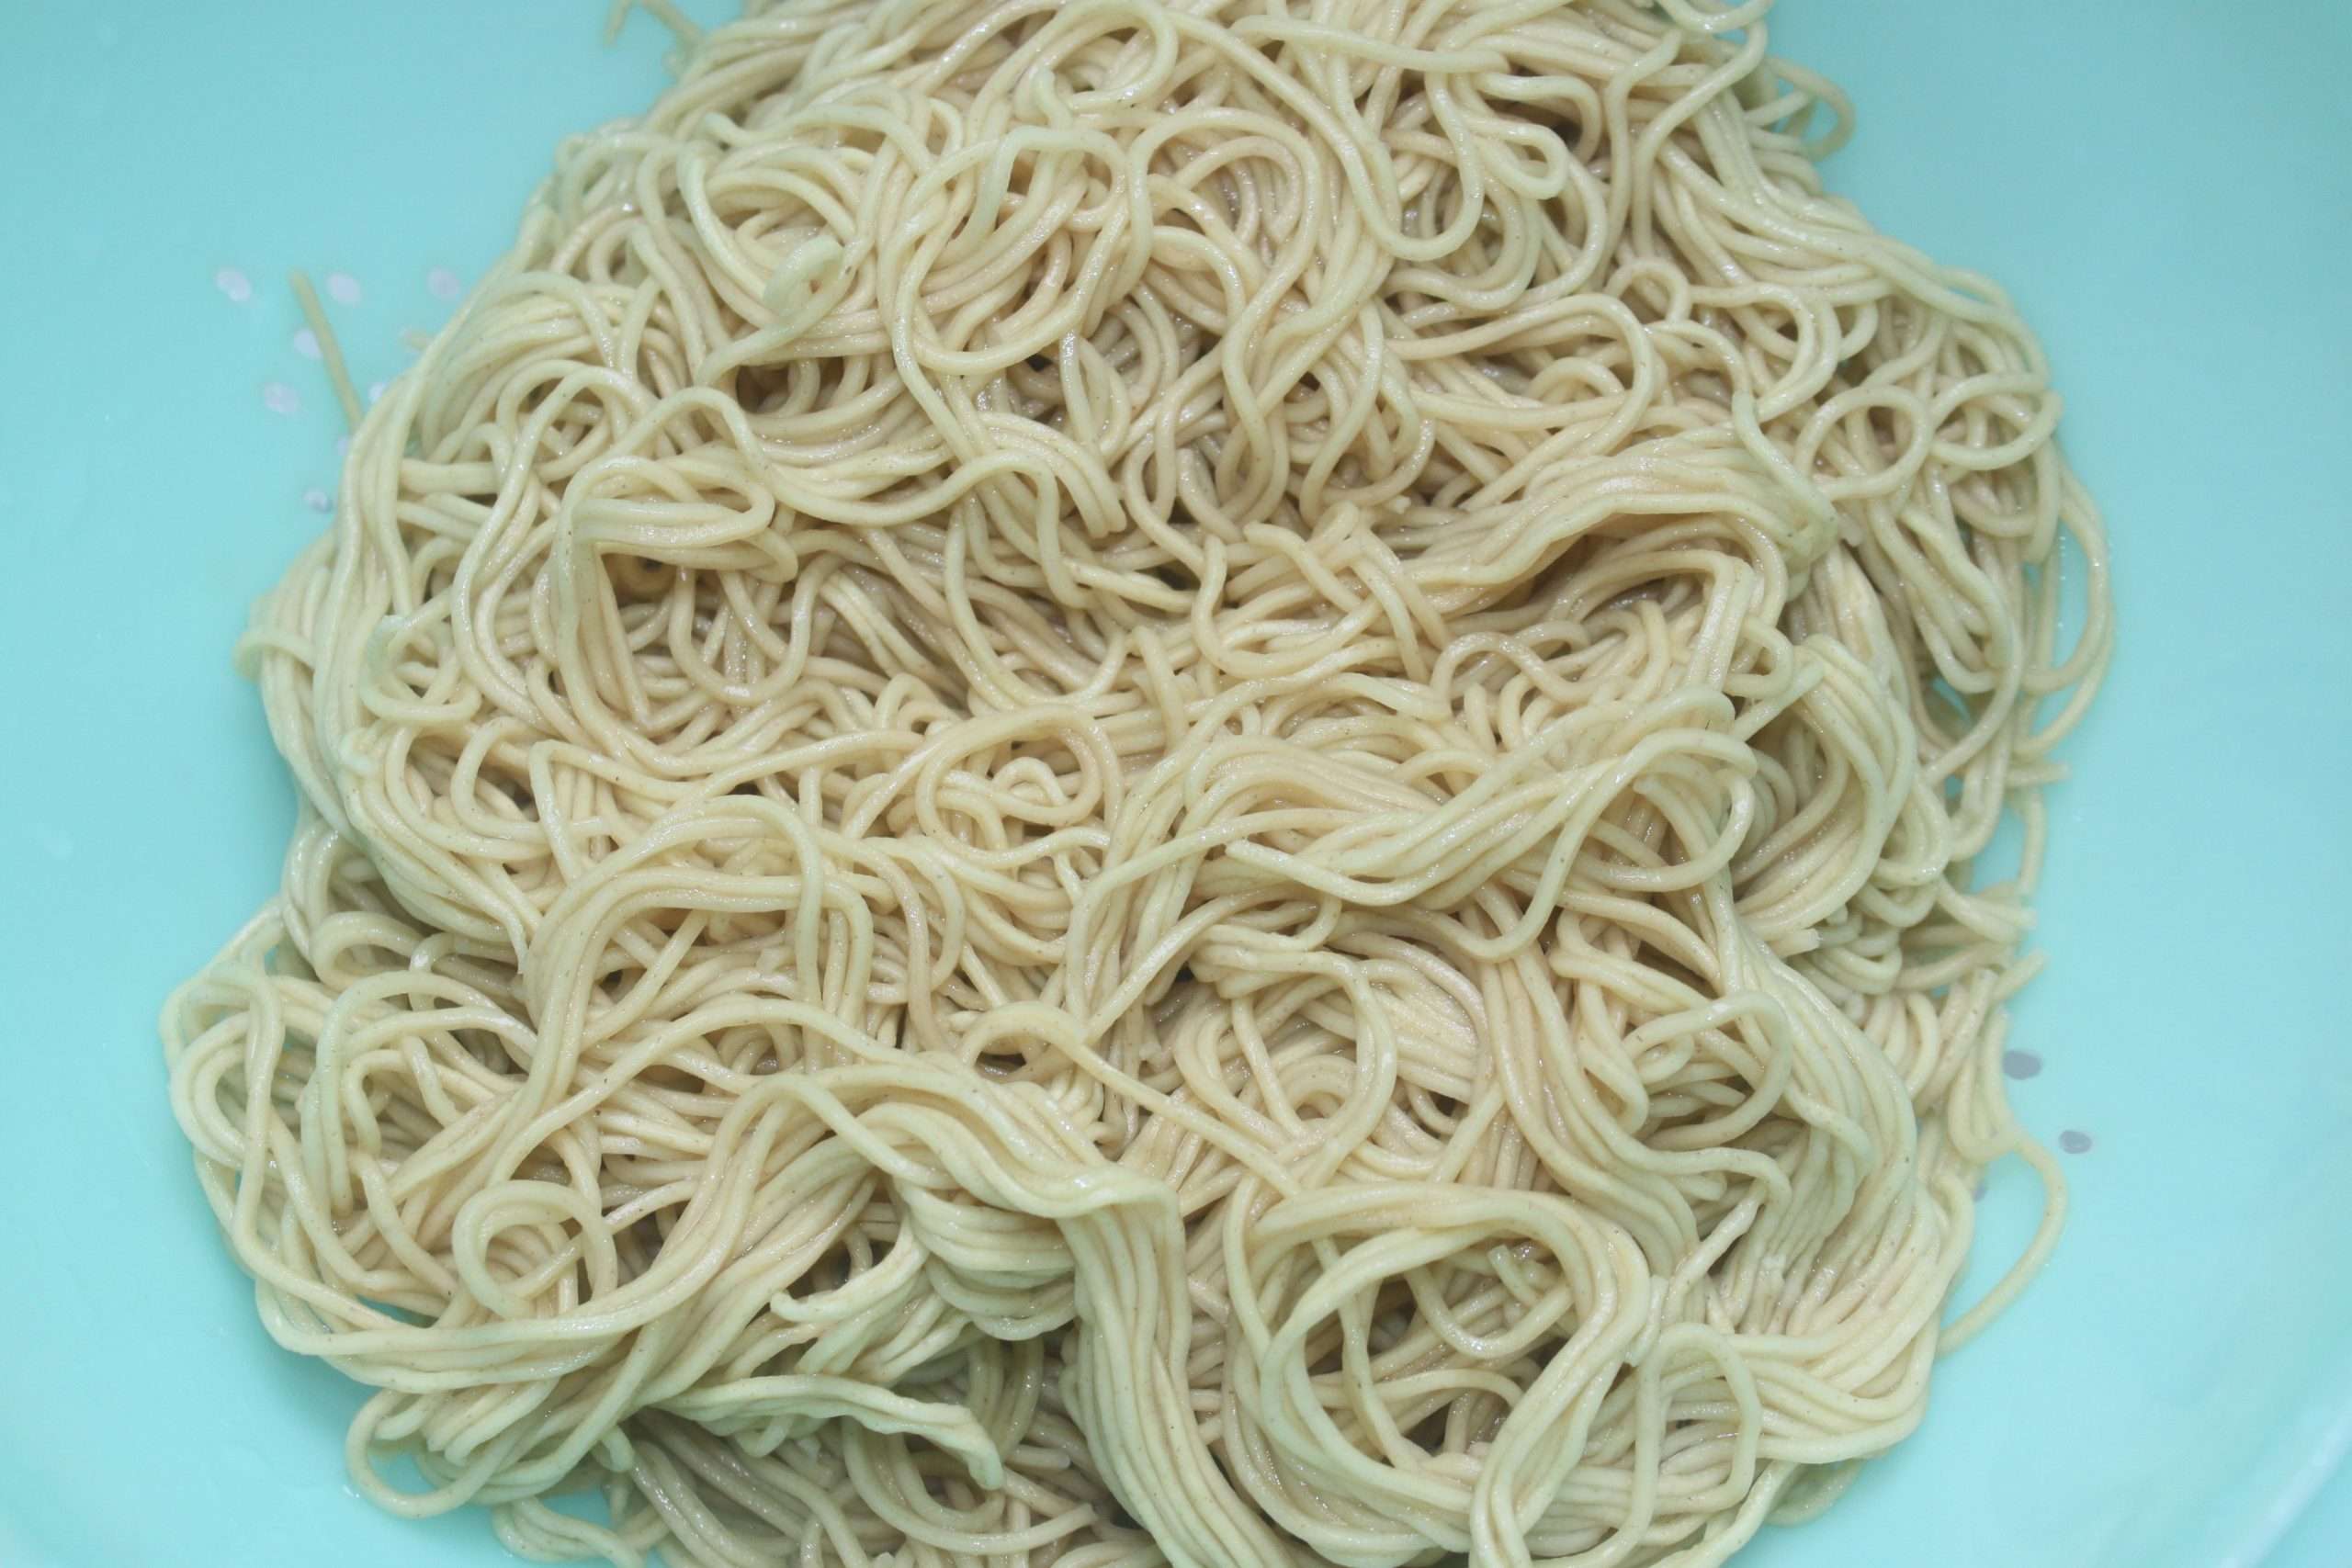
Set aside. Boil a pot of water and cook the pasta for one minute less than the package directions.

Rinse with cold water.
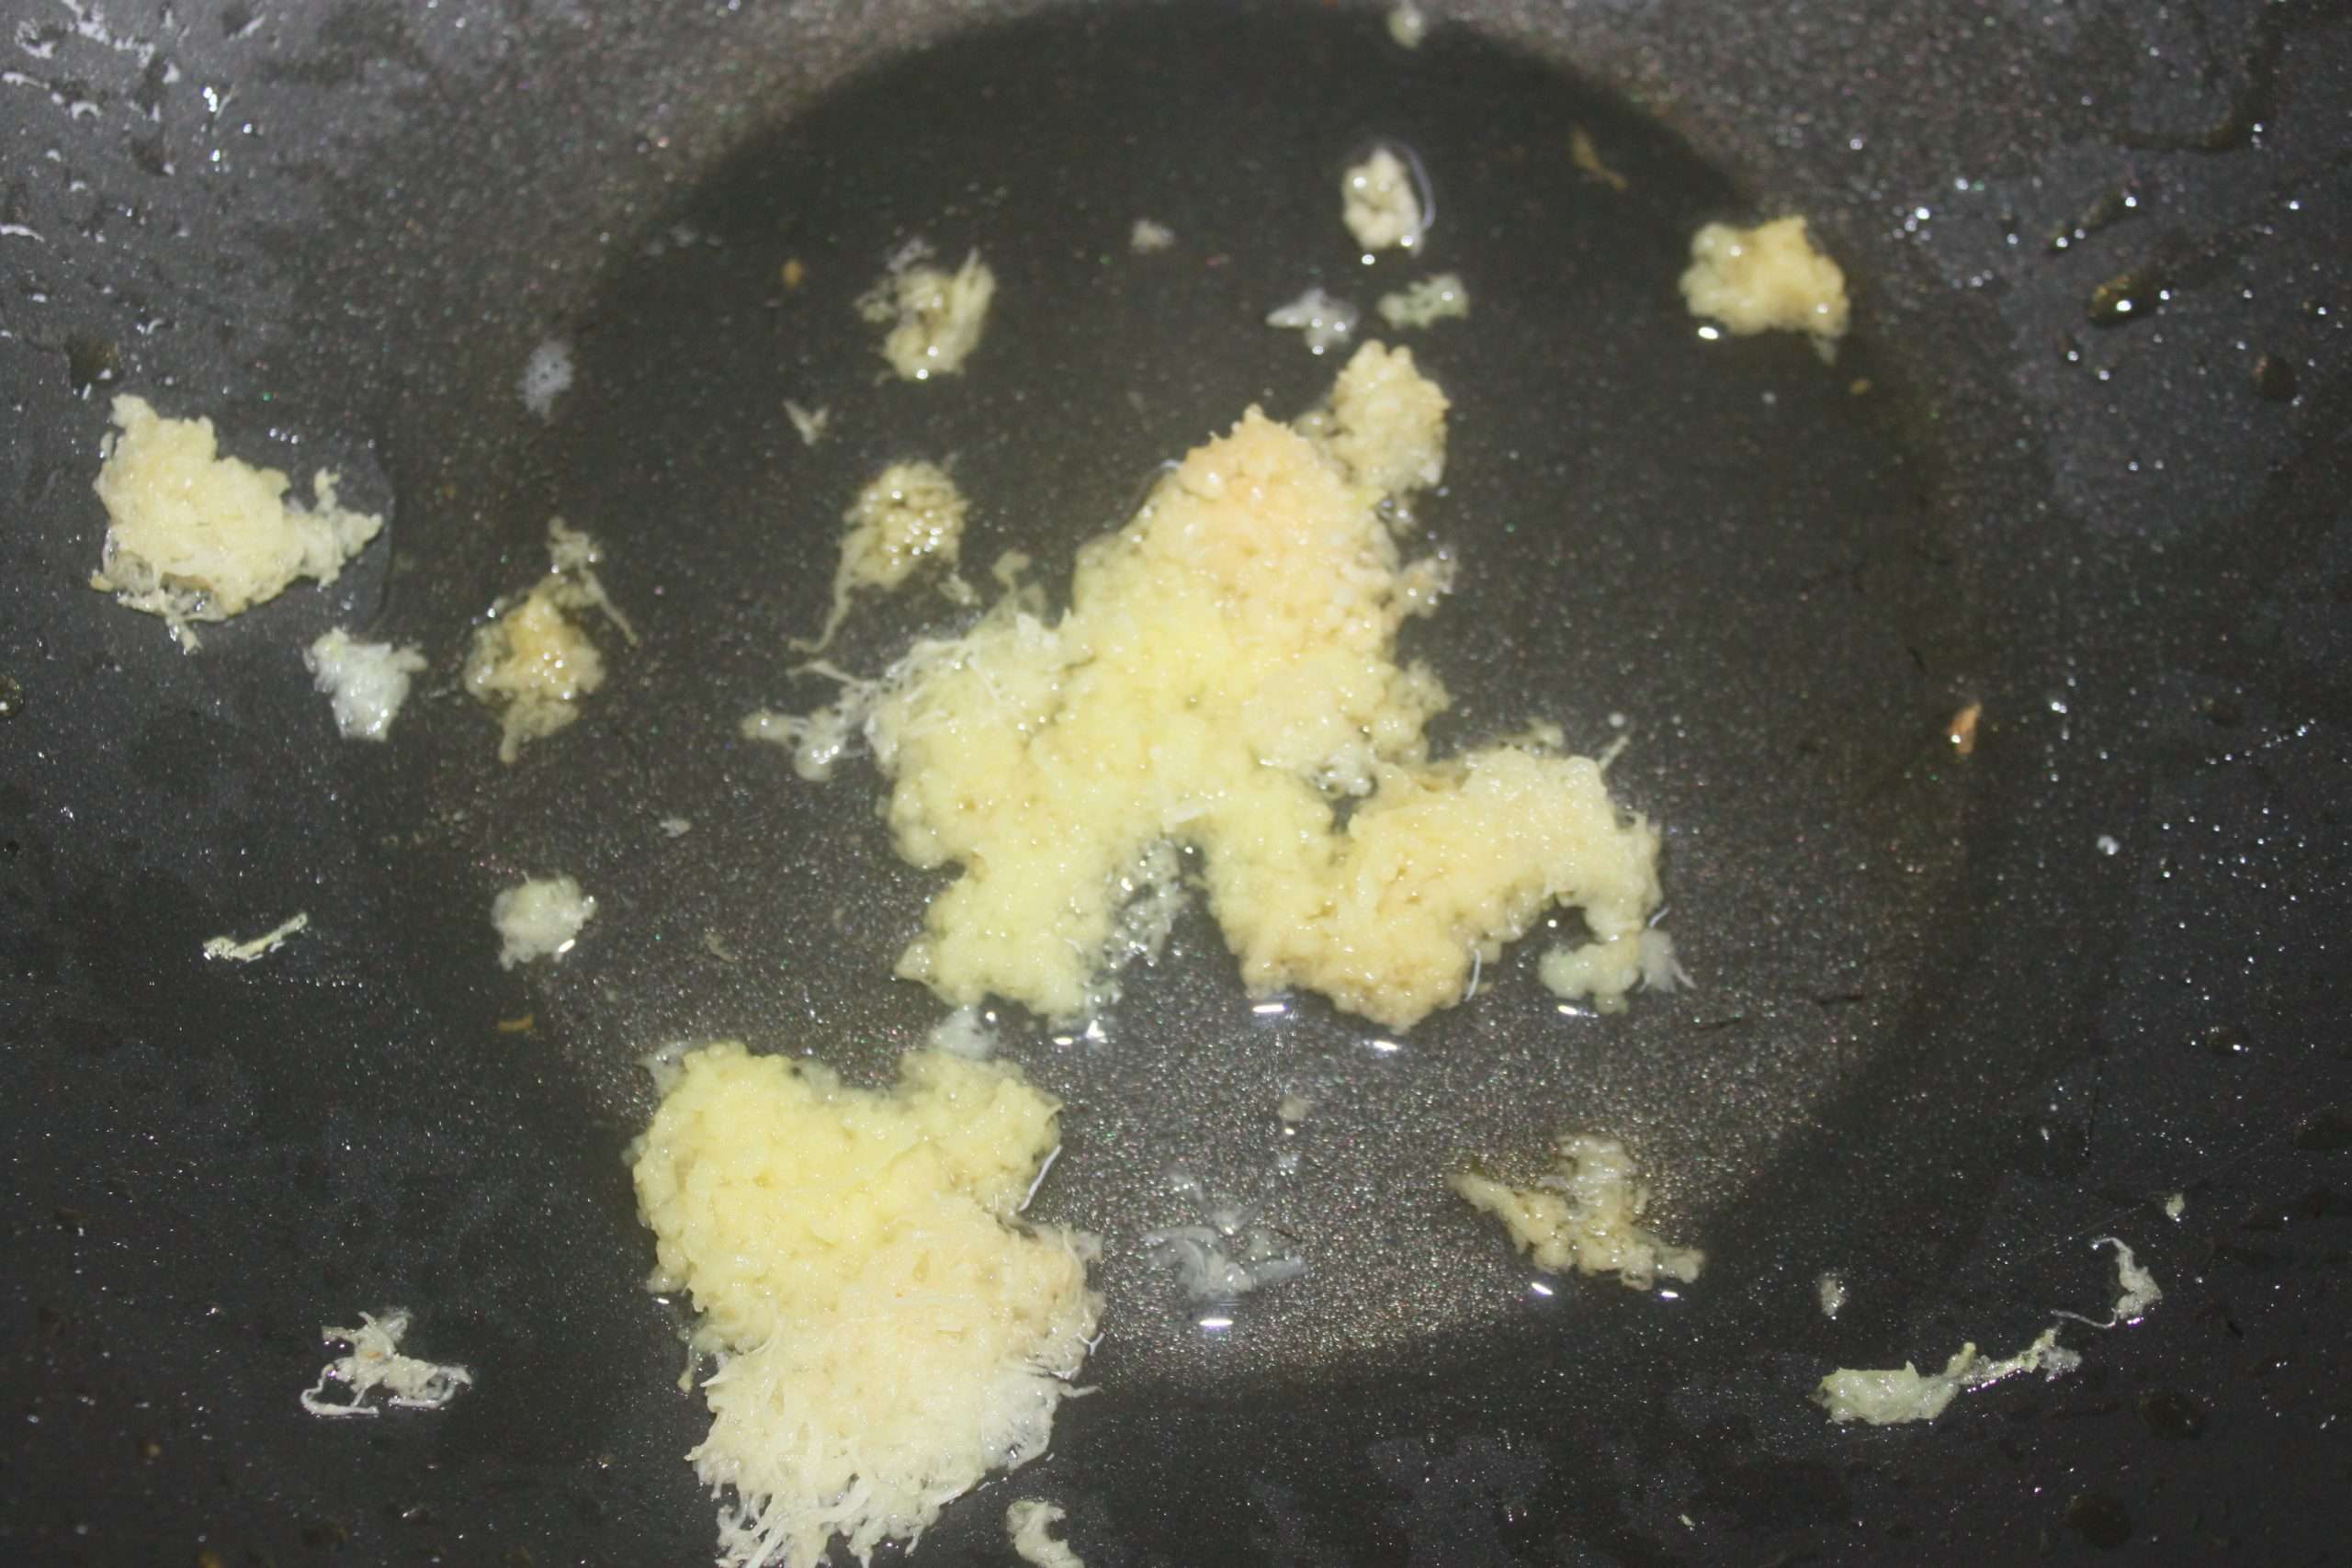
Grate the garlic and ginger and place in the wok with two to three tablespoons of oil.
Add the vegetables (here frozen peas) and heat over high heat.
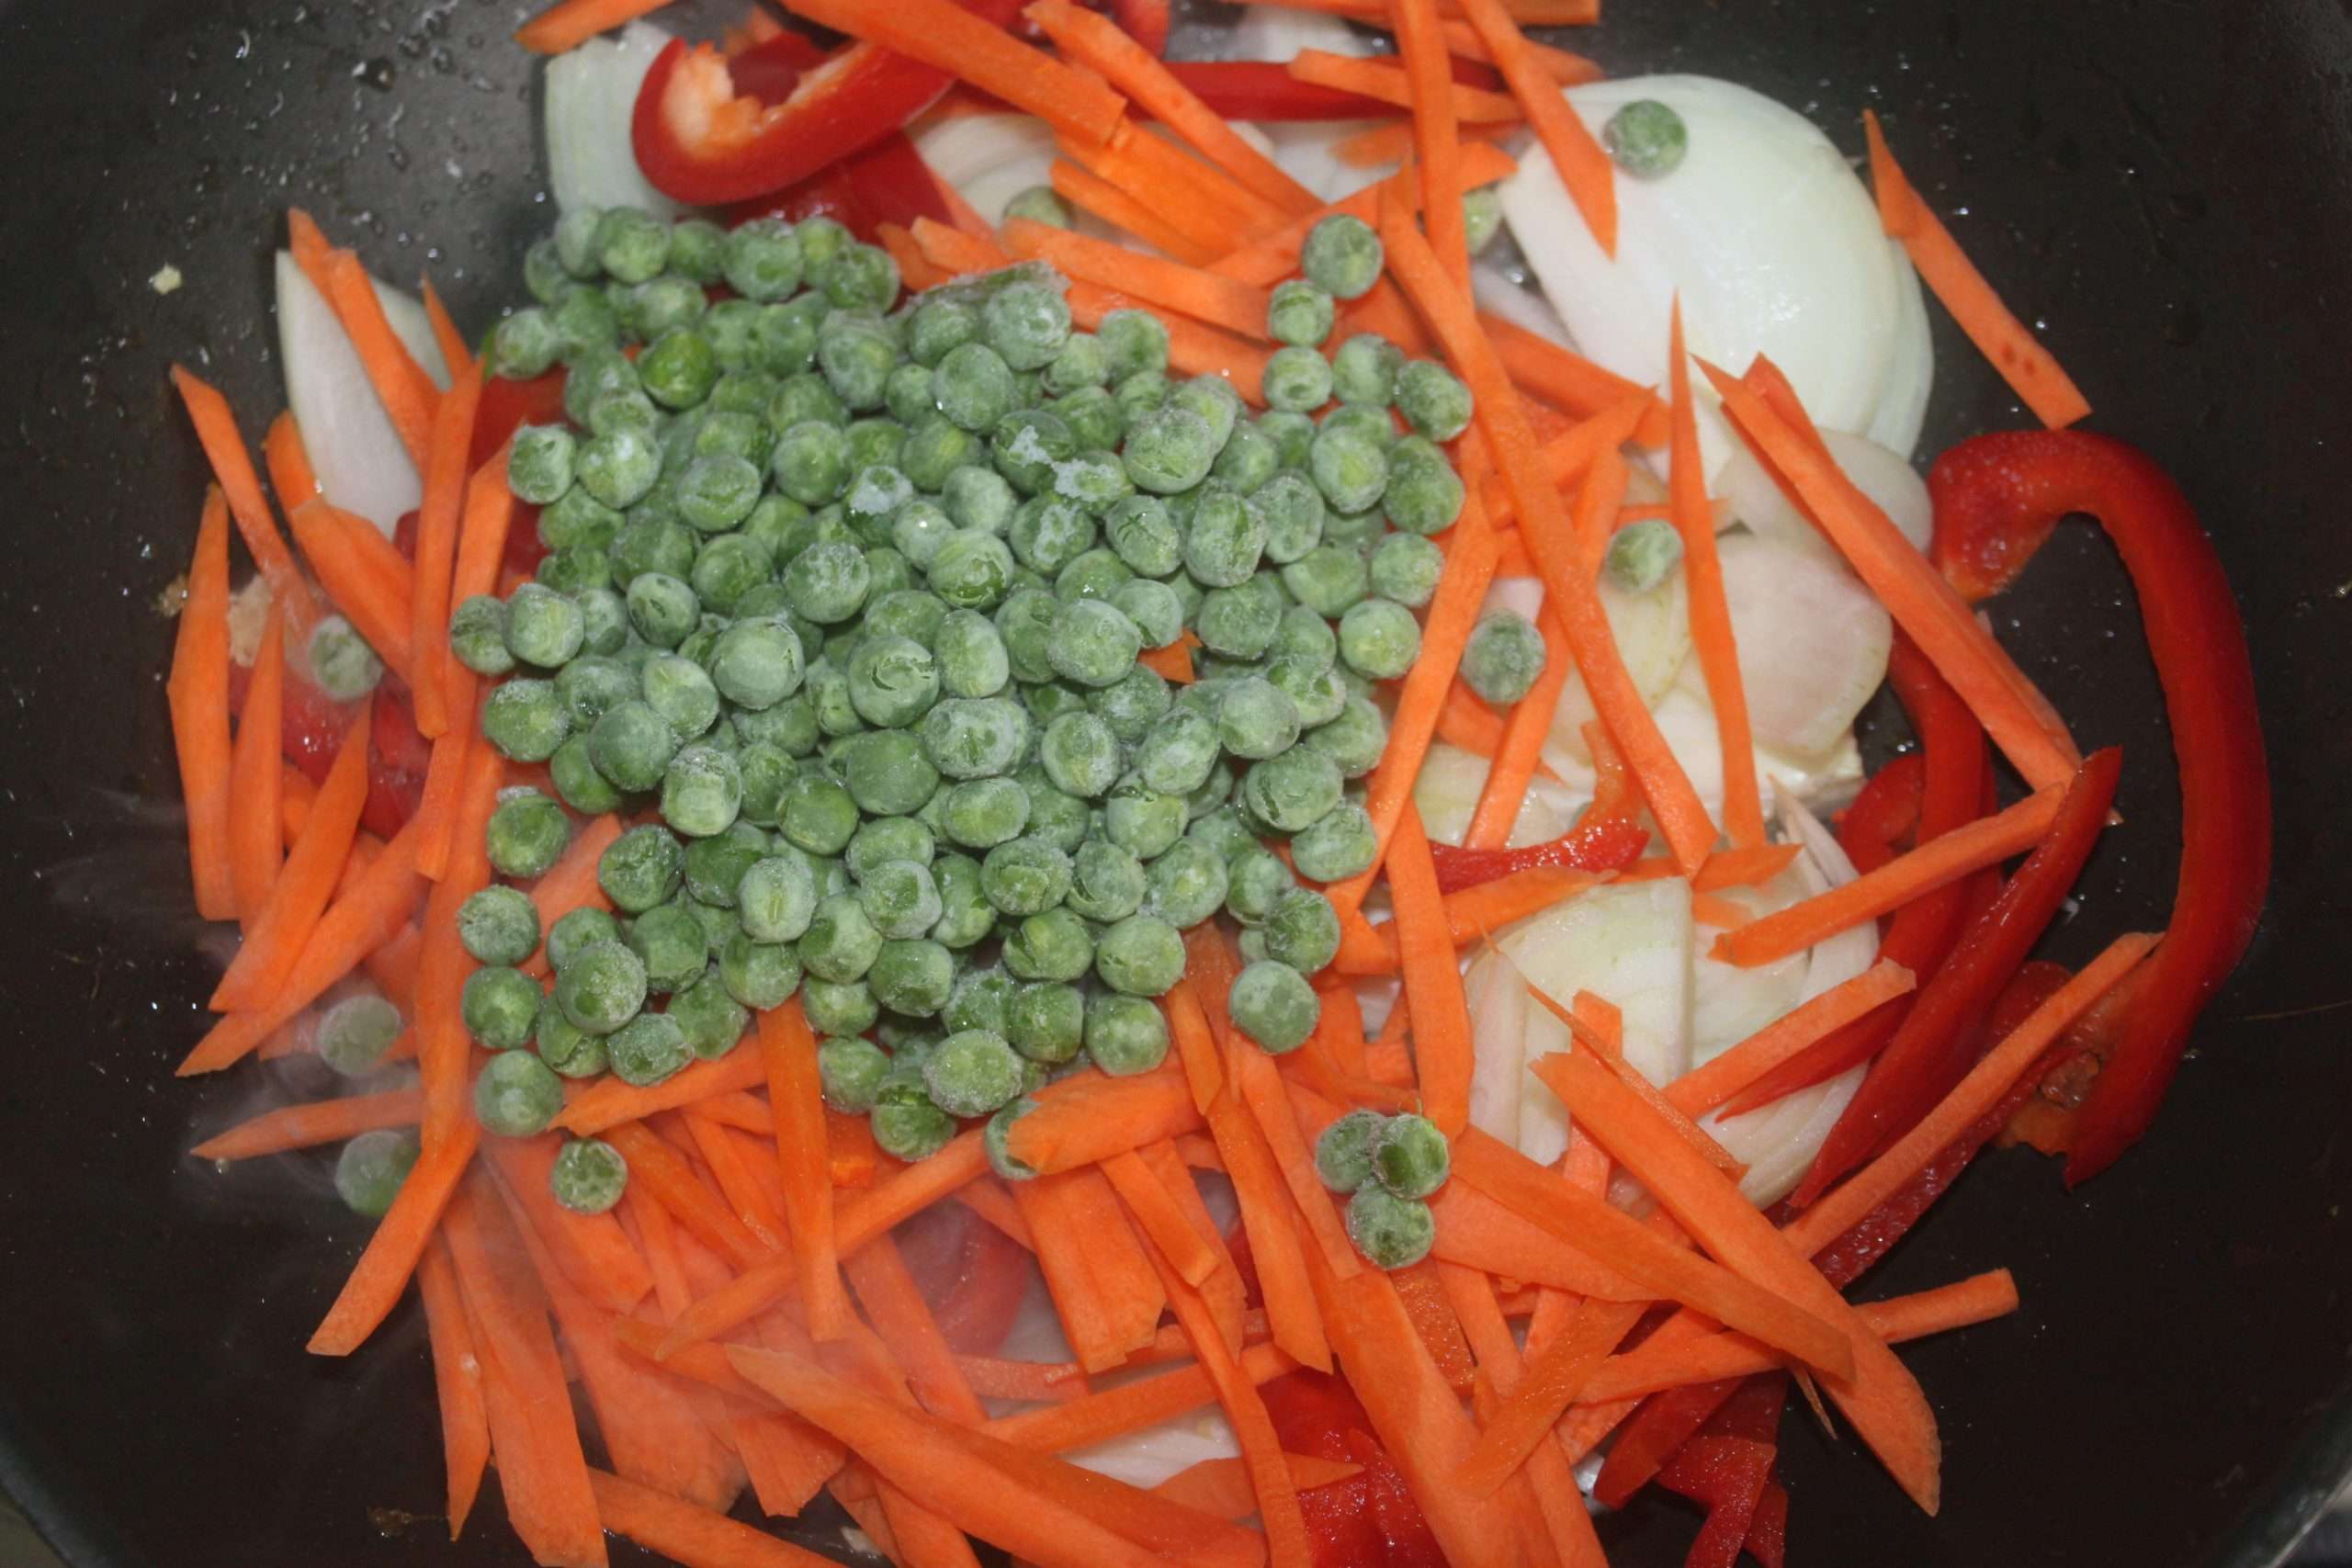
Cook for 5 minutes, stirring. The onion is the good indicator of cooking.

Add the chicken.

Cook until the chicken looks cooked. Pour the soy sauce, vinegar and sugar.

Cook, still on high heat, for 2 minutes.

Add the cooled noodles.

The omelet cut into strips.

Mix well. Salt (not too much because there is already soy sauce) and pepper to taste. I add a little sesame oil at the end of cooking and sesame seeds.

Serve very hot immediately!
