
I have been a total fan of sushi, sashimi, maki, temaki etc. for a long time. Even if of course the expertise is reserved to real professionals, we can still enjoy at home with temaki ready in less than an hour for a meal that will make your taste buds travel! You can of course adapt it to your desires and put the fish and garnish you prefer!
Recette
- 190g of sushi rice
- 235g of water
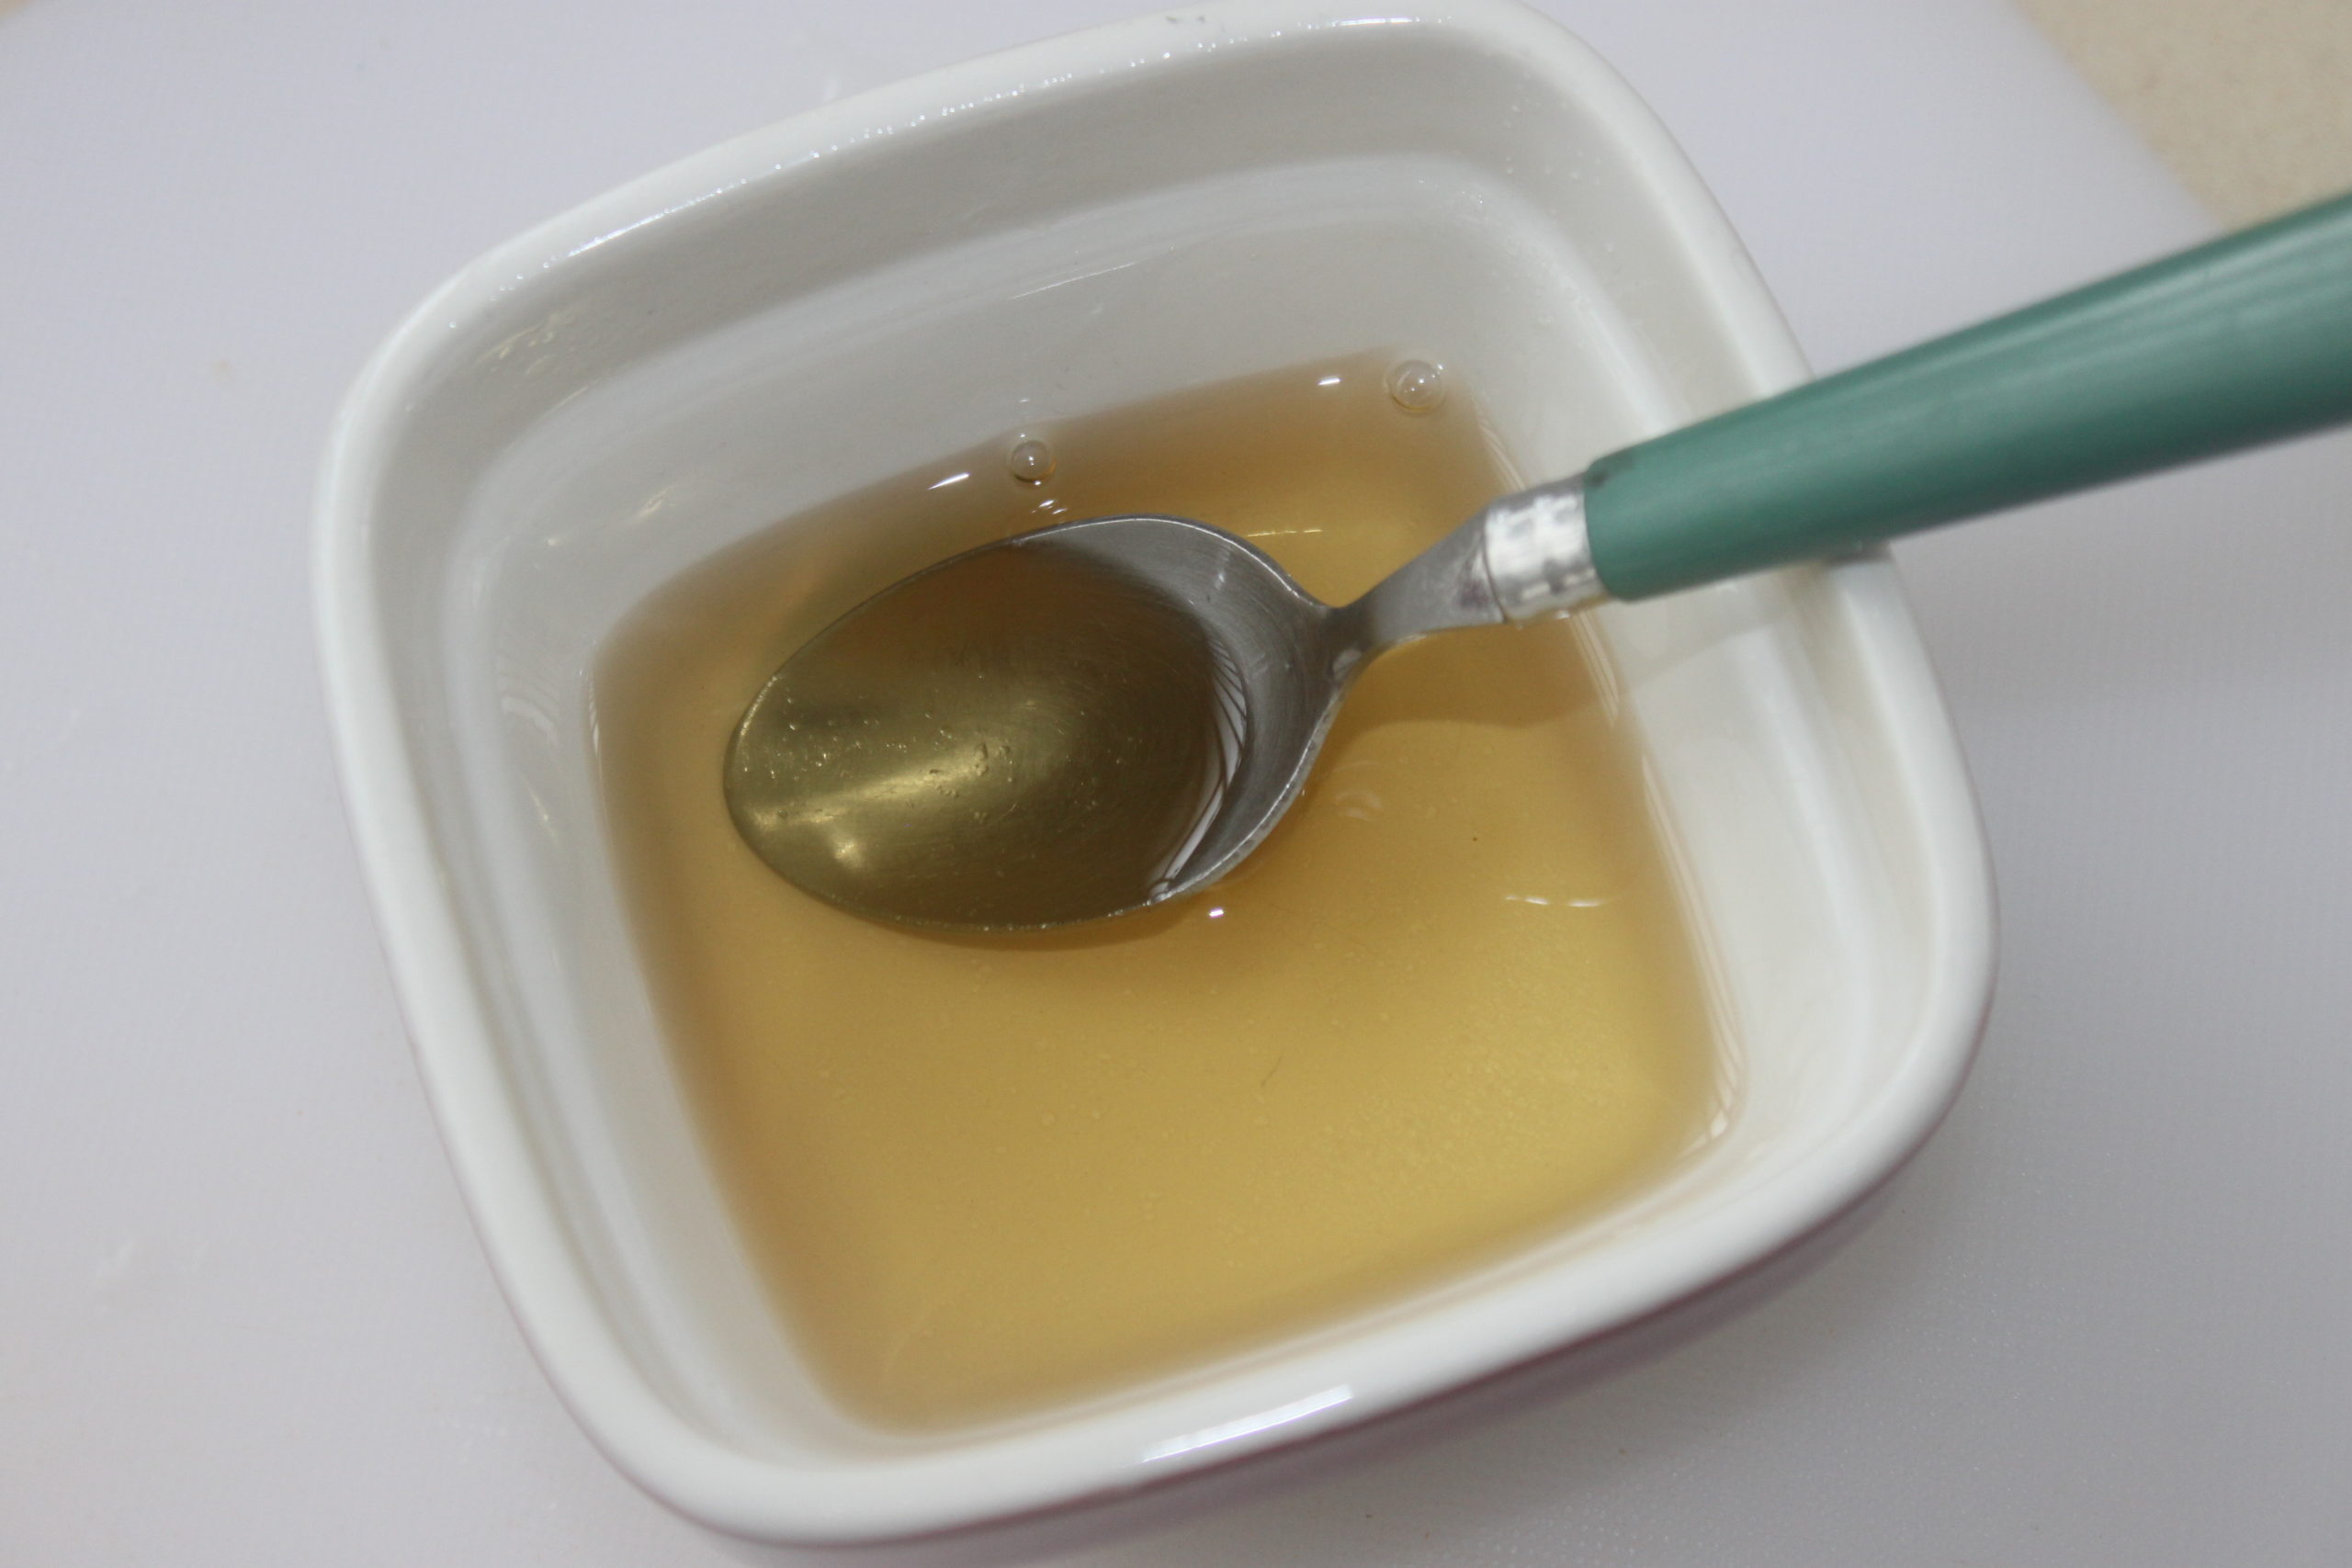
Pour le vinaigre à sushi
- 20g of rice vinegar
- 15g of sugar
- 3g of mirin
Pour les temaki :
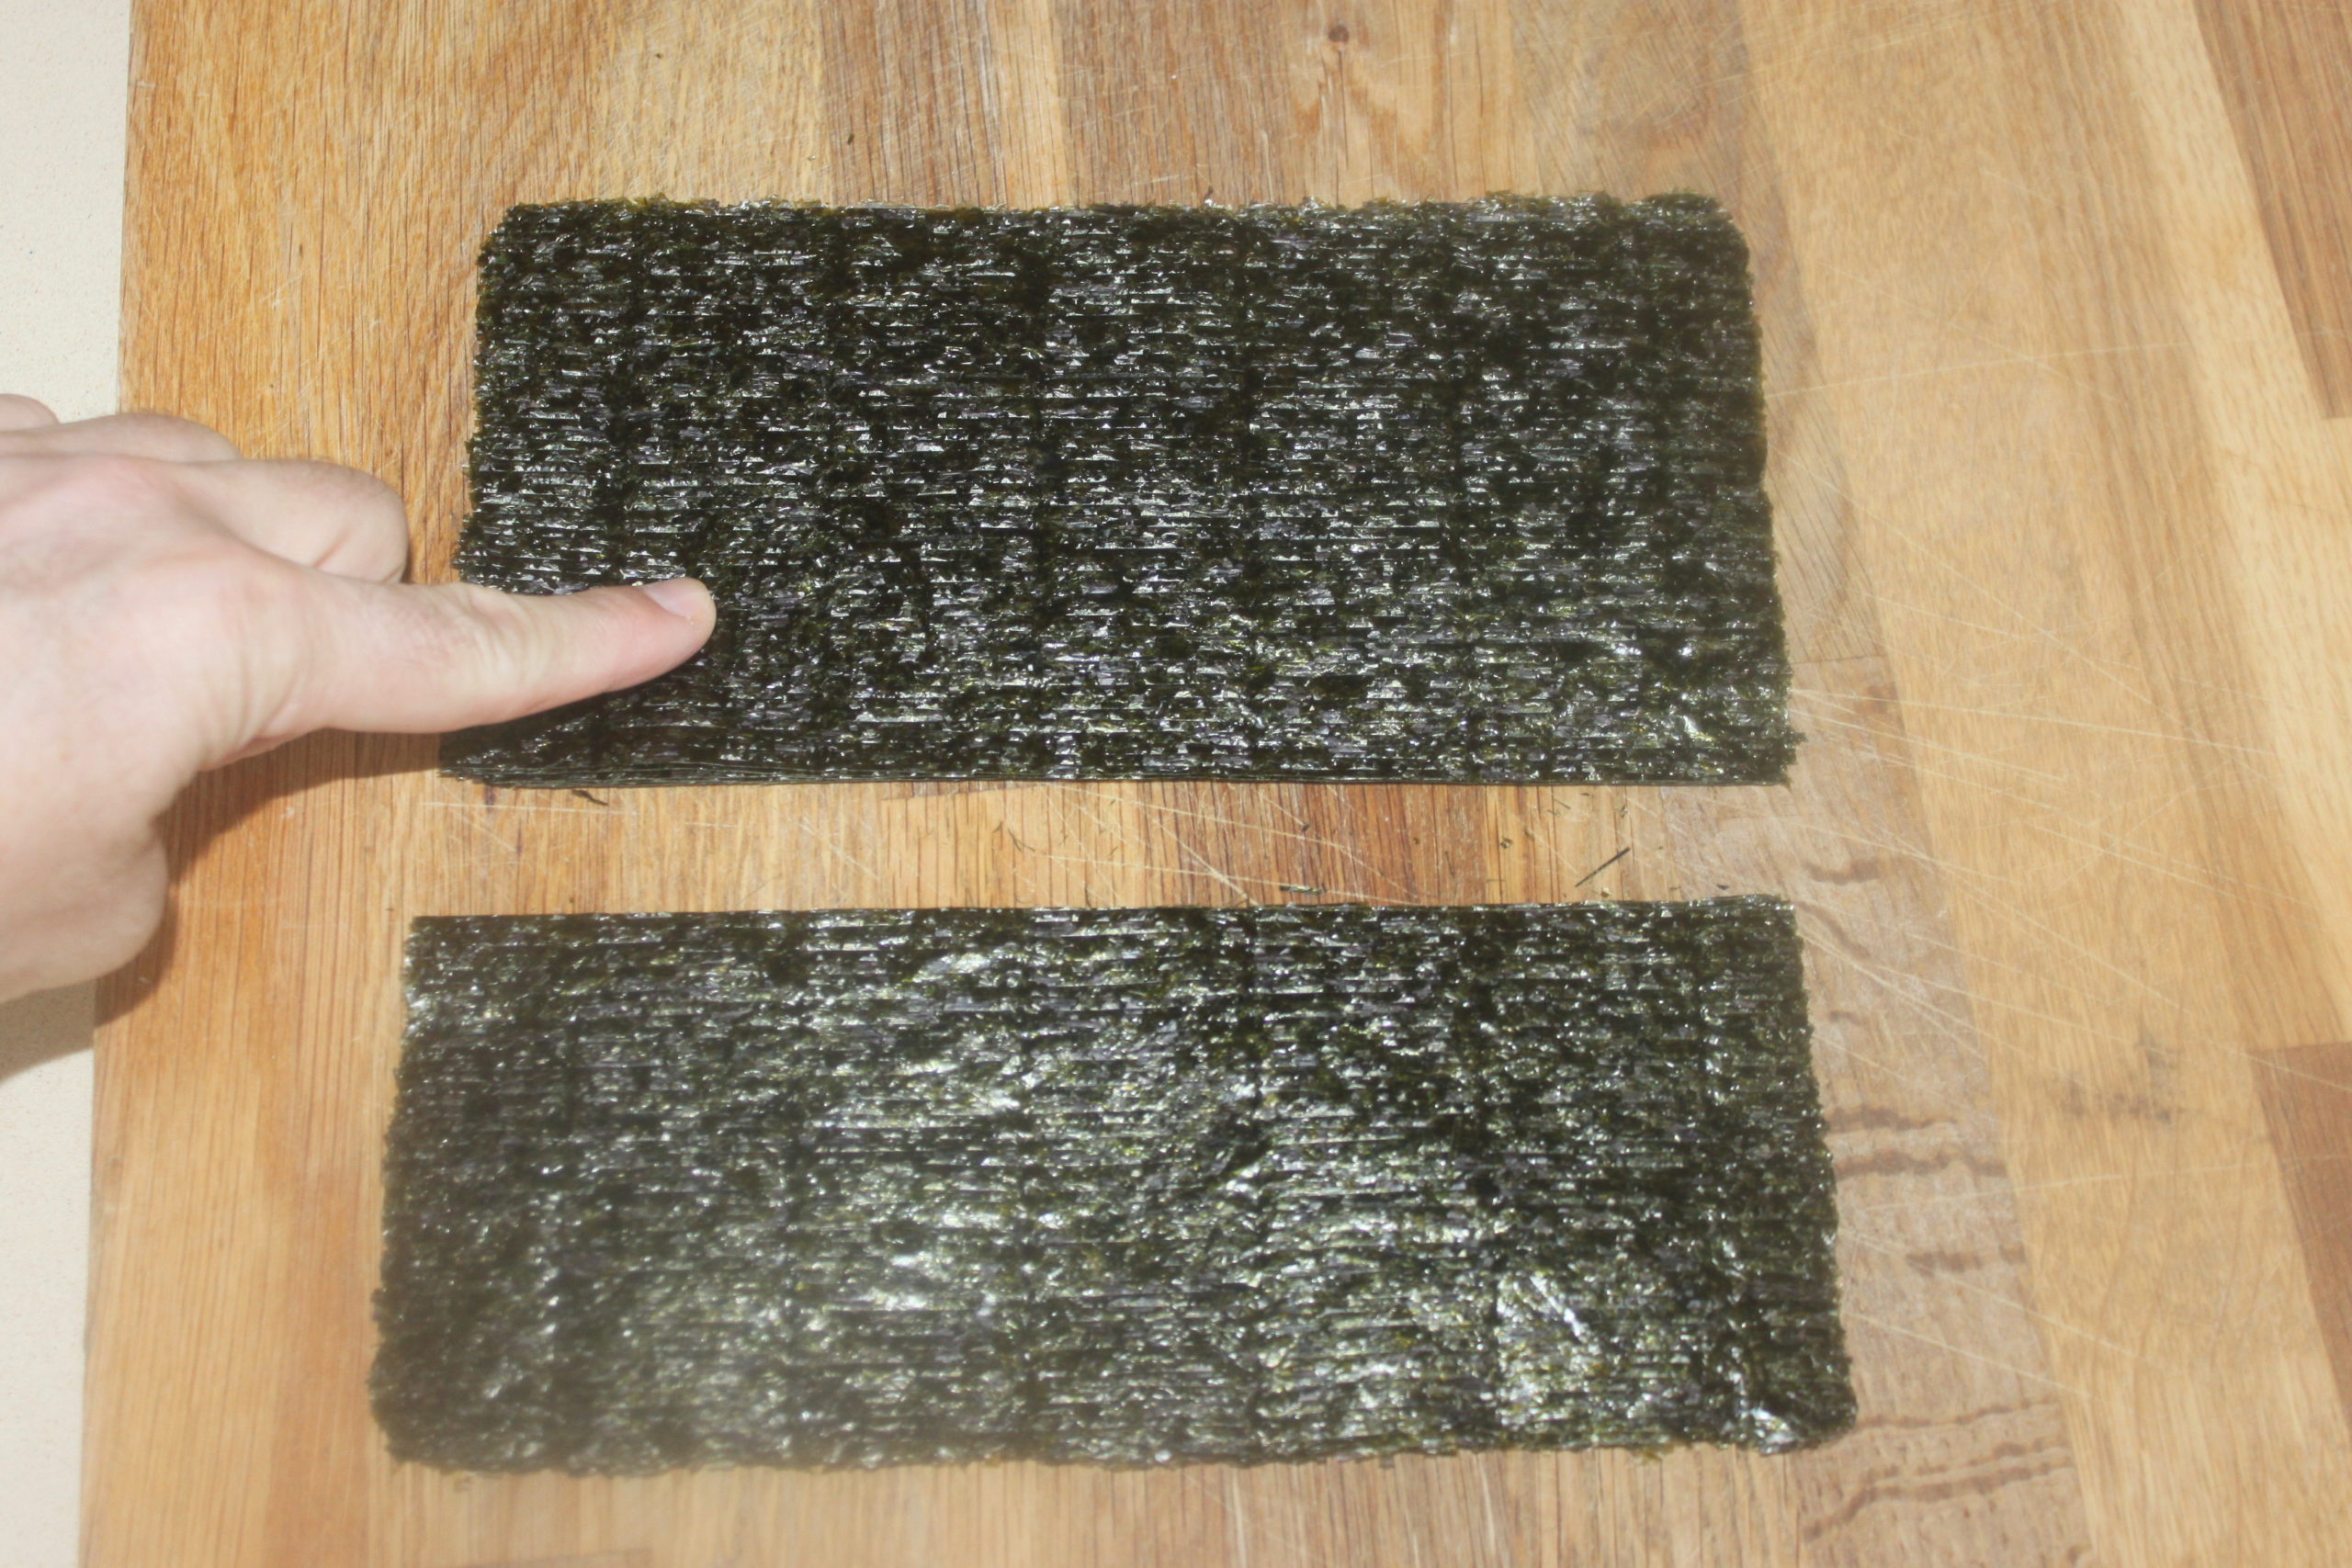
- 10 sheets of nori seaweed for maki
- wasabi
- 1 salmon steak without skin or bones
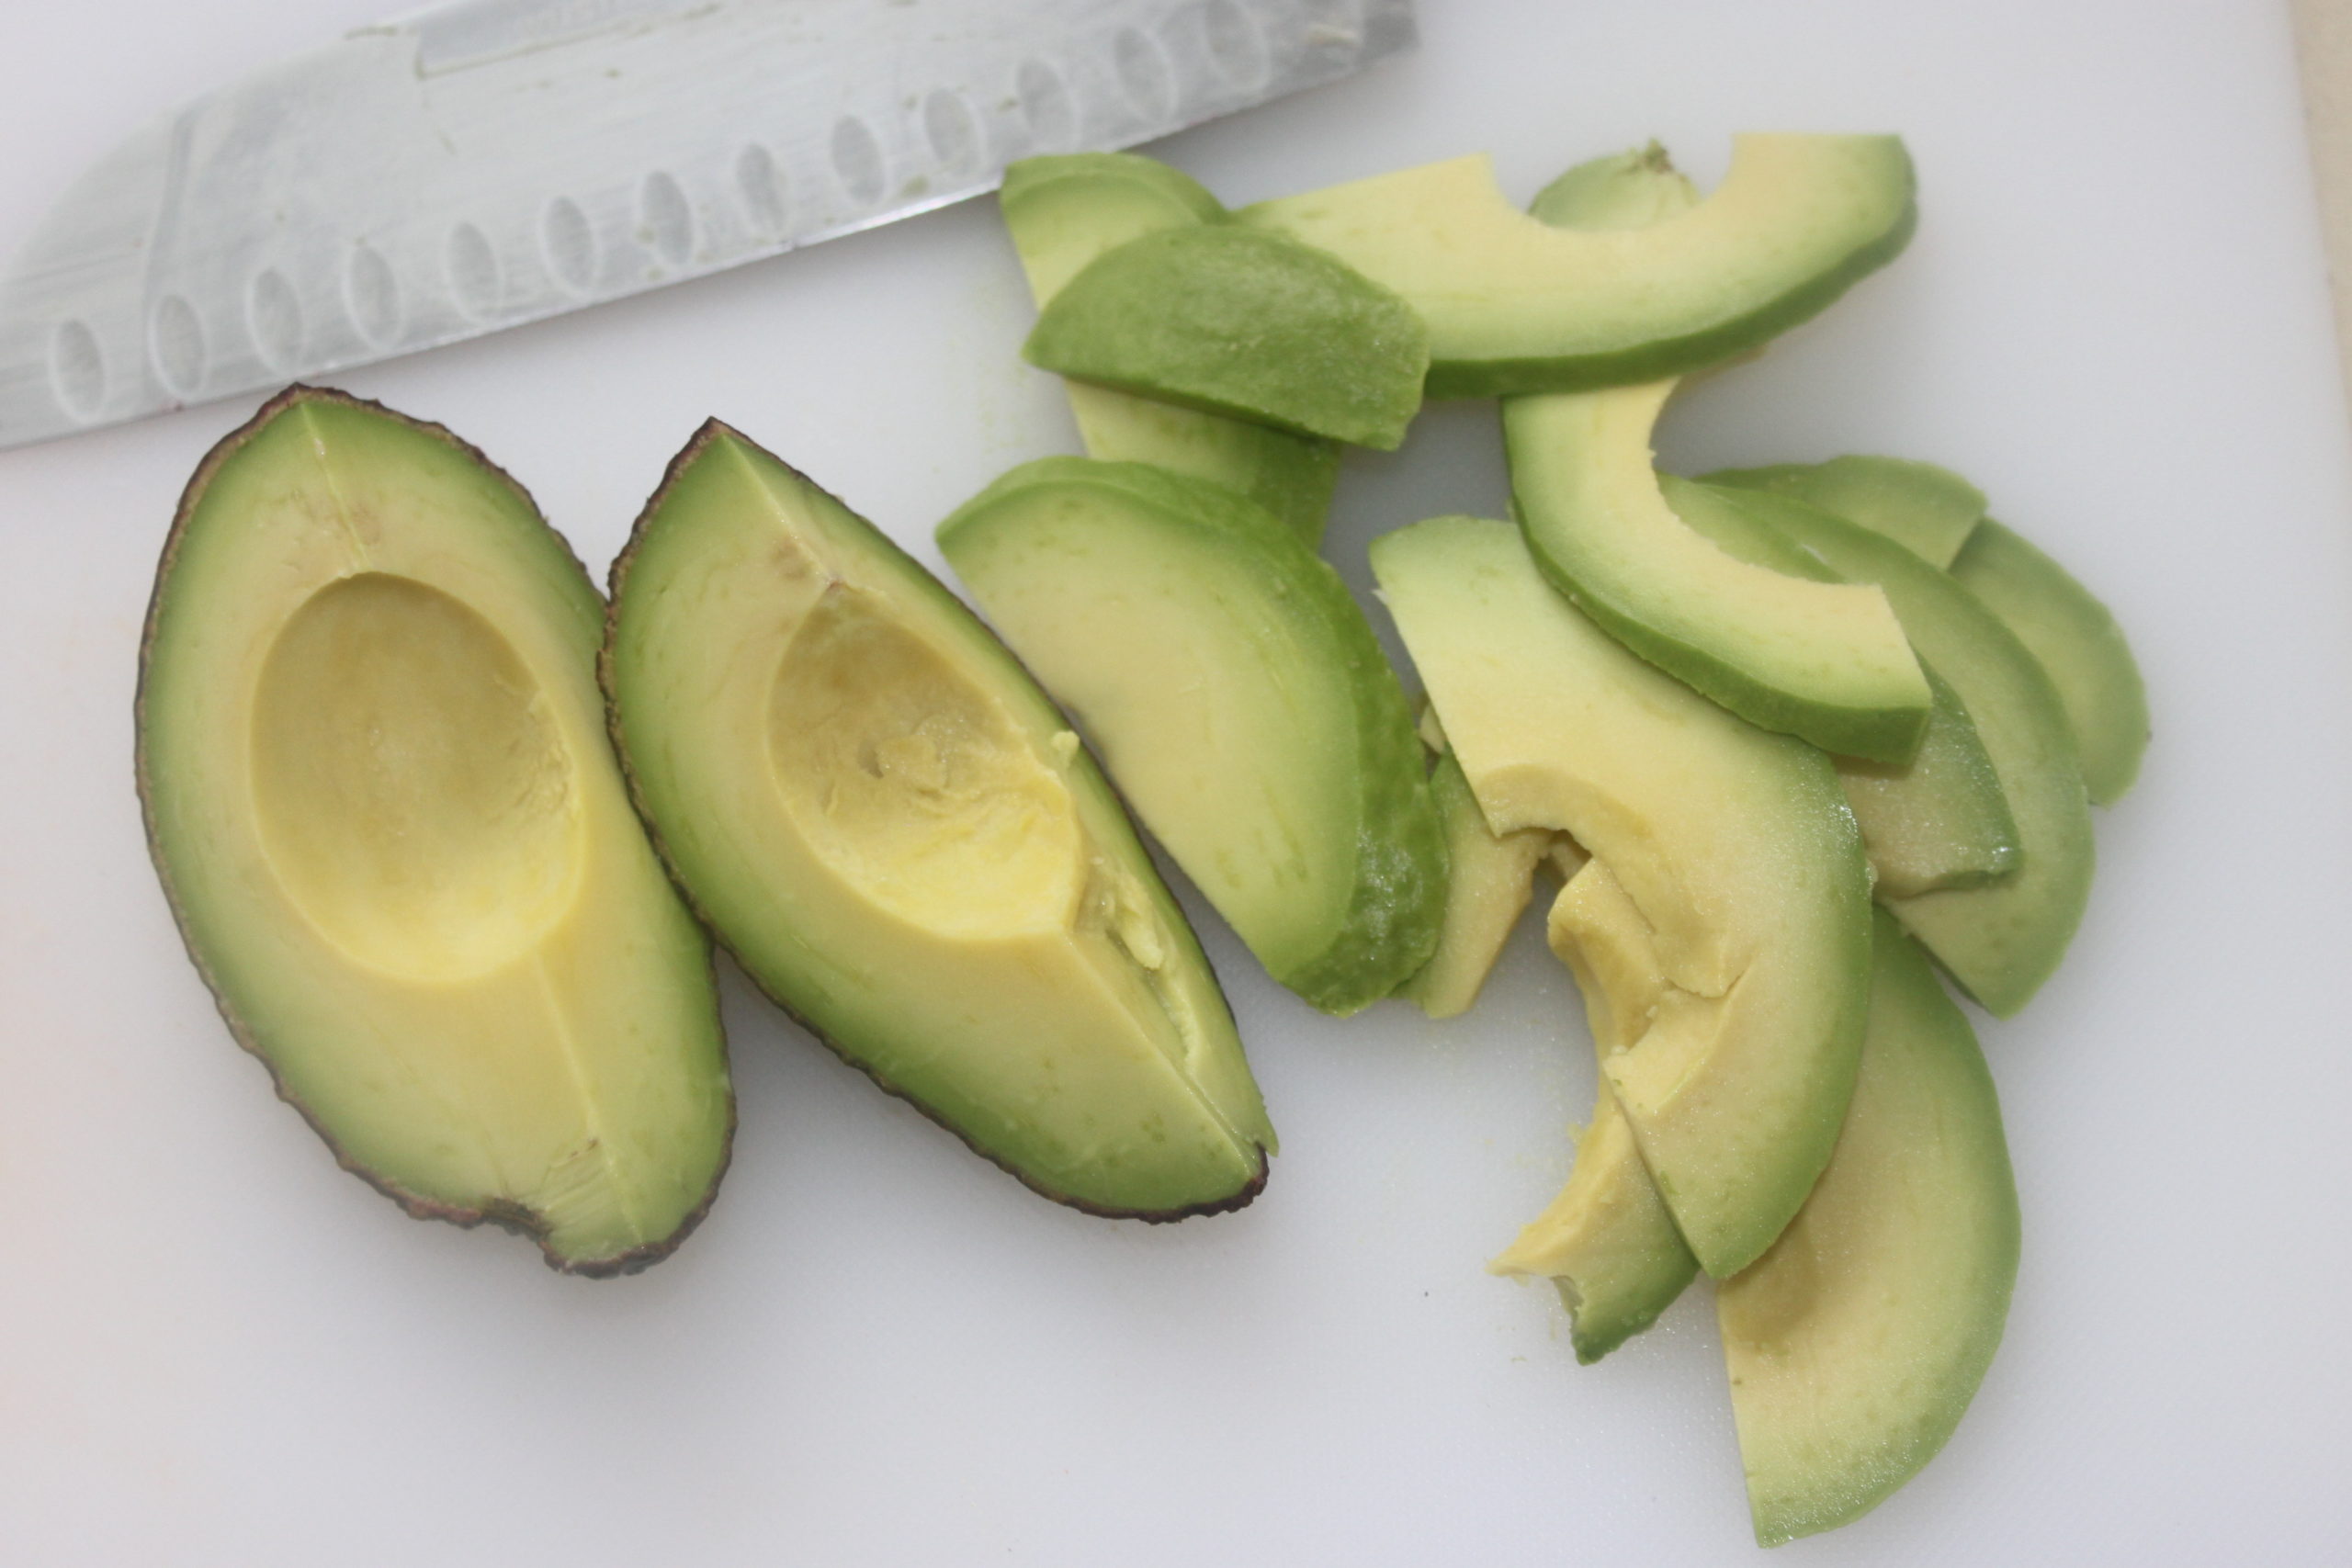
- 1 nice ripe avocado
- 150g of good quality crab sticks
- 2 tablespoons of mayonnaise
- 1 teaspoon of lemon juice
- clear soy sauce for serving
Les instructions
Wash the sushi rice in a sieve under cold water. Drain it well and put it in the rice cooker with the 235g of water. Cook as usual. On the rice cooker, all you have to do is press a button.

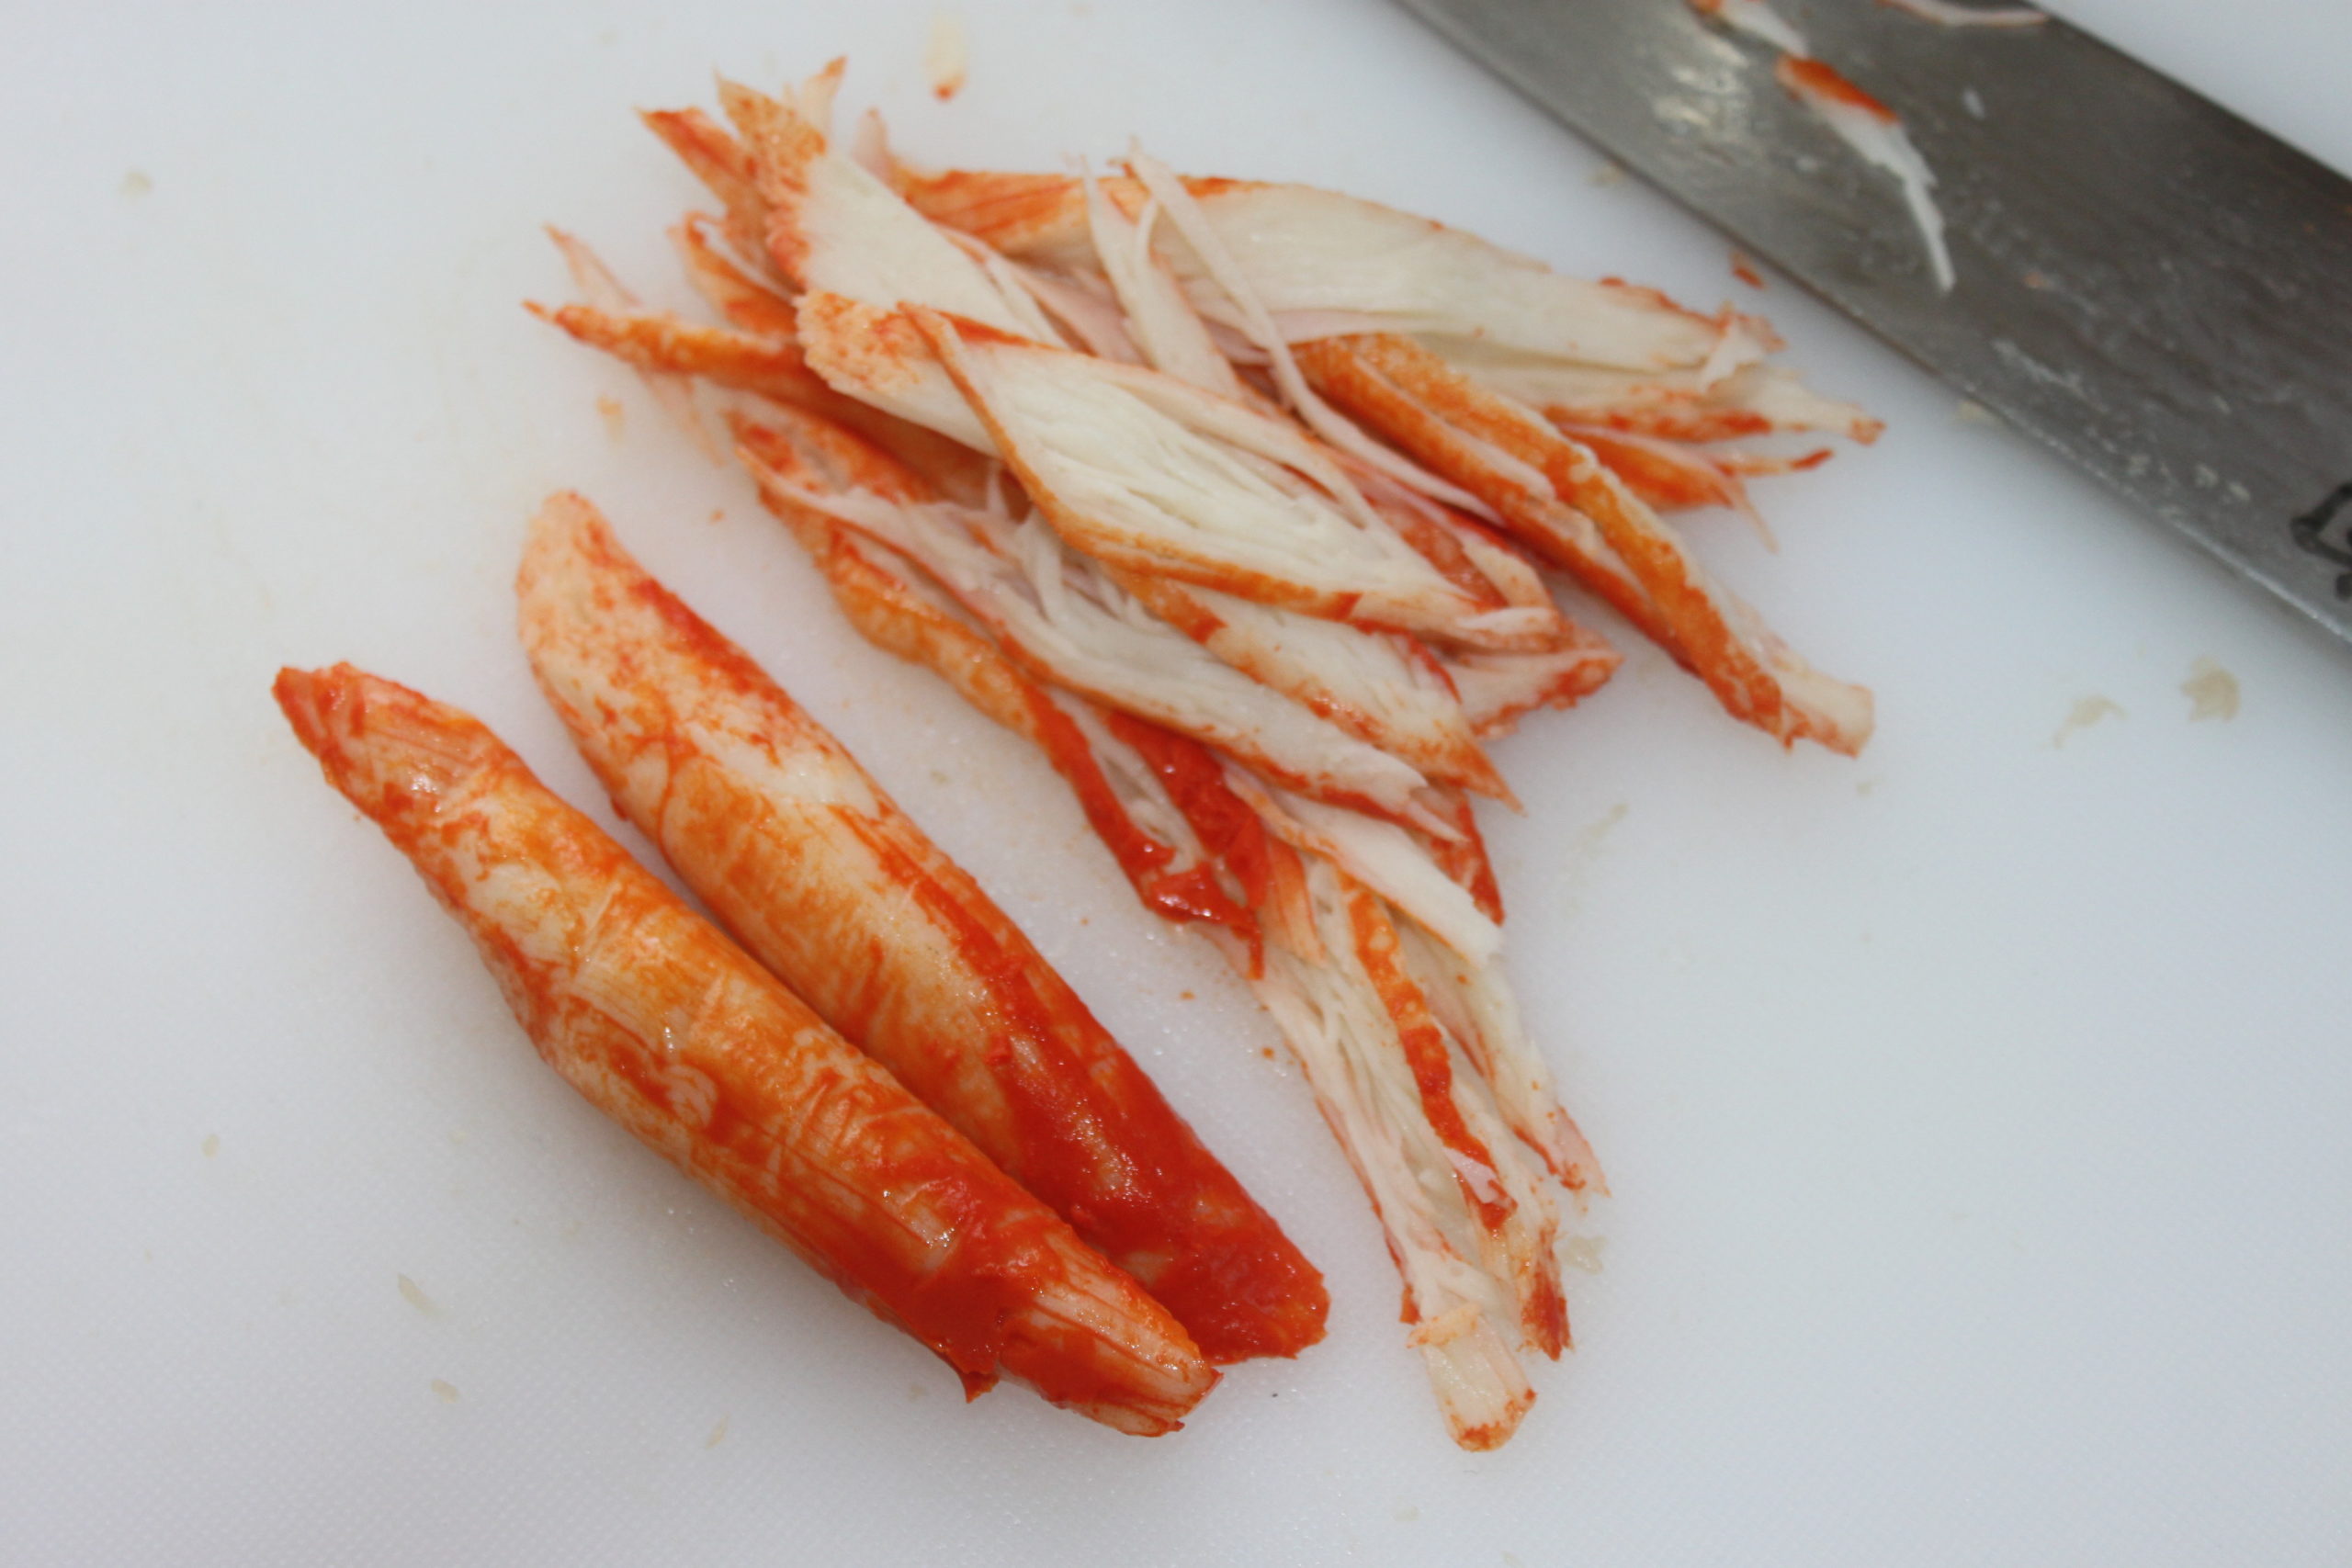
Meanwhile, prepare the ingredients. Here the supreme of surimi I believe, that I cut in fine strips.
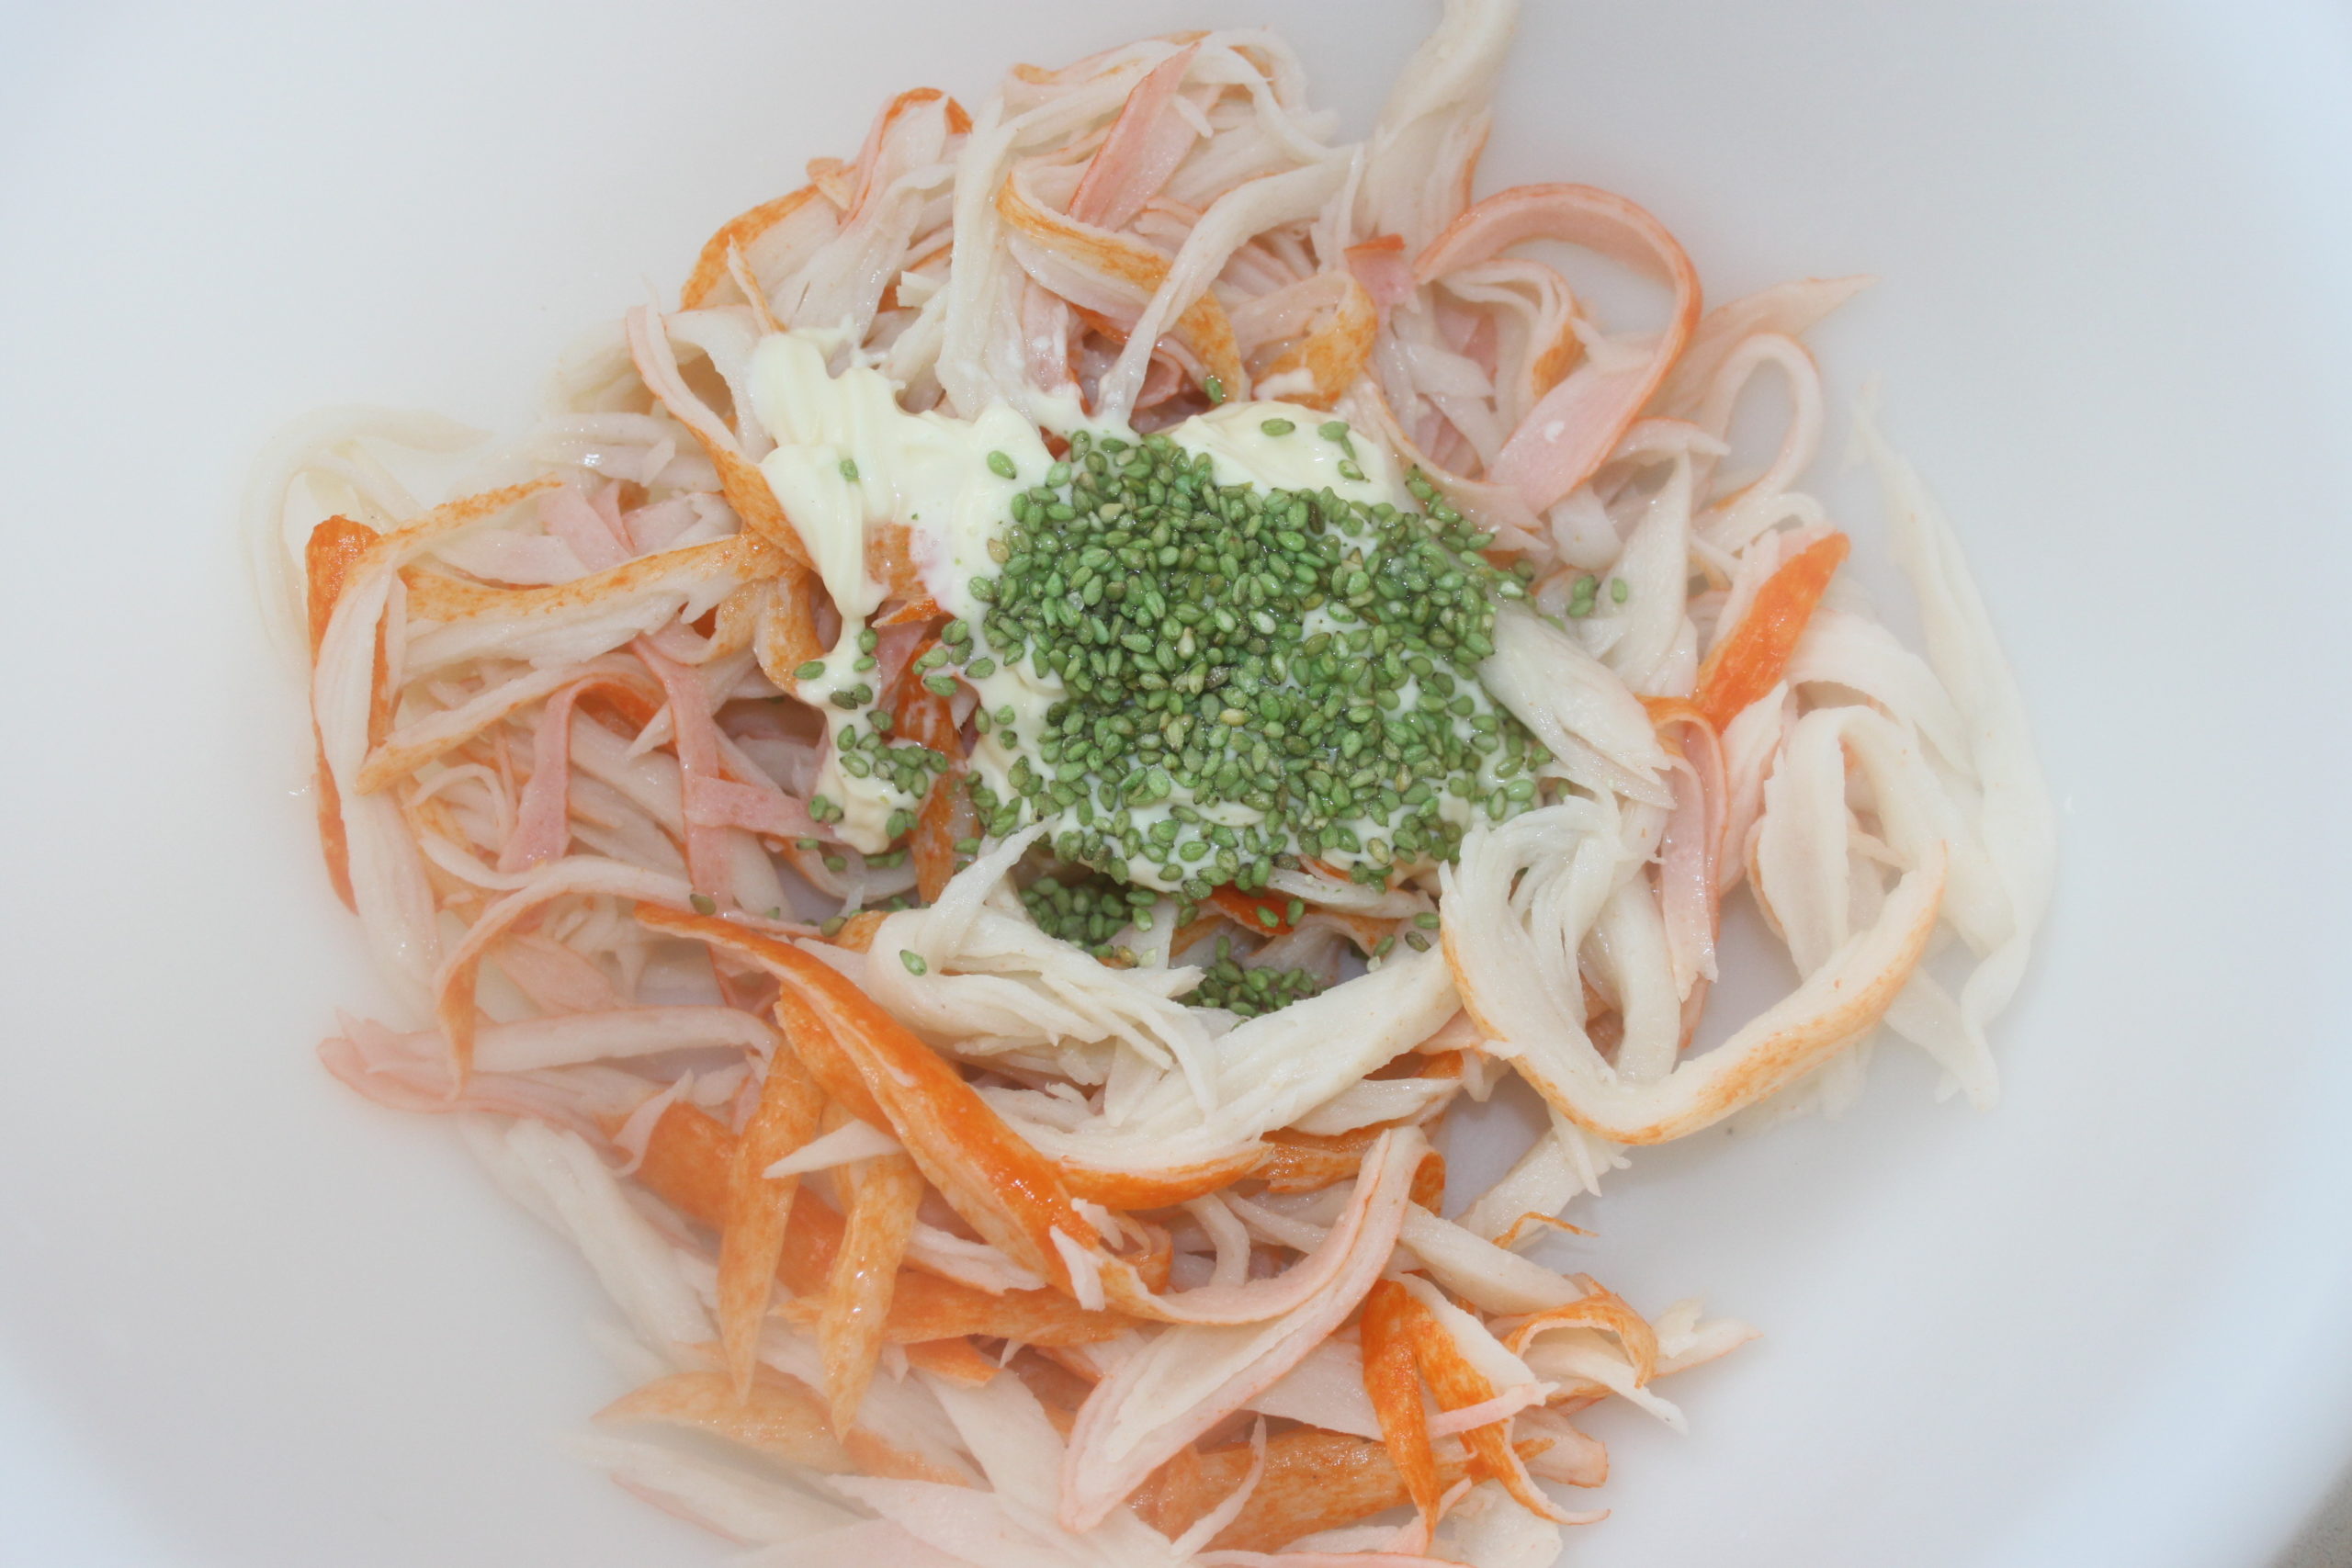
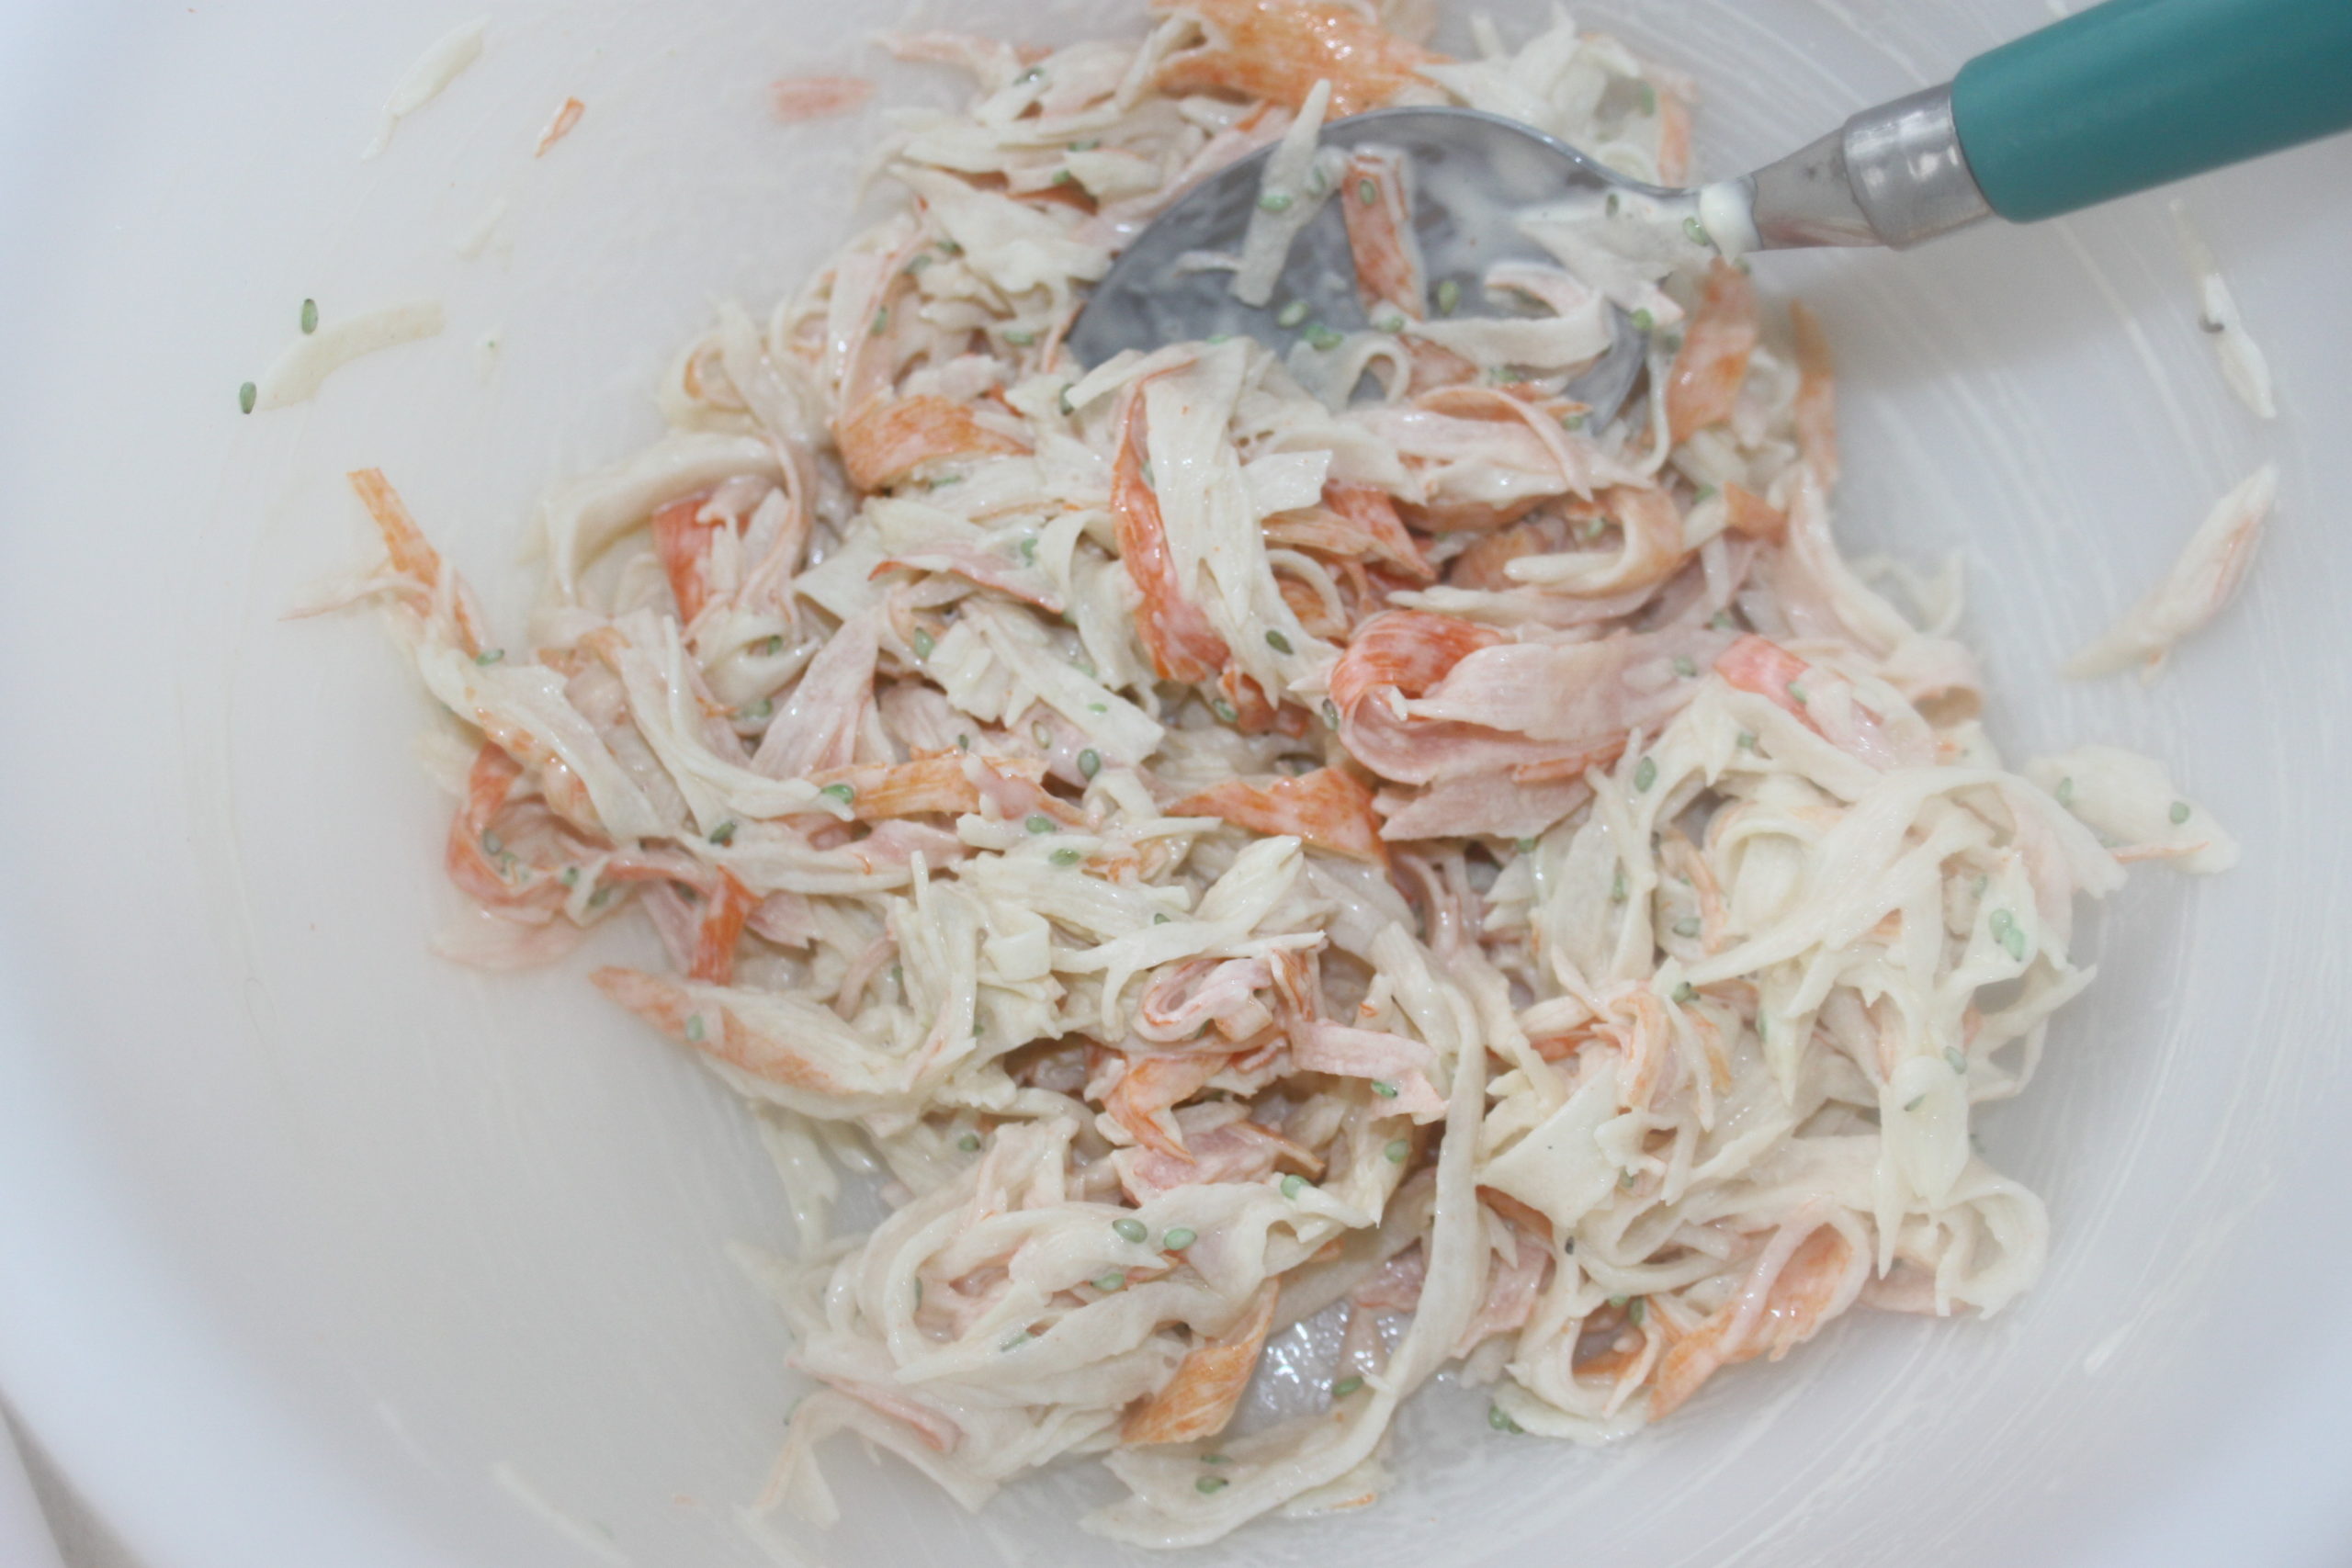
Place in a container with the mayonnaise and lemon juice. I also added wasabi surimi seeds.
Peel and cut the avocados into half quarters or slices.
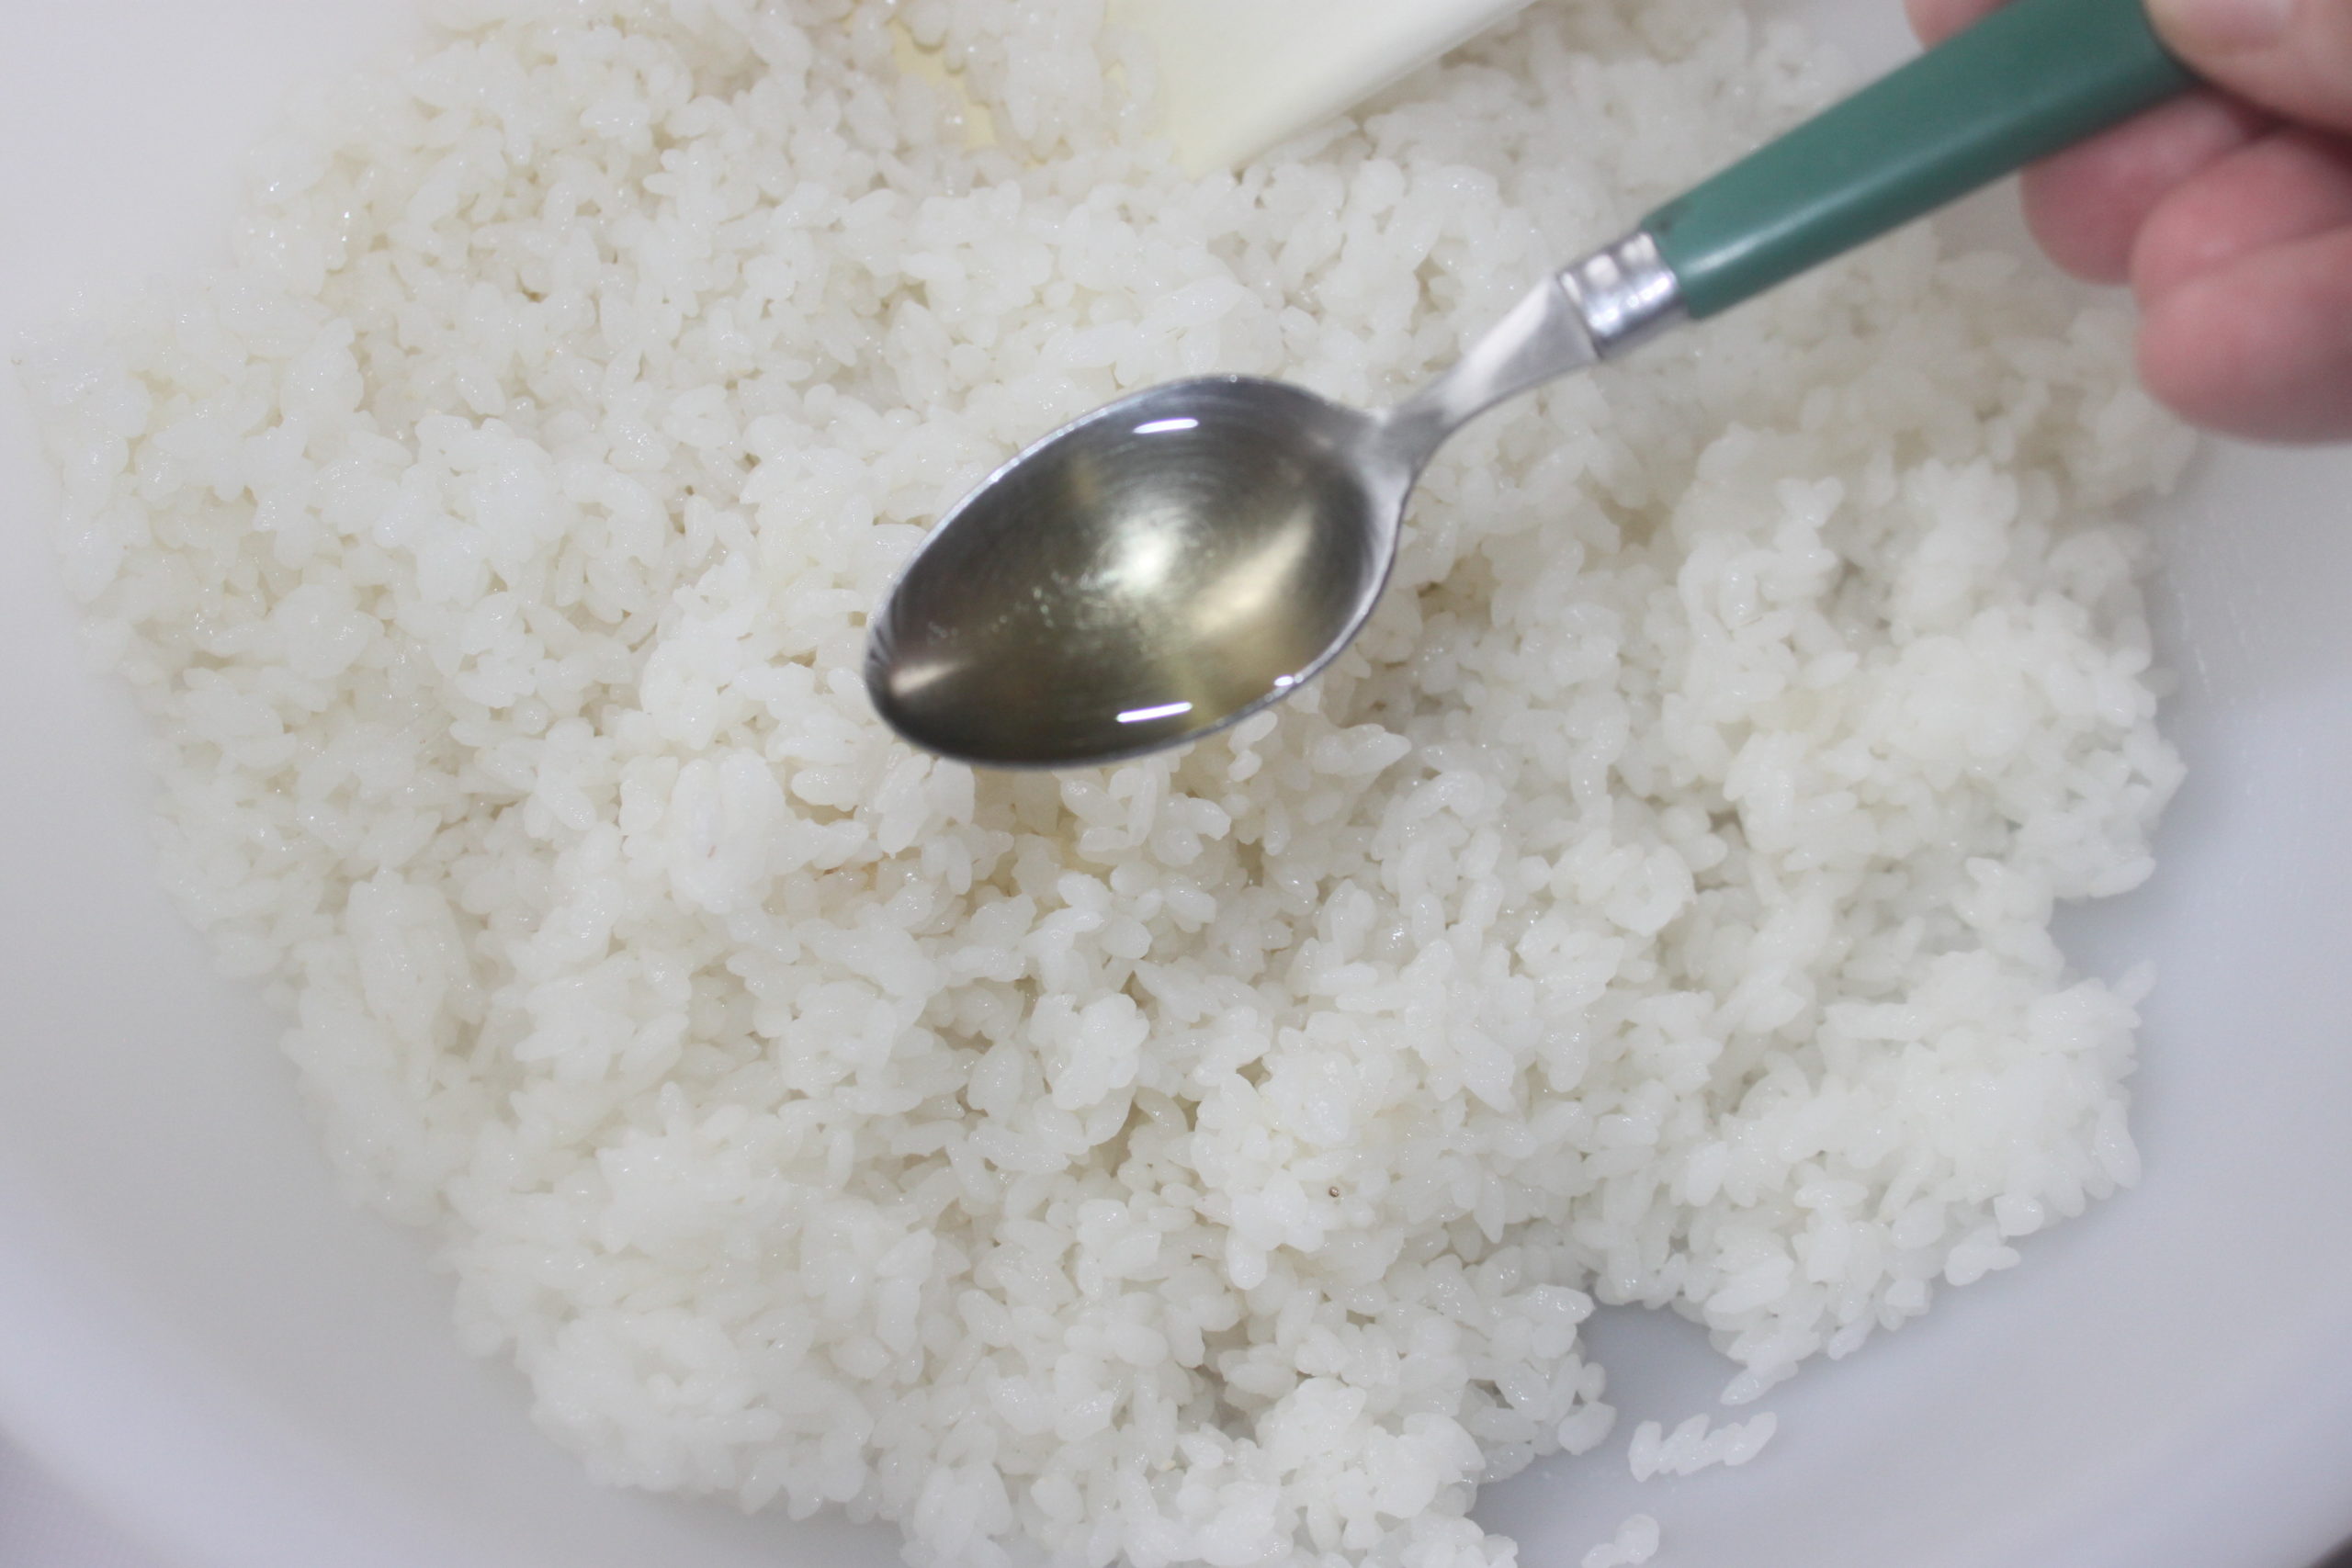
When the rice is cooked, carefully unmould it and pour it into a container. Let it cool for about ten minutes, aerating it from time to time by stirring it precisely. For the sushi vinegar, mix all ingredients in a small bowl.
After this time, add the sweetened vinegar, mixing gently.
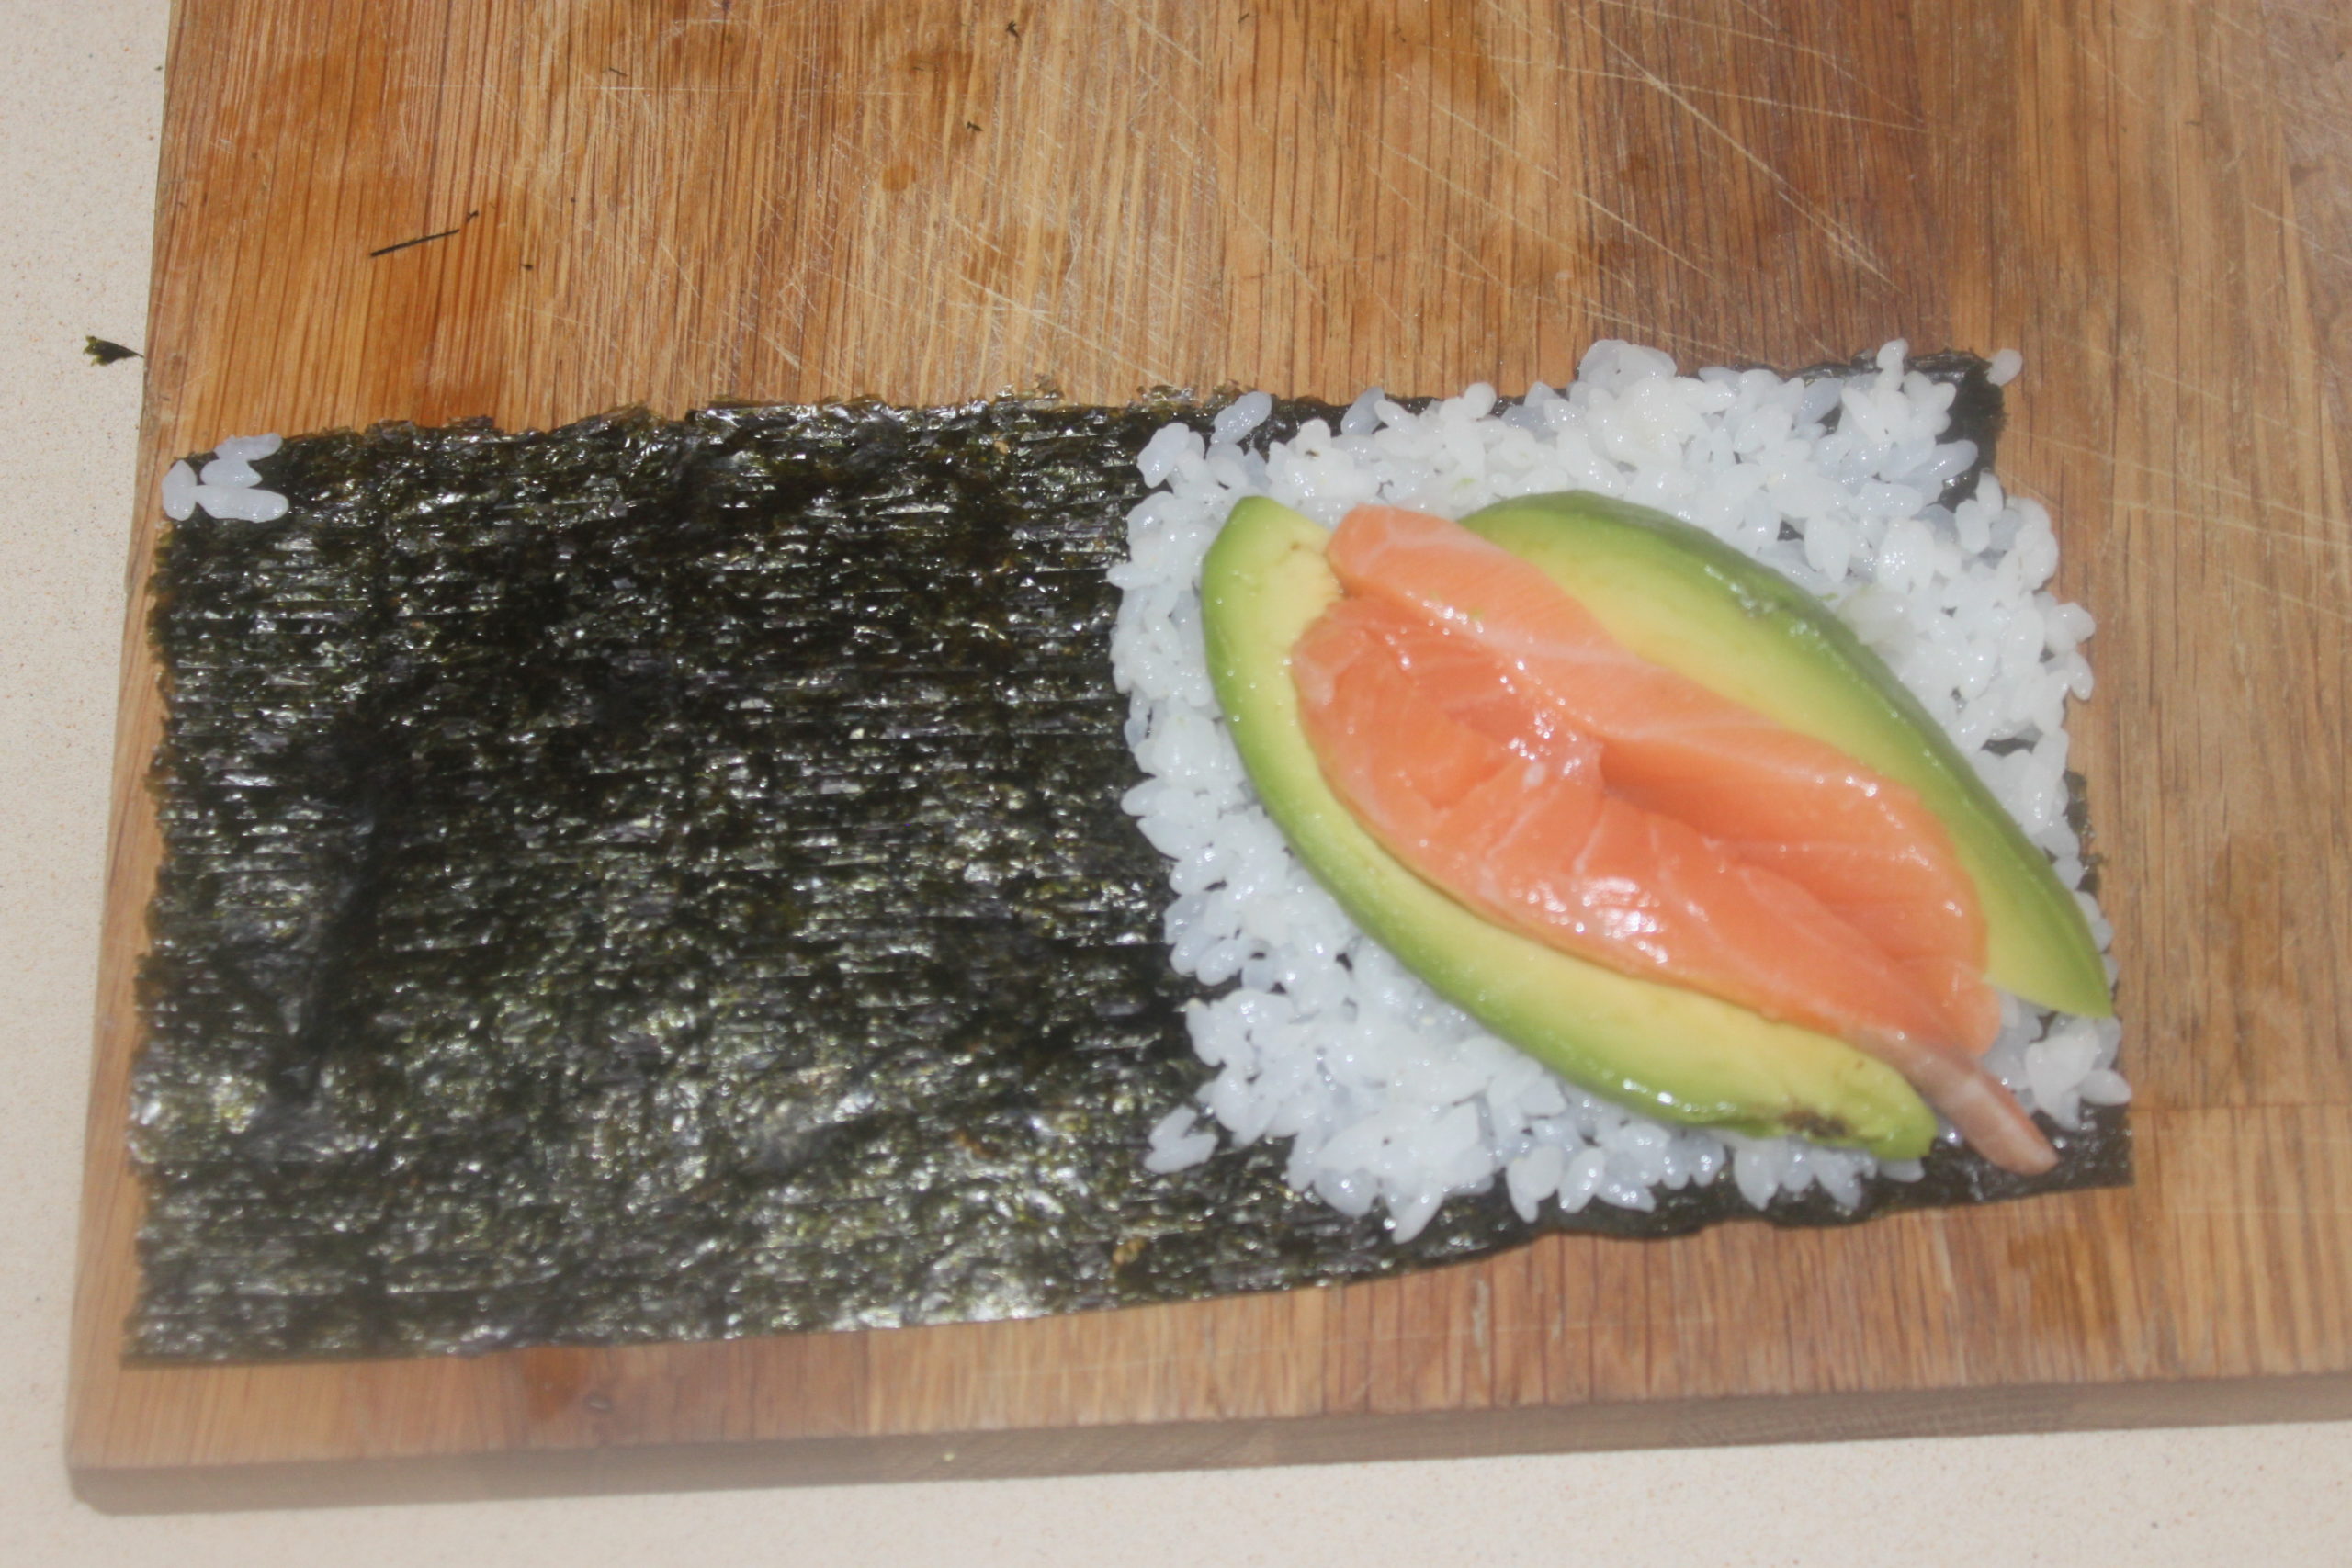
For the maki sheets, cut so that the length at the top is equivalent to 2 widths.
Put about 40g of prepared rice on half of the sheet, in a square. Sprinkle a little wasabi to taste over the rice.
Put the chosen items on the diagonal, surimi, salmon, tuna, cucumber, avocado, cream cheese etc.
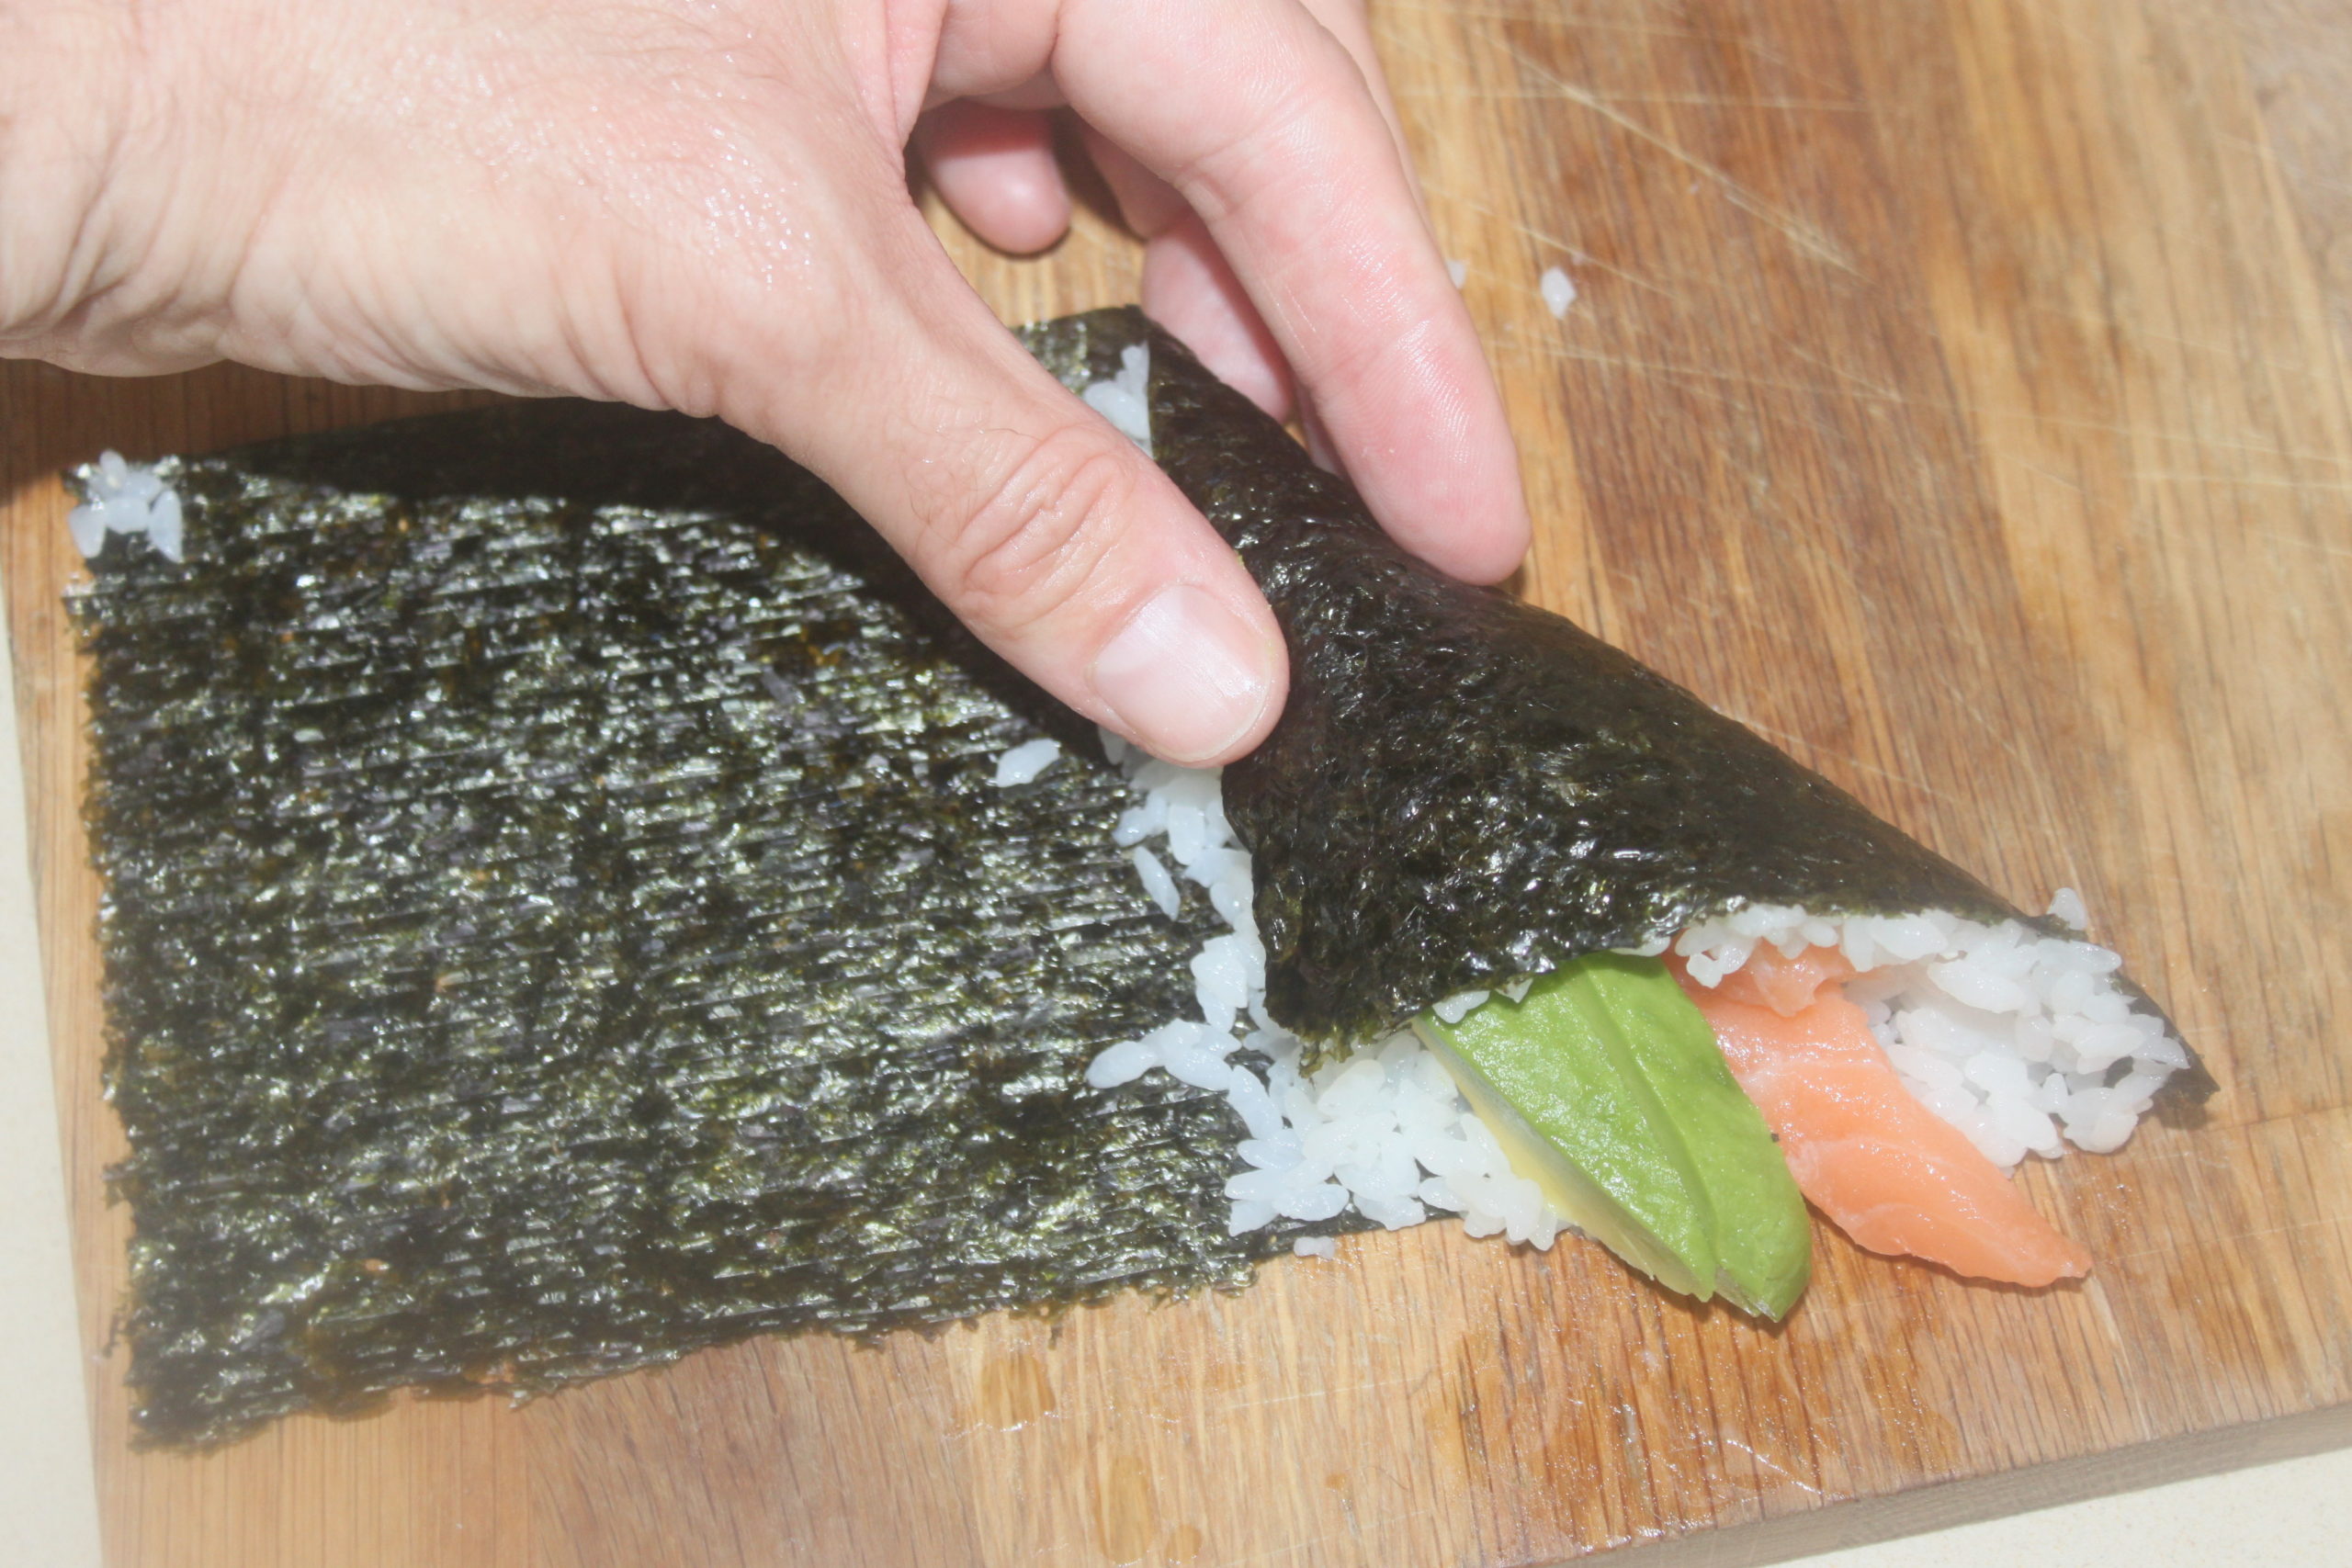
Fold this way into a triangle.
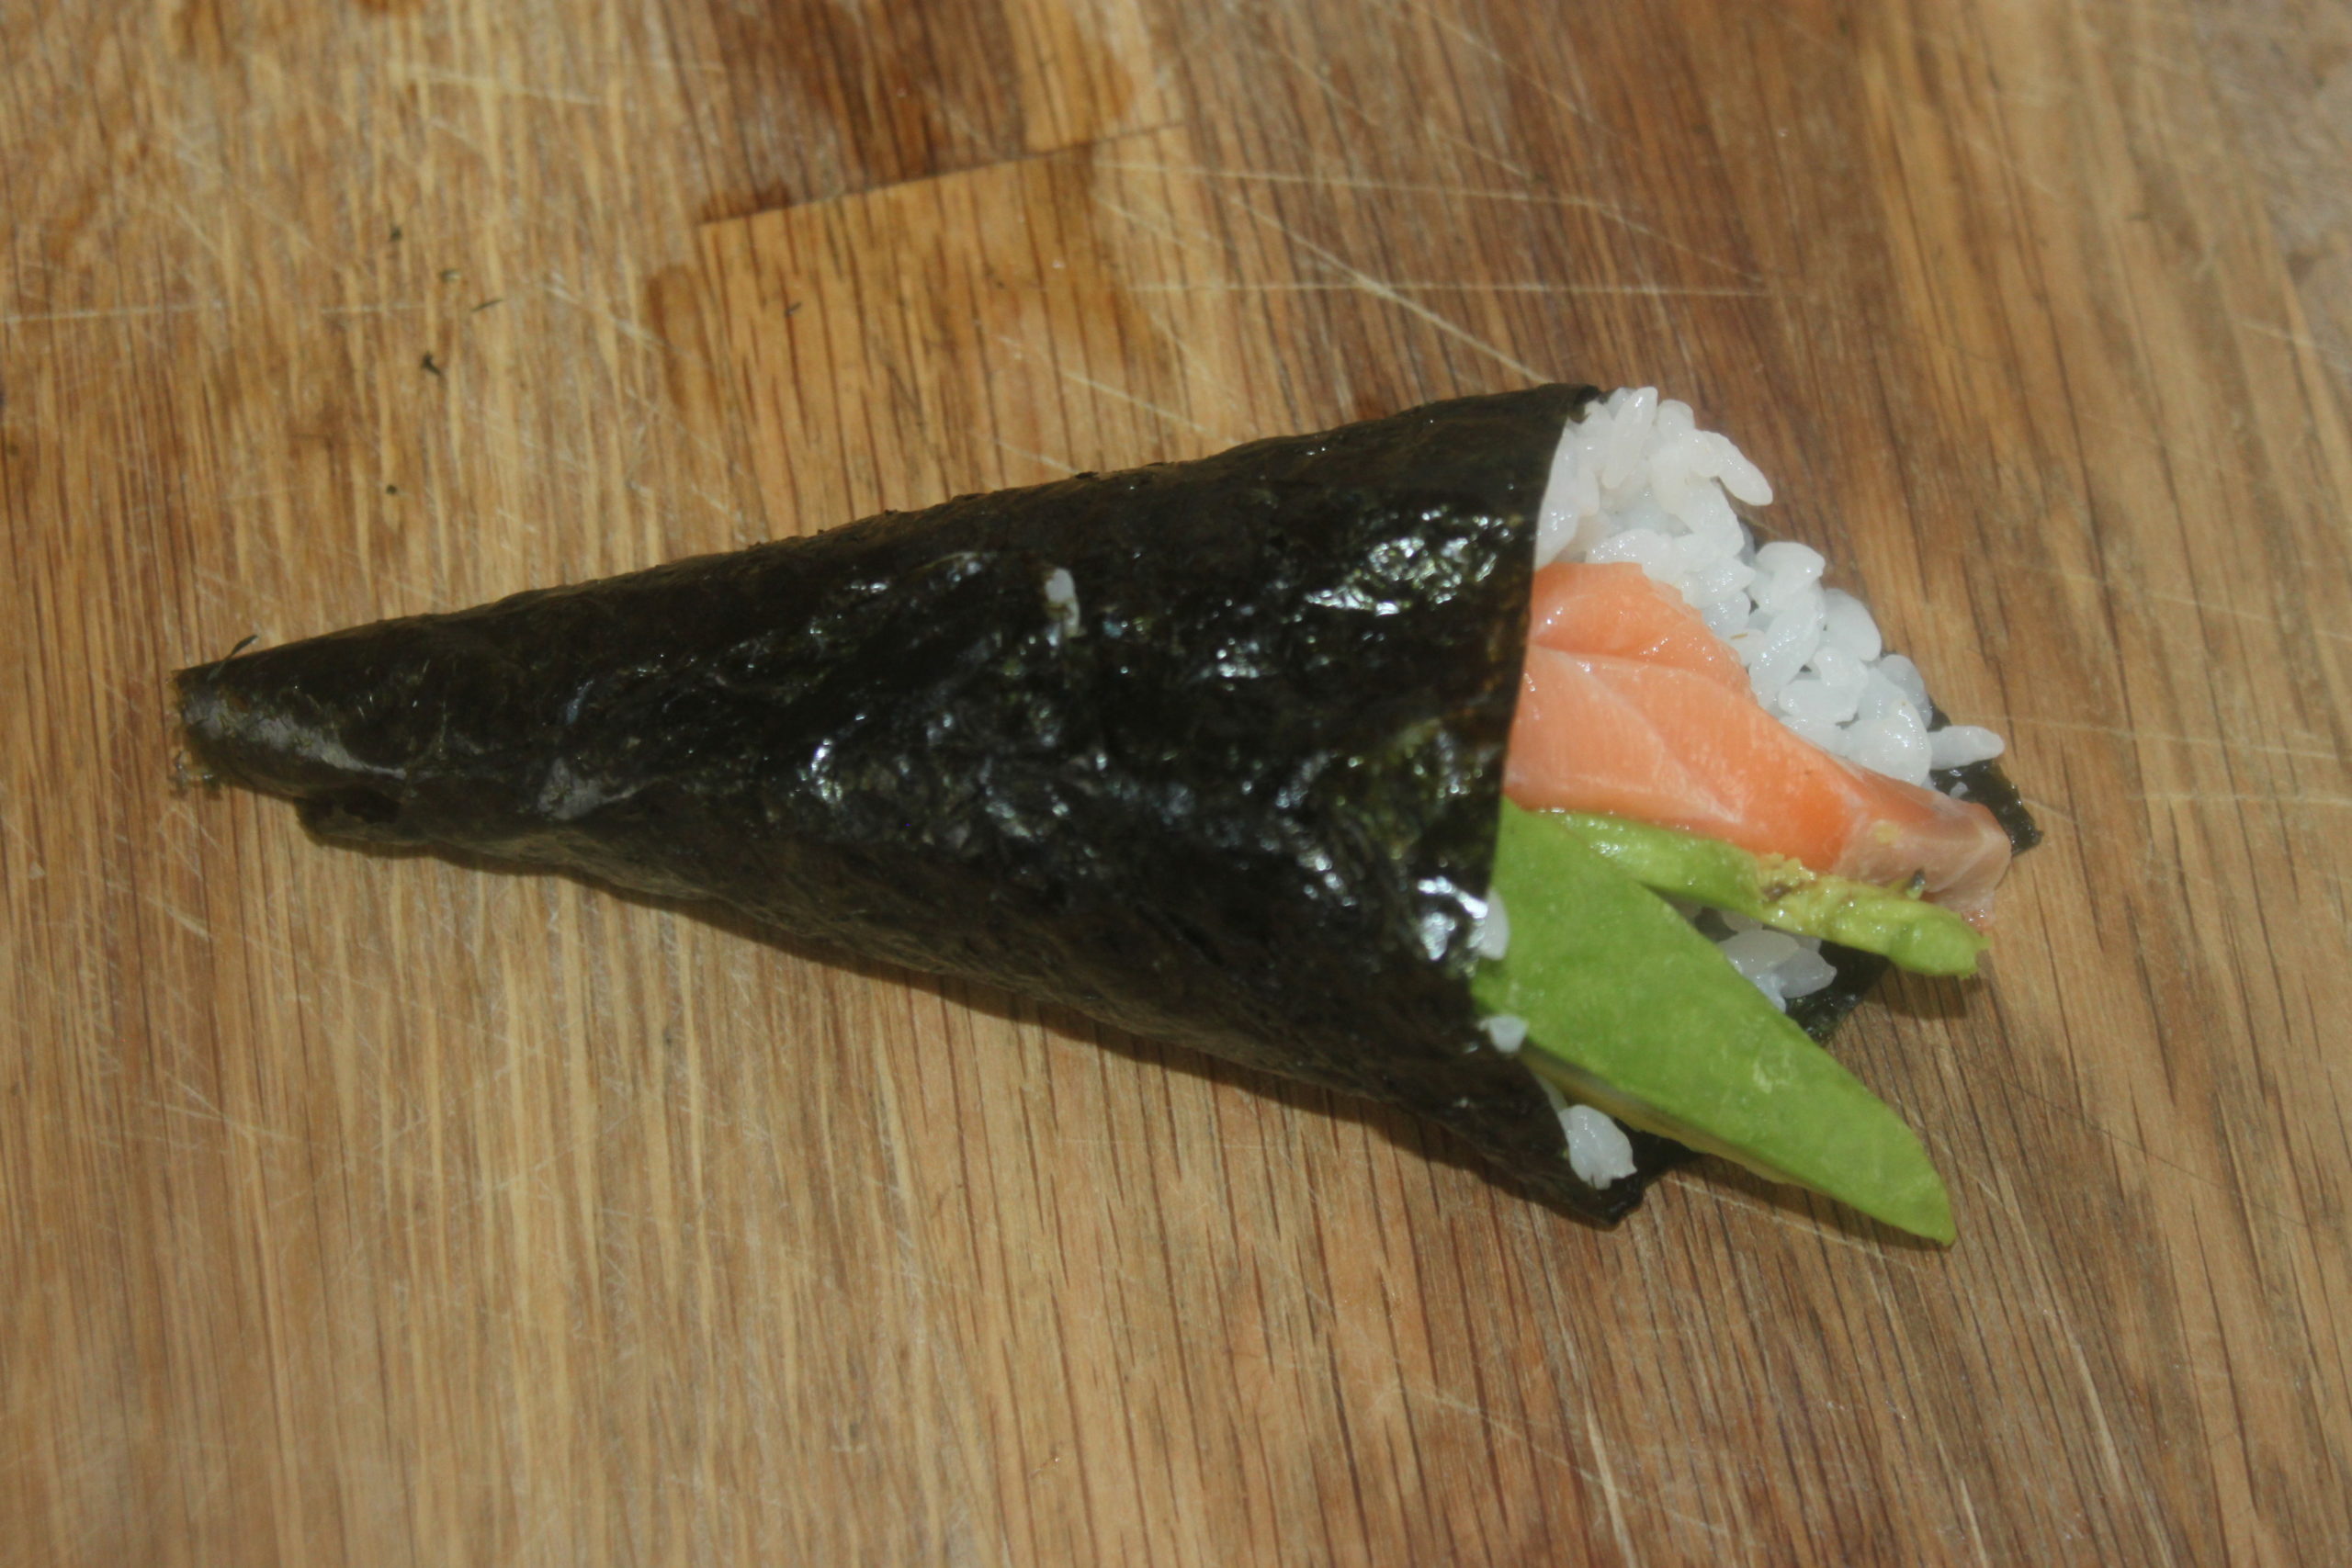
Finish by wrapping the remaining seaweed leaves around the cone!
Do the same for all your 10 temaki. Serve with a small bowl of clear soy sauce.
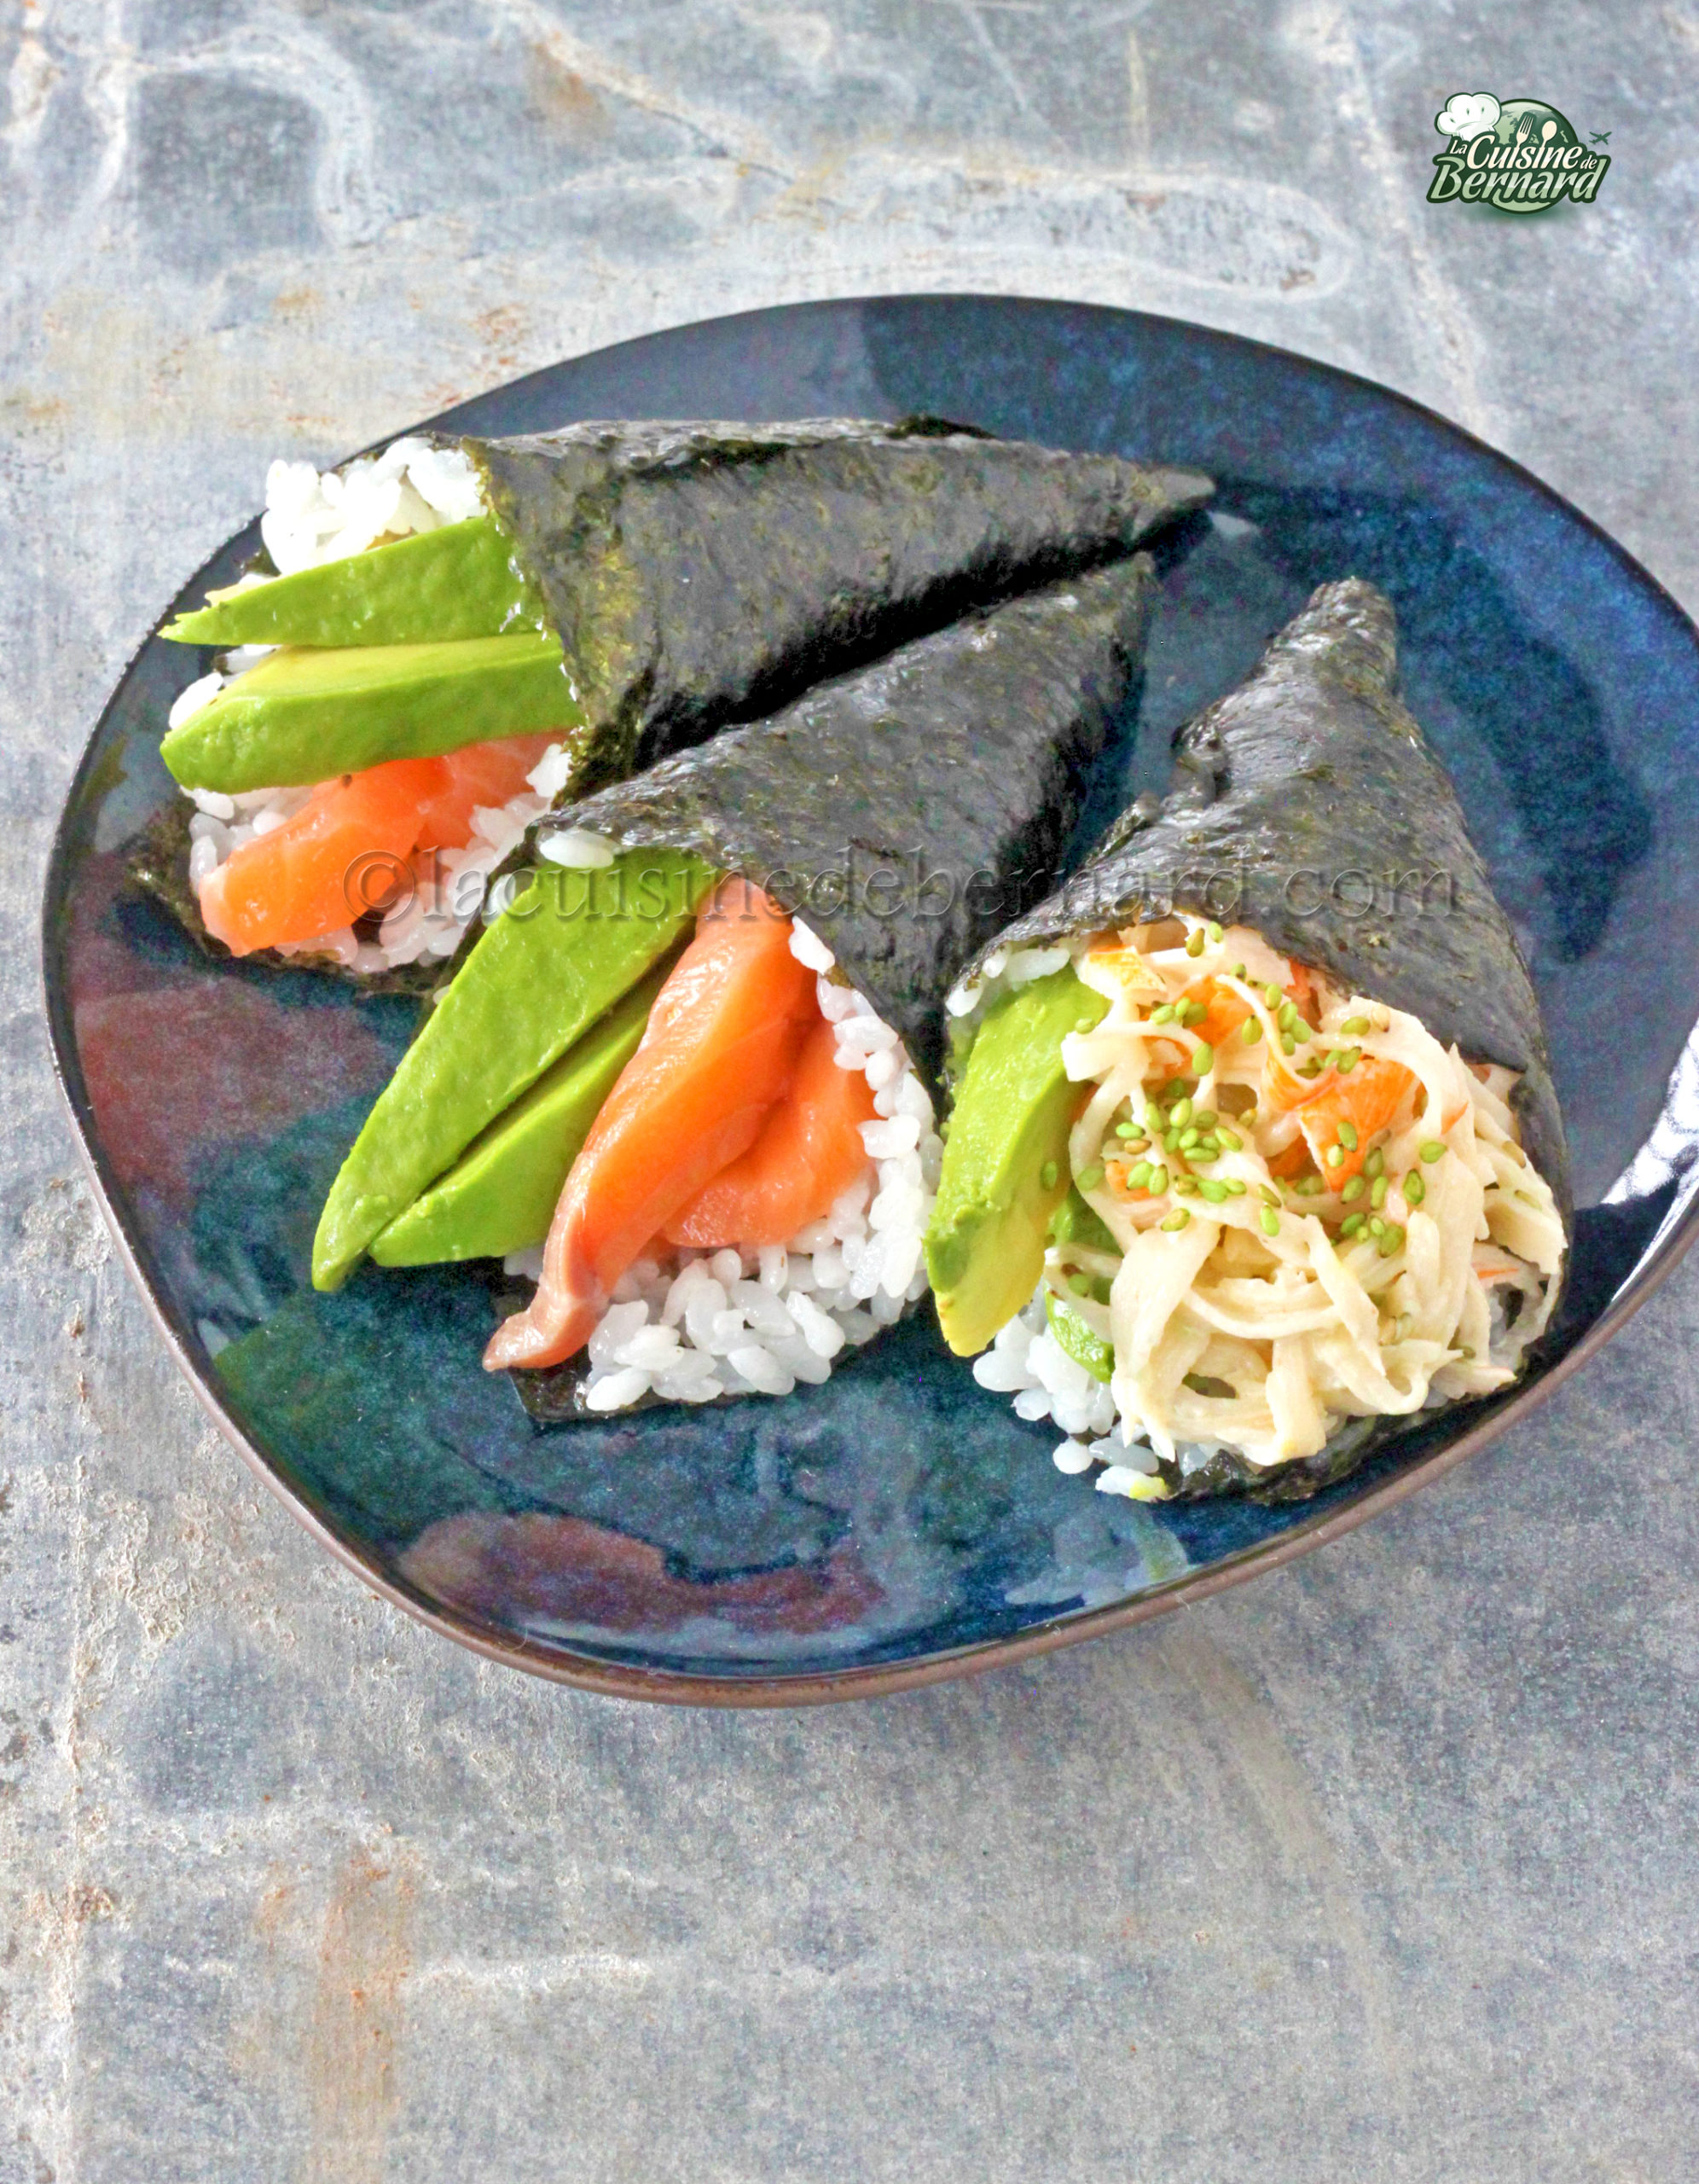

Temaki
")
You are now over 50,000 following me on Instagram and over 138,000 on Facebook! So thank you, thank you, thank you to all of you! And if you don’t follow me yet, it’s this way: instagram.com/lacuisinedebernard facebook.com/lacuisinedebernard


Amazing cookies, with a fresh and pronounced lemon flavor. I also put a little olive oil and toasted almond powder. The result is very tasty and will delight you! As usual with these cakes, they will be ready in no time and will keep for at least a week in the refrigerator, well wrapped.
Recette pour 10 cookies
- 75g almond powder
- 75g of soft butter
- 30g of olive oil
- 160g of sugar
- the zest of a large organic lemon
- 200g flour
- 1 egg (50g without shell)
- 160g of white chocolate
Les Instructions
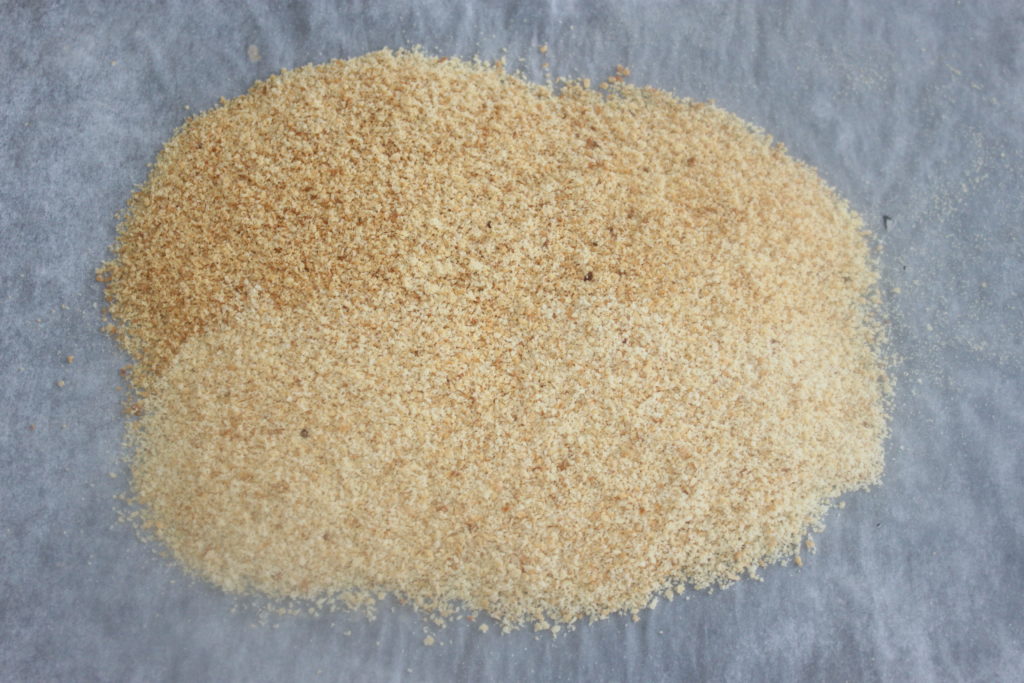
Put the almond powder in an ovenproof dish, preferably on parchment paper.
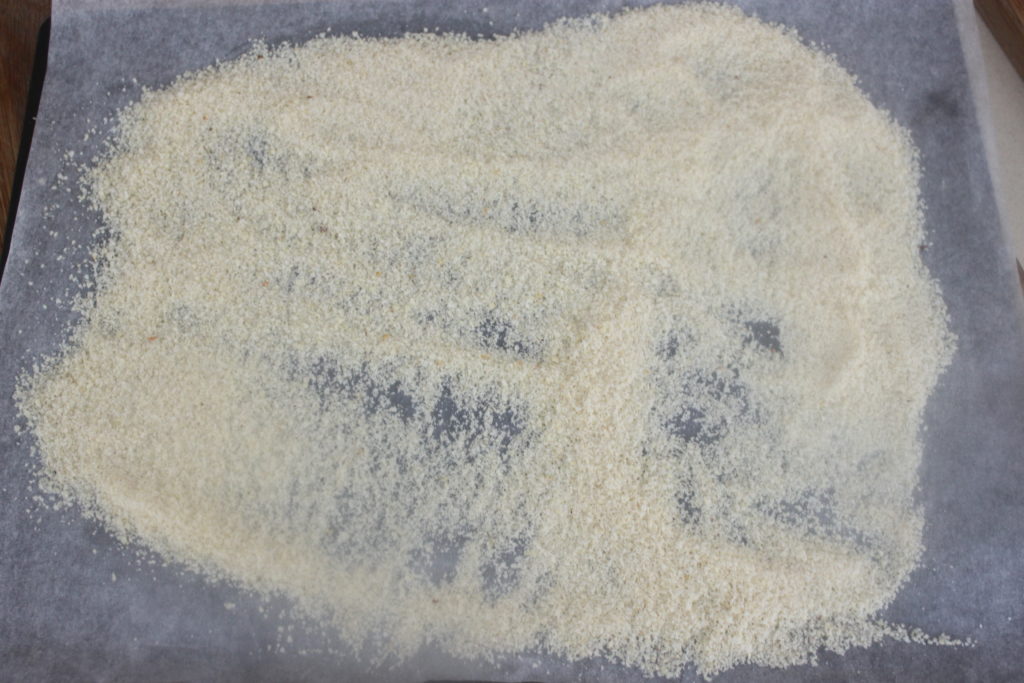
Bake at 180°C for 8-10 minutes (to be adapted while watching). The powder should be nicely golden.
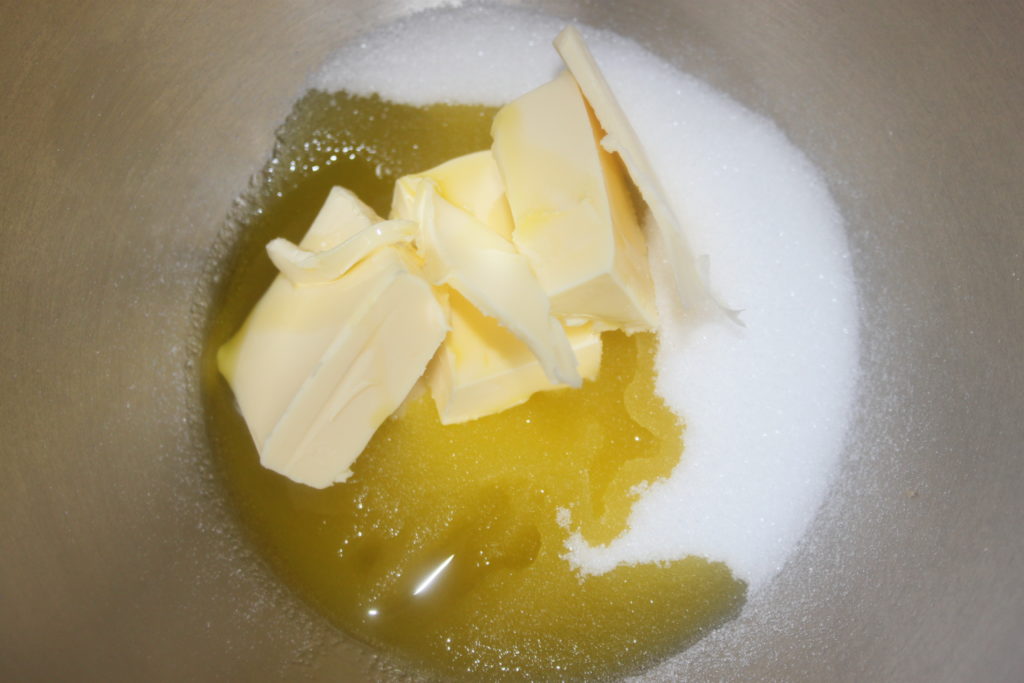
Put the butter, olive oil and sugar in a container. If you have a robot, take the sheet.
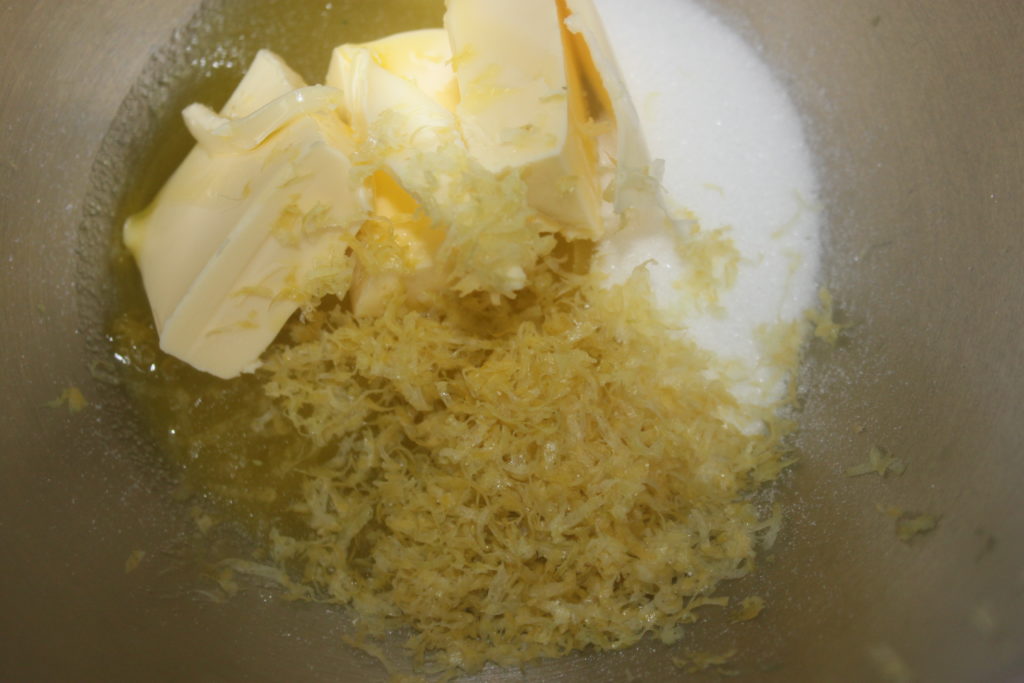
Also add the zest of a large organic lemon.
Mix well until everything is homogeneous. Add the egg.

Then pour in the flour and cooled almond powder.
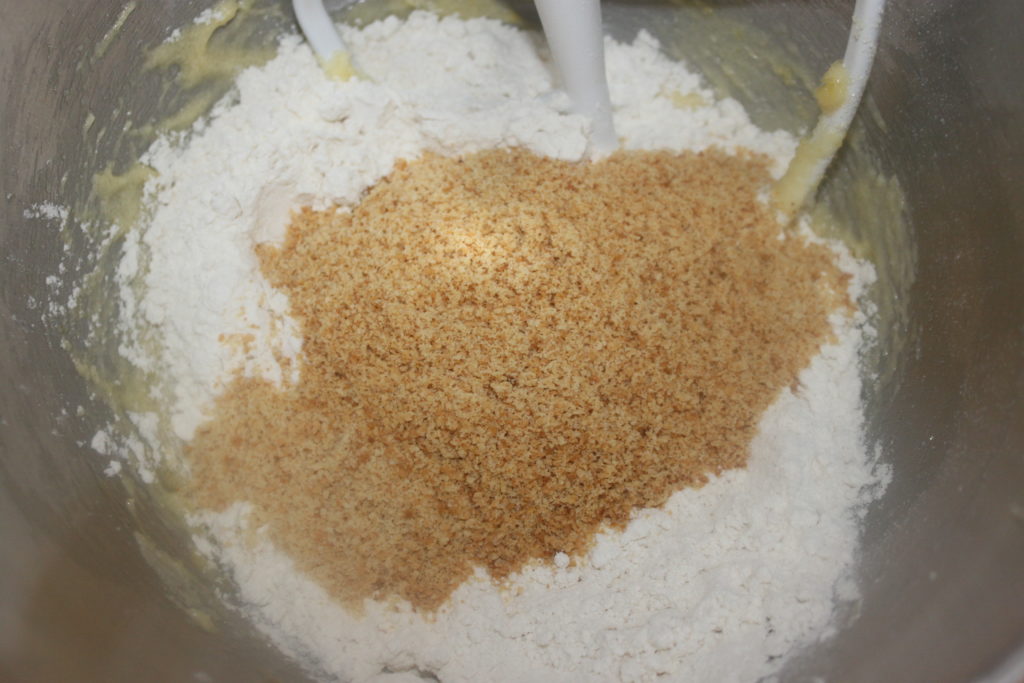
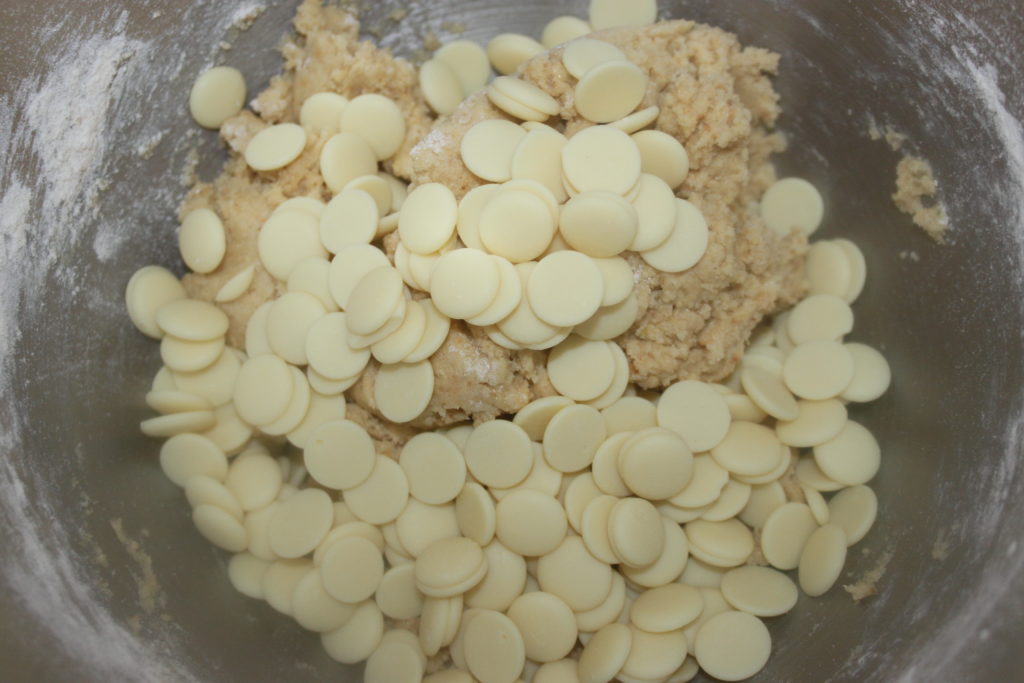
Mix and finish with the white chocolate chips.
Make flattened balls of 75g and place them on a parchment paper.
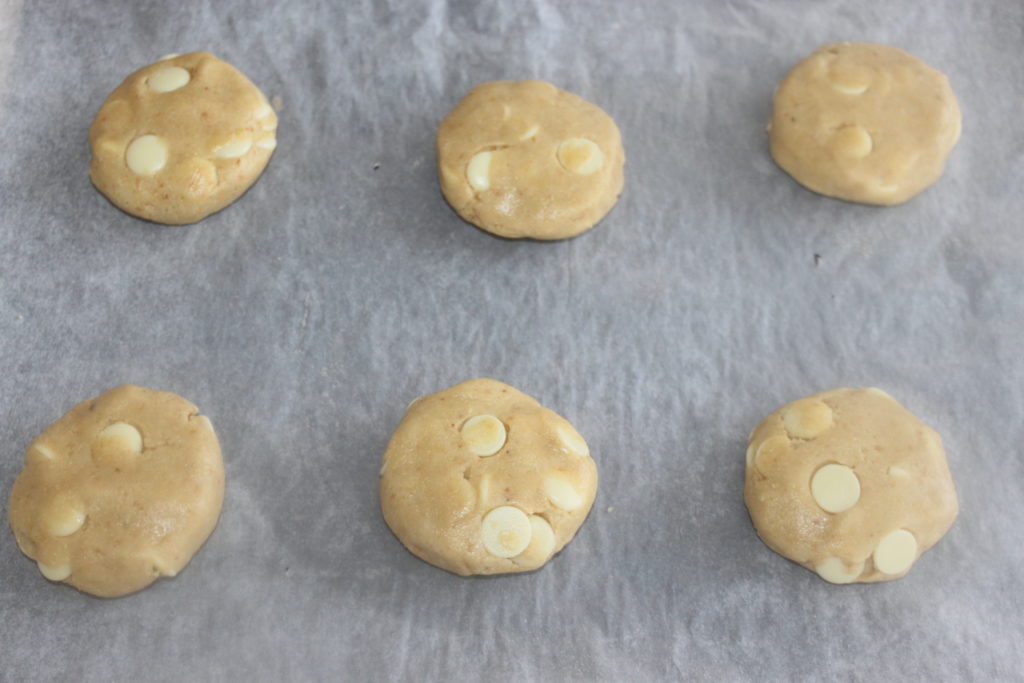
Bake for 12 minutes in a preheated oven at 165°C on rotary heat.
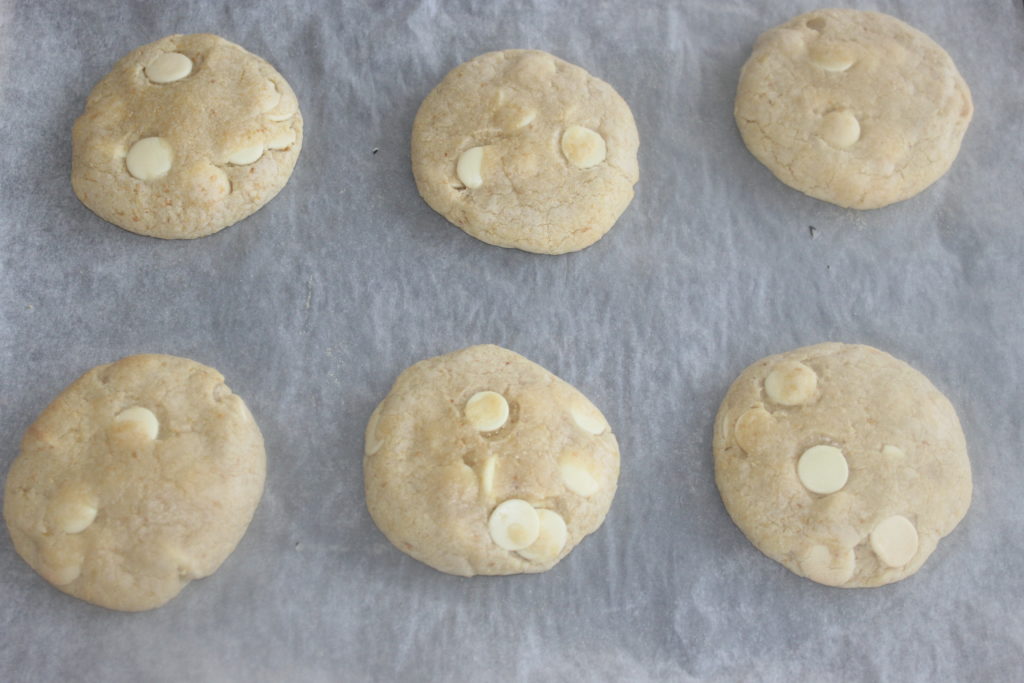
Let cool before devouring!


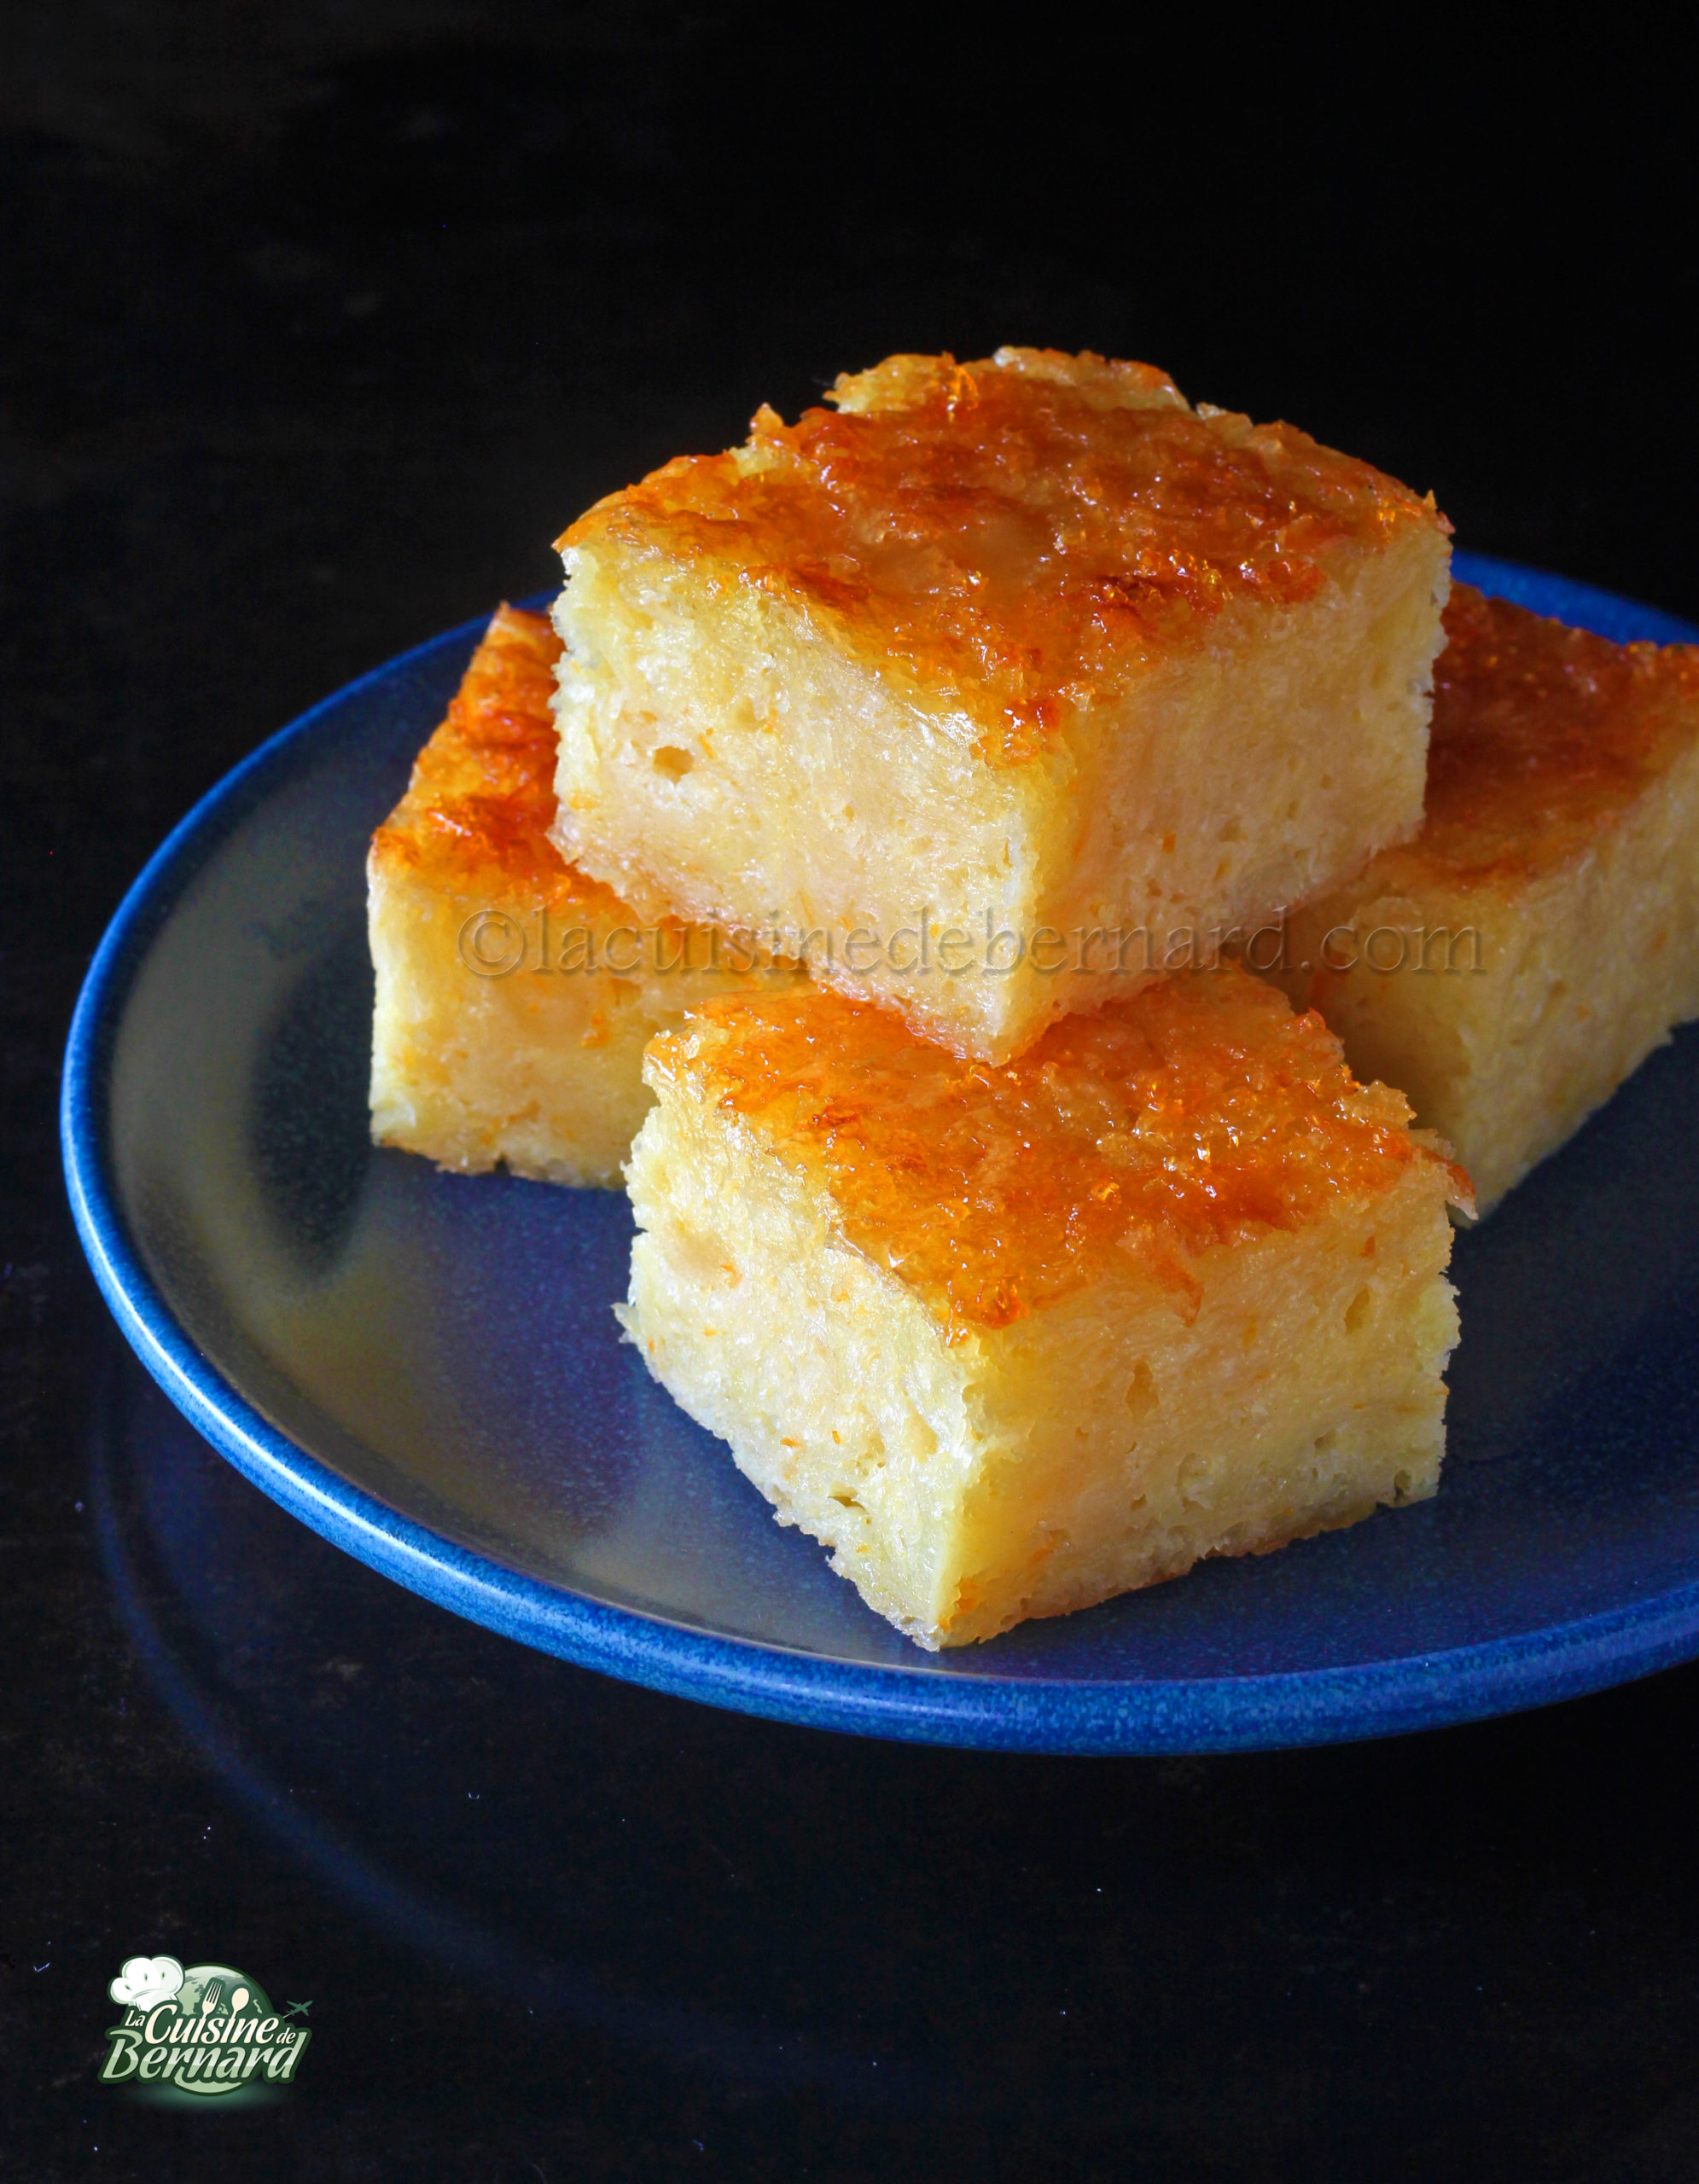
Here is a Greek cake full of sunshine and flavors! Its main ingredients are the orange and the filo pastry, which must be left to dry an hour before, in order to reduce it to pieces. Very simple to make, it has a rather incredible consistency thanks to the filo pastry and the traditional addition of syrup full of orange zest. Obviously it’s a fairly rich cake, but so good, especially since it’s occasional! I can only recommend that you take the time to squeeze the oranges to get a fresh juice, the dessert will be even better.
Recette pour un gâteau de 20cm de côté :
- 300g filo pastry
- 200g oil
- 170g of sugar
- 140g plain yogurt
- 3 small eggs
- 200g orange juice
- zest of an unwaxed orange
- 1 teaspoon of baking powder
For the syrup:
- 240g of sugar
- 250ml of water
- zest of one orange
- a stick of cinnamon
Les instructions :
First prepare the filo dough one hour in advance. Separate each sheet from the 300g of dough and put them out to dry in the open air.

I separate them and they will dry naturally very quickly.

Meanwhile, put the oil, sugar, natural yoghurt, eggs and orange juice in a container.

Add the zest of a nice big orange.


When the dough is dry, break it into pieces in a container or tear it if there are still soft parts.

Add the batter little by little, mixing each time. Do not put all of a sudden otherwise you will have a blob!

Finally add the baking powder.

Pour into a square baking dish lined with parchment paper then cook for 40 minutes in a preheated oven at 175°C using a rotating heat.

Meanwhile, prepare the syrup by putting all the ingredients in a saucepan.

Bring to the boil and cook for 7 minutes over moderate heat.

When the cake is cooked, pour the syrup over the entire surface.

The cake will drink it all!

Leave to cool before cutting into nice slices!
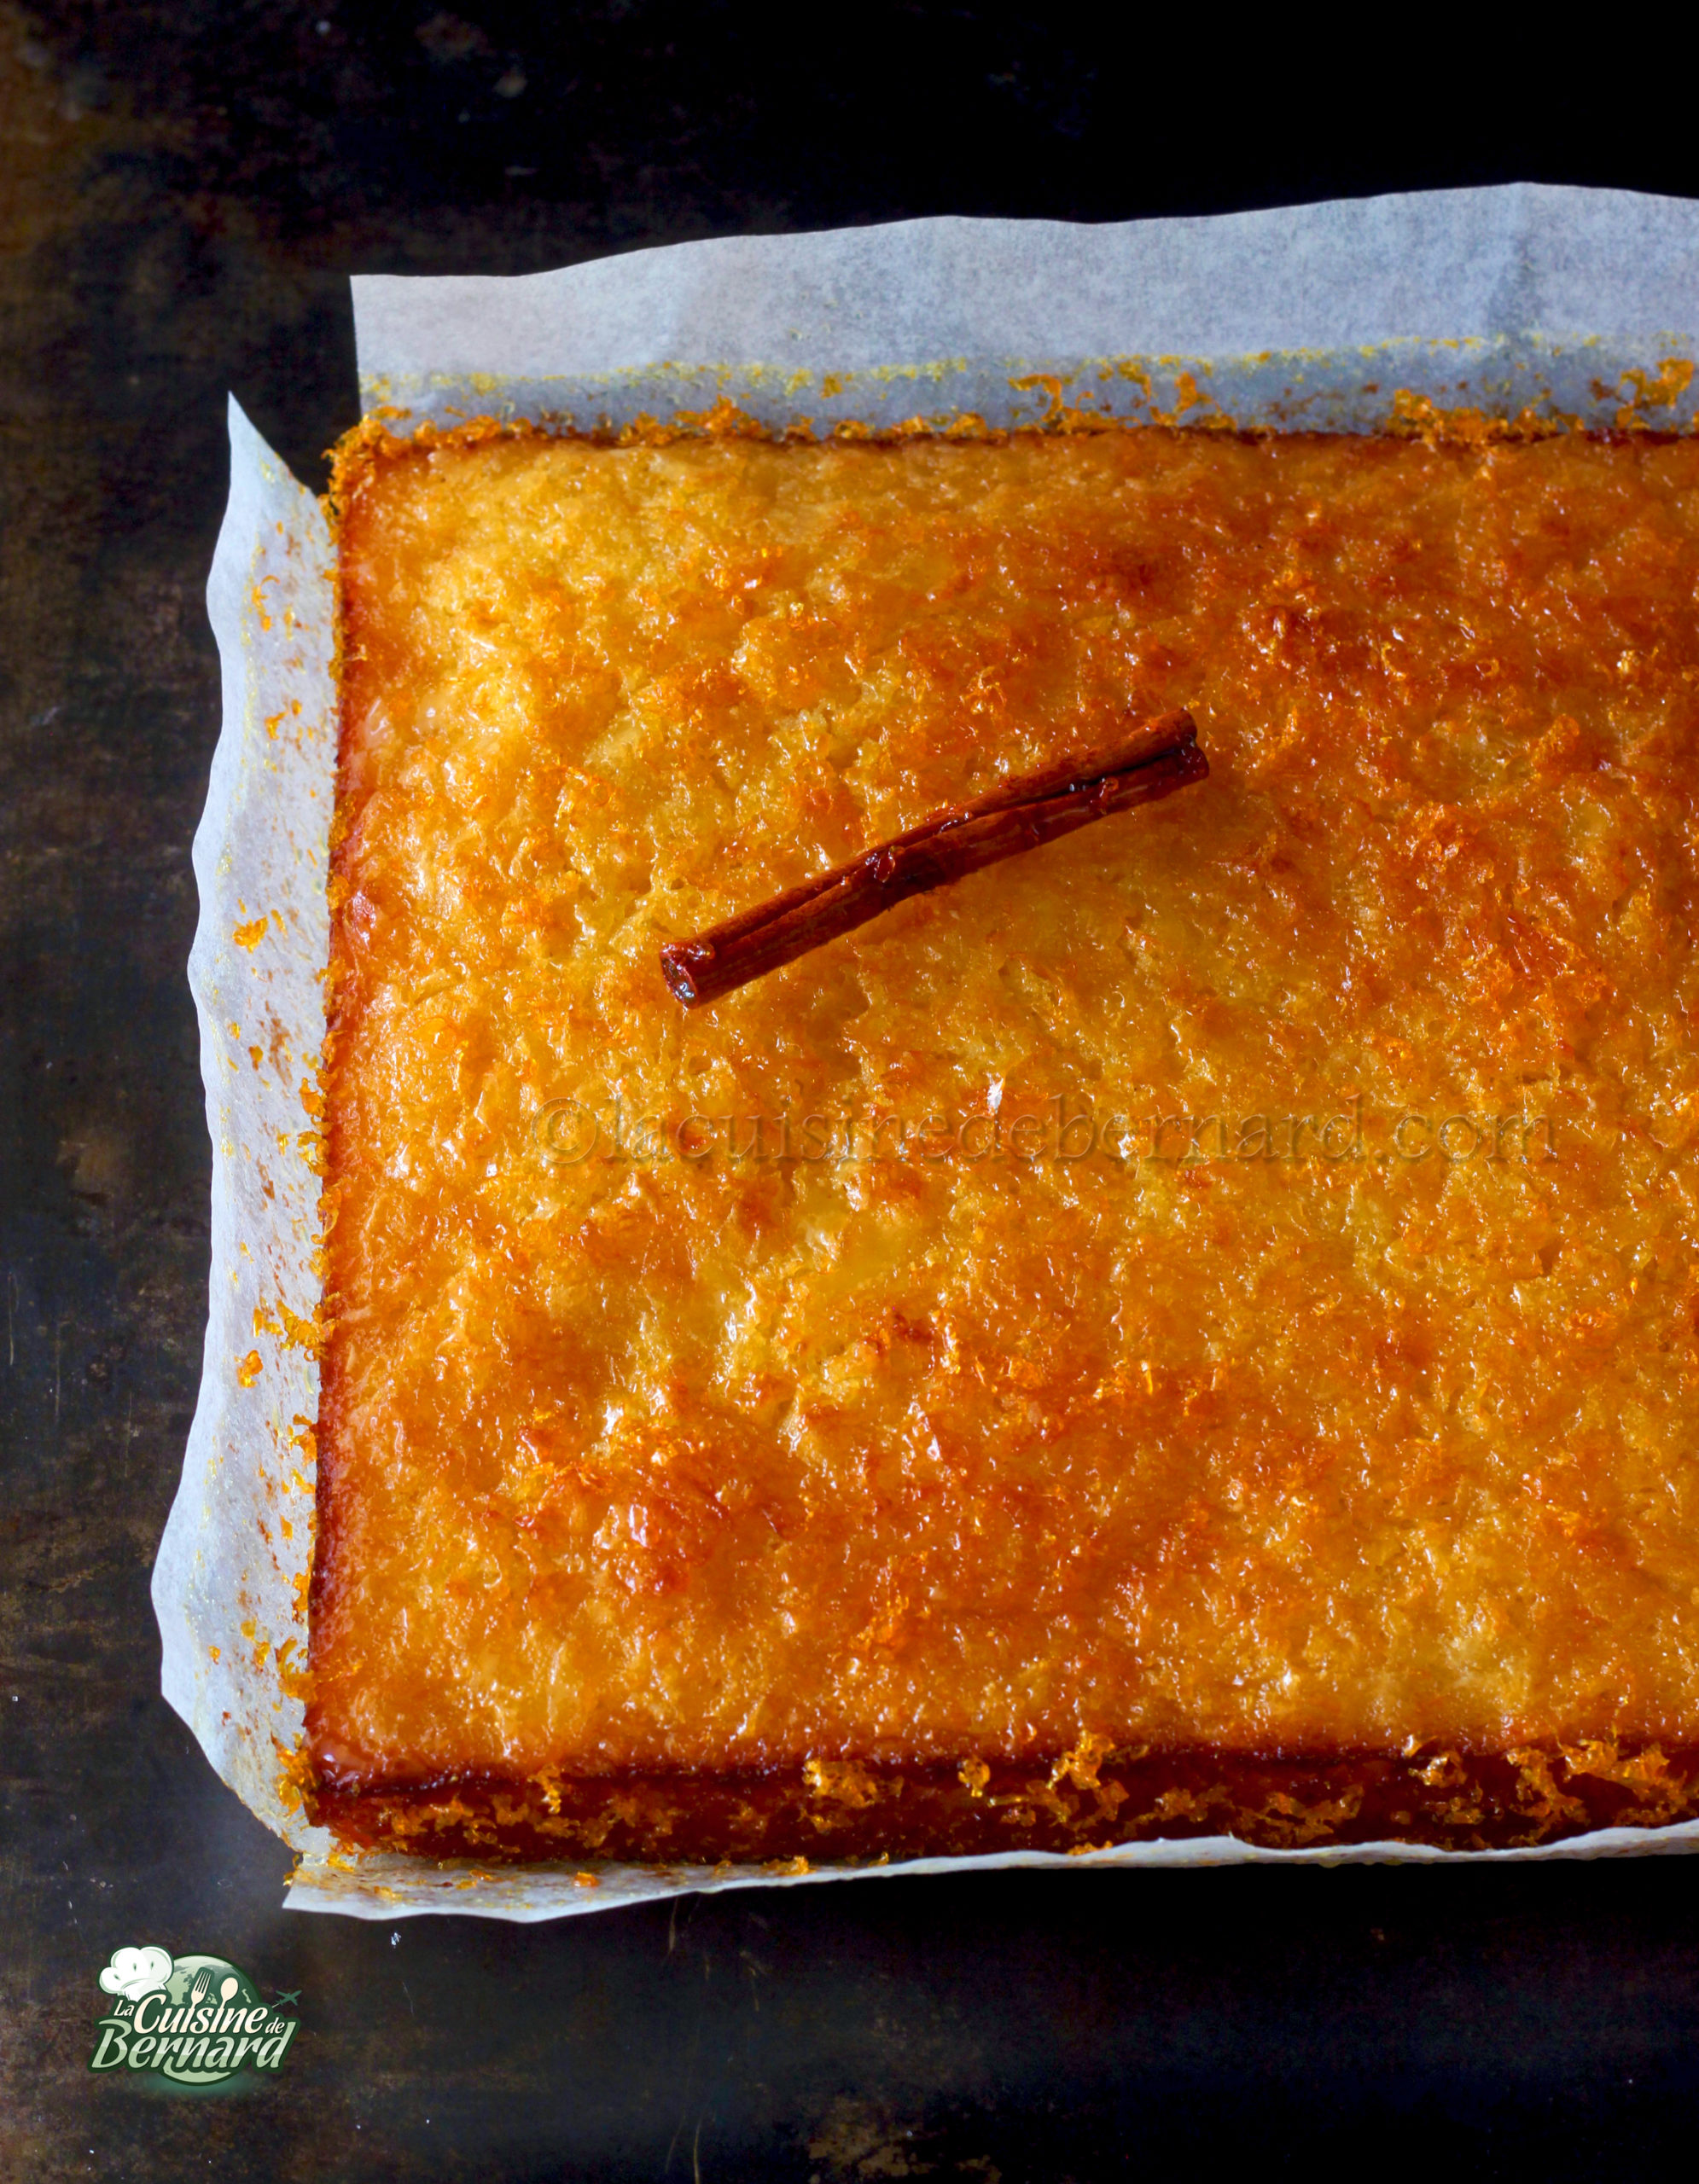
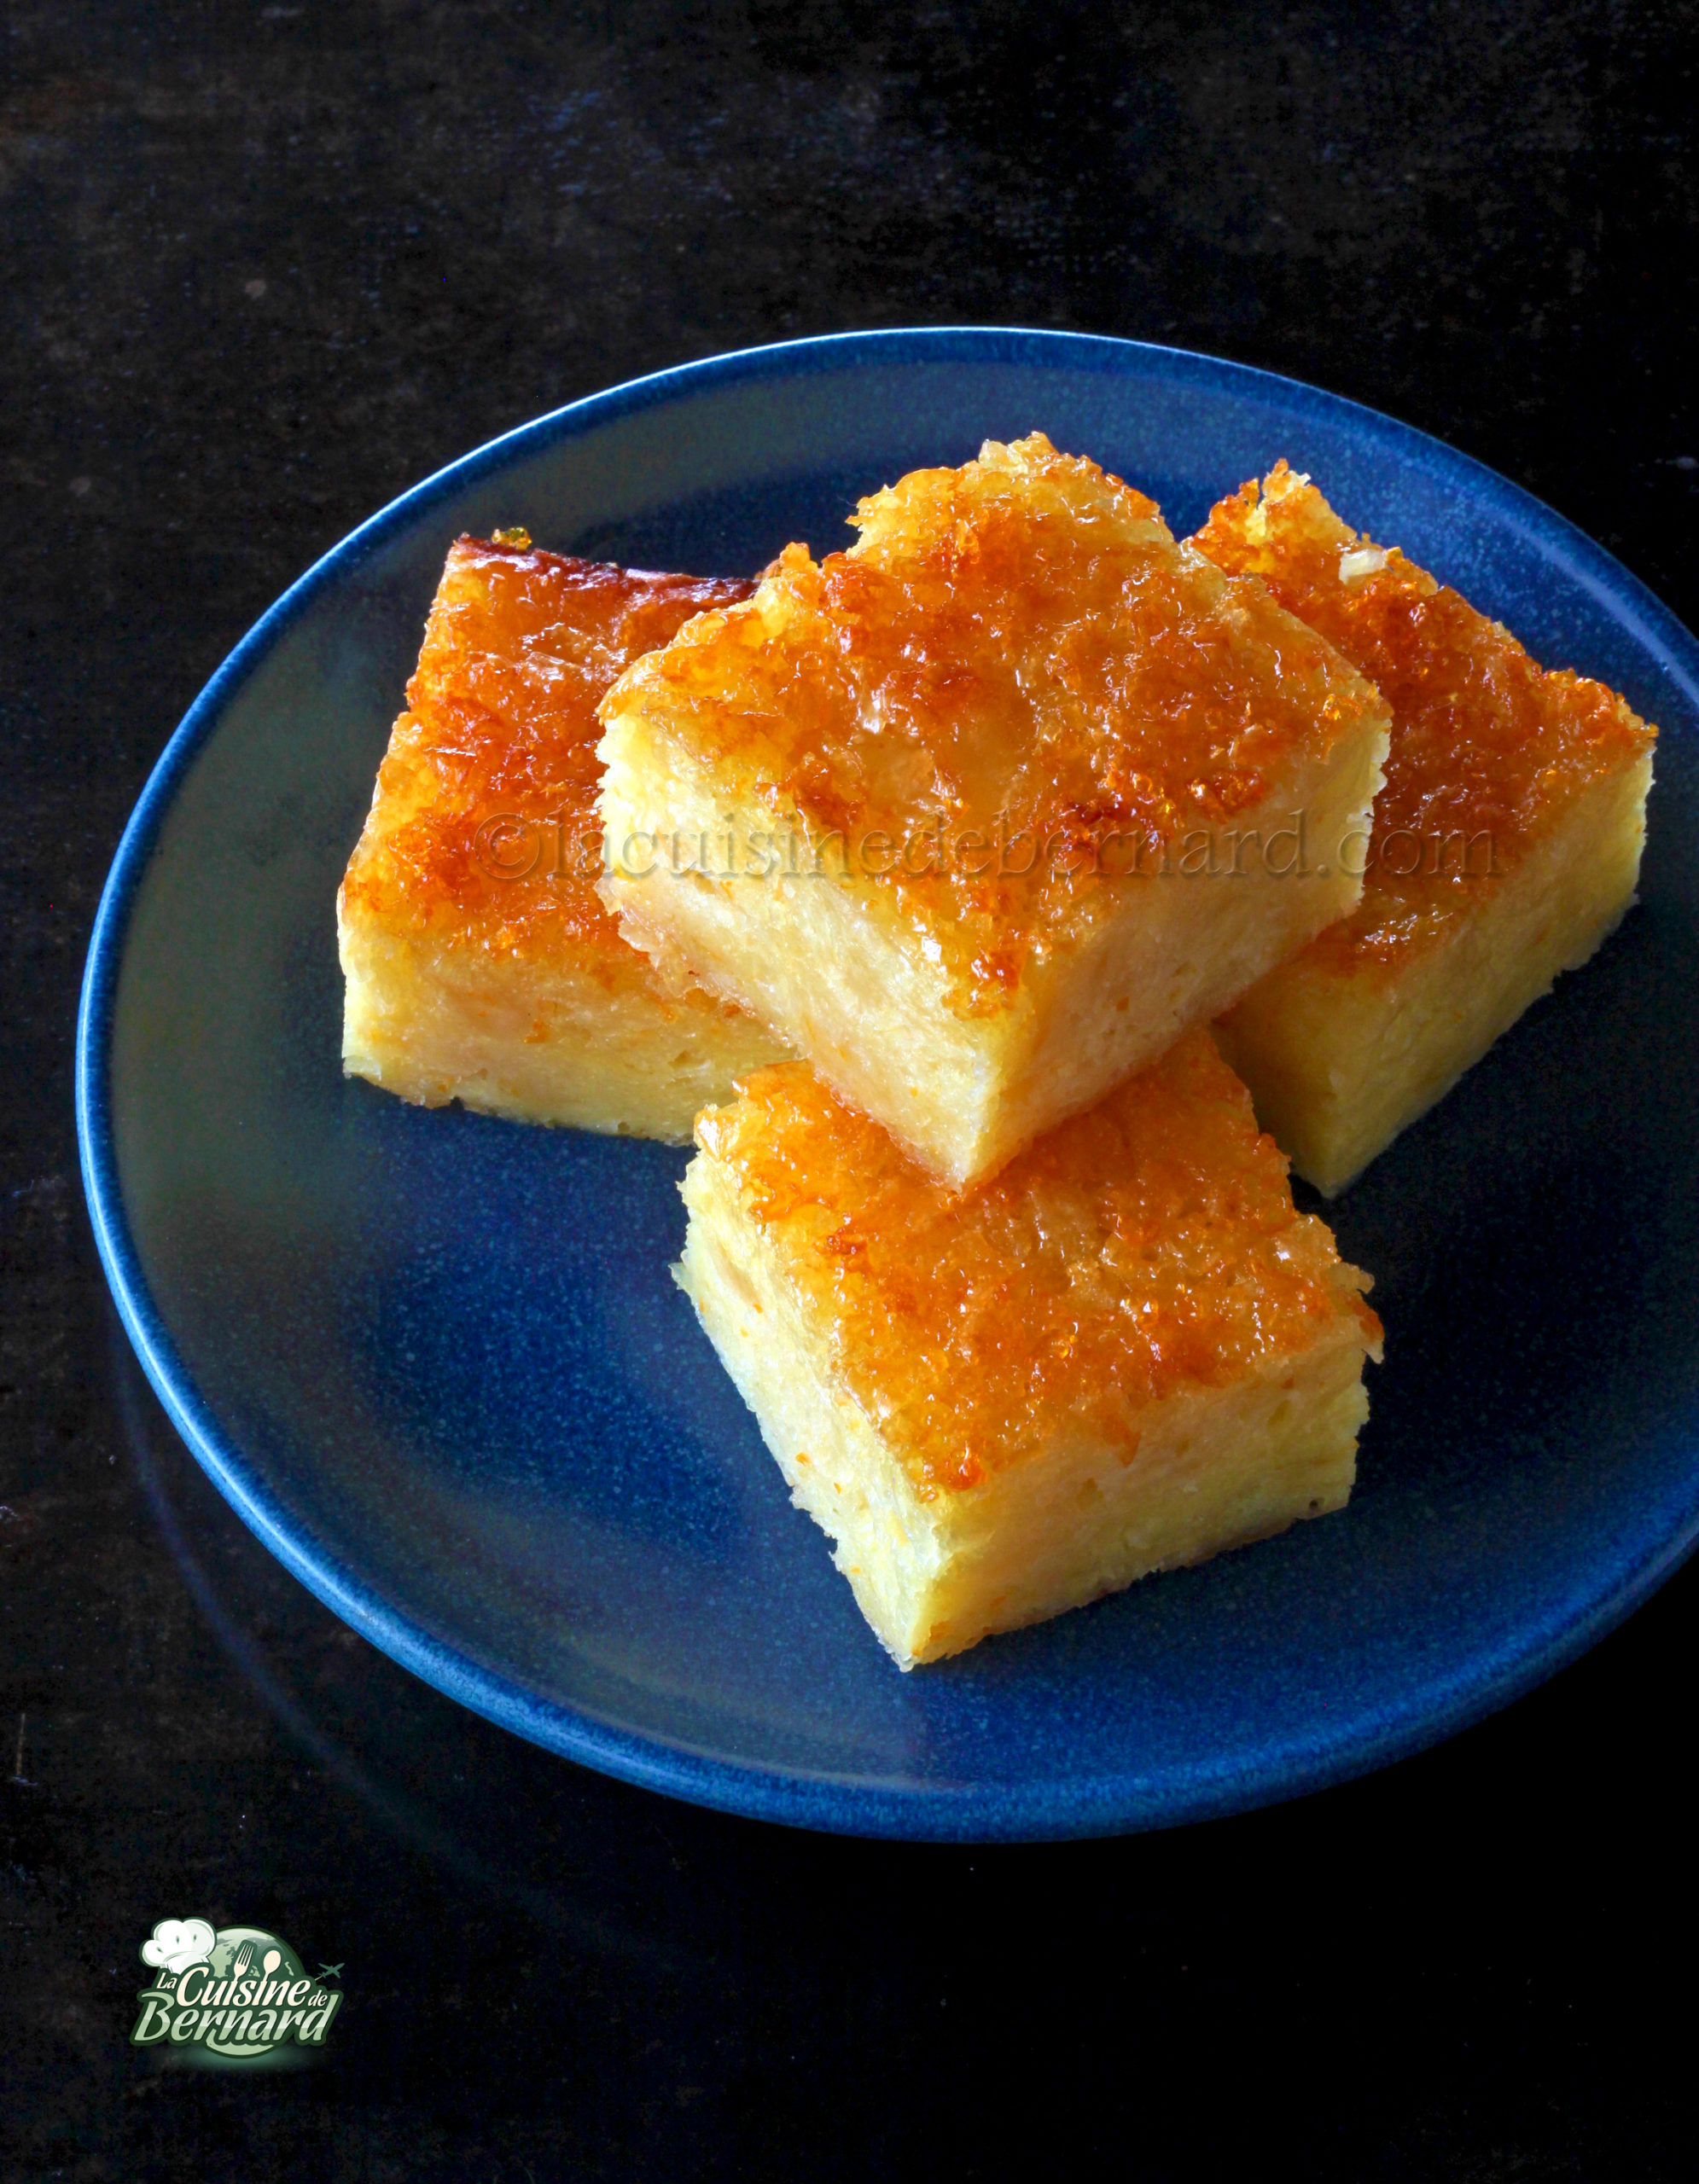
Portokalopita

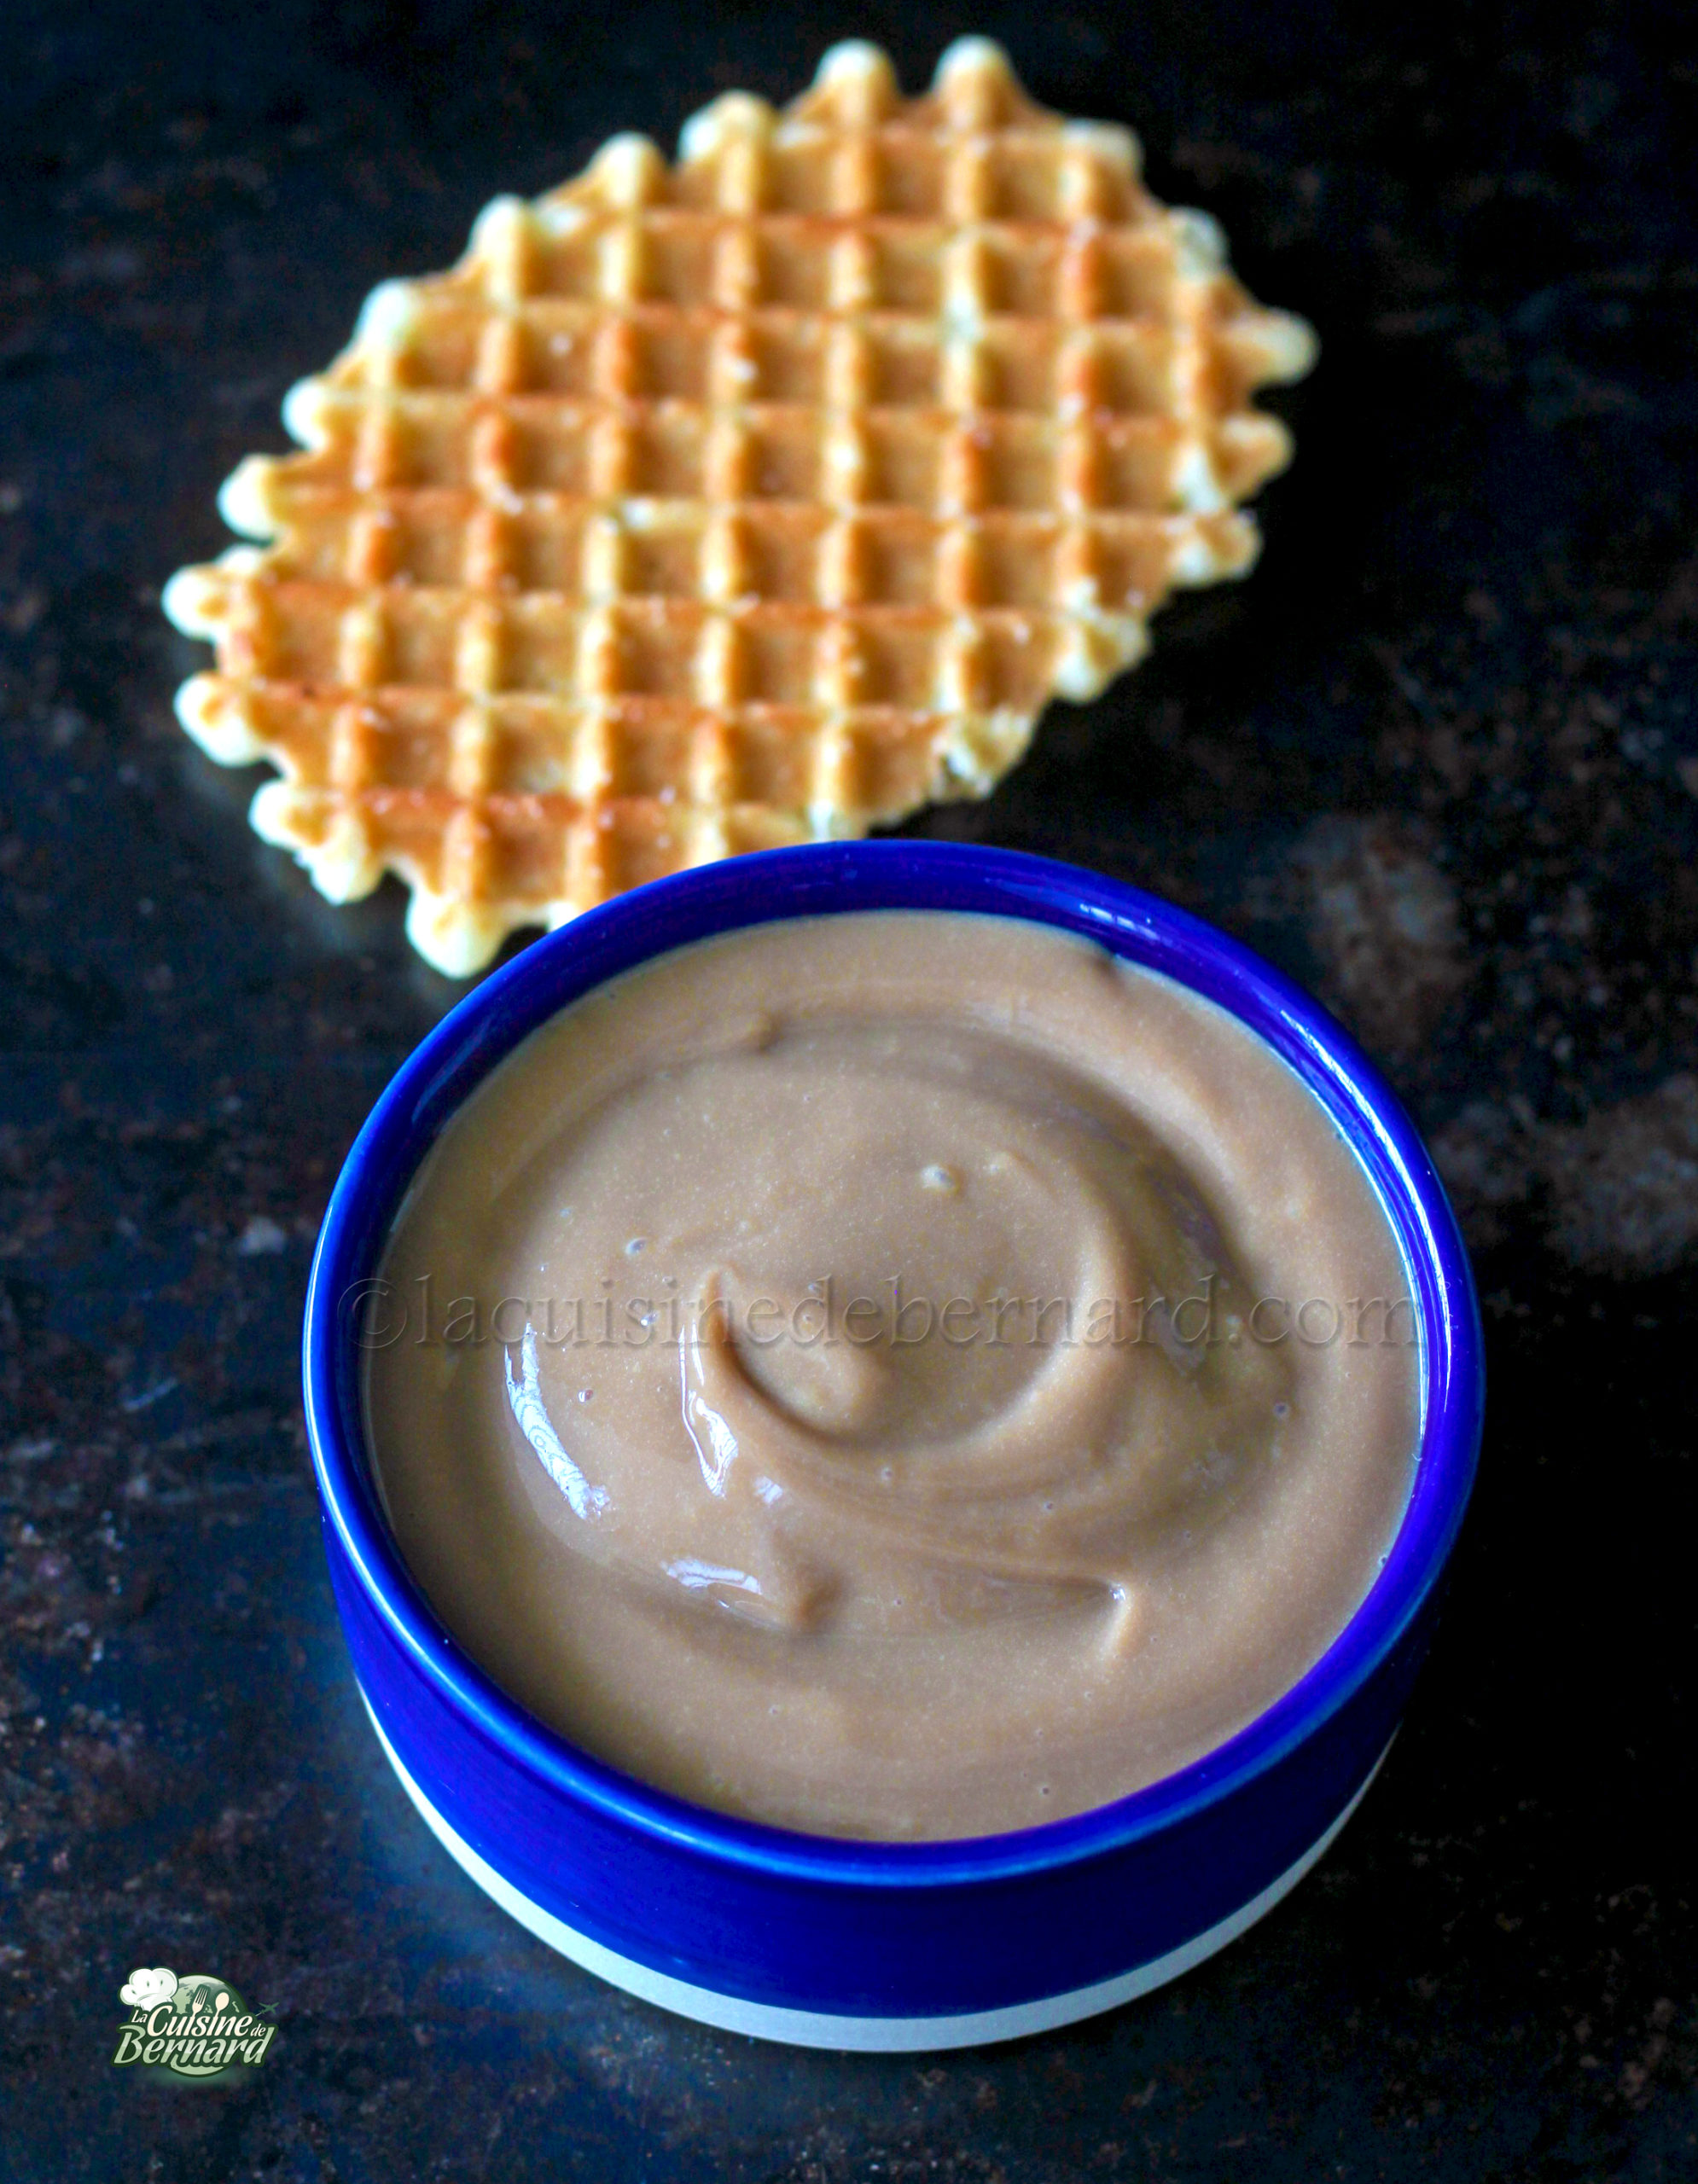
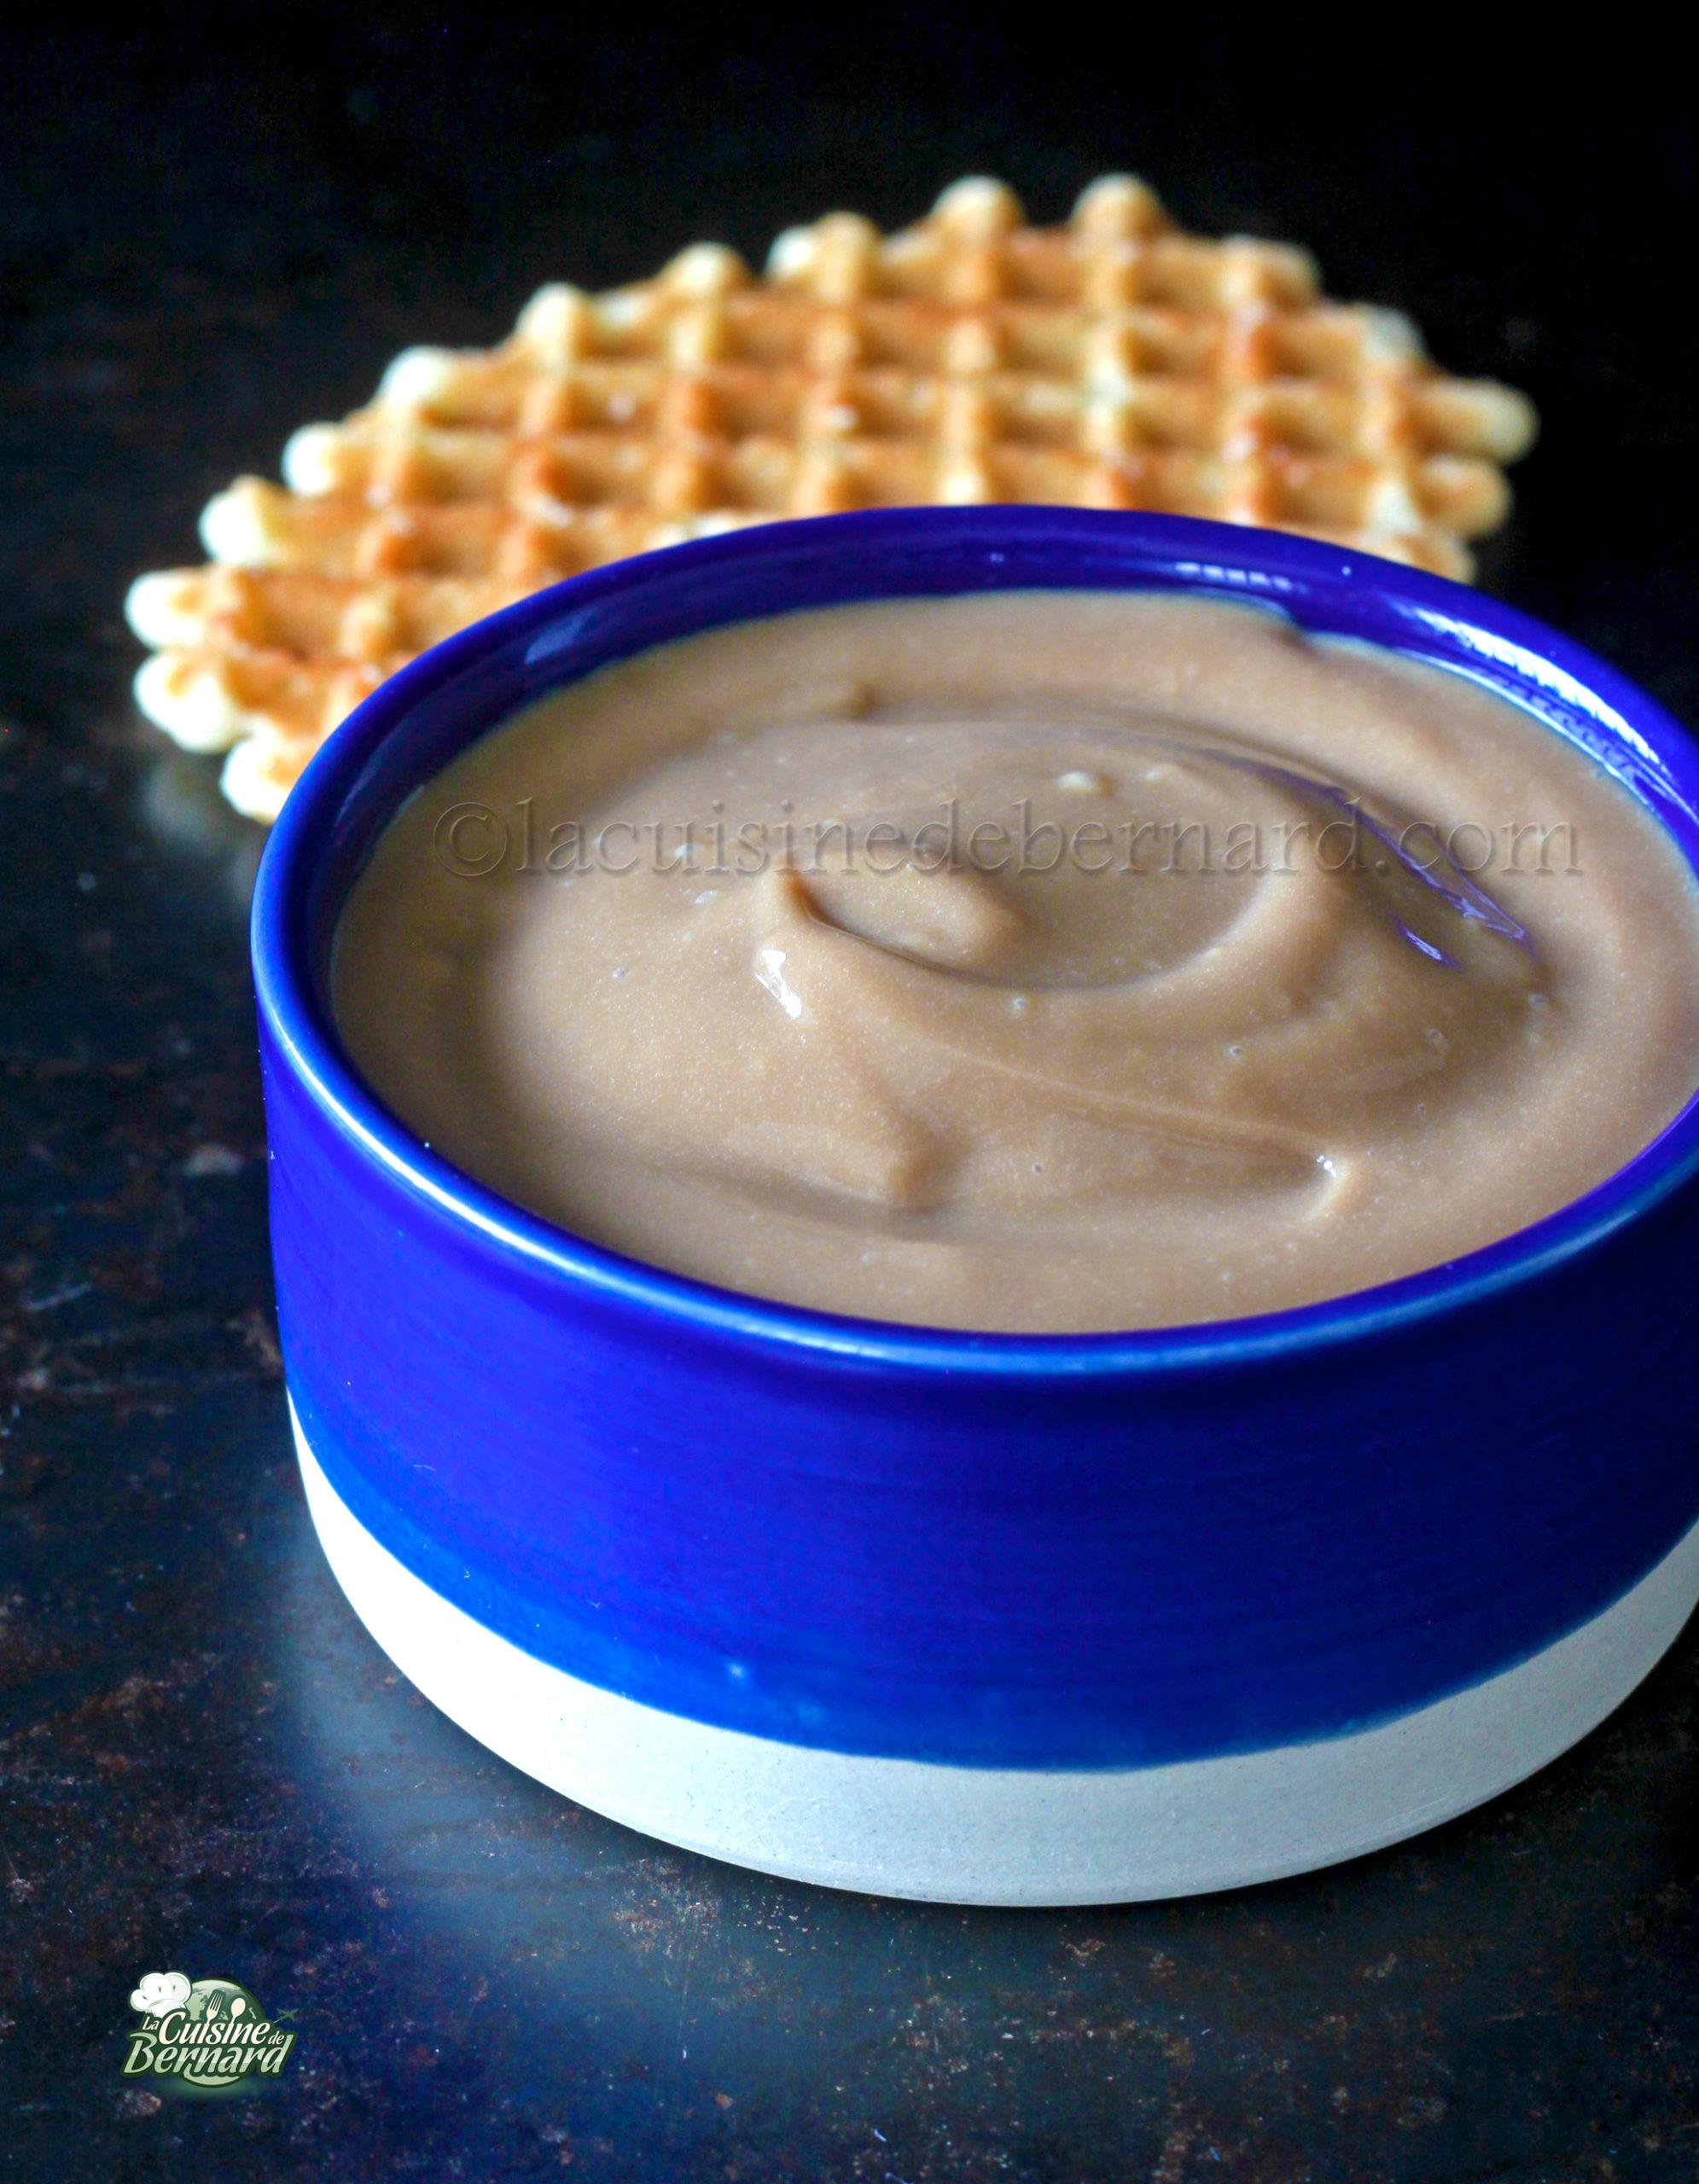
A smooth and shiny coffee cream, with a perfect hold, here is the promise of this recipe! With only 4 ingredients. I offered you my creamy chocolate cream recipe and many of you asked me for the coffee one. I had to do some tests, because without the chocolate and its cocoa butter which gives a nice texture, the recipe does not work the same way. It’s done and you can of course adapt it without coffee, but with vanilla!
Recipe for 4 to 6 people:
- 130g of sugar
- 105g cornstarch
- 12 to 14 g of soluble coffee (you can take decaf!)
- 1000g whole milk
Vanilla cream:
- 110g of sugar (it’s less because it doesn’t have the bitterness of coffee)
- 105g cornstarch
- 1 vanilla pod
- 1 tablespoon liquid vanilla extract
- 1000g whole milk
Instructions:
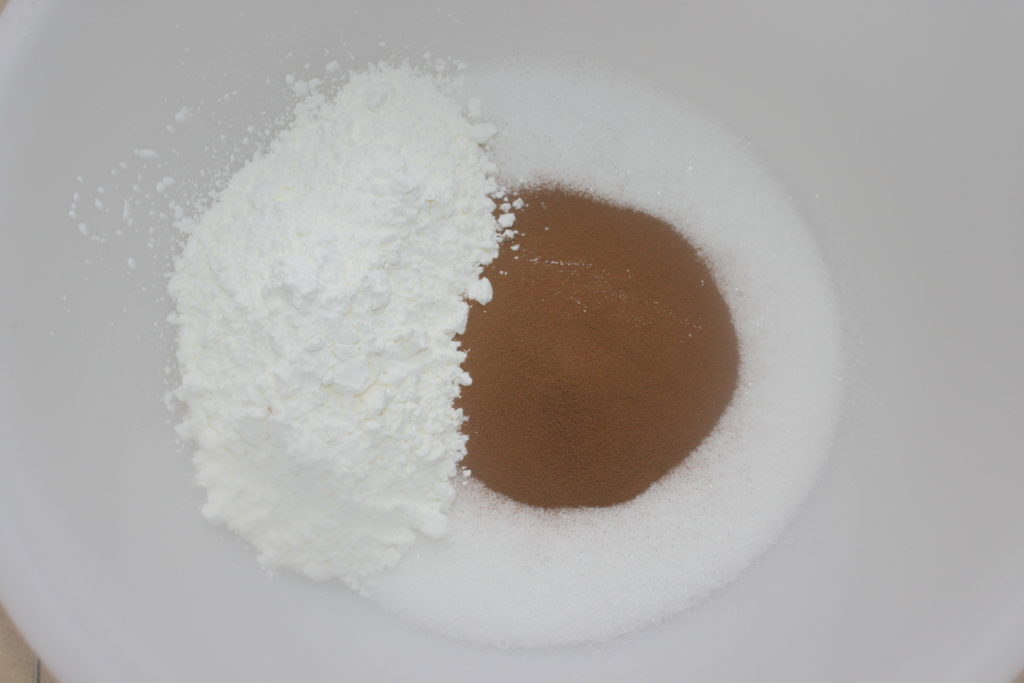
Put the sugar, cornstarch and soluble coffee in a container or even directly in a large saucepan. For the coffee I took 2g soluble coffee sticks. I put 7, but you can put more or less!
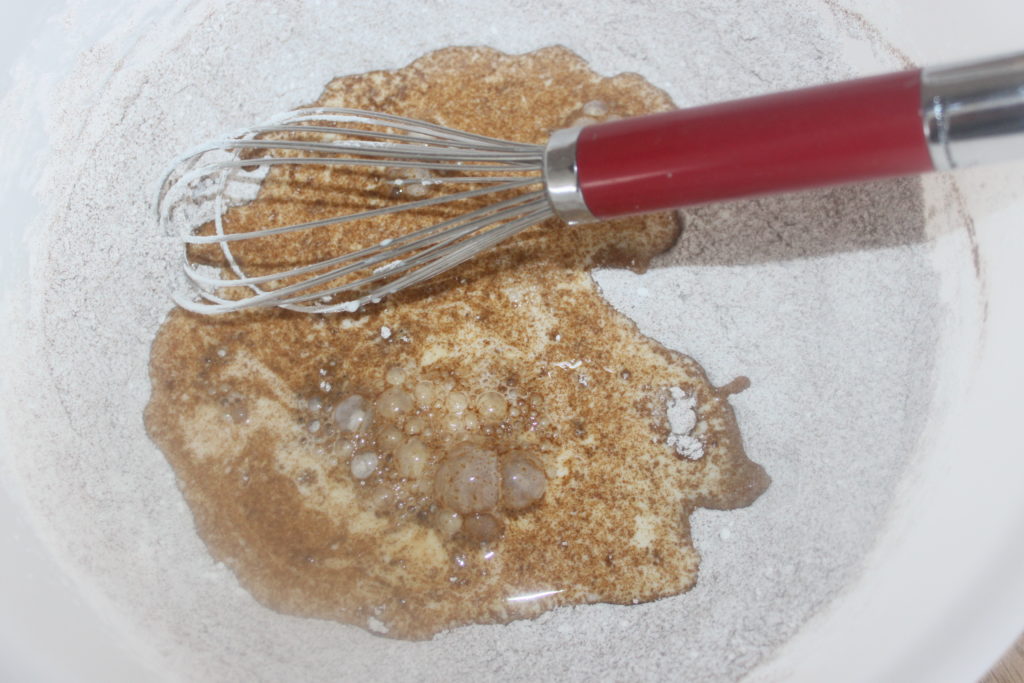
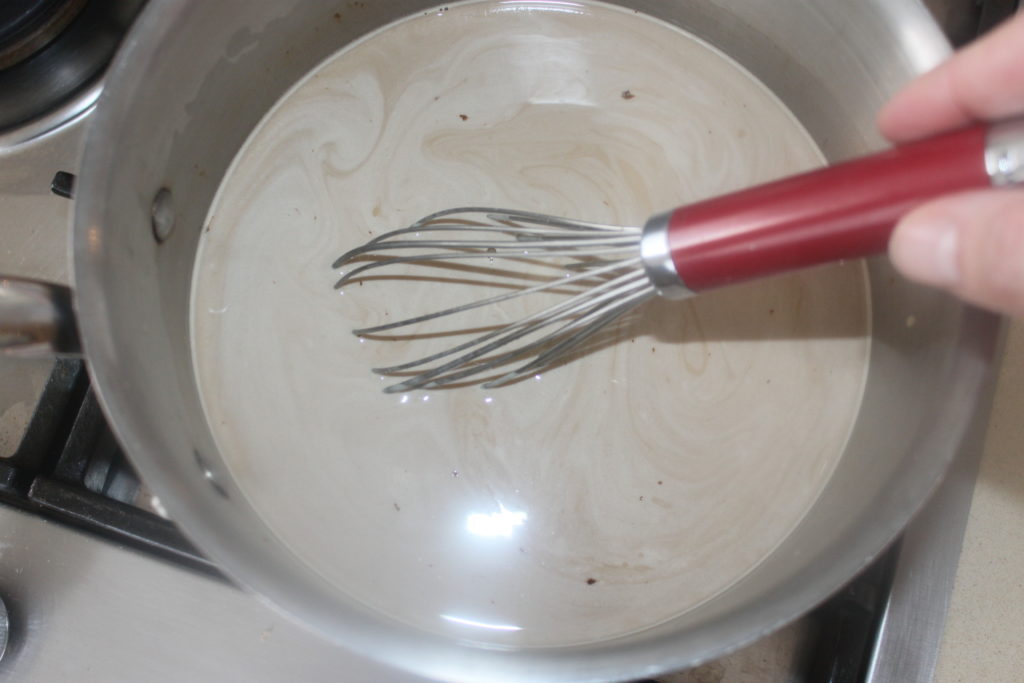
Mix then pour in the milk little by little while whisking.
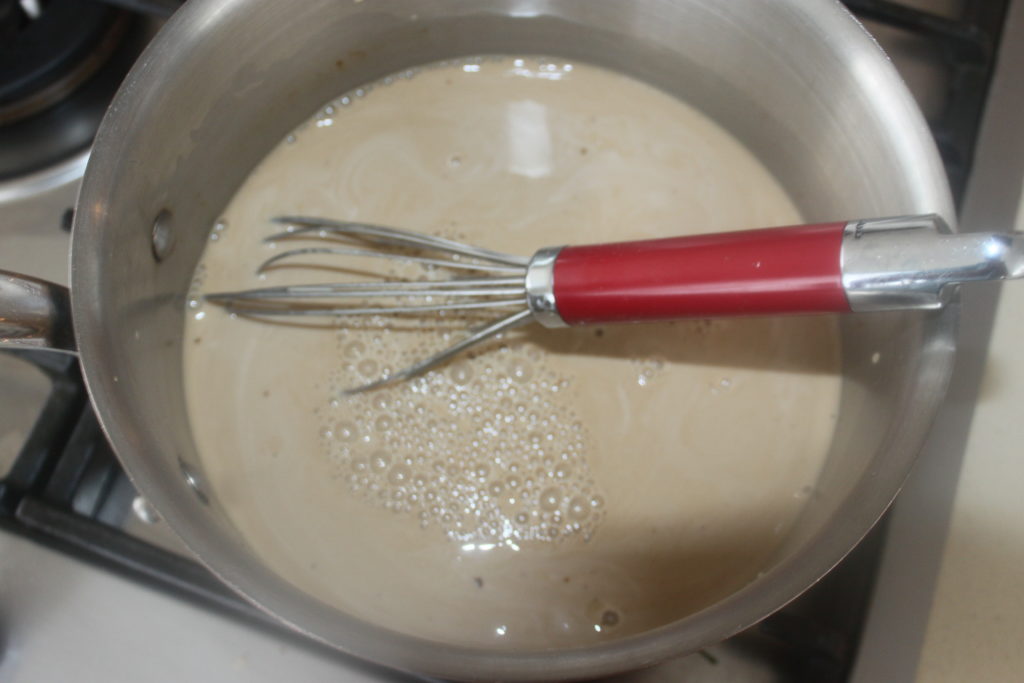
Bring to a simmer over moderate heat, whisking constantly.
The cream will thicken after about 10 minutes. Bring it to a boil.
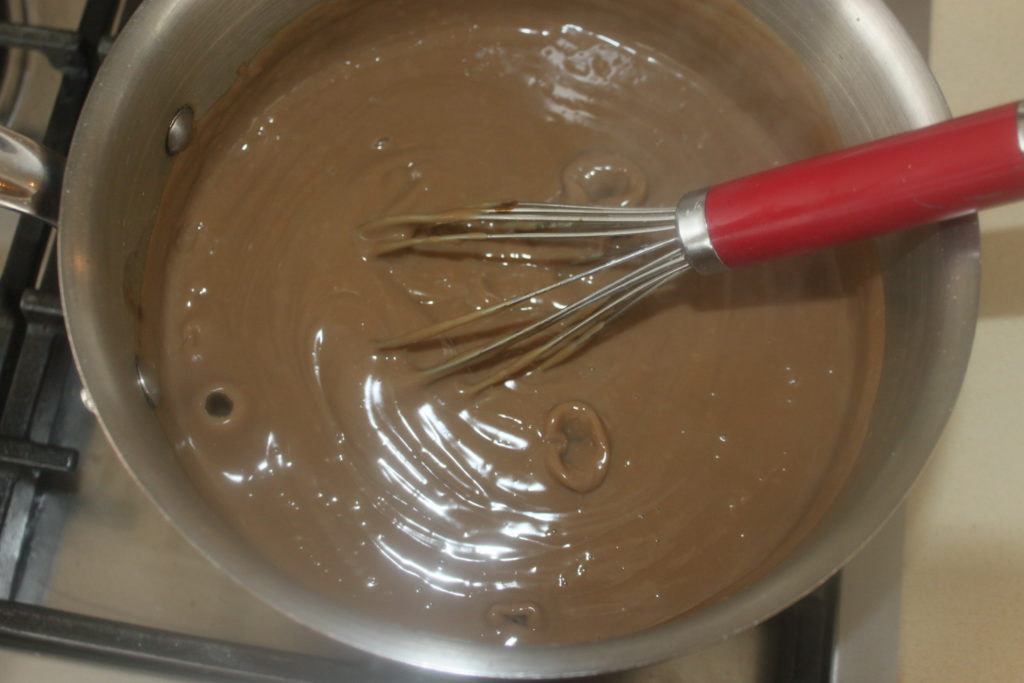
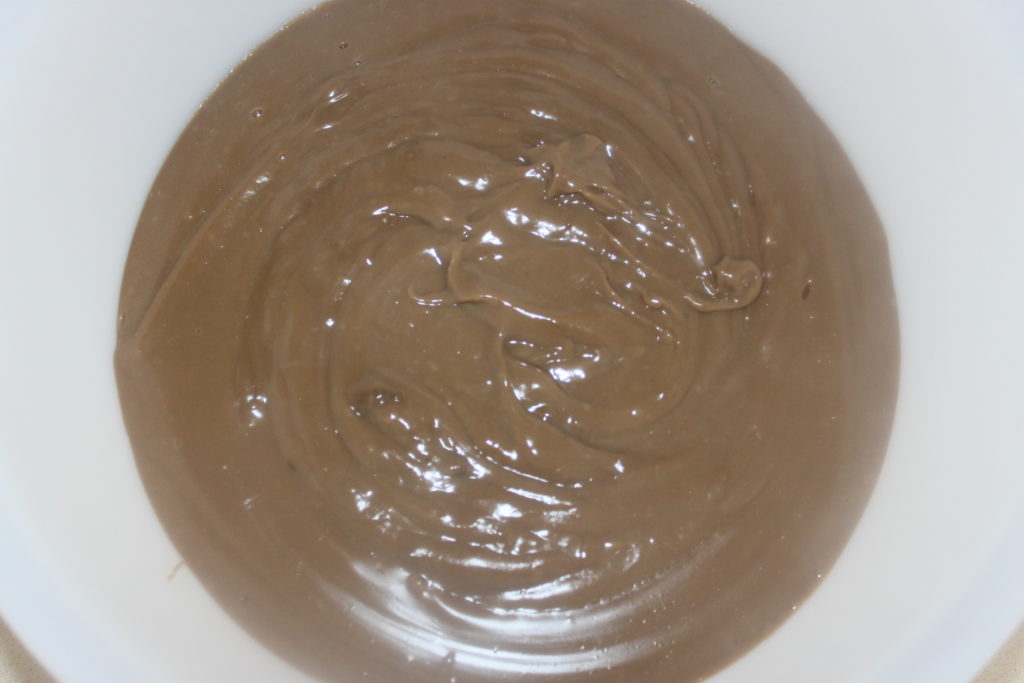
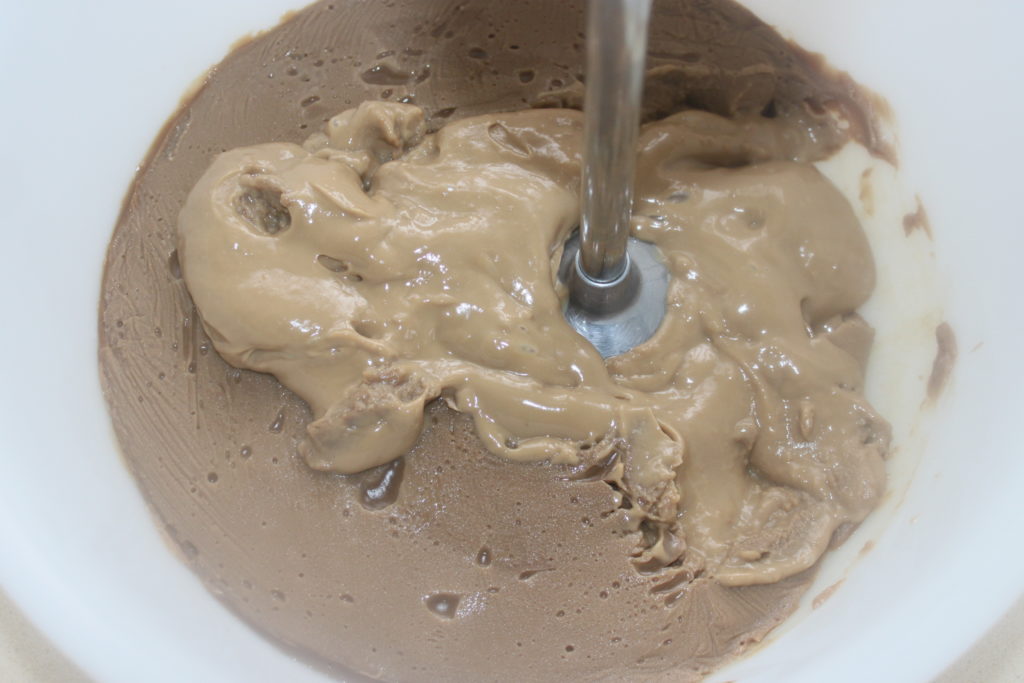
When the cream boils, pour it into a clean container.
Film directly in contact with a heat-resistant film.
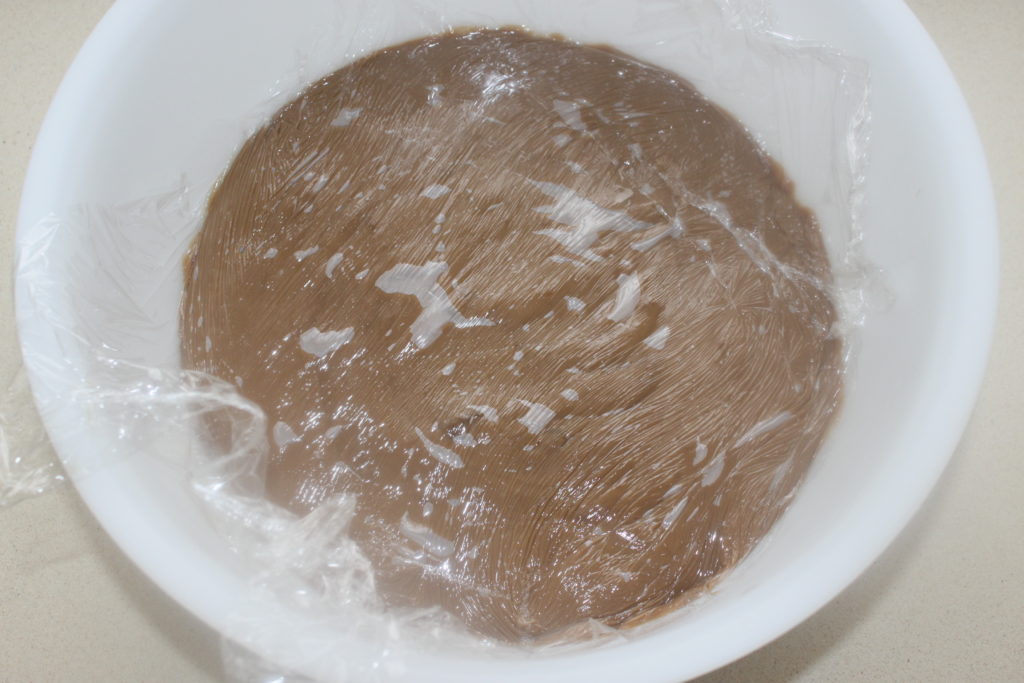
Leave to cool to room temperature then at least 4 hours in the refrigerator, the best being overnight. Then remove the stretch film, then that’s where the magic happens! Blend the cream in an immersion blender. The cream will become smooth and shiny.
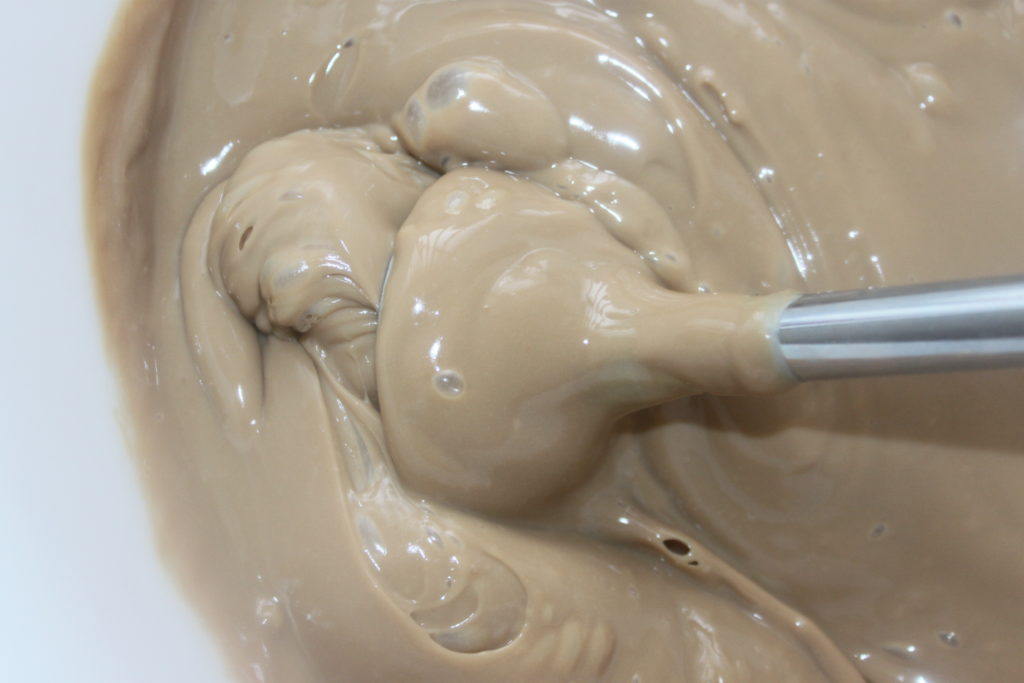
Put back in the fridge, always with a stretch film in contact and then enjoy it very cold!

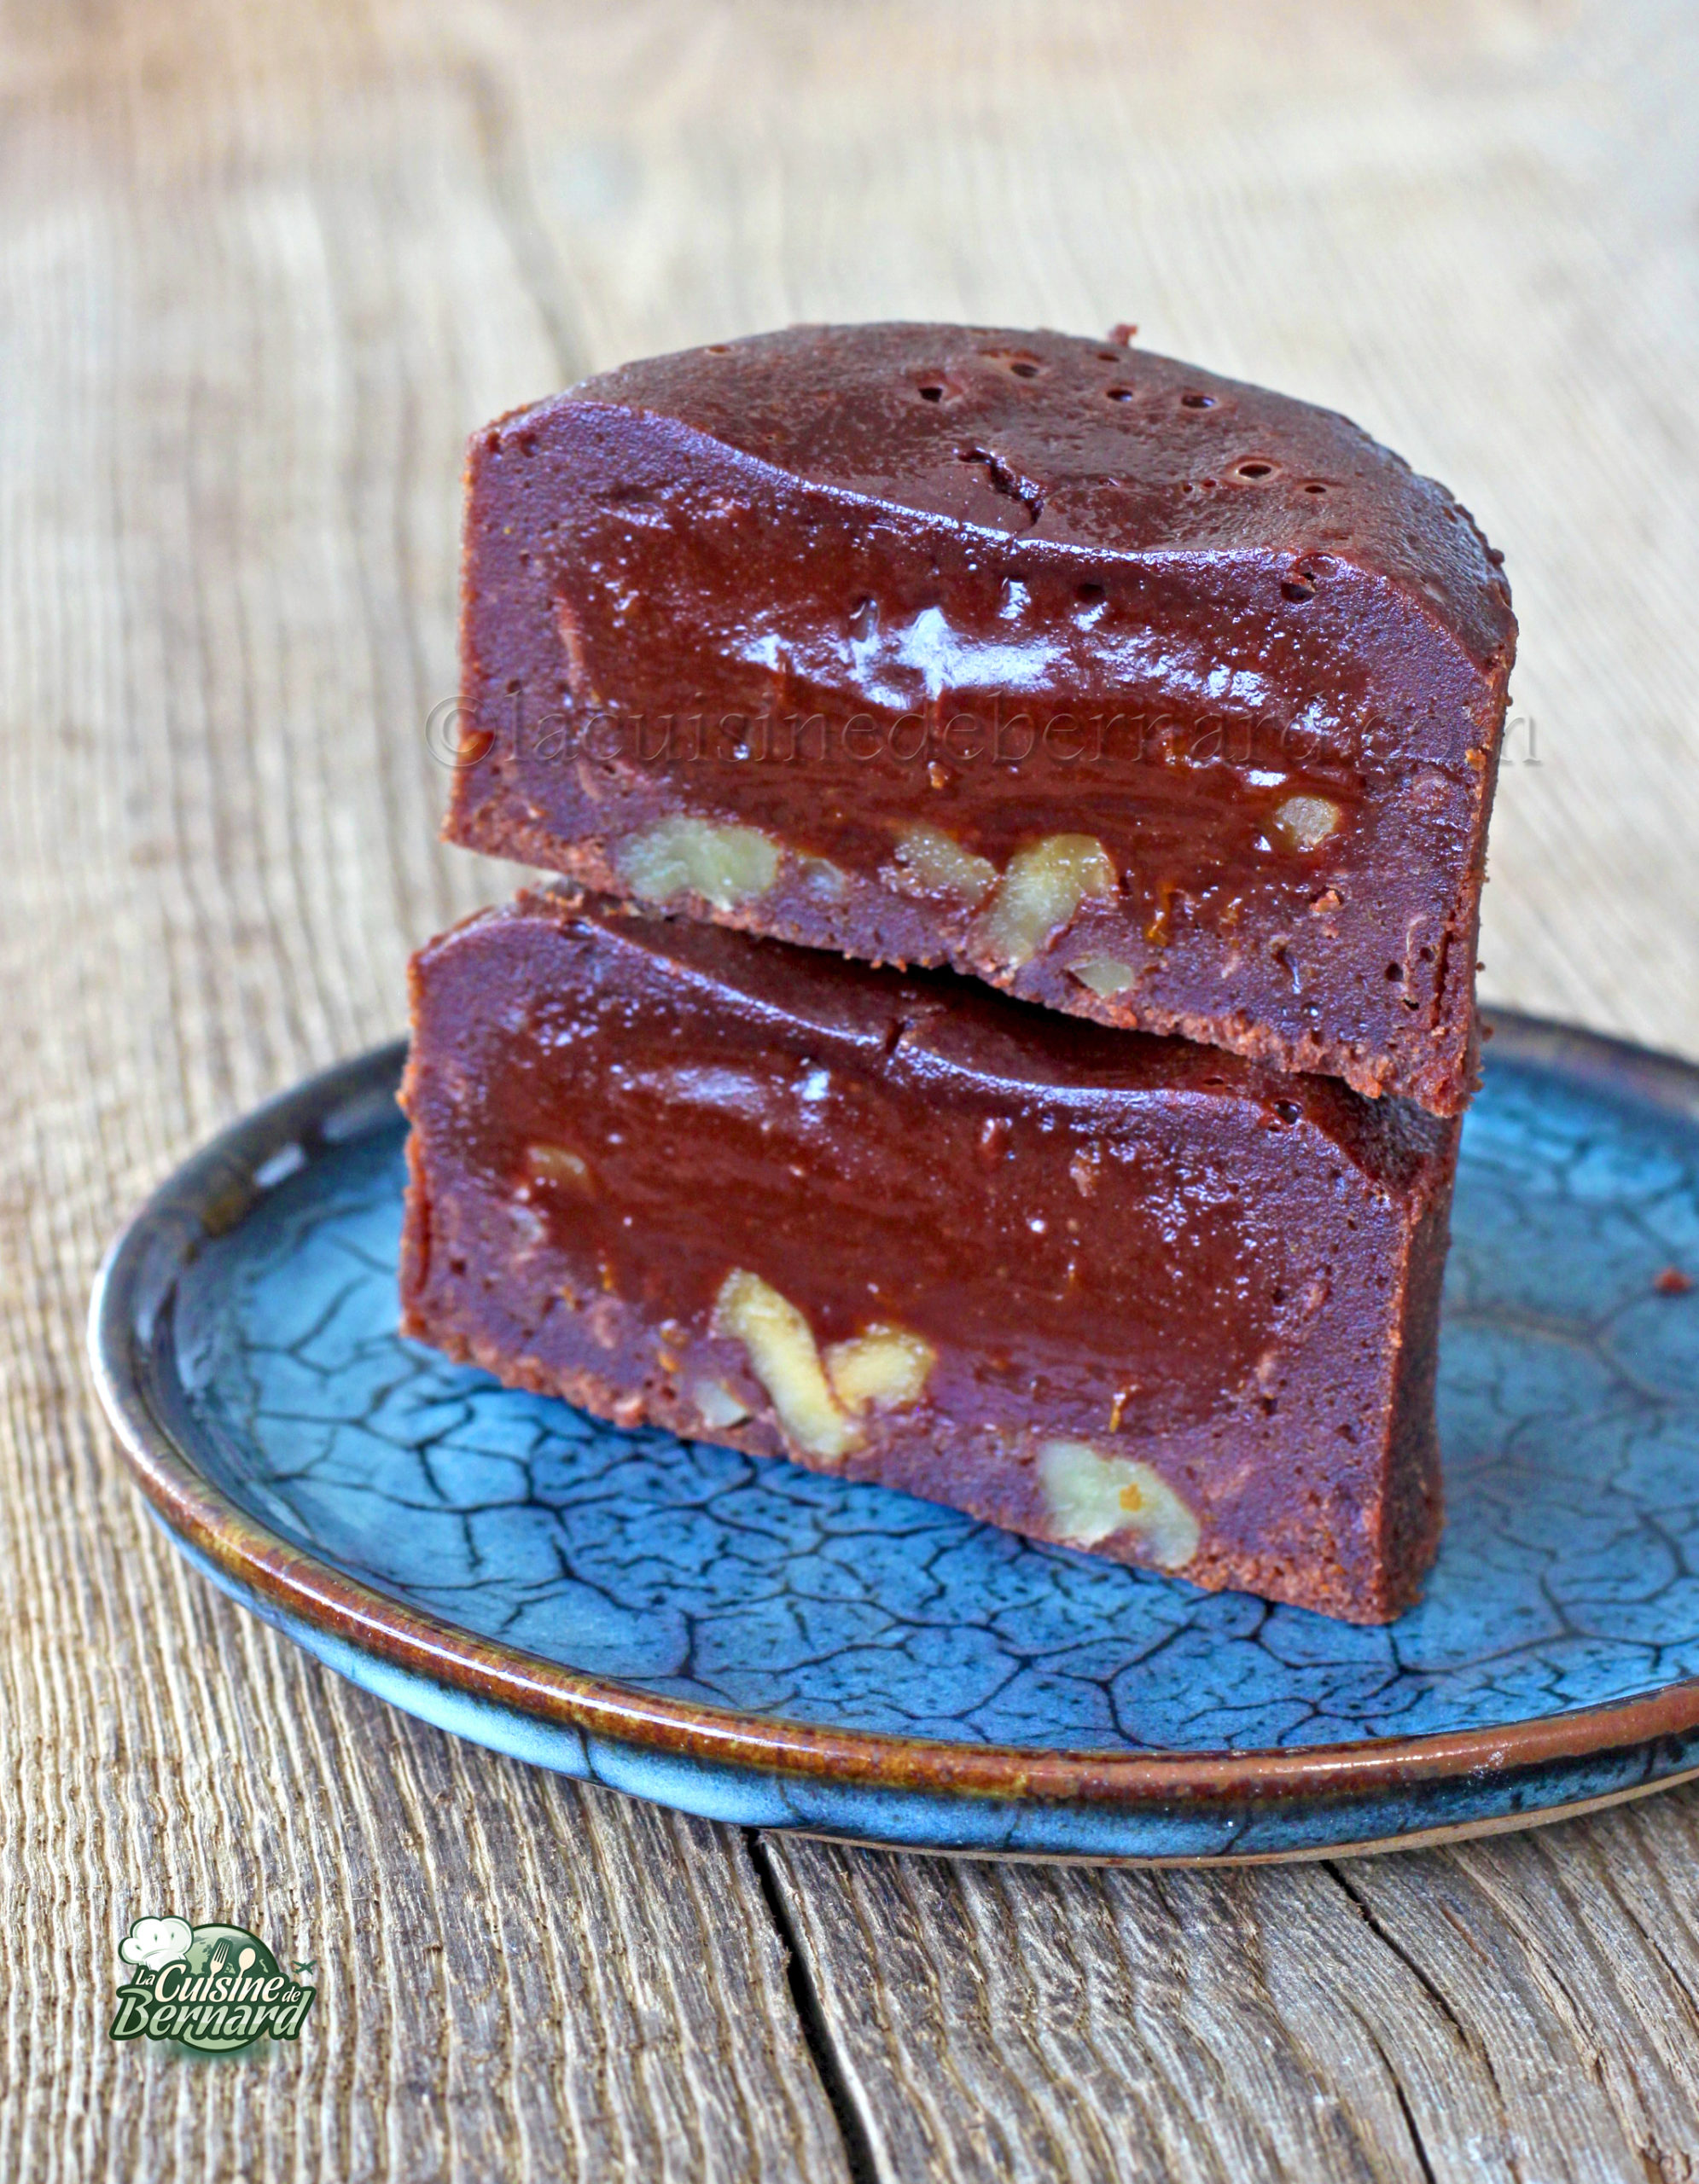
I offer you this recipe for semi-cooked chocolate, orange and walnuts. A small bomb of flavors that will be just as good hot, warm or cold. The whole thing is prepared in a few minutes and will fulfill the expectations of a comforting cake!
Recipe for 4 cakes:
- 115g semi-salted butter
- 100g dark chocolate
- 60g of sugar
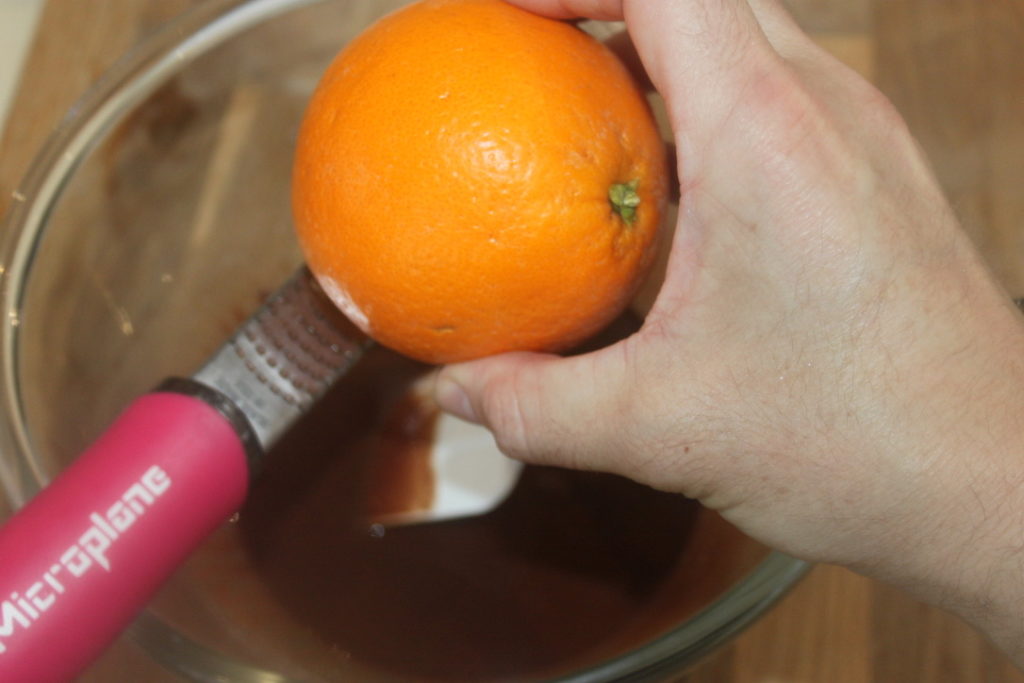
- zest of an organic orange
- 180g egg
- 50g flour
- 60g walnuts
Instructions:
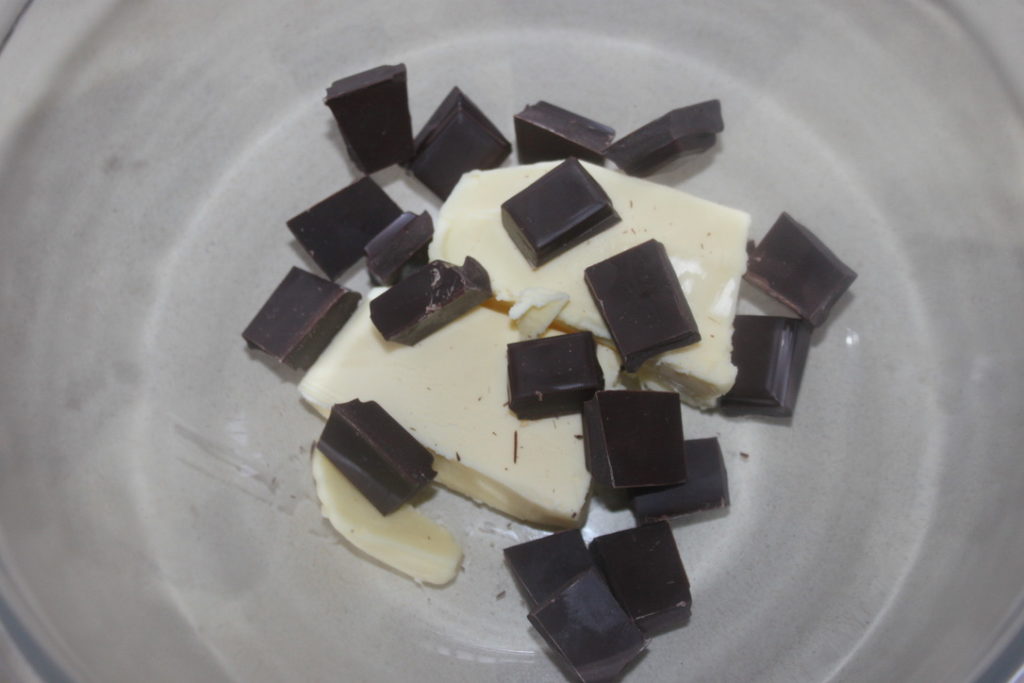
Melt the butter and dark chocolate together.
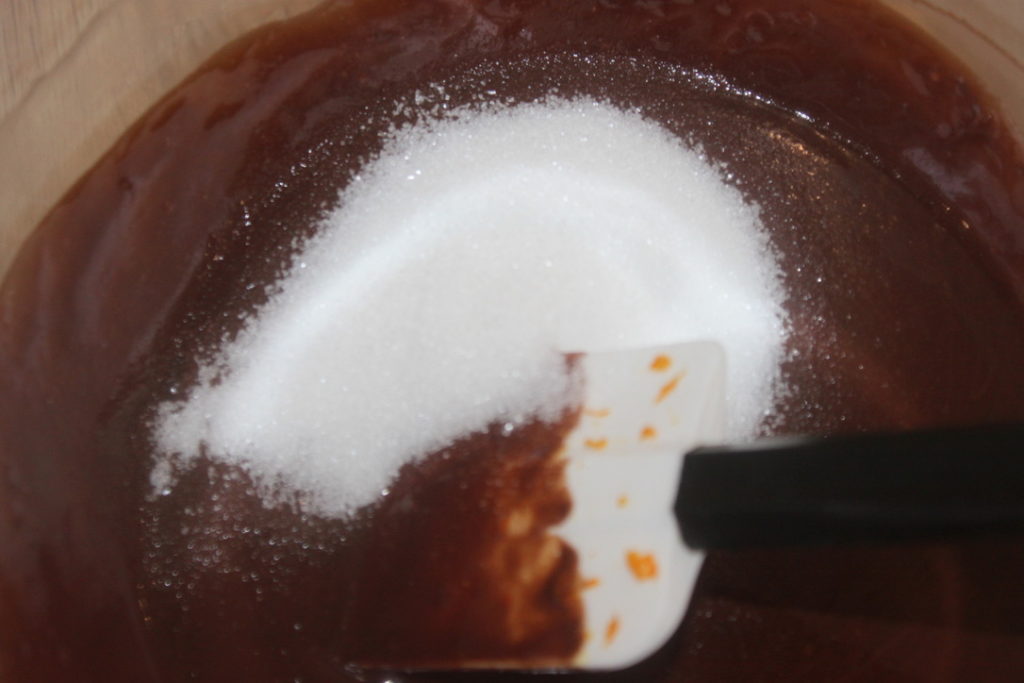
Mix well then add the sugar.
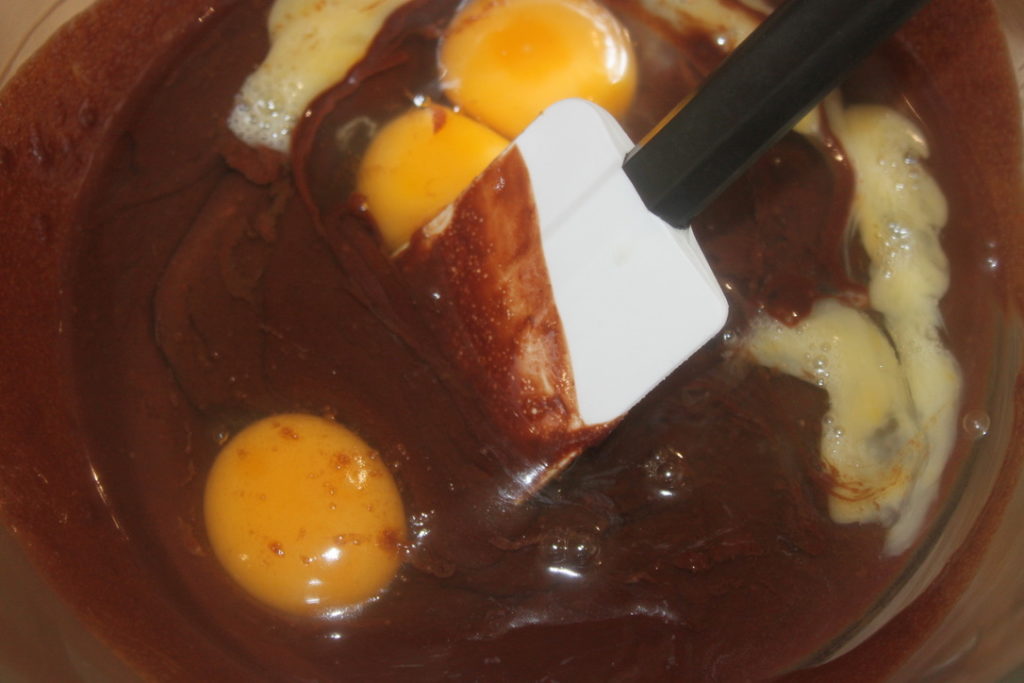
Add the eggs. Basically this corresponds to 3 large eggs. Otherwise beat 4 eggs in an omelette and weigh 180g.
Add the zest of an organic orange.
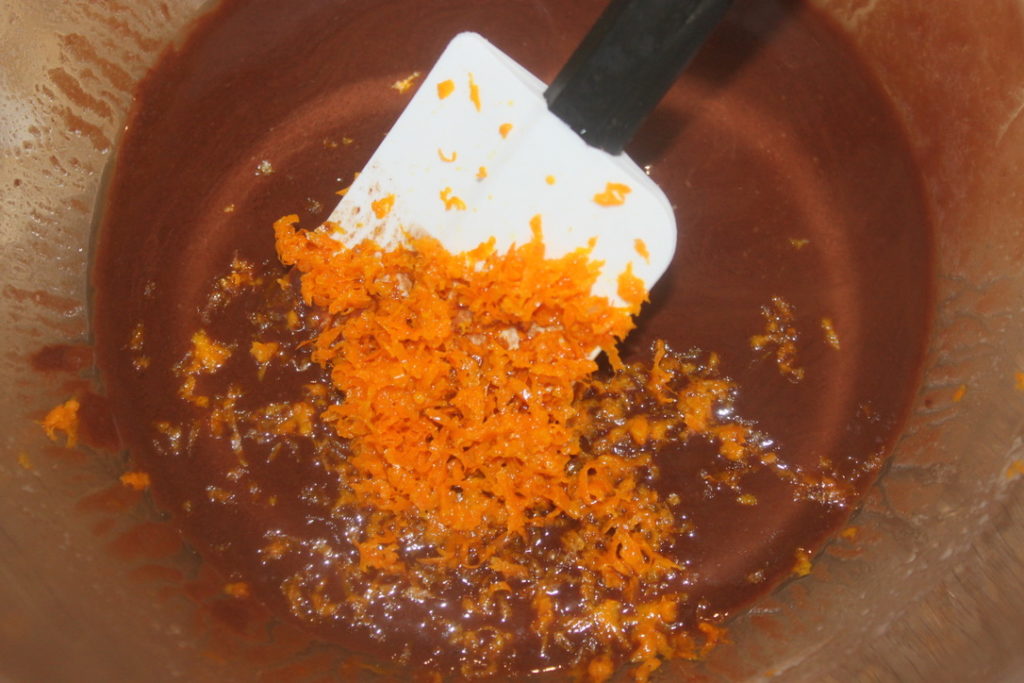
Finish with flour and nuts.
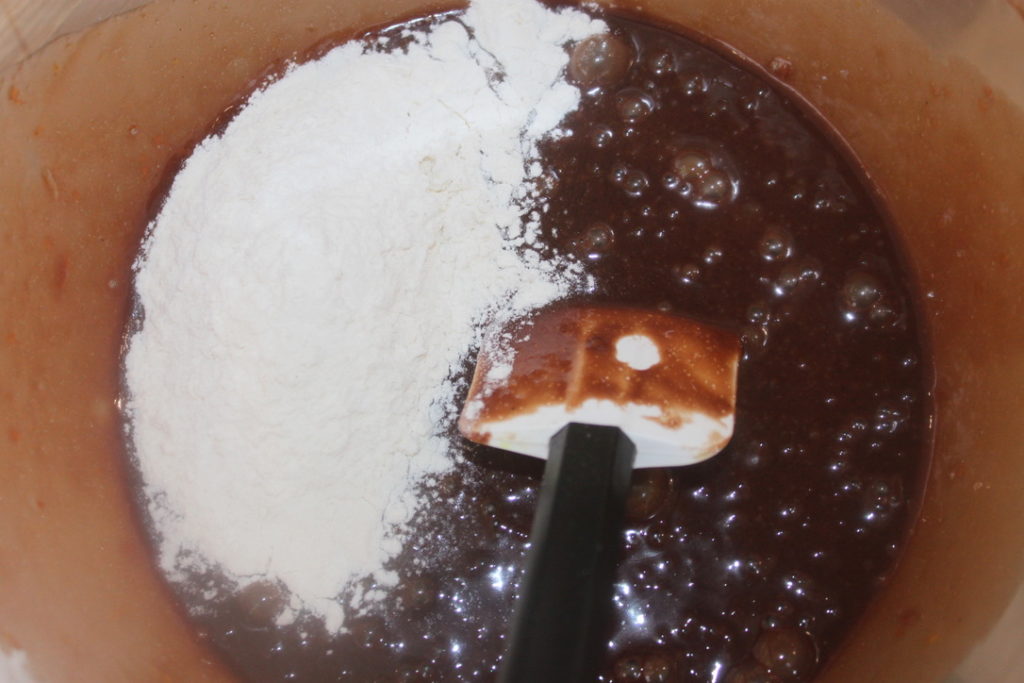
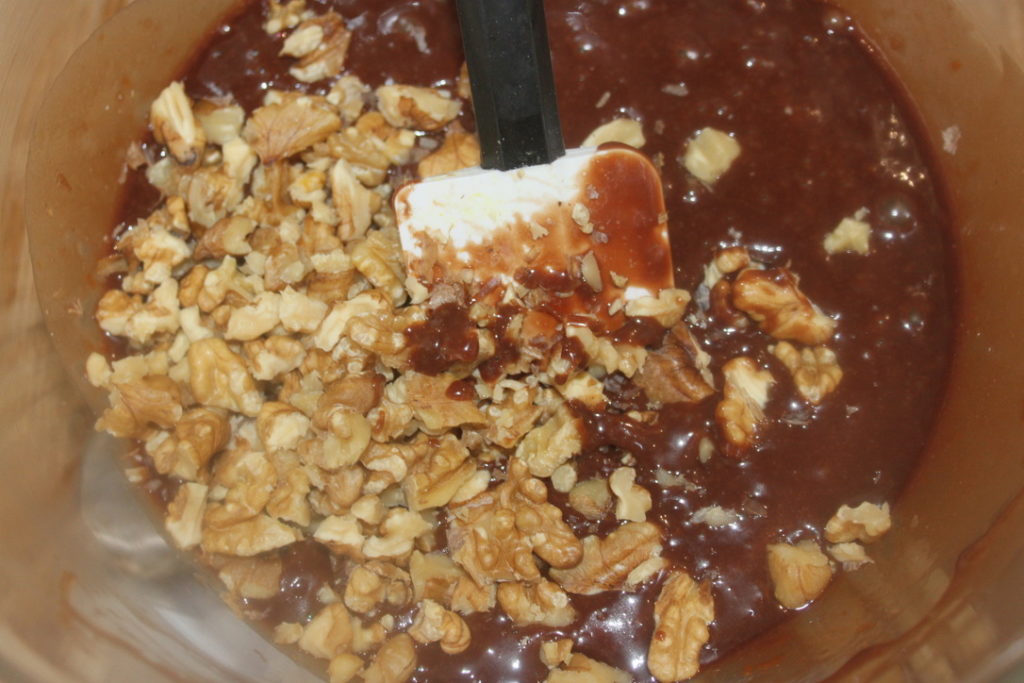
Mix well.

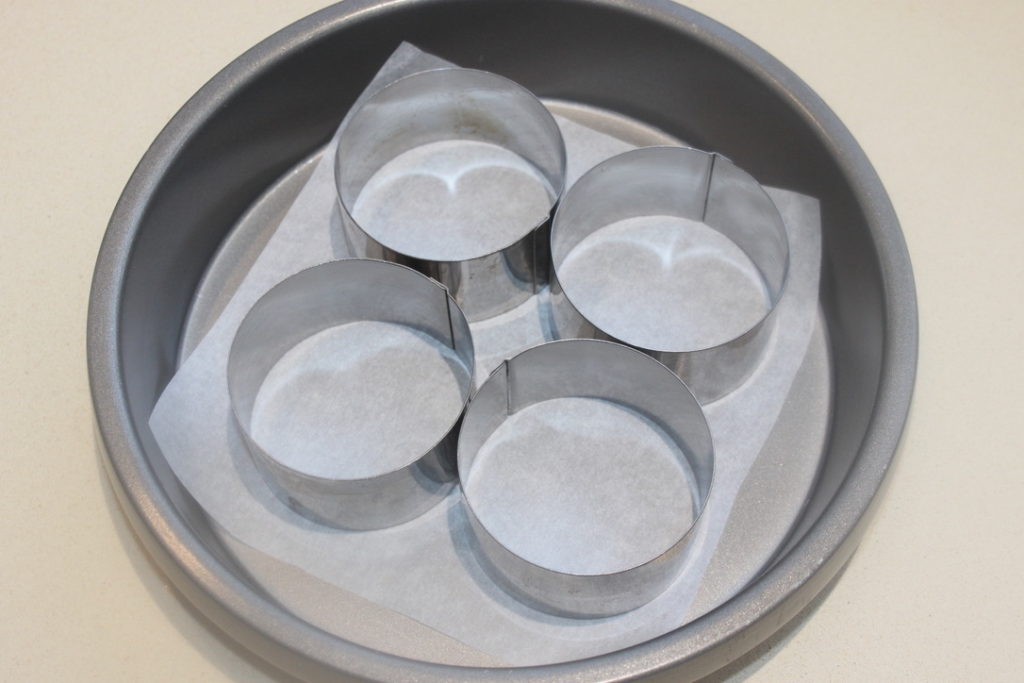
I wanted to change small disposable aluminum molds. I took foam circles 8cm in diameter. They must be greased well on the inside with mold release spray or butter and then placed on a baking sheet or mold lined with parchment paper.
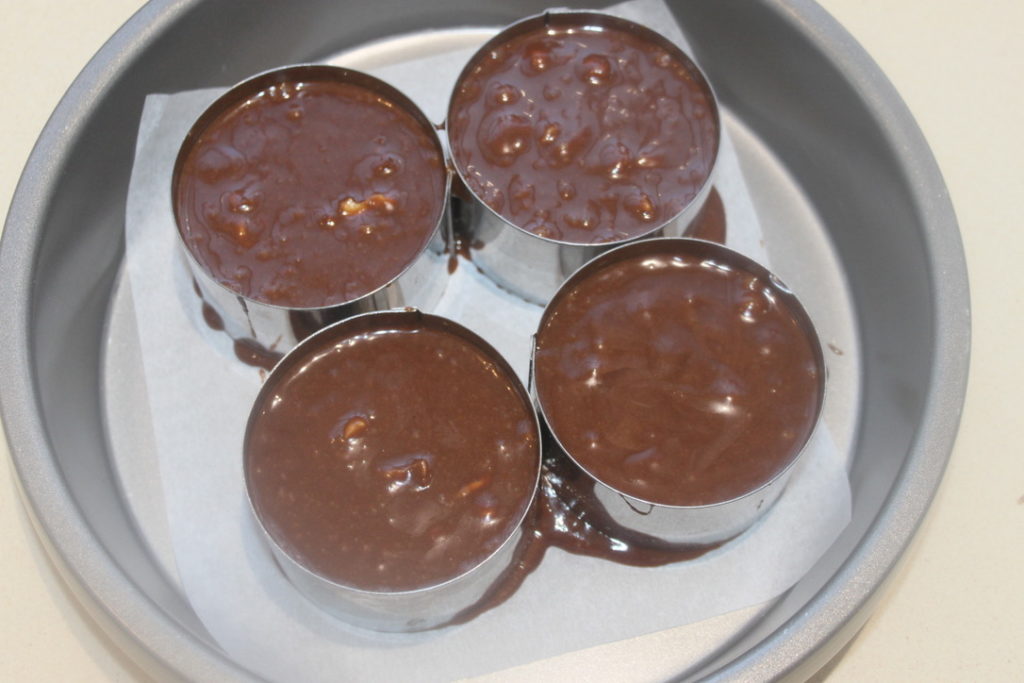
Pour the batter into the 4 circles.
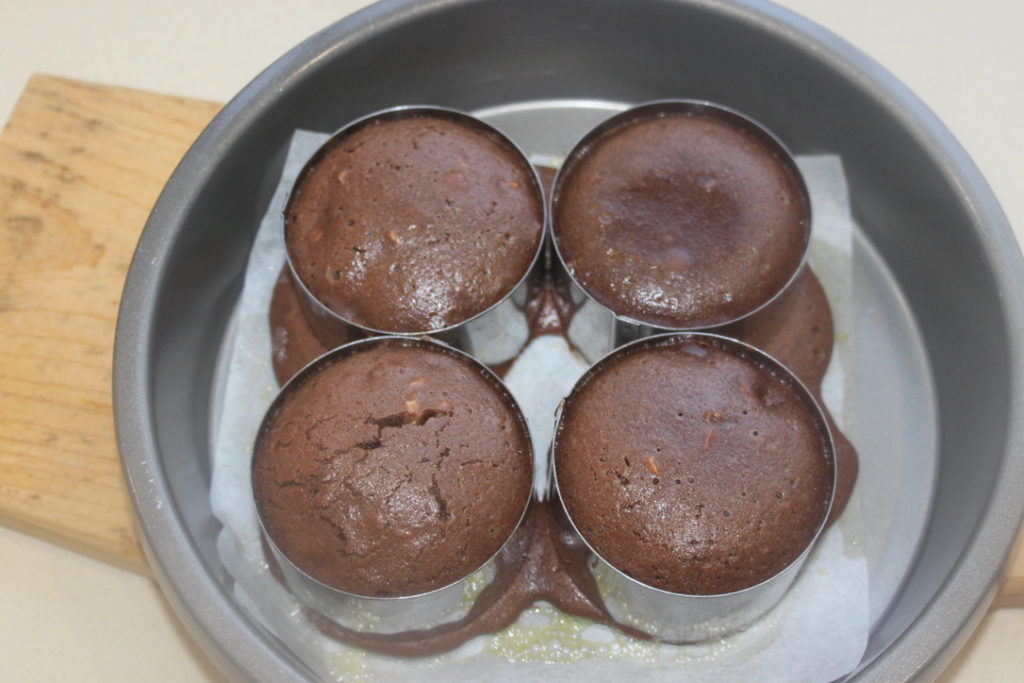
Bake for 12 to 15 minutes in a preheated oven at 190°C using a rotating heat. As soon as a crust forms, you can stop the cooking!
They will need to be gently unmolded about 10 to 15 minutes after the end of cooking. I ran a knife around the inner edge.
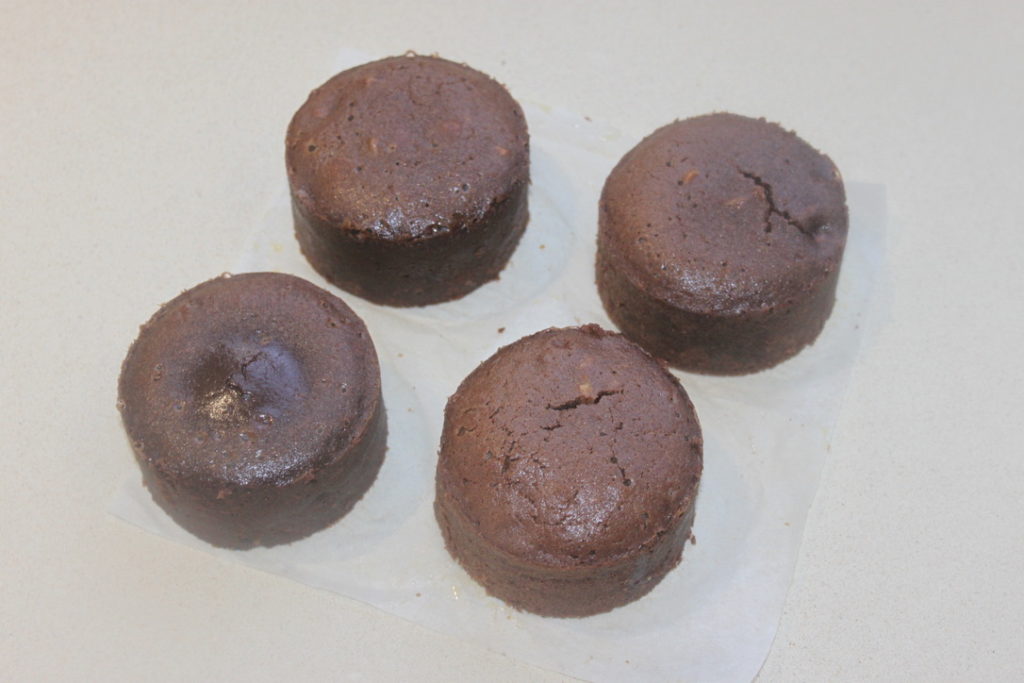
To be enjoyed warm!
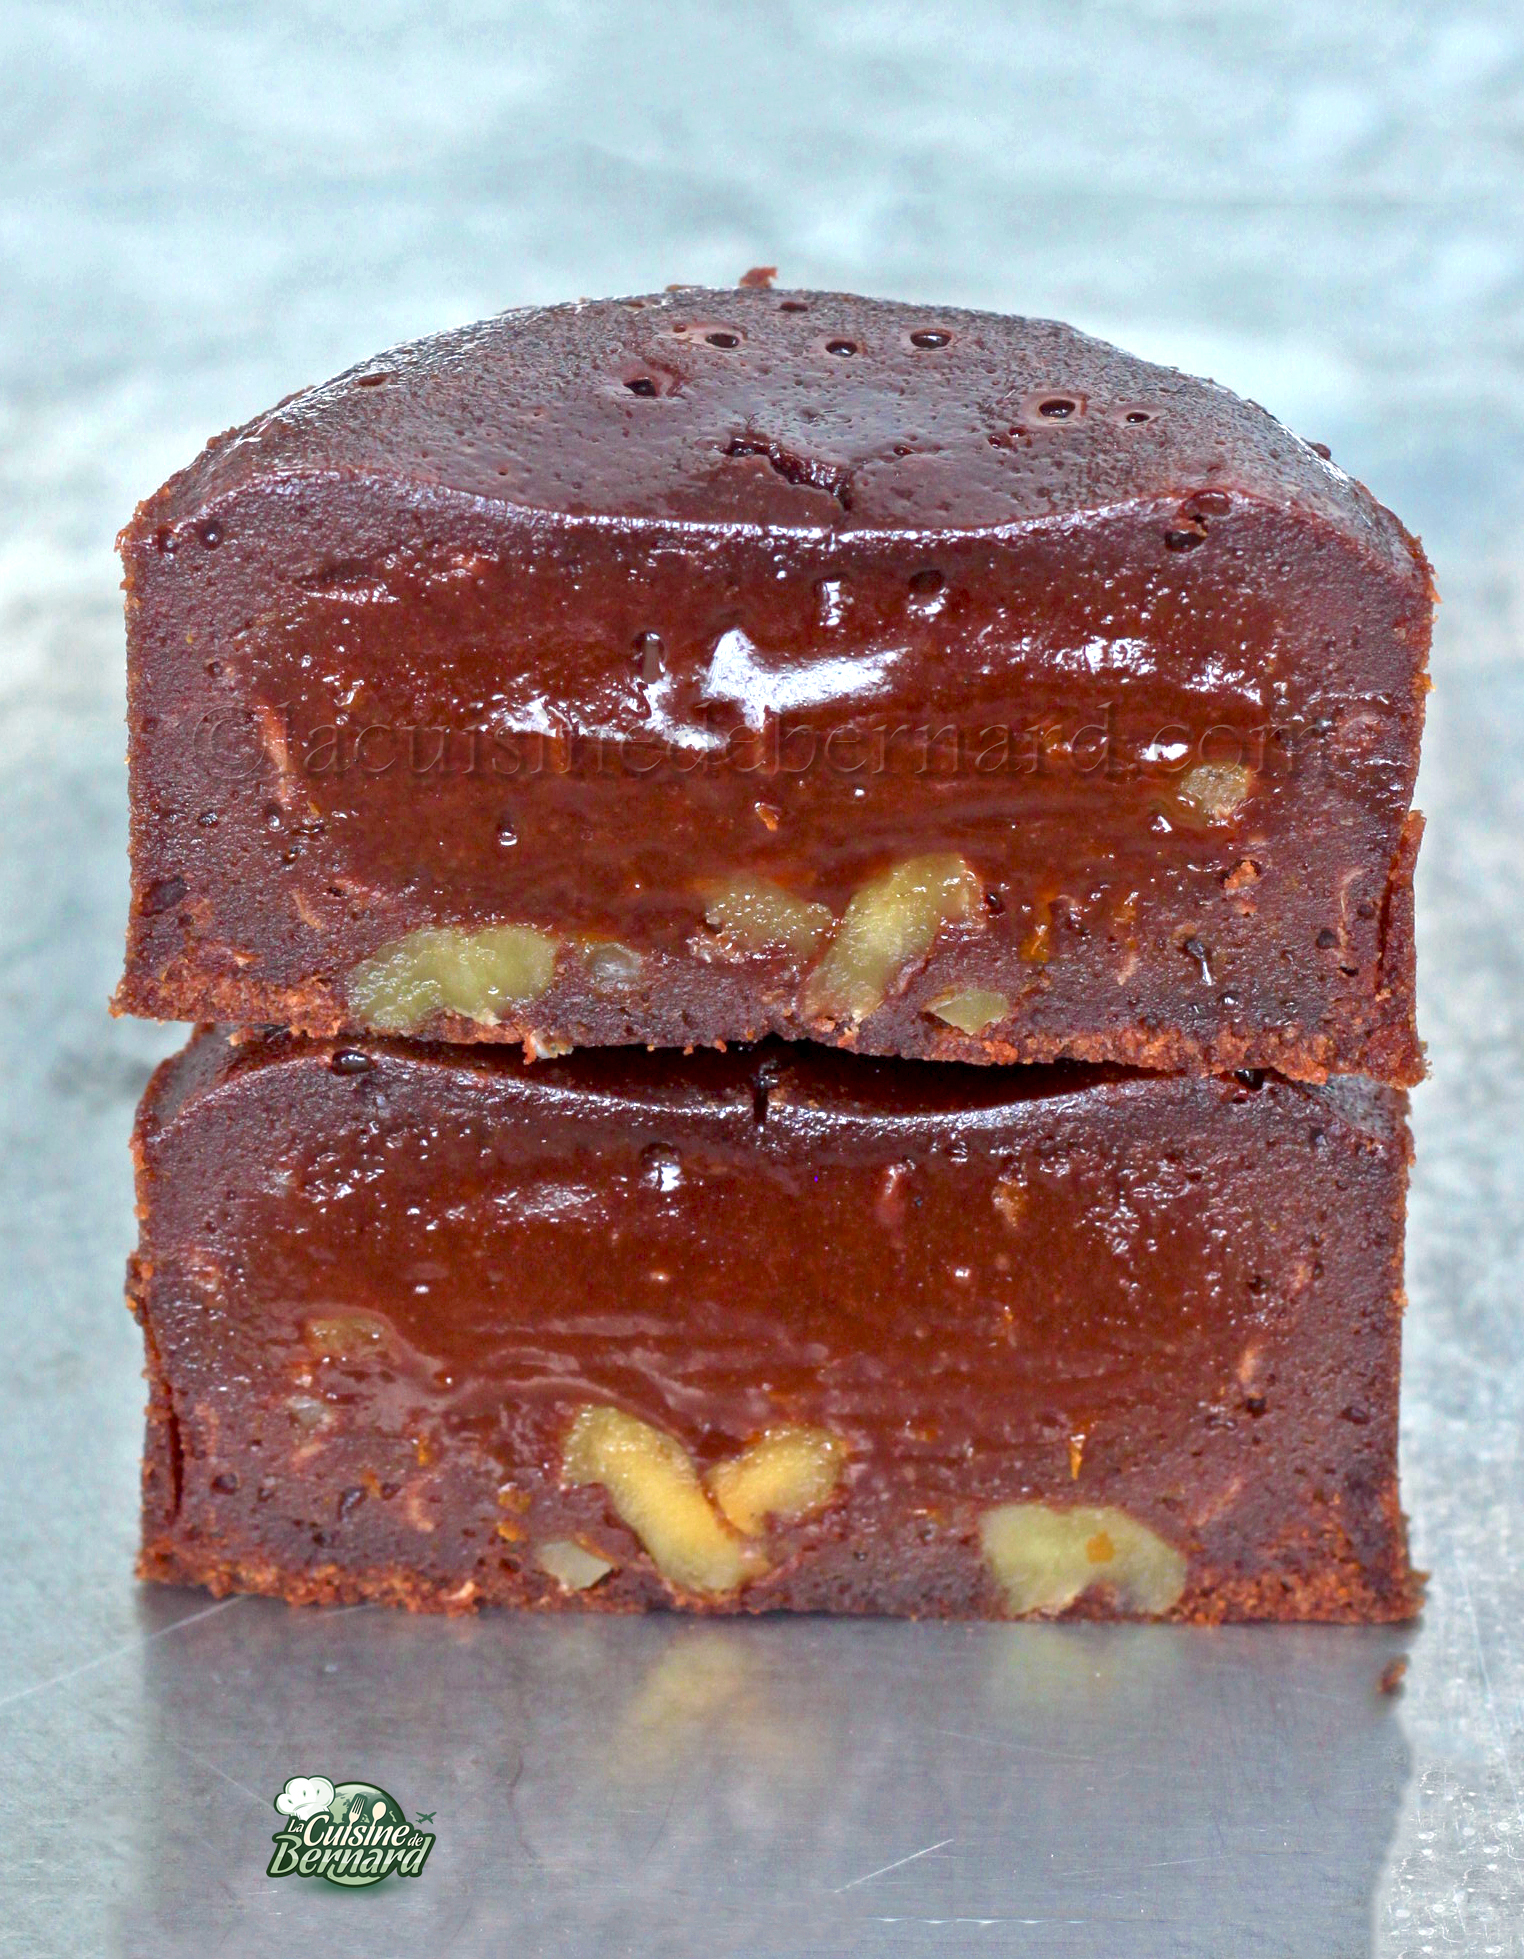
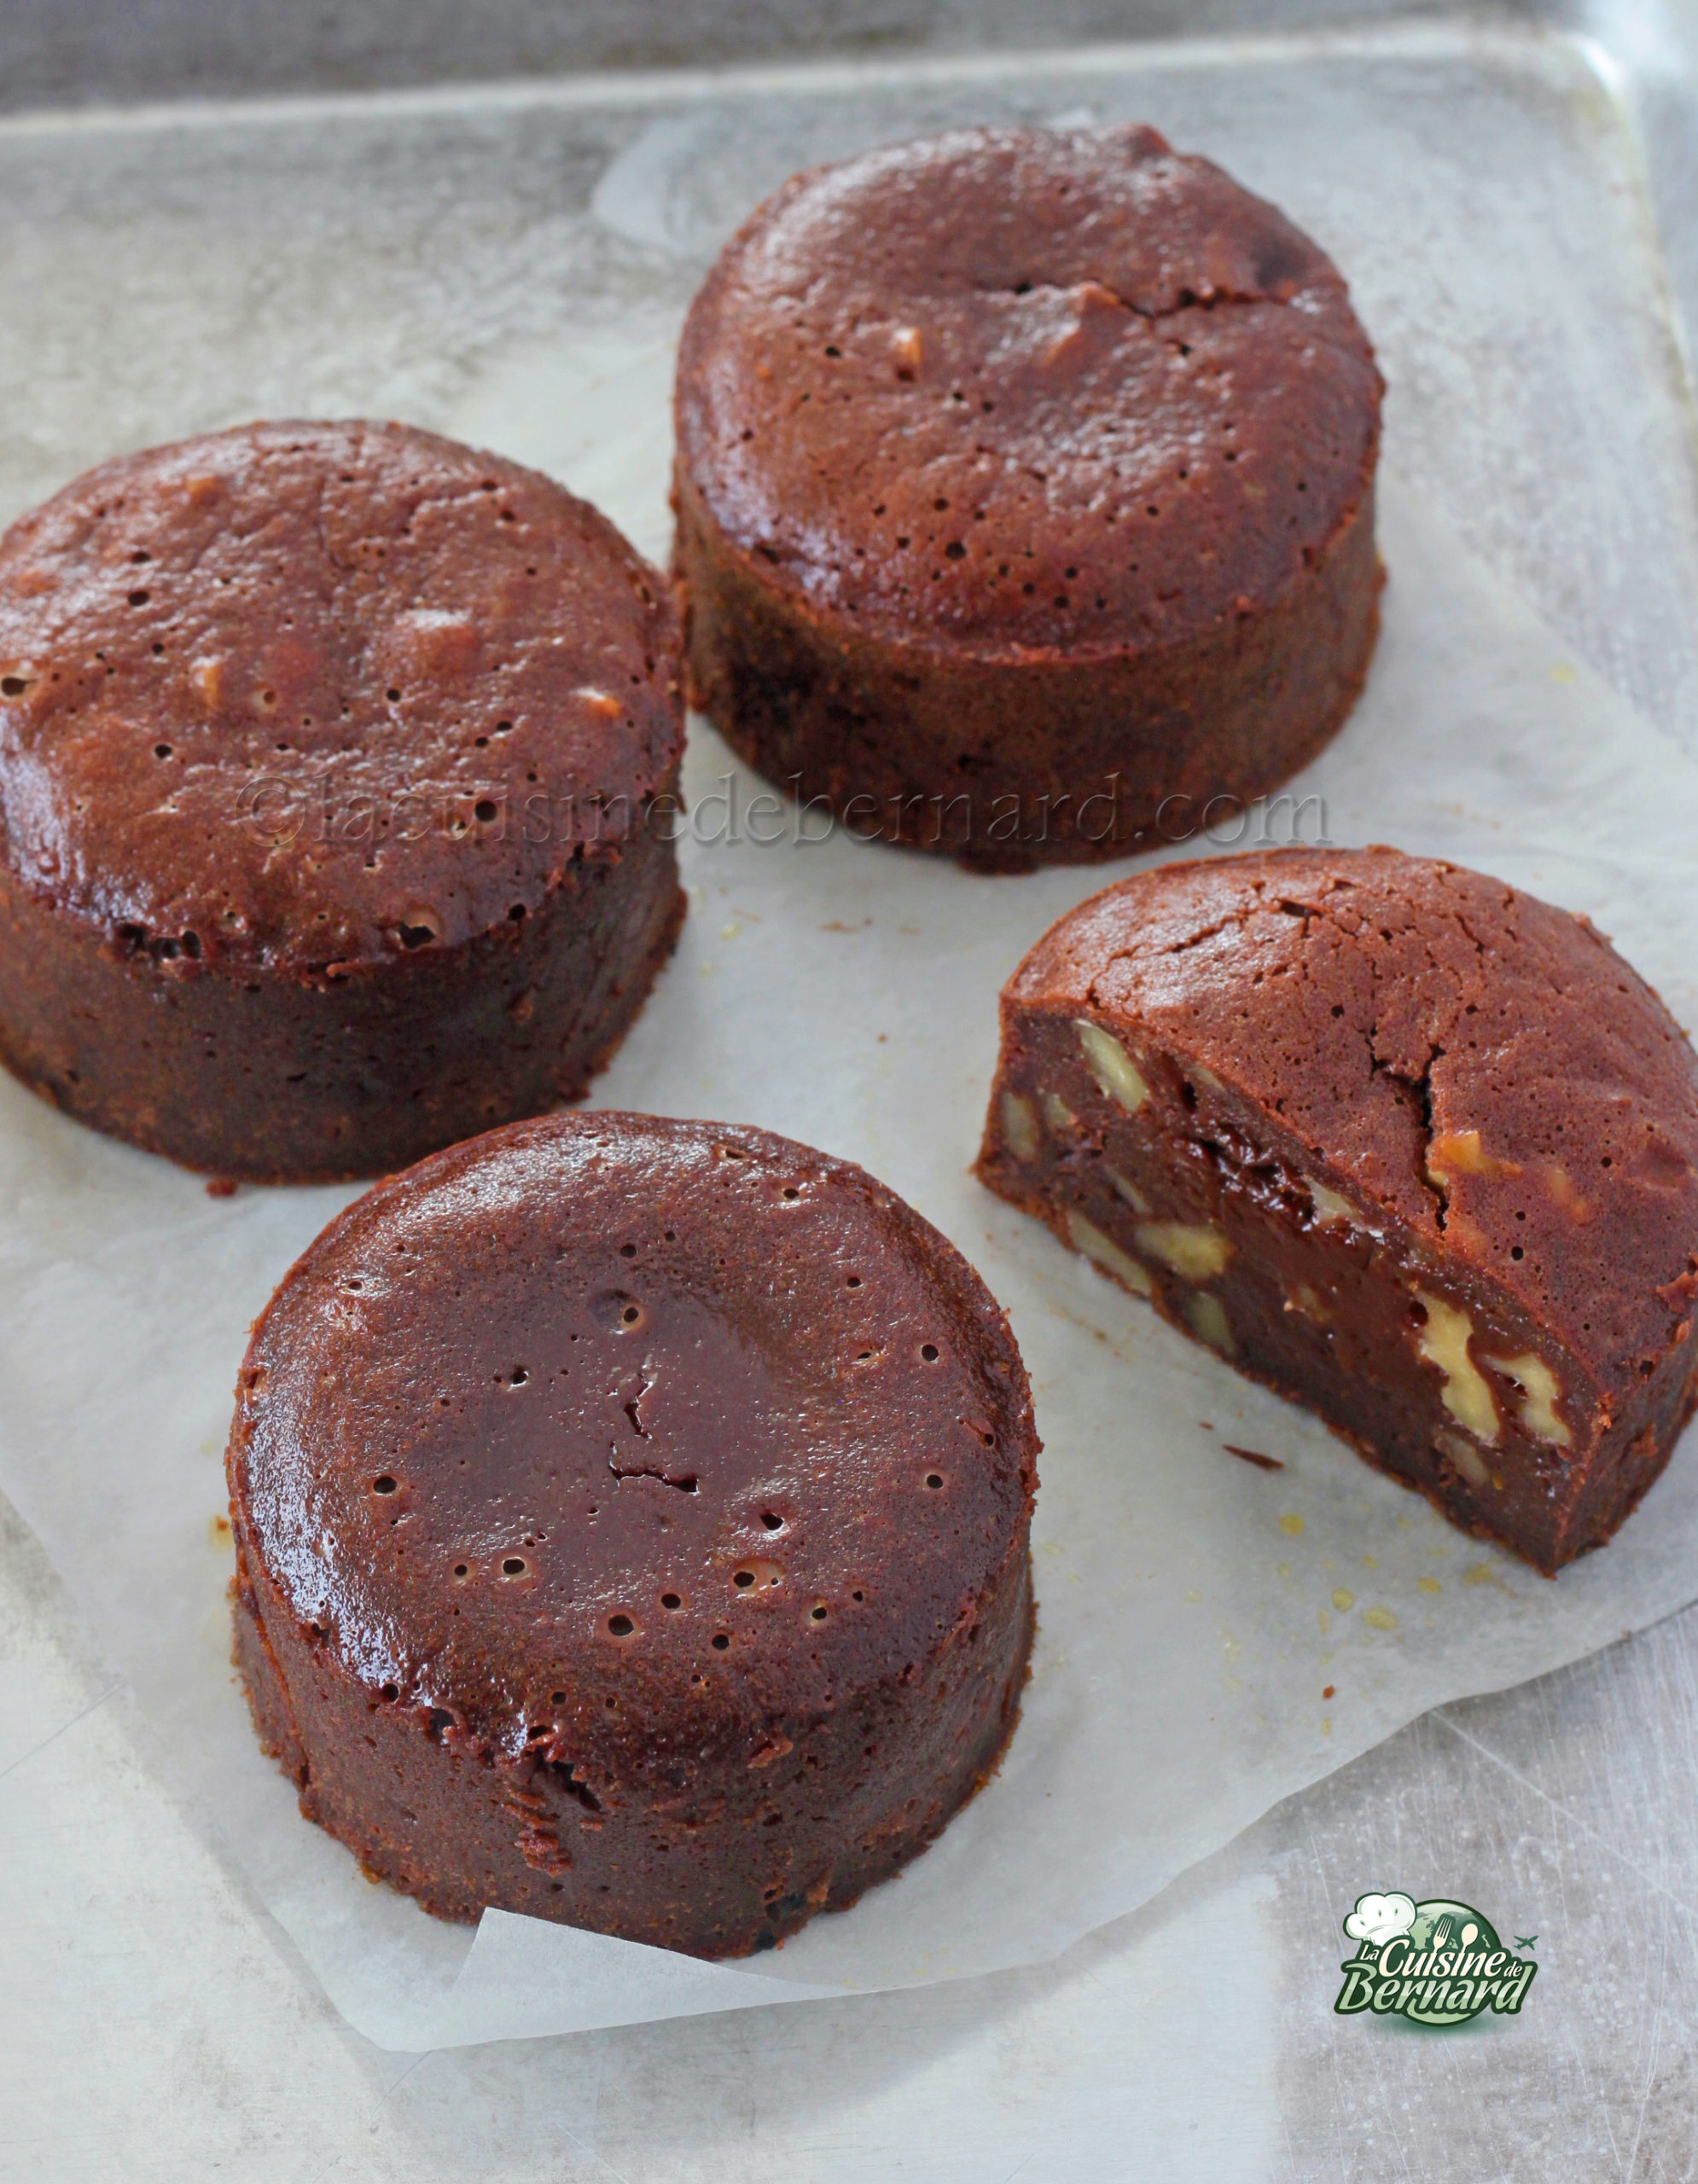

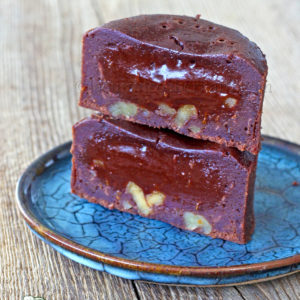
Semi-cooked with orange chocolate and walnuts

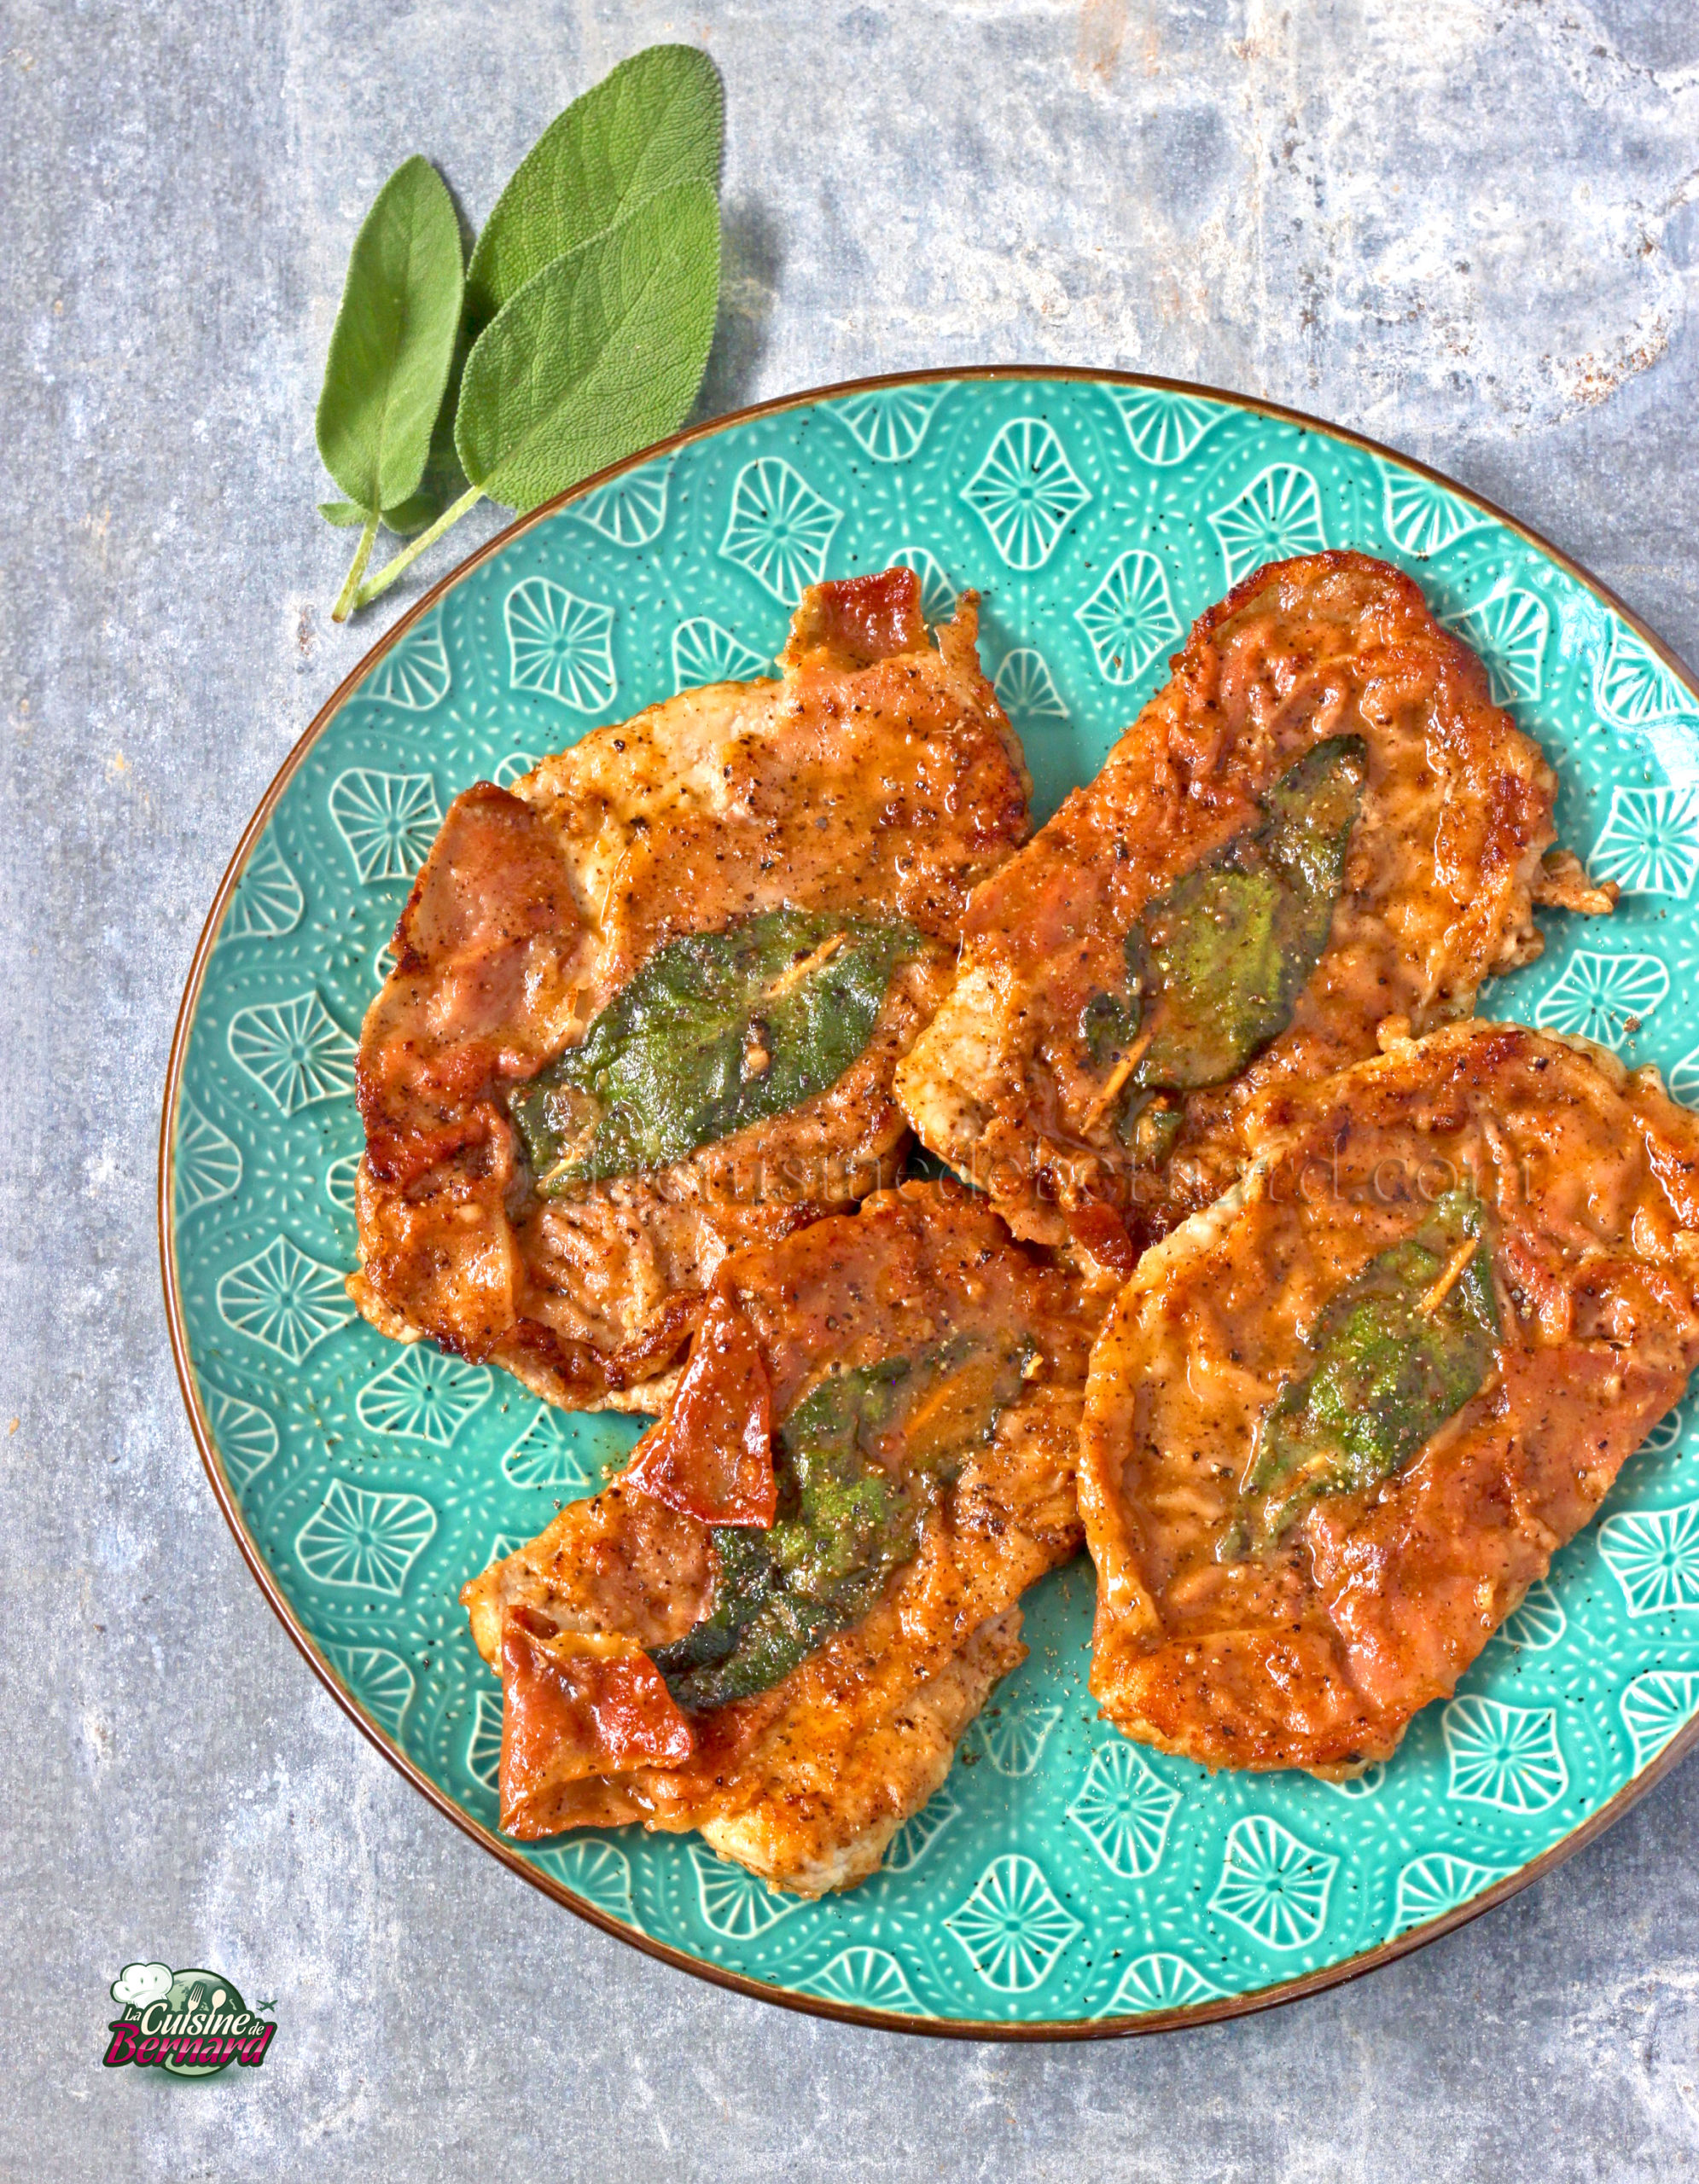
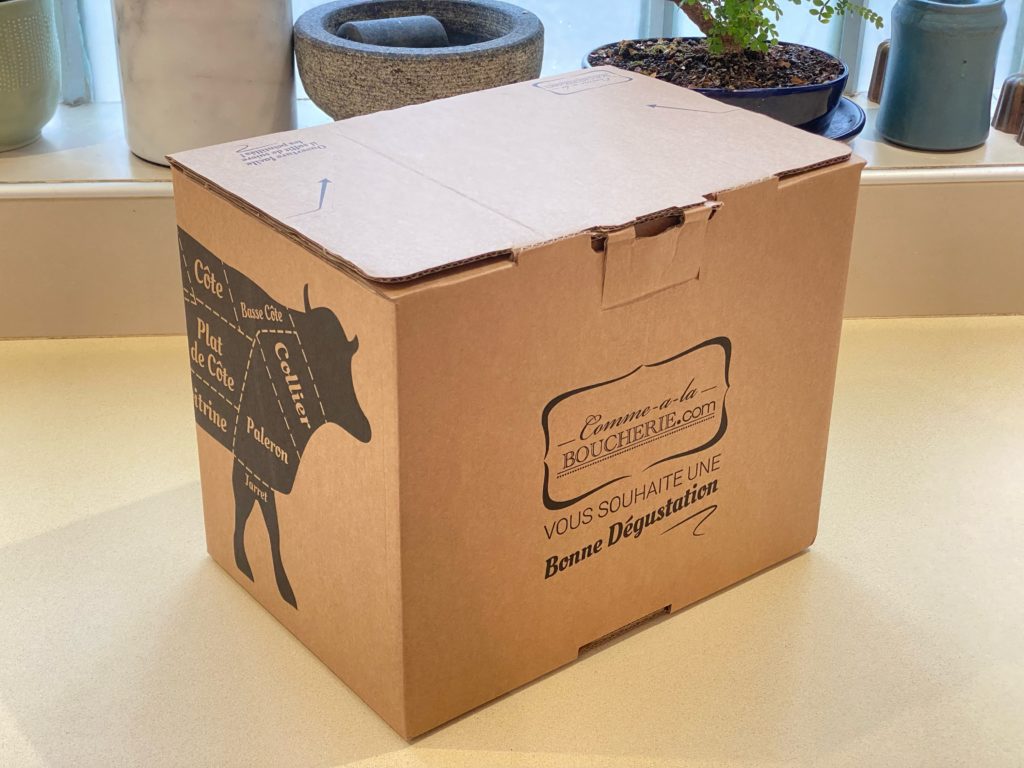
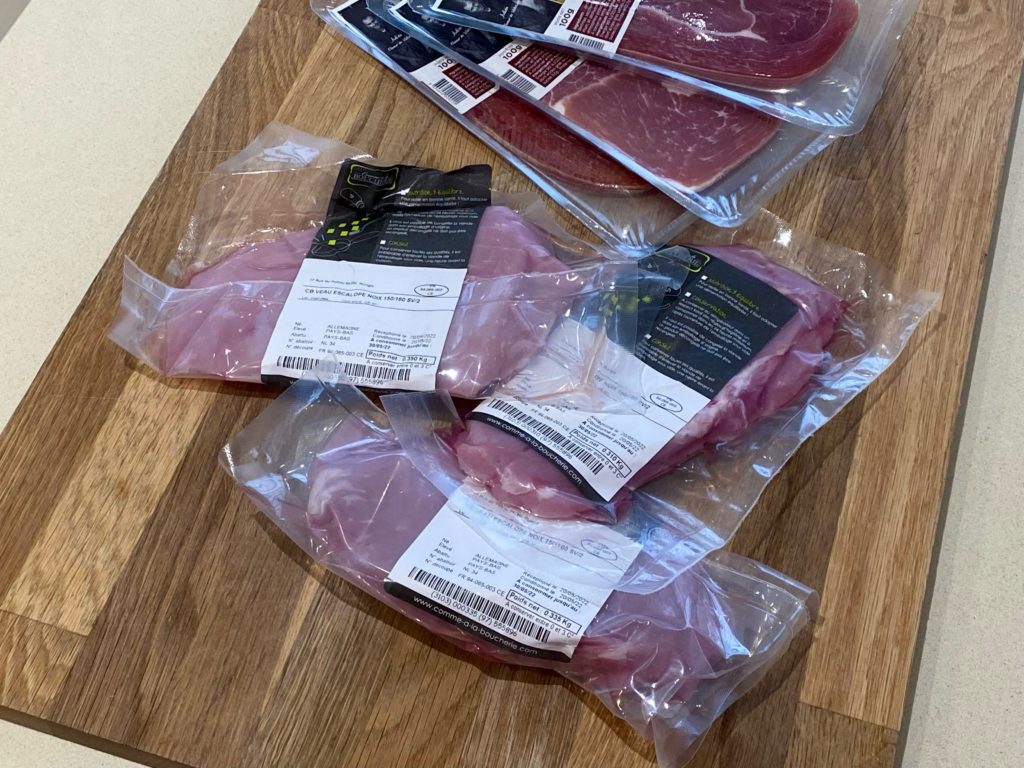
I was recently offered a collaboration with comme-a-la-boucherie.com , an online family butcher (the Dubois family) based in Rungis. The principle is simple: you order and you receive the order anywhere in France in insulated boxes for absolute cold chain security. All meats are offered, but also exceptional meats or charcuterie. As we are approaching Pentecost, I offer you an Italian veal recipe, the famous saltimbocca! Literally “jumping in the mouth”, this apparently very simple dish (almost too simple?) is in fact an absolute delight. Raw ham, sage and white wine combine wonderfully to create an explosive dish of flavors.
- 4 beautiful thin veal cutlets
- a dozen slices of Italian raw ham
- a dozen beautiful sage leaves
- 150g flour
- Half-salt butter
- olive oil
- dry white wine
- salt, ground pepper
Here is the box in delifresh!
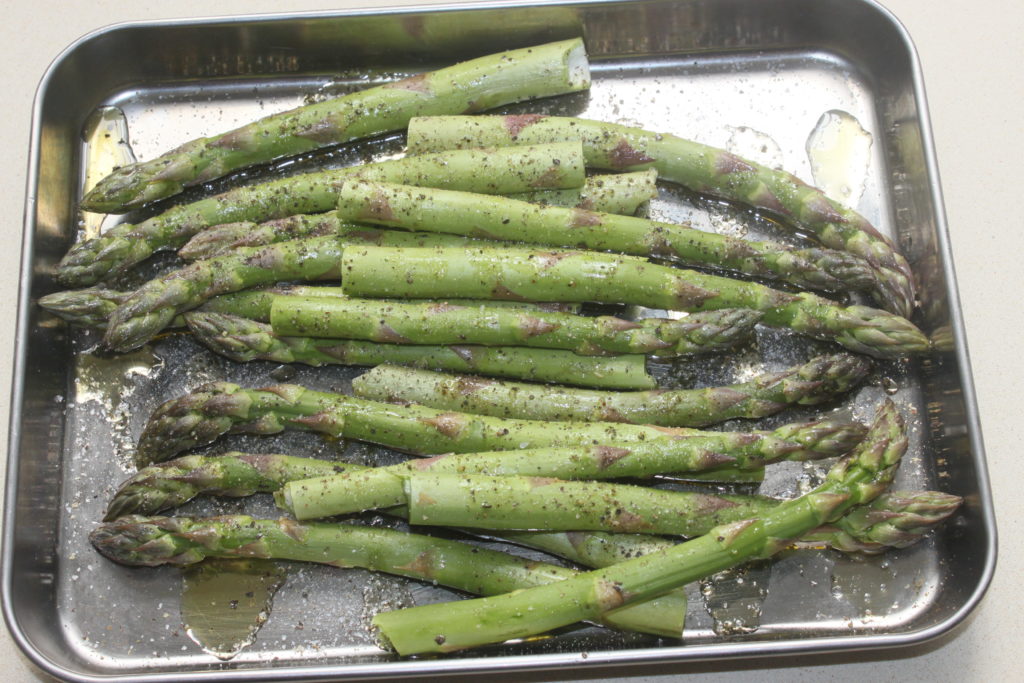
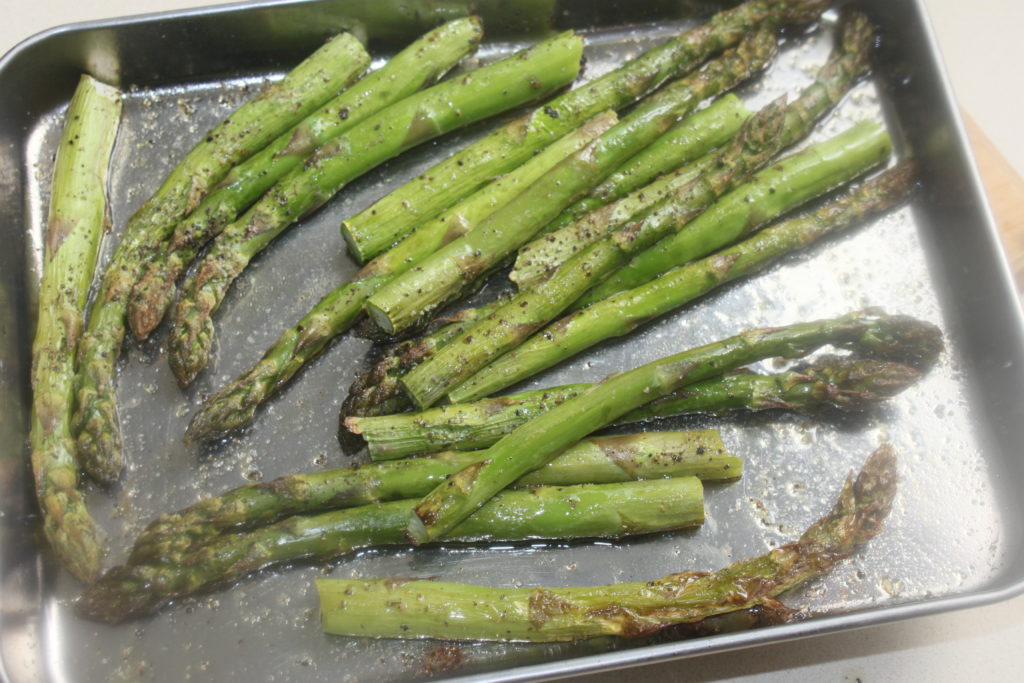
To accompany this recipe, I made oven-roasted green asparagus. To do this, I cut the base, wash and drain them, then place them in a small baking dish. I drizzle with olive oil, salt and pepper then cook for 20-25 minutes in a preheated oven at 205°C. Put them to cook before moving on to the rest of the recipe.
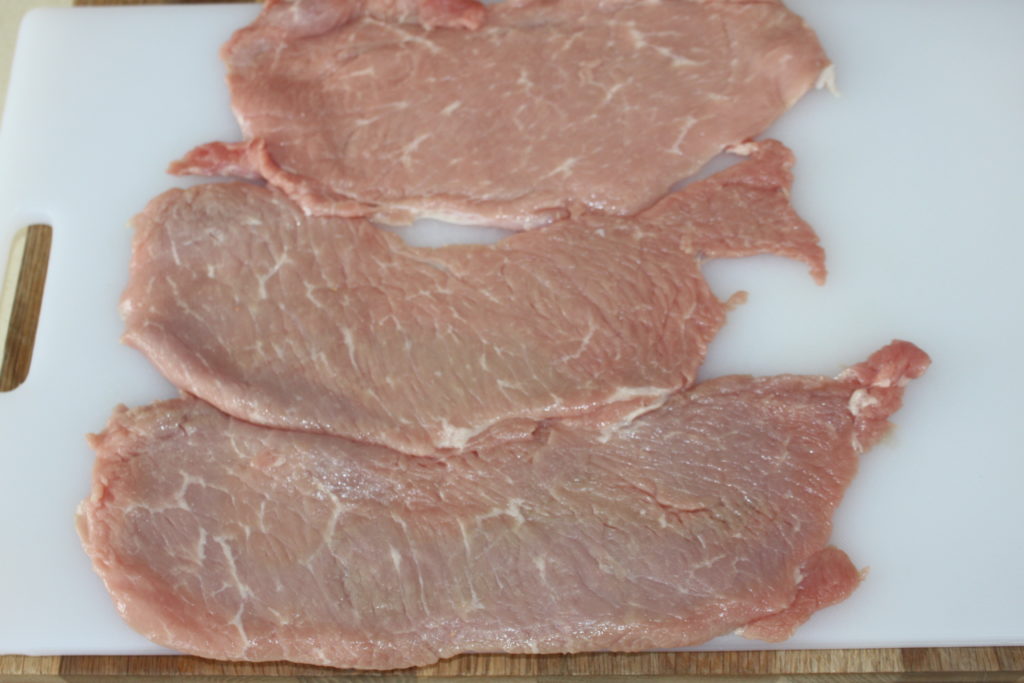
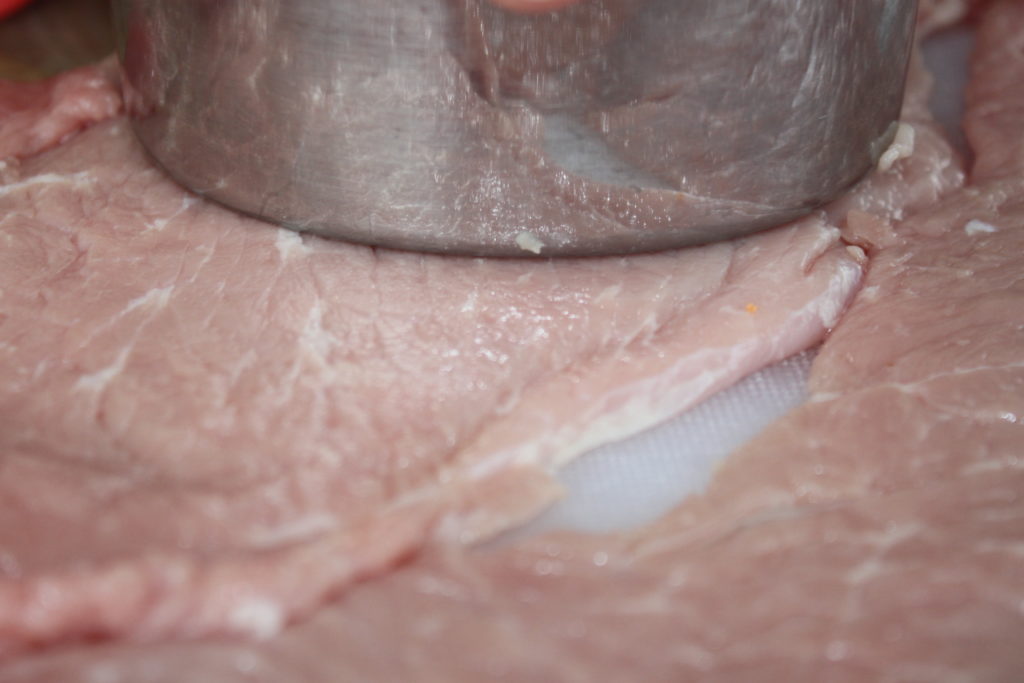
For the cutlets, take them very thin, then if necessary, flatten them further with a flat meat hammer.
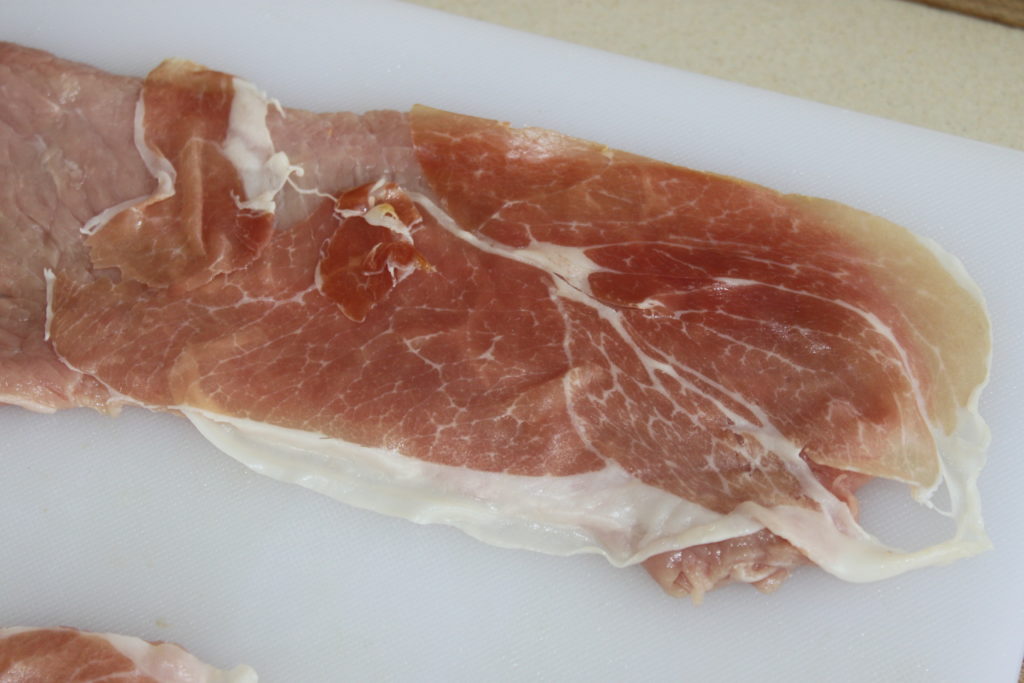
Place a slice of raw ham on the veal.
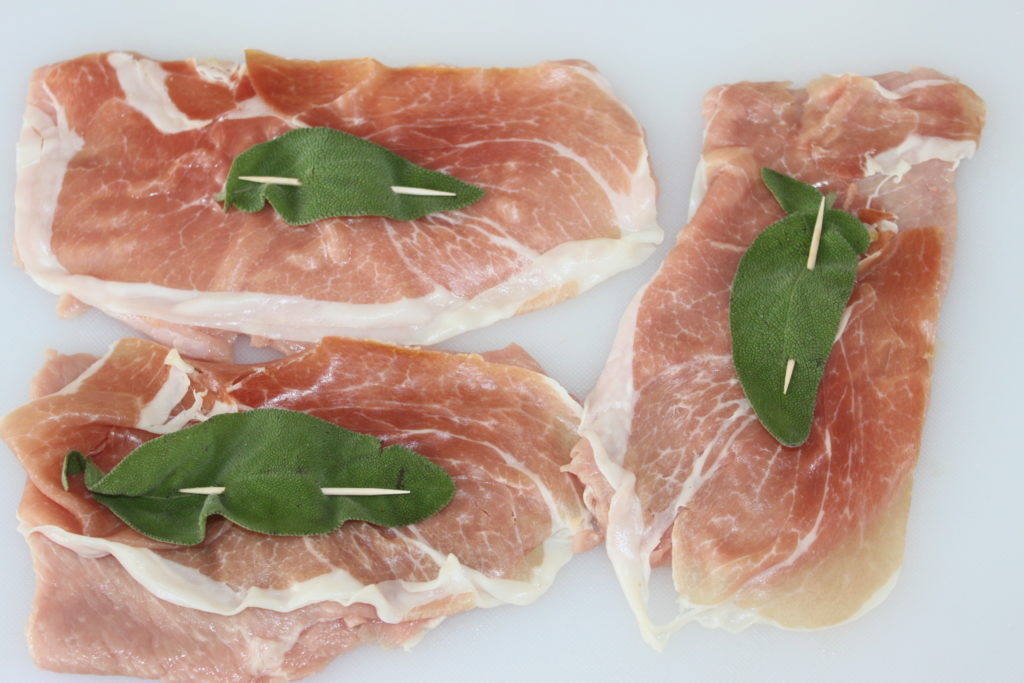
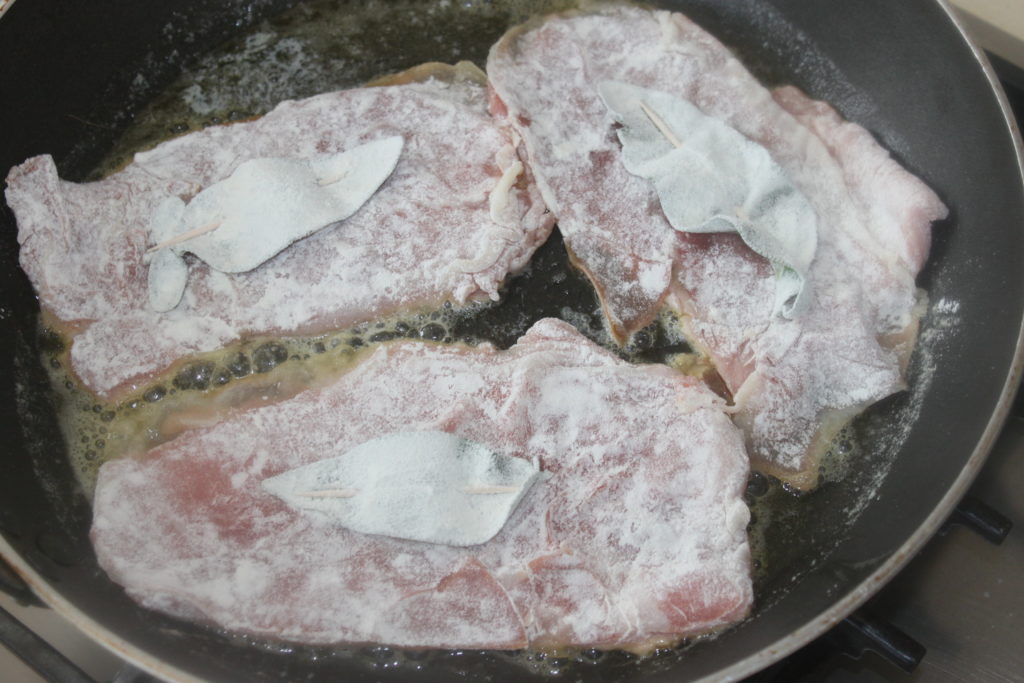
Cut the veal around the ham so that everything is the same size. Don’t worry about the falls, we’ll take care of it right after! Place a beautiful sage leaf on the ham, then with a wooden pick, tie it all together as in the photo.
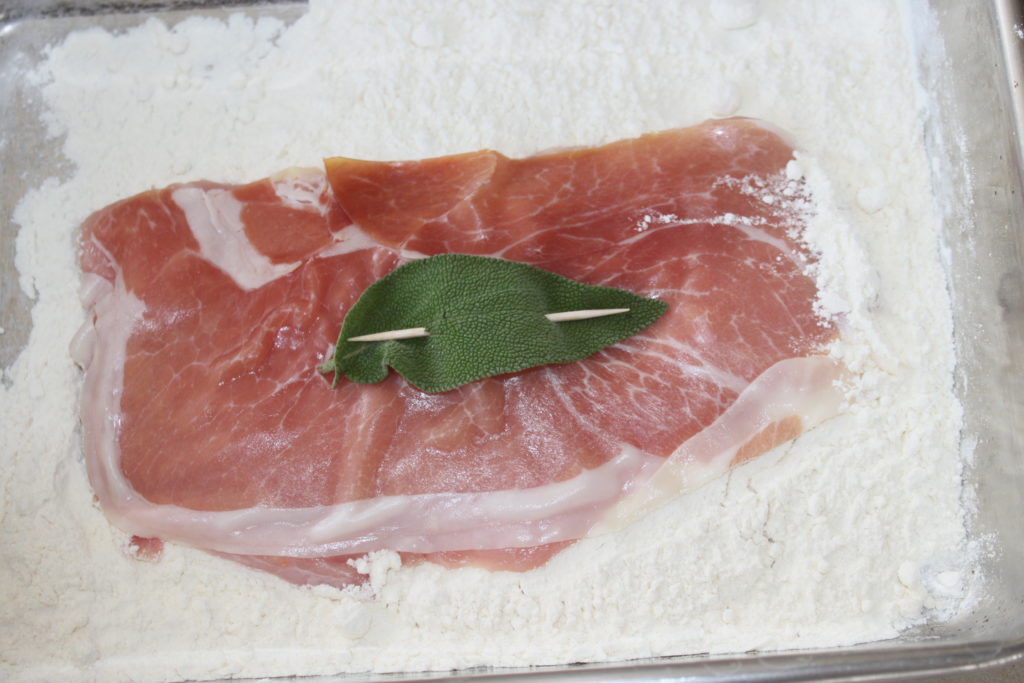
Gently pass the slices in a small container containing flour, and flour on both sides.
Heat a large frying pan over moderate to high heat, put a nice piece of butter and a good drizzle of olive oil.
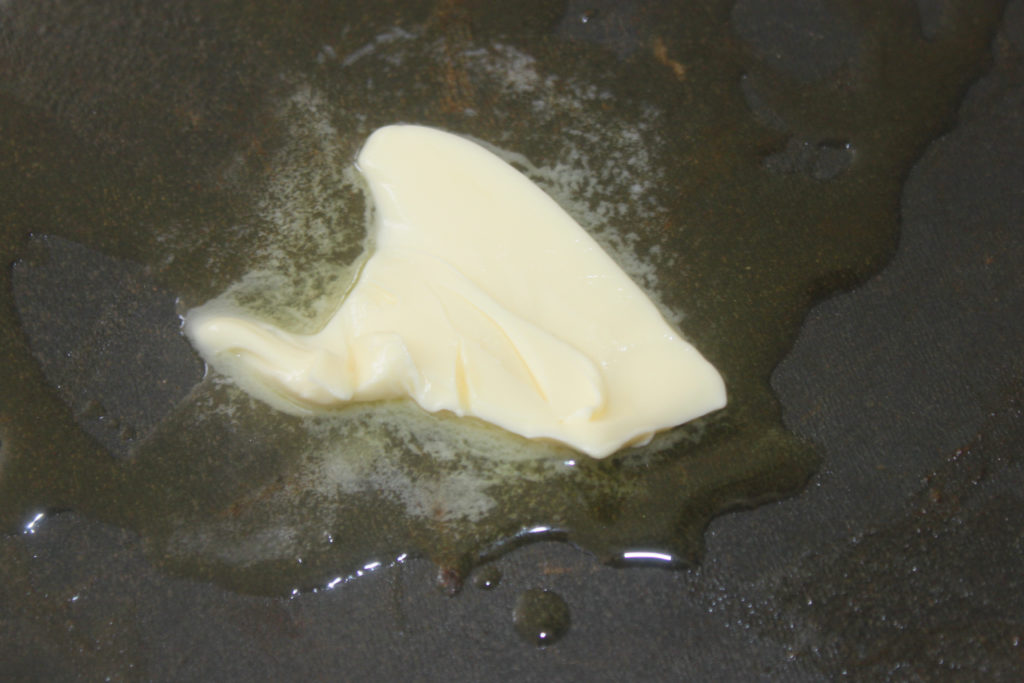
When the butter crackles, add the meat first on the veal side. Pepper to your taste, but salt lightly, because raw ham is quite salty.
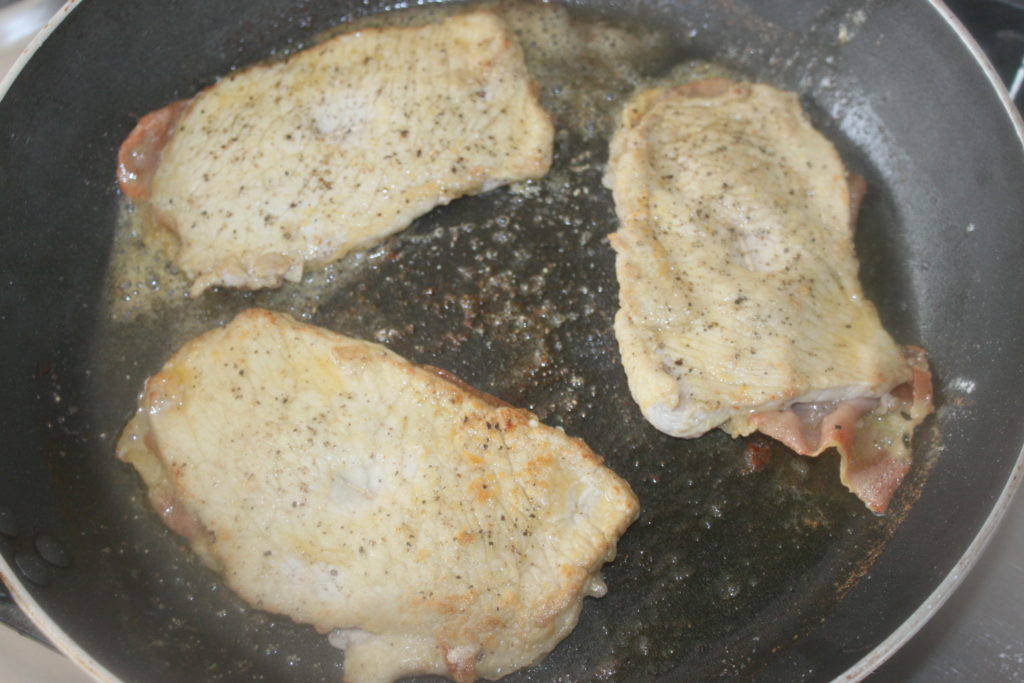
When everything browns well, turn everything over.
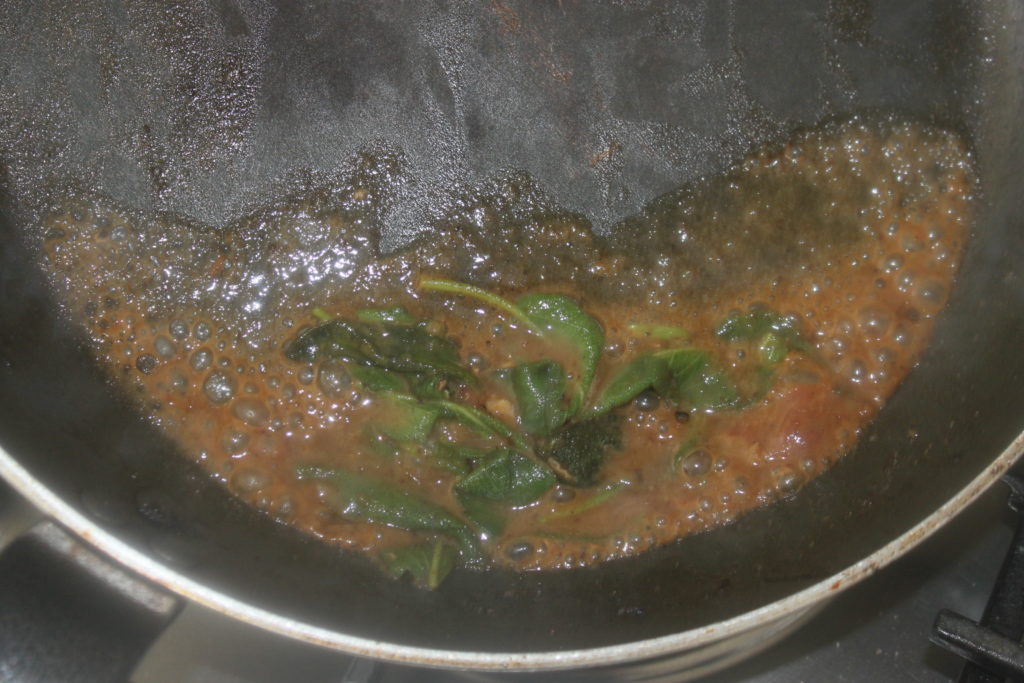
Turn the meat again, then sprinkle with a small glass of white wine while increasing the heat.
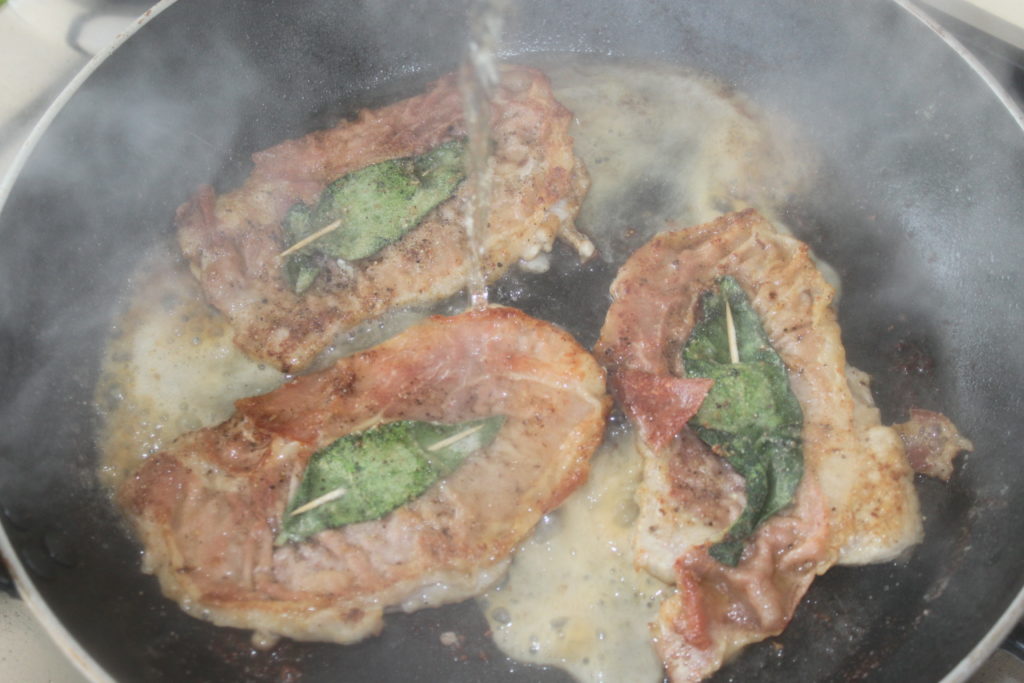
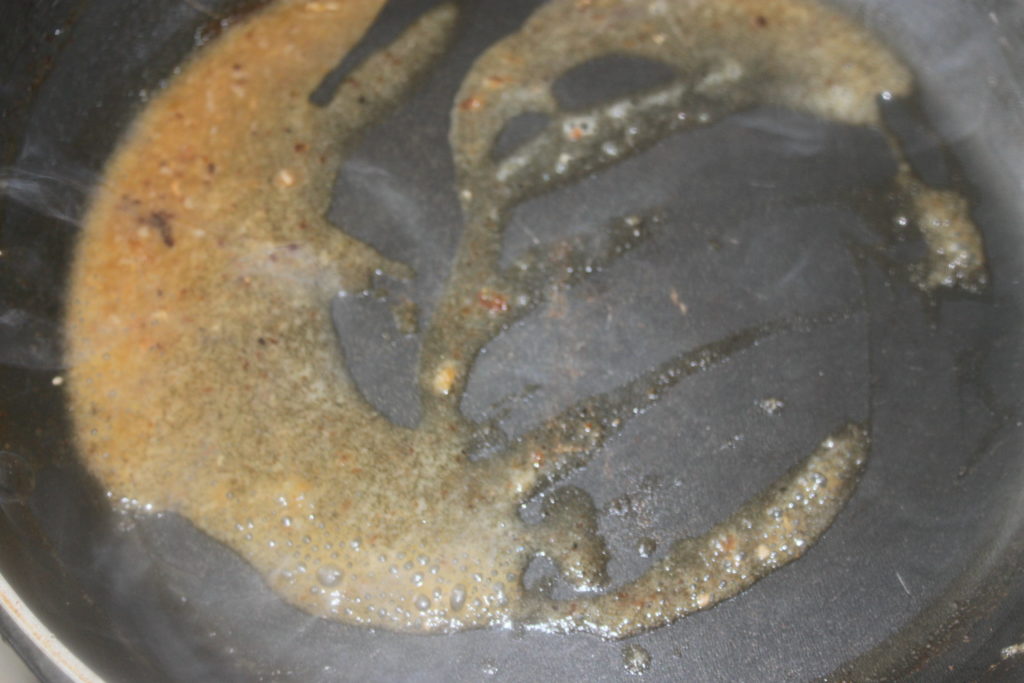
The sauce will thicken quickly with the flour.
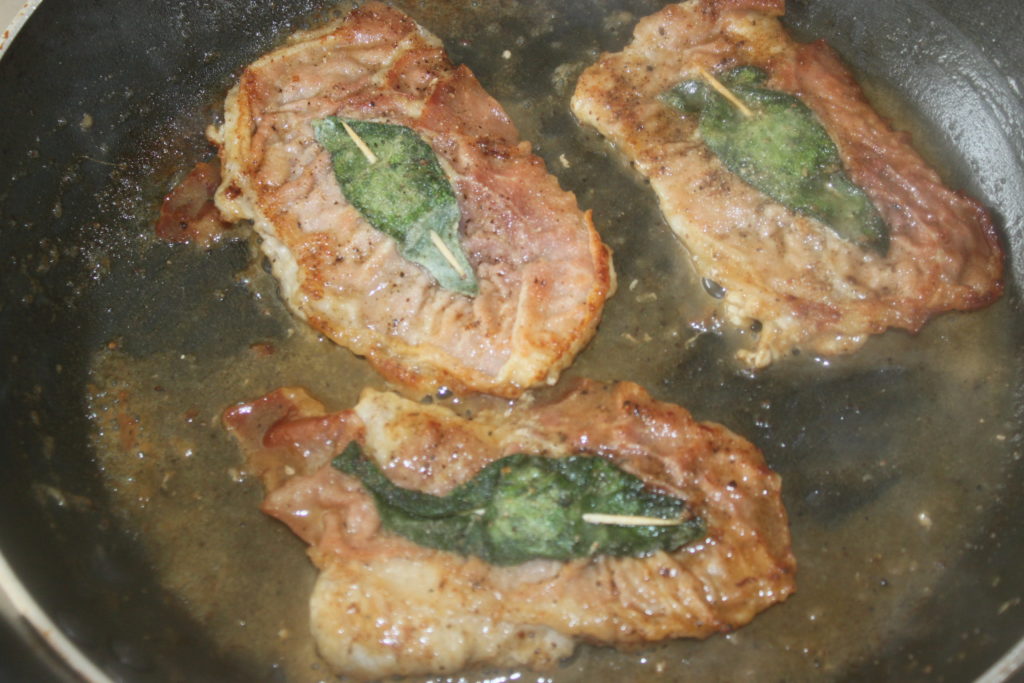
Remove the meat and let the sauce thicken.
Do the same with the rest of the satimbocca. We are limited by the capacity of the pan, so we will have to cook as we go. I clean the pan just with a paper towel between each cooking. For the scraps of meat, as it will be smaller or with pieces, we can also roll up the whole thing.

It will be enough to prick them with the wooden picks then to do the same process.
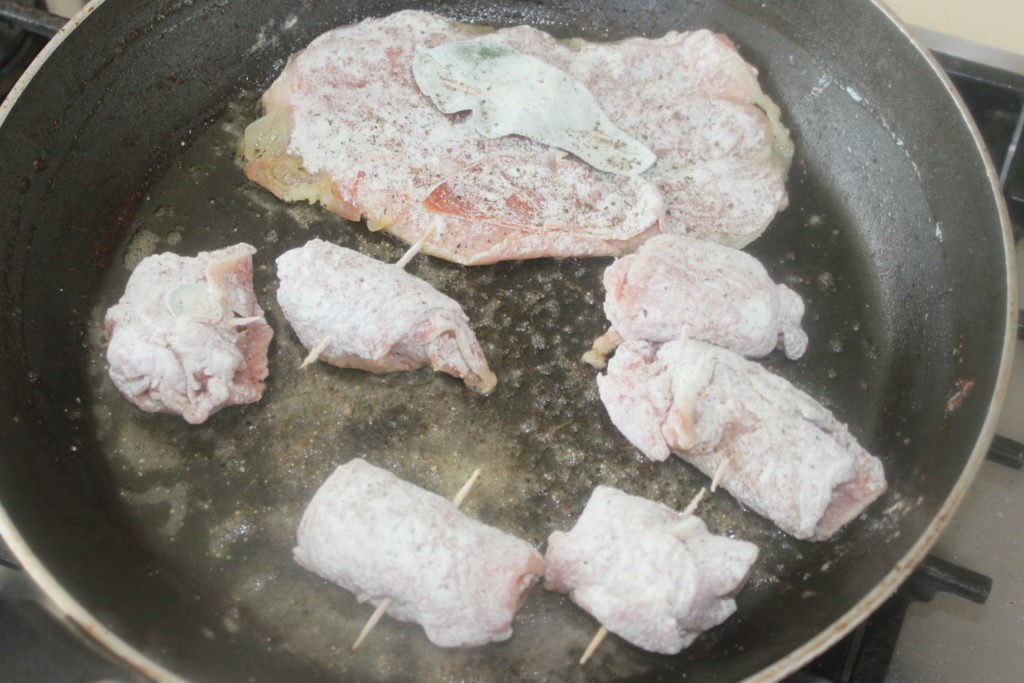
A little salt and more pepper, white wine etc.
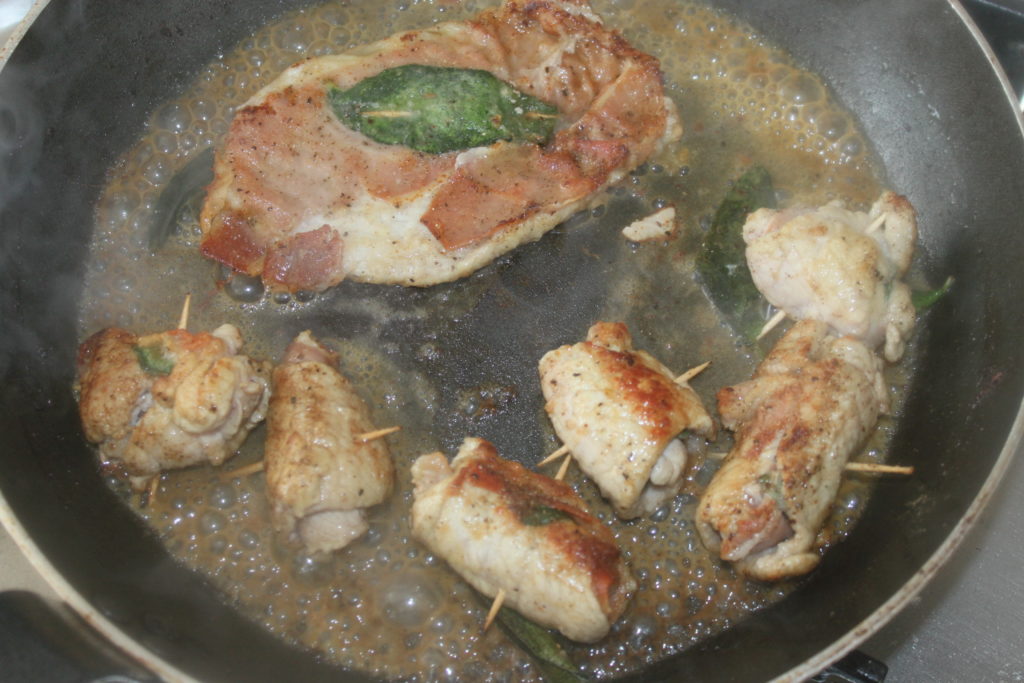
For the sauce, at the time of the white wine, you can also add more sage to further enhance the taste. You just have to remove them before serving.

When the asparagus are ready, all that’s left to do is serve!
Of course, you can change the accompaniment, such as fresh spinach with cream!

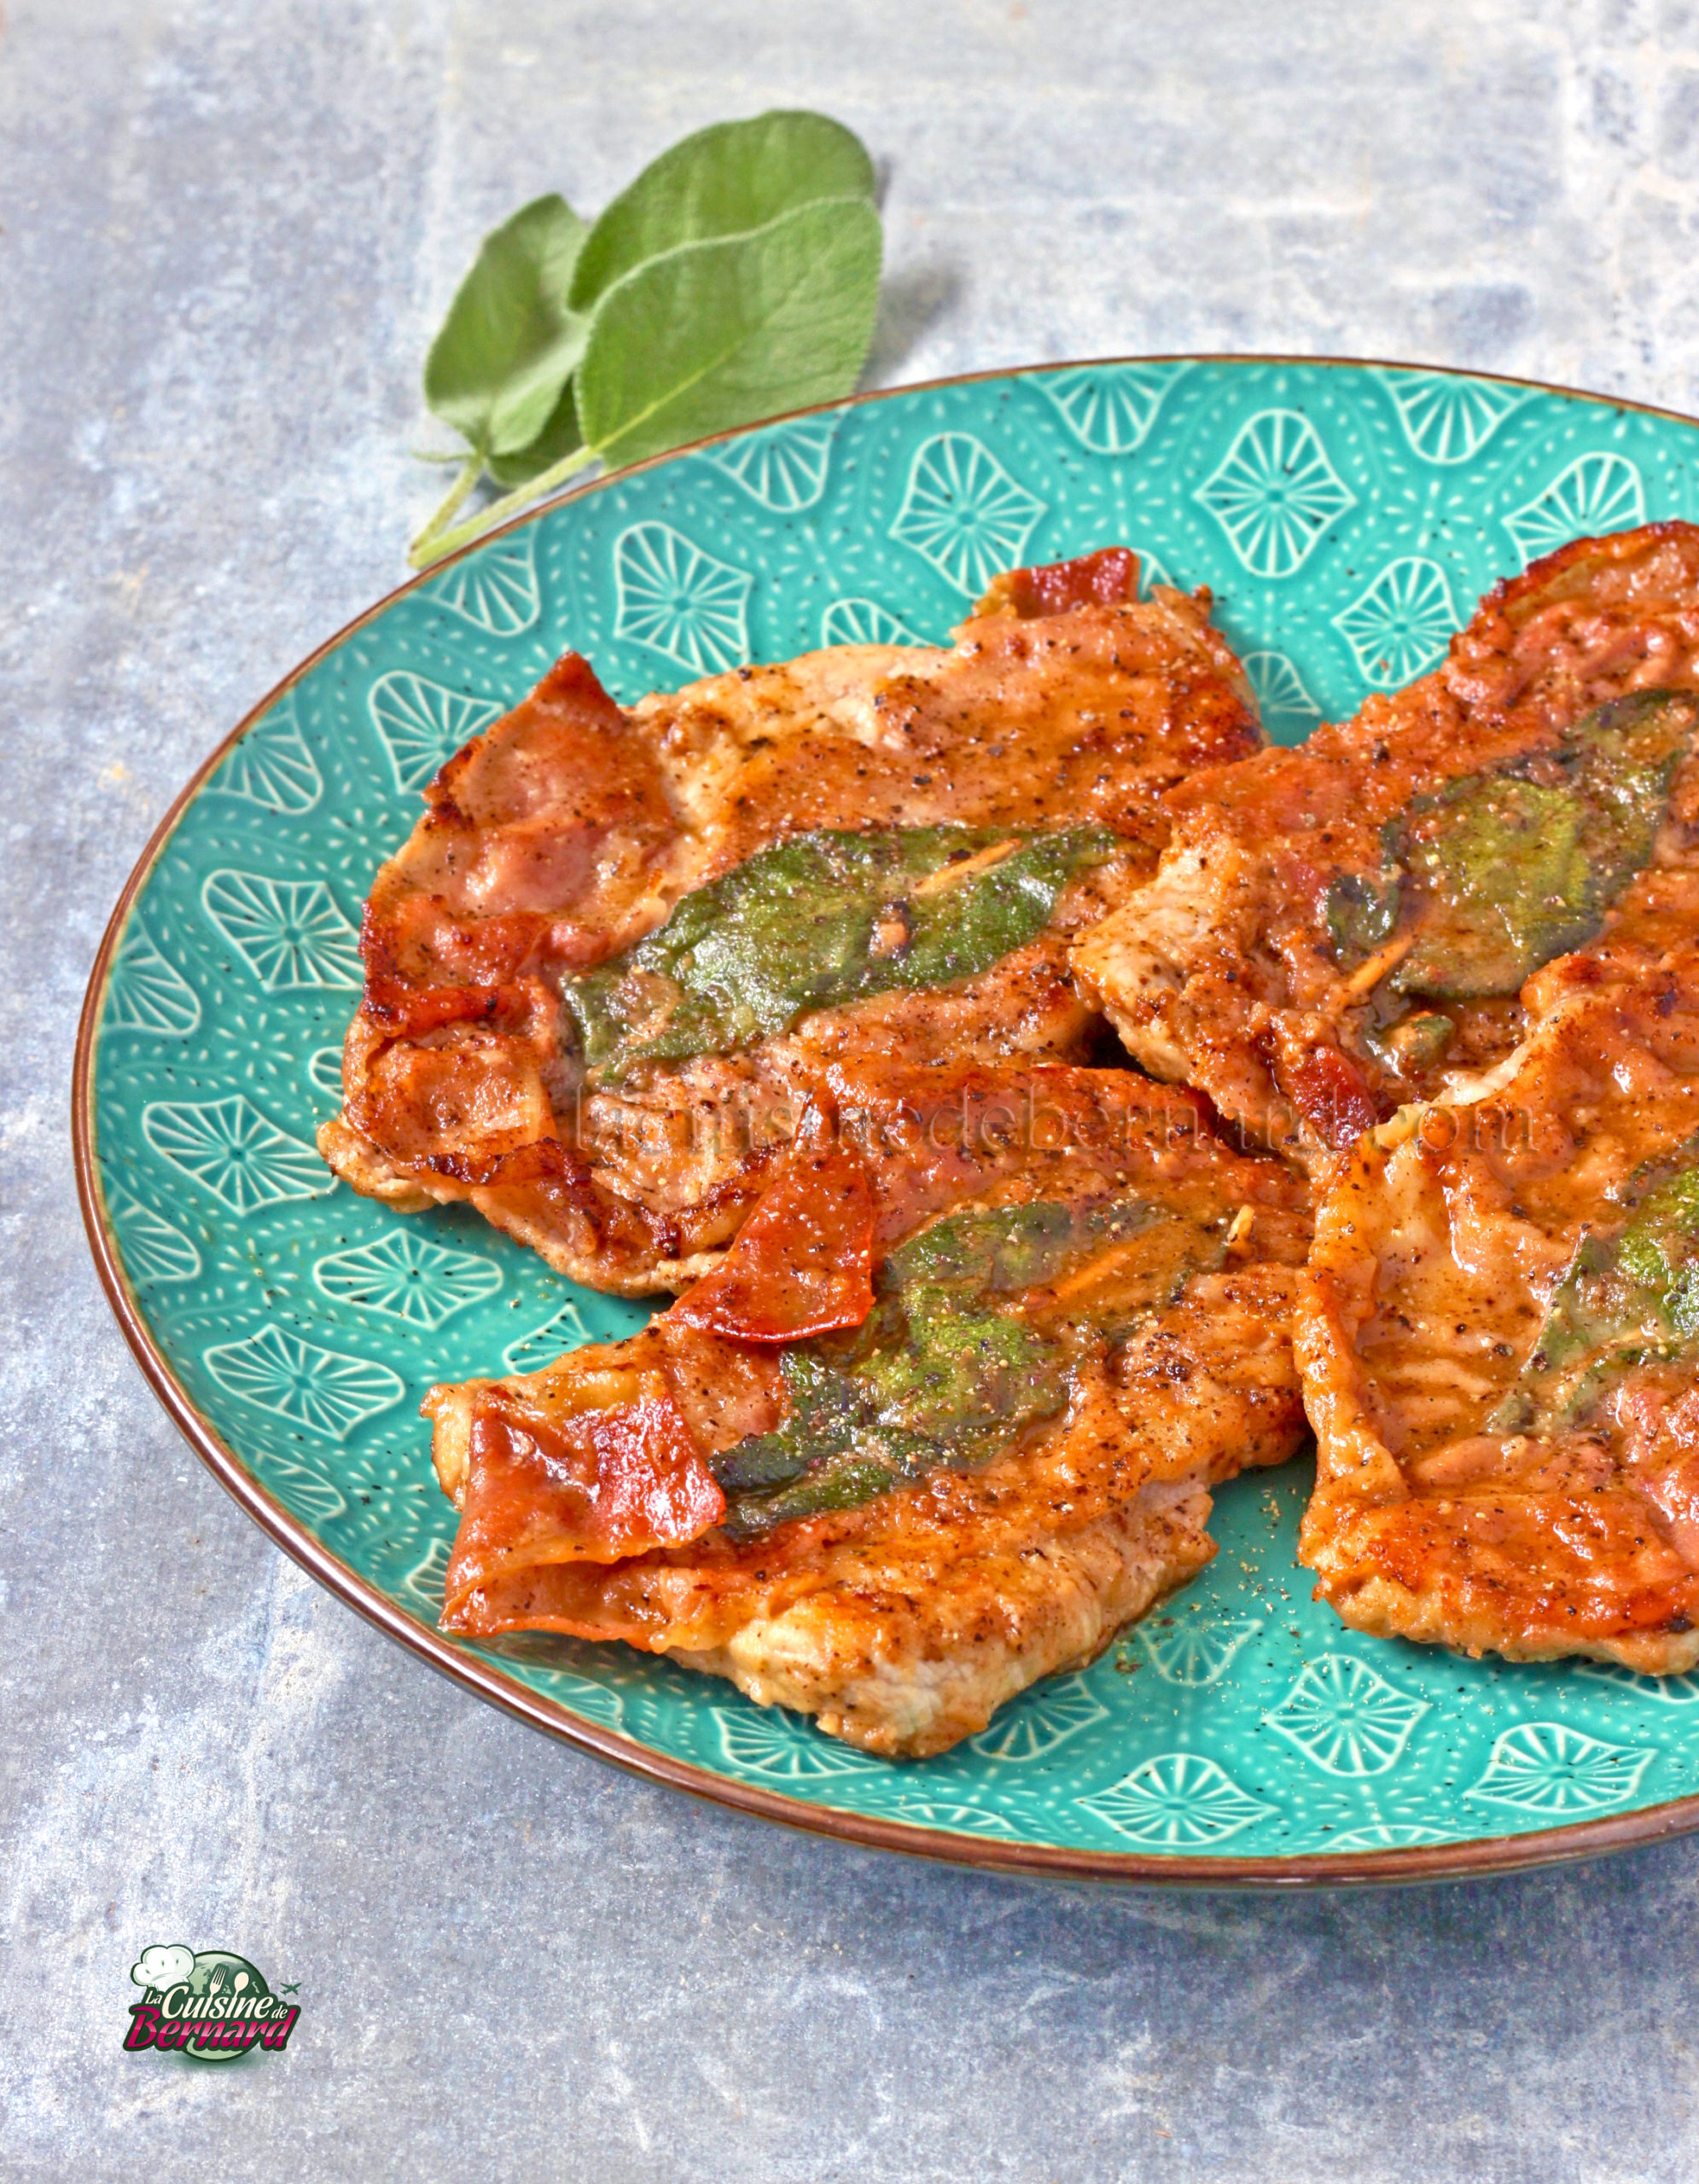
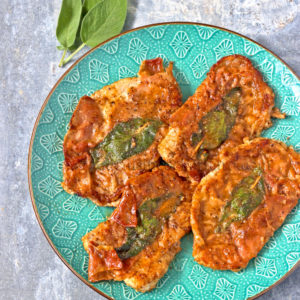
Saltimbocca

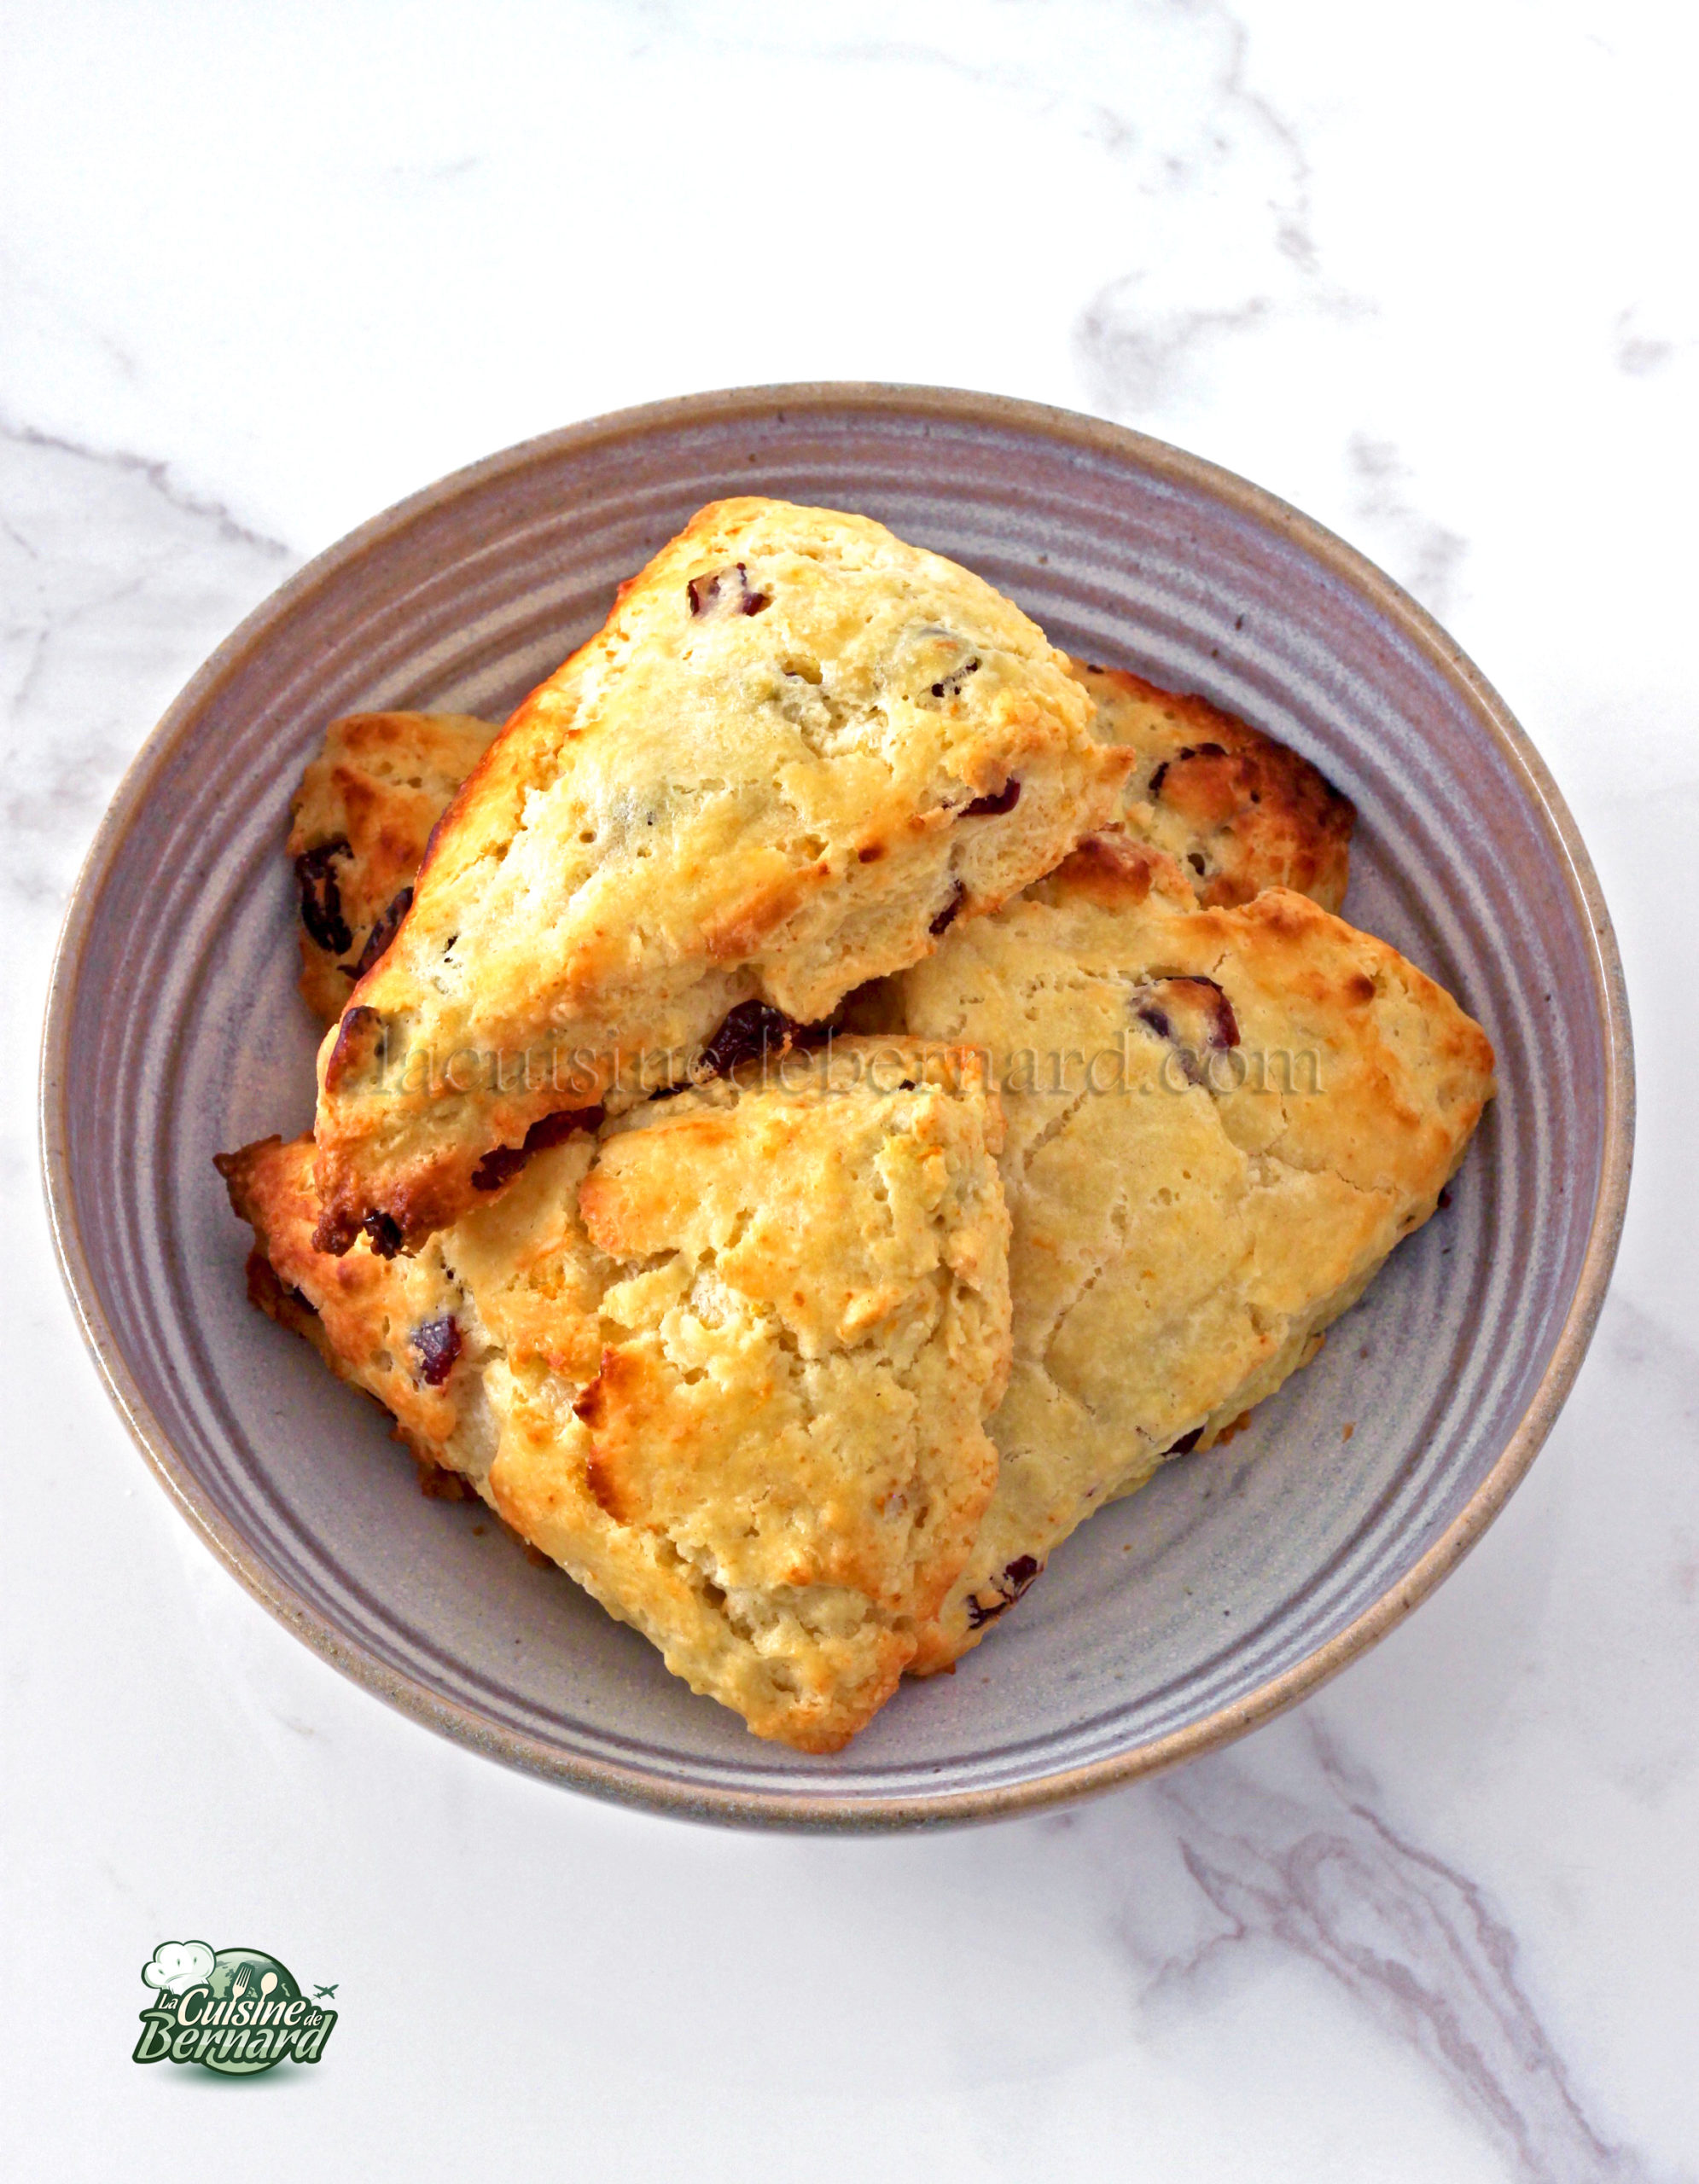
I recently made myself some scones for breakfast, this time with orange and cranberries. They’re buttery as hell, not very sweet, and are crisp on the outside, rich and airy on the inside. The flavors of the orange zest and butter work wonderfully with the softness of the cranberries. Just remember to put the butter in the freezer a little earlier so that the scones are as good as possible!
Recipe for 8 scones:
- 115g of soft butter
- 225g T55 flour
- 1 level teaspoon of baking powder
- 25g sugar
- 1/4 teaspoon of salt
- zest of one orange
- 80g of cranberries
- 170g of fermented milk
First, put the butter cut into 8mm cubes in the freezer for a good hour. Put the flour, yeast, sugar, salt and orange peel with the frozen butter cut into cubes in the bowl of a food processor fitted with the sheet.

Blend until you have a sort of sand, but the butter should not disappear, but decrease in size by half. We want to keep the chunks!

Add the cranberries and fermented milk.


Mix again just to combine the dough without insisting at all.

Pour the lightly floured dough into a 16cm circle on a parchment-lined baking sheet. Roll out the dough with your fingertips.

Cut the dough into 4 and then 8 pieces. Gently separate the slices and brush the surface with fermented milk.

Bake for 13-15 minutes in a preheated oven at 195°C on fan oven. The scones should be nicely browned.

They are best eaten during the day!
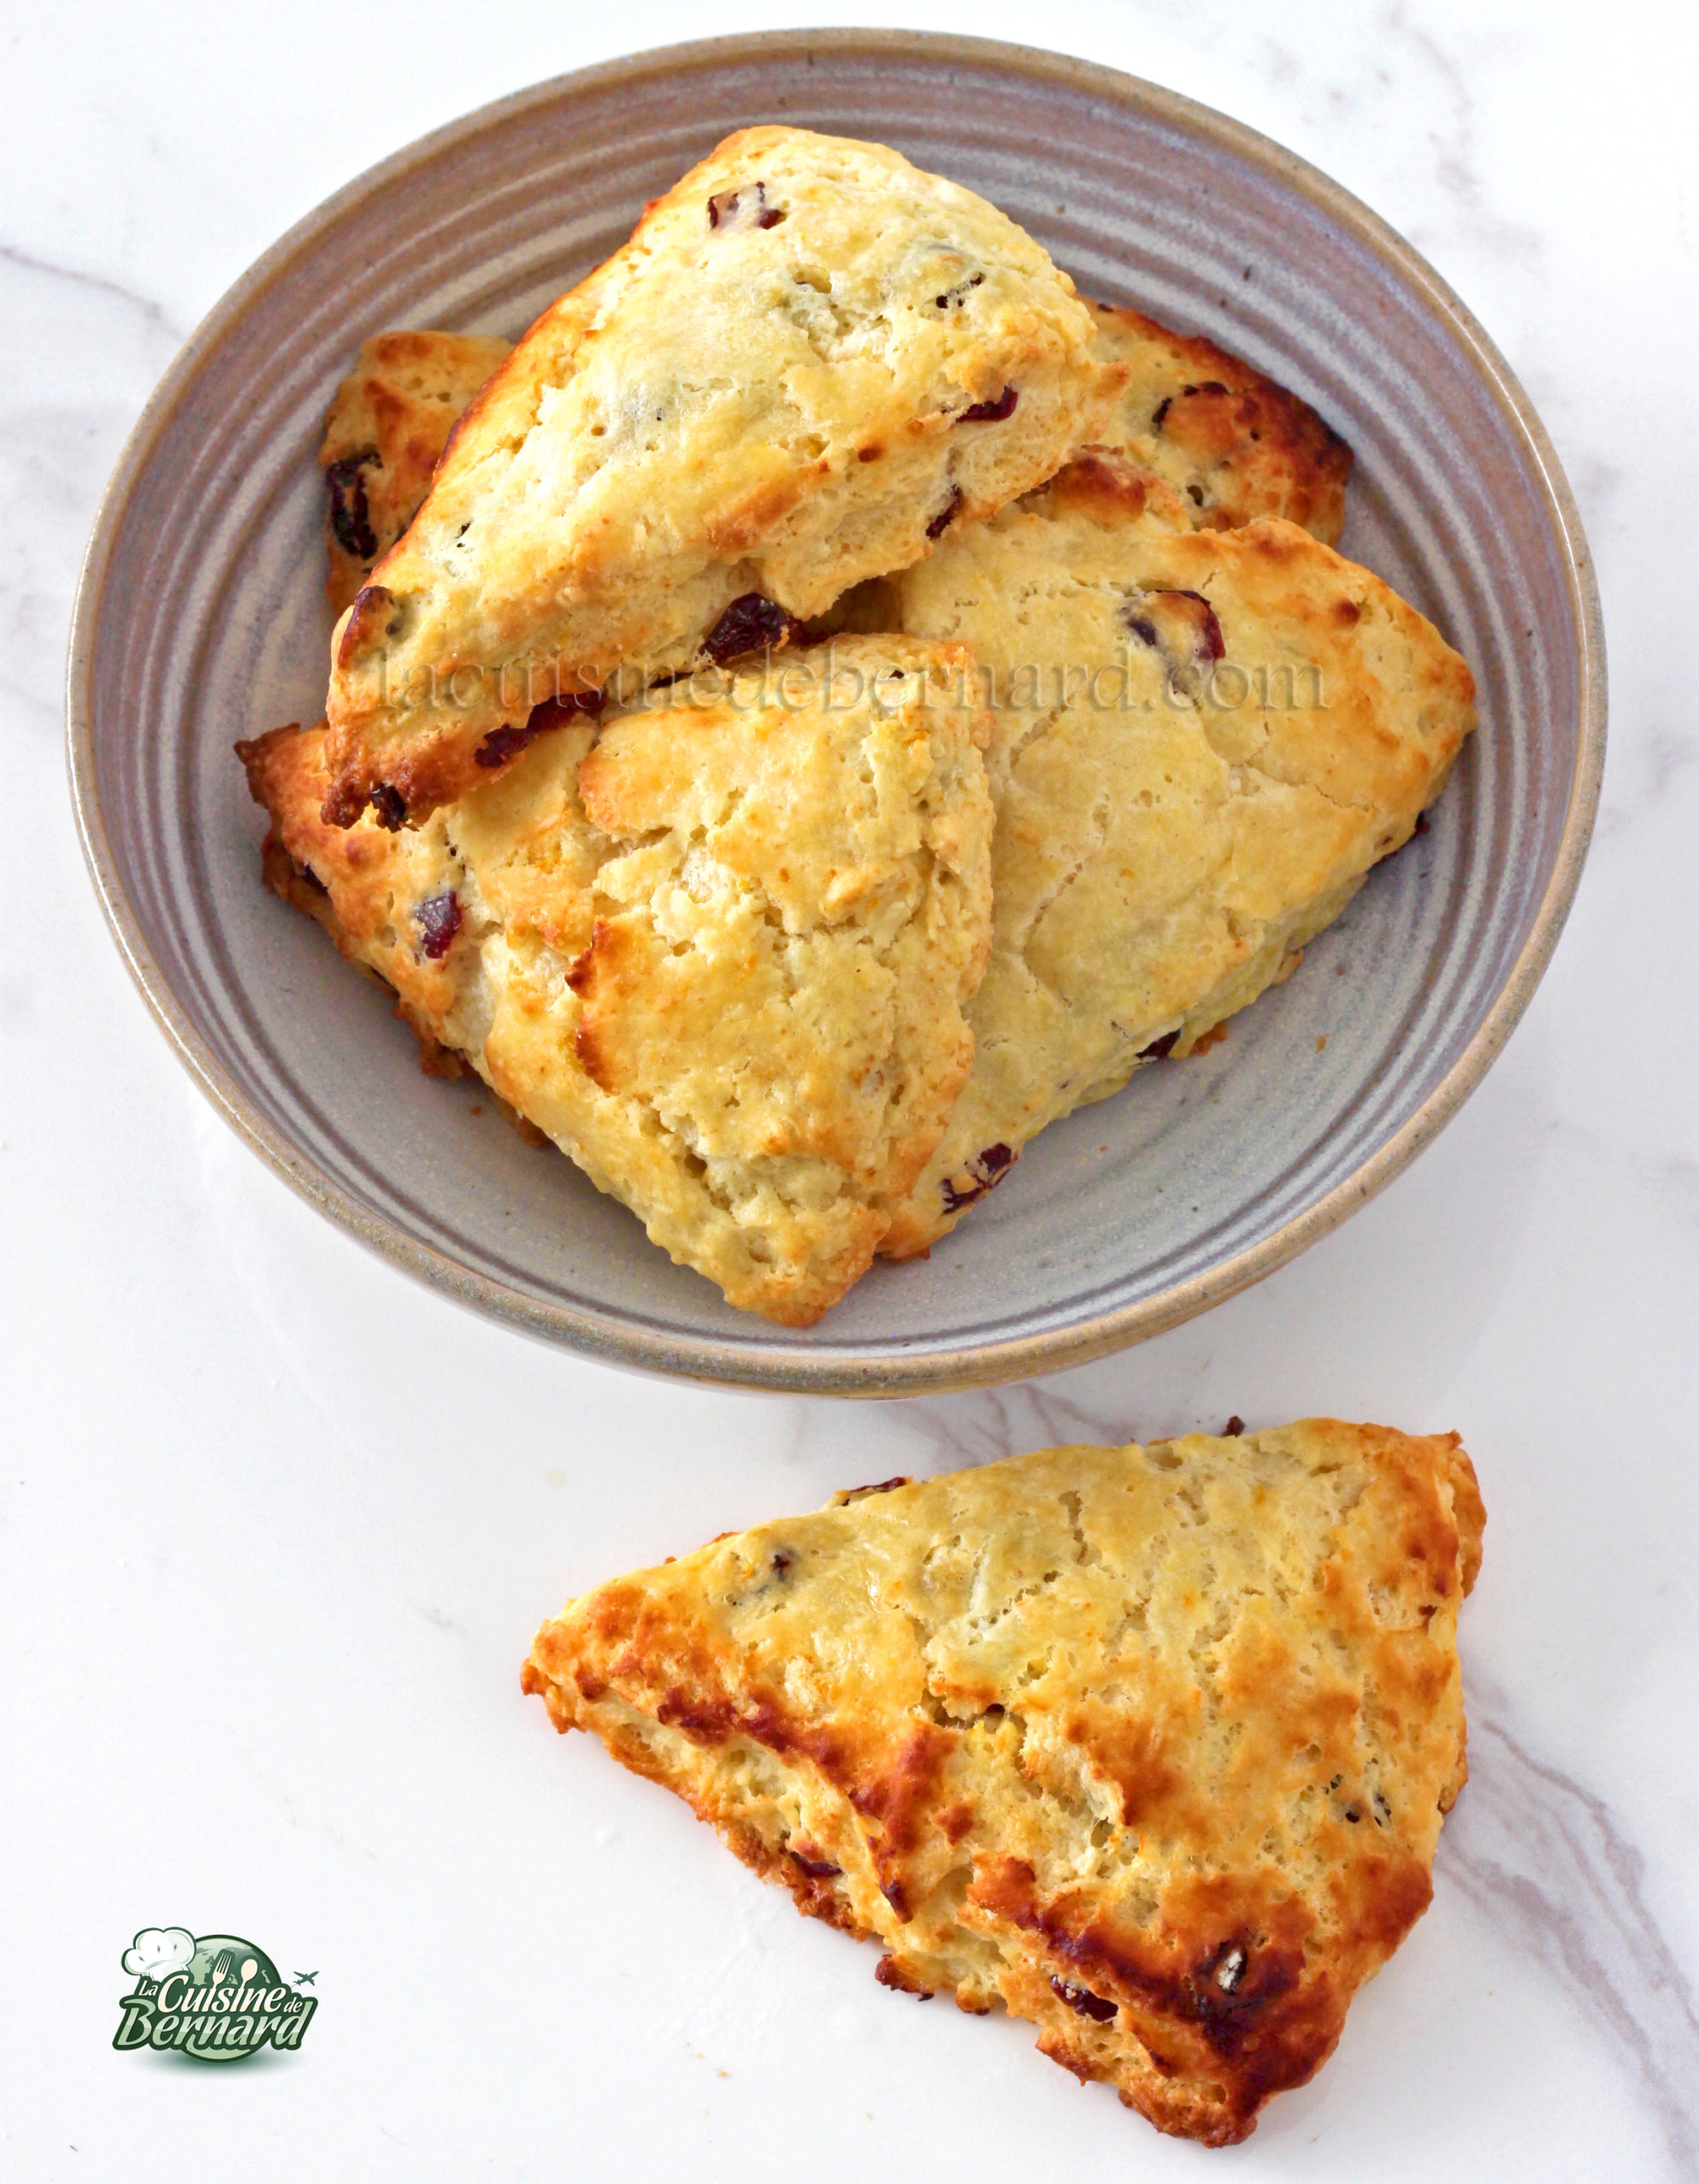
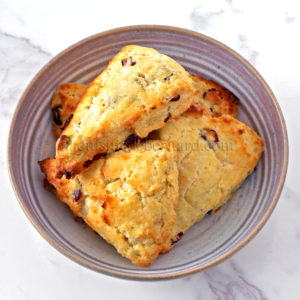
Orange and Cranberry Scones


How can you resist these beautiful green vegetables, roasted in the oven with olive oil and served with a very creamy and tasty Espelette pepper sauce? This is not my intention and on the contrary, I would like you to discover, for those who do not know them yet, broccolini, a cousin of broccoli! An absolute delight!
Recipe for 4 people:
- 800g of broccolinis
- olive oil, salt, ground pepper
For the sauce:
- 125g of tahini
- 50g of water
- 15g of olive oil
- 30g of white vinegar
- 10-15g of maple or agave syrup or honey
- 15g of Espelette pepper sauce or sriracha
- salt, ground pepper
- Espelette pepper
Here are the famous broccolinis, thinner and longer than broccoli, but also with a less developed inflorescence.

Wash them and put them in an ovenproof dish. Season with salt and pepper and sprinkle generously with olive oil. As I say in class, let the Maïté in you express itself, but within reason! Bake in a preheated oven at 210°C for 20-25 minutes.

For the sauce, simply mix all the ingredients.


Put salt and pepper at your taste.

The sauce becomes very smooth.

The broccolinis are cooked and still slightly crispy!

Serve them with either the sauce on the side or as I have below, drizzled with the creamy sauce. To do this, I put it in a pocket with a thin tip. A delight!
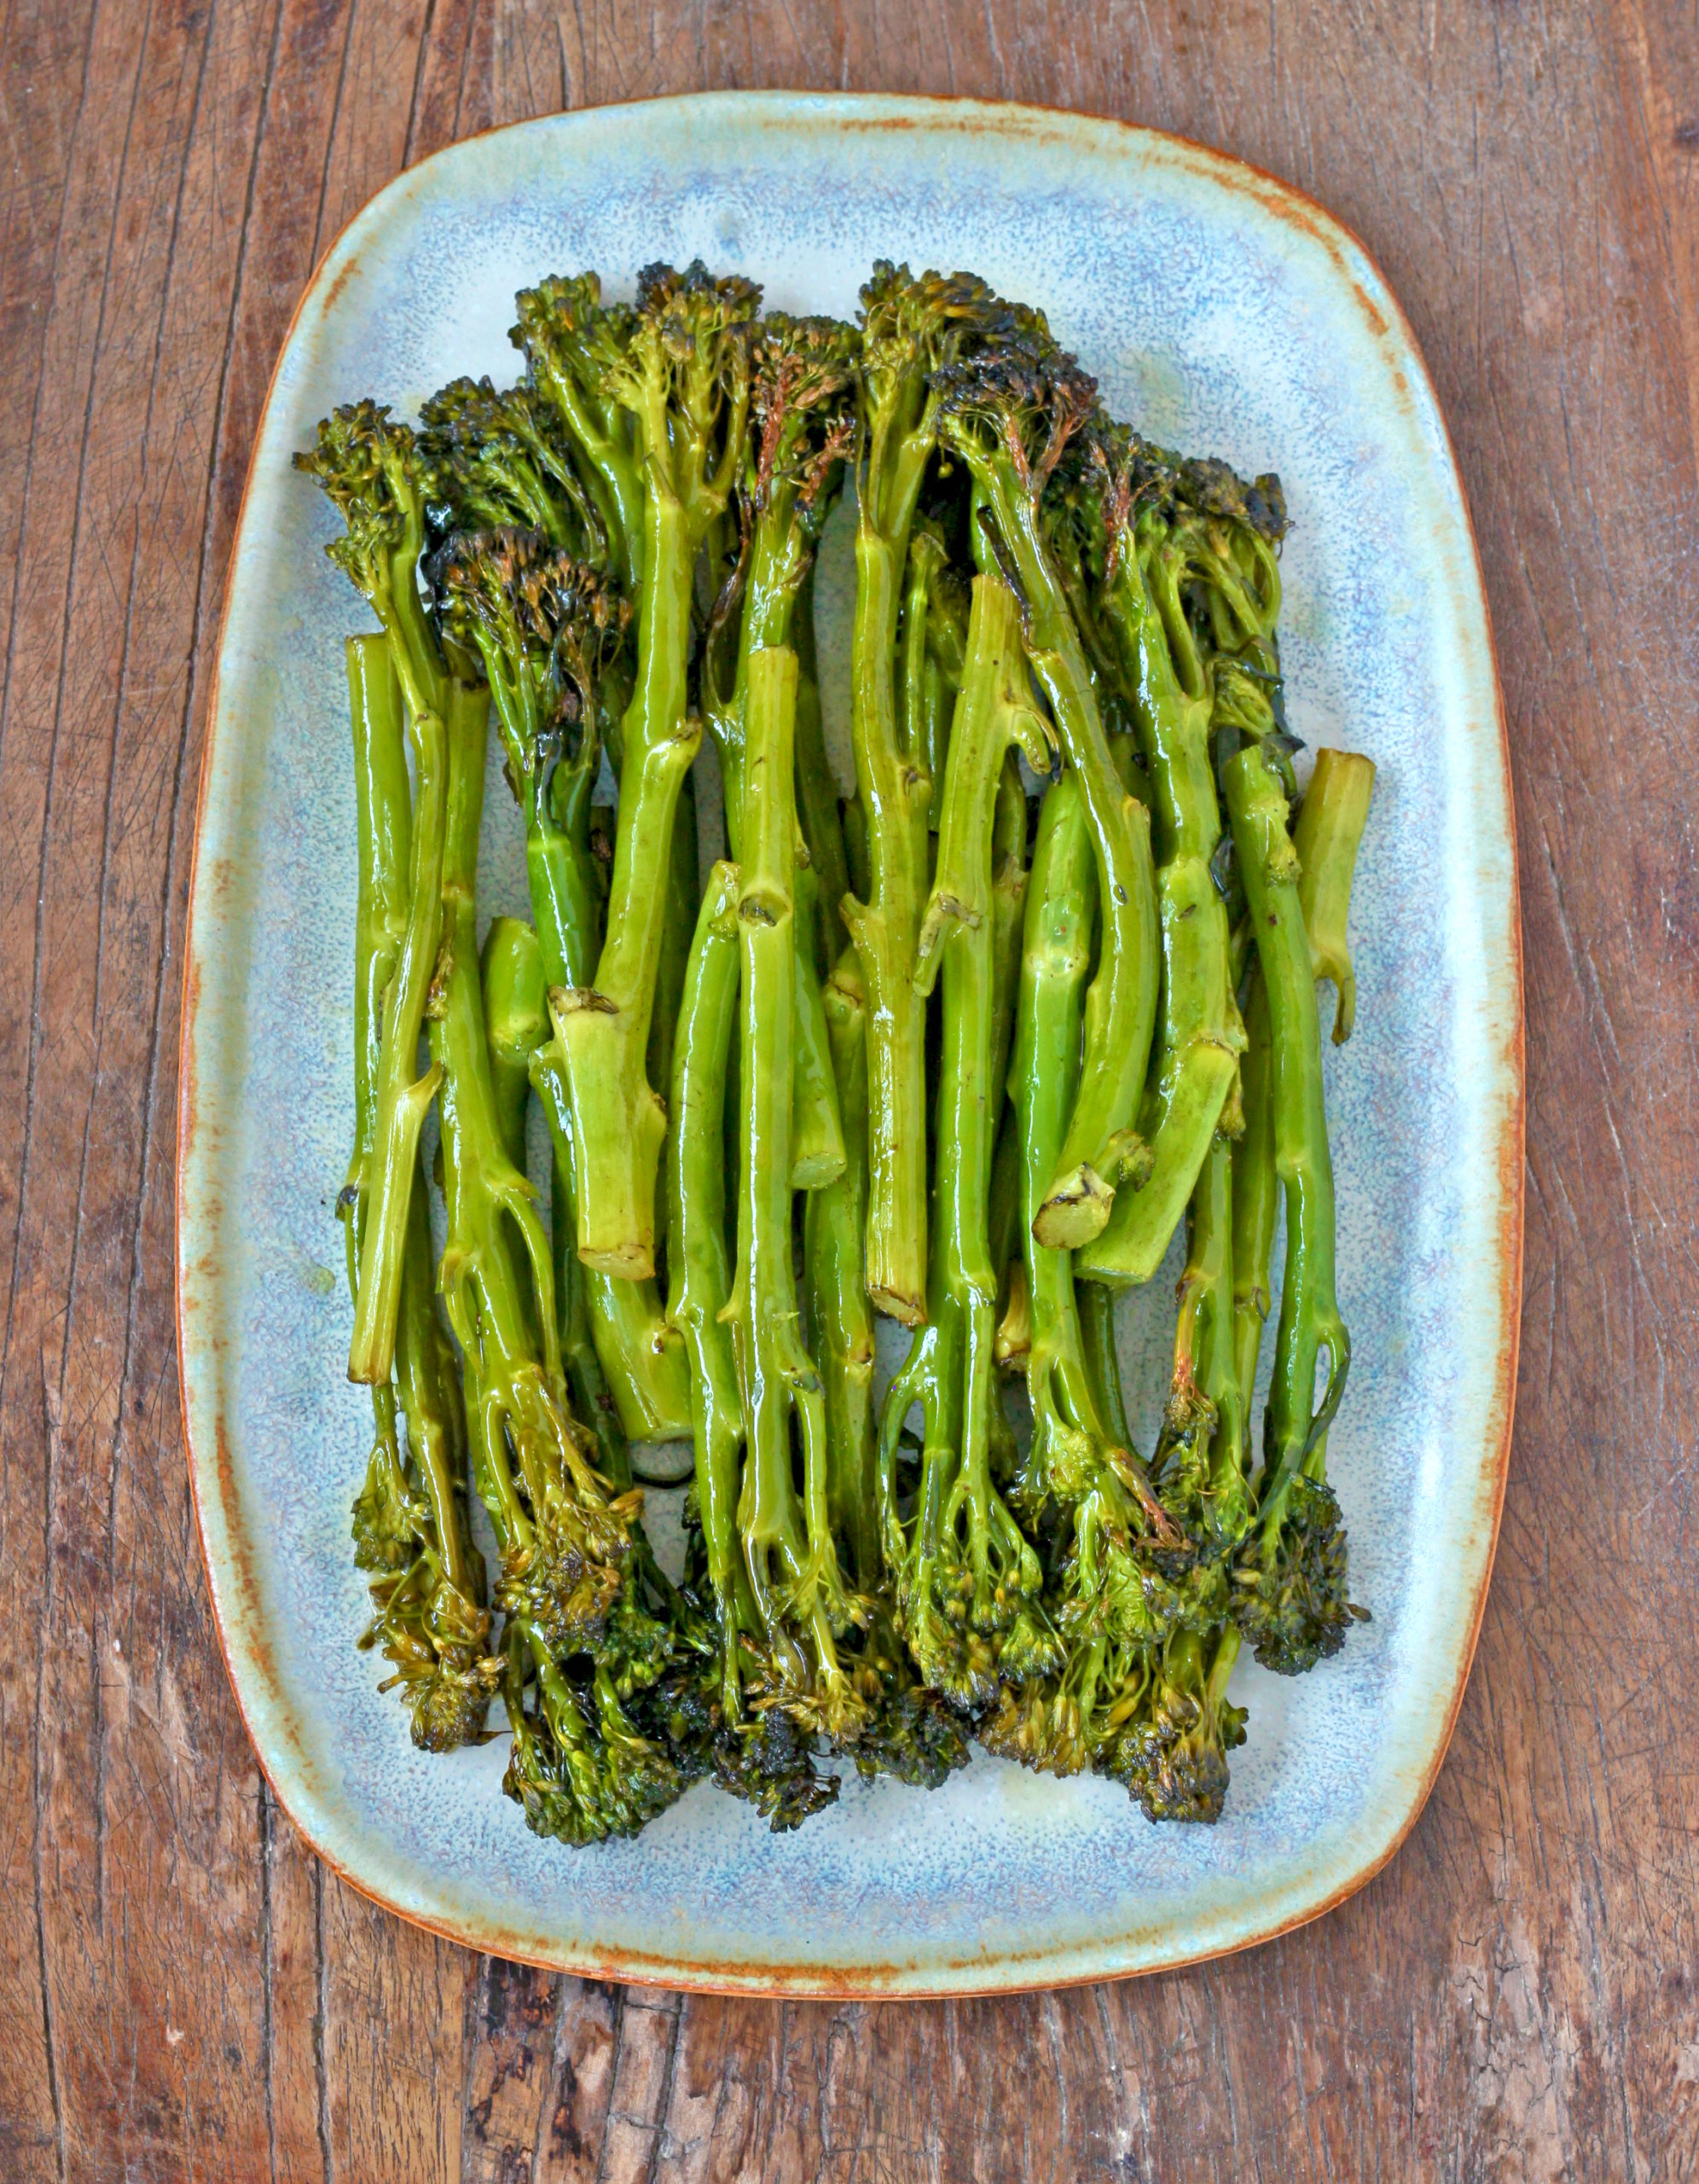
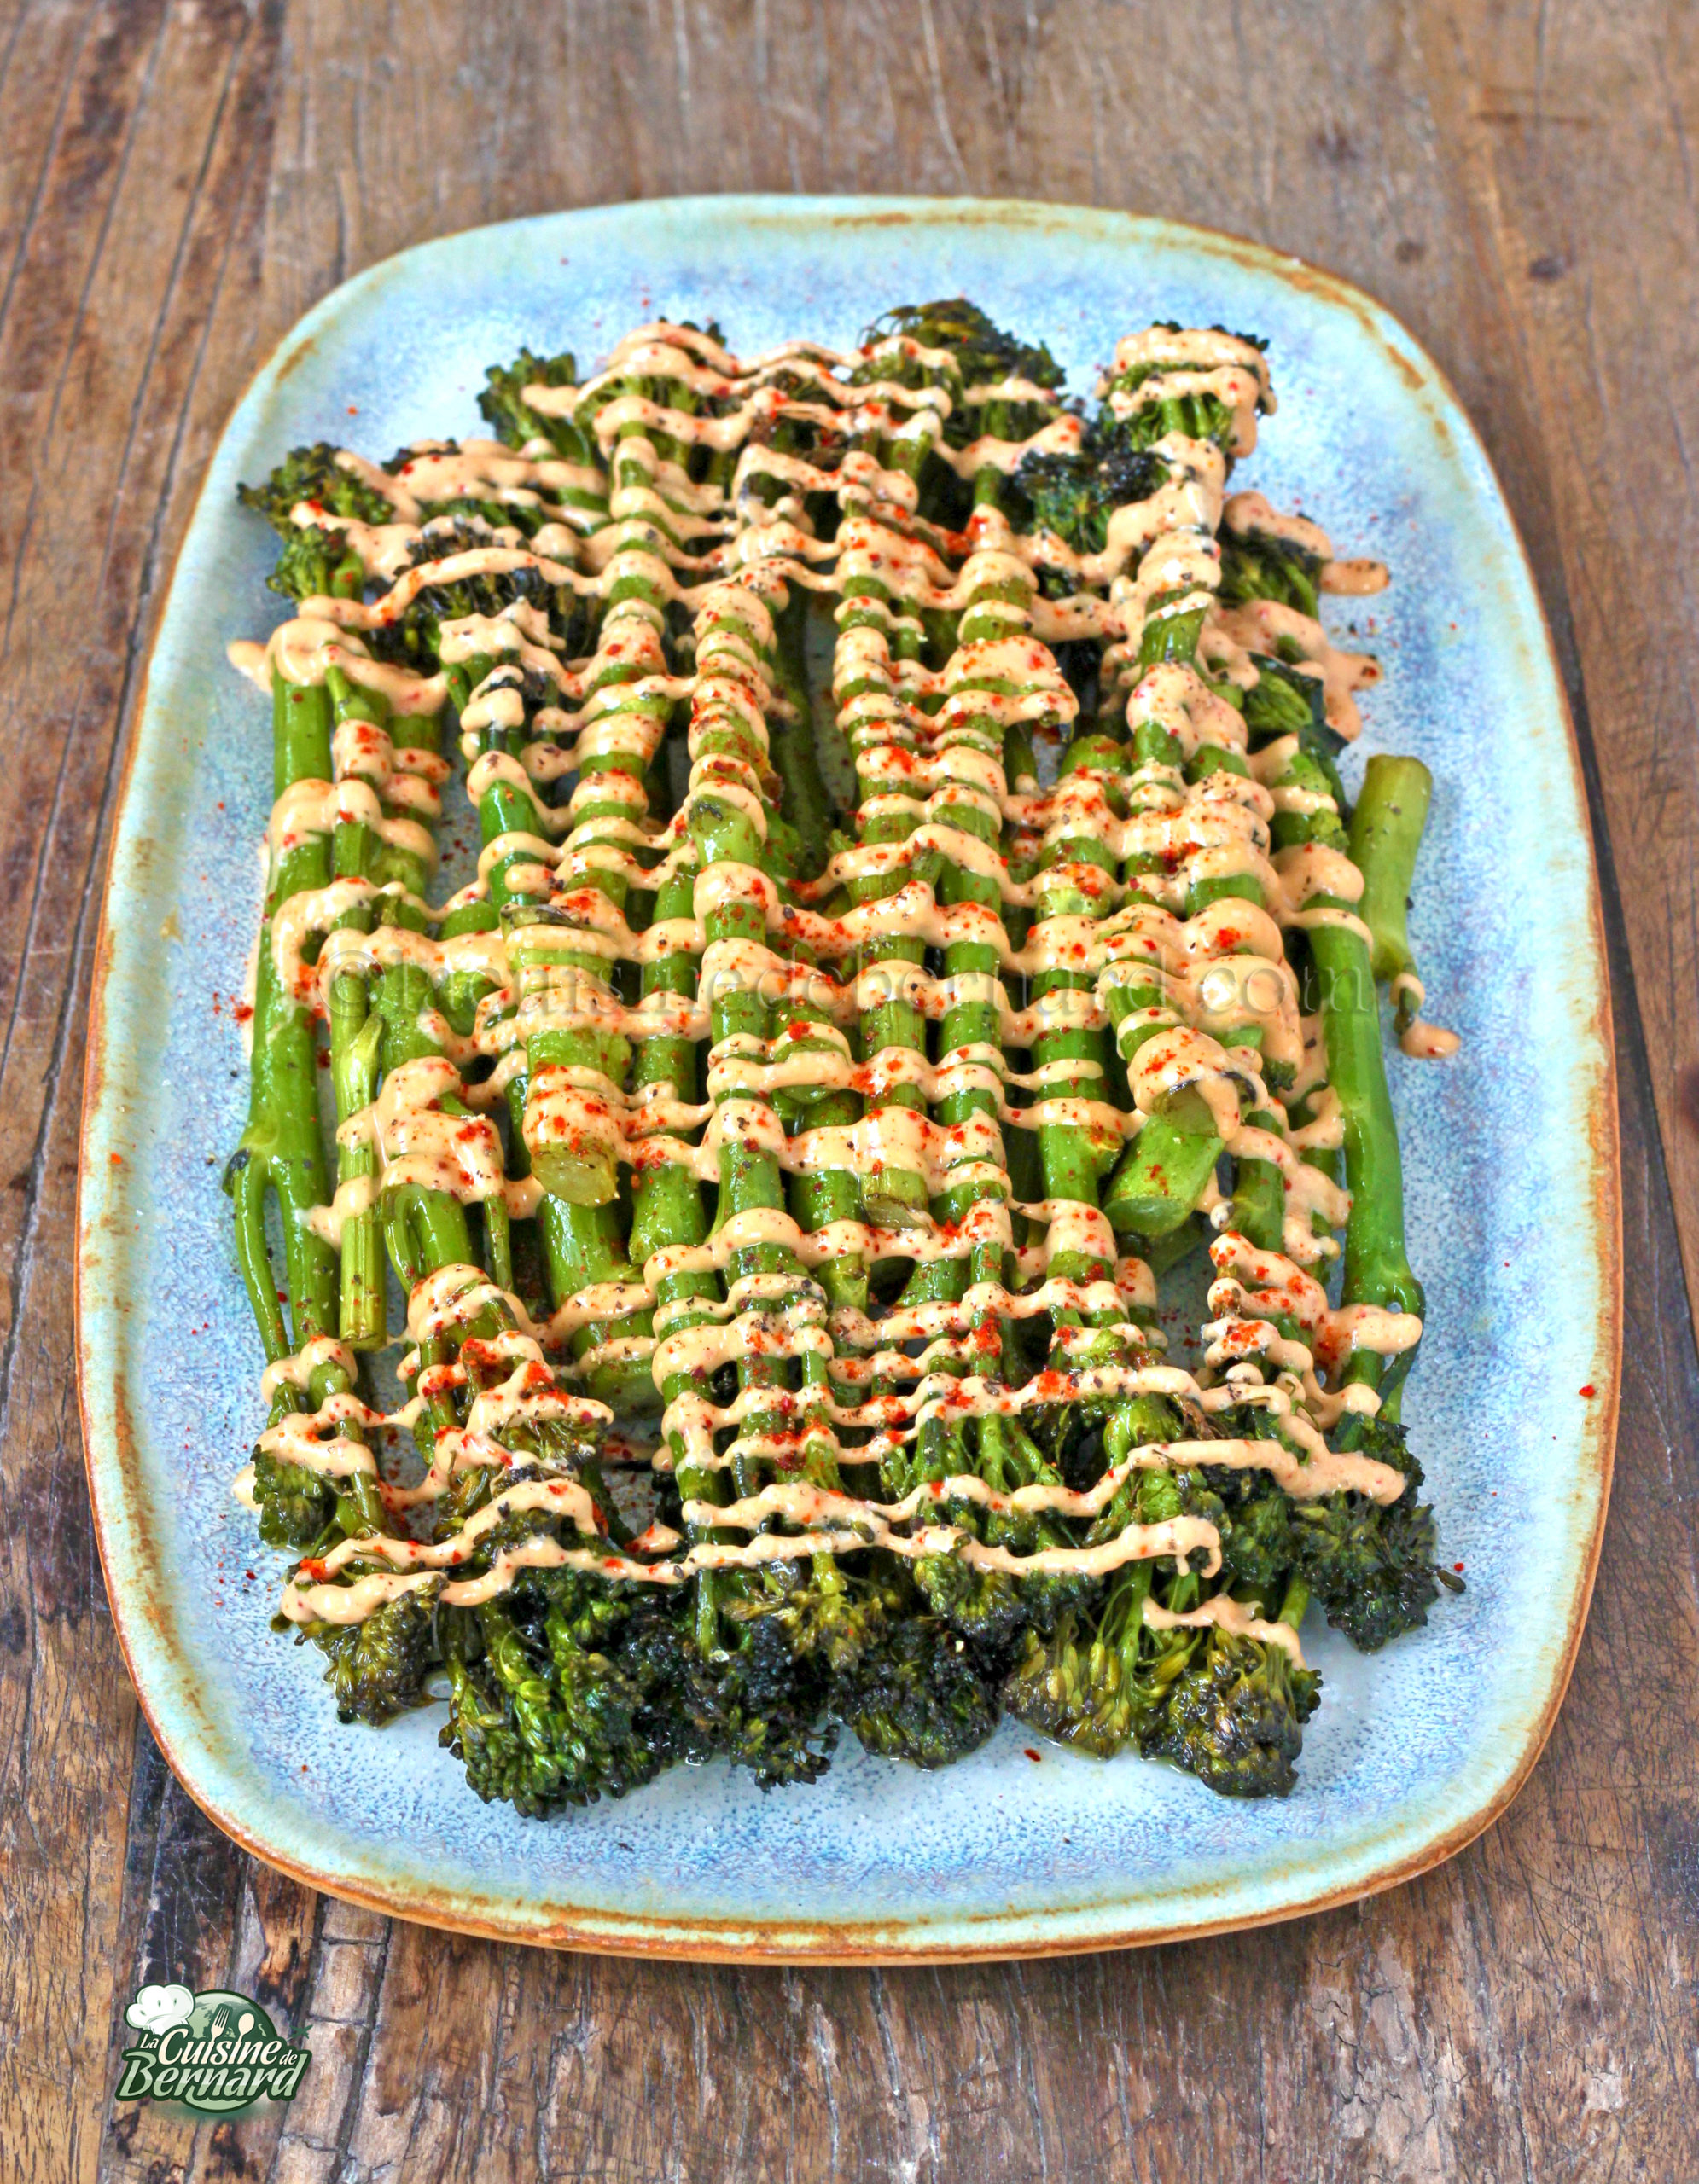

Grilled broccolinis, tahini sauce with Espelette pepper

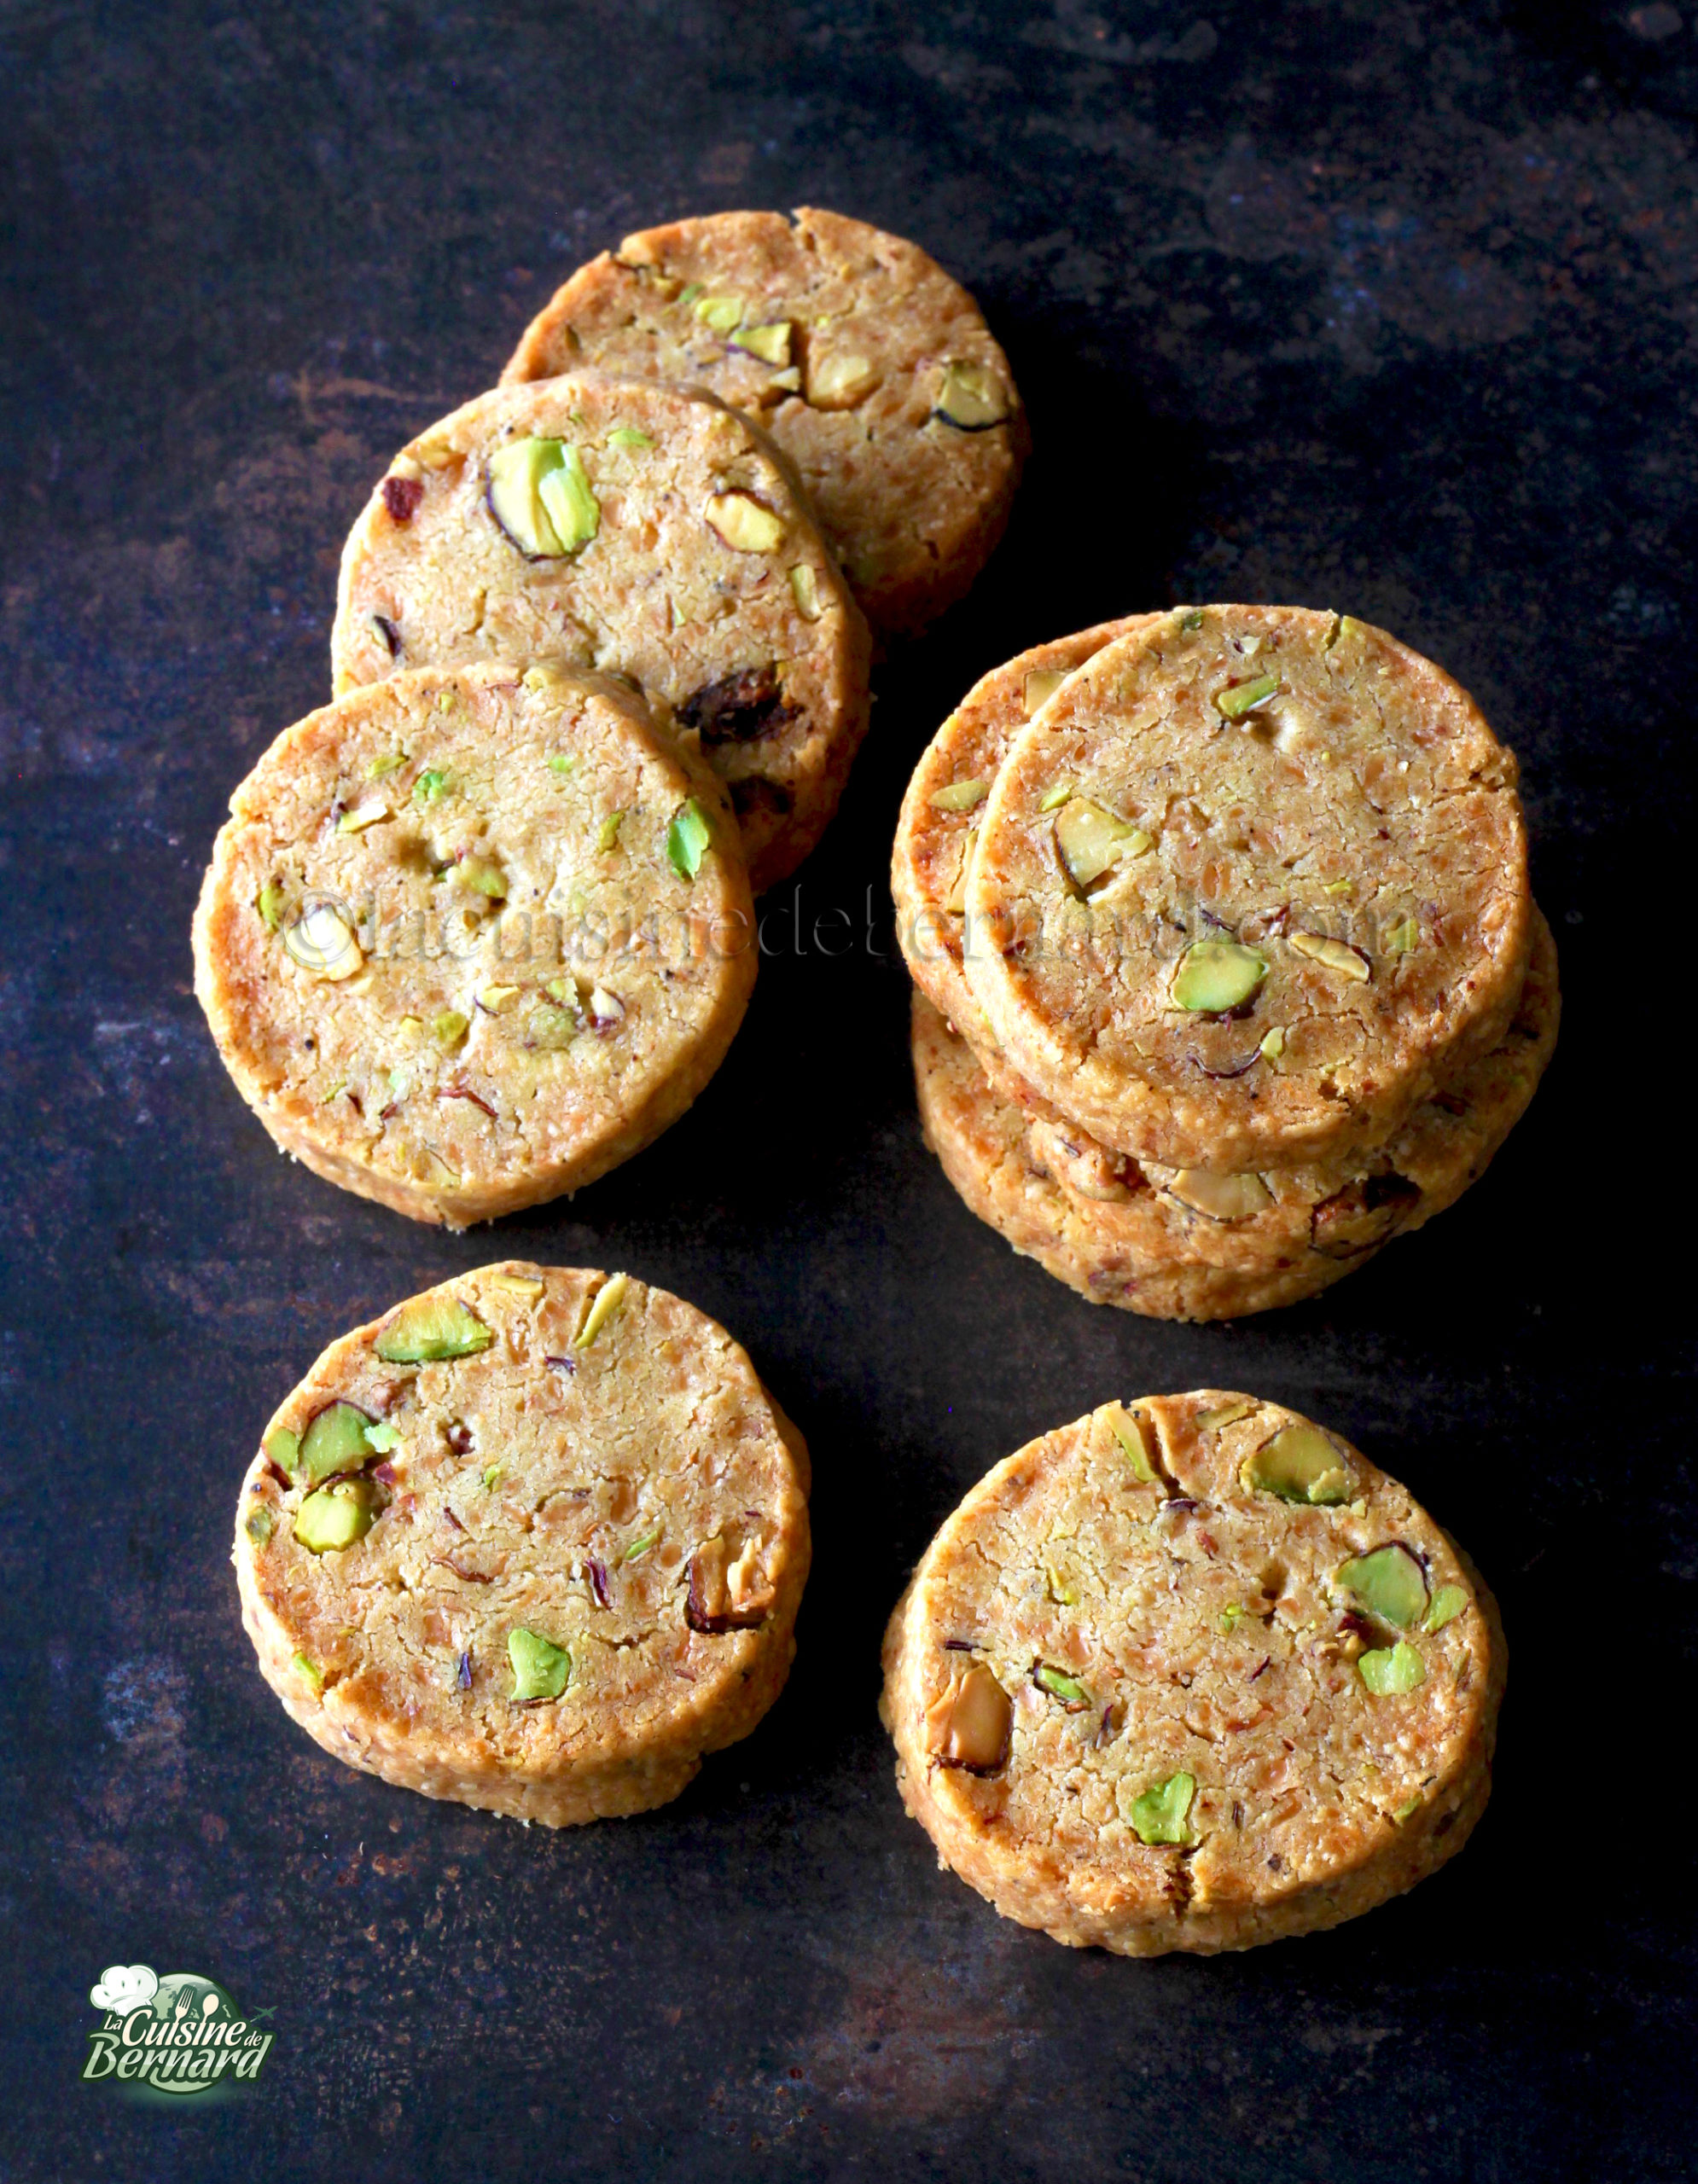
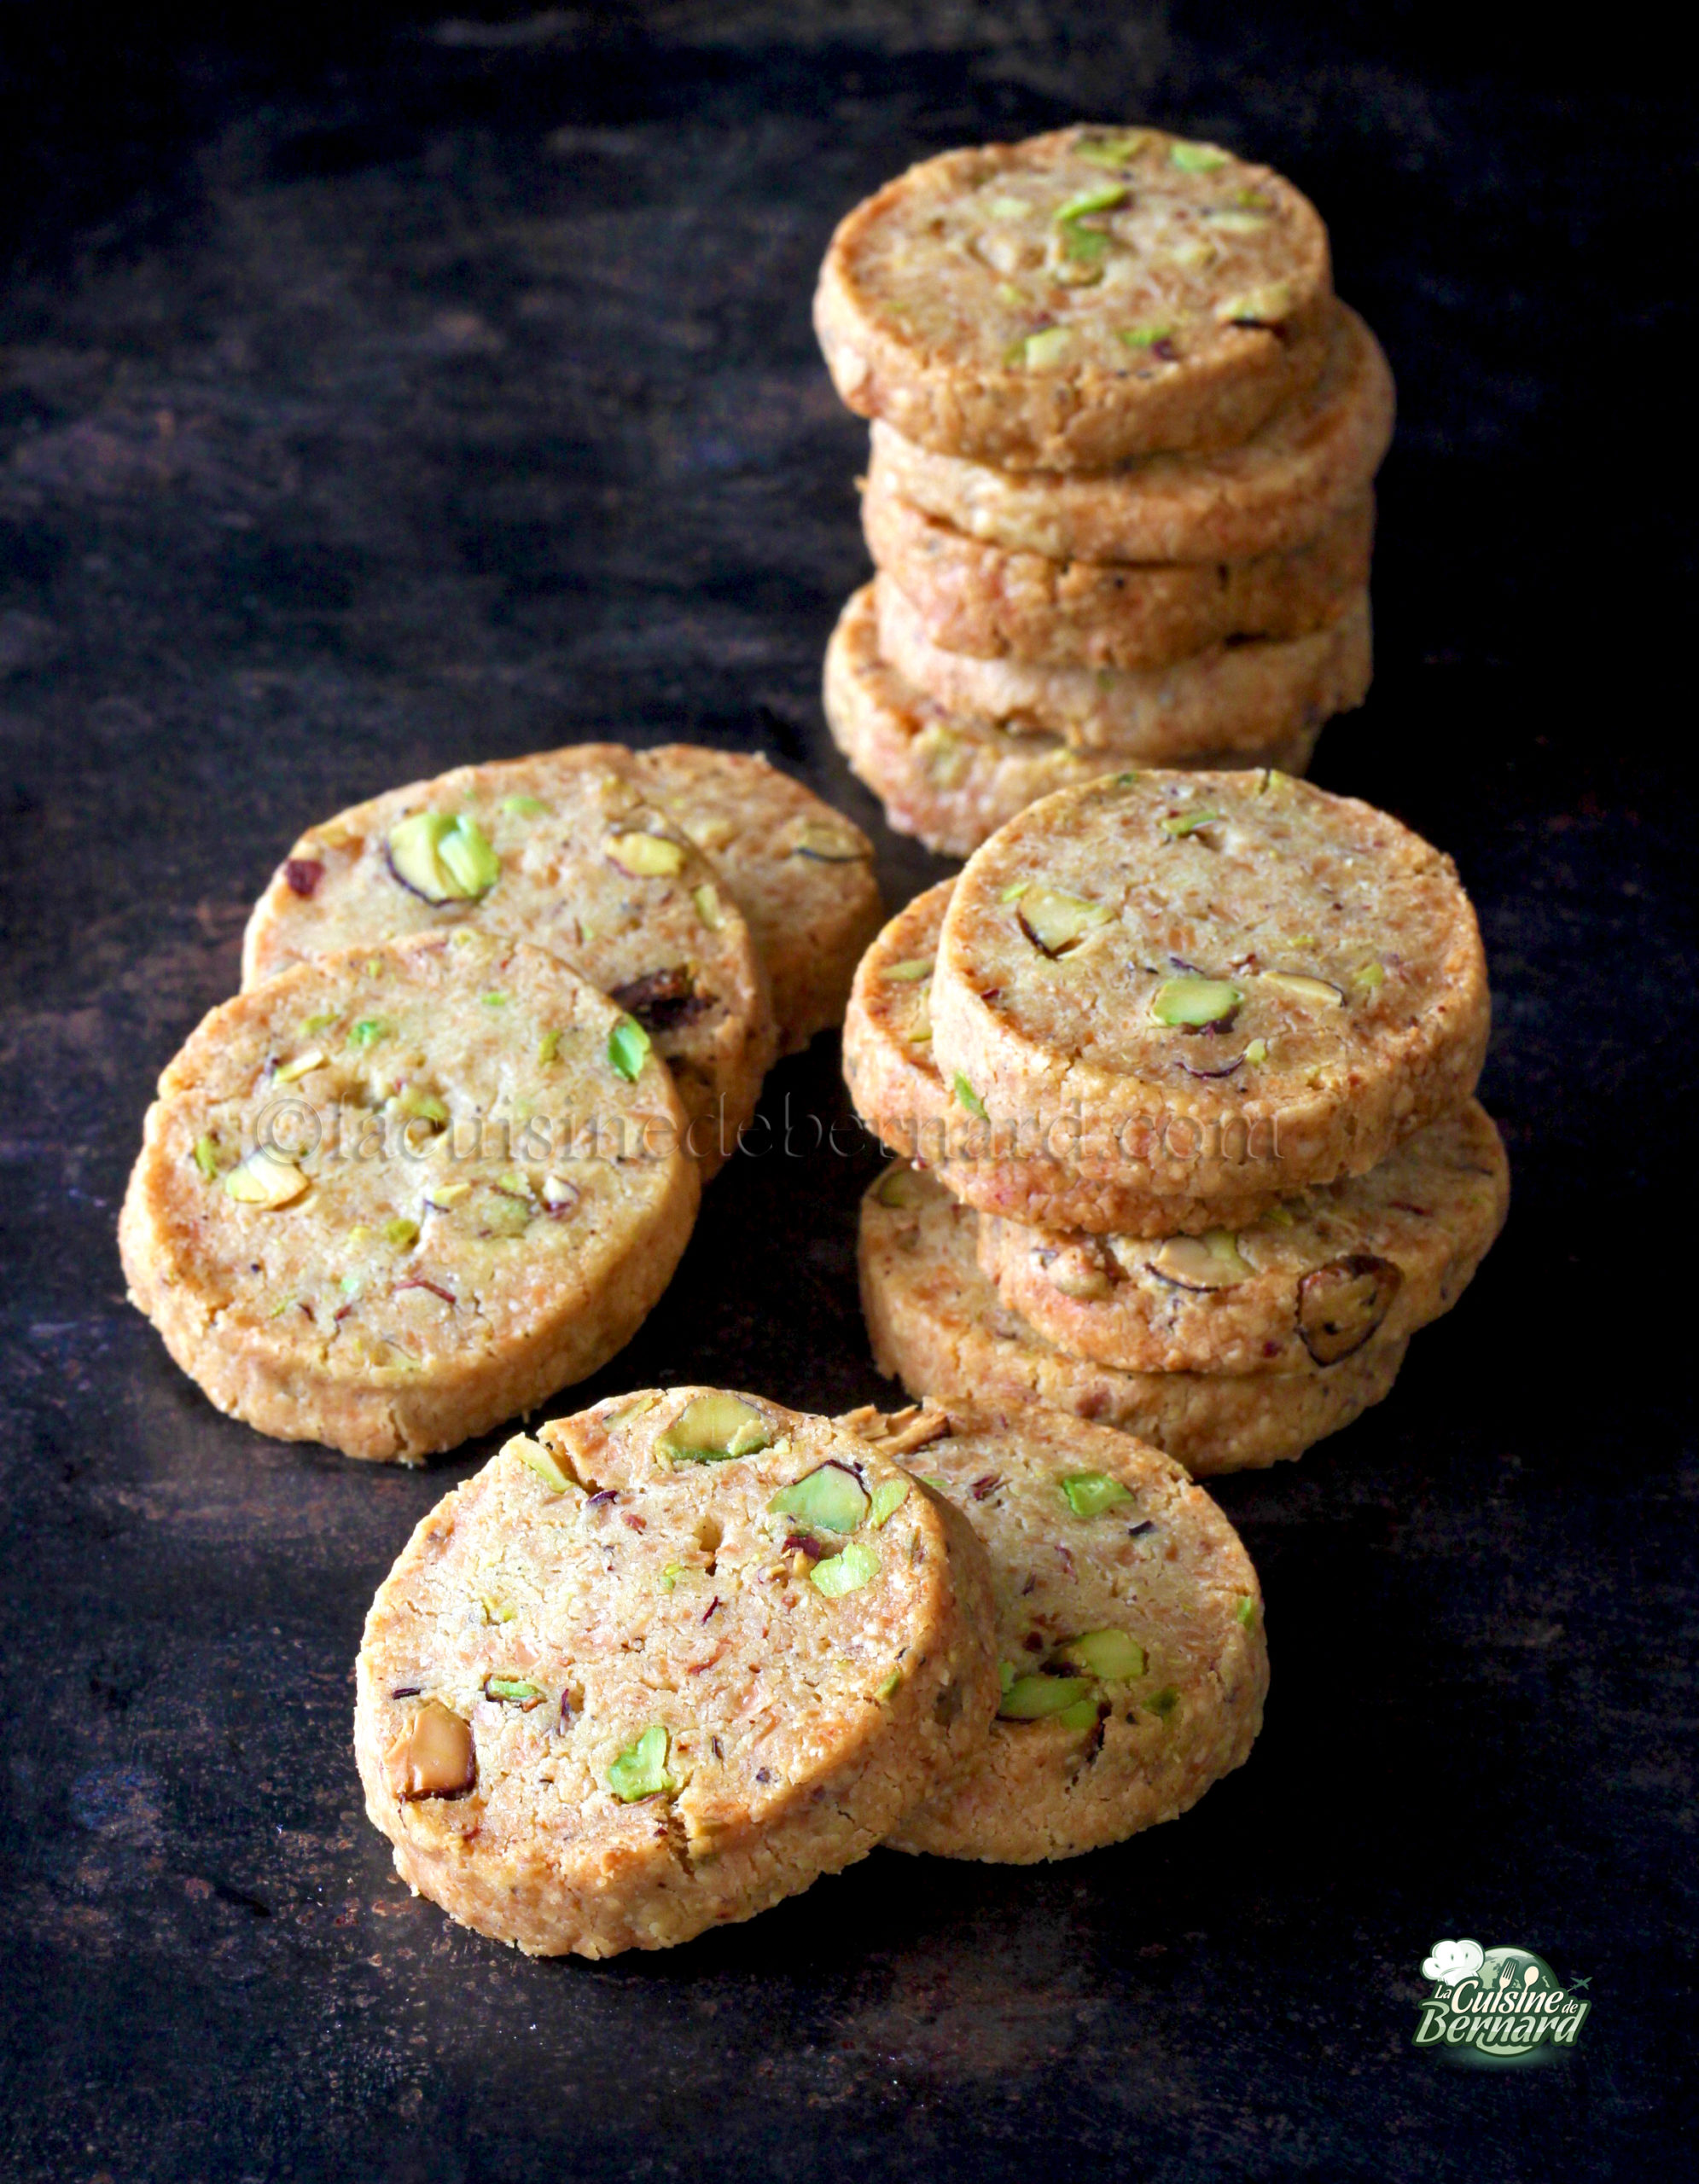
Voici une recette de petits sablés que j’ai mise au point après en avoir mangés de similaires à Londres. Ils sont absolument délicieux et surtout très croustillants ! Vous pourrez les conserver plus d’une semaine dans une boite parfaitement hermétique. Ils seront irrésistibles pour un apéritif !
Recette pour 45 sablés :
- 165g de cheddar
- 110g de beurre demi-sel à température ambiante
- 20g de poudre de pistache
- 160g de farine
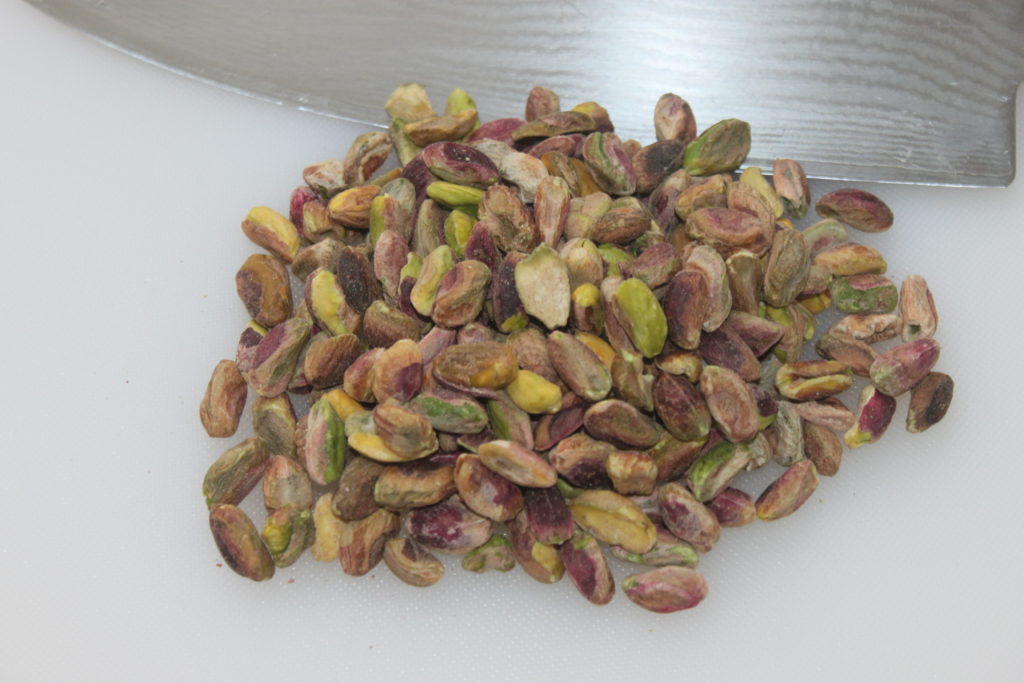
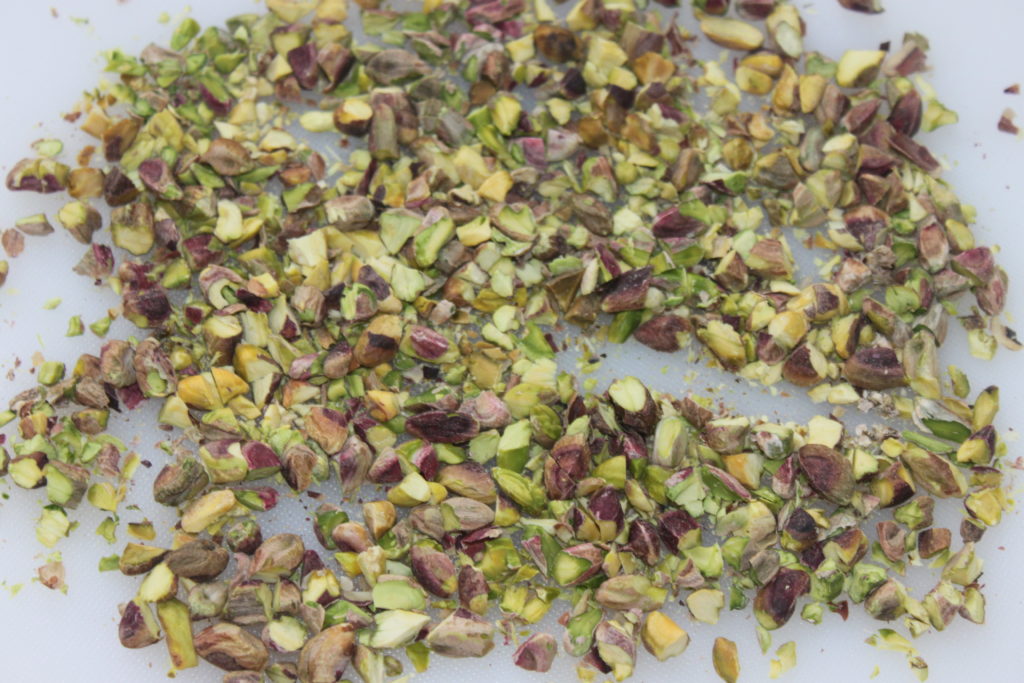
- 80g de pistaches crues non salées
- piment fort en poudre
- poivre noir du moulin
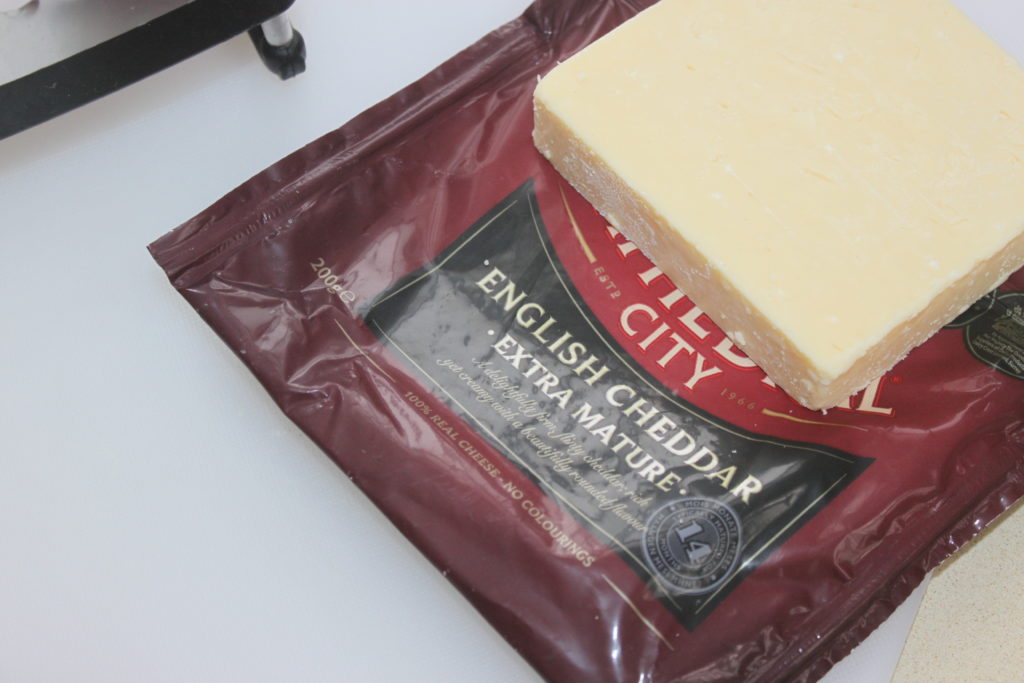
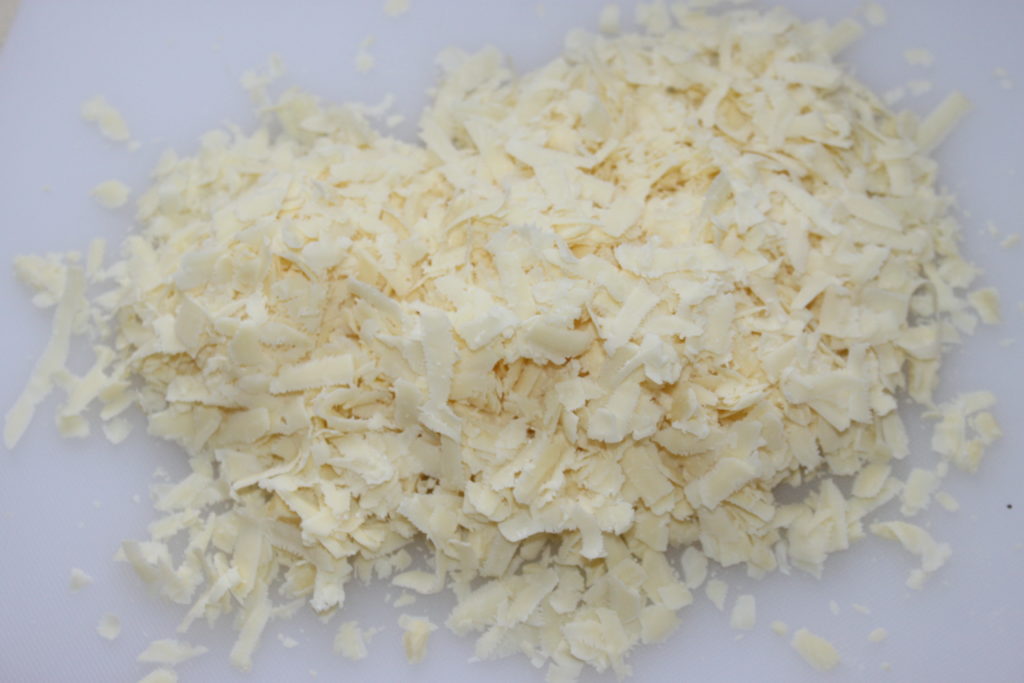
Pour cette recette j’ai pris le cheddar que j’ai trouvé le plus facilement.C’est un cheddar blanc mais prenez un orangé si vous trouvez !
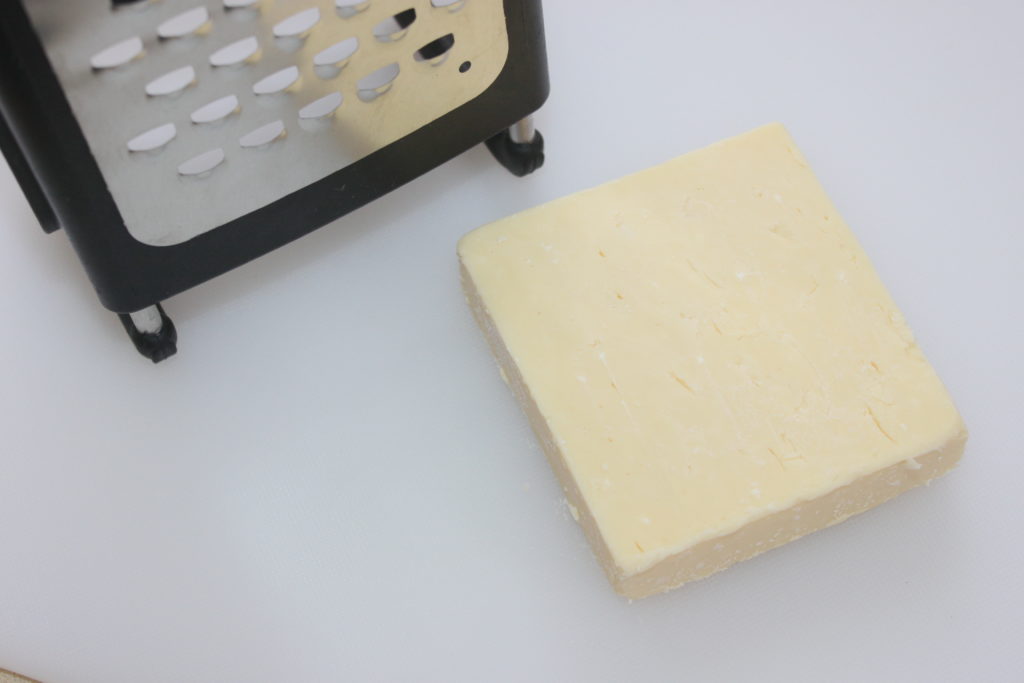
Râpez le cheddar finement et pesez-en la quantité nécessaire (165g).
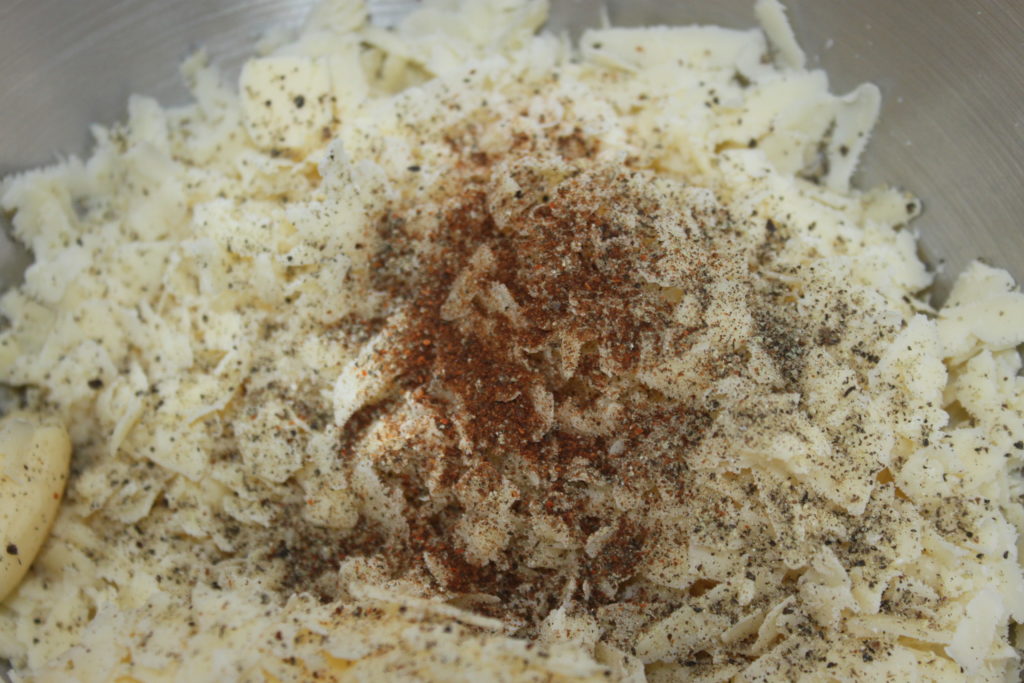
Mettez-le dans la cuve du robot avec le beurre, du piment fort en poudre et du poivre à votre goût.
Ajoutez la poudre de pistache.
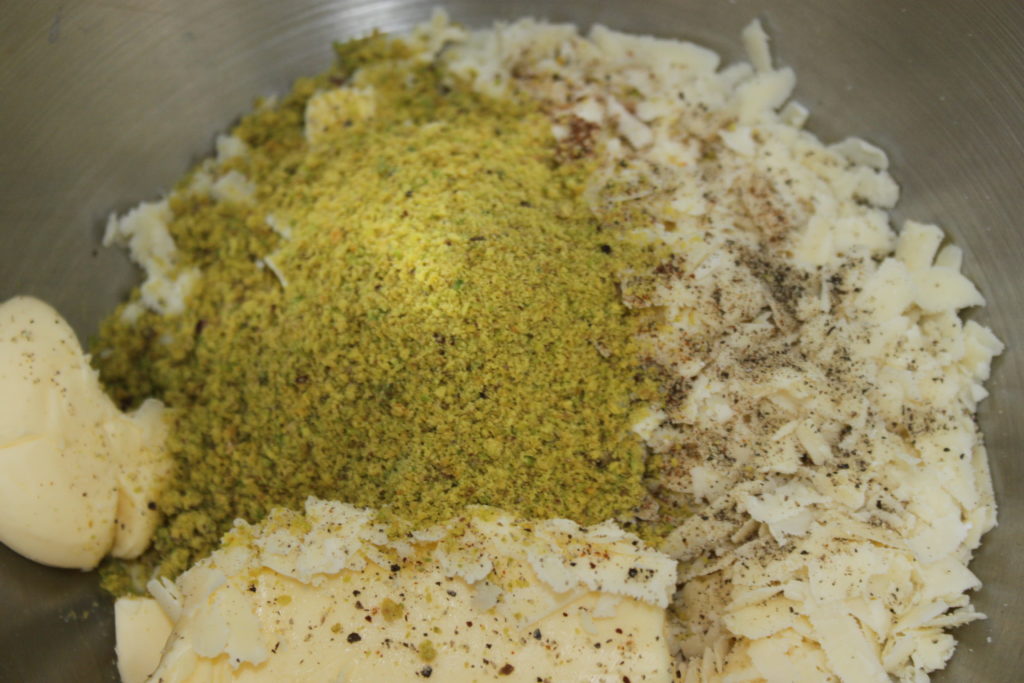
Mélangez bien puis ajoutez les pistaches crues que vous hacherez grossièrement au couteau.
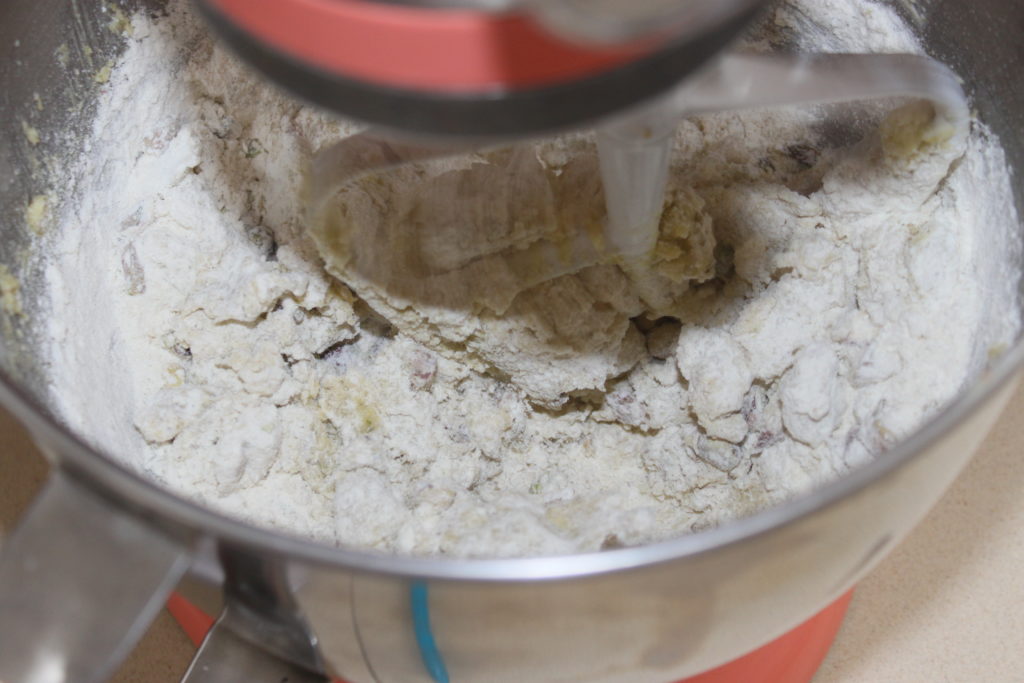
Mettez dans la cuve avec la farine.
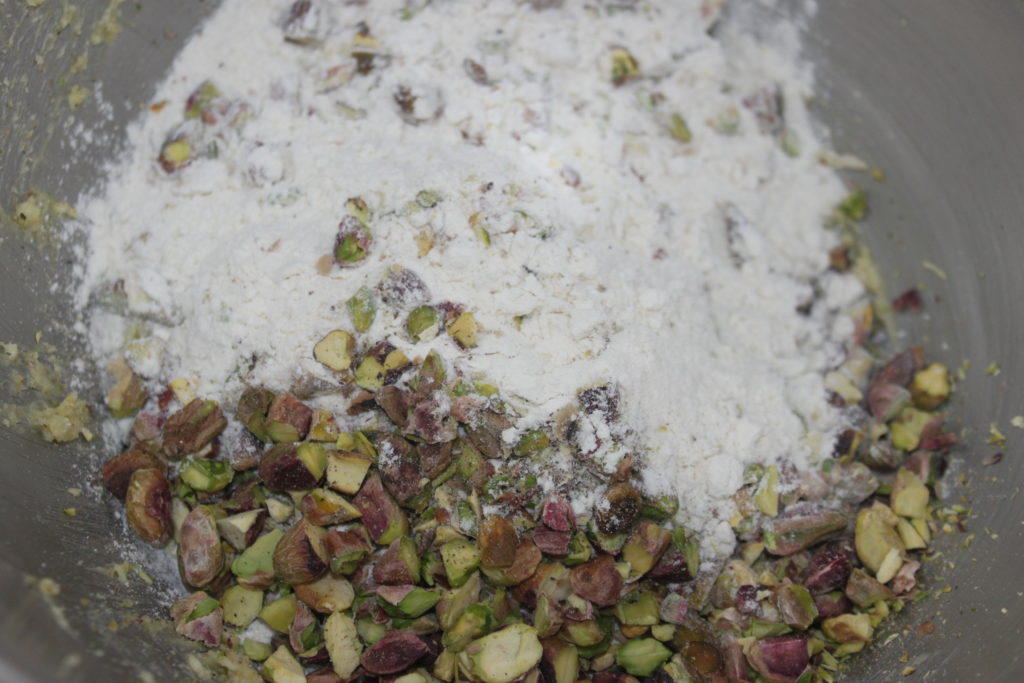
Mélangez avec la feuille jusqu’à avoir une pâte homogène.
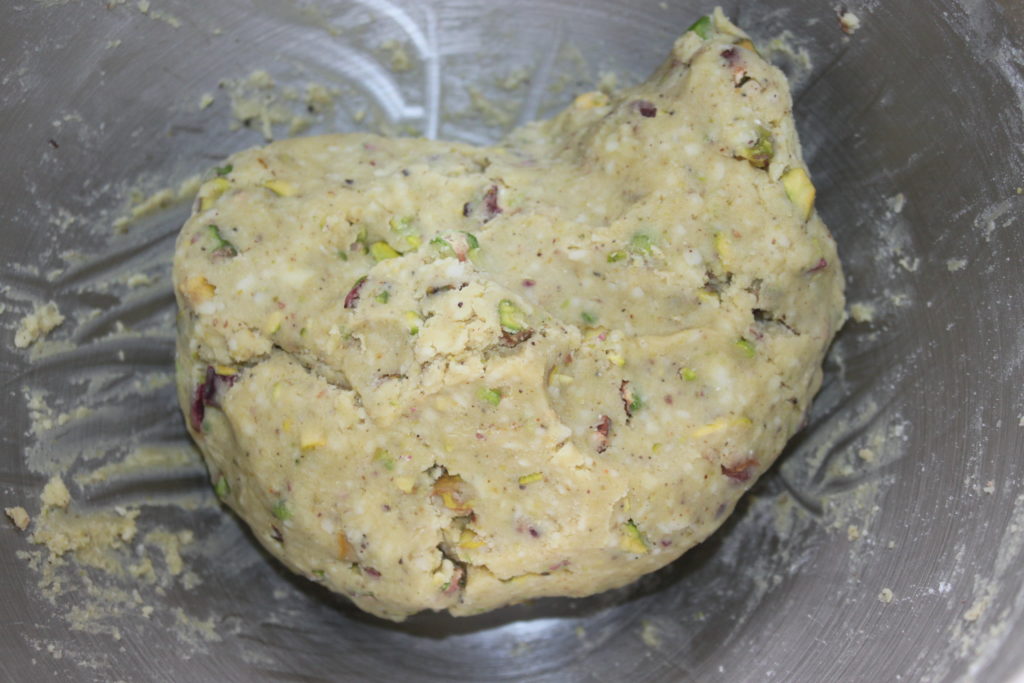
Roulez la pâte en un boudin de 4cm de diamètre.

Enveloppez-la dans du film étirable. On voit ici que le boudin fait plus de 40cm de longueur.
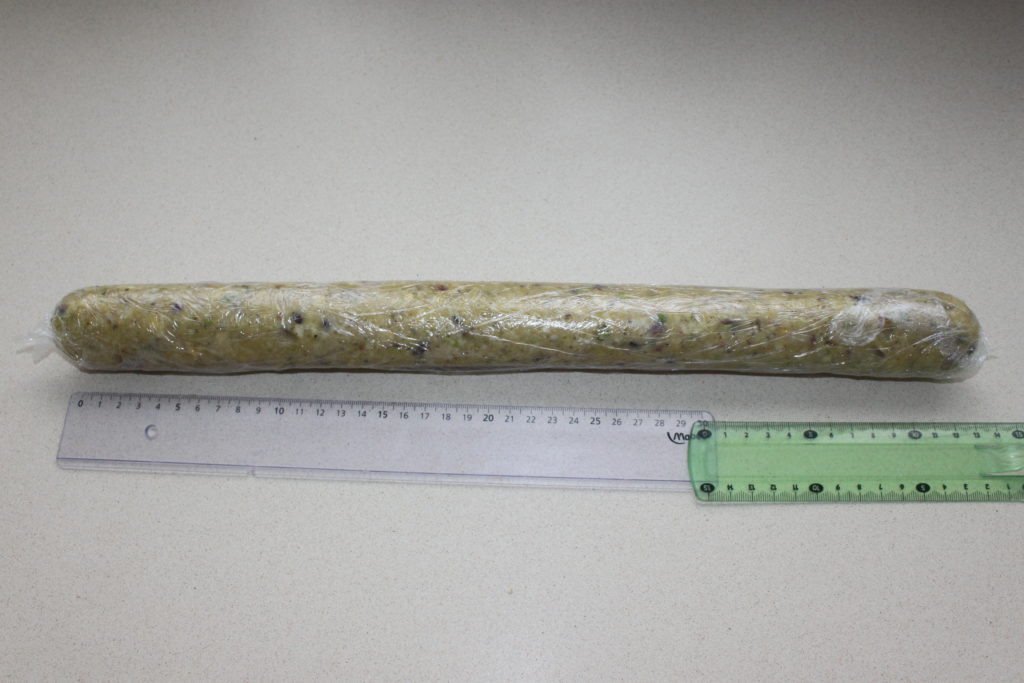
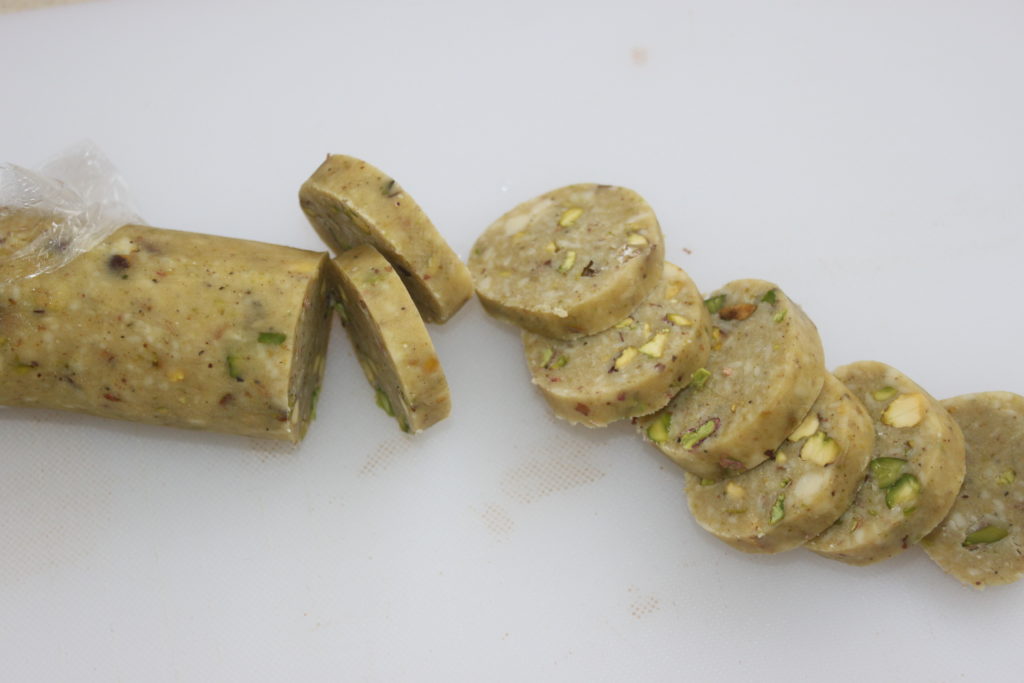
Mettez au frais au moins une heure puis coupez des tranches de 8mm d’épaisseur.
Mettez sur un plaque garnie de papier sulfurisé.
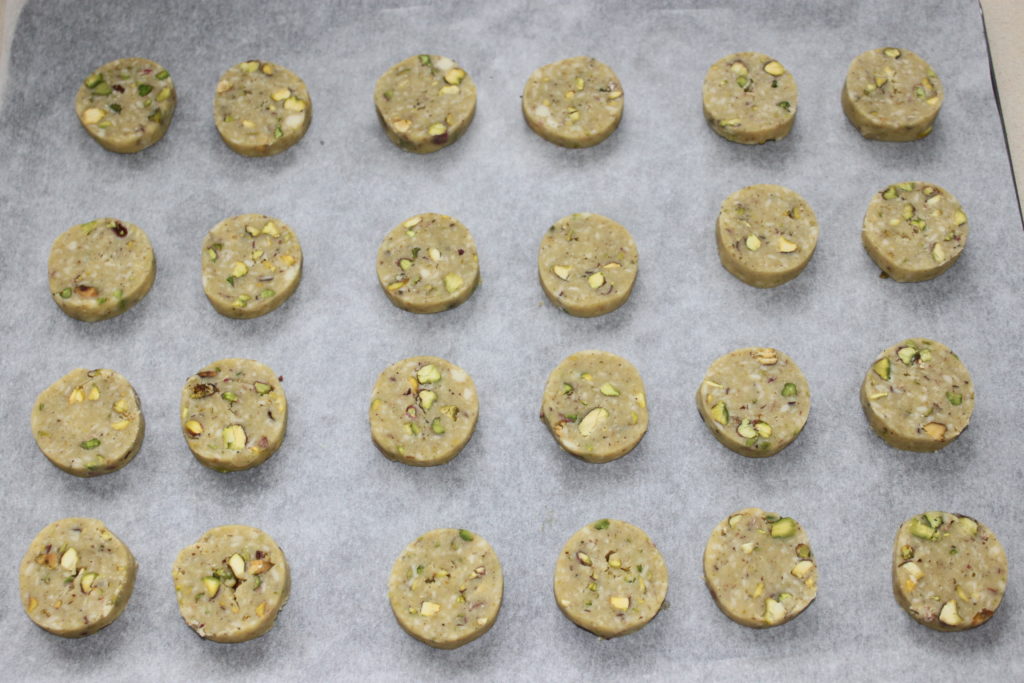
Faites curie 23 minutes à 170°C sur chaleur tournante.

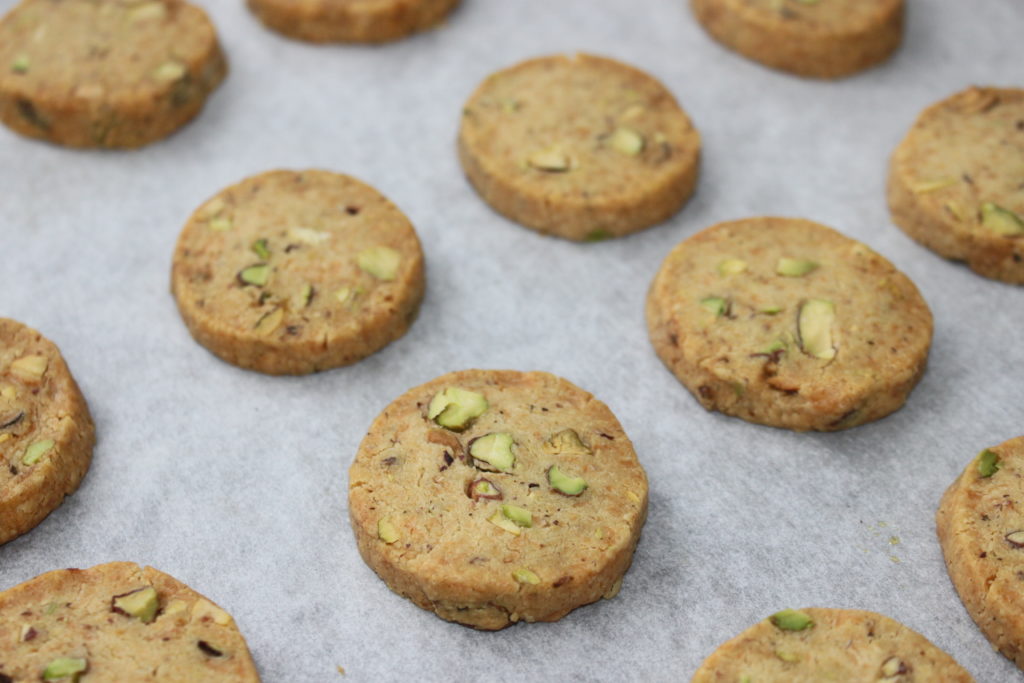
Laissez refroidir avant de conserver en boite hermétique !