

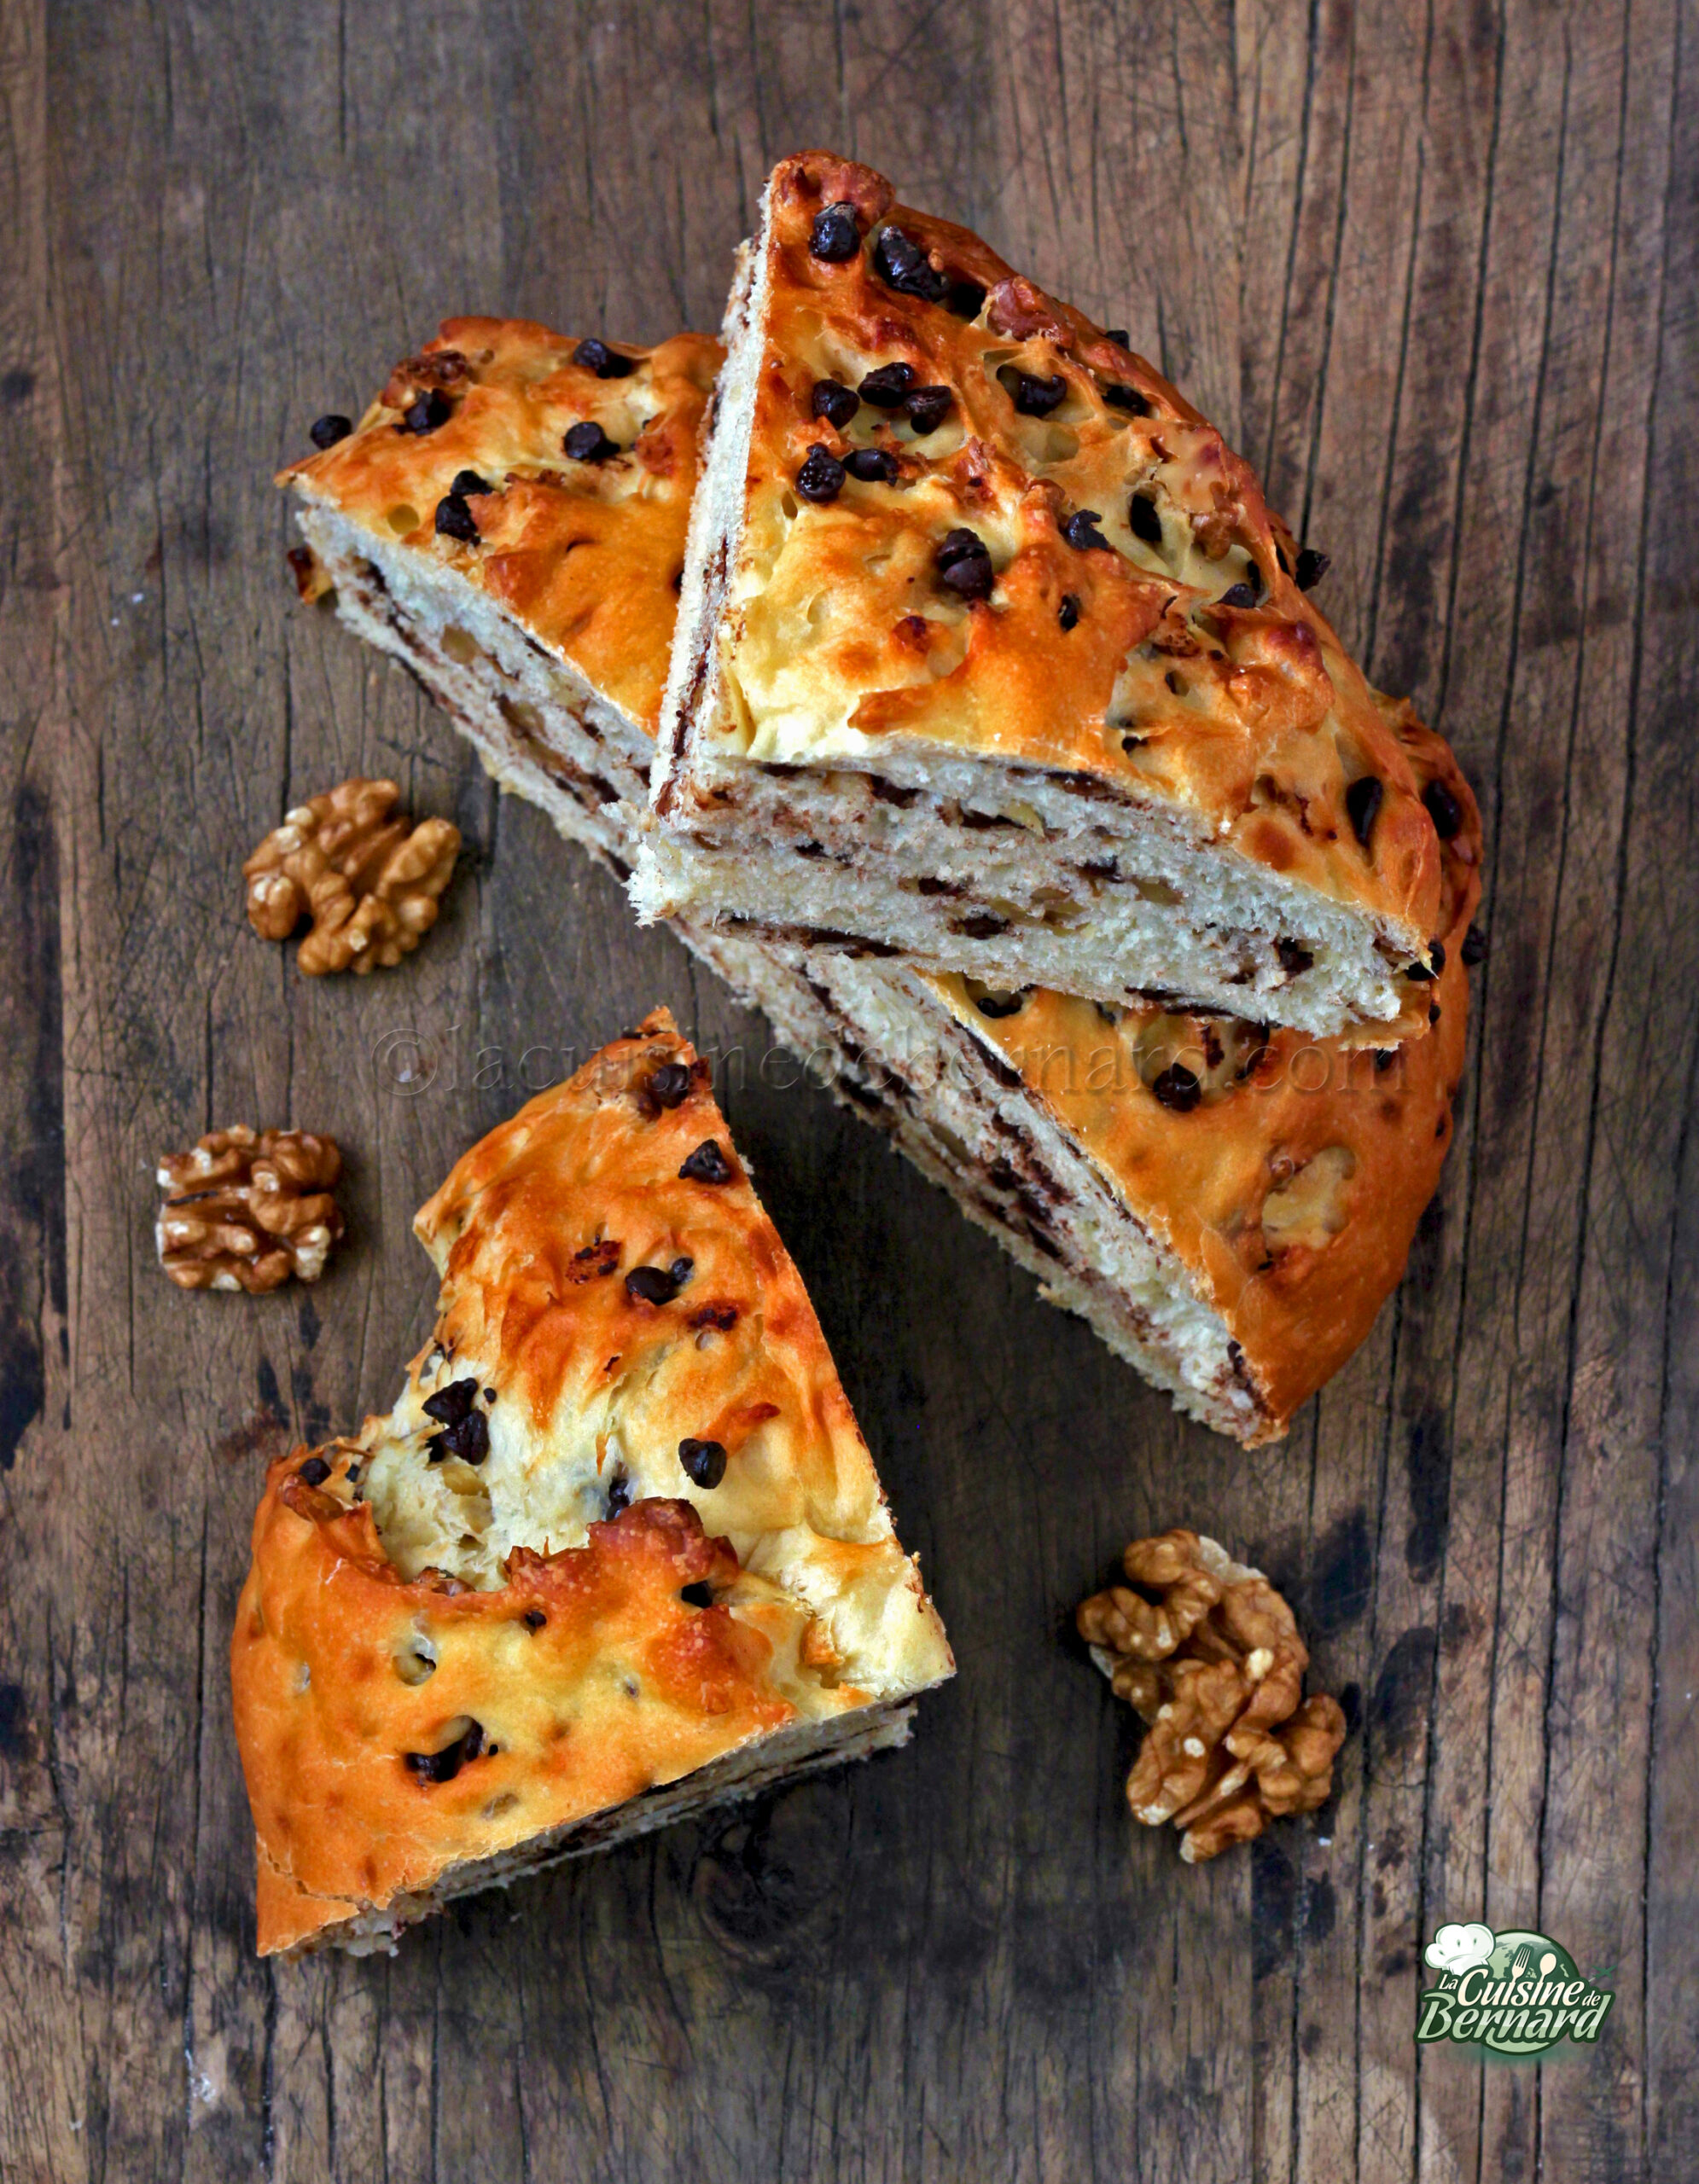
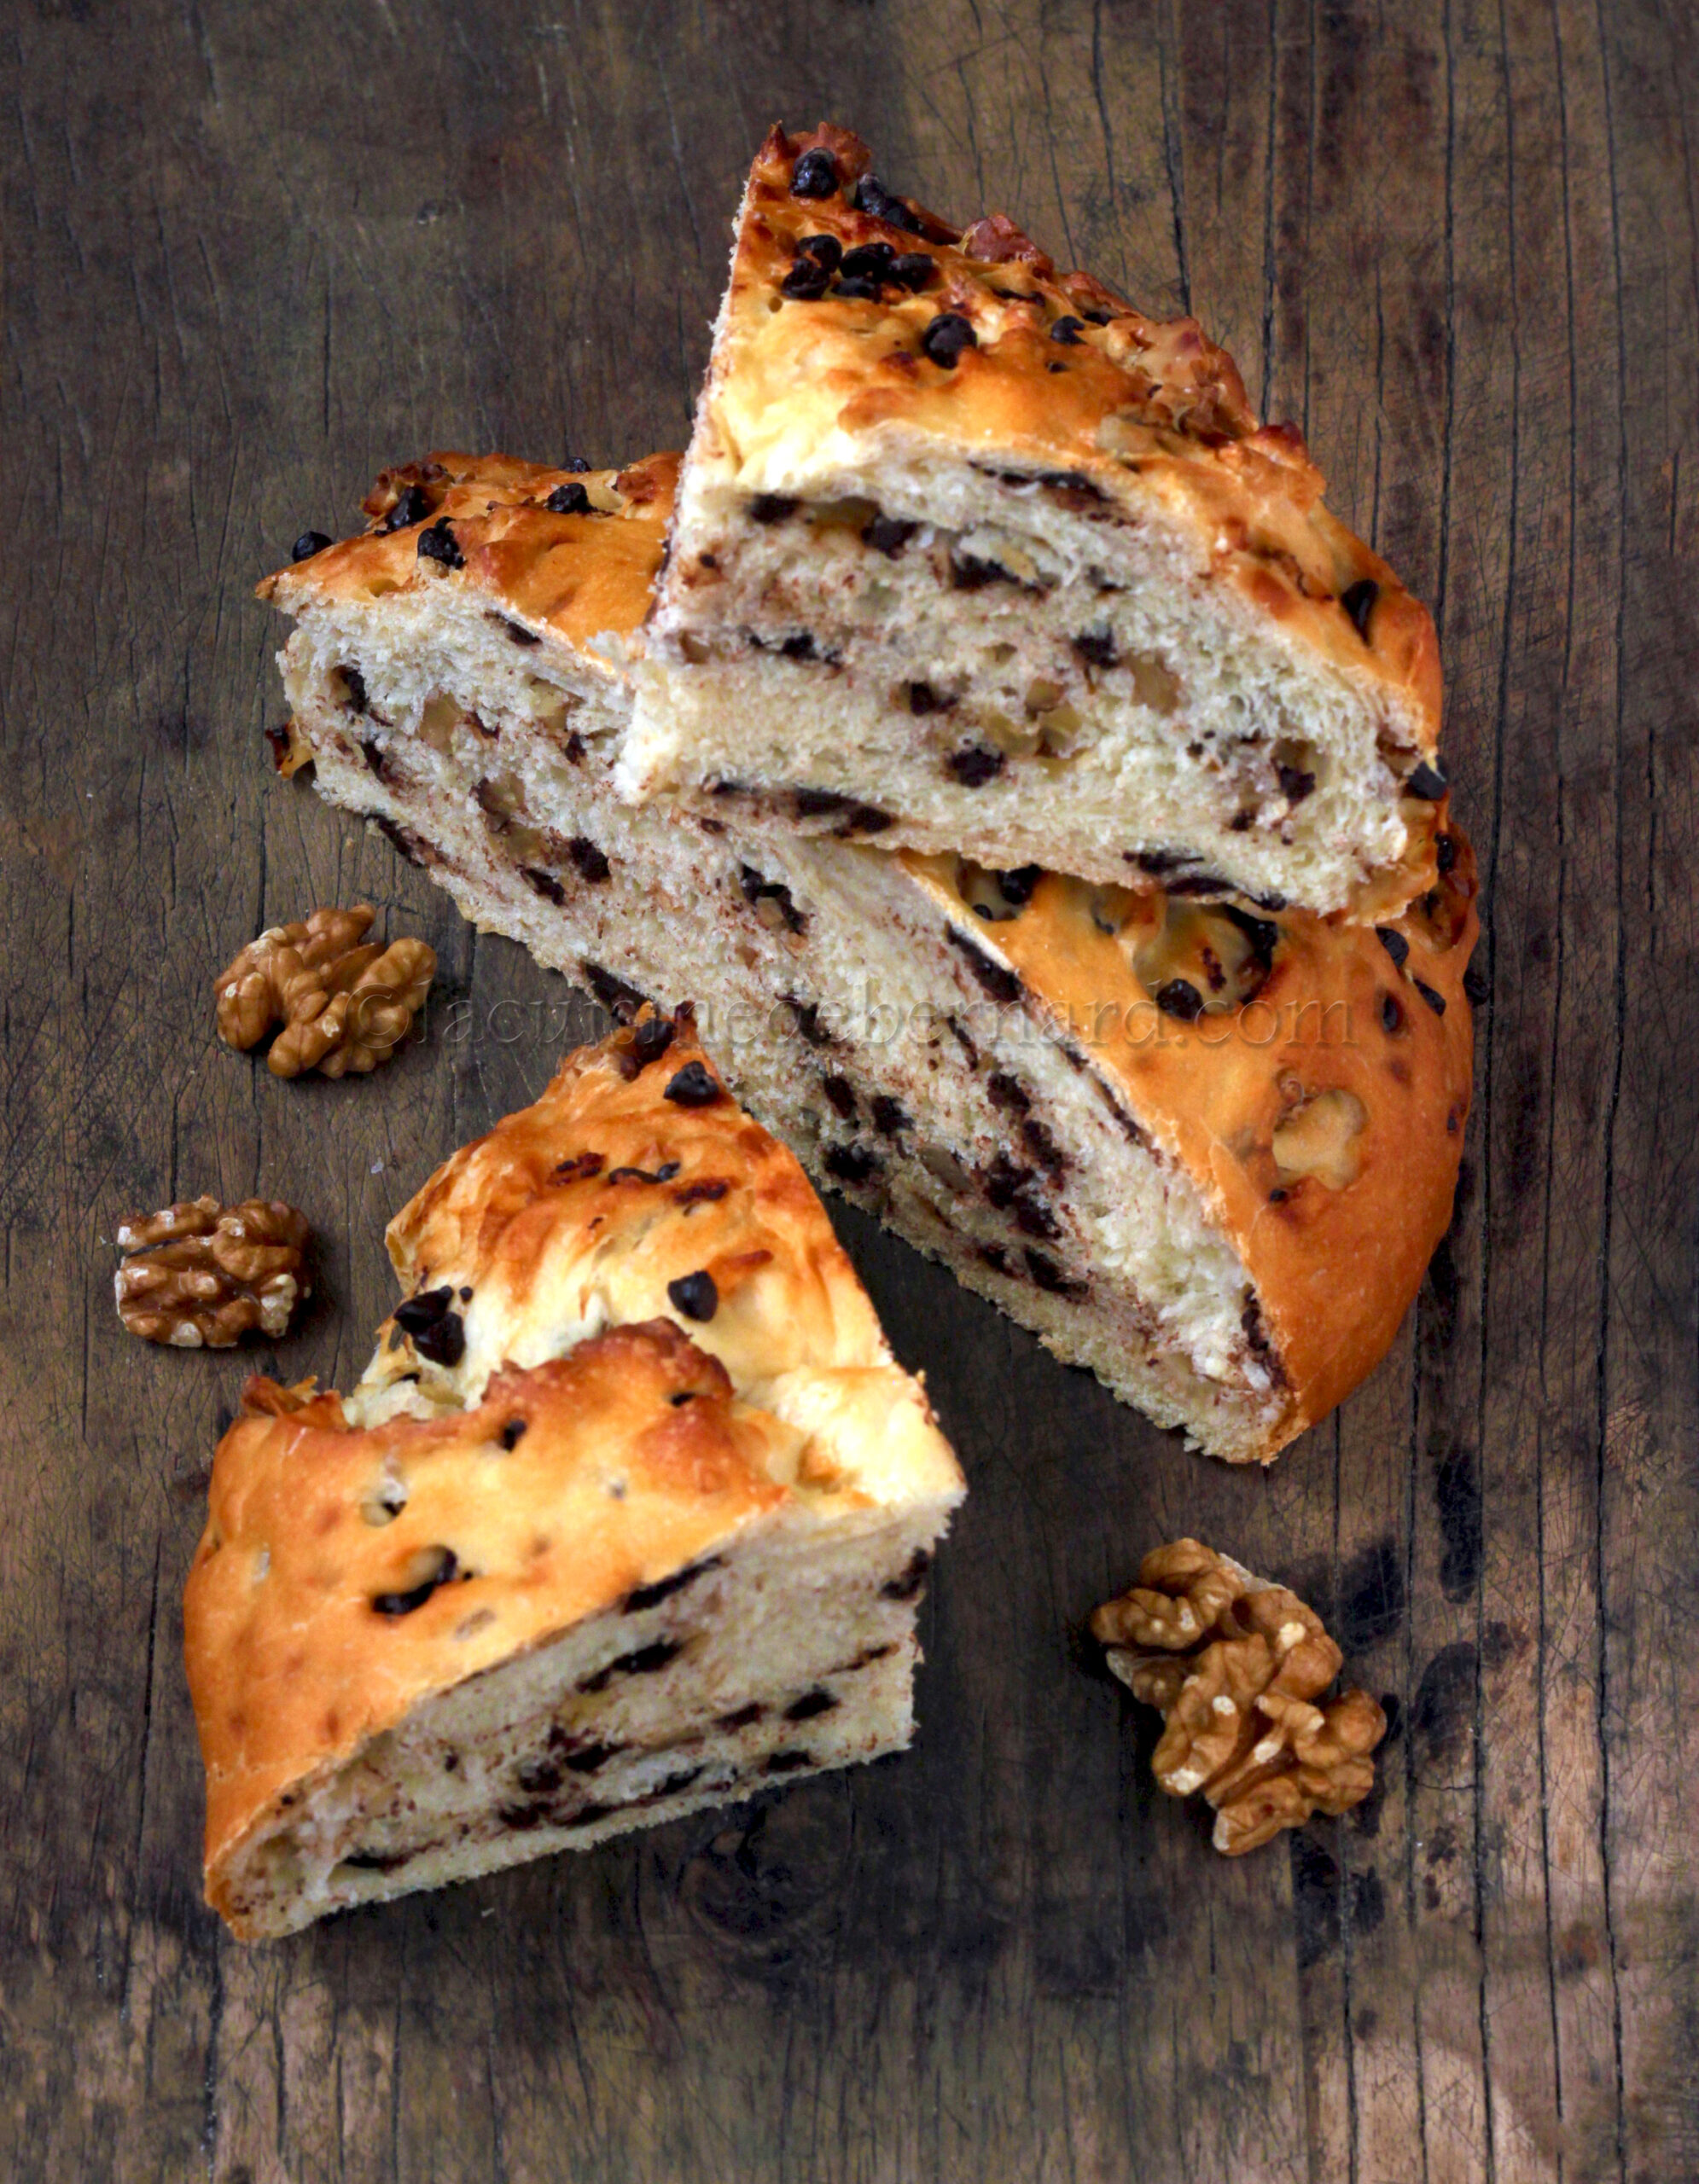
After sharing with you my recipe for thanzong buns (recipe HERE), I wanted to adapt it for a morning or afternoon bun, with lots of nuts and chocolate for a perfect autumnal atmosphere! The proportions are not the same and this will give you a very soft brioche, not too sweet or too buttery. It will be perfect for comforting yourself at home!
Thangzong:
- 15g flour
- 80g milk
Dough:
- 110g of milk
- 7g dehydrated baker’s yeast (or 15g fresh)
- 30g of sugar
- 1 large egg
- 235g flour
- 90g of semi-salted butter
- 100g of nuts
- 100g of dark or milk chocolate chips
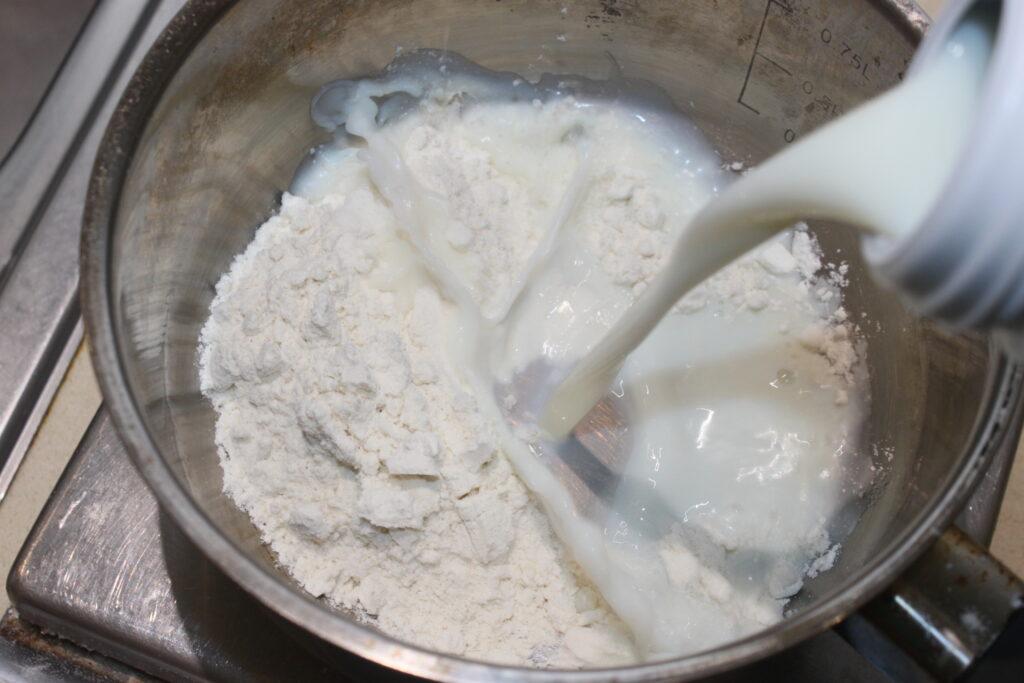
Start by preparing the thangzong. Put the flour in a small saucepan, then pour in the milk gradually while whisking to avoid lumps.
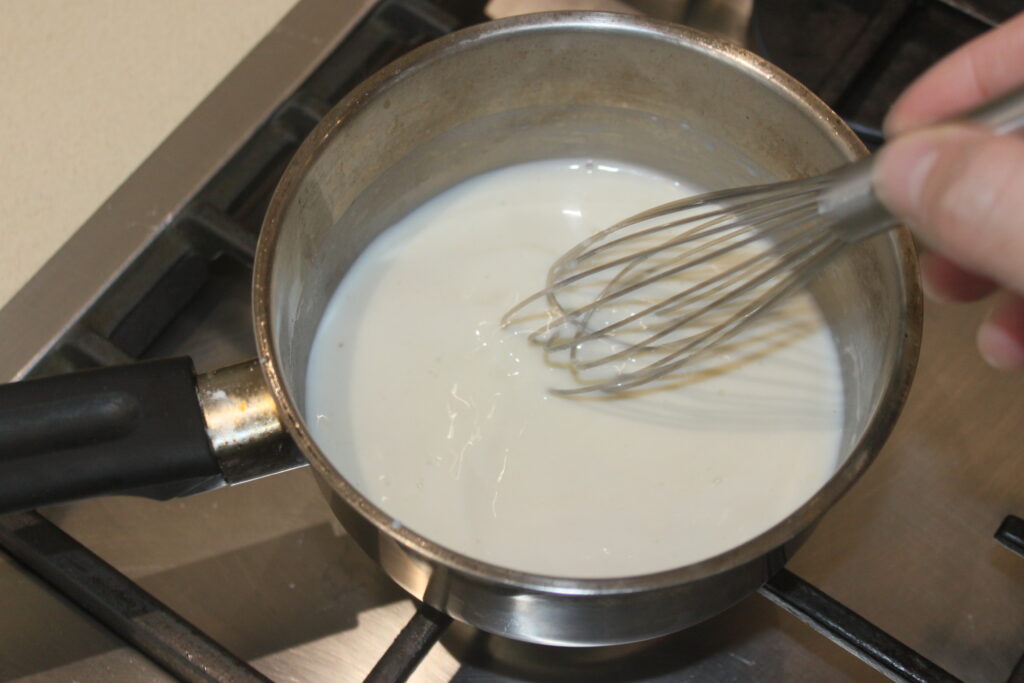
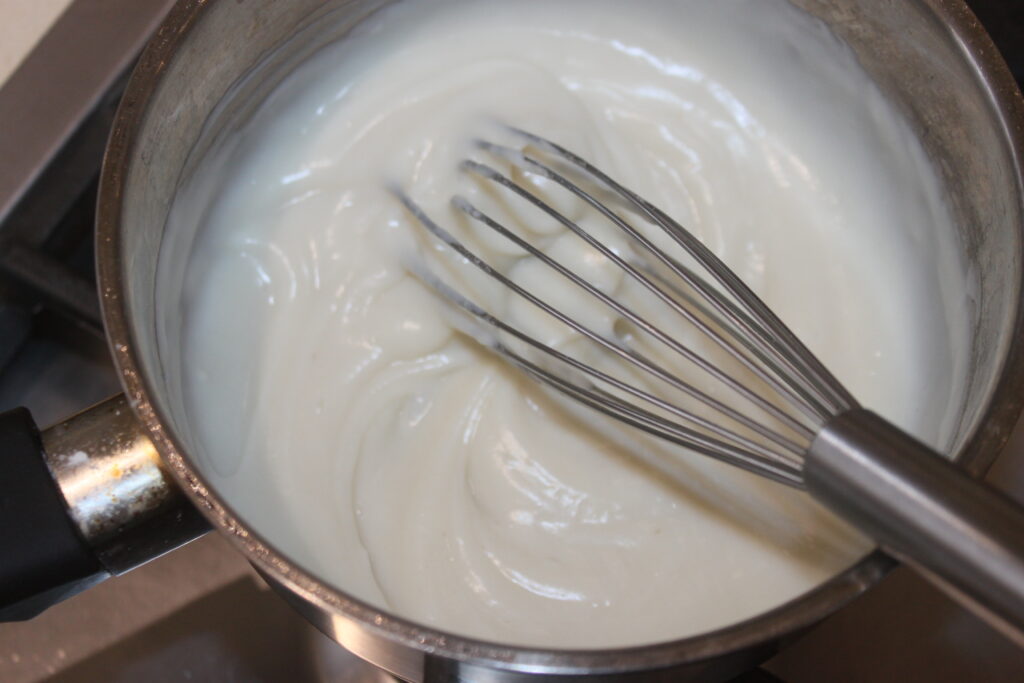
Heat over low heat. The mixture will thicken. When it reaches 65°C, turn off the heat and let it cool for a few minutes.
Put all the ingredients, including the thanagzong, in the bowl of your food processor, except the butter, nuts and chocolate.
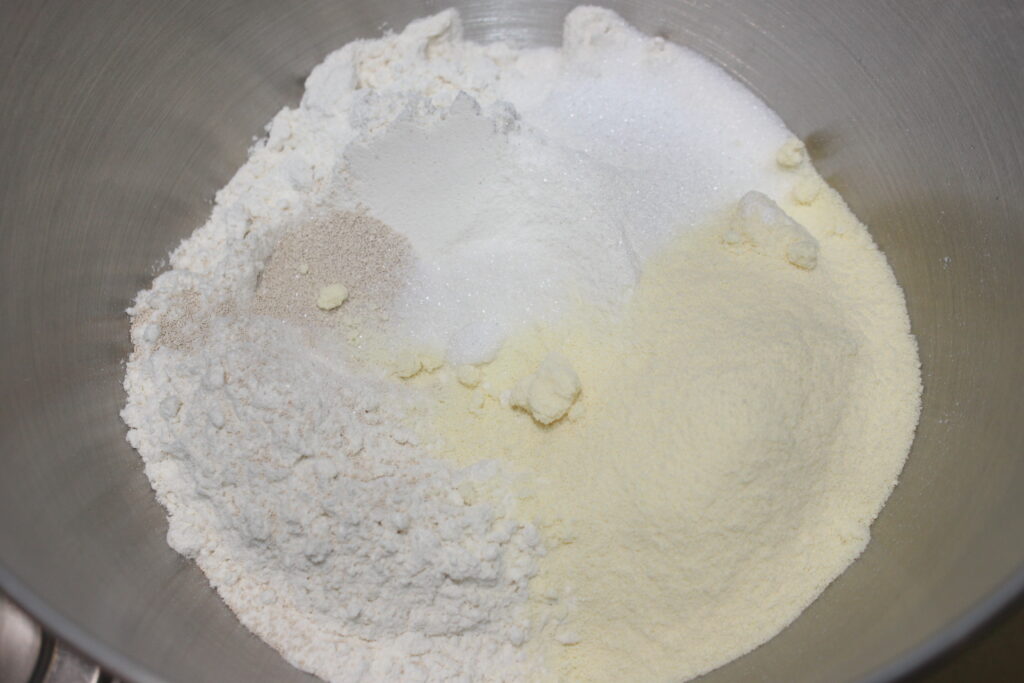
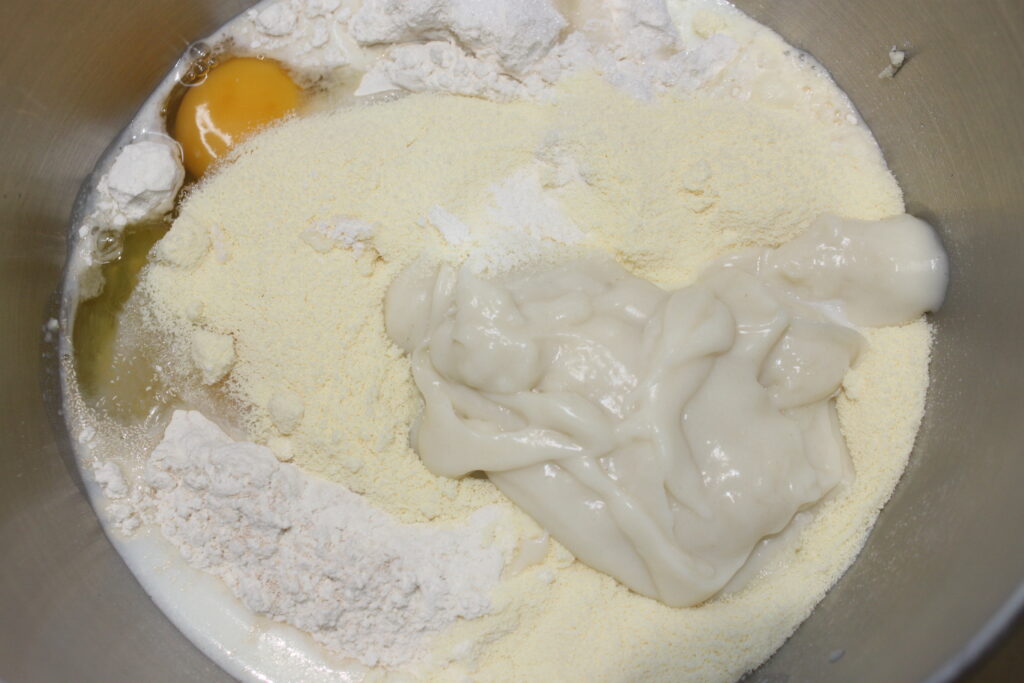
Knead for 10 minutes with the dough hook.
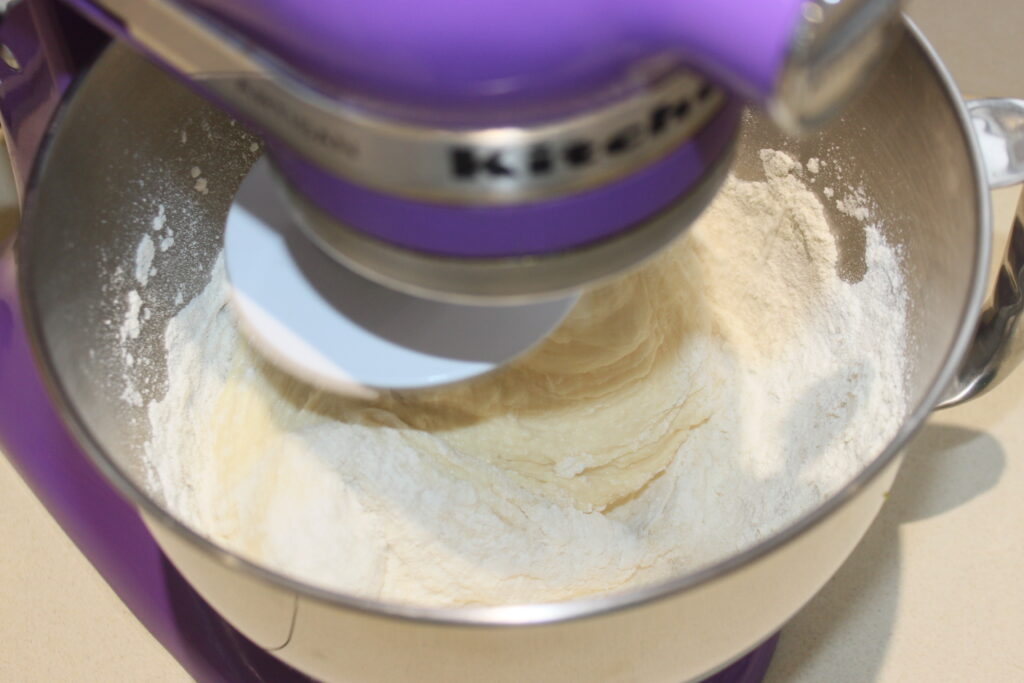
Add the butter in pieces.
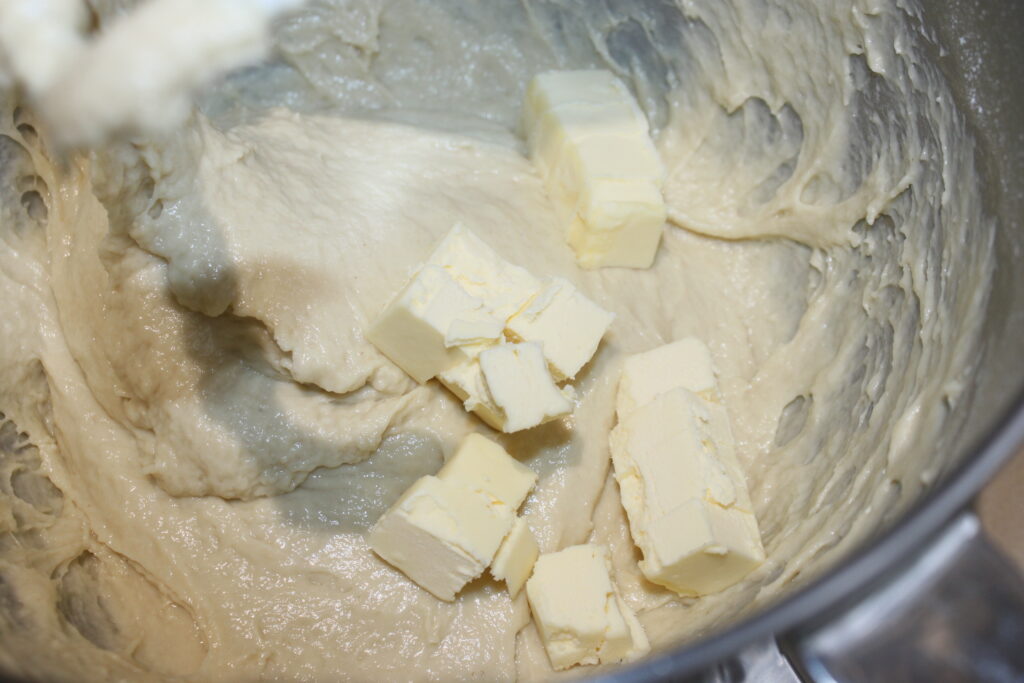
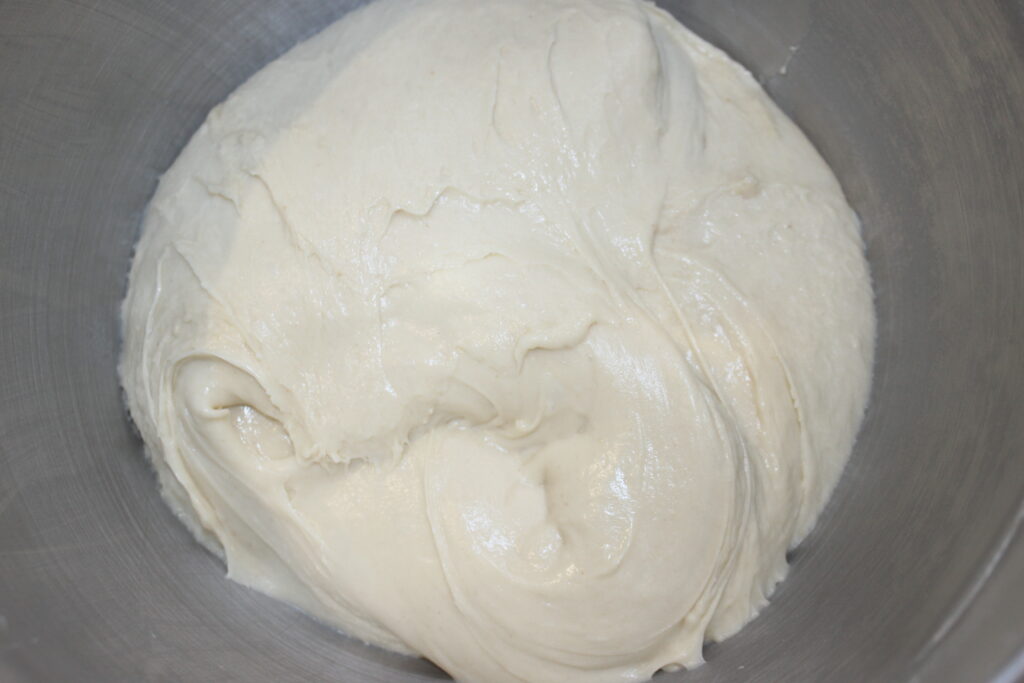
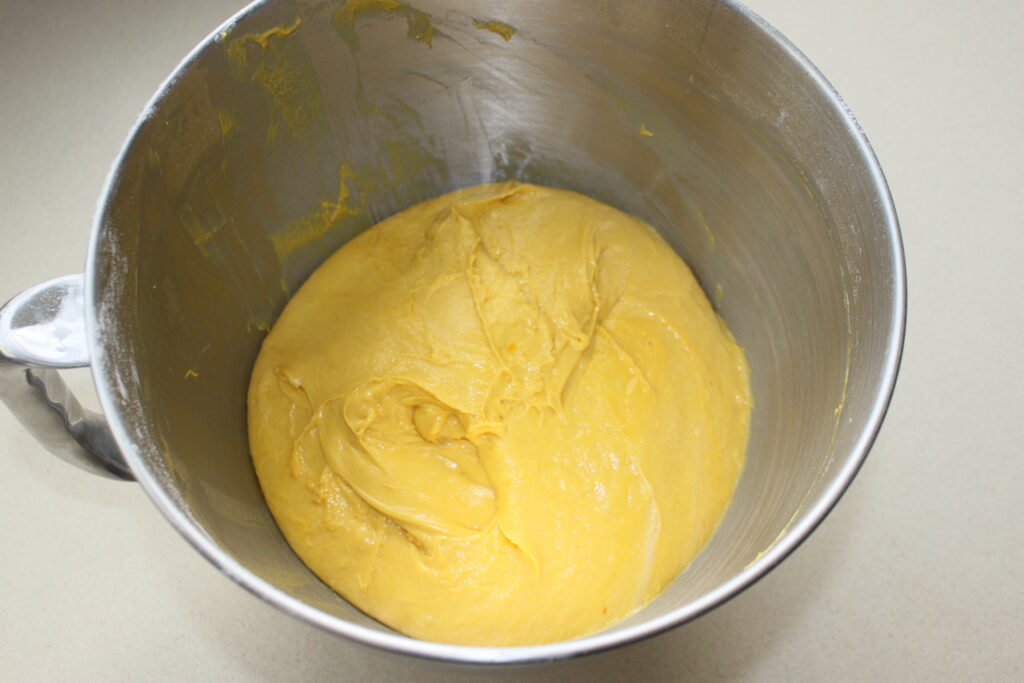
Knead again until the dough is smooth.
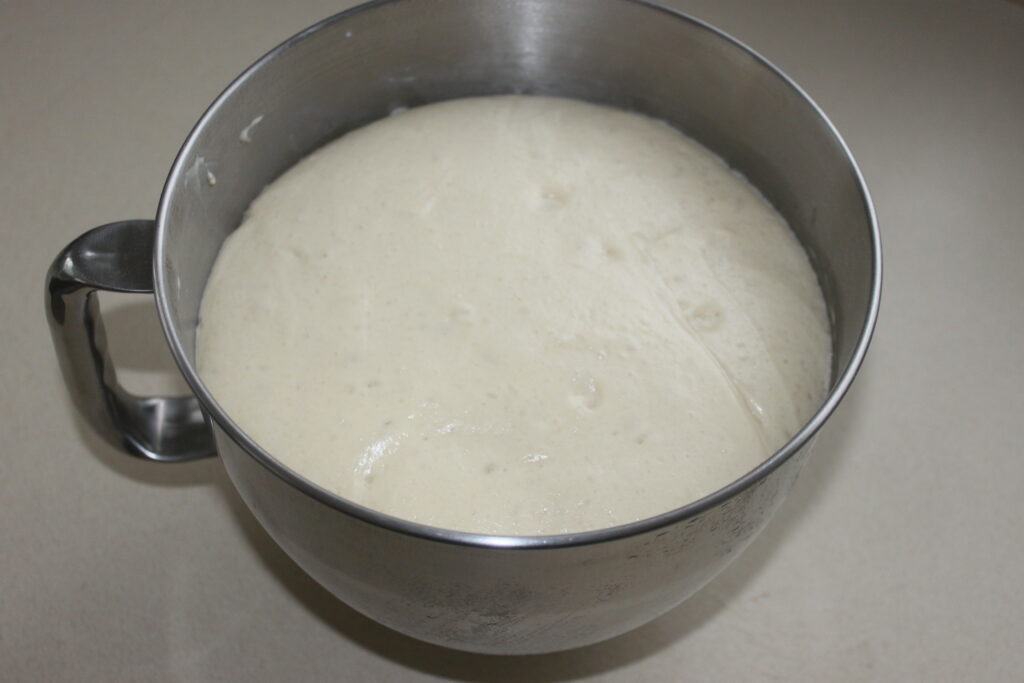
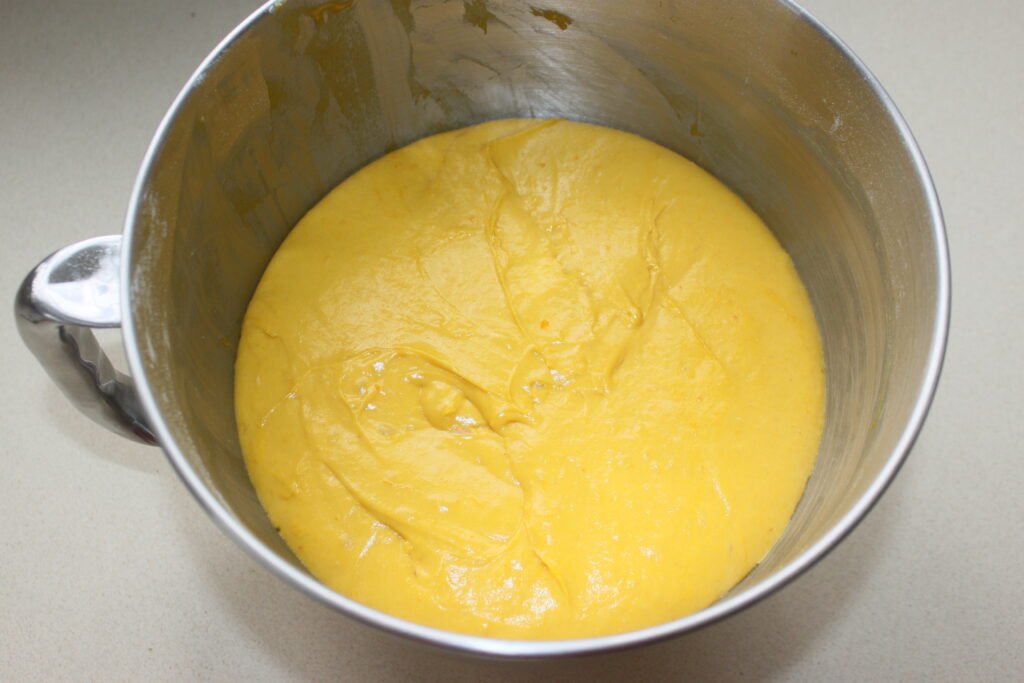
Let rise in a 40°C oven for 1h30, or at room temperature until the dough doubles in volume.
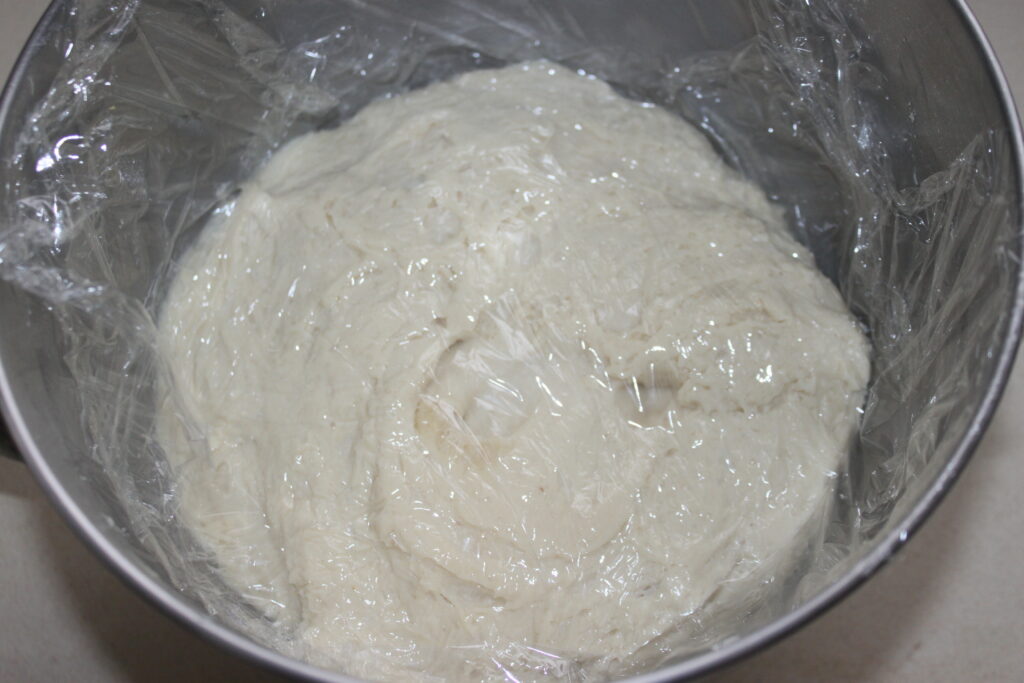
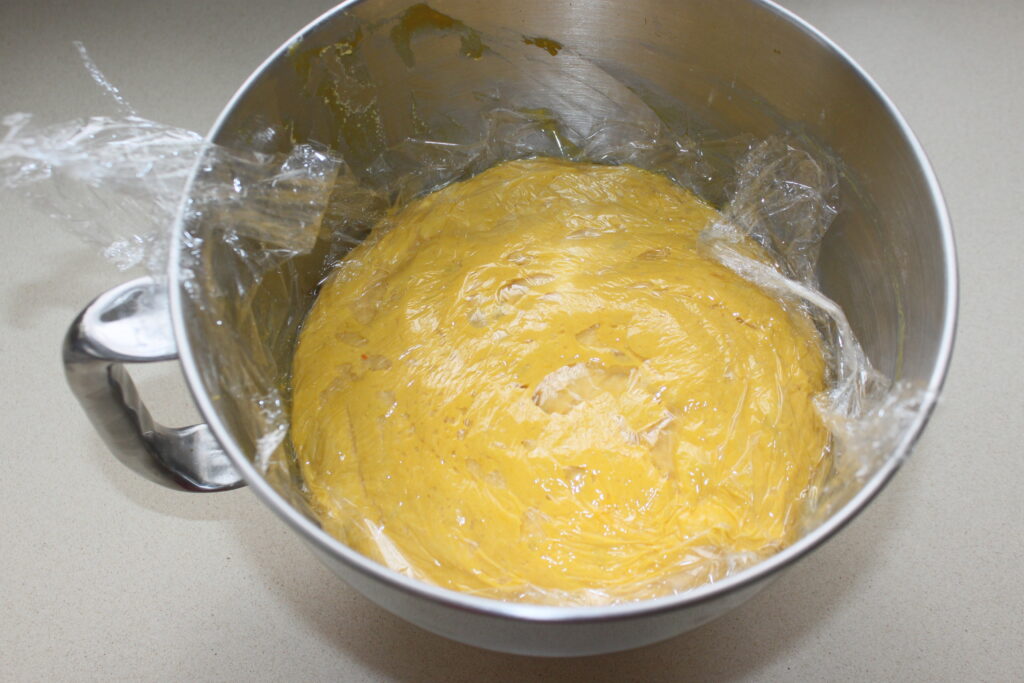
Degas the dough, place a cling film on the contact, then put in the fridge one night.
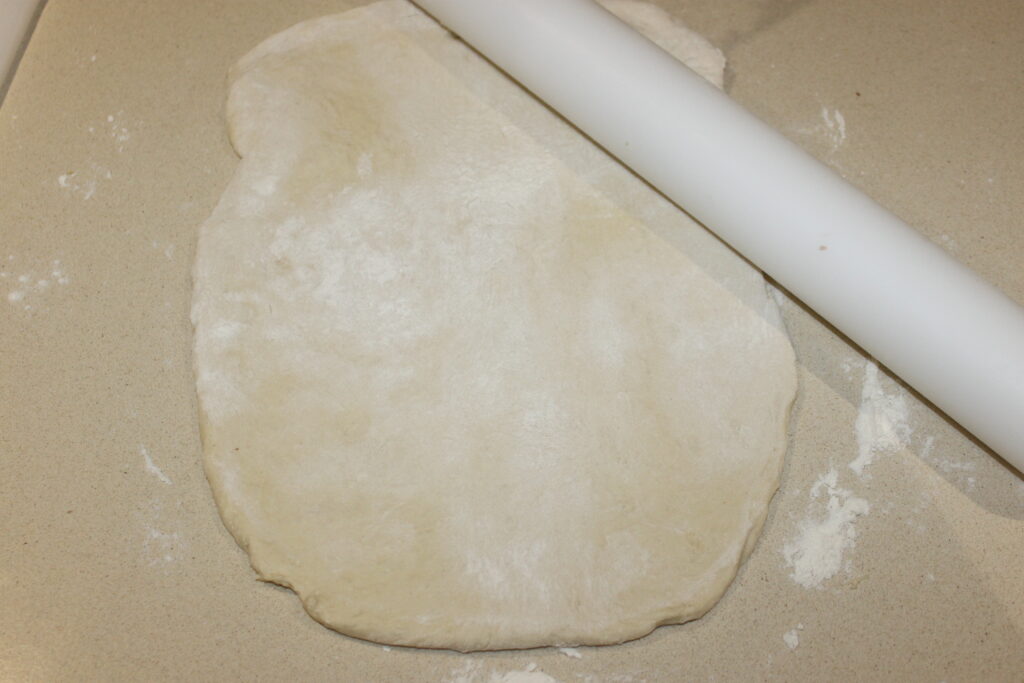
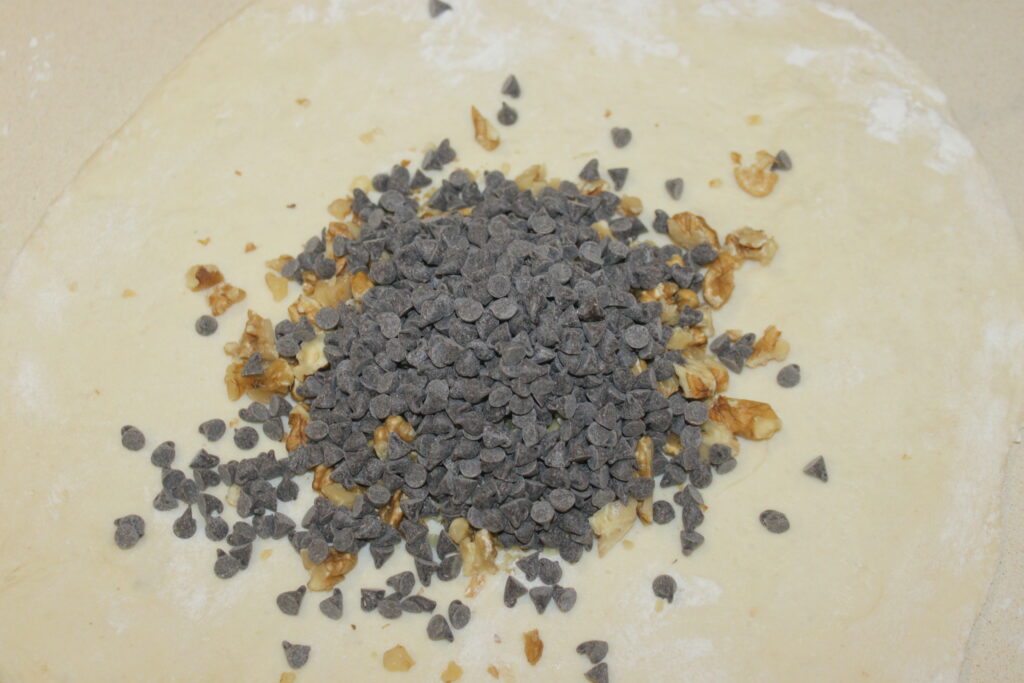
The next day the dough will have puffed up. Degas it again and spread it out on a lightly floured work surface.
Pour the chocolate chips and chopped nuts into the center.
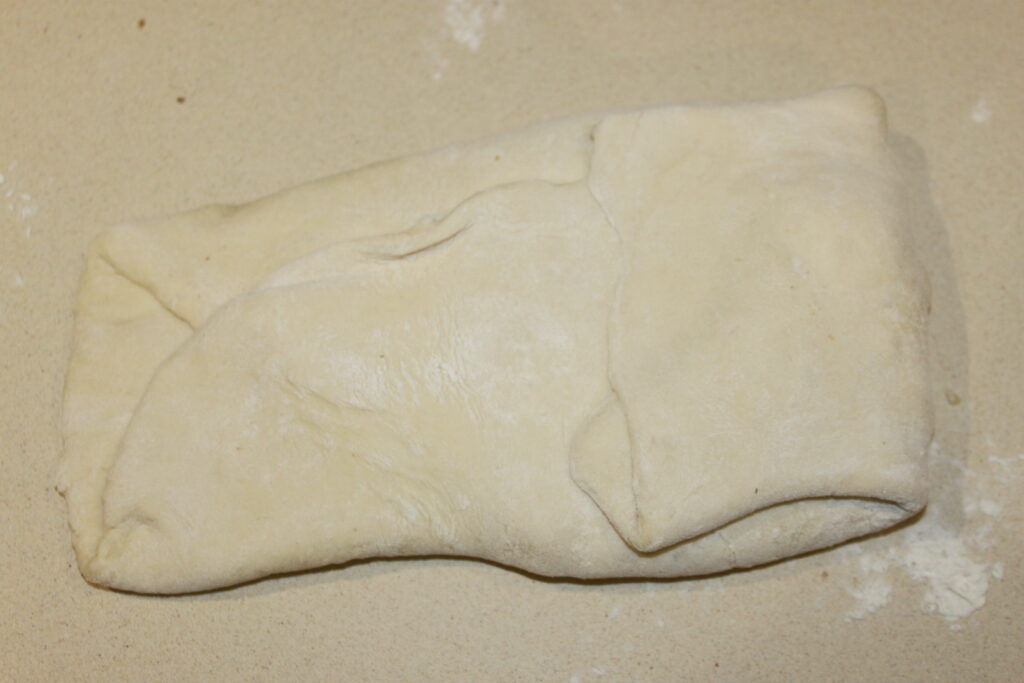
Fold the top of the dough towards the center, then the bottom and finally the sides.
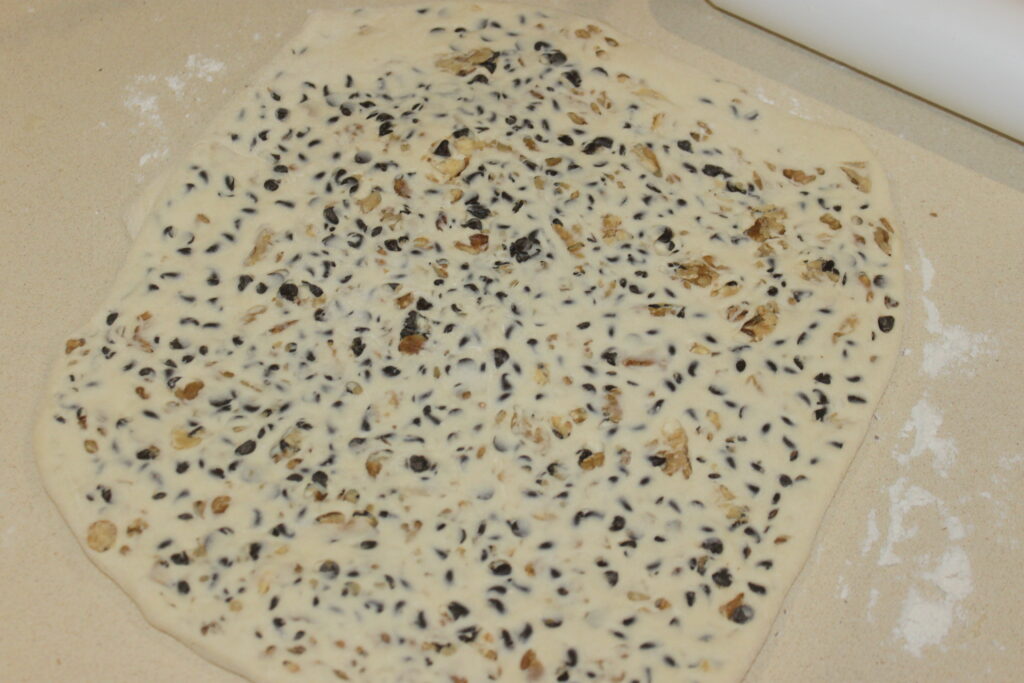
Roll out the dough. The nuts and chocolate will decide the thickness of the dough. Fold the dough in three in one direction and then in three in the other, like a puff pastry, even if it is not the case here. Finally, roll out the dough into a square of about 30cm on each side.
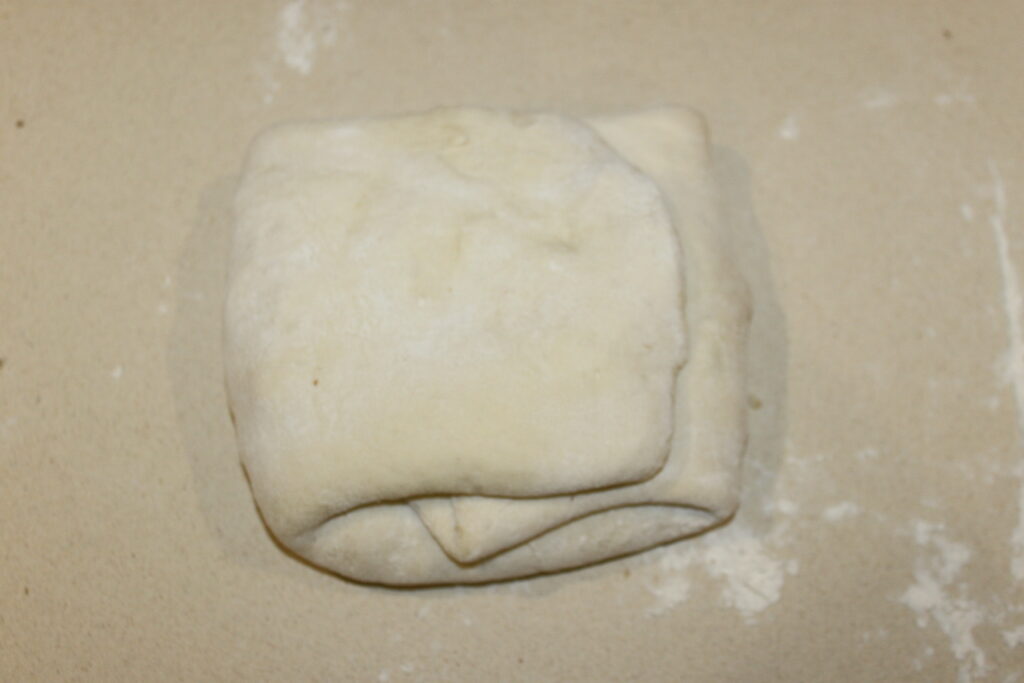
Fold the corners towards the center.

Then the new corners obtained again towards the center.
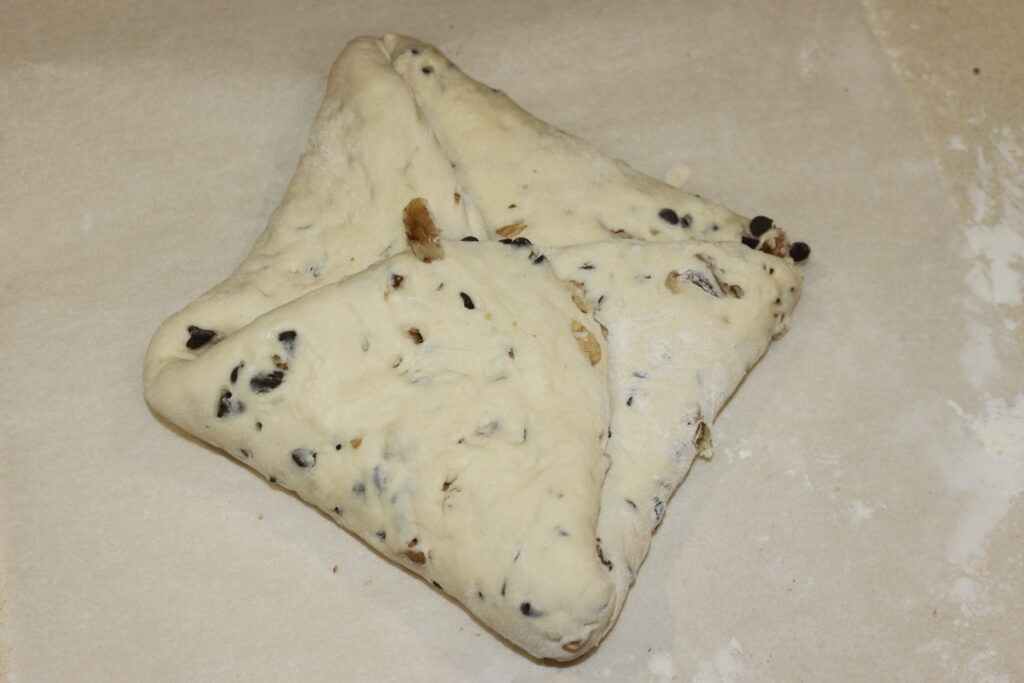
Turn the dough over to make a nice ball.
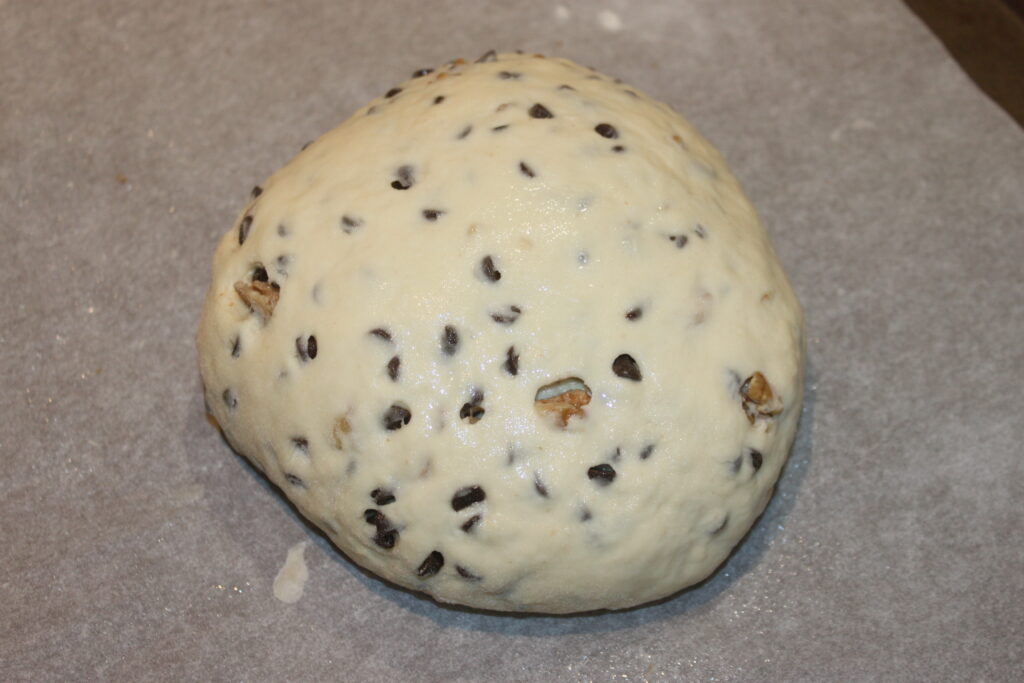
Let it grow again 1h30-45 at room temperature. It should shake slightly.
Bake for 35-40 minutes at 160°C on a convection oven.
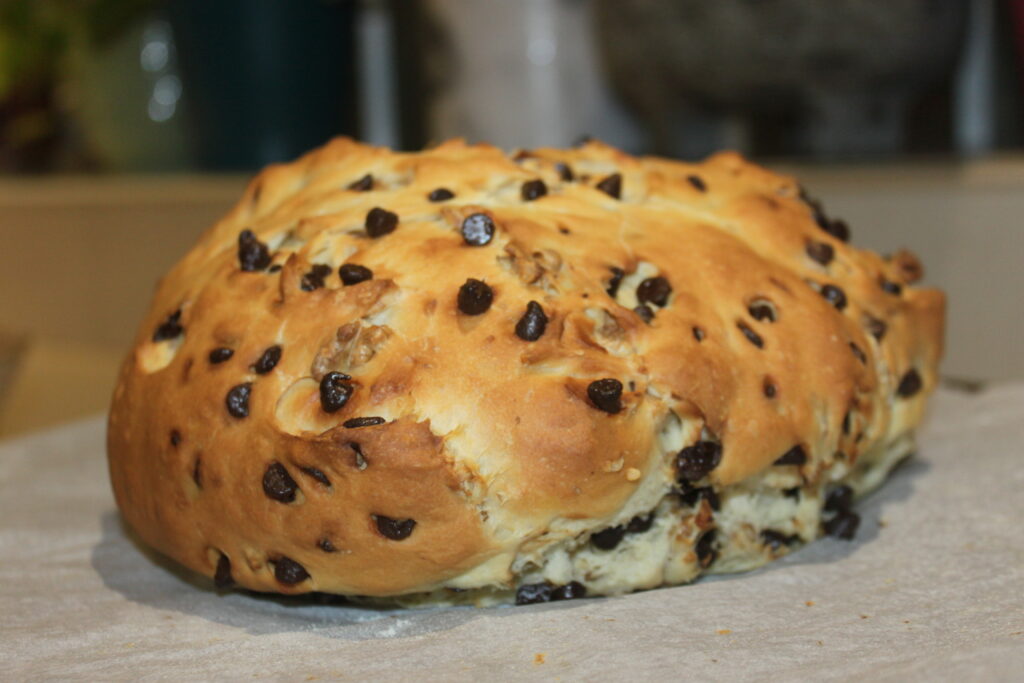
Let cool before eating. Keep it in a clean line to keep it moist!

Brioche chocolat noix
Ingredients
Pâte :
- 110 g lait demi-écrémé
- 7 g levure de boulangerie déshydratée
- 30 g sucre
- 1 œuf
- 235 g farine
- 90 g beurre demi-sel
- 100 g noix
- 100 g pépites de chocolat
Instructions
- Commencez par préparer le thangzong. Mettez la farine dans une petite casserole, puis versez le lait progressivement tout en fouettant pour éviter les grumeaux.
- Mettez à chauffer sur feu doux. Le mélange va épaissir. Quand le tout arrive à 65°C, arrêtez le feu et laissez tiédir quelques minutes.
- Dans la cuve de votre robot, mettez tous les ingrédients dont le thanagzong, sauf le beurre, les noix et le chocolat.
- Pétrissez pendant 10 minutes avec le crochet pétrisseur.
- Ajoutez le beurre en morceaux.
- Pétrissez de nouveau jusqu’à ce que la pâte soit bien lisse.
- Laissez gonfler en étuve à 40°C pendant 1h30, ou à température ambiante jusqu’à ce que la pâte double de volume.
- Faites dégazer la pâte, placez un film étirable au contact, puis mettez au frais un nuit.
- Le lendemain la pâte aura gonflé. Dégazez-la à nouveau puis étalez-la sur un plan de travail légèrement fariné.
- Versez au centre les pépites de chocolat et les noix en morceaux.
- Rabattez le haut de la pâte vers le centre, puis le bas et enfin les côtés.
- Étalez la pâte au rouleau. Les noix et le chocolat vont décider de l’épaisseur de la pâte. Pliez la pâte en trois dans un sens puis en trois dans l’autre, à la manière d’un feuilletage même si ici ce n’est pas le cas. Étalez enfin la pâte en un carré d’environ 30cm de côté.
- Rabattez les coins vers le centre.
- Puis les nouveaux coins obtenus à nouveau vers le centre.
- Retournez la pâte pour en faire une belle boule.
- Laissez-la à nouveau pousser 1h30-45 à température ambiante. Elle doit trembloter légèrement. Faites cuire 35-40 minutes à 160°C sur chaleur tournante.
- Laissez tiédir avant de dévorer. Conservez-la dans un ligne propre pour garder son humidité !
Nutrition

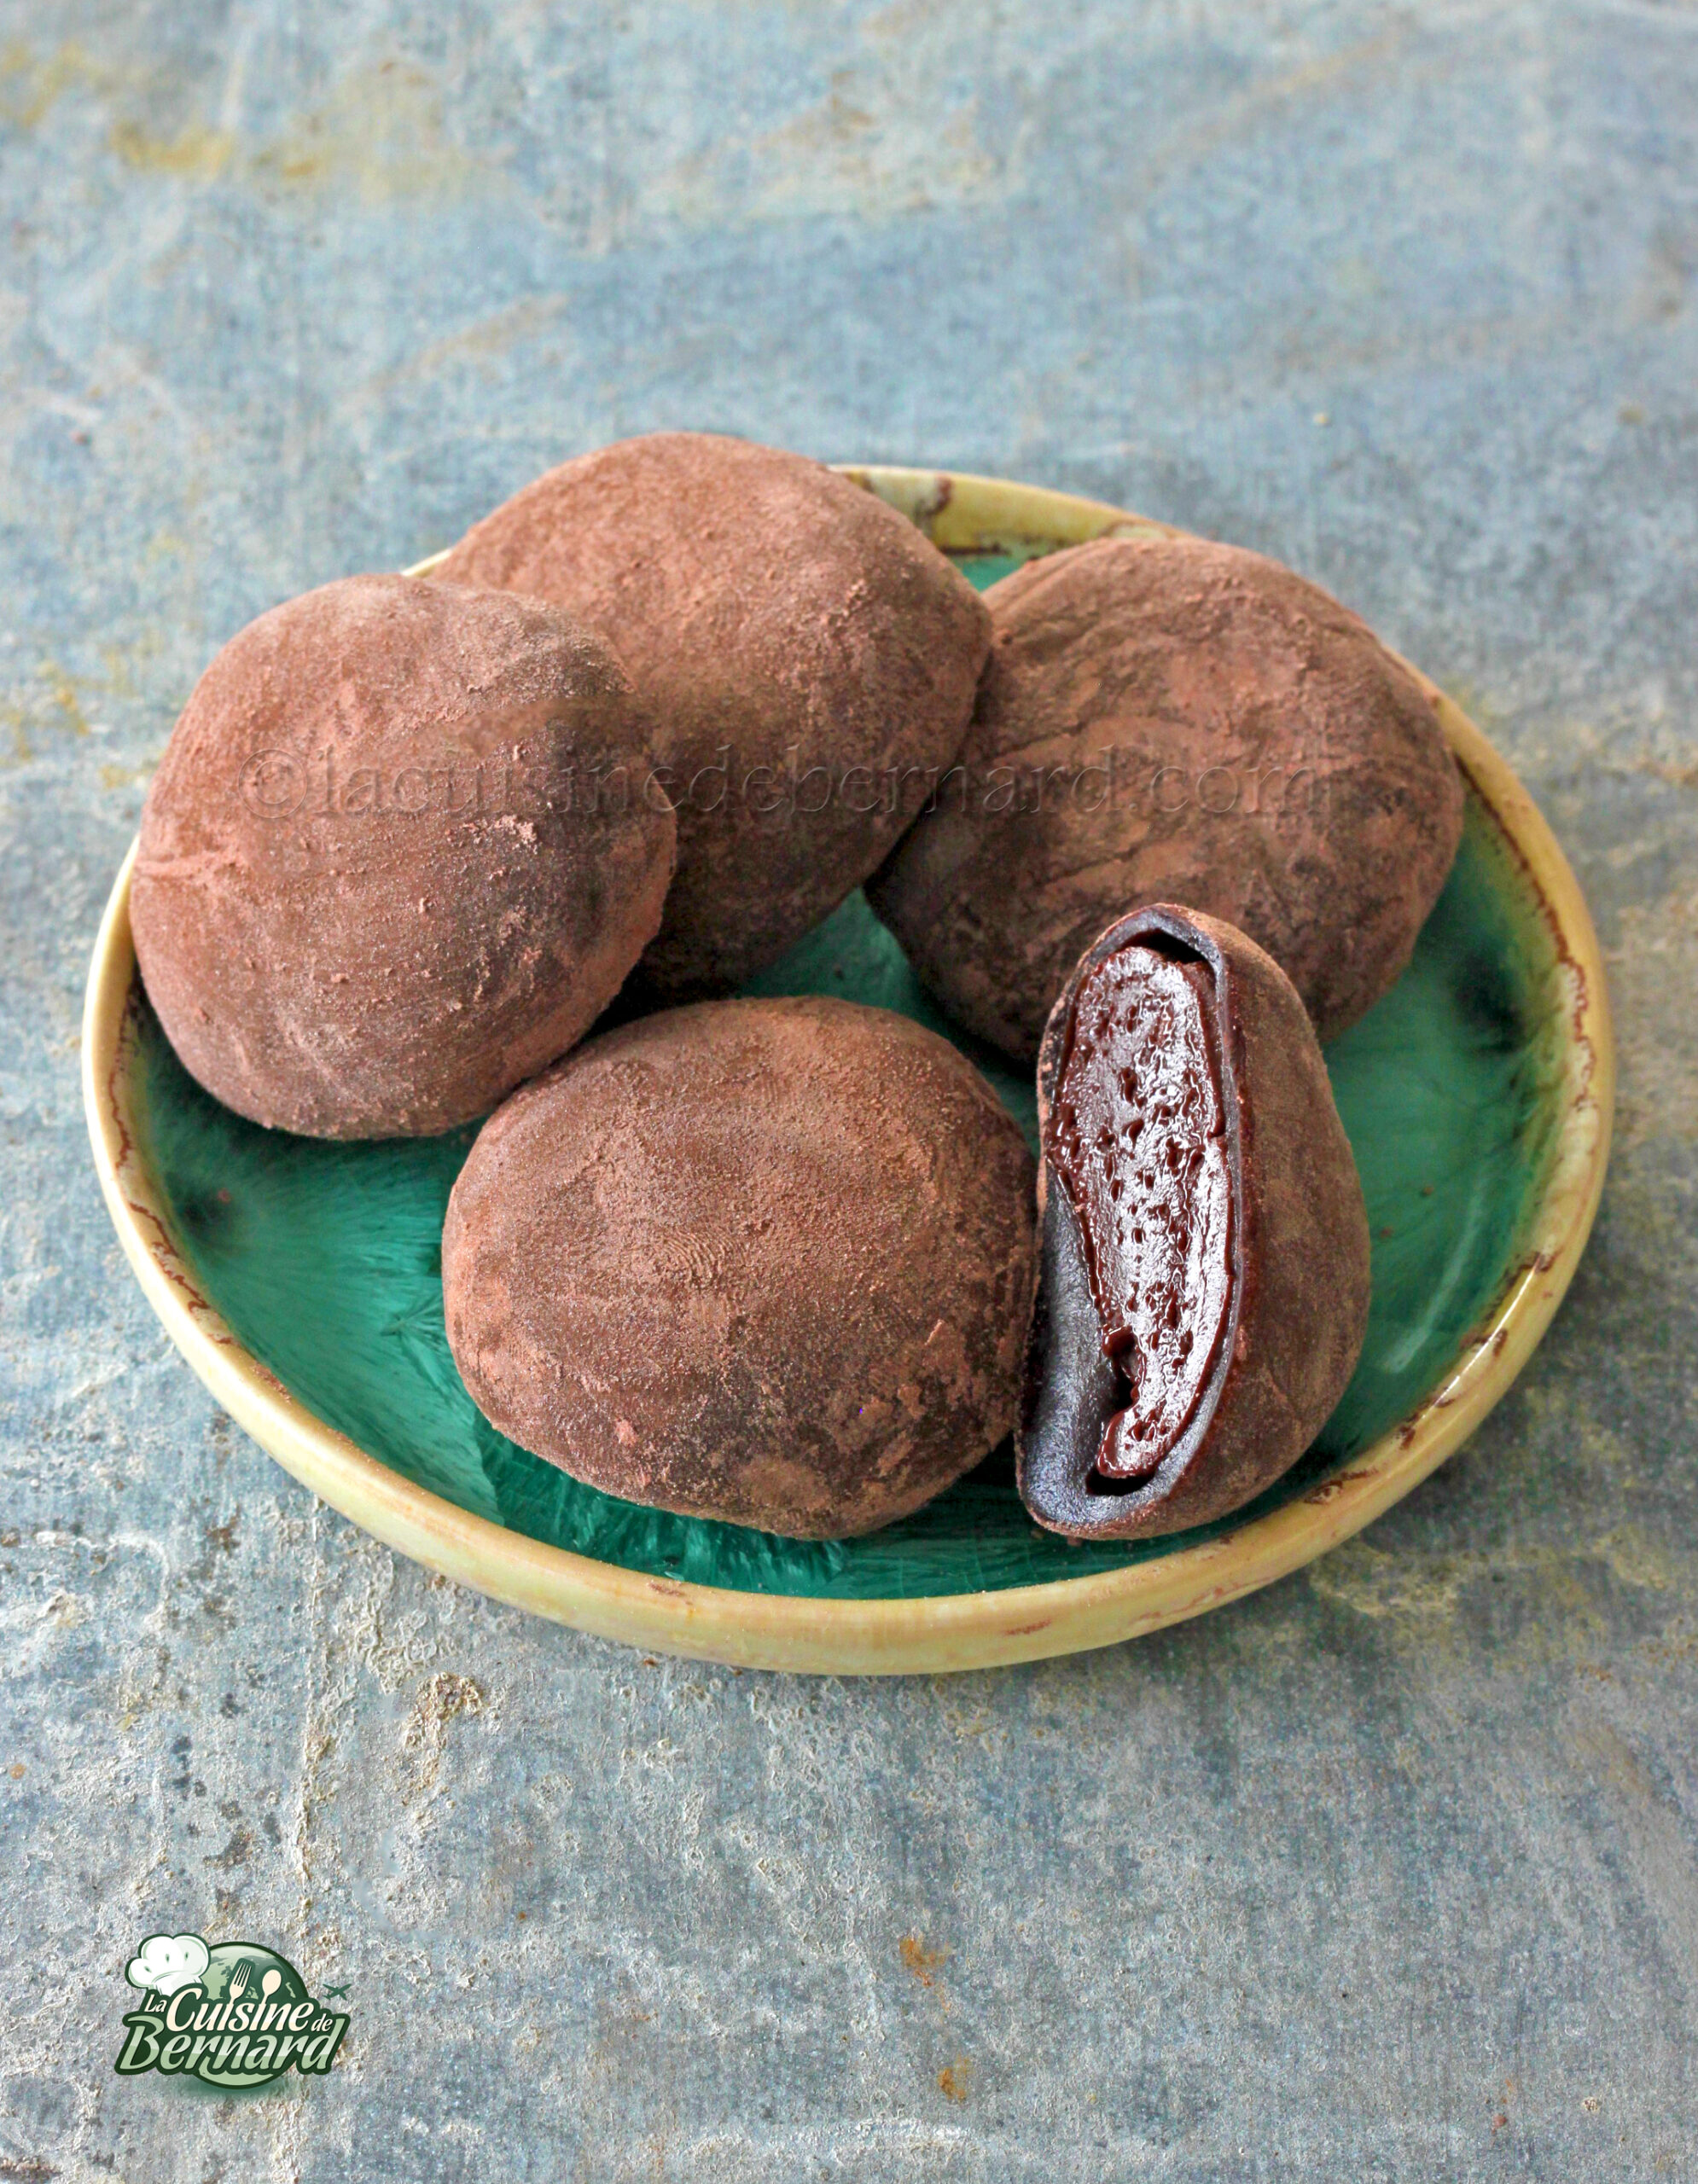
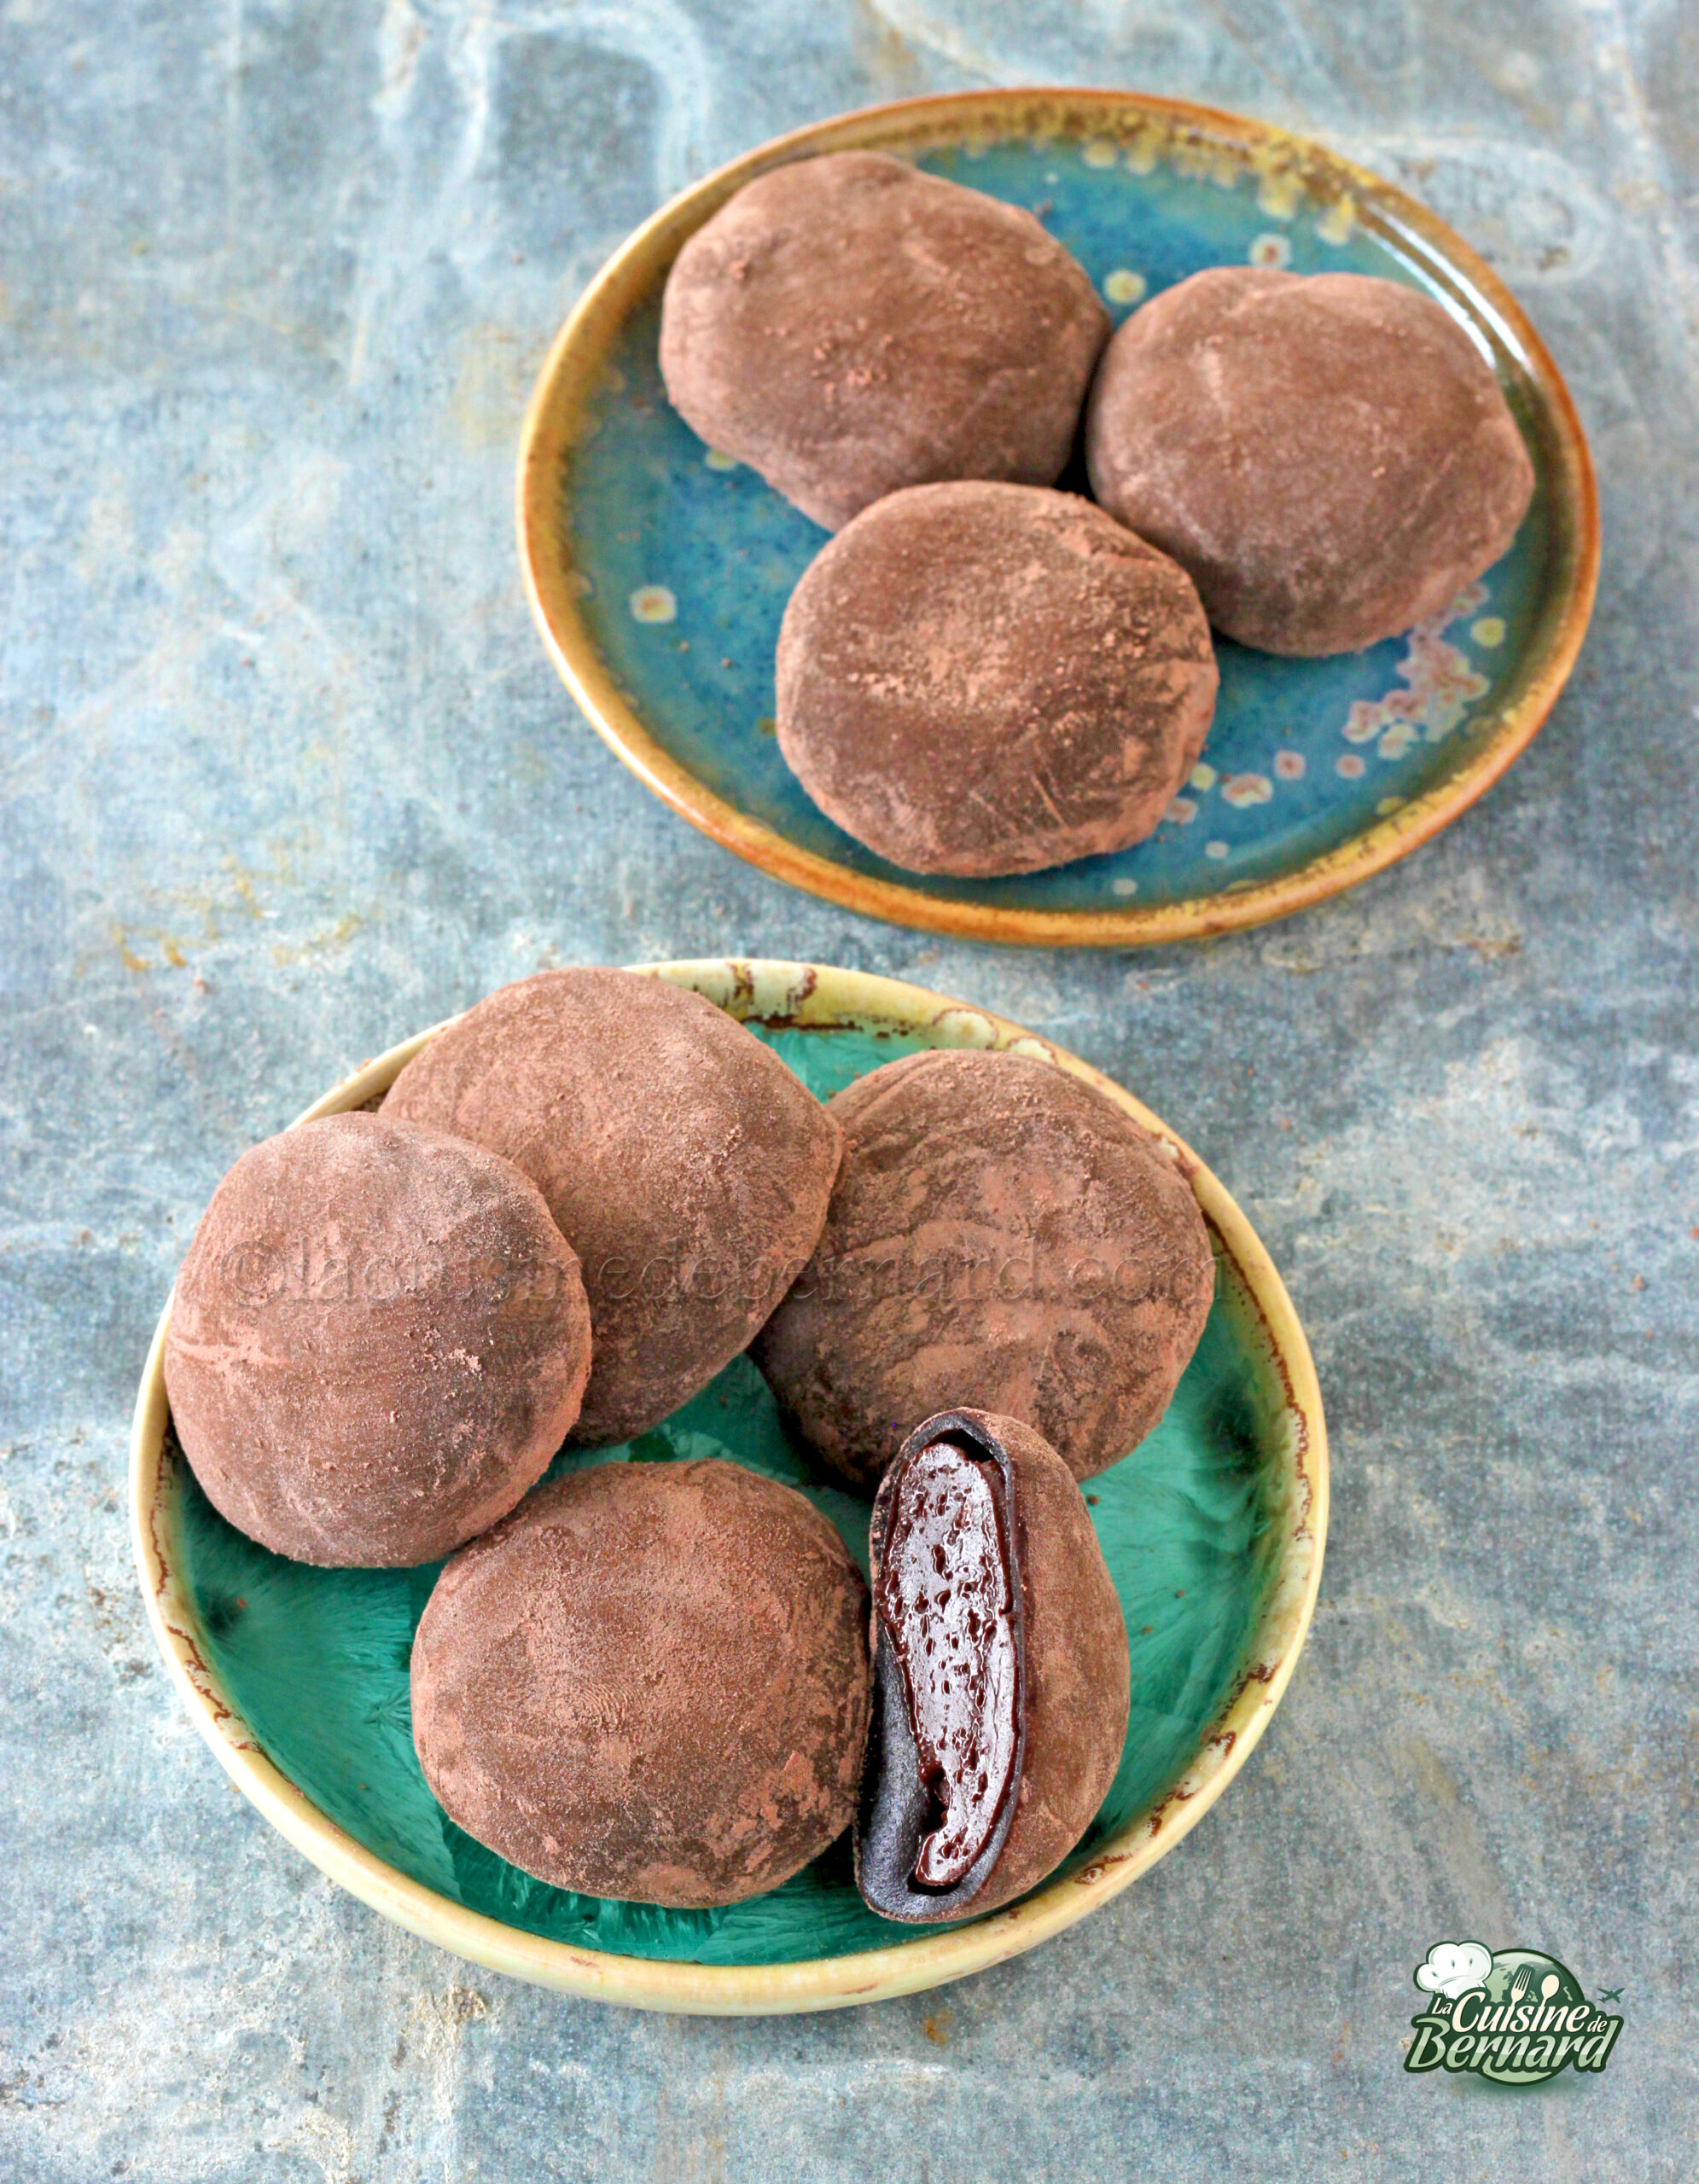
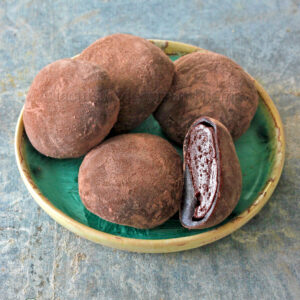
It seems like forever since I last made mochis for the blog. I had even put some in my first book “Mes desserts” published by Flammarion in 2014. There was a time when I went to Japan 3-4 times a year, and I plan to go back to continue discovering this fascinating country. I suggest these chocolate mochis, which do not contain any bean paste. I work here in the microwave for a quick and easy result. A little treat for those who love the amazing texture of mochis!
For 18 mochis :
Ganache mochi :
- 100g of milk chocolate
- 90g of dark chocolate
- 125g of cream
- 45g of butter
Cocoa mochi dough:
- 120g of glutinous rice flour
- 25g unsweetened cocoa powder
- 110g of sugar
- 285g of semi-skimmed milk
- 55g of soft butter
Mochi powder :
- 100g of potato starch
- 25g unsweetened cocoa powder
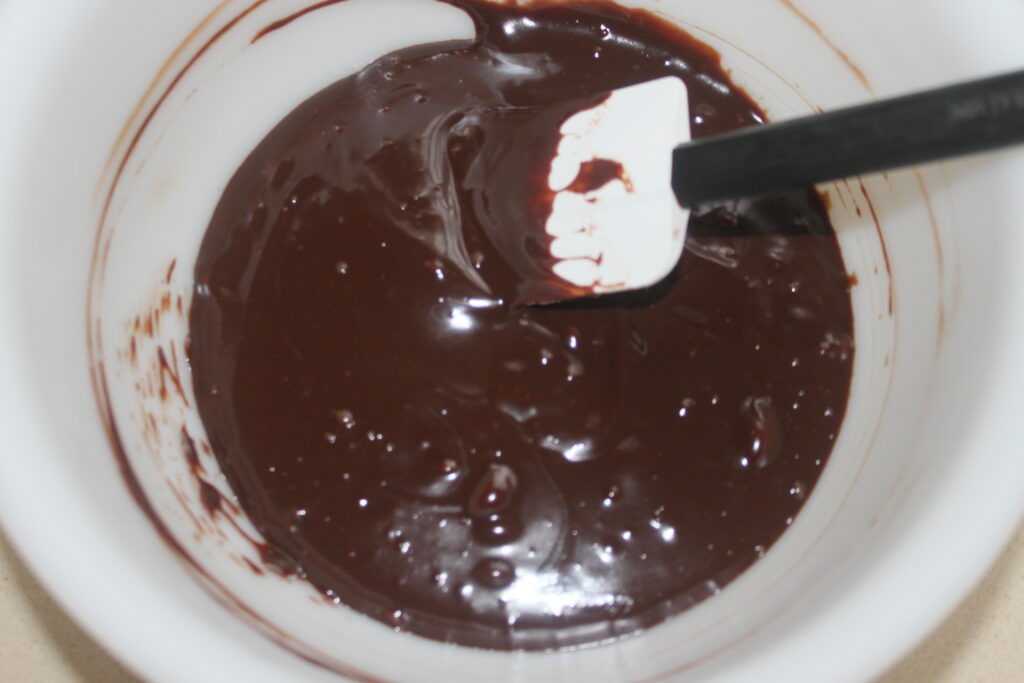
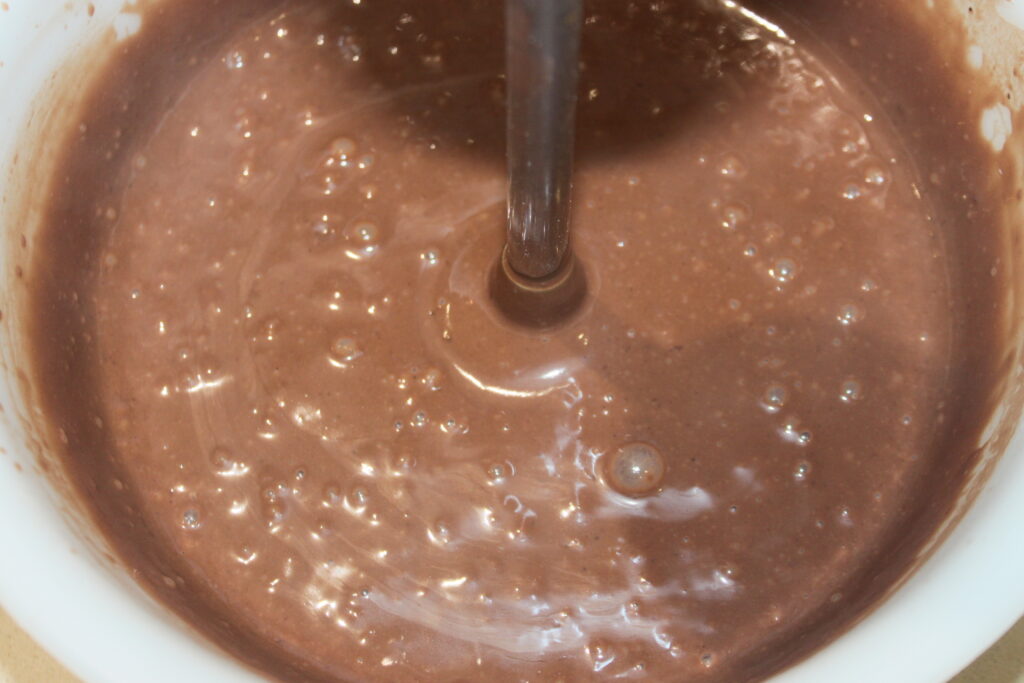
Start by preparing the ganache, even the day before. Place all ingredients in a microwave-safe container or in a water bath. Melt the whole thing while mixing well.

In the microwave, go in 30 second increments maximum! The ganache should be smooth.
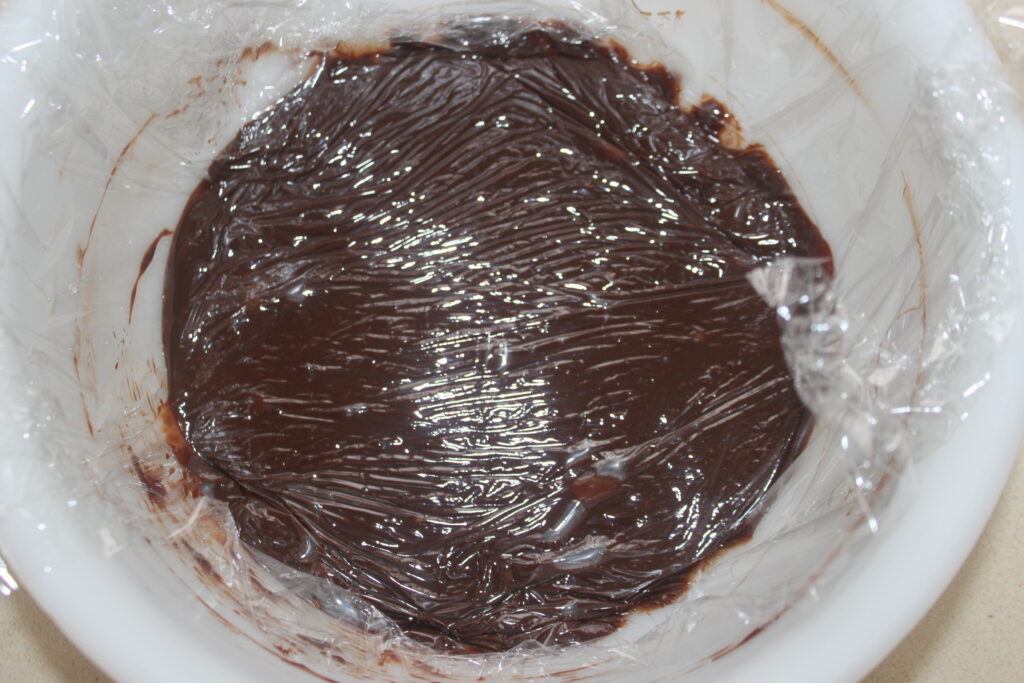
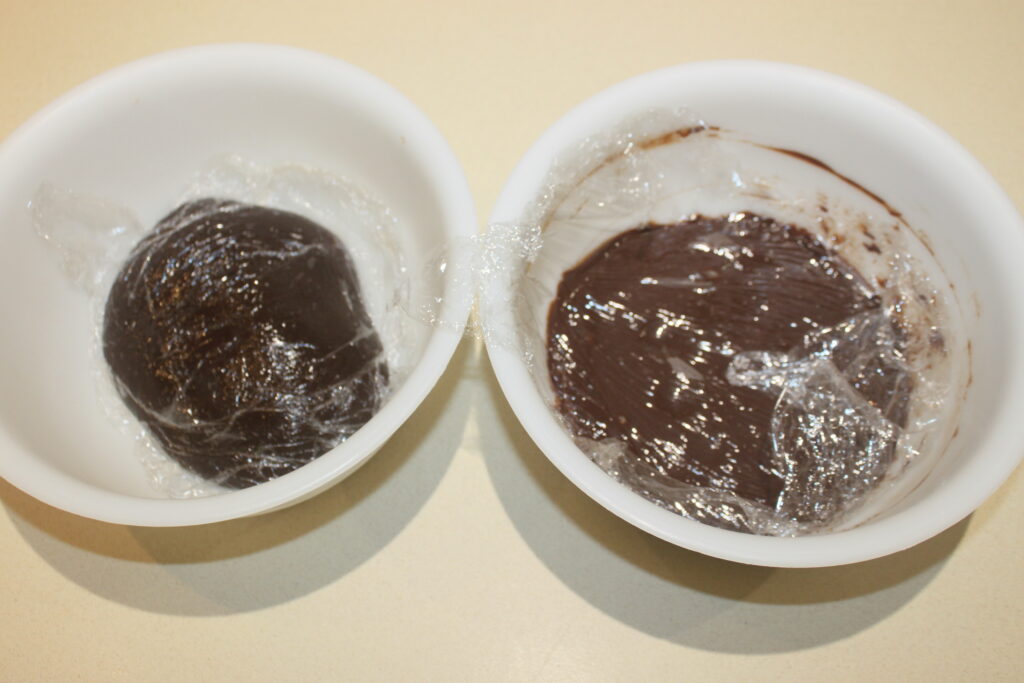
Cover with cling film and refrigerate for at least 3-4 hours or overnight.
Here is the glutinous rice flour you should use for this recipe.
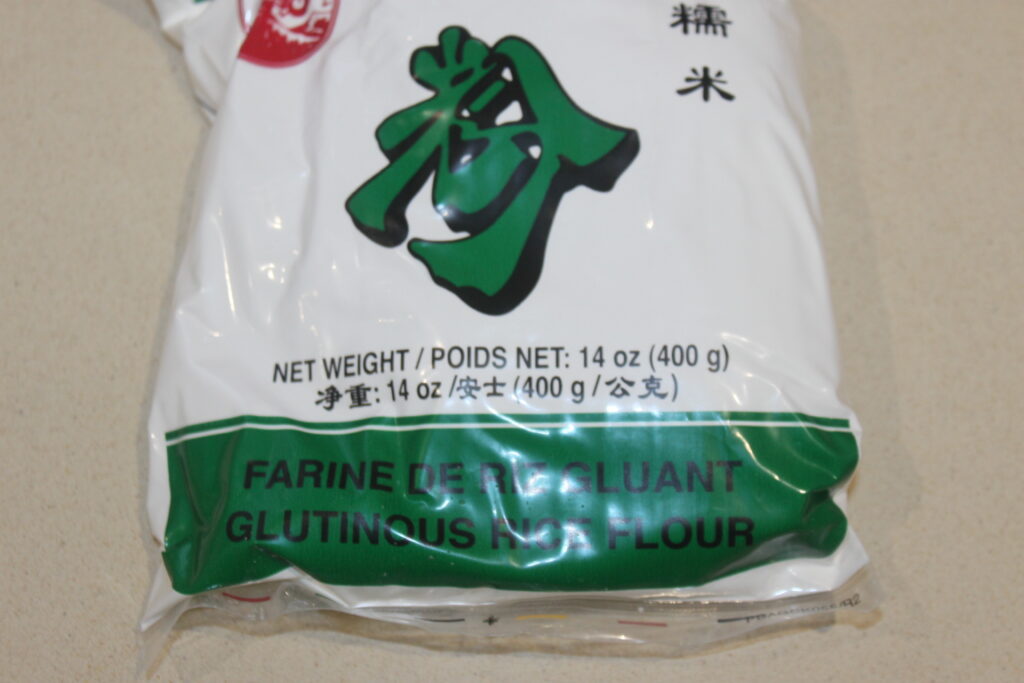
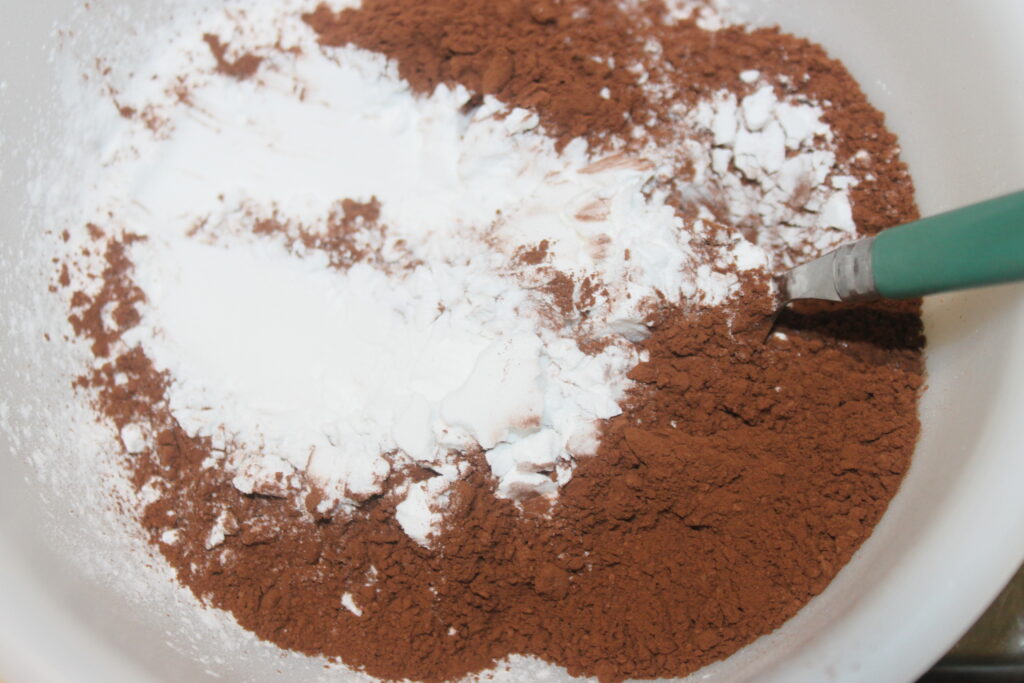
Put the glutinous rice flour, unsweetened cocoa and sugar in a microwave-safe container.
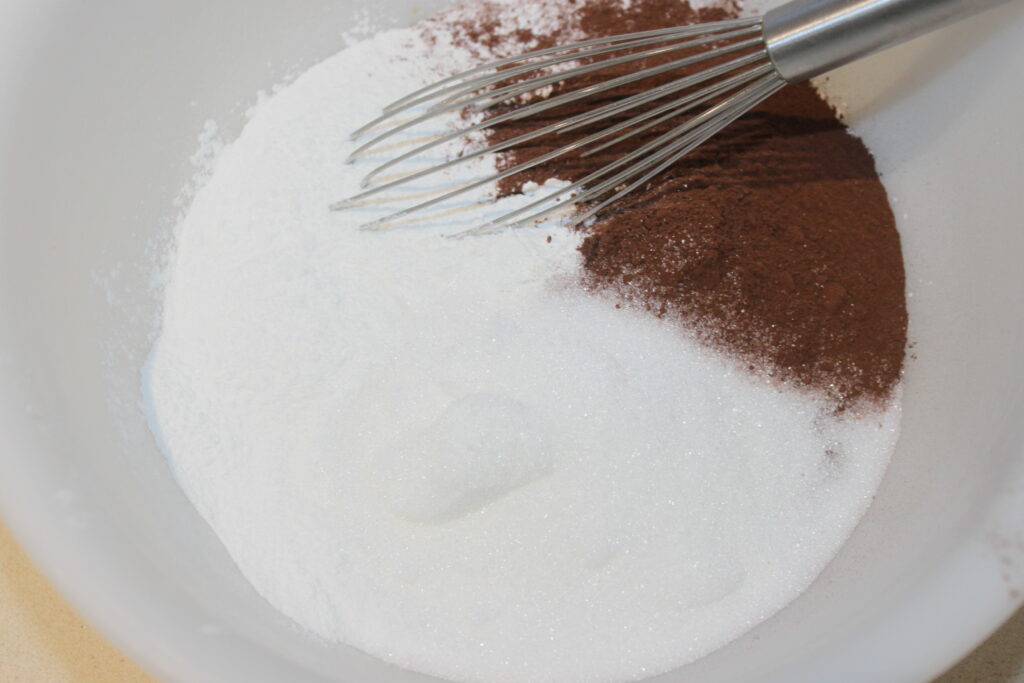
Pour in the milk while stirring. There is no gluten, so no risk of having lumps.
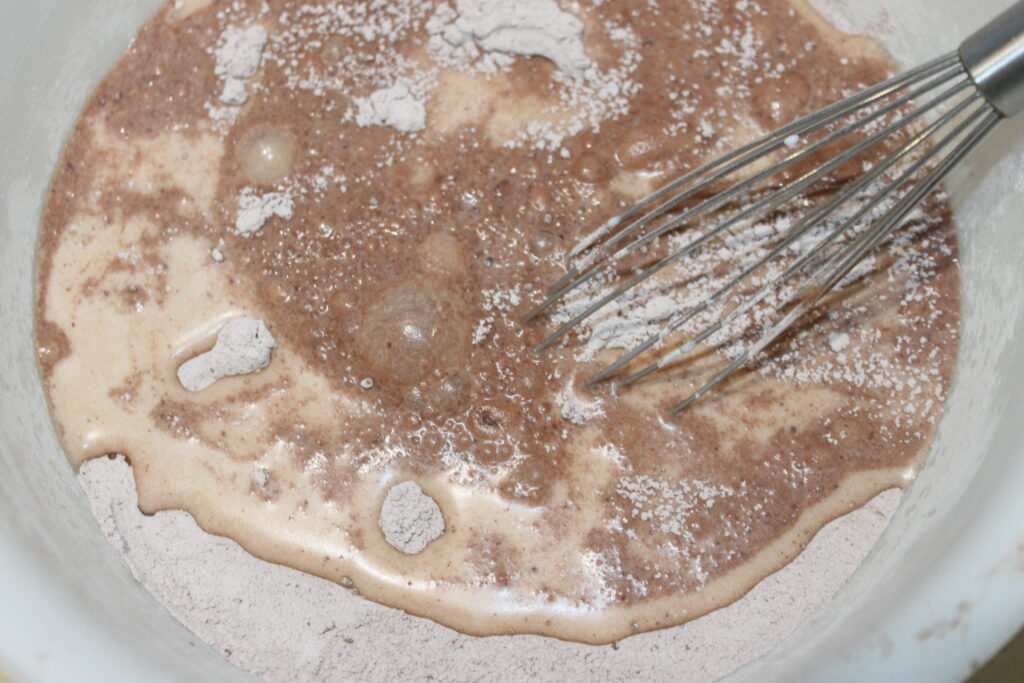
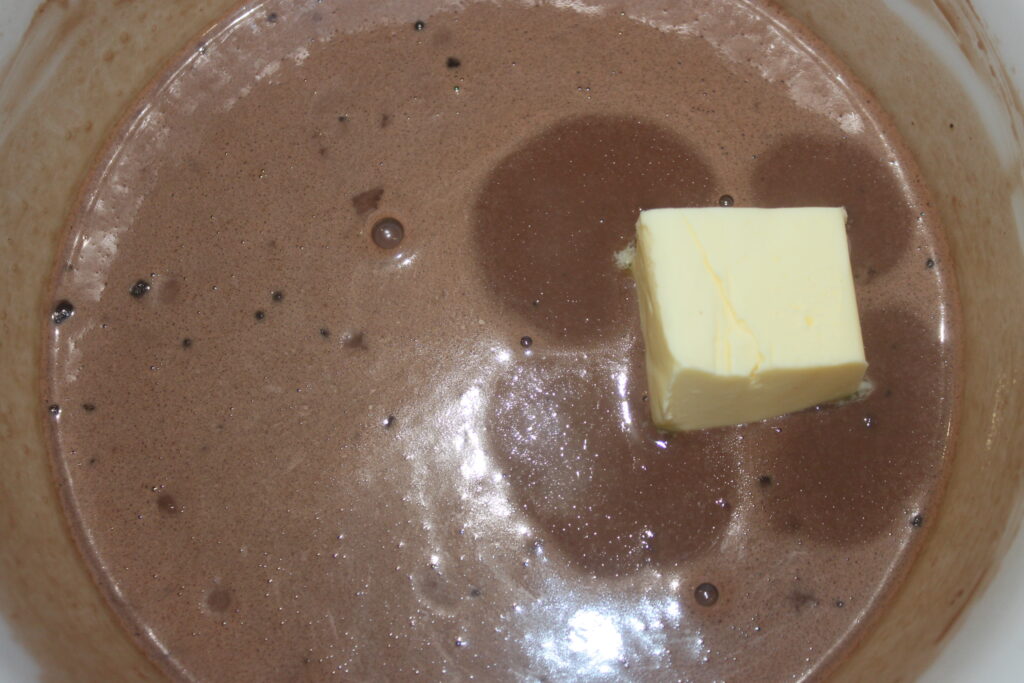
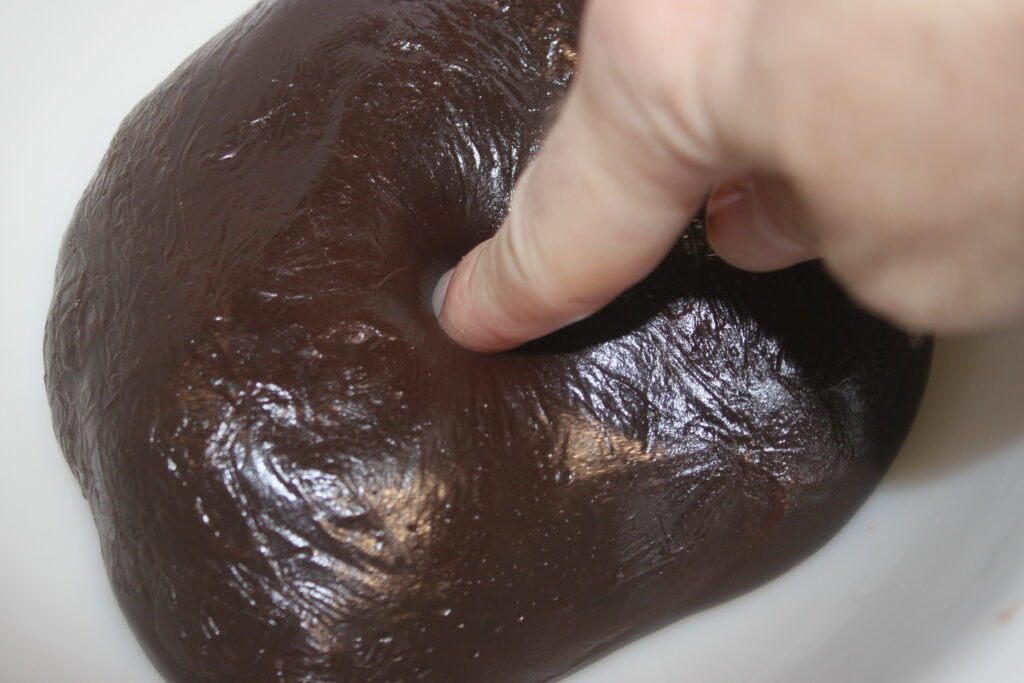
Heat for 2 minutes at 900w, or at the maximum of your oven, (each oven, even with the power gives different results!). The liquid must be hot. Add the soft butter and mix until perfectly incorporated.
Then heat on maximum power minute by minute. Mix well each time. At some point, the dough will start to set in places. This is the time to break up the lumps with an immersion blender.
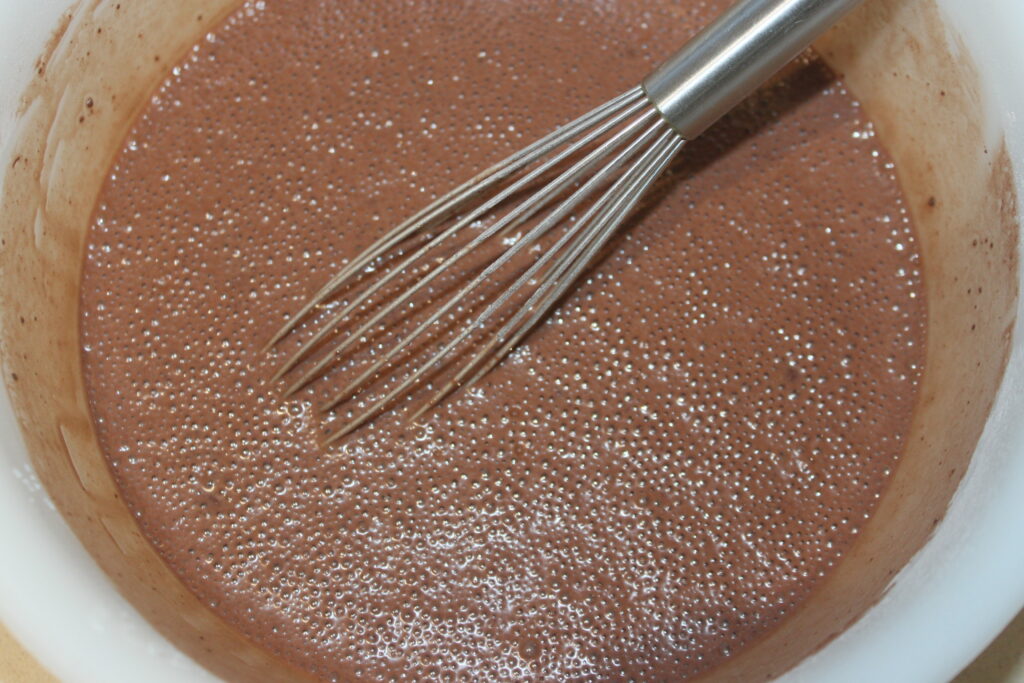
The dough should become smooth again.
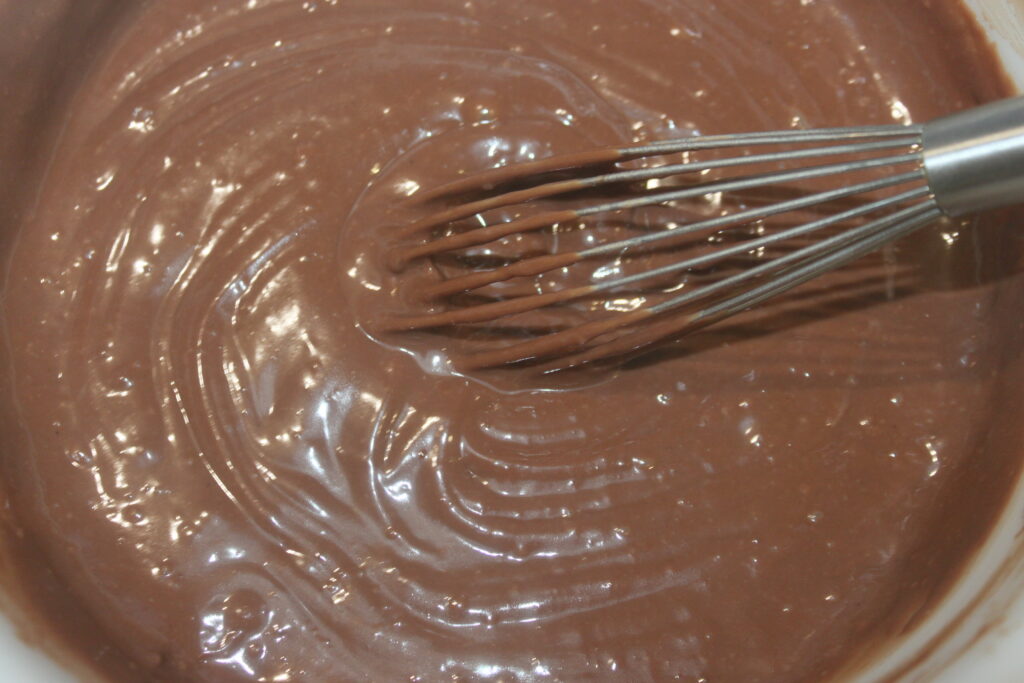
Heat again minute by minute, stirring each time.
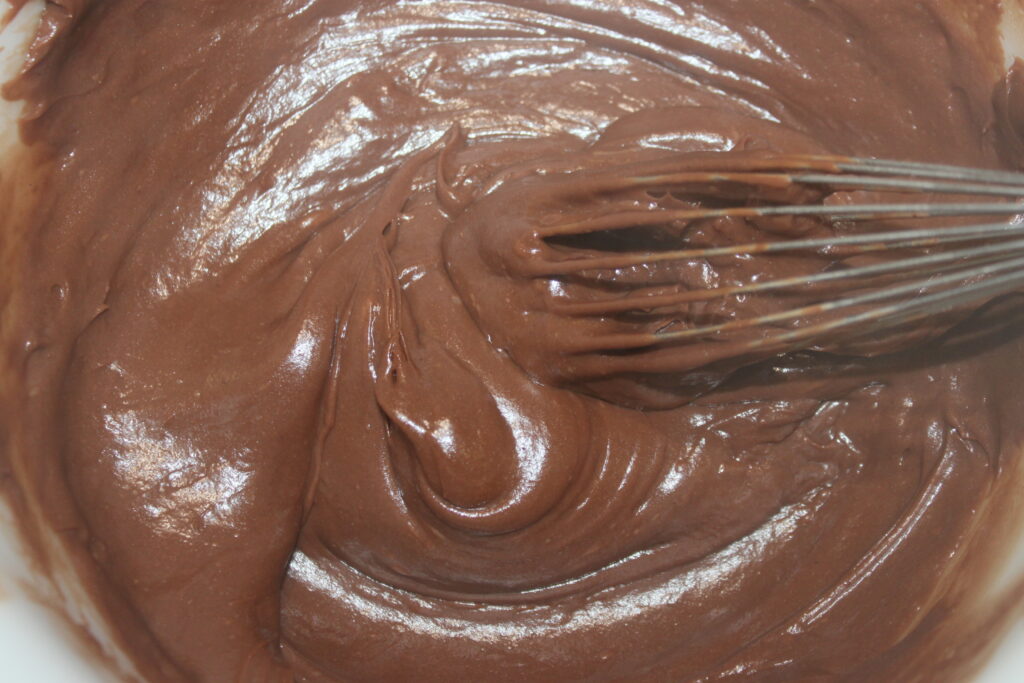
After a while the dough will take its final consistency.
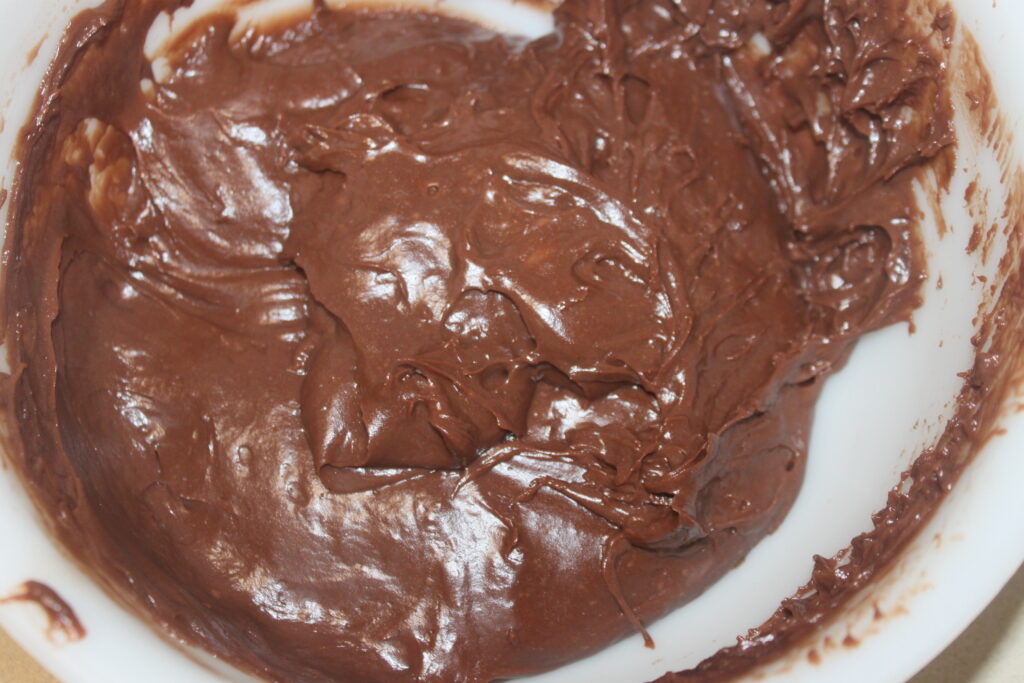
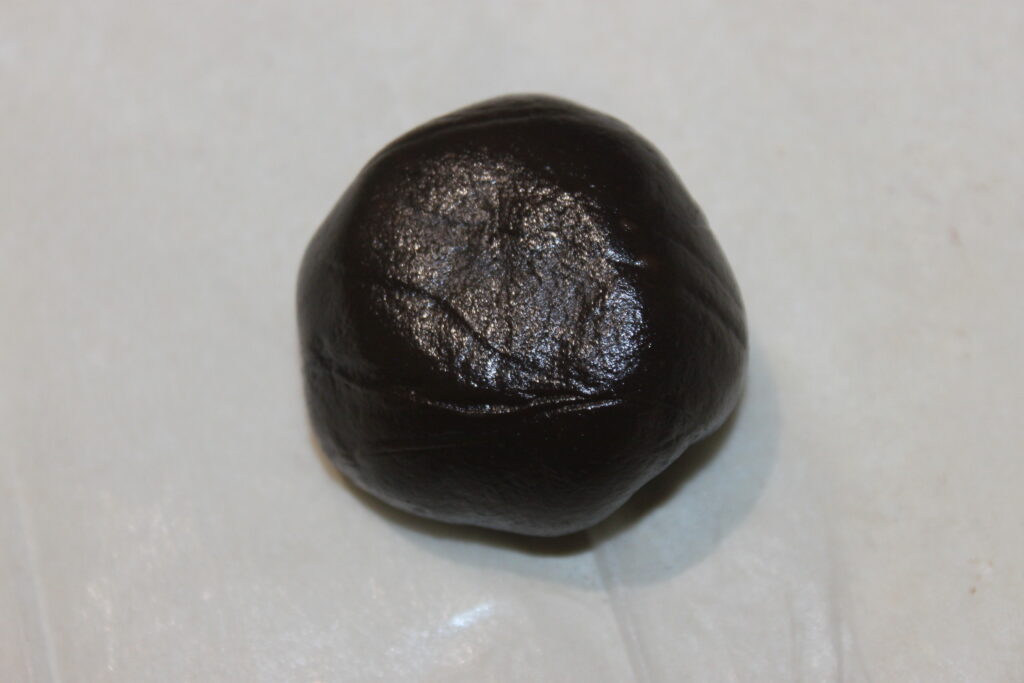
When the dough puffs up nicely and comes to a boil in the oven, it’s time to stop. When it almost doubles in size, take it out and put a piece of cling film around it. It almost looks like a giant chewing gum!
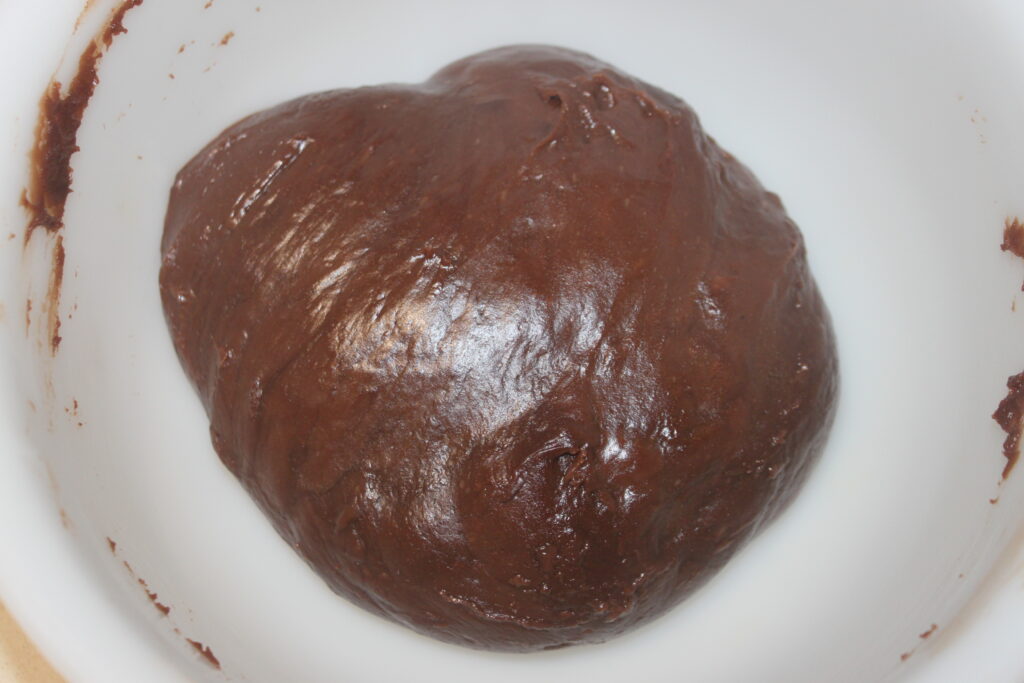
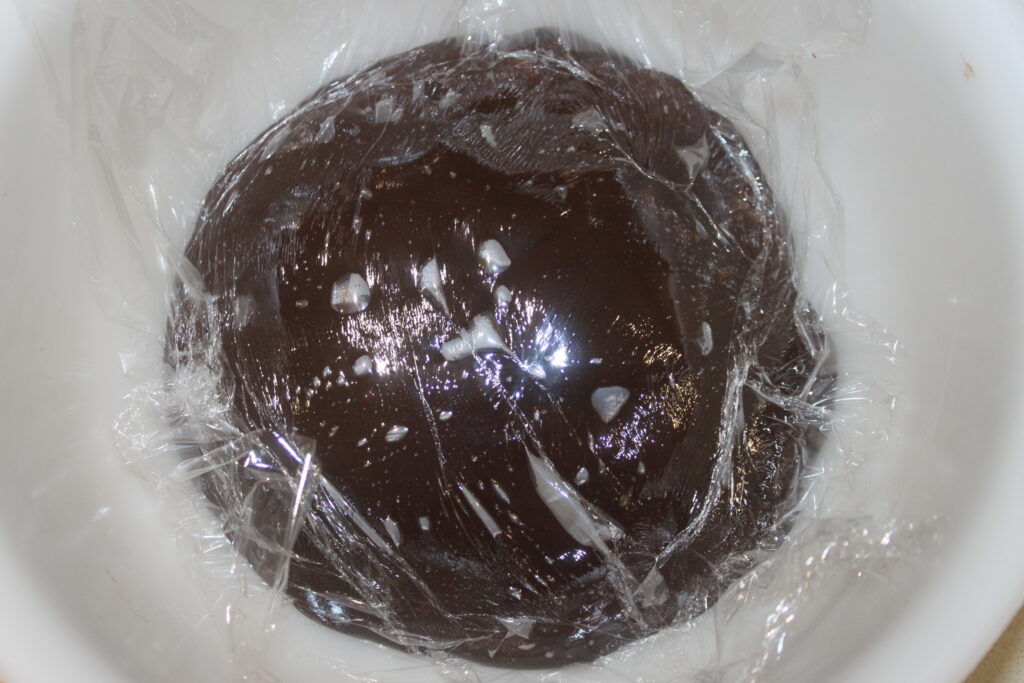
Let the dough cool to room temperature in this manner. Then take out the ganache.
Prepare the mochi powder: mix the potato starch and unsweetened cocoa powder together in a container.

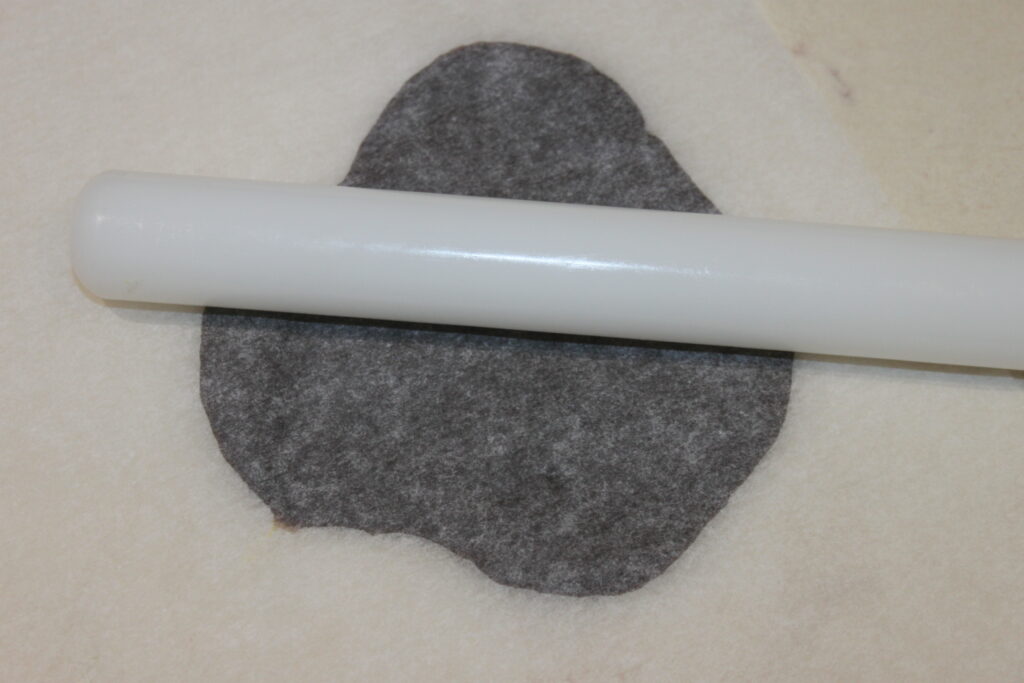
Take a 30g ball of dough and place it between two sheets of baking paper.
Roll out to a disk about 10cm in diameter.
Scoop 20g of ganache with a mini ice cream scoop or a teaspoon and place it in the center.
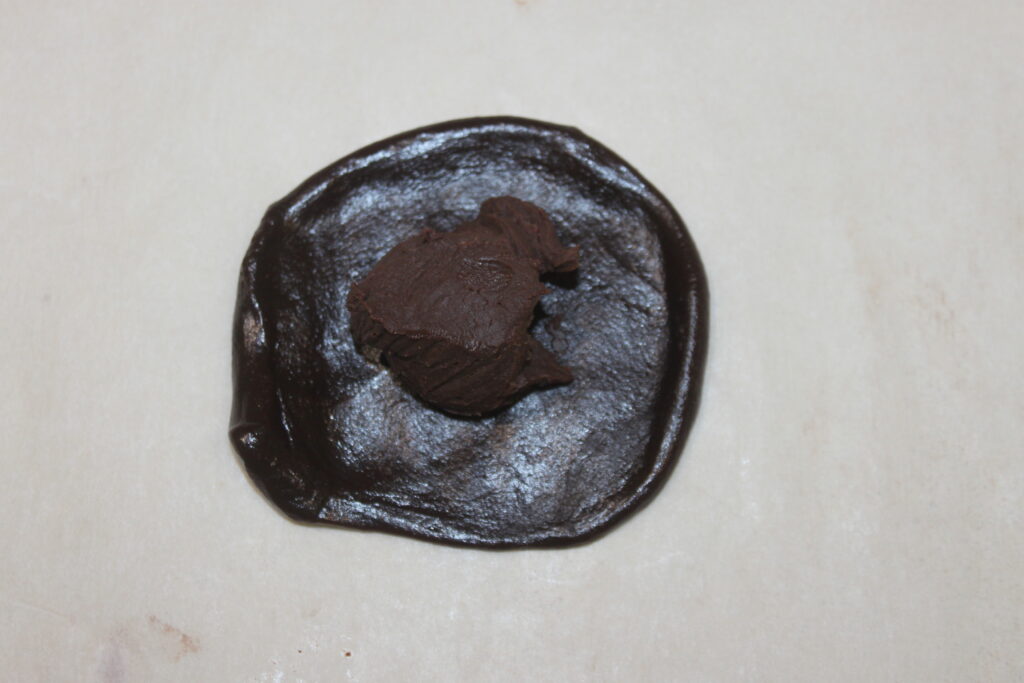
Fold the dough around the ganache.
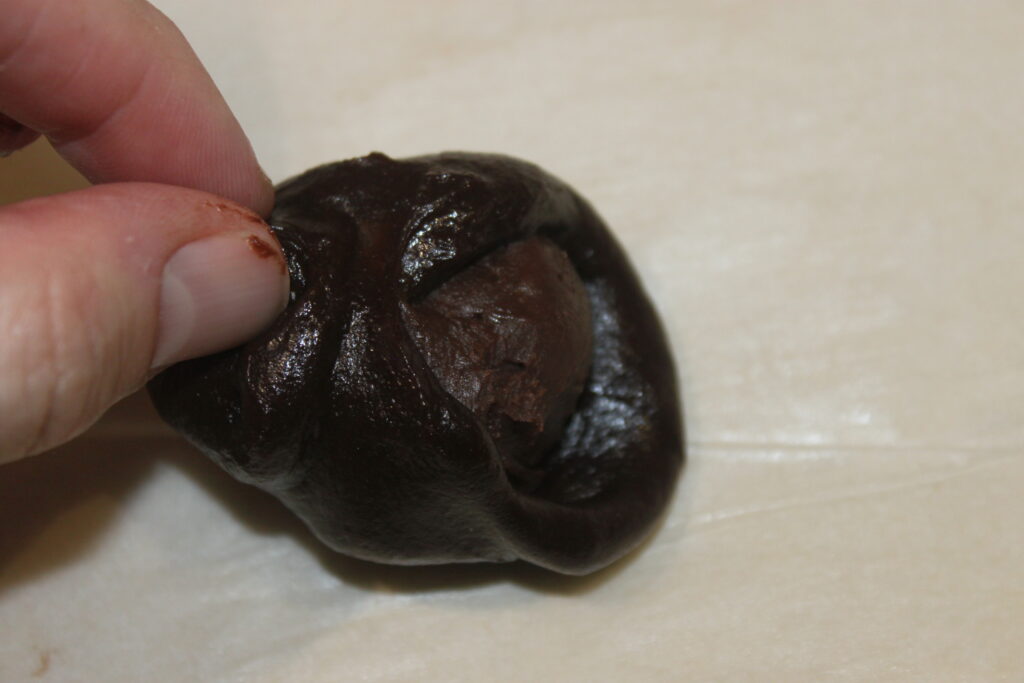
Then roll the mochi between your hands to seal it.
Place in bowl of mochi powder.
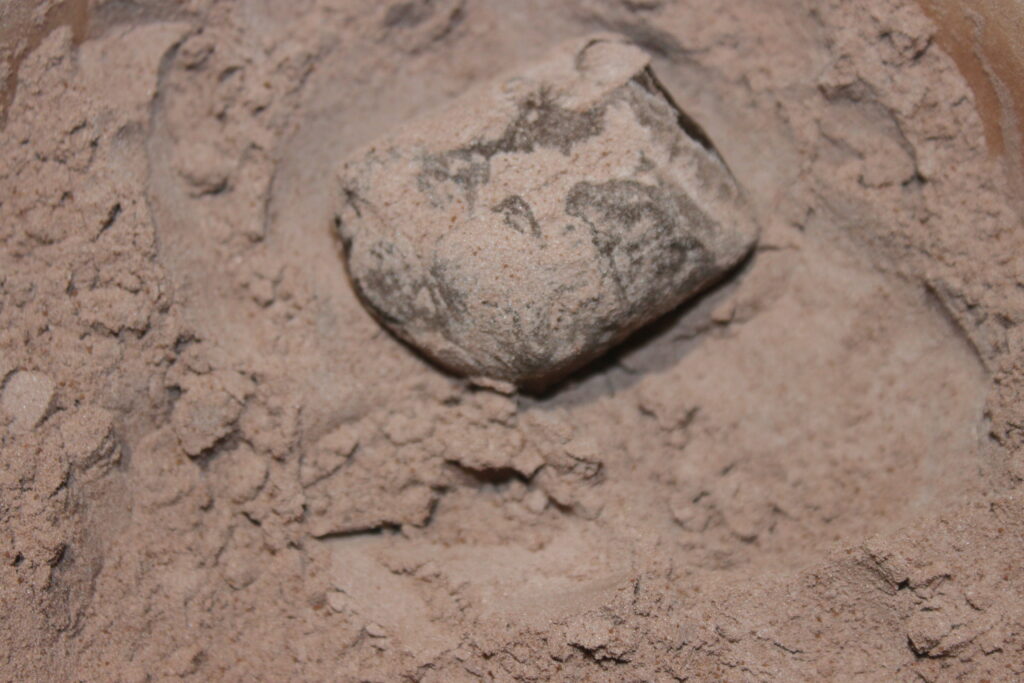
Then shape the mochi as you like: it is usually a flattened ball. Place the mochis on a sheet of parchment paper as you go.
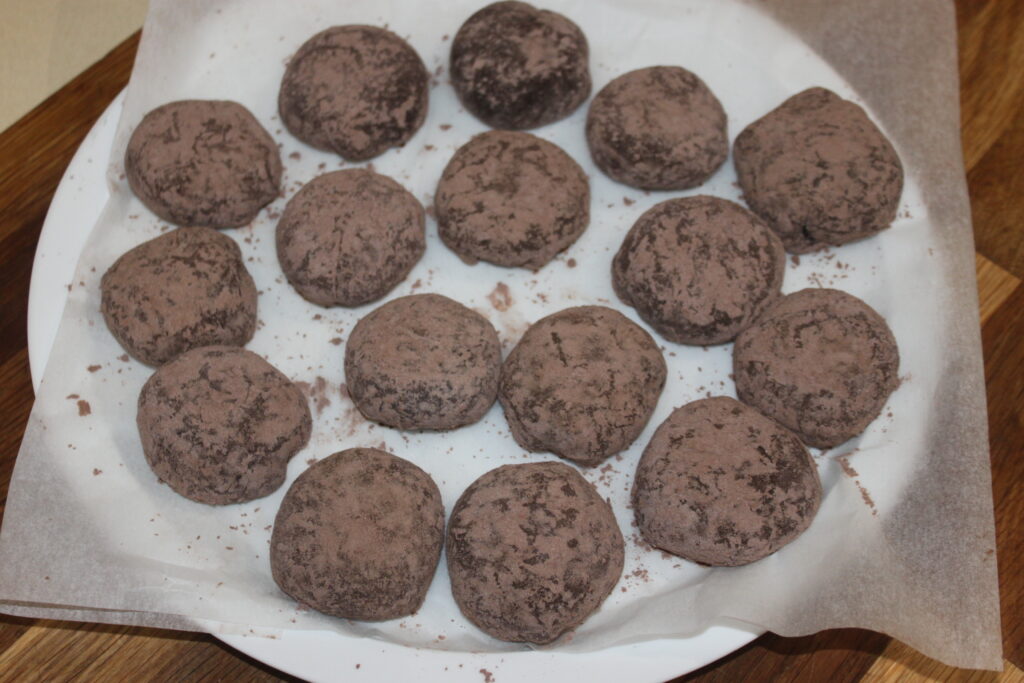
Set aside in a cool place and when you want to serve them, remove the excess mochi powder with your hands to leave just a thin film. They will keep in a cool place for a few days and freeze perfectly in an airtight box.
Mochi au chocolat
Ingredients
Ganache mochi :
- 110 g chocolat au lait
- 100 g chocolat noir
- 105 g crème liquide entière
- 45 g beurre doux
Pâte à mochi au cacao :
- 120 g farine de riz gluant
- 25 g cacao non sucré en poudre
- 110 g sucre
- 285 g lait demi-écrémé
- 55 g beurre doux
Poudre à mochi :
Instructions
- Commencez par préparer la ganache, même la veille. Mettez tous les ingrédients dans un récipient allant au four à micro-ondes ou dans un bain marie. Faites fondre le tout tout en mélangeant bien.
- Au four à micro-ondes, allez-y par tranches de 30 secondes maximum ! La ganache doit être bien lisse.
- Mettez un film étirable au contact puis réservez au réfrigérateur au moins 3-4 heures ou une nuit.
- Mettez la farine de riz gluant, le cacao non sucré et le sucre dans un récipient allant au four à micro-ondes.
- Versez le lait tout en mélangeant. Il n’y a pas de gluten, donc pas risque d’avoir de grumeaux.
- Faites chauffer 2 minutes à 900w, ou au maximum de votre four, (chaque four, même avec la puissance donne des résultats différents !). Le liquide doit être bien chaud. Ajoutez le beurre doux et mélangez jusqu’à sa parfaite incorporation.
- Faites ensuite chauffer sur puissance maximale minute par minute. Mélangez bien à chaque fois. À un moment donné, la pâte va commencer à figer par endroit. C’est le moment où il faudra défaire les grumeaux avec un mixeur plongeant.
- La pâte doit redevenir bien lisse.
- Faites chauffer de nouveau minute par minute en mélangeant à chaque fois.
- Au bout d’un moment la pâte va prendre sa consistance définitive.
- Quand la pâte gonfle bien et entre en ébullition dans le four, c’est le moment d’arrêter. Quand elle double presque de volume, sortez-la et mettez un film étirable au contact. Elle ressemble presque à un chewing-gum géant !
- Laissez refroidir la pâte de cette façon à température ambiante. Sortez ensuite la ganache.
- Préparez la poudre à mochi : mélangez la fécule de pomme de terre et la poudre de cacao non sucré ensemble dans un récipient.
- Prélevez une boule de 30g de pâte et mettez-la entre deux feuilles de papier sulfurisé.
- Étalez au rouleau en un disque de 10cm de diamètre environ.
- Prélevez un boulette de 20g de ganache avec une mini cuillère à glace ou une cuillère à café et placez-la au centre.
- Rabattez la pâte autour de la ganache.
- Roulez ensuite le mochi entre vos mains pour bien sceller le tout.
- Placez dans le bol de poudre à mochi.
- Façonnez ensuite le mochi à votre guise : c’est en général une boule aplatie. Mettez les mochis sur une feuille de papier sulfurisé au fur et à mesure.
- Réservez au frais puis quand vous voulez les servir, il faudra enlever l’excédent de poudre à mochi avec les mains pour laisser juste une fine pellicule. Ils se conserveront au frais quelques jours et se congèleront parfaitement dans une boite hermétique.
Nutrition

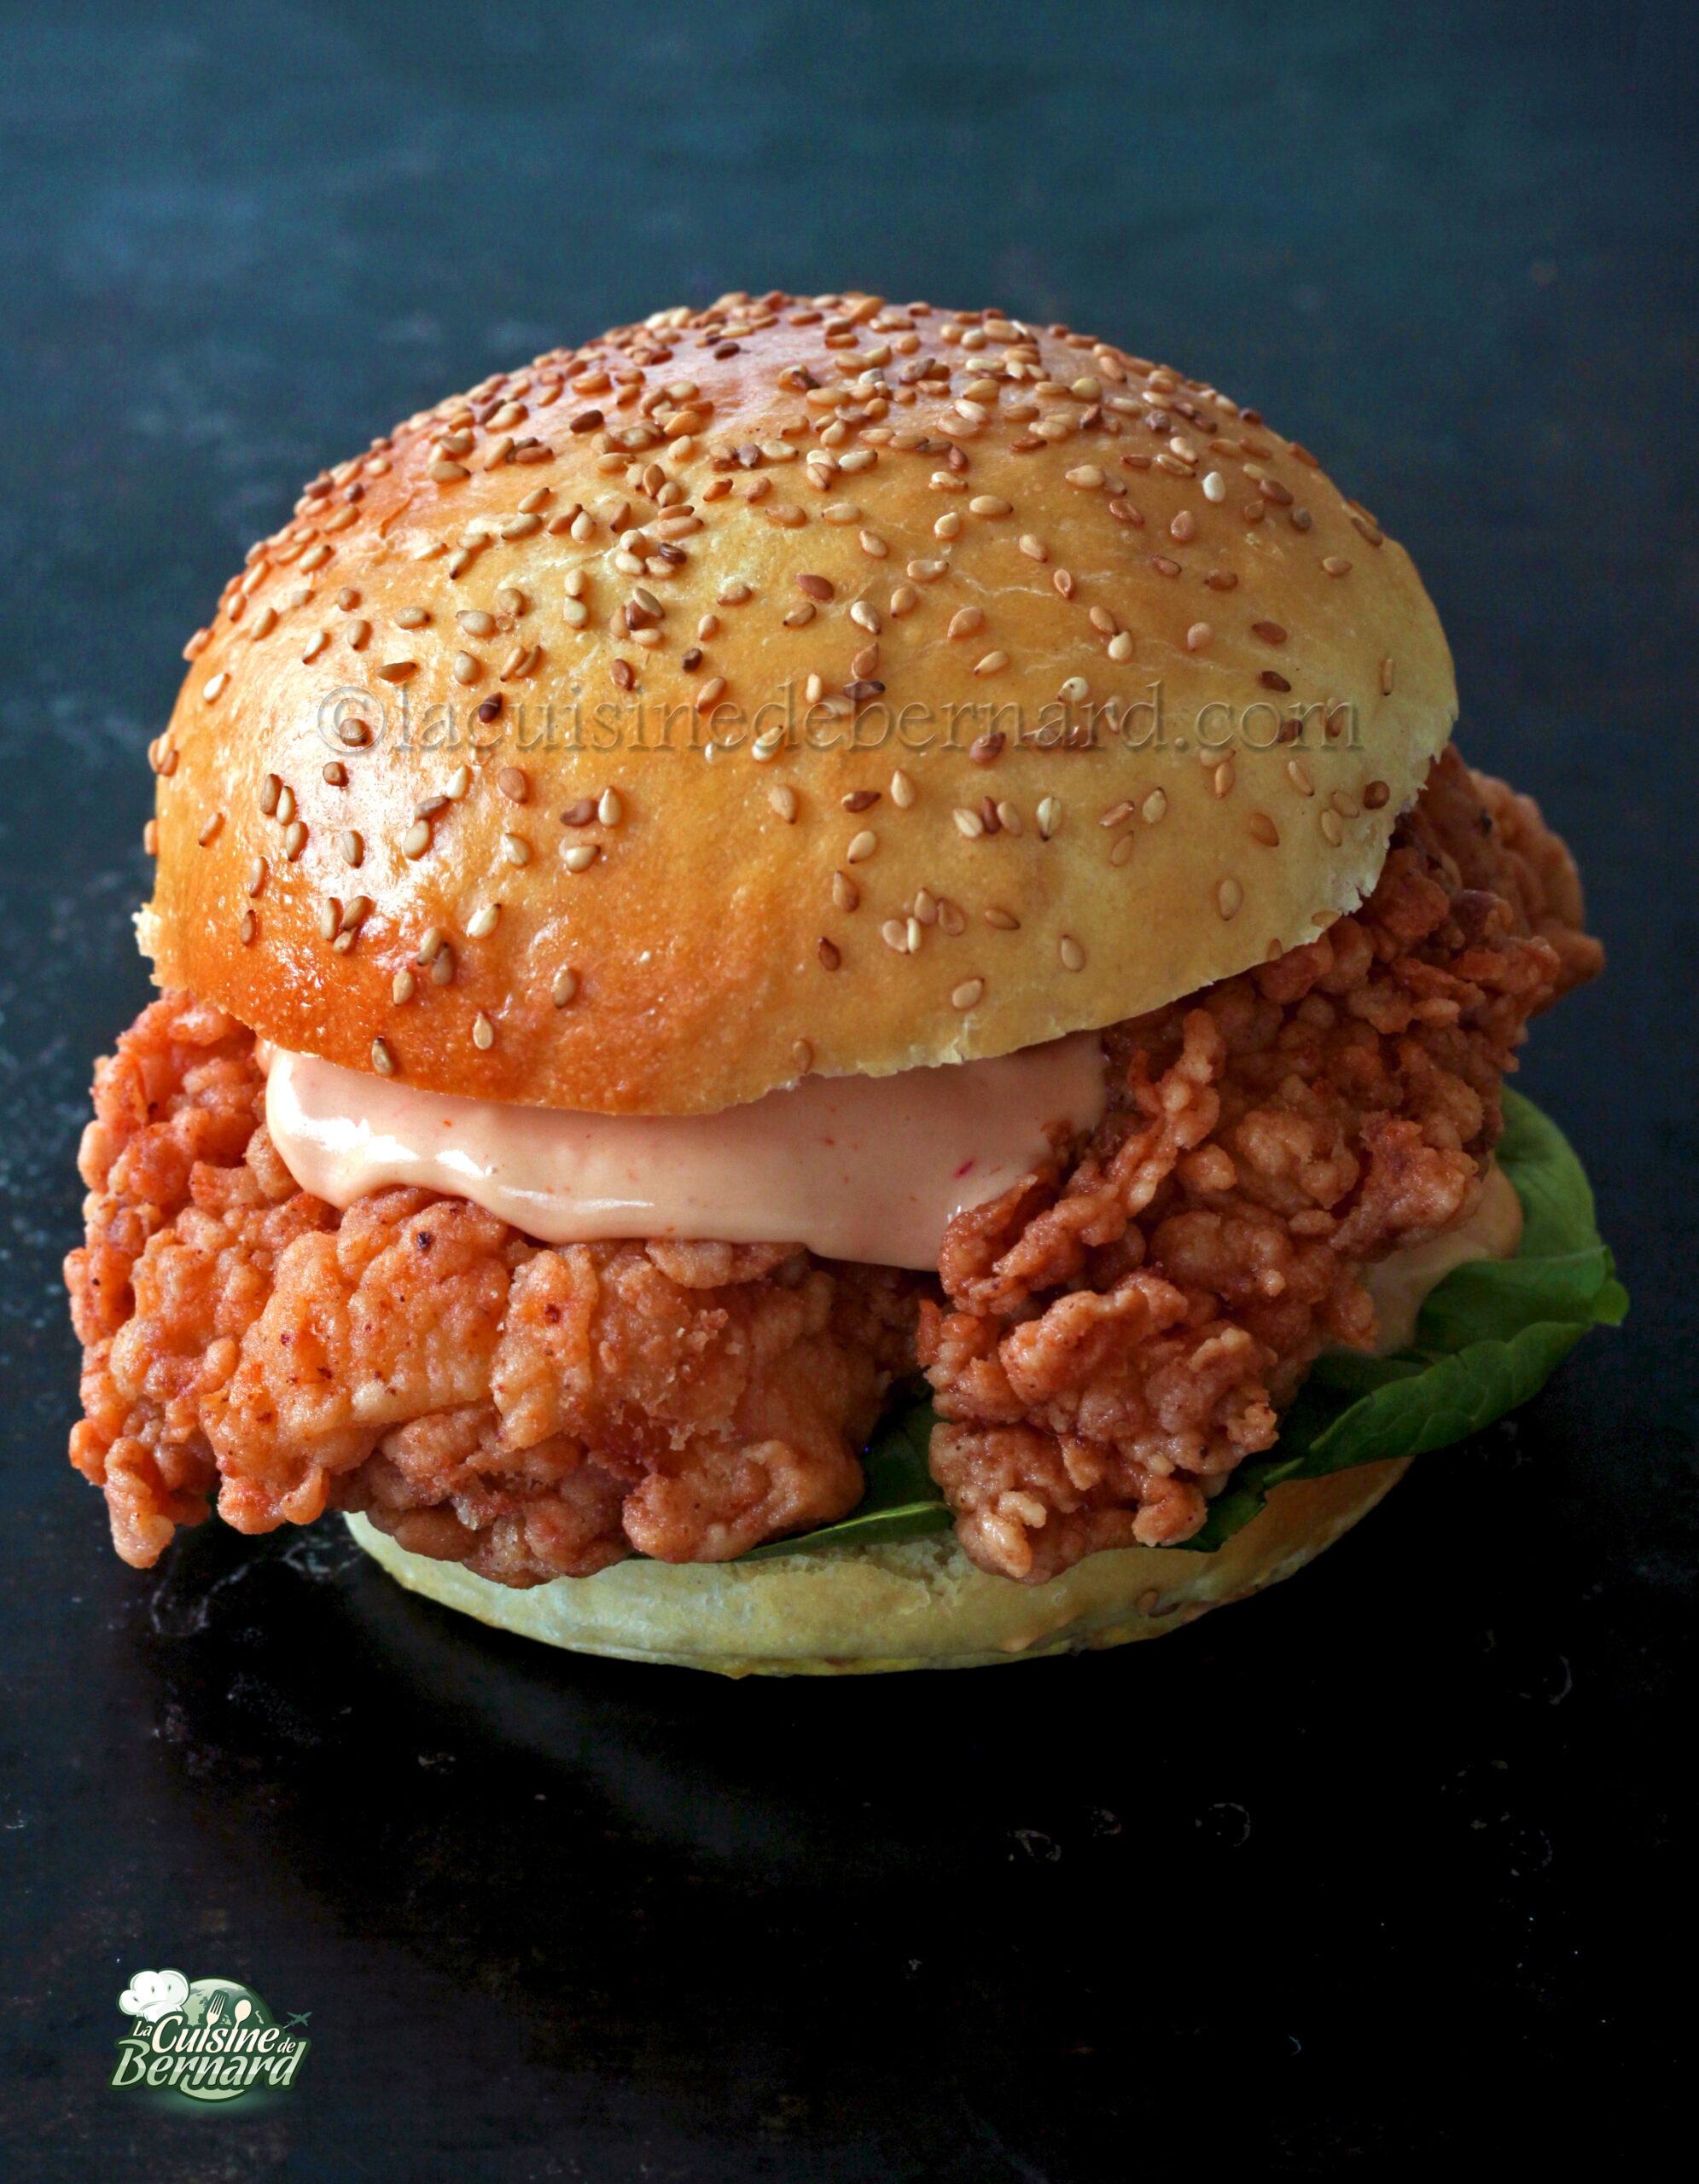
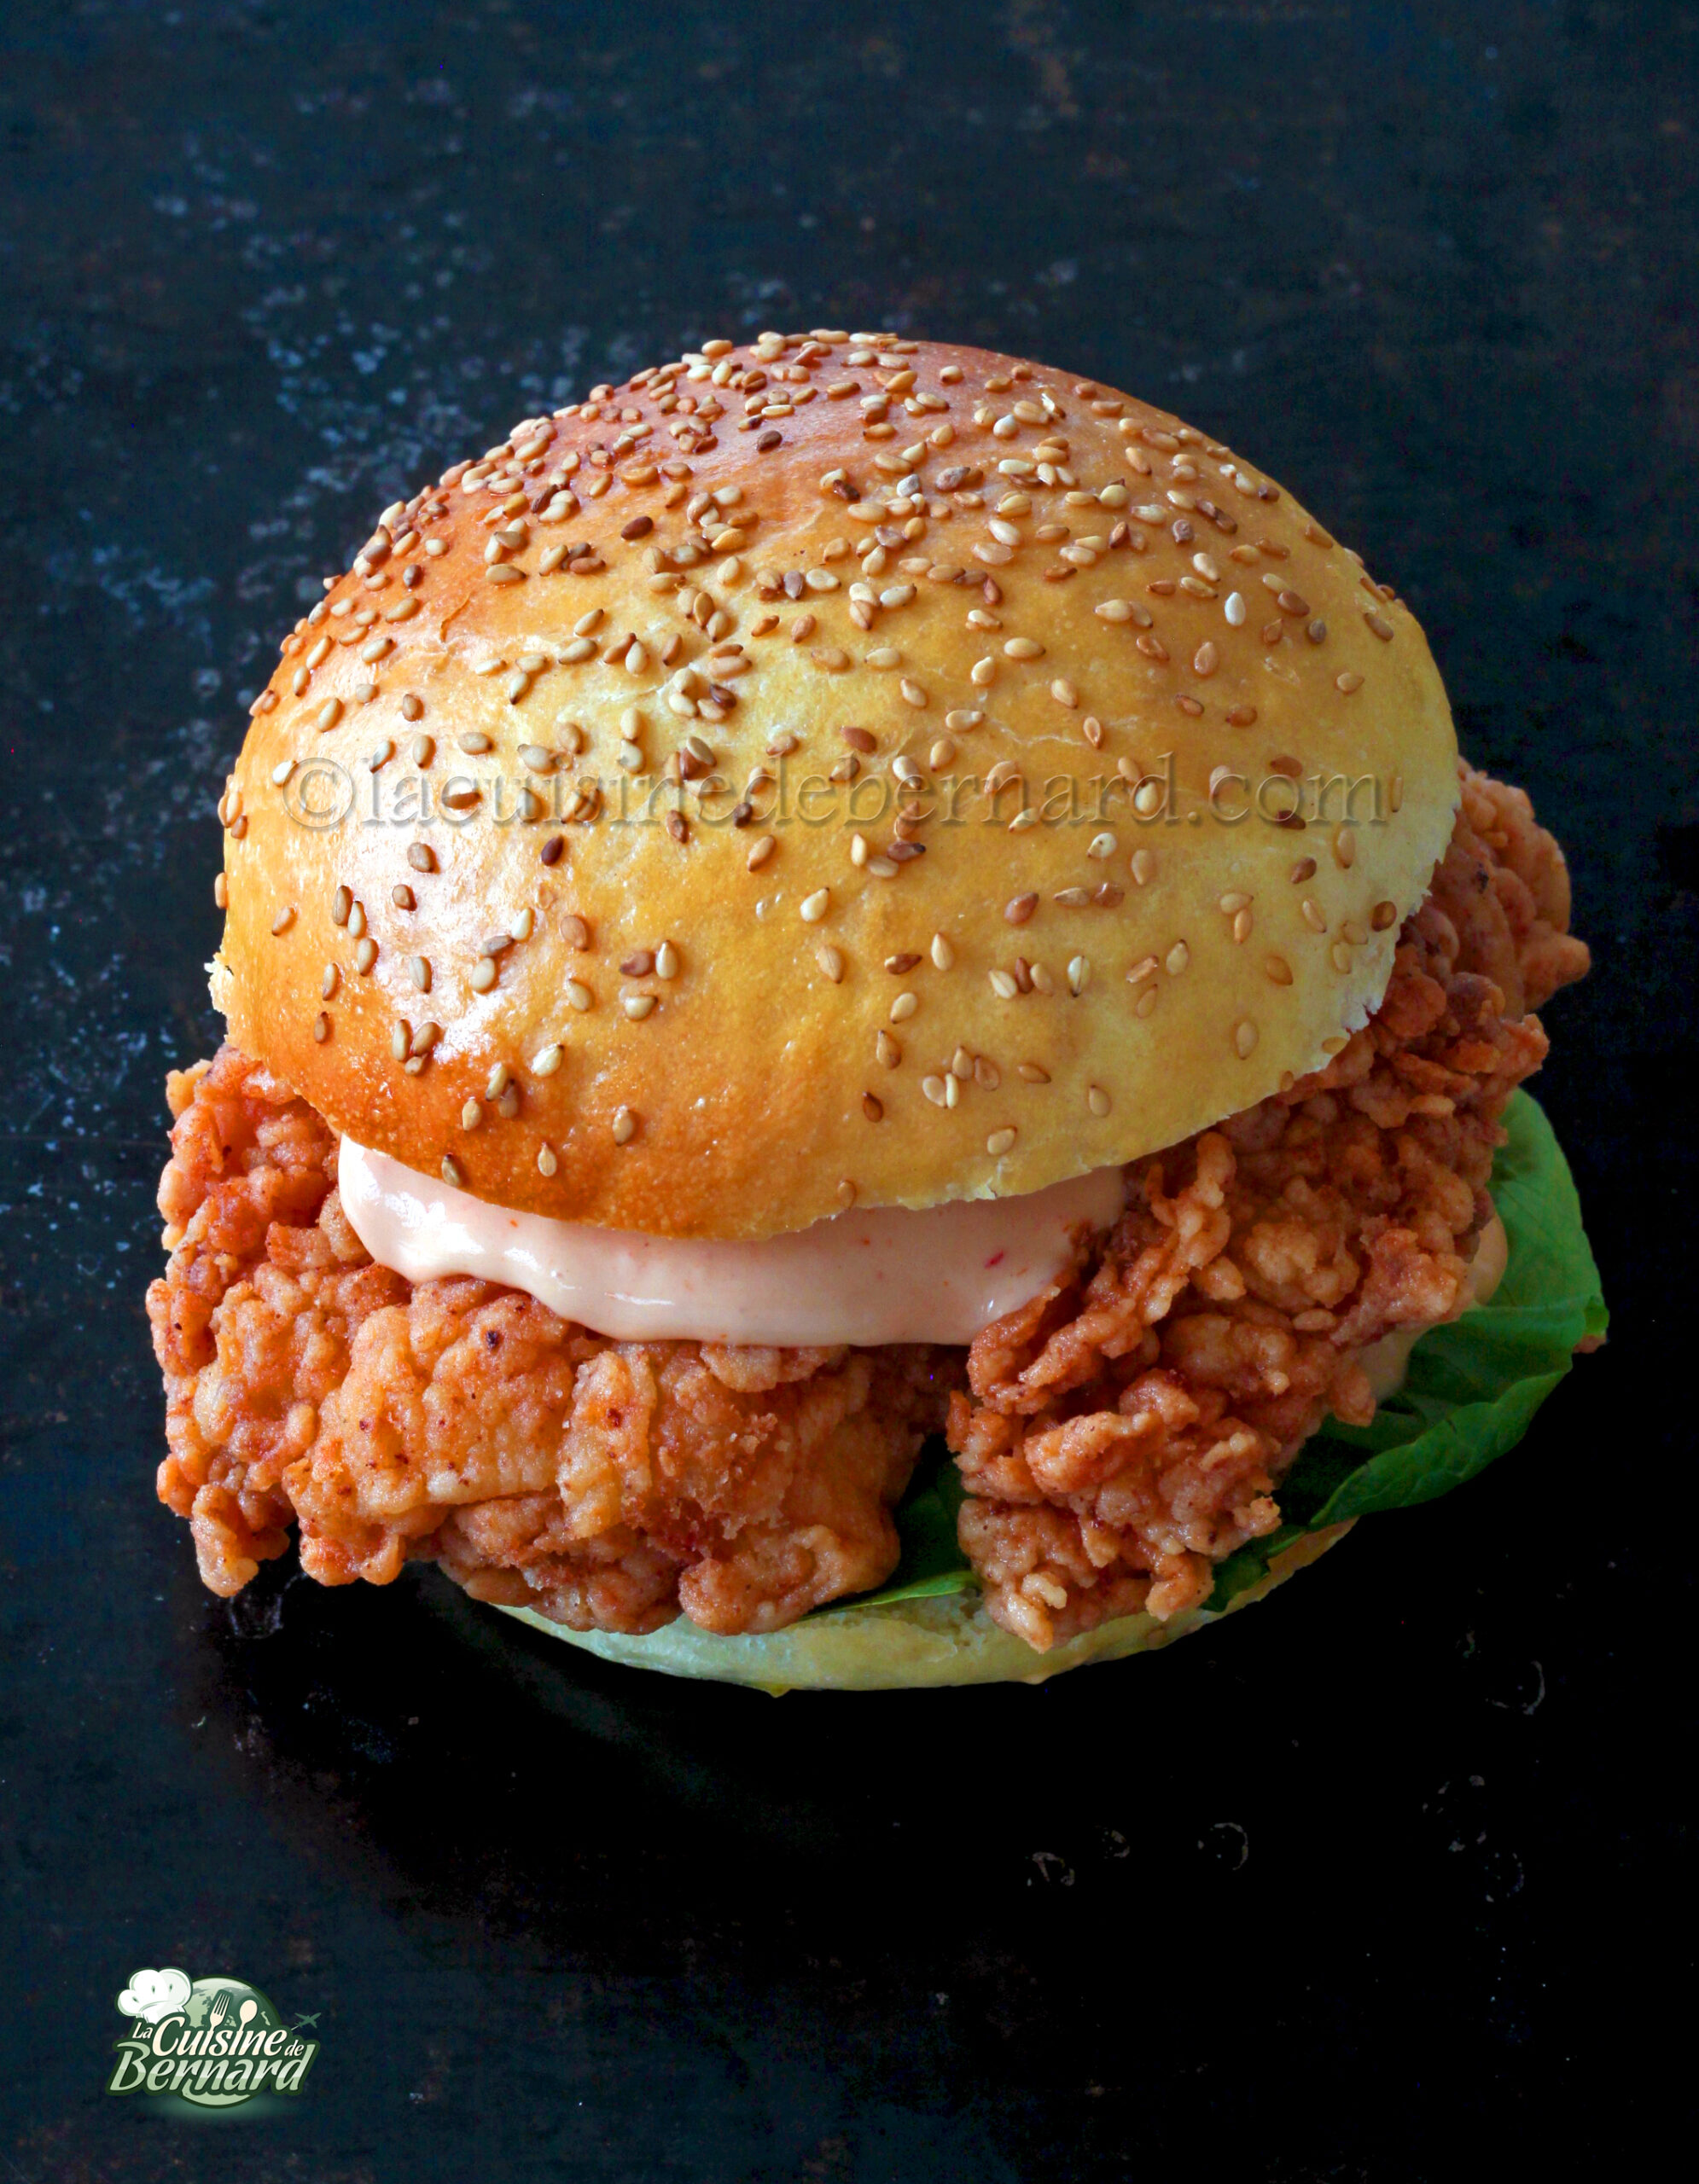
Here we go, after my thangzong buns recipe (recipe is HERE), I’m offering you the crispy chicken chili burger recipe! A real bomb of flavors and textures… I’ve eaten them several times in my life and thought it was time to post them on my food blog. A quick reminder about sriracha sauce, which is a hot sauce that is easily found in Asian grocery stores or in the Asian section of your local store.
For 4 burgers:
- 4 burger buns ( recipe HERE )
- 4 thighs
- 4 tablespoons of ketchup
- 1 heaping teaspoon of sriracha
- 2 tbsp. to s. wine vinegar
- salt pepper
For the breading:
- 300g of flour
- 150g of tapioca starch
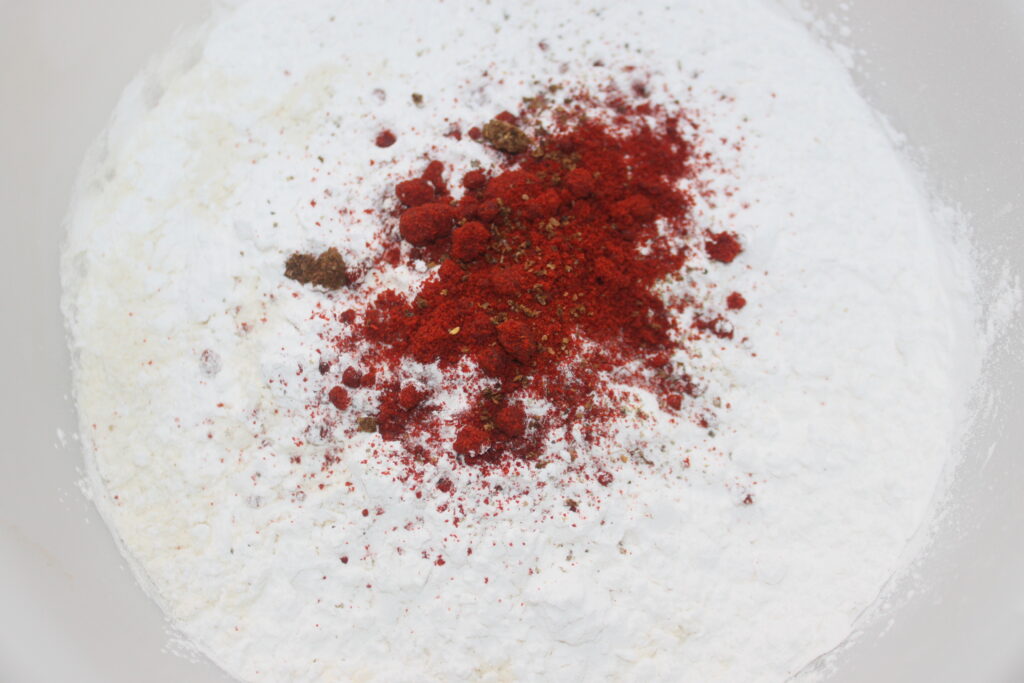
- 1 teaspoon paprika
- 1 large pinch of hot pepper powder
- salt pepper
For the sauce:
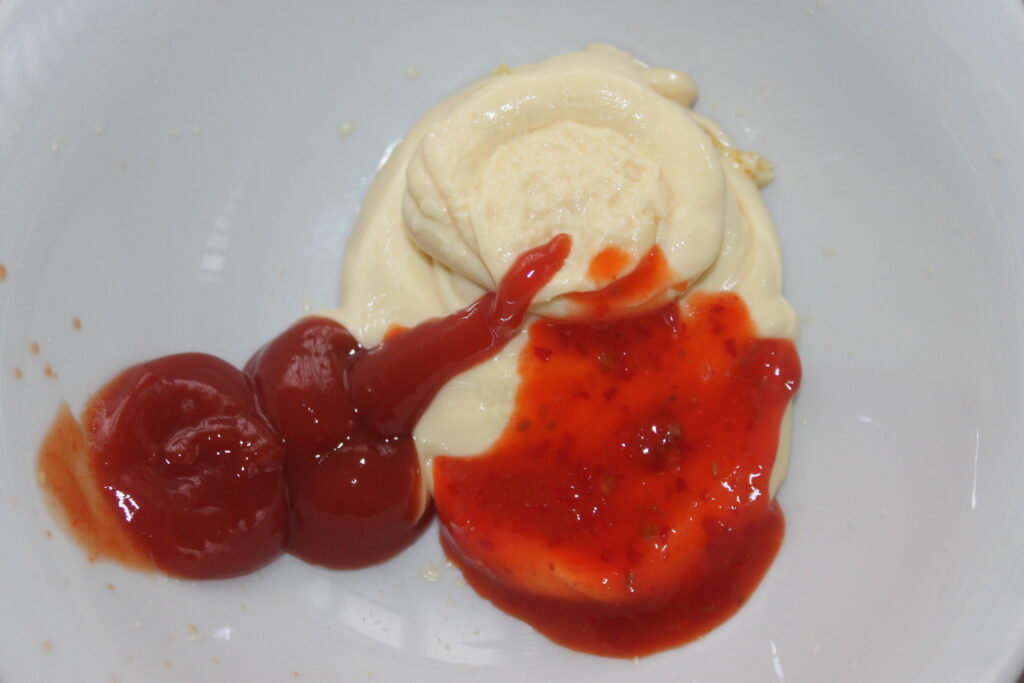
- 5 tablespoons of mayonnaise
- 1 teaspoon of ketchup
- 1 teaspoon of sriracha
To complete :
- Green salad, pickles, sriracha
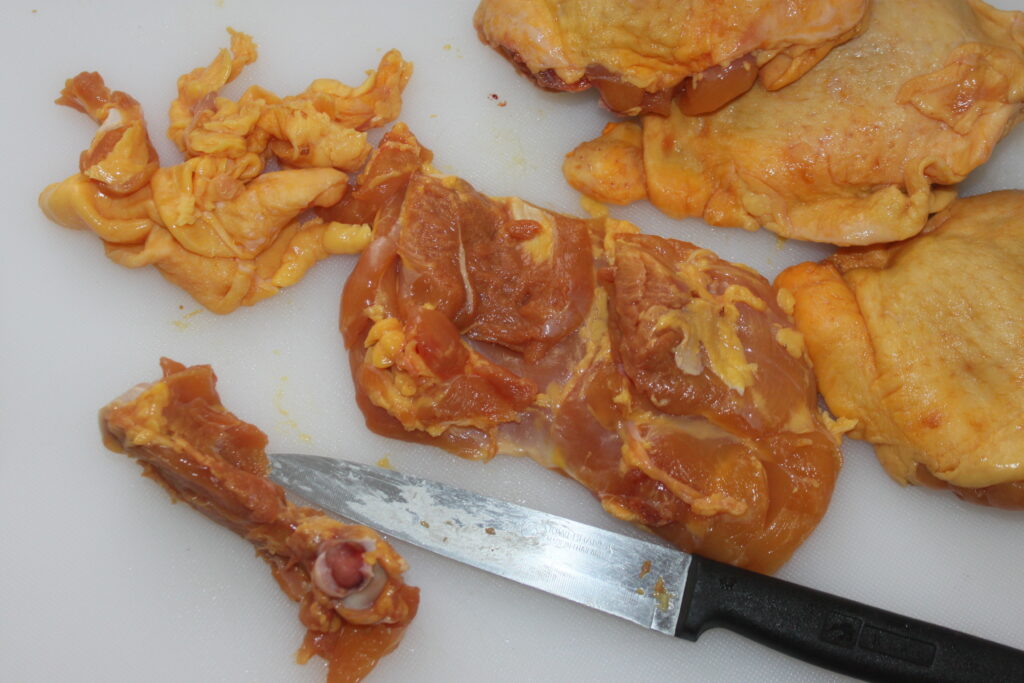
Start by preparing the chicken thighs. Remove the skin and the central bone. Make sure there is no cartilage.
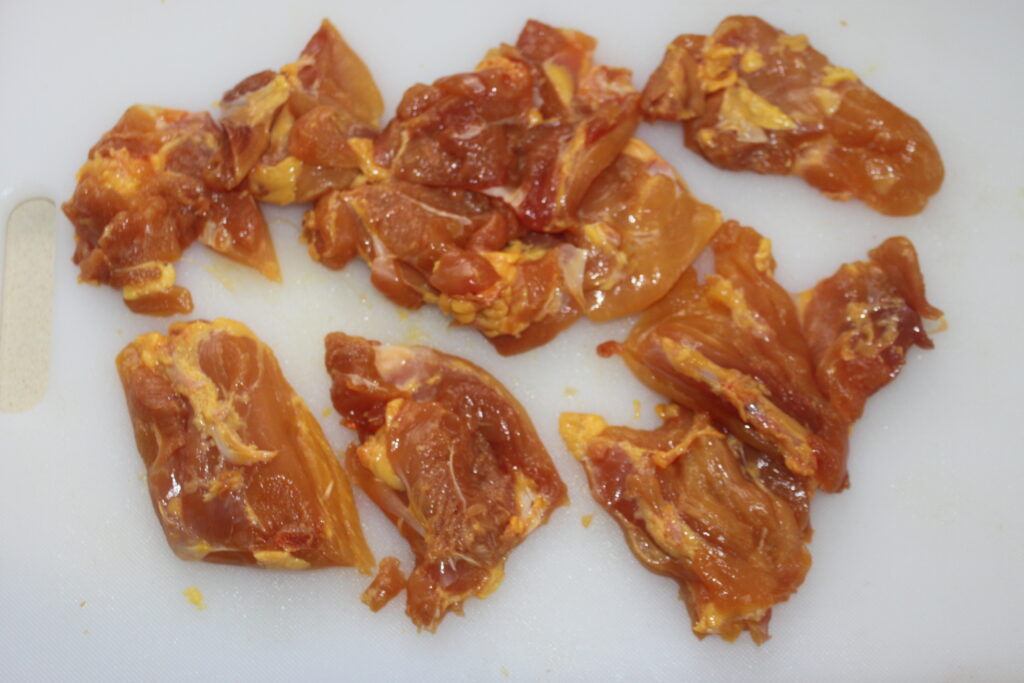
Cut each thigh into pieces, in 3 or 4 depending on the size of the meat obtained.
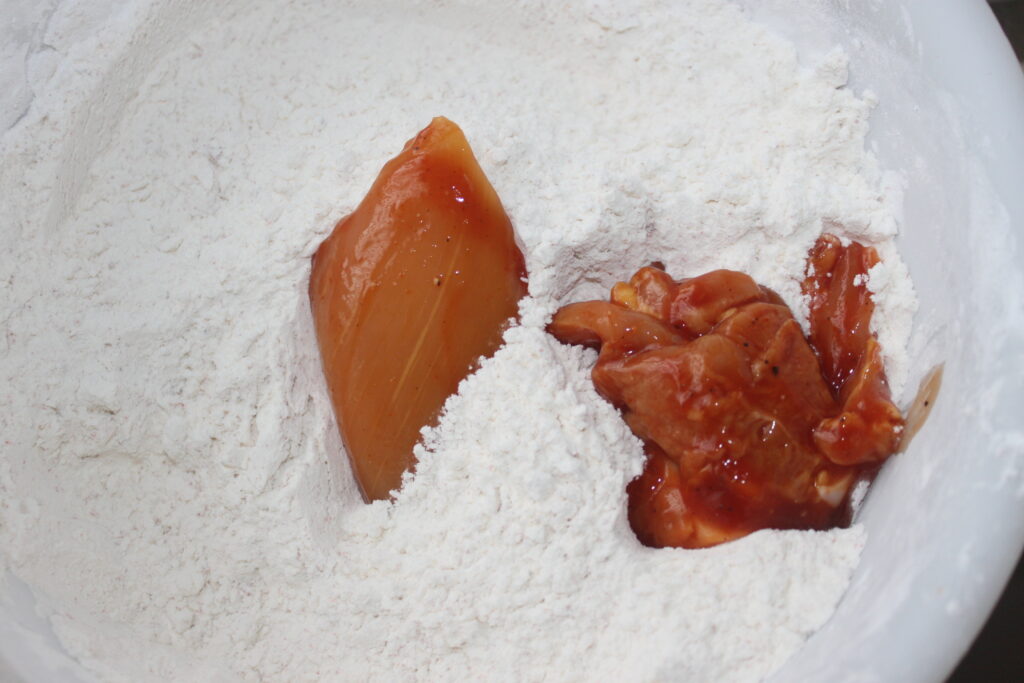
Pour into a container with the ketchup, sriracha pepper sauce and vinegar. Season with salt and pepper.

Mix well and set aside until you are ready to make the next step. In another container, pour the flour and tapioca starch. Add remaining ingredients and mix well.
Pour a few pieces of chicken with a little marinade into the flour/starch container.
Coat all sides well, then dip the chicken in a bowl of cold water for just a moment.

Then immediately return to the flour/starch bowl.
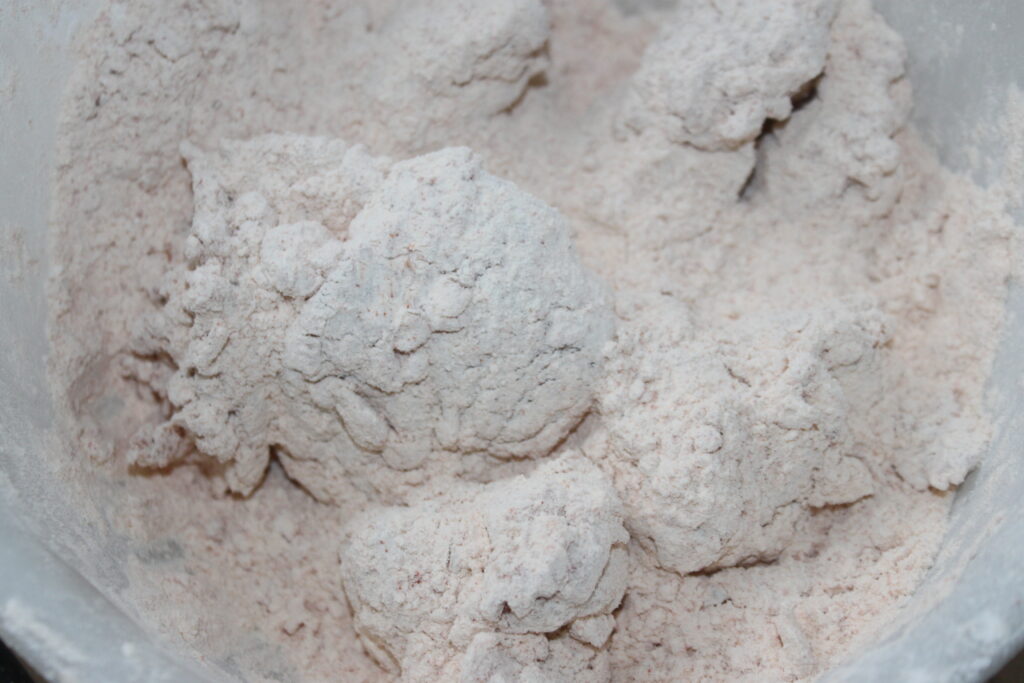
Do this for all the chicken pieces. First in flour/starch, then water, then flour/starch again. When all the pieces have been breaded, put them all back into the bowl of flour/starch, cover well and leave for 15 minutes.
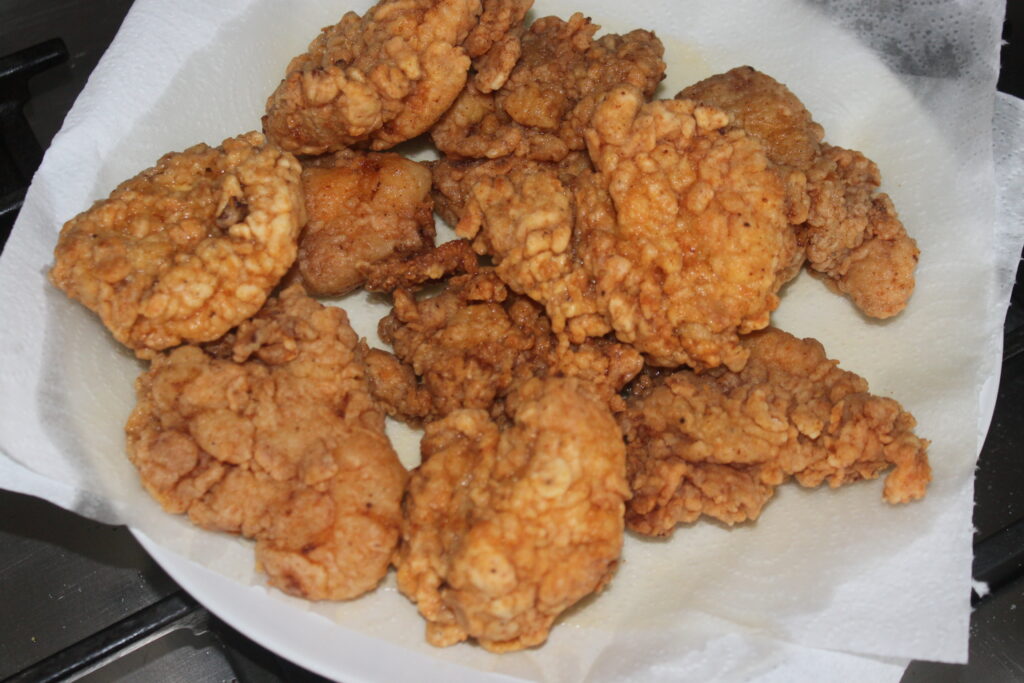
Heat a sauté pan, wok or pan of oil to 175°C. Remove excess breading from the pieces and fry until golden brown.
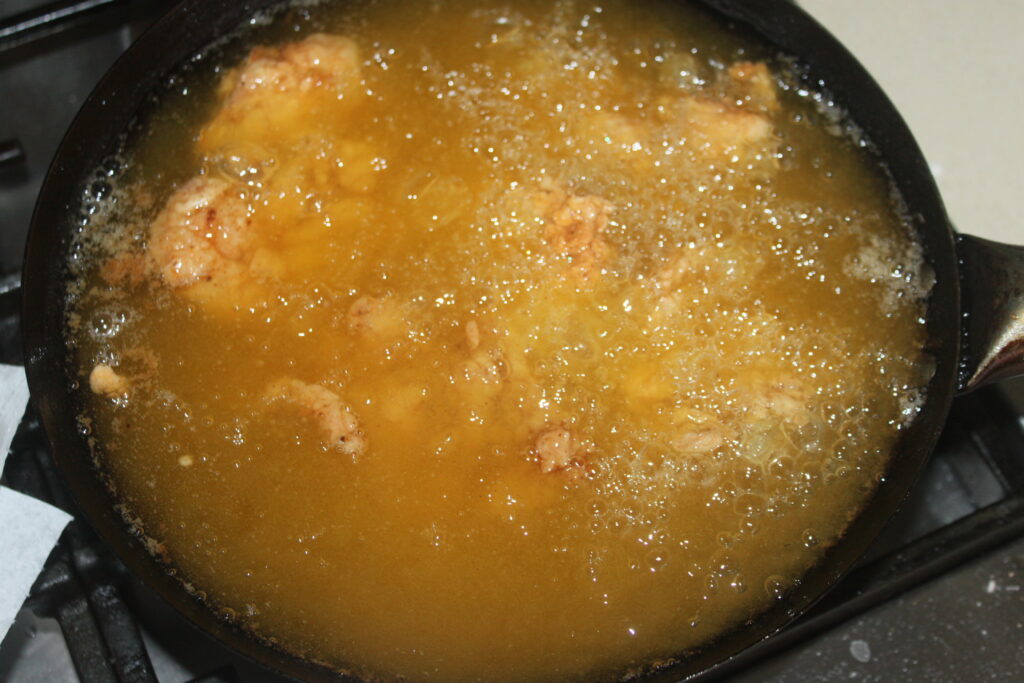
Remove from oil and let rest on paper towels while you fry all the chicken pieces.
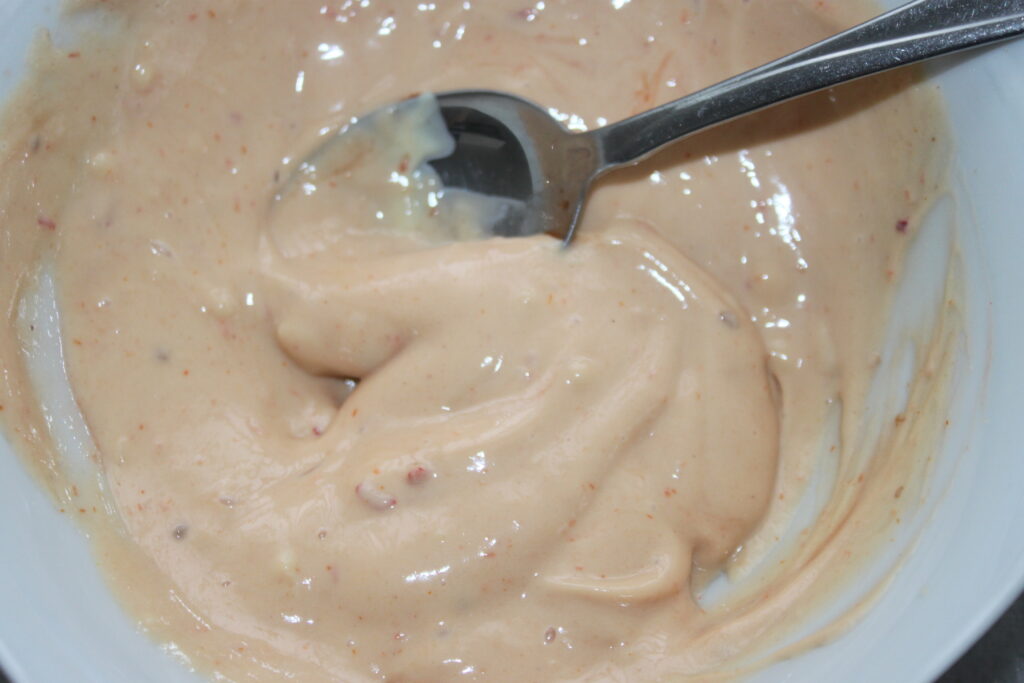
Mix the ingredients for the sauce.
Cut the burger buns in half, then heat them for 7 minutes at 180°C in the oven. Pour a little sriracha on the bottom.

Add lettuce, large pickle slices and fried chicken.
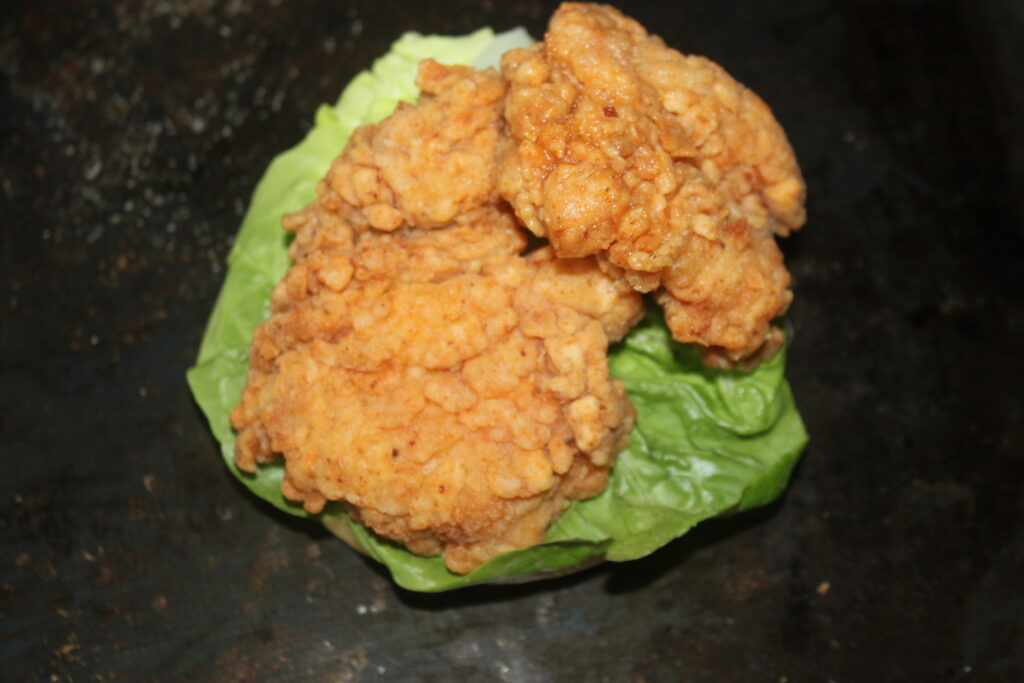
Pour the sauce and serve without delay!

Burger pimenté de poulet croustillant
Ingredients
- 4 buns à burger
- 4 hauts de cuisses de poulets
- 4 c. à soupe ketchup
- 1 c. à soupe sriracha
- 2 c. à soupe vinaigre de vin
- sel, poivre
Pour la panure :
- 300 g farine
- 150 g fécule tapioca
- 1 c. à café paprika
- 1 bonne pincée piment fort en poudre
- sel, poivre
Pour la sauce
- 5 c. à soupe mayonnaise
- 1 c. à café ketchup
- 1 c. à café sriracha
Pour compléter
Instructions
Commencez par préparer les hauts de cuisses de poulets. Retirez la peau et l’os central. Assurez-vous de l’absence de cartilage.
- Coupez chaque haut de cuisse en morceaux, en 3 ou en 4 suivant la taille de la viande obtenue.
- Versez dans un récipient avec le ketchup, la sauce pimentée sriracha et le vinaigre. Salez et poivrez.
- Mélangez bien et laissez de côté le temps de faire la suite. Dans une autre récipient, versez la farine, la fécule de tapioca. Ajoutez les autres ingrédients et mélangez bien.
- Versez quelques morceaux de poulet en prenant un peu de marinade dans le récipient de farine/fécule.
- Enrobez bien de tous les côtés, puis trempez juste un instant le poulet dans un bol d’eau froide. Puis remettez immédiatement dans le bol de farine/fécule.
- Faites cela pour tous les morceaux de poulet. D’abord dans la farine/fécule, puis eau, puis à nouveau farine/fécule. Quand tous les morceaux ont été panés, remettez-les tous dans le bol de farine/fécule puis recouvrez bien et laissez reposer 15 minutes.
- Faites chauffer une sauteuse, un wok ou une casserole d’huile à 175°C. Prélevez les morceaux en enlevant l’excédent de panure puis faites frire jusqu’à avoir des beignets bien dorés.
- Retirez-les de l’huile et laissez reposer sur un papier absorbant le temps de faire frire la totalité des morceaux de poulet.
- Mélangez les ingrédients de la sauce.
- Coupez les buns à burger en deux, puis faites les chauffer 7 minutes à 180°C au four. Versez un peu de sriracha sur le fond.
- Ajoutez de la salade, des tranches de gros cornichons et le poulet frit.
- Versez la sauce réalisée et servez sans attendre !
Nutrition

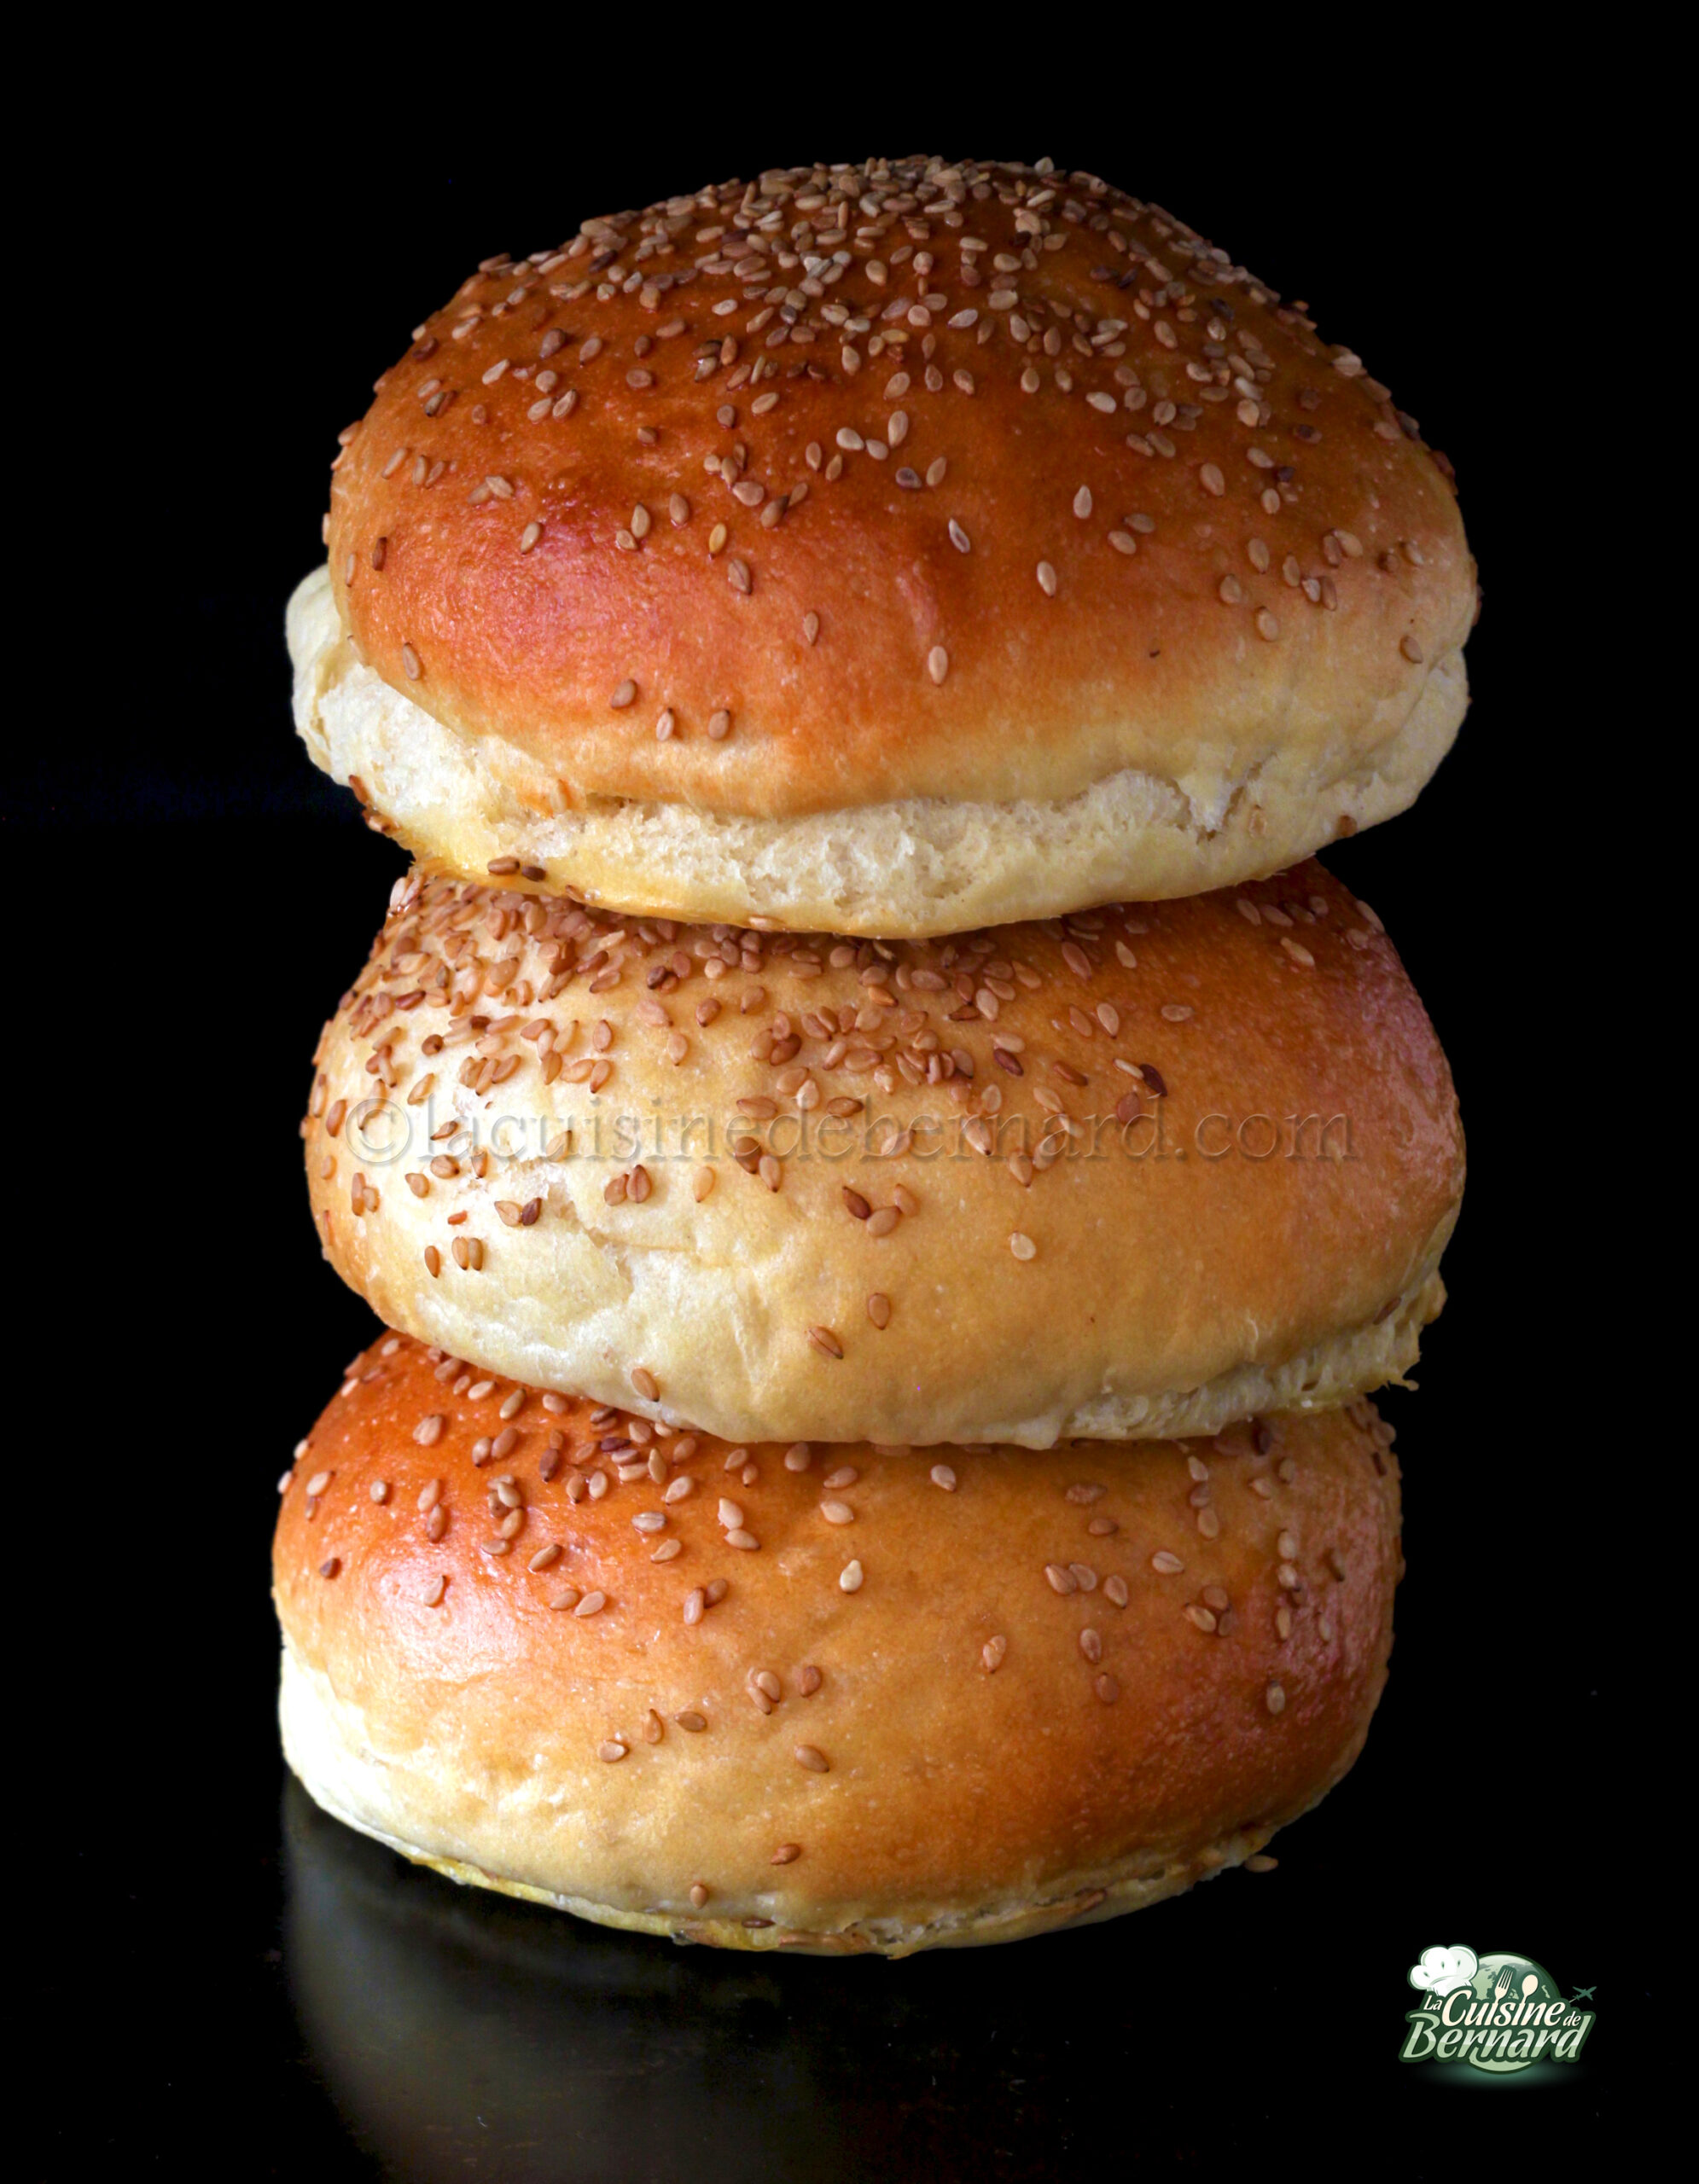
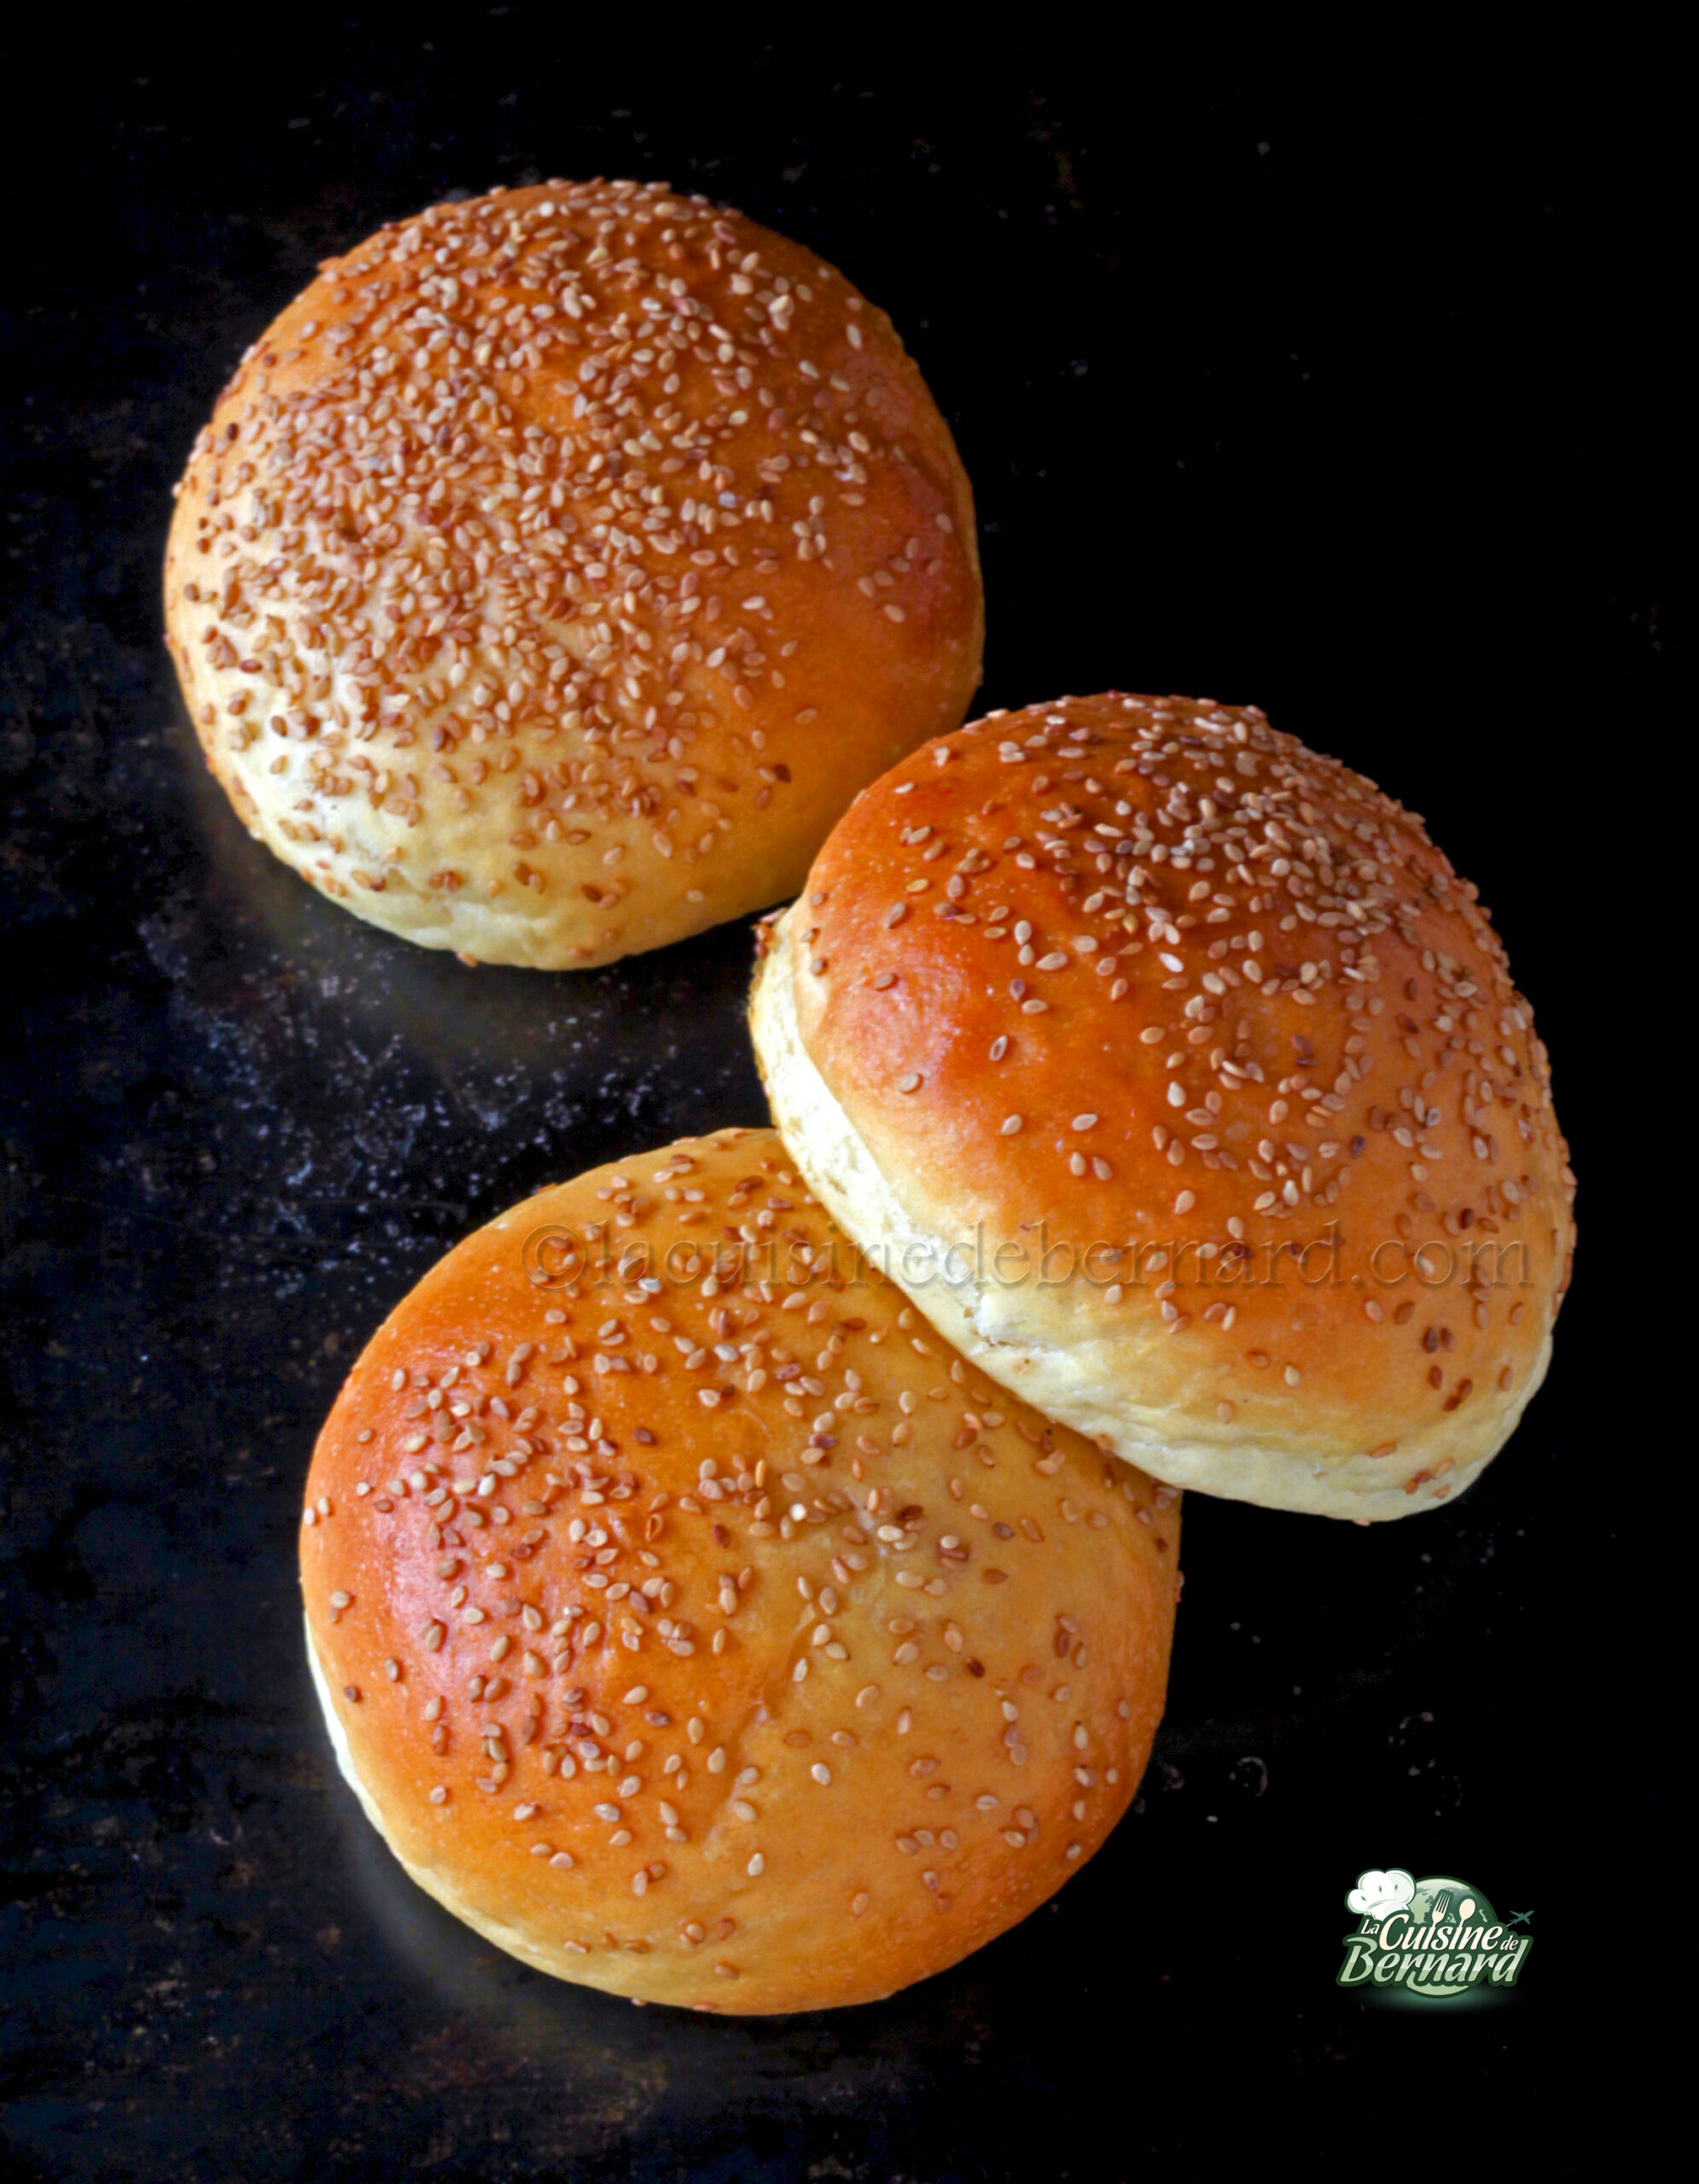
I’ve already suggested some recipes for hot dog buns, including the yudane method, which gives a very chewy result. The recipe is HERE. This time I share my method with thangzong, which causes the starch in part of the flour to gelatinize, and ultimately retain more moisture. The result is soft buns, perfect for burgers to devour without qualms!
For 10 buns
Thangzong:
- 30g T55 flour
- 155g milk
Then:
- 220g of milk
- 7g dehydrated baker’s yeast (or 15g fresh)
- 25g of sugar
- 5g of salt
- 40g milk powder
- 2 eggs (100g)
- 470g T55 flour
- 60g of soft butter at room temperature
Gilding :
- 1 egg
- 1 tablespoon of milk
- toasted sesame seeds
Start by preparing the thang zong. Put the flour in a small saucepan, then pour in the milk gradually while whisking to avoid lumps.
Heat over low heat. The mixture will thicken. When it reaches 65°C, turn off the heat and let it cool for a few minutes.
In the bowl of your food processor, place all the ingredients except the butter, including the warmed thang zong.
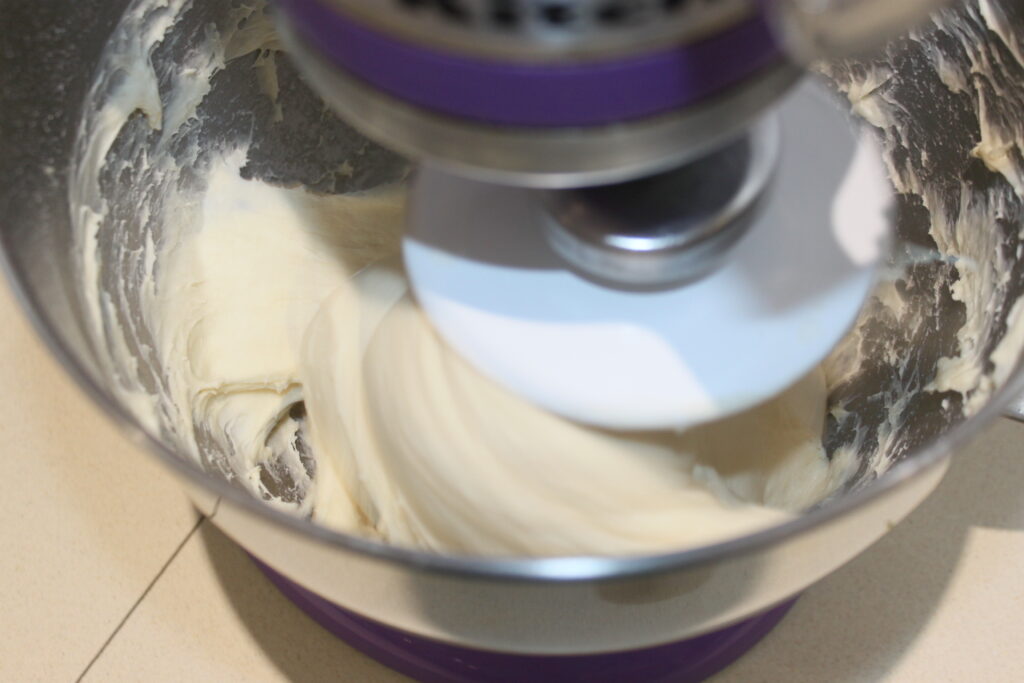
Knead for 10 minutes with the dough hook.
Add the butter in pieces.
Knead again until the dough is smooth.
Let rise in a 40°C oven for 1h30, or at room temperature until the dough doubles in volume.
Degas the dough, place a cling film on the contact, then put in the fridge one night.
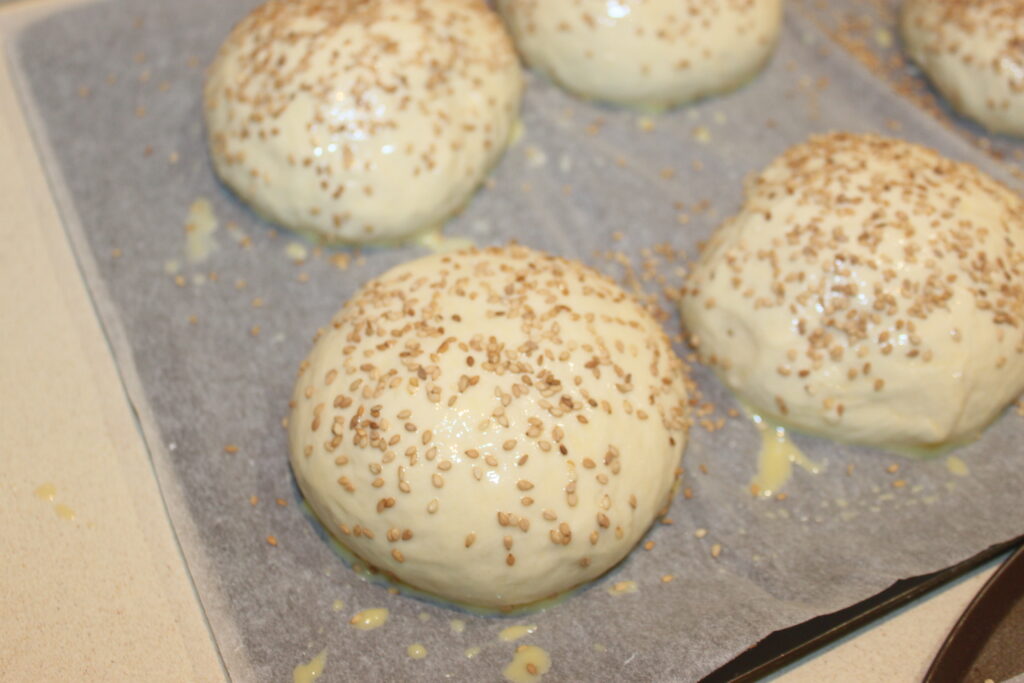
The next day the dough is cold and has risen again. Make 110g balls with the help of a little flour. Place the balls on a baking sheet lined with parchment paper.
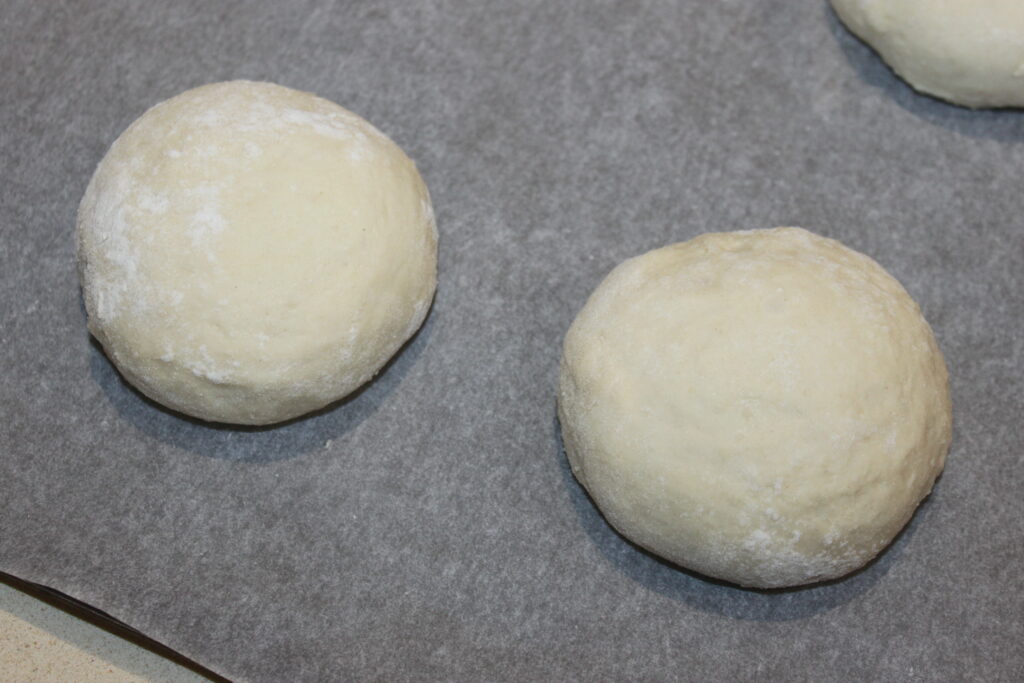
I put a little water spray on the surface of the balls to prevent the dough from drying out. Let rise at room temperature for 1 1/2 hours. If it is hot, it will be faster. The dough should have a bit of a jelly-like consistency!
Mix the egg and milk together to make the gilding, then brush it onto the balls.

Sprinkle with toasted sesame seeds.
Bake for 20 minutes in an oven at 175°C on revolving heat.
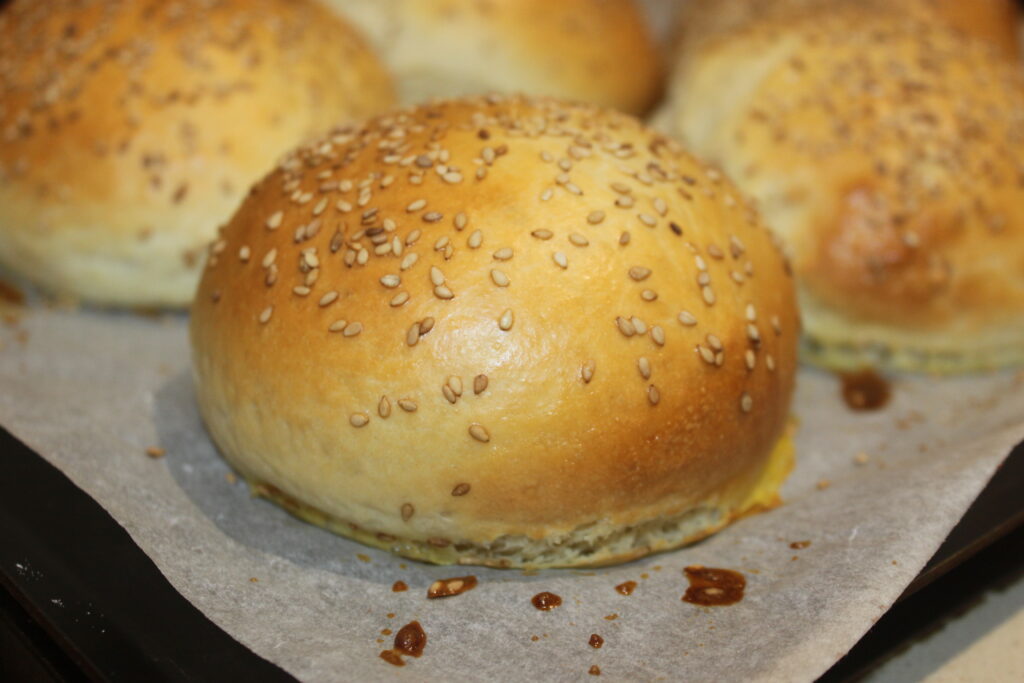
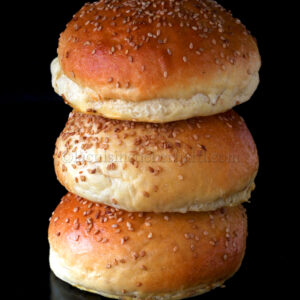
When removed from the oven, cover immediately with a clean cloth to keep the buns moist.
Store in an airtight box.
Buns au Thang zong
Ingredients
Thangzong
- 30 g farine T55
- 155 g lait demi-écrémé
Pour la pâte :
- 220 g lait demi-écrémé
- 7 g levure de boulangerie déshydratée
- 25 g sucre
- 5 g sel
- 40 g poudre de lait demi-écrémé
- 2 œufs
- 470 g farine T55
- 60 g beurre doux
Dorure
- 1 œuf
- 1 c. à soupe lait
- graines de sésame
Instructions
- Commencez par préparer le thangzong. Mettez la farine dans une petite casserole, puis versez le lait progressivement tout en fouettant pour éviter les grumeaux.
- Mettez à chauffer sur feu doux. Le mélange va épaissir. Quand le tout arrive à 65°C, arrêtez le feu et laissez tiédir quelques minutes.
- Dans la cuve de votre robot, mettez tous les ingrédients sauf le beurre, y compris le thang zong tiédi.
- Pétrissez pendant 10 minutes avec le crochet pétrisseur.
- Ajoutez le beurre en morceaux.
- Pétrissez de nouveau jusqu’à ce que la pâte soit bien lisse.
- Laissez gonfler en étuve à 40°C pendant 1h30, ou à température ambiante jusqu’à ce que la pâte double de volume.
- Faites dégazer la pâte, placez un film étirable au contact, puis mettez au frais un nuit.
- Le lendemain la pâte est bien froide et a regonflé à nouveau. Faites des boules de 110g en vous aidant d’un peu de farine. Posez les boules sur une plaque garnie de papier sulfurisé.
- Je mets un peu d’eau en spray sur la surface des boules pour éviter le desséchement de la pâte. Laissez gonfler à température ambiante pendant 1h30. Si il fait chaud, cela sera plus rapide. La pâte doit un peu avoir la consistance d’une gelée !
- Faites la dorure en mélangeant l’œuf et le lait, puis passez-en au pinceau sur les boules.
- Parsemez de graines de sésame grillées.
- Faites cuire 20 minutes dans un four à 175°C sur chaleur tournante.
- À la sortie du four, couvrez immédiatement d’un linge propre pour conserver l’humidité des brioches. Conservez ensuite en boite hermétique.
Nutrition

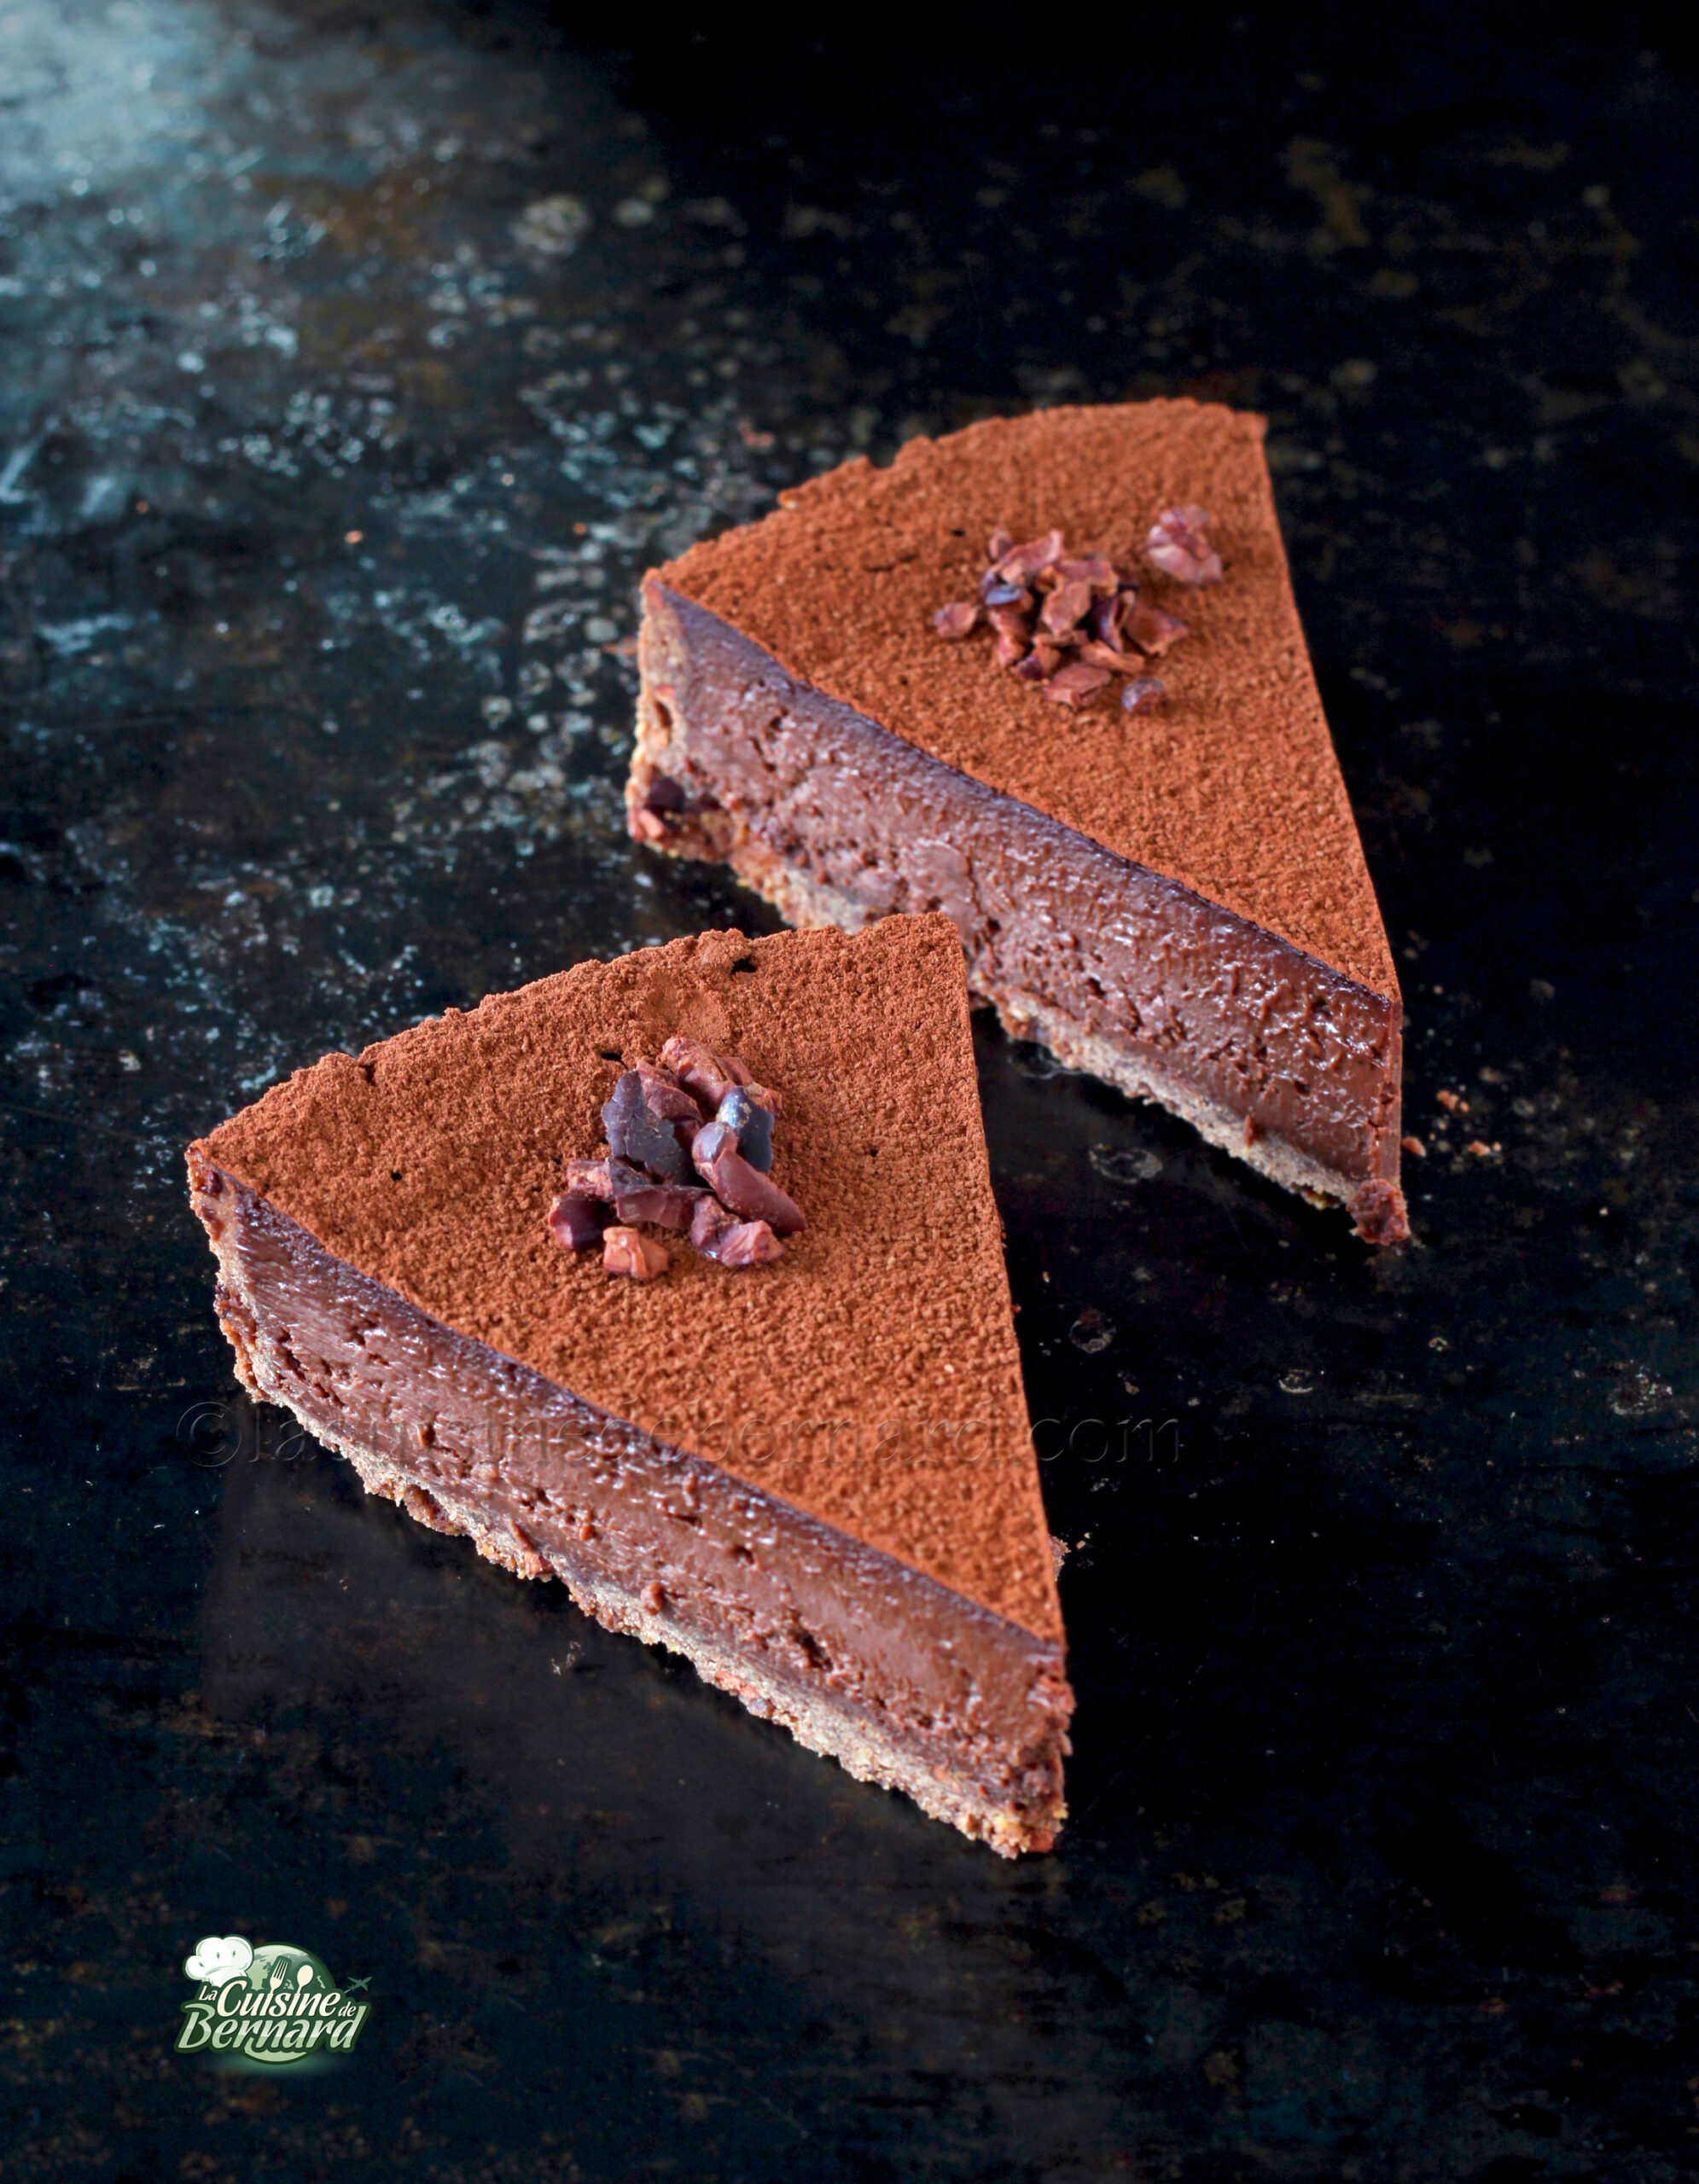
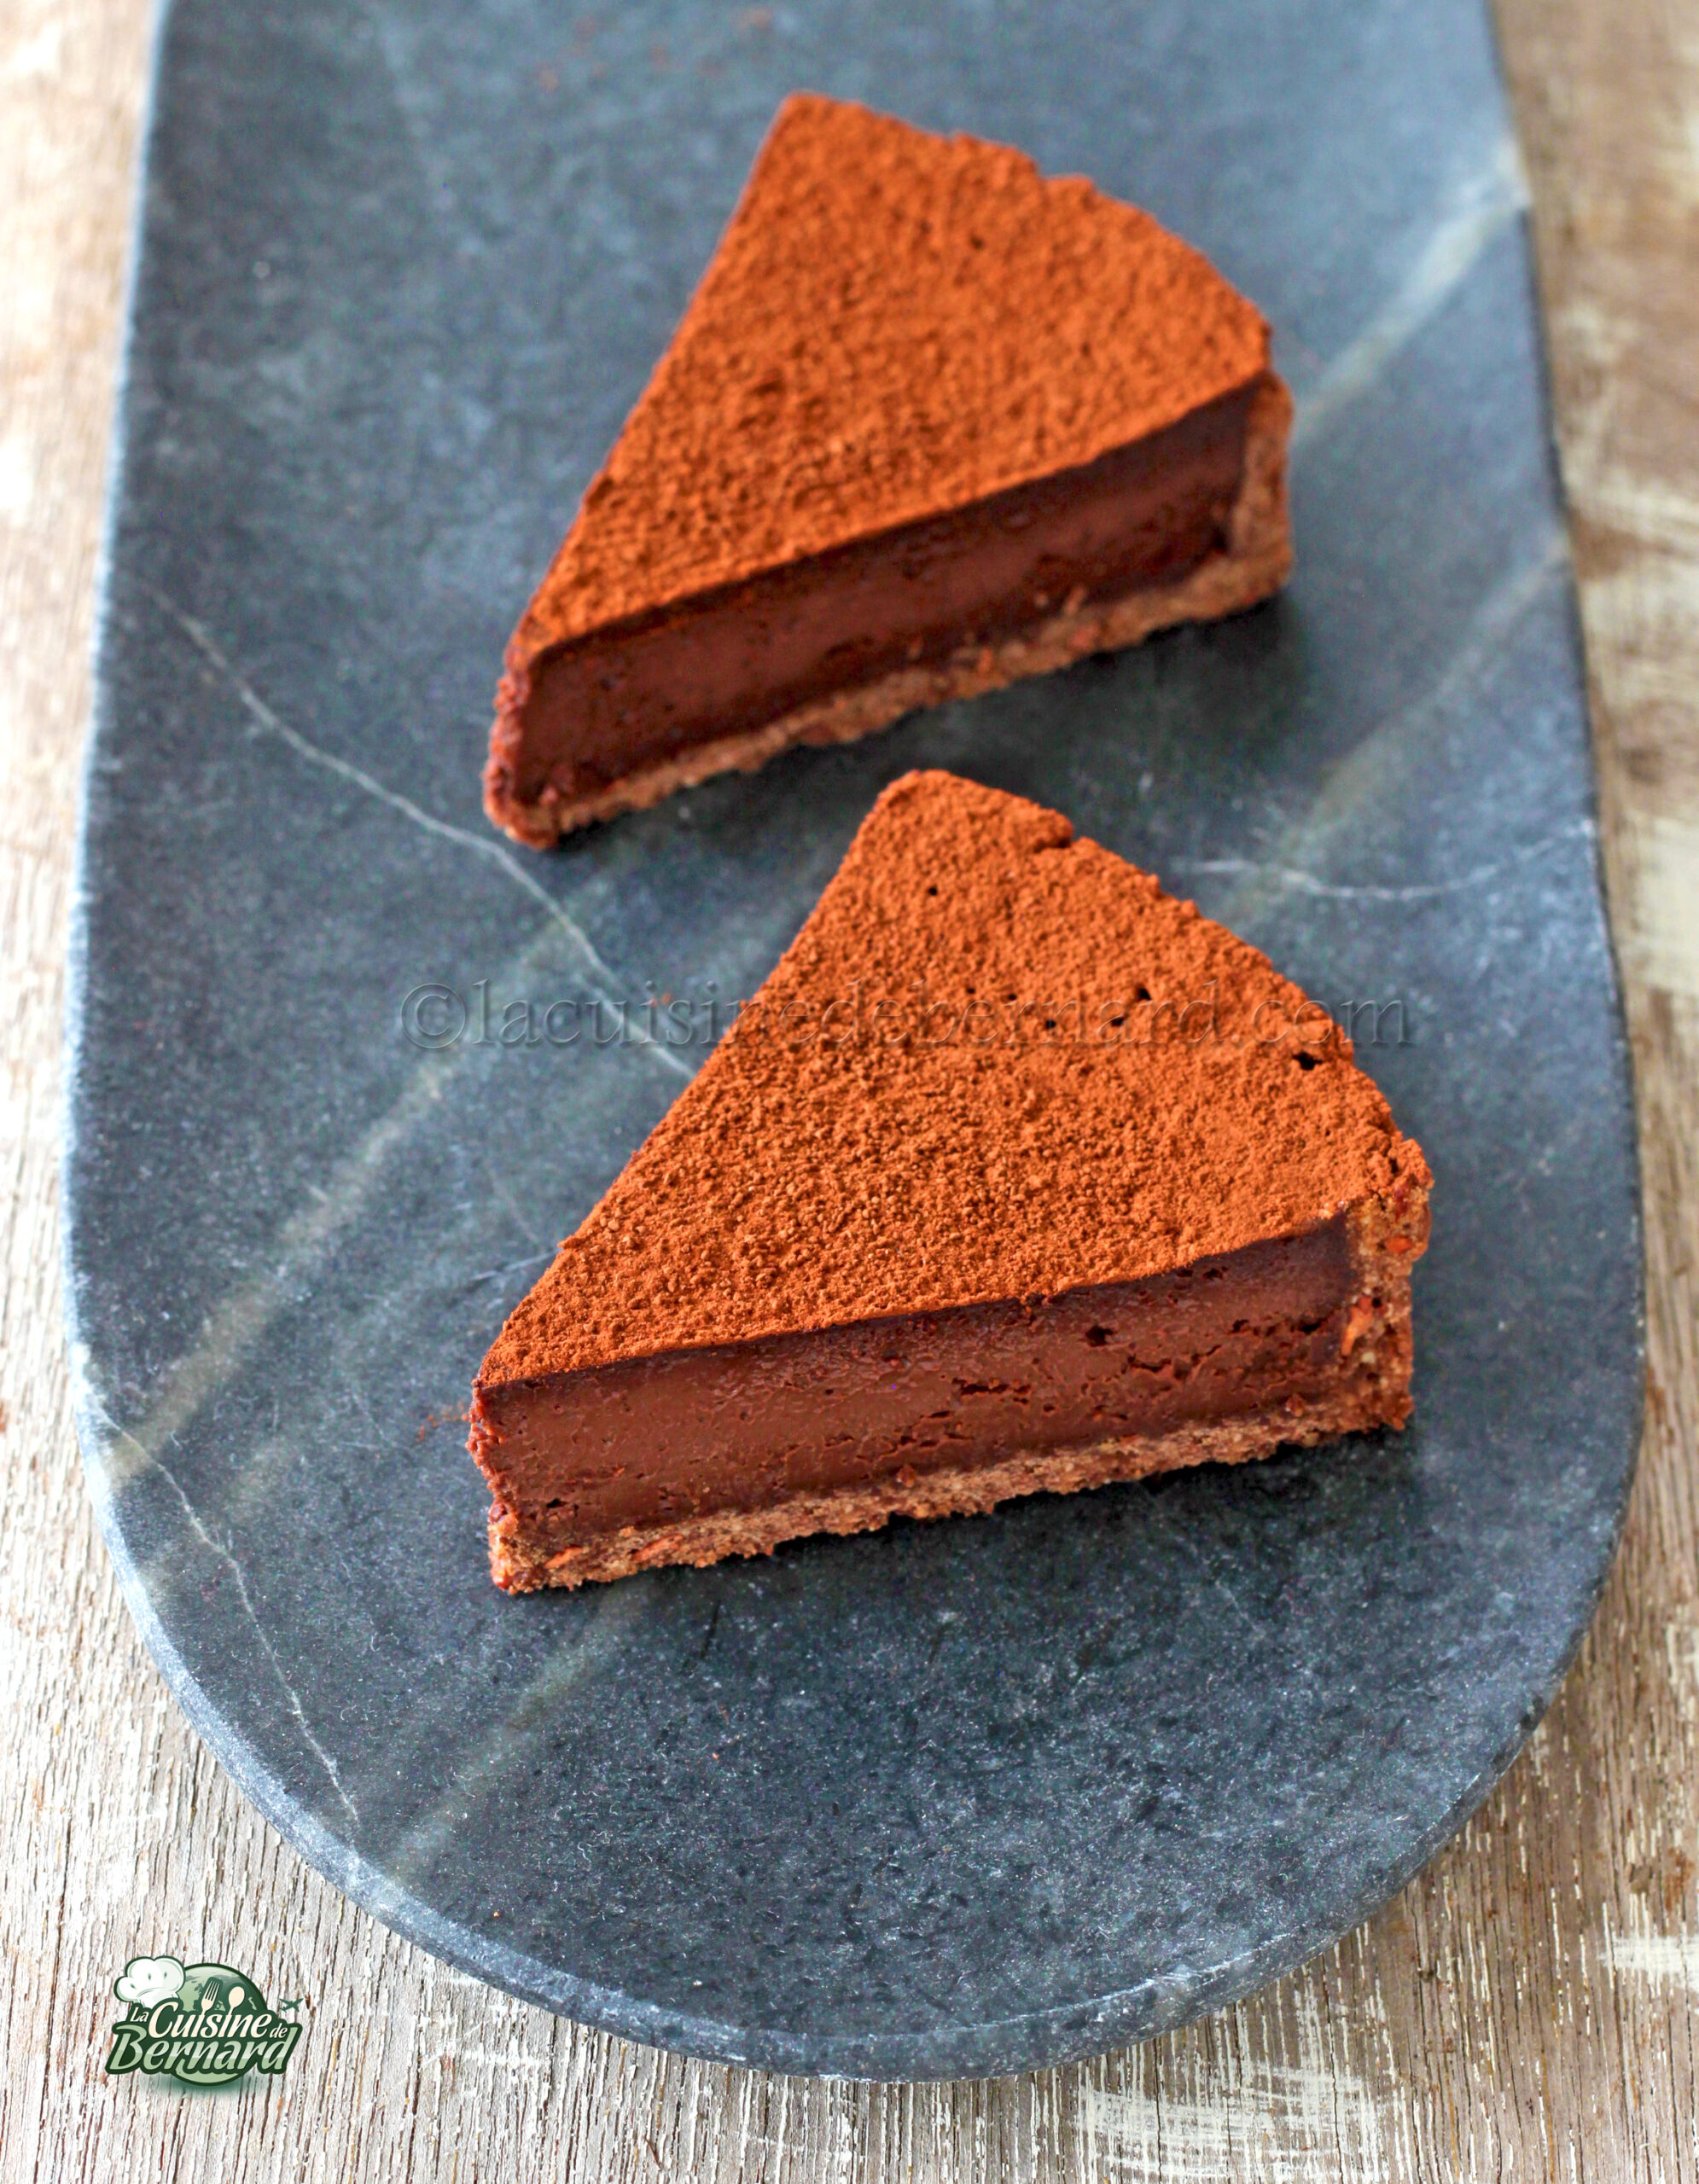
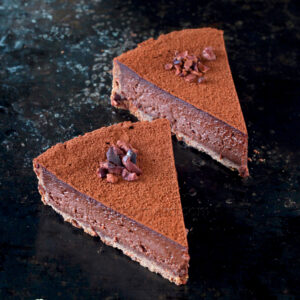
With autumn setting in and the cold weather inevitably gaining ground, I propose a rich and comforting pie with a foretaste of the end of the year party! A crunchy, low-sugar cocoa and crunchy cocoa nib pastry filled with a dense chocolate cream with a consistency similar to that of chocolate truffles, with a hint of coffee to underline the chocolate and cocoa flavor. A little delight to be enjoyed fresh or at room temperature!
For a 20cm diameter pie :
Cocoa paste :
- 250g flour
- 90g of powdered sugar
- 60g almond powder
- 35g cocoa powder
- 165g of butter cut in pieces
- 50g egg
- 50g cocoa nibs (optional)
Truffle cream :
- 200g dark chocolate
- 300g cream
- 1 coffee stick
- 50g of sweetened condensed milk
- 1 egg
- Cocoa powder for sprinkling

Start by preparing the cocoa paste:
Place all ingredients except the egg and cocoa nibs in the bowl of your food processor.
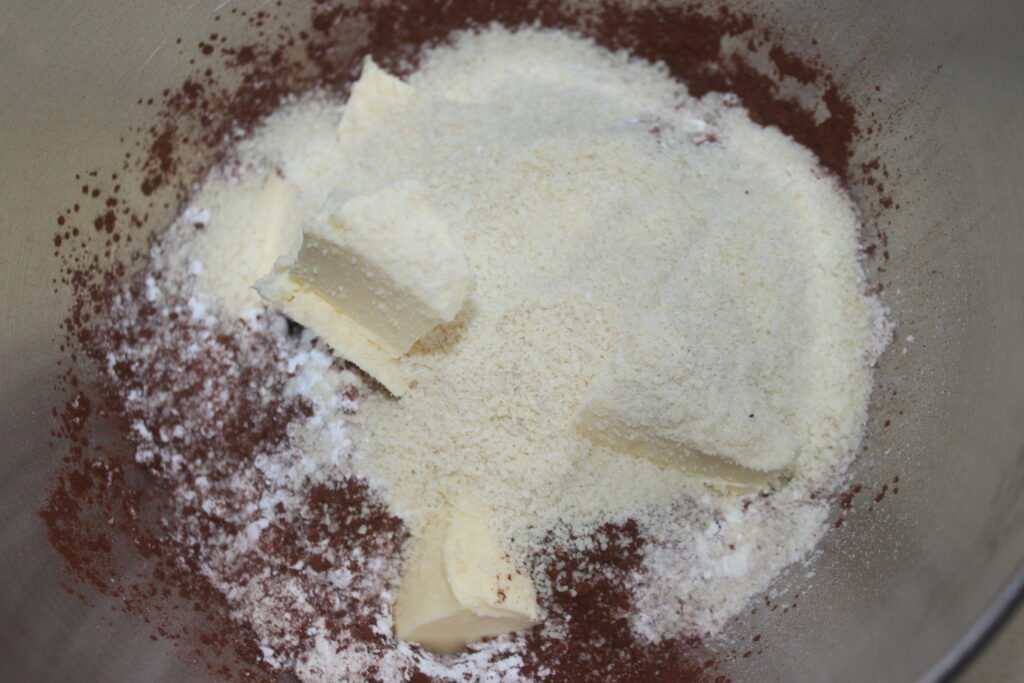
Mix with the sheet (the K-shaped utensil) or with your fingertips, until you have a kind of sand. Then add the egg omelette and cocoa nibs.
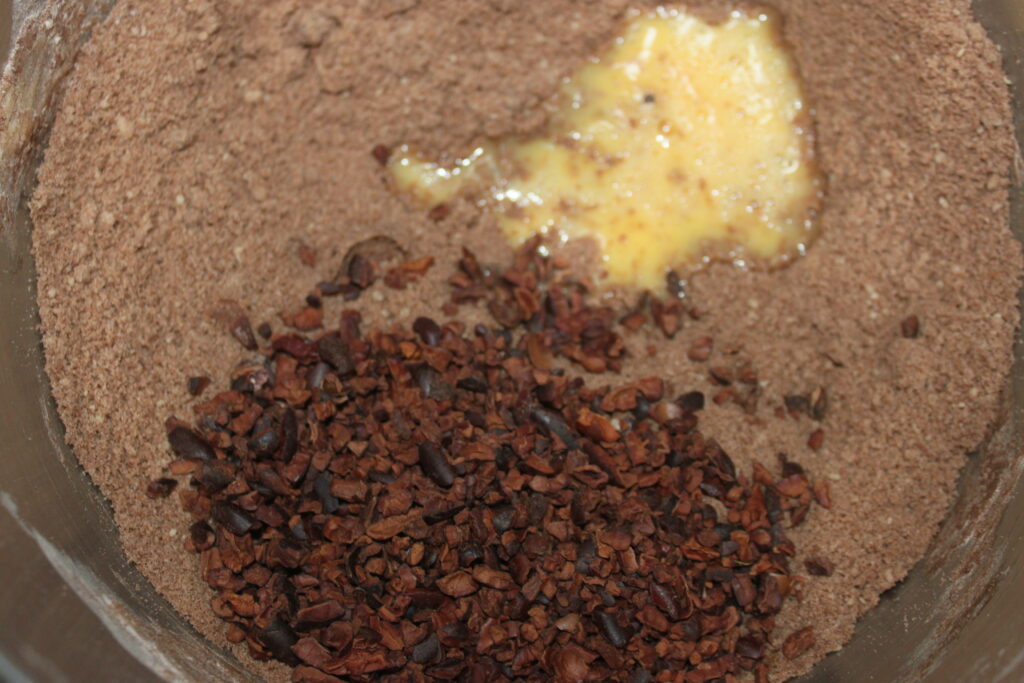
Mix again just to have a homogeneous paste, without insisting.
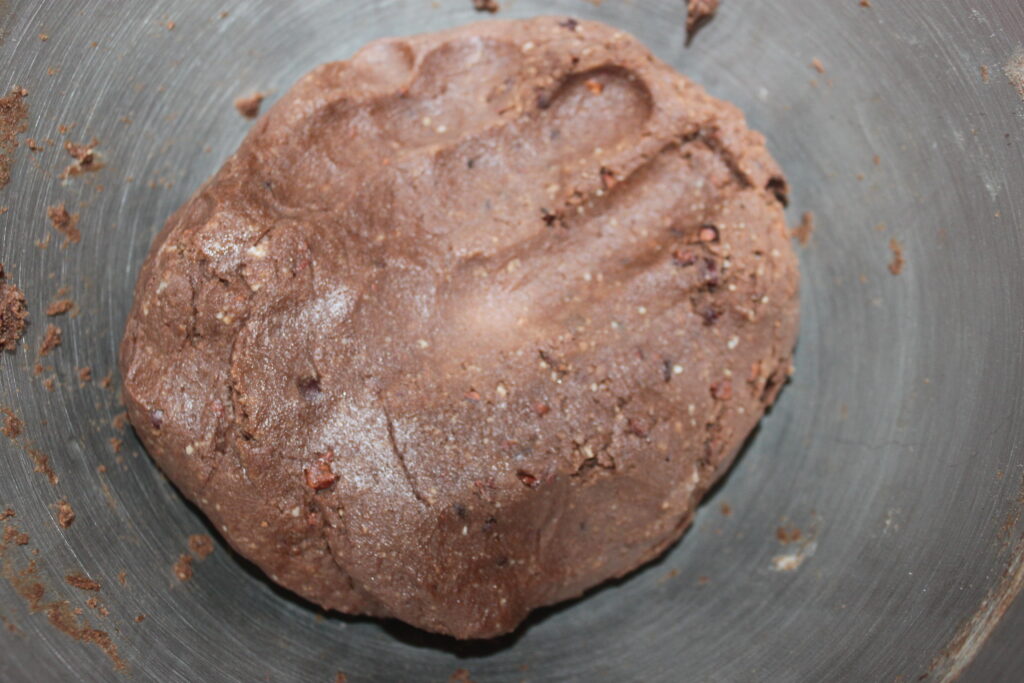
Wrap in cling film and chill for at least 2 hours. Place half of the dough lightly floured on parchment paper and roll out to 2-3mm thickness. There will be some dough left over, but I’ll quickly come up with a recipe with it!
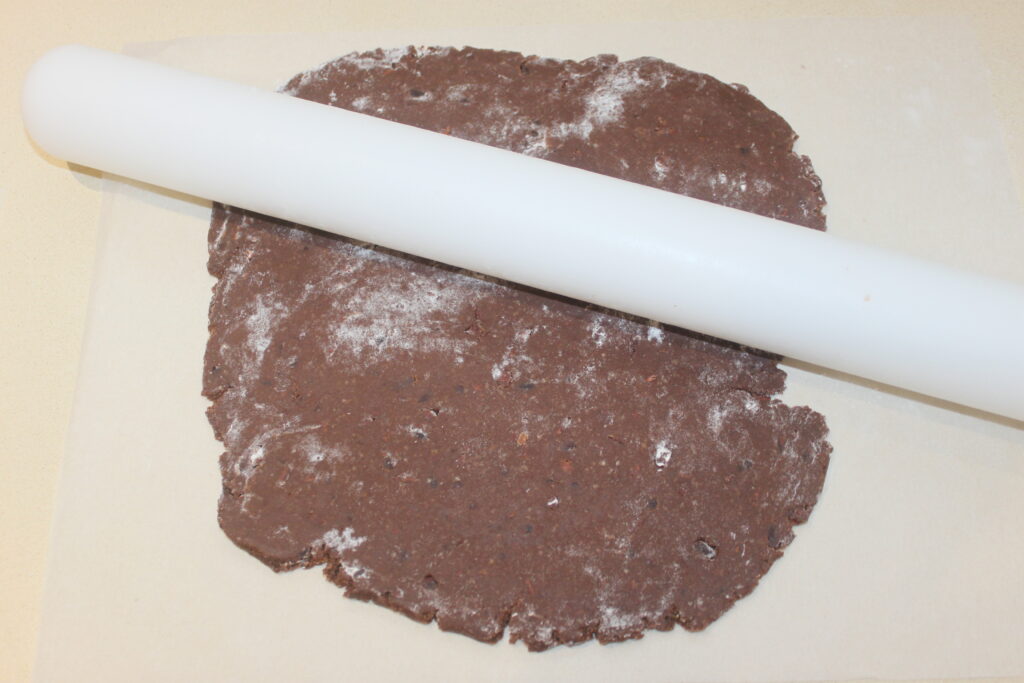
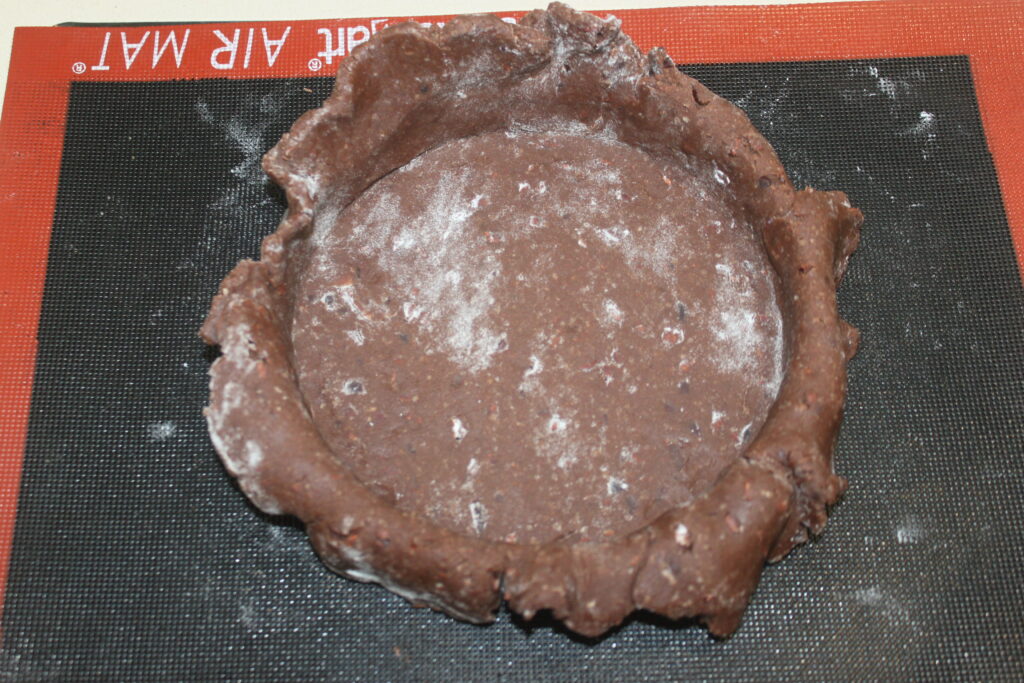
Place a 20cm diameter circle on a baking sheet lined with parchment paper or a siliconized baking mat, then place the dough in the circle. Be careful to have a nice right angle in the bottom and the edge of the circle.
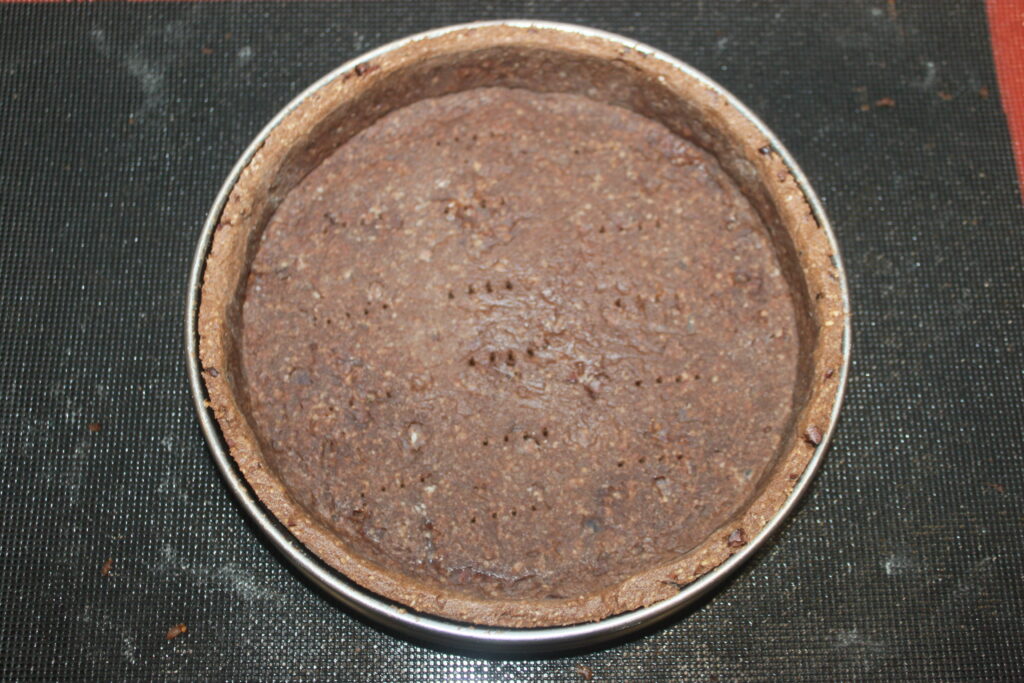
Cut off the excess dough and bake for 25-30 minutes at 170°C in a preheated oven. Prick the bottom of the dough to prevent it from puffing up.
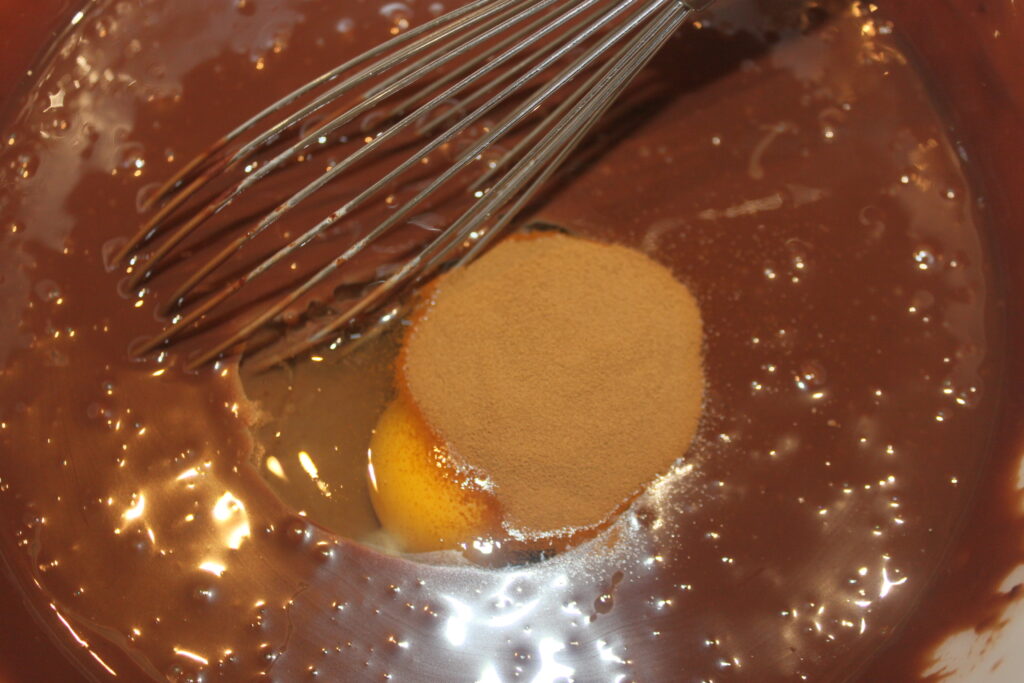
Pour the cream, dark chocolate pieces and sweetened condensed milk into a microwave-safe container.
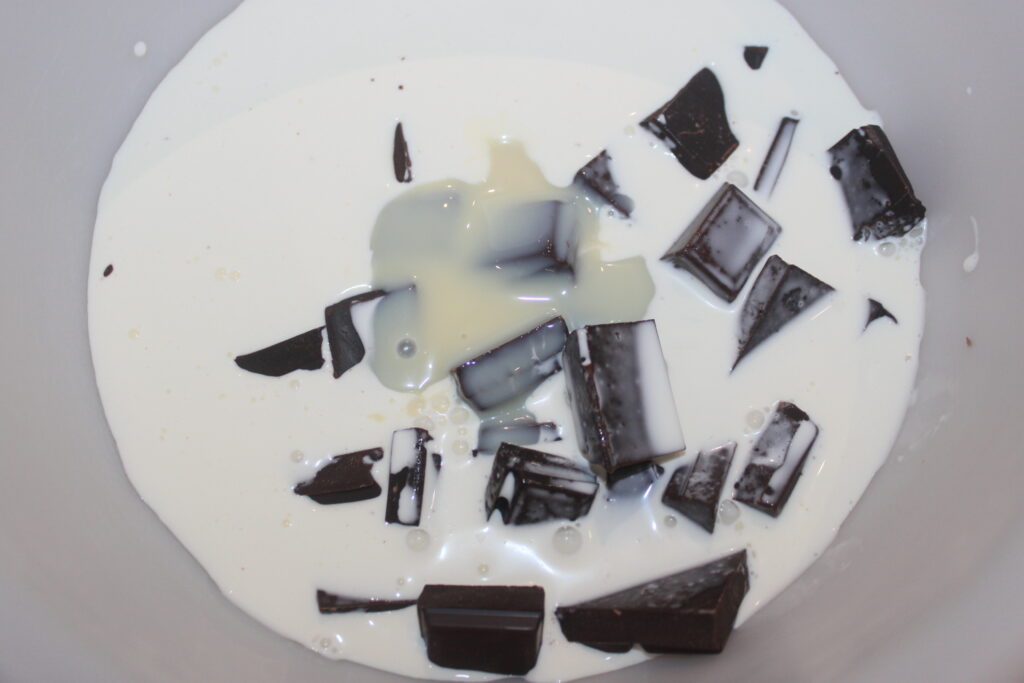
Heat in 30-second increments until chocolate has melted. When the mixture is no longer too hot but lukewarm, add the soluble coffee stick and the egg.
Mix well and pour into the pre-baked pie shell.

Bake for another 30 minutes, still at 170°C.

Let cool, then at the last moment, sprinkle with cocoa powder.
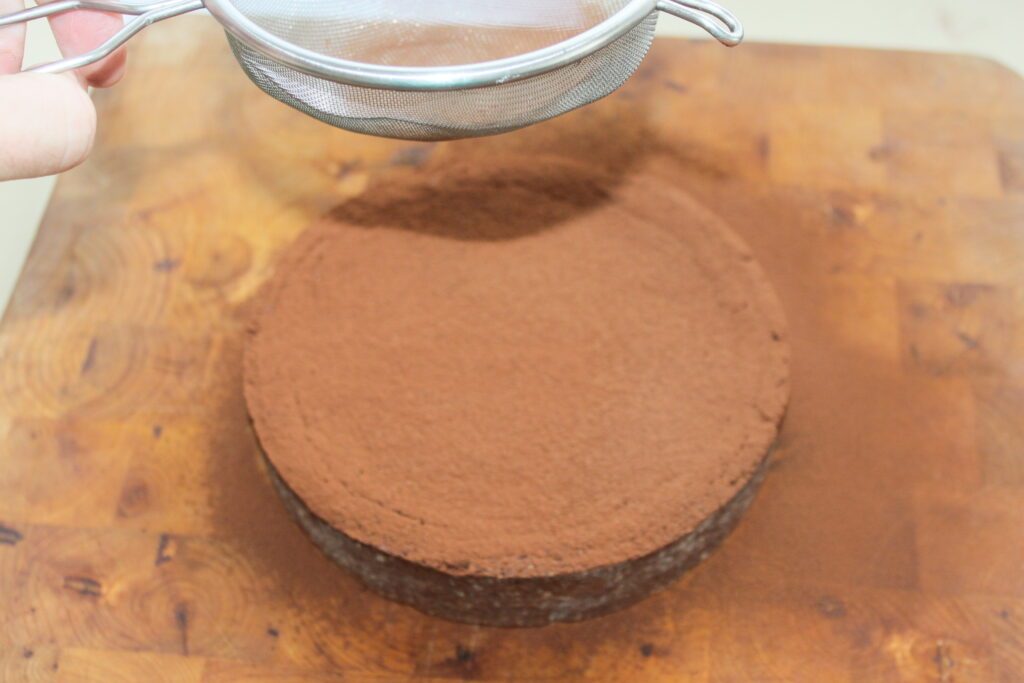
Serve the cooled pie in the refrigerator or at room temperature.
Tarte truffée chocolat café
Ingredients
Pâte cacao
- 250 g farine
- 90 g sucre glace
- 60 g amande en poudre
- 35 g cacao en poudre non sucré
- 165 g beurre coupé en morceaux
- 50 g œuf
- 50 g grué de cacao facultatif
Crème truffée
- 200 g chocolat noir
- 300 g crème liquide entière
- 1 stick café soluble
- 50 g lait concentré sucré
- 1 œuf
- cacao en poudre non sucré pour saupoudrer
Instructions
- Commencez par préparer la pâte cacao : Mettez tous les ingrédients sauf l’œuf et le grué de cacao dans le bol de votre robot.
- Mélangez avec la feuille (l’ustensile en forme de K) ou du bout des doigts, jusqu’à avoir une sorte de sable. Ajoutez alors l’œuf en omelette et le grué de cacao.
- Mélangez de nouveau juste pour avoir une pâte homogène, sans insister.
- Mettez dans un film étirable et placez au frais au moins 2 heures. Placez la moitié de la pâte légèrement fariné sur un papier sulfurisé et étalez-la au rouleau sur une épaisseur de 2-3mm. Il restera de la pâte mais je vous propose vite une recette avec !
- Placez un cercle de 20cm de diamètre sur une plaque garnie de papier sulfurisé ou d’un tapis de cuisson siliconé, puis disposez la pâte dans le cercle. Faites bien attention à avoir un bel angle droit dans le fond et le bord du cercle.
- Coupez l’excédent de pâte puis faites cuire 25-30 minutes à 170°C dans un four préchauffé sur chaleur tournante. Piquez le fond de pâte pour éviter son gonflement.
- Versez dans un récipient allant au four à micro-ondes, la crème, le chocolat noir en morceaux et le lait concentré sucré.
- Faites chauffer par périodes de 30 secondes jusqu’à ce que le chocolat ait bien fondu. Quand le tout n’est plus trop chaud mais tiède, ajoutez le stick de café soluble et l’œuf.
- Mélangez bien puis versez dans le fond de tarte précuit.
- Remettez à cuire 30 minutes, toujours à 170°C.
- Laissez refroidir, puis au dernier moment, saupoudrez de cacao en poudre.
- Servez la tarte refroidie au réfrigérateur ou à température ambiante.
Nutrition

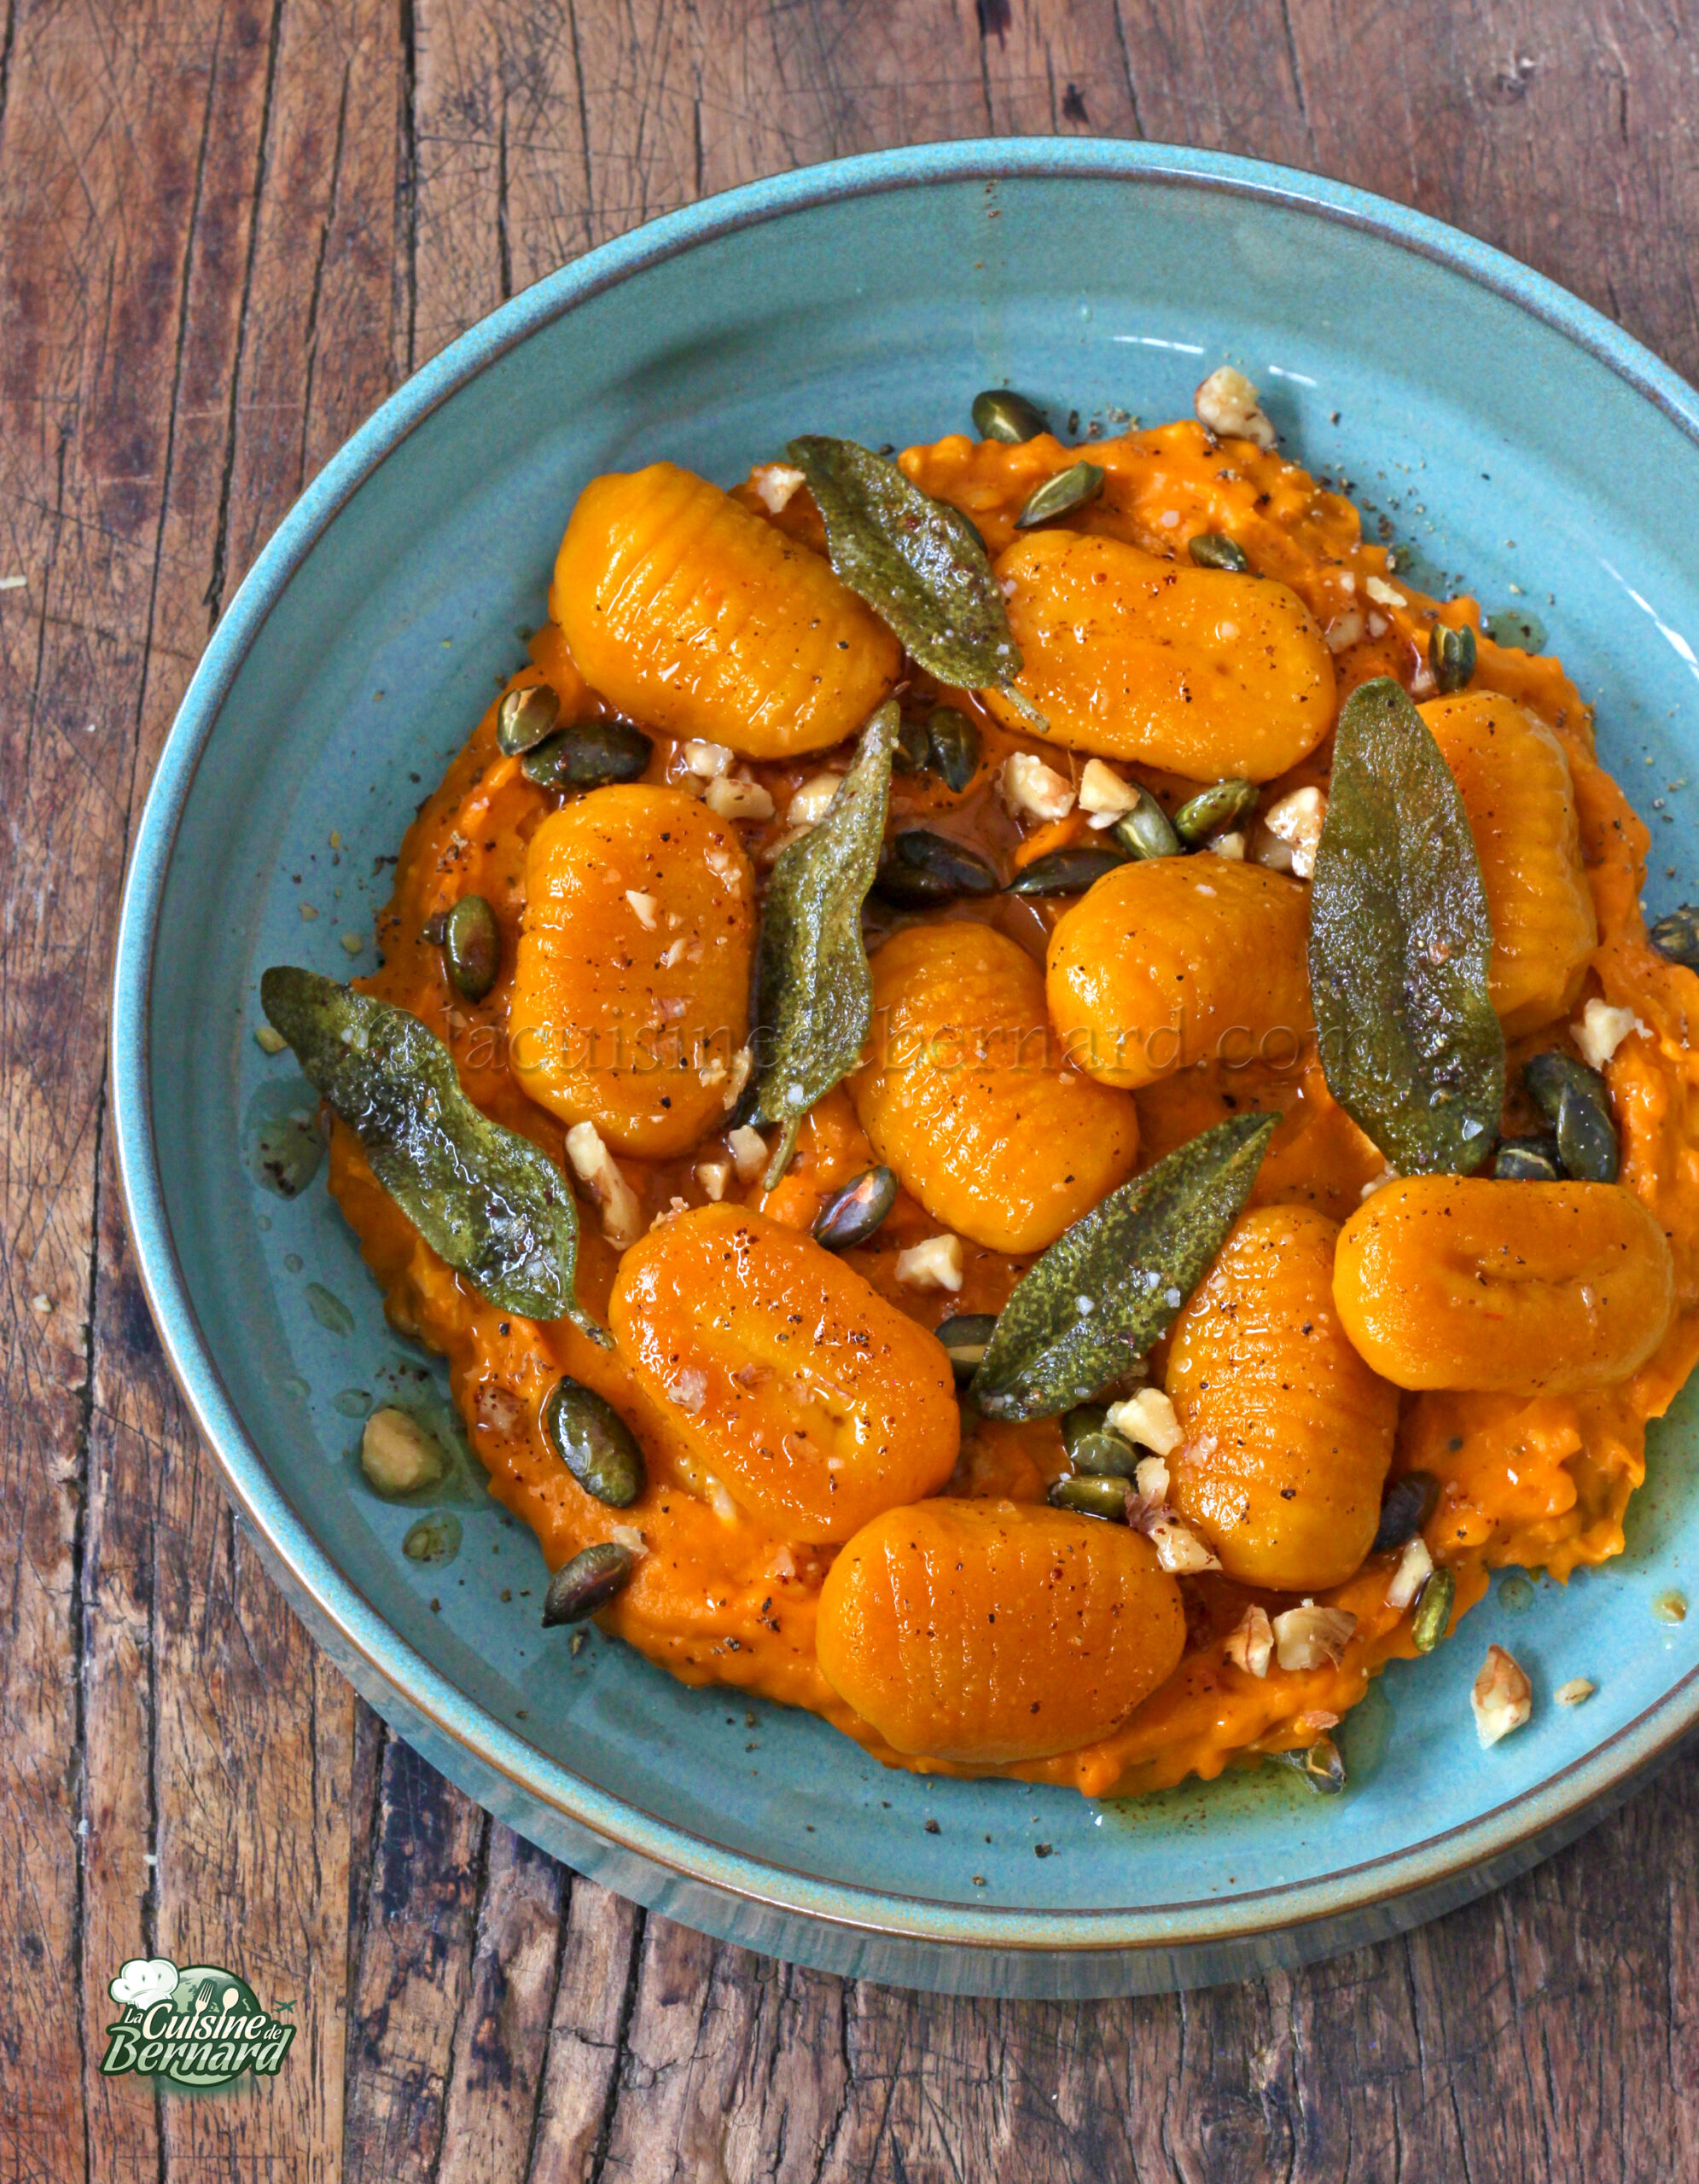
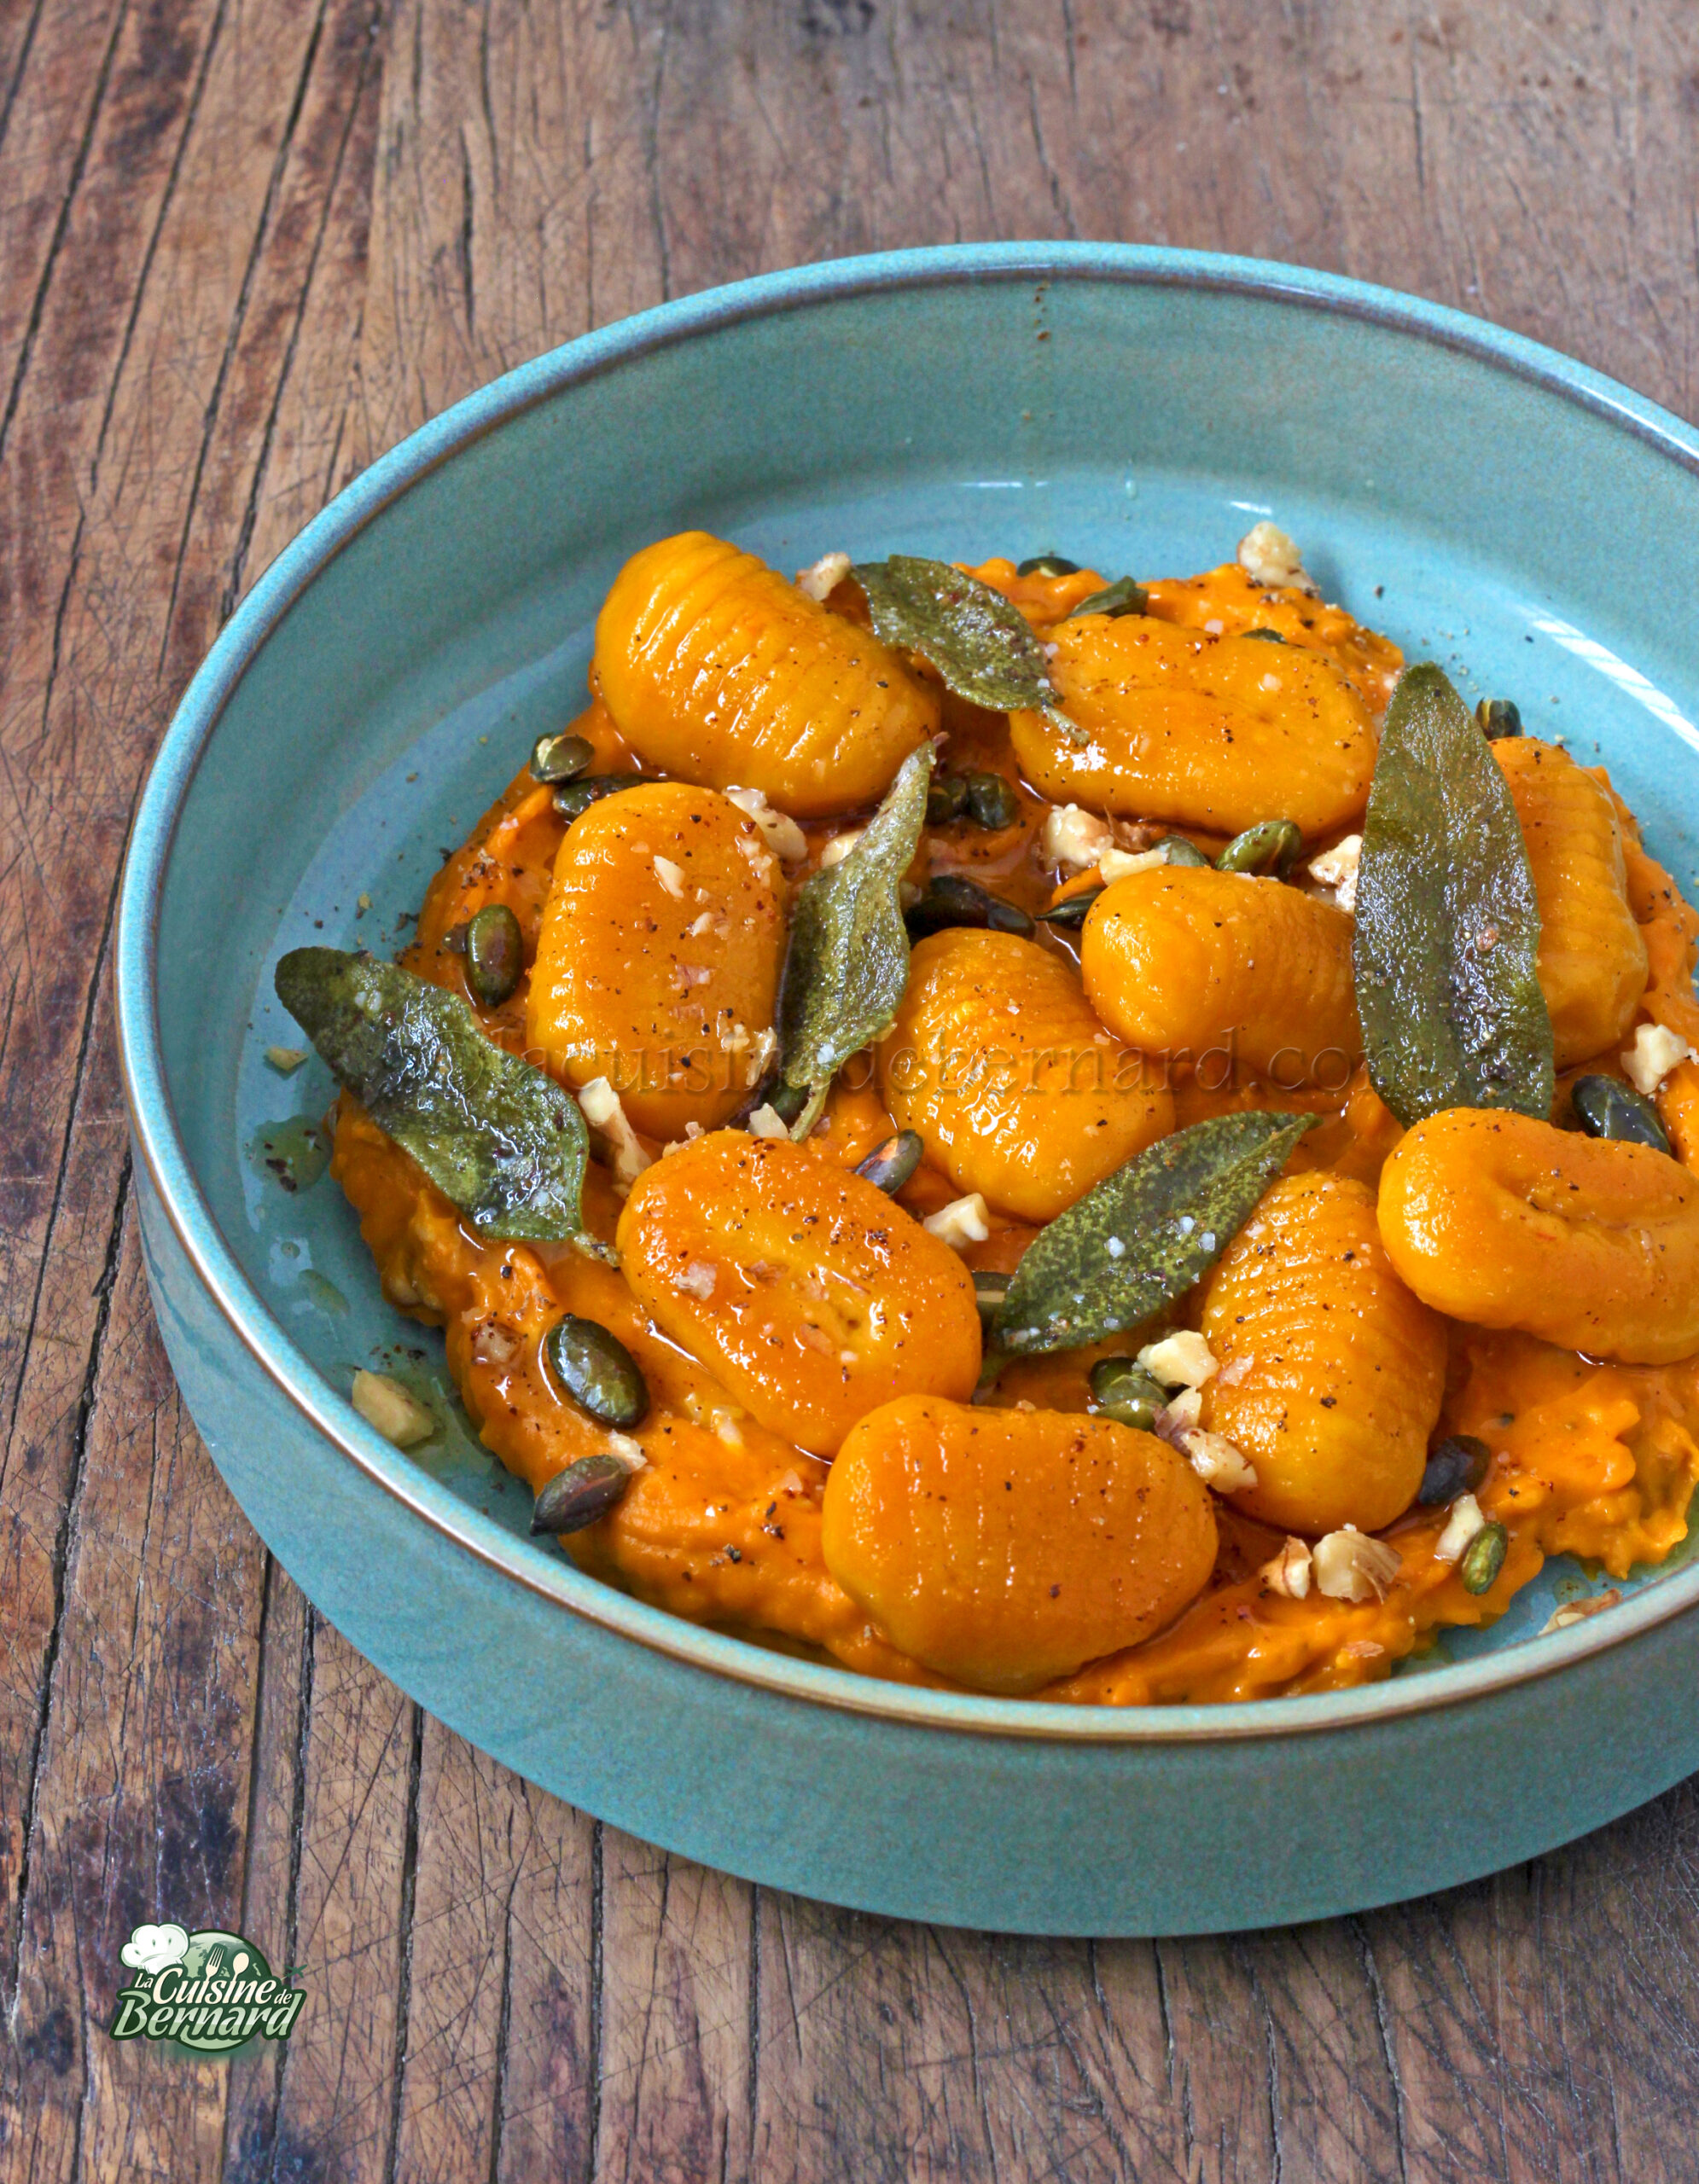
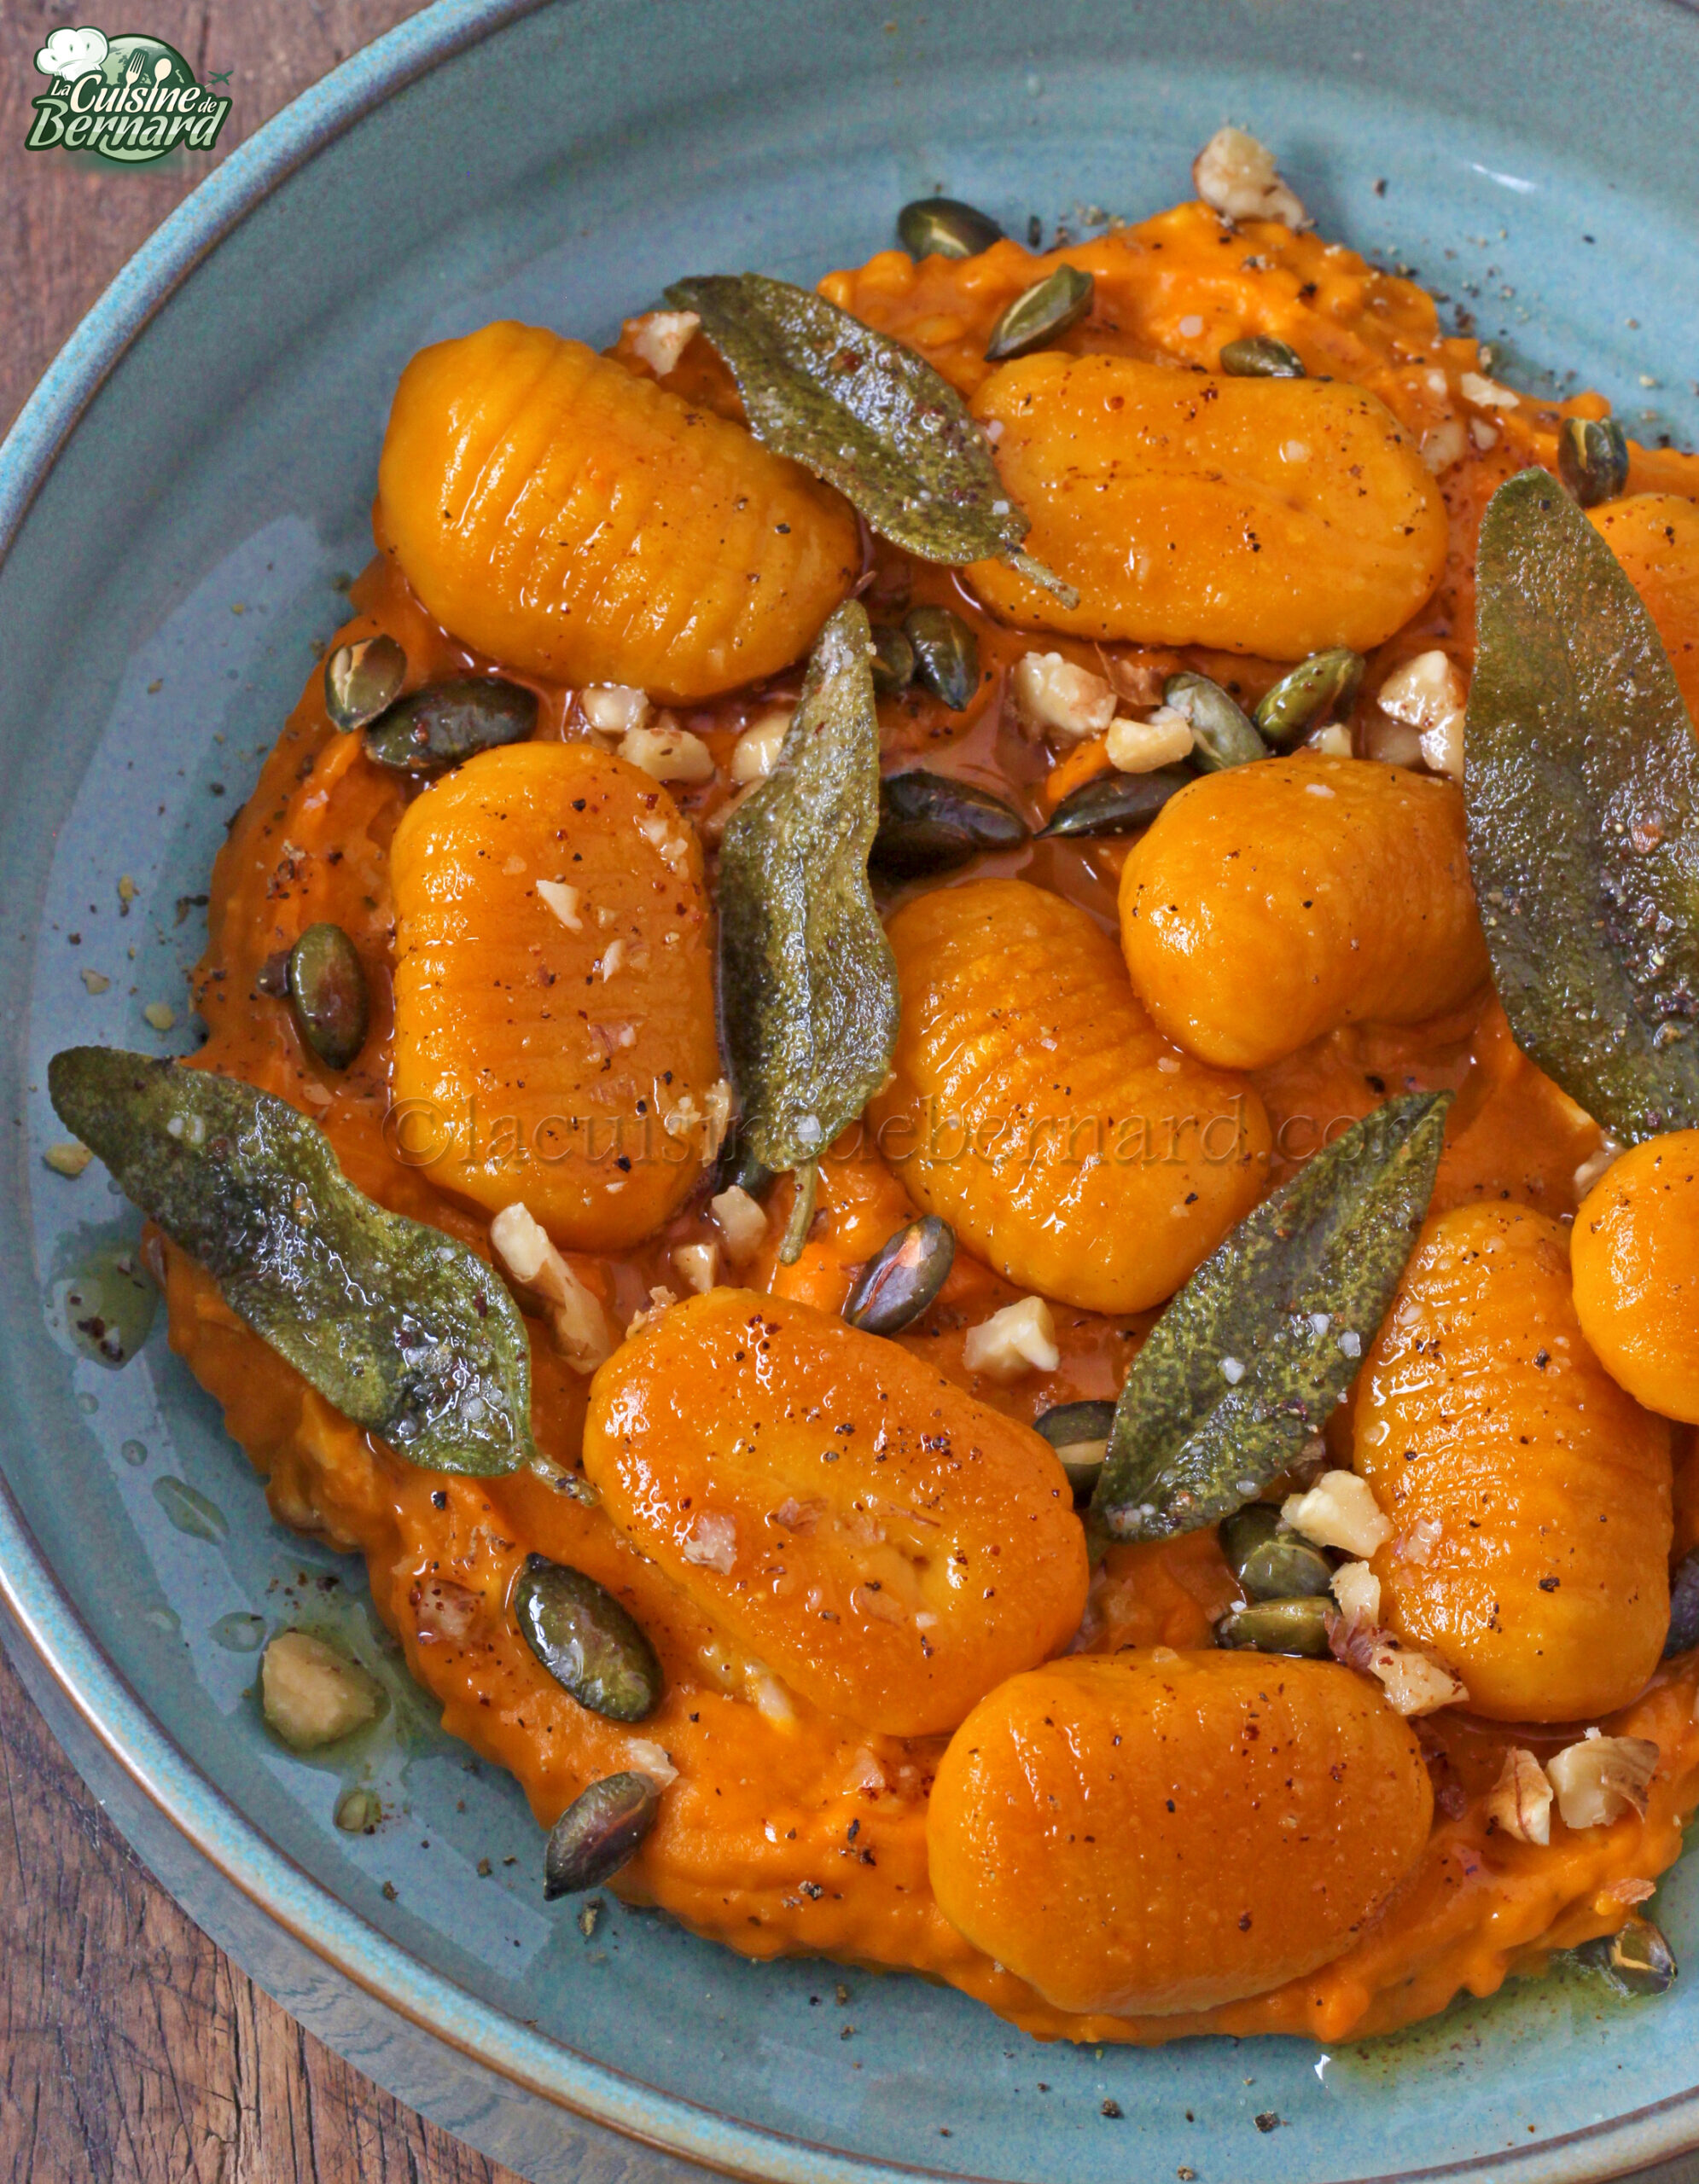
Following my recipe for pumpkin gnocchi, here is a very autumnal recipe for cooking them! I suggest a bed of walnut pumpkin puree, pan-fried gnocchi, crispy sage butter, sprinkled with walnuts and toasted squash seeds! A real delight, both visually and in taste. This dish can of course be accompanied by meat or not, because it is almost enough in itself!
For 4 people:
- 450g of pumpkin gnocchi(recipe HERE) or classic gnocchi(recipe HERE)
- 30g of pumpkin seeds
- 50g of nuts
- 50g semi-salted butter
- about fifteen sage leaves
Pumpkin purée
- 3 tablespoons of olive oil
- 3 cloves of garlic
- 300g of pumpkin
- 70g mascarpone
- 40g of nuts
- Nutmeg
- A little water
- salt pepper
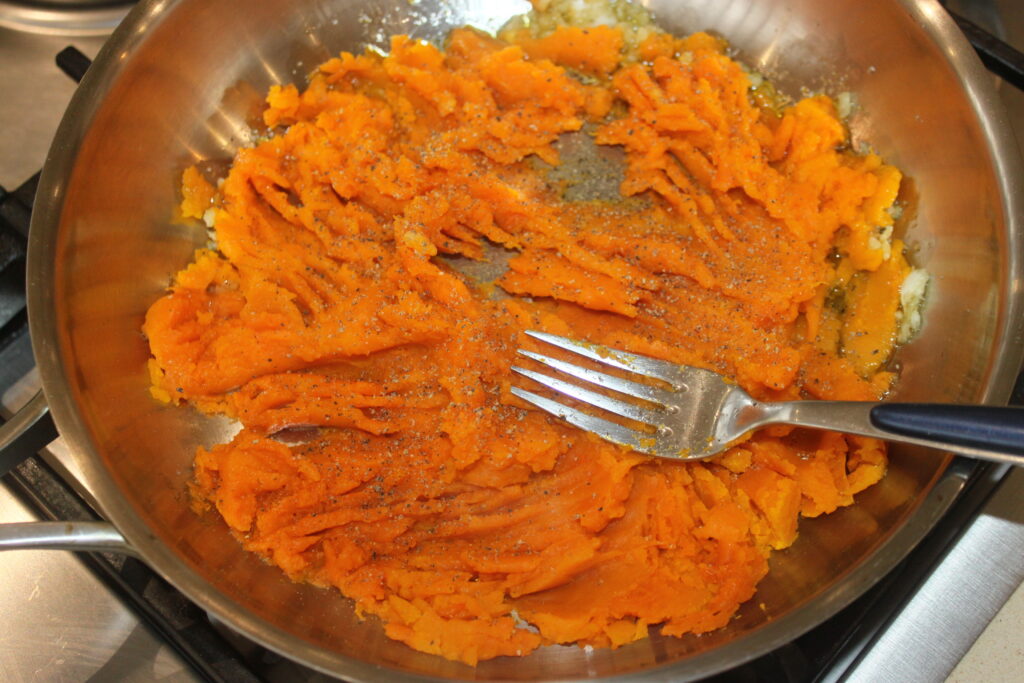
First, prepare your pumpkin gnocchi(recipe HERE). Save some of the pumpkin flesh. Heat the olive oil with the peeled and chopped garlic cloves and cook for 5 minutes. Add the 300g of flesh and crush with a fork.
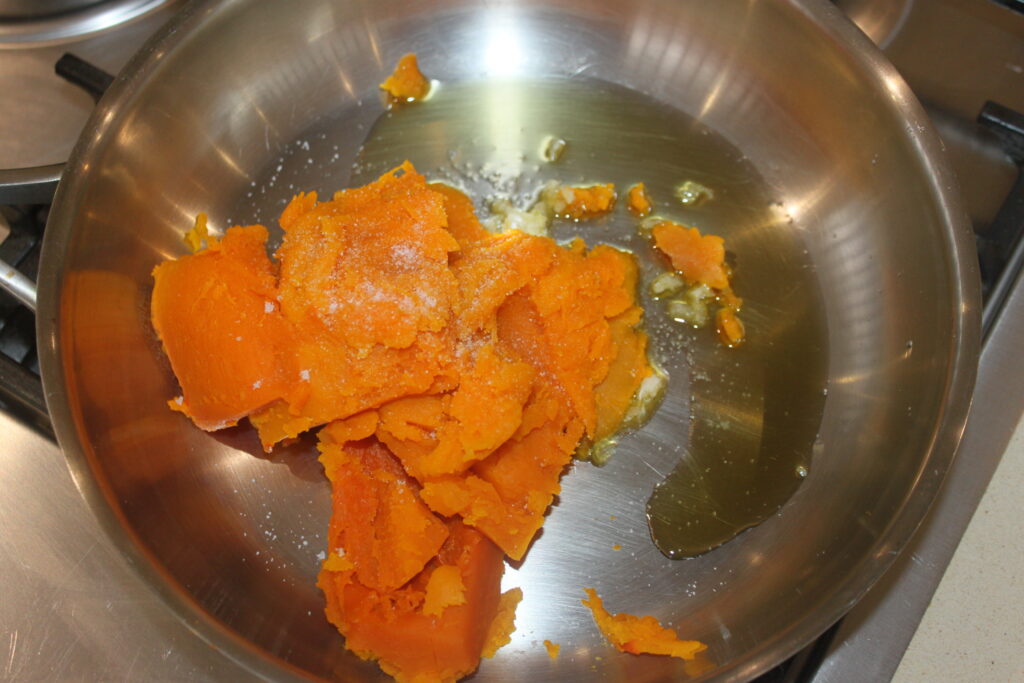
Add salt and pepper to taste.
Pour in the mascarpone and chopped walnuts.
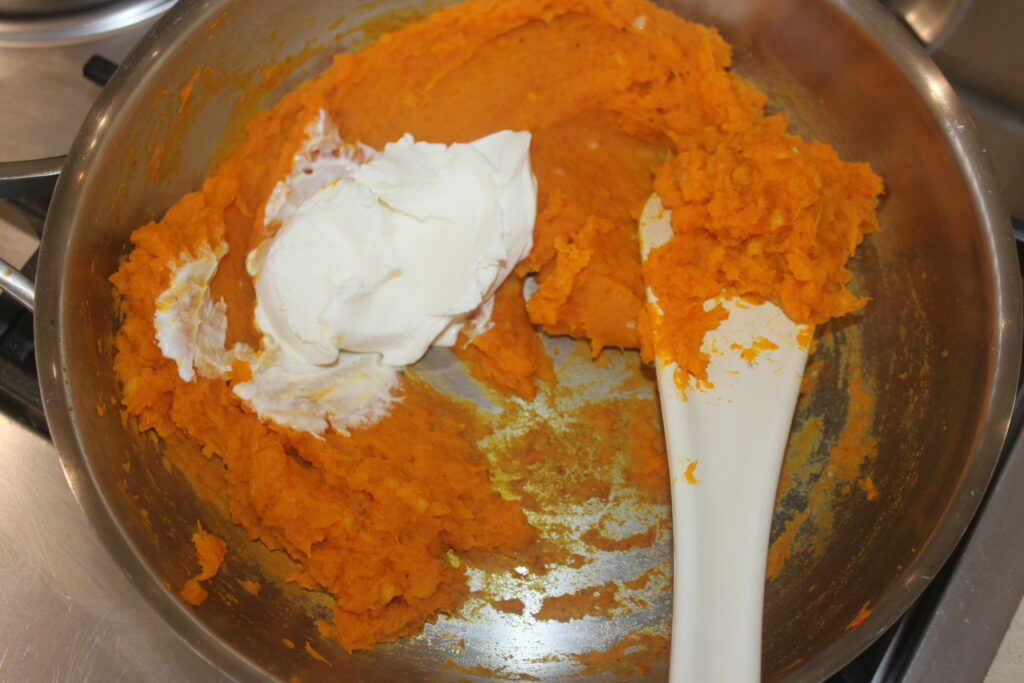
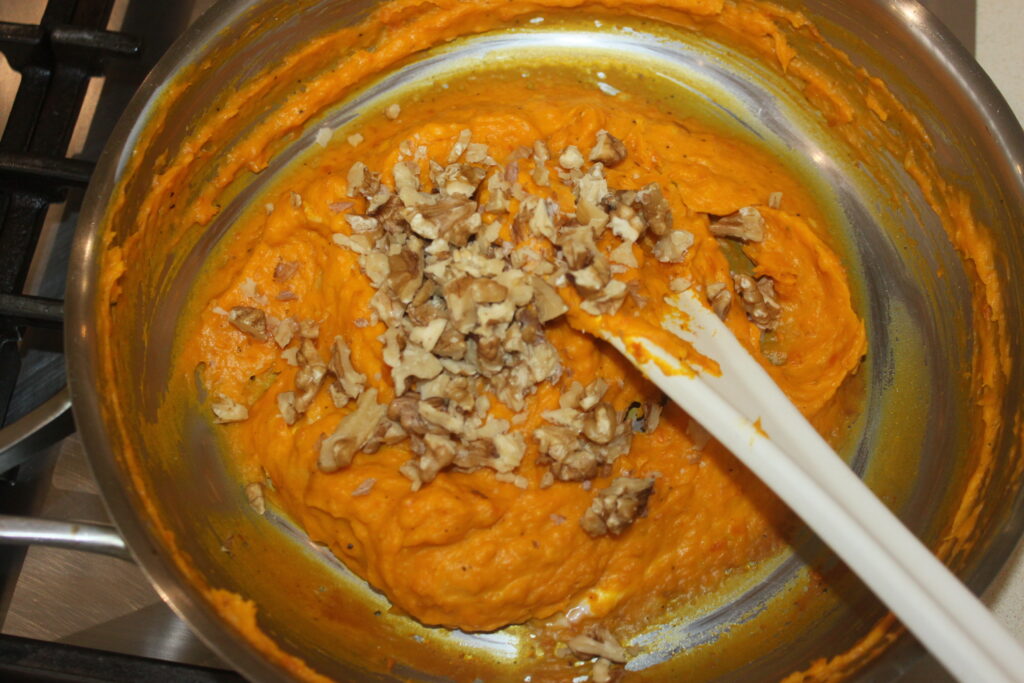
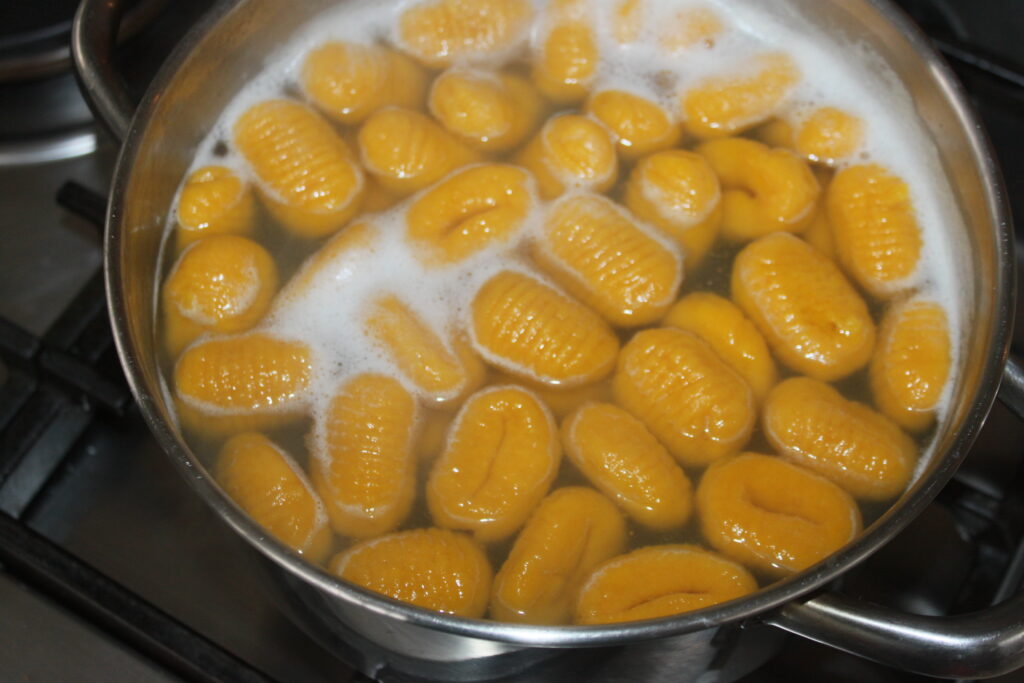
Meanwhile, cook the gnocchi in boiling salted water. Add a little nutmeg and water as needed to achieve a nice texture.
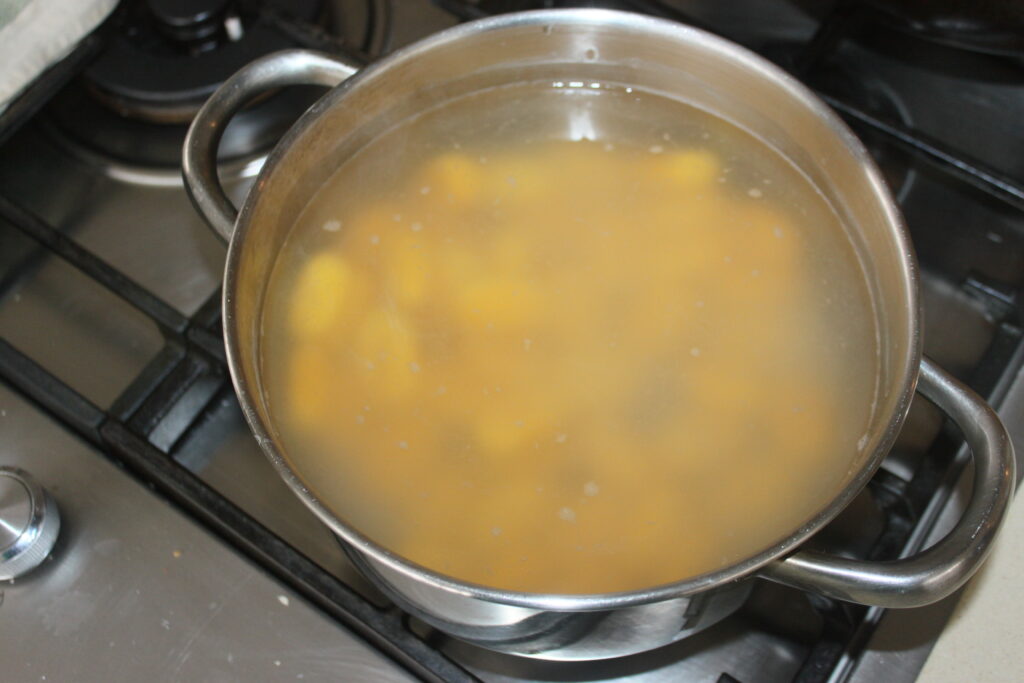
They will rise to the surface. Cook for another 5 minutes from this point.
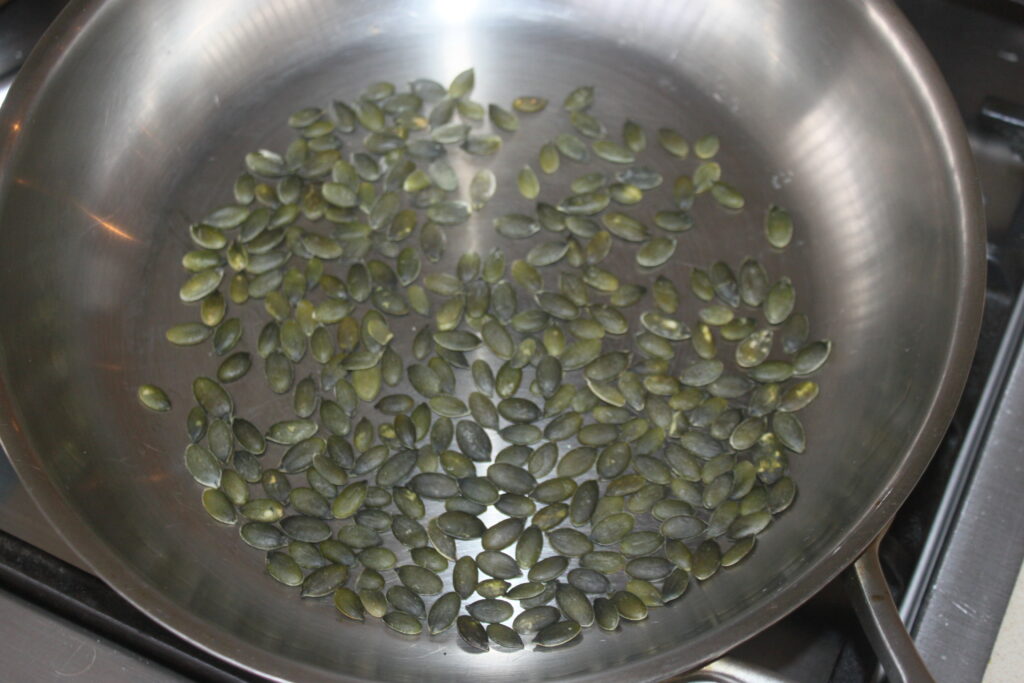
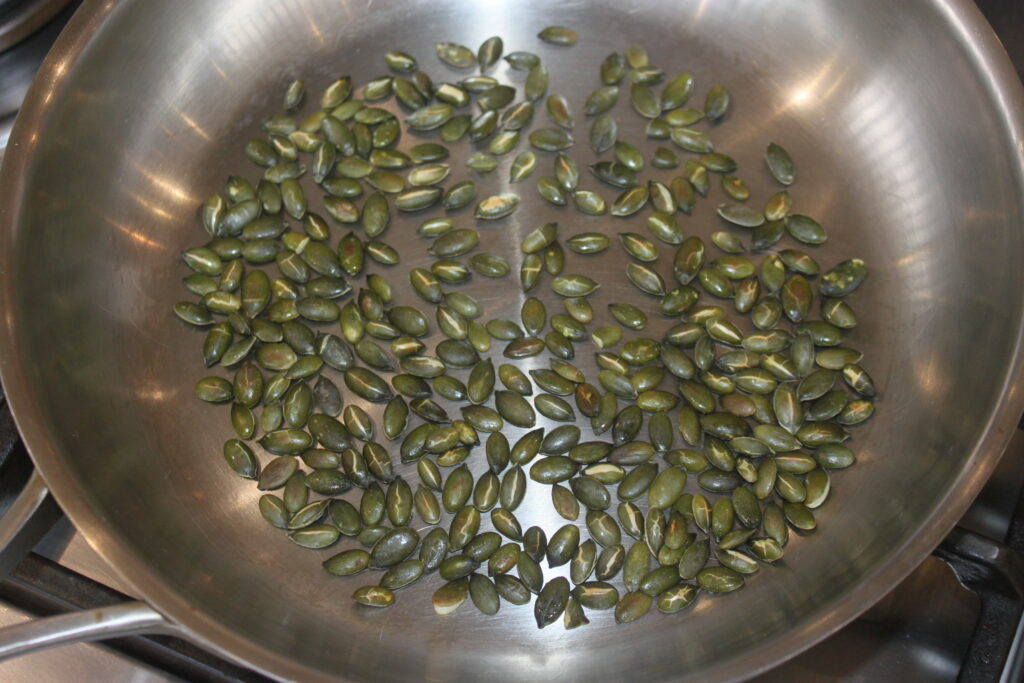
Toast the squash seeds in a pan. They will burst and become succulent.
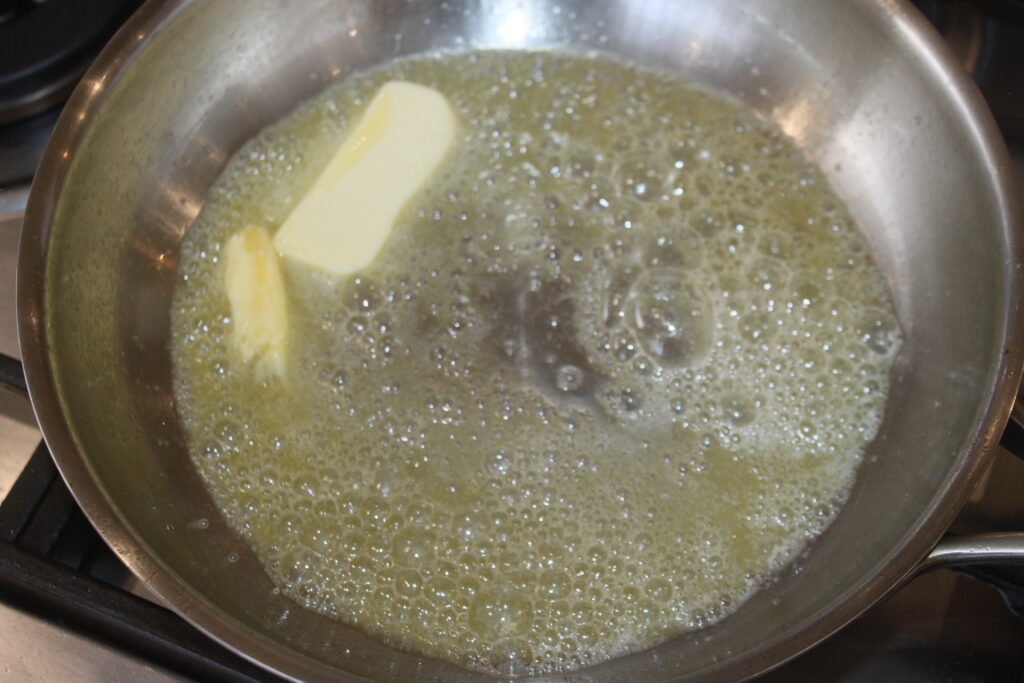
For the sage butter: heat the semi-salted butter over moderate heat and add the sage leaves.
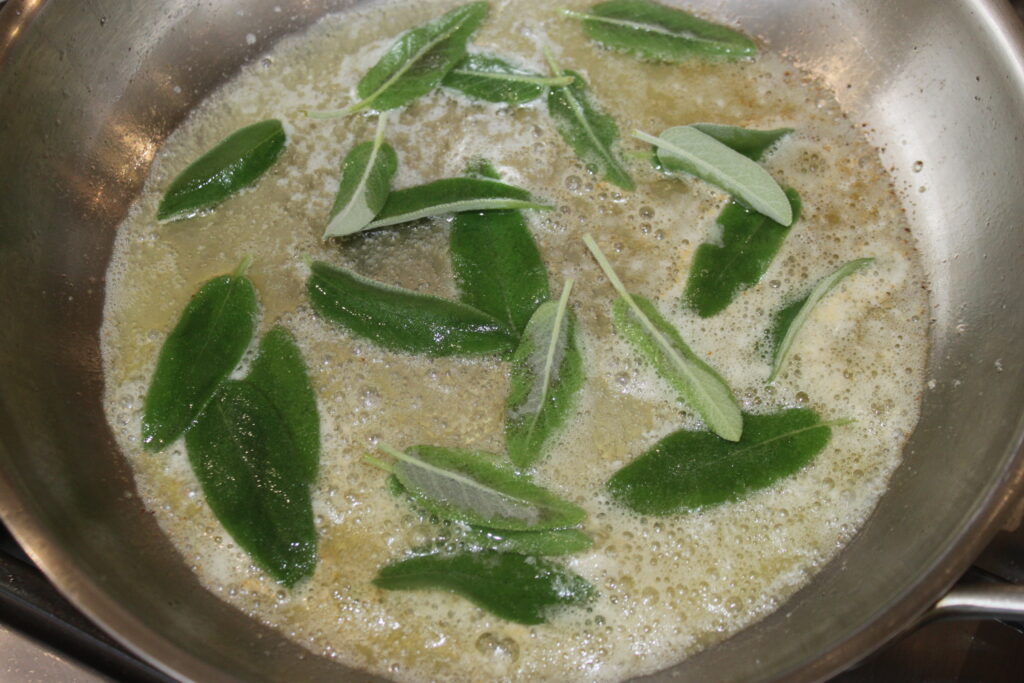
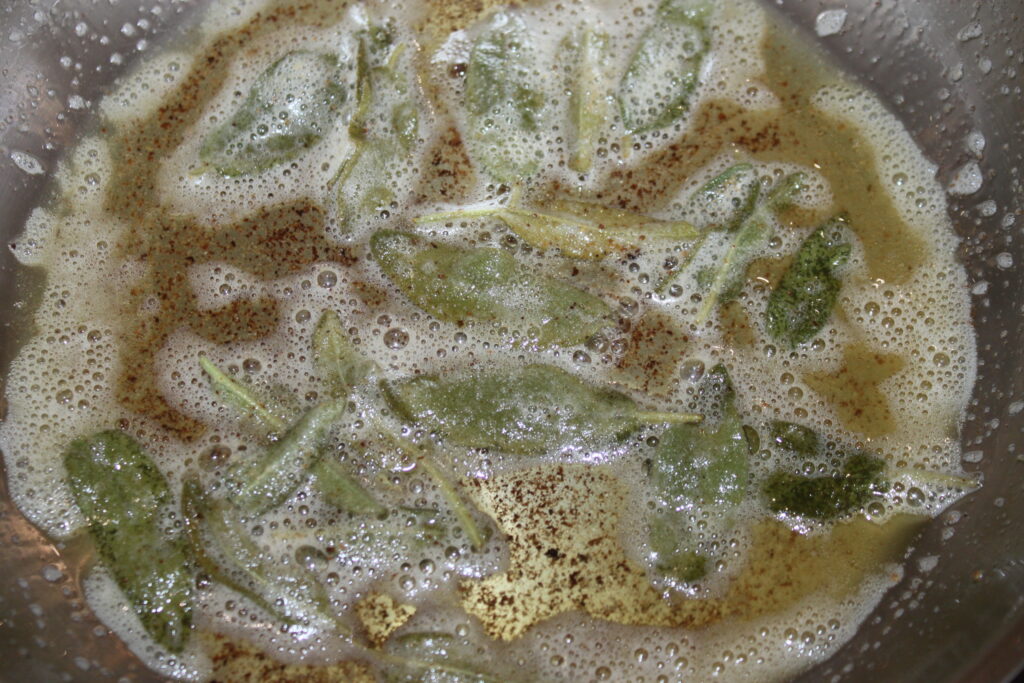
Brown everything without burning the butter. The sage will eventually get hard and crispy!
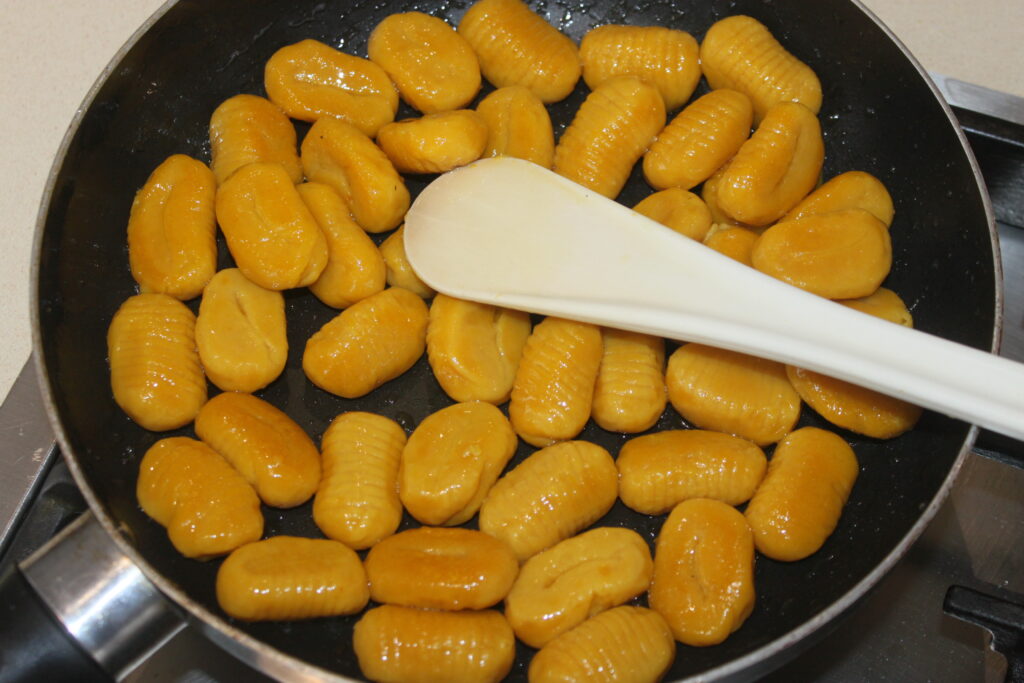
In a non-stick pan, heat a little olive oil and sauté the drained gnocchi.
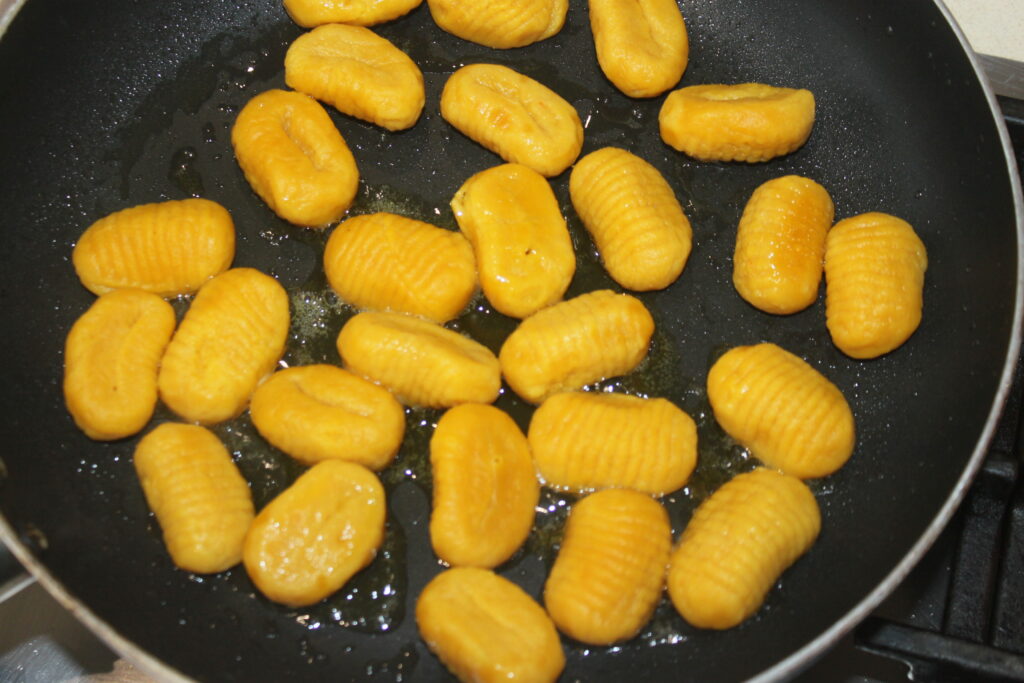
Lightly brown them.
Assemble the plates with a bed of mashed potatoes, the gnocchi, sprinkle with sage butter and crispy leaves. Sprinkle with additional chopped nuts and toasted squash seeds. Add salt and pepper and serve immediately!

Gnocchis au potimarron, noix et beurre de sauge
Ingredients
- 450 g gnocchis de potimarron
- 30 g graines de courges
- 50 g noix
- 50 g beurre demi-sel
- 15 feuilles de sauge
Pour la purée de potimarron
- 3 c. à soupe huile d'olive
- 3 gousses d'ail
- 300 g chair de potimarron
- 70 g mascarpone
- 40 g noix
- noix de muscade
- sel, poivre
Instructions
- Préparez tout d’abord vos gnocchis au potimarron (recette ICI). Gardez de la chair de potimarron. Faites chauffer l’huile d’olive avec les gousses d’ail épluchées et hachées et faites cuire 5 minutes. Ajoutez les 300g de chair et écrasez à la fourchette.
- Salez et poivrez à votre goût.
- Versez le mascarpone et les noix hachées en morceaux. Mettez un peu de noix de muscade et ajoutez un peu d'eau au besoin pour obtenir une belle texture.
- Pendant ce temps faites cuire les gnocchis l’eau bouillante salée.
- Ils vont remonter à la surface Faites cuire encore 5 minutes à partir de ce moment là.
- Faites griller les graines de courges à la poêle. Elles vont éclater et devenir succulentes.
- Pour le beurre de sauge : faites chauffer le beurre demi-sel sur feu modéré puis ajoutez les feuilles de sauge.
- Faites colorer le tout sans brûler le beurre. La sauge va finir par devenir dure et croustillante !
- Dans une poêle anti-adhérente, faites chauffer un peu d’huile d’olive et faites sauter les gnocchis égouttés.
- Faites-les légèrement colorer.
- Montez les assiettes en mettant un lit de purée, les gnocchis, arrosez de beurre de sauge et de feuilles croustillantes. Parsemez d’un peu de noix hachées supplémentaires et de graines de courges grillées. Salez et poivrez et servez sans attendre !
Nutrition

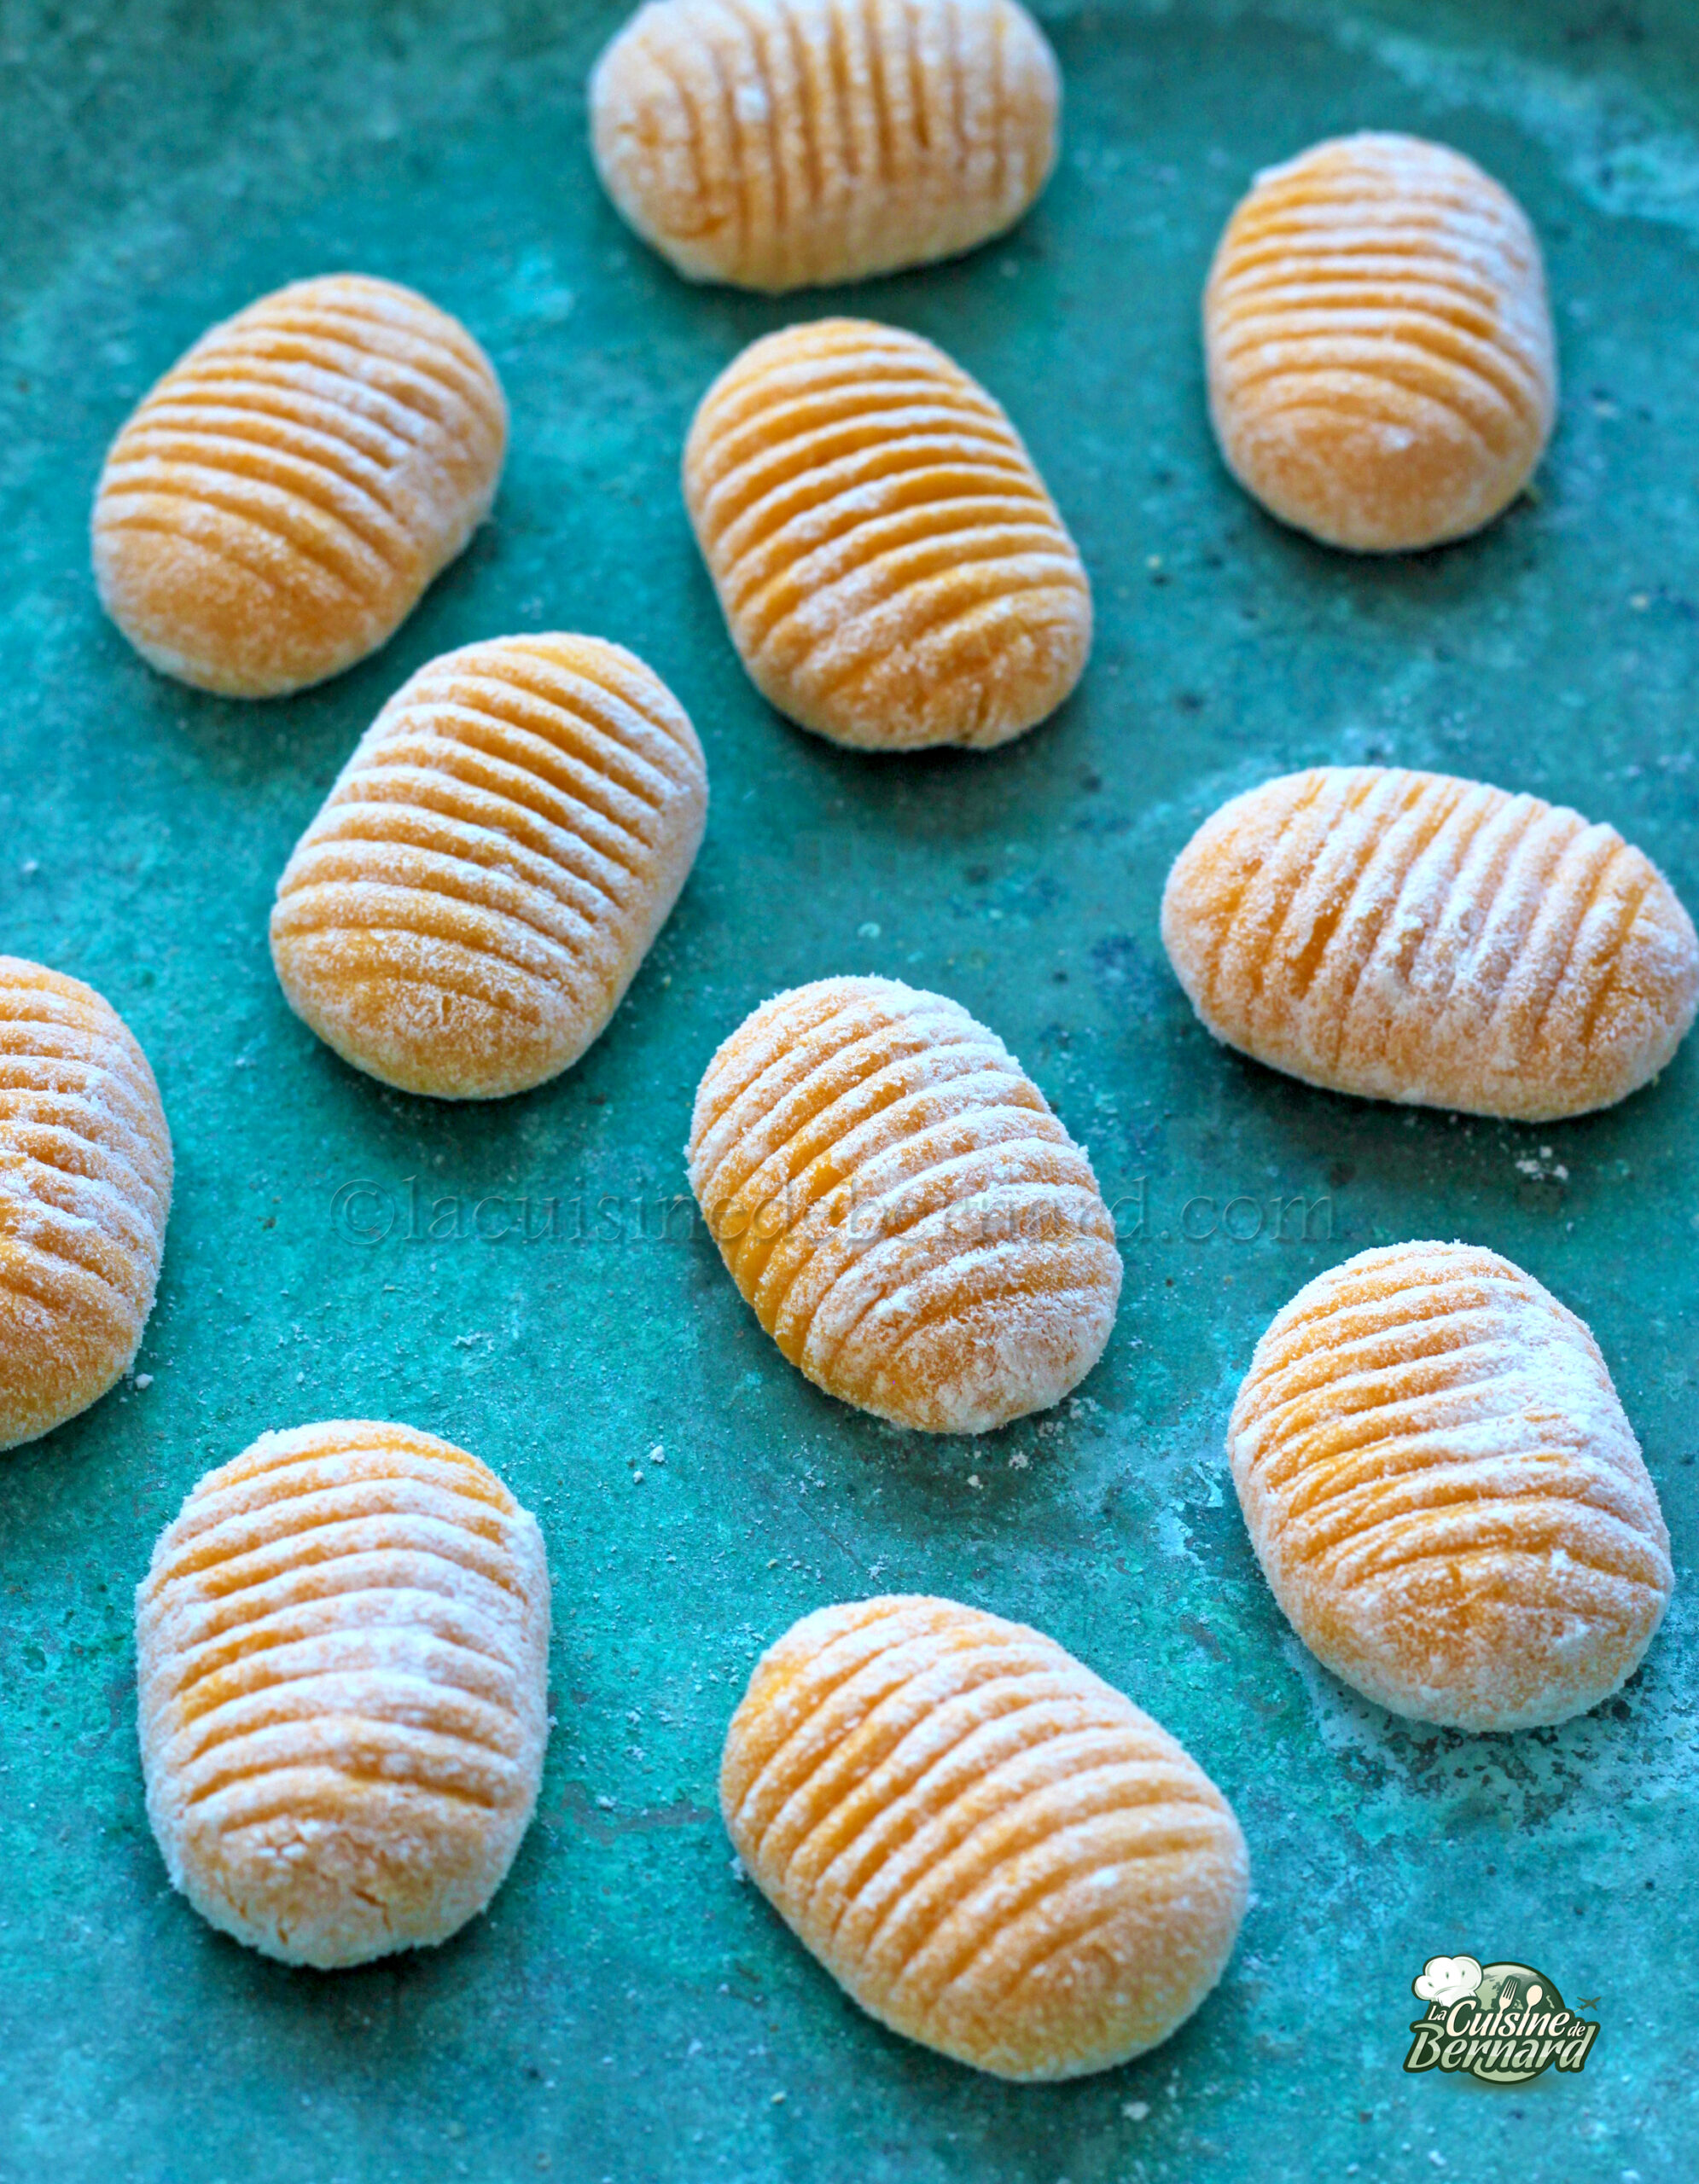
I’m continuing my suggestions of pumpkin for the fall, as it is very easy to use in both sweet and savory recipes. Here are some very simple gnocchi to make. It may just take a while to make them beautifully, but maybe it’s time to spend some time in the kitchen with a few people chatting in anticipation of a good meal! For now I’ll just give you the basic recipe, then I’ll publish very soon a dish in which I put these pretty little colored gnocchi!
Recipe for 450g of gnocchi (3-4 people)
- 180g pumpkin puree
- 250g of T55 flour
- 20g of yolk
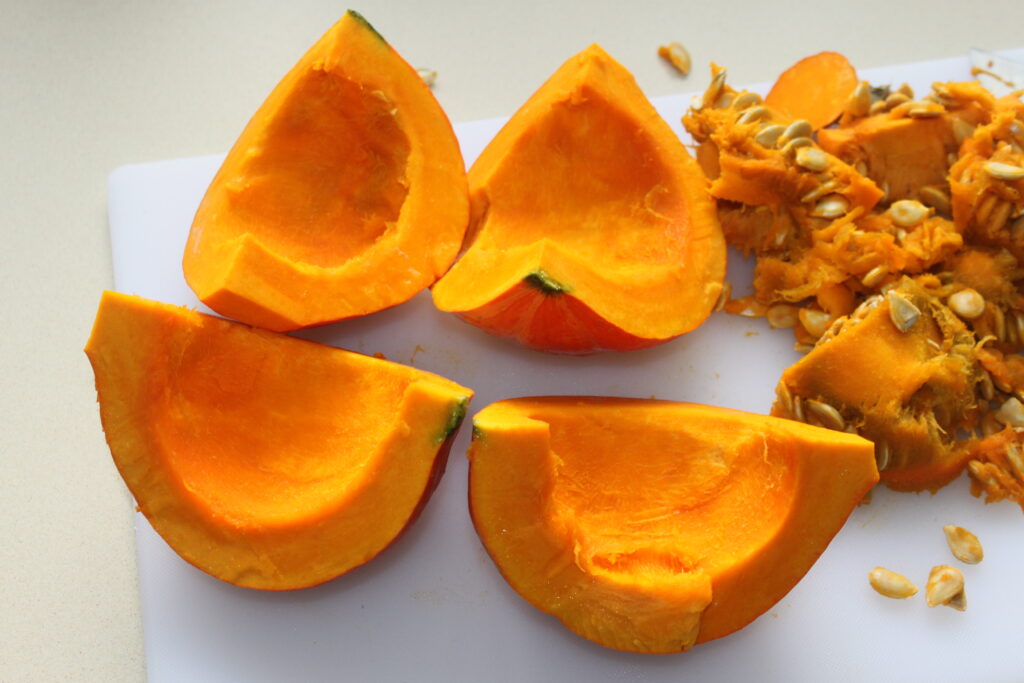
Start by cutting the pumpkin in half, removing the seeds and cutting into quarters.

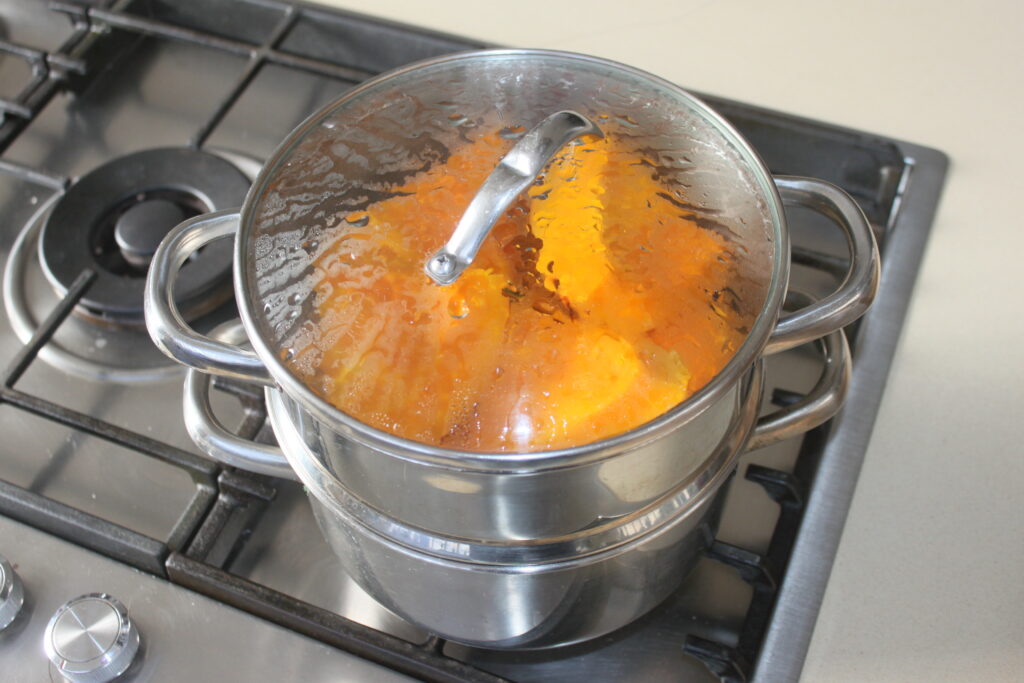
Steam for 20 minutes.
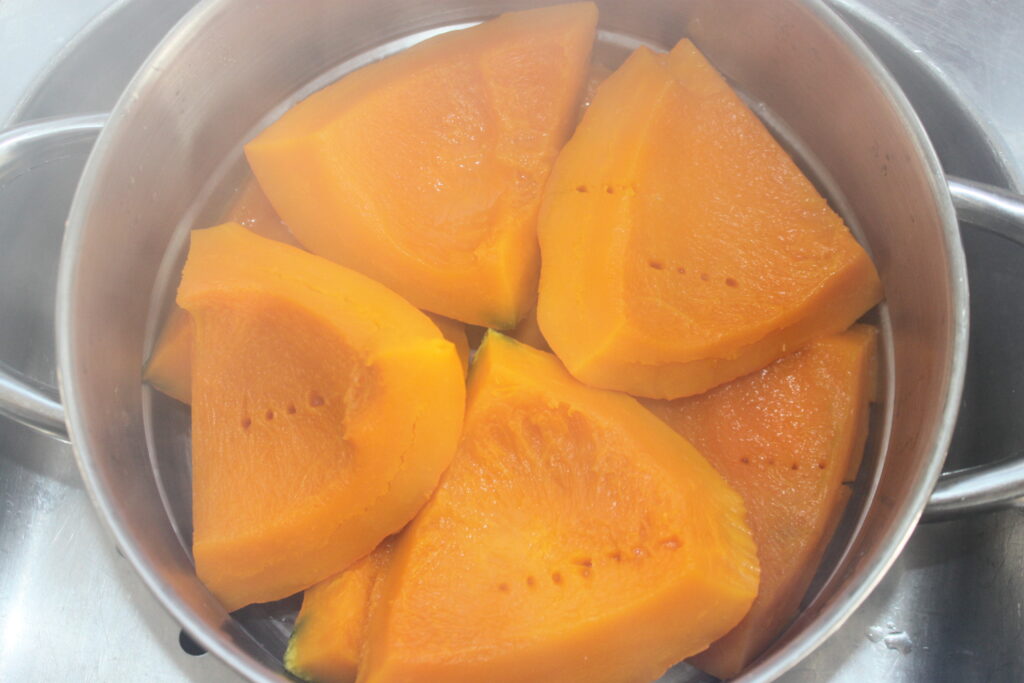
Check for doneness by sticking a fork into it.
Collect the required weight of pumpkin.
Blend in a blender or hand blender to a smooth purée.
Add the egg yolk and flour.
Mix first with a spoon and then by hand on a floured work surface.
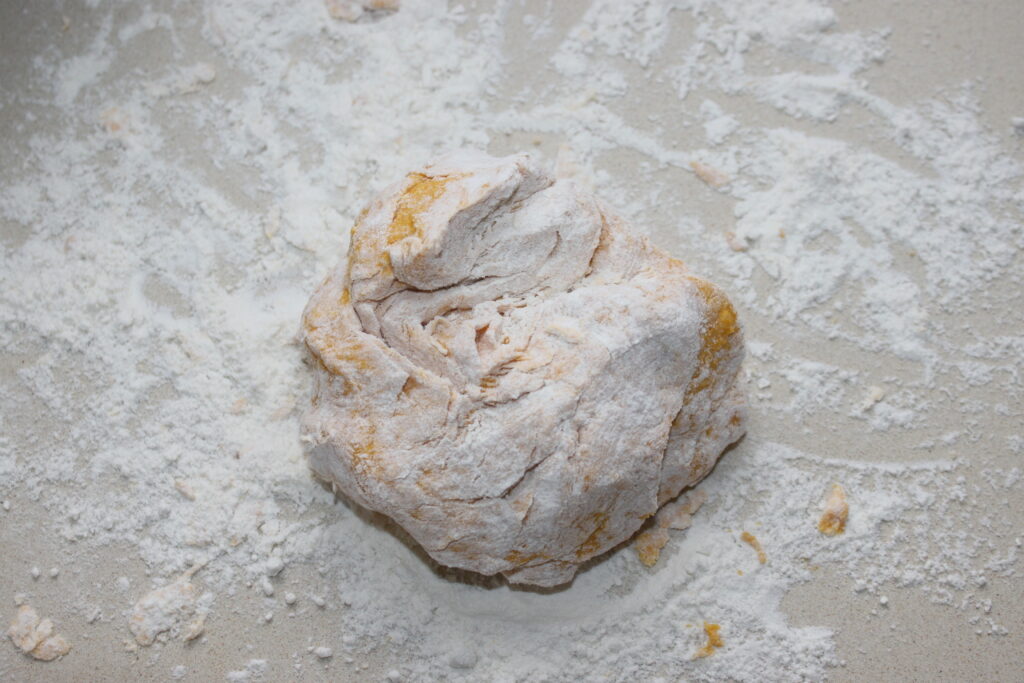
Knead the dough, adjusting the amount of flour if necessary, depending on the quality of the flesh obtained.
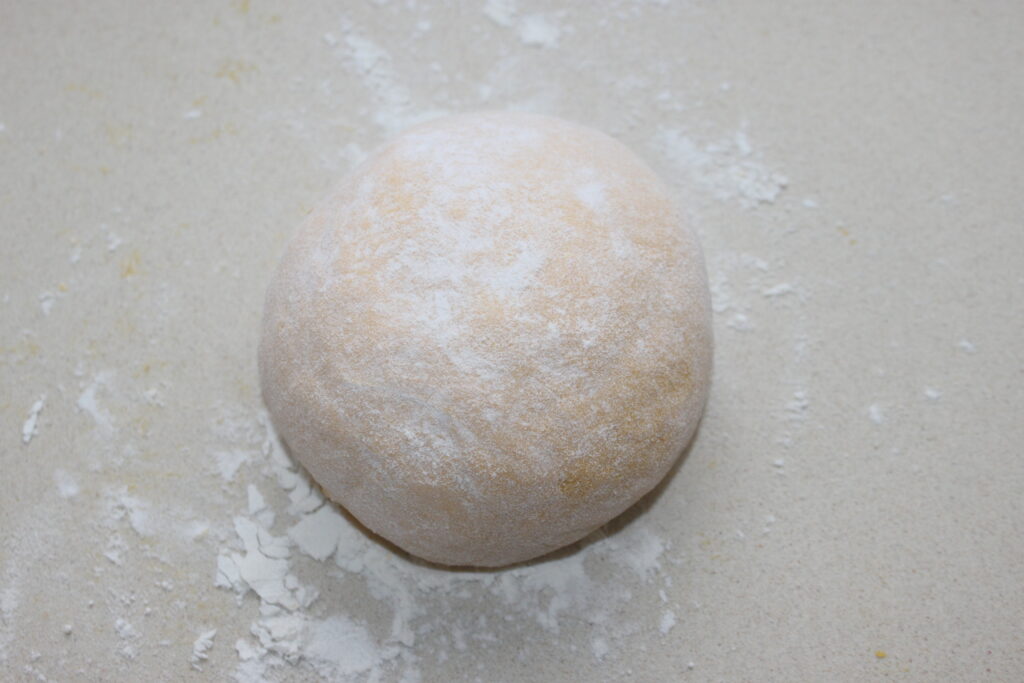
You should get a ball that is almost no longer sticky to the touch.
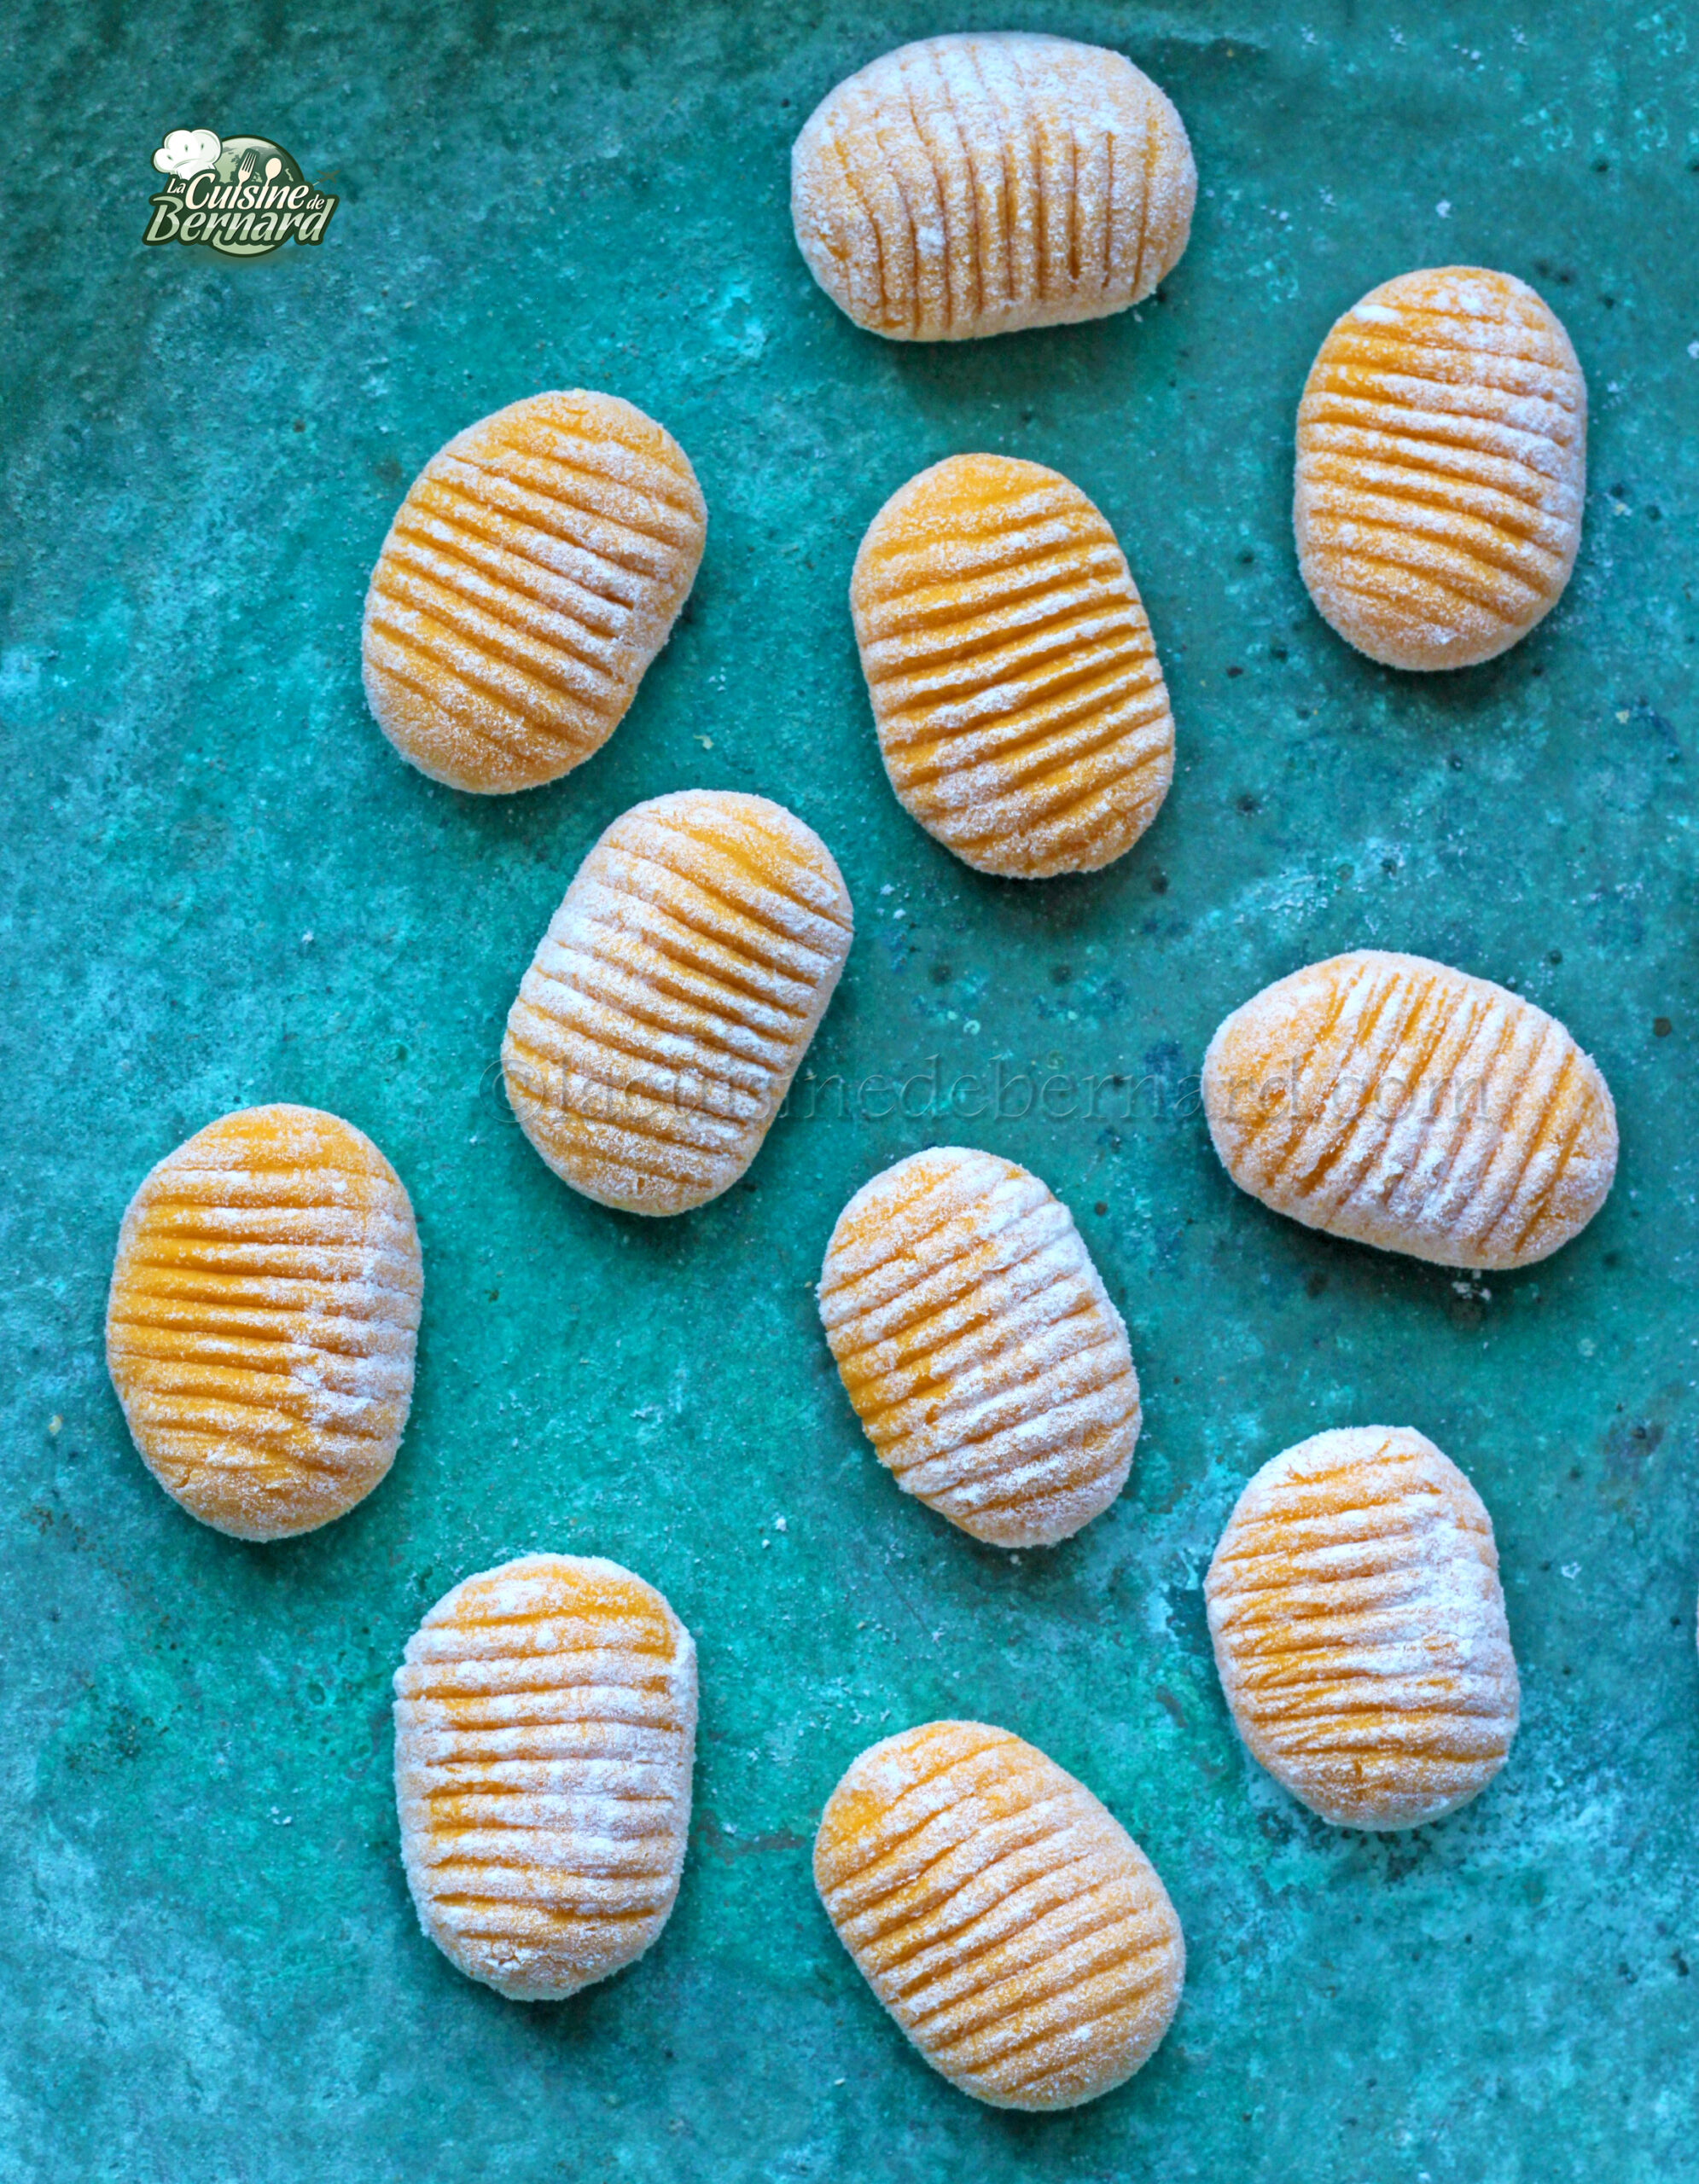
To make the gnocchi, you’ll need a small board or a fork.

Weigh a 8 to 10g dumpling and roll it well between your hands. Place it on the board.
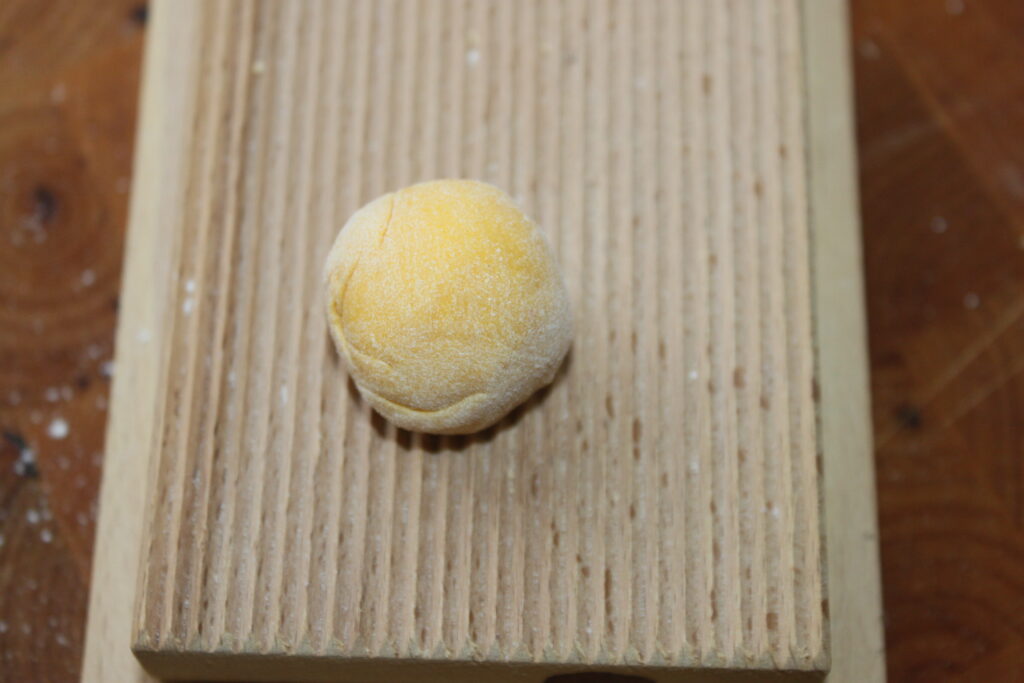
Press your thumb into it while rolling it on the wood.
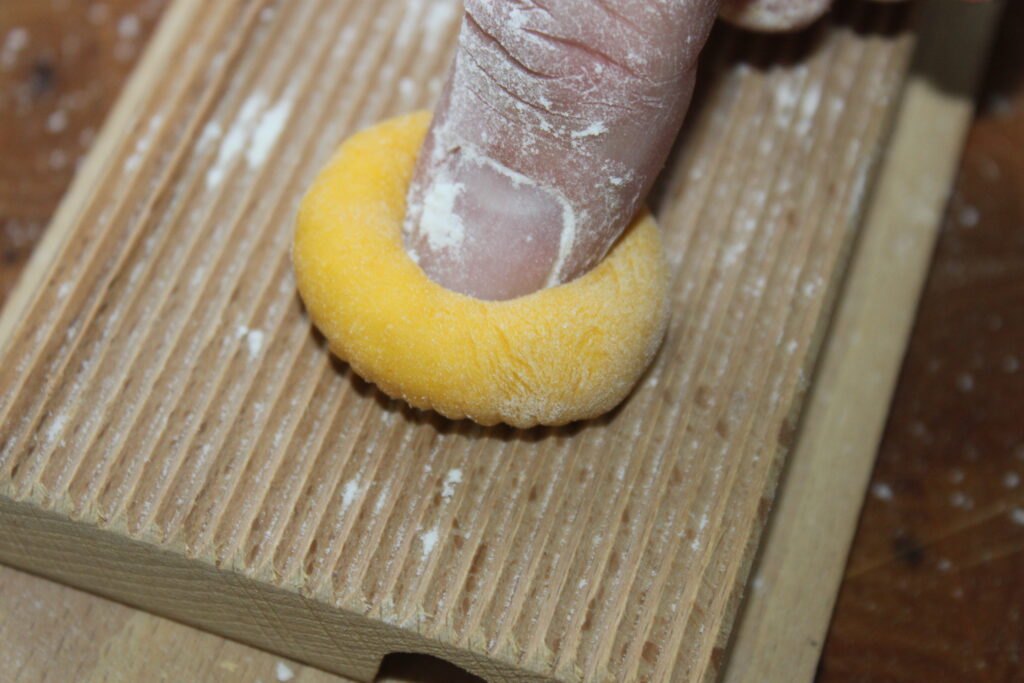
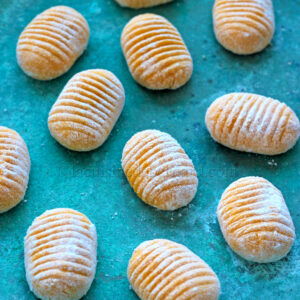
You’ll get a nice, pretty gnocchi!
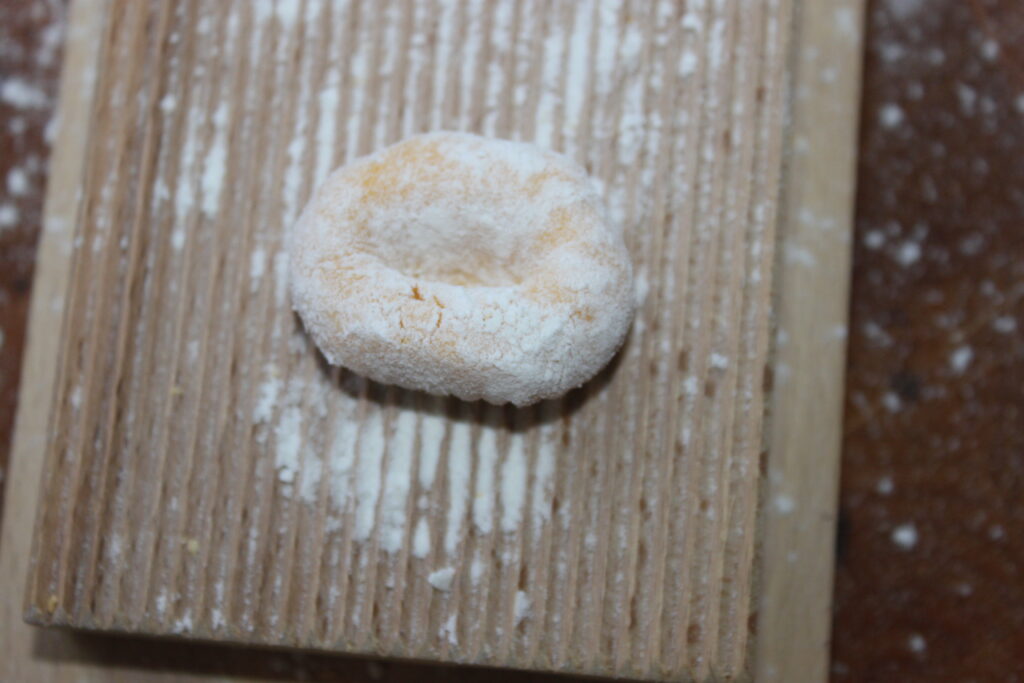
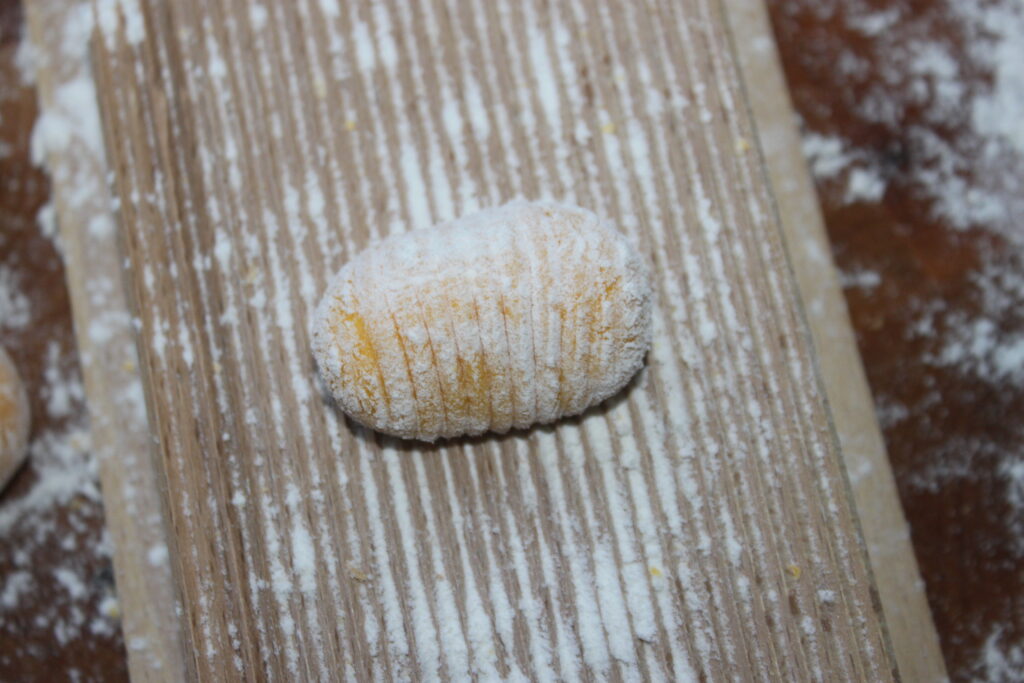
Do the same for all the gnocchi. It’s a bit long, especially when you want to do them nicely, but it’s worth it!
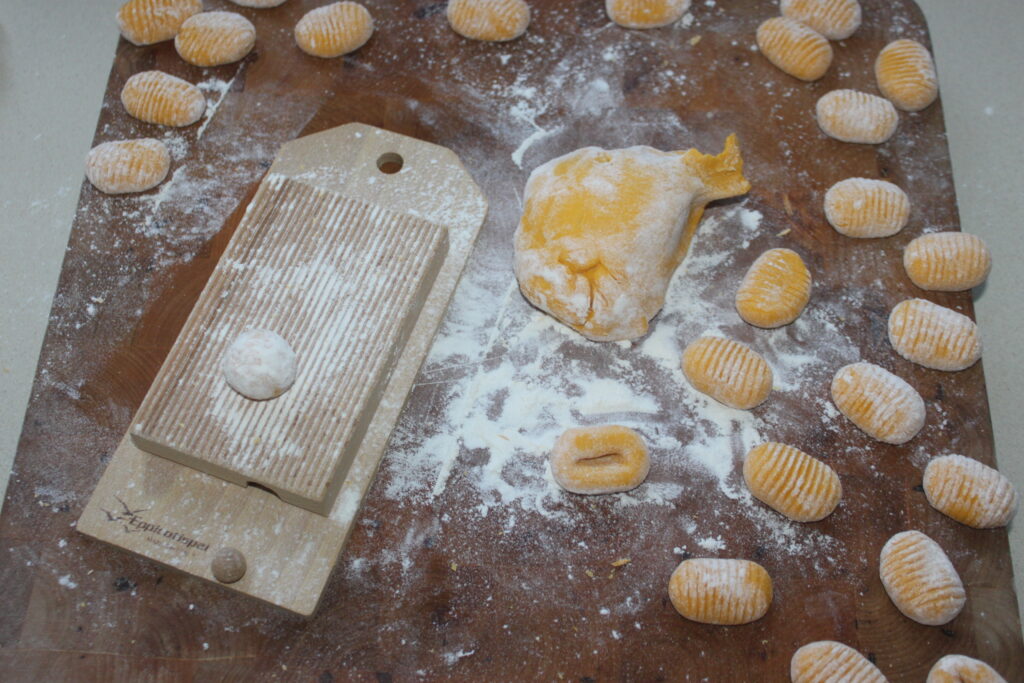
You can cook them in the process or freeze them. Instead, freeze them flat on a plate and when they are as hard as pebbles, you can accumulate them in a box! This way they won’t lose their beautiful shape!
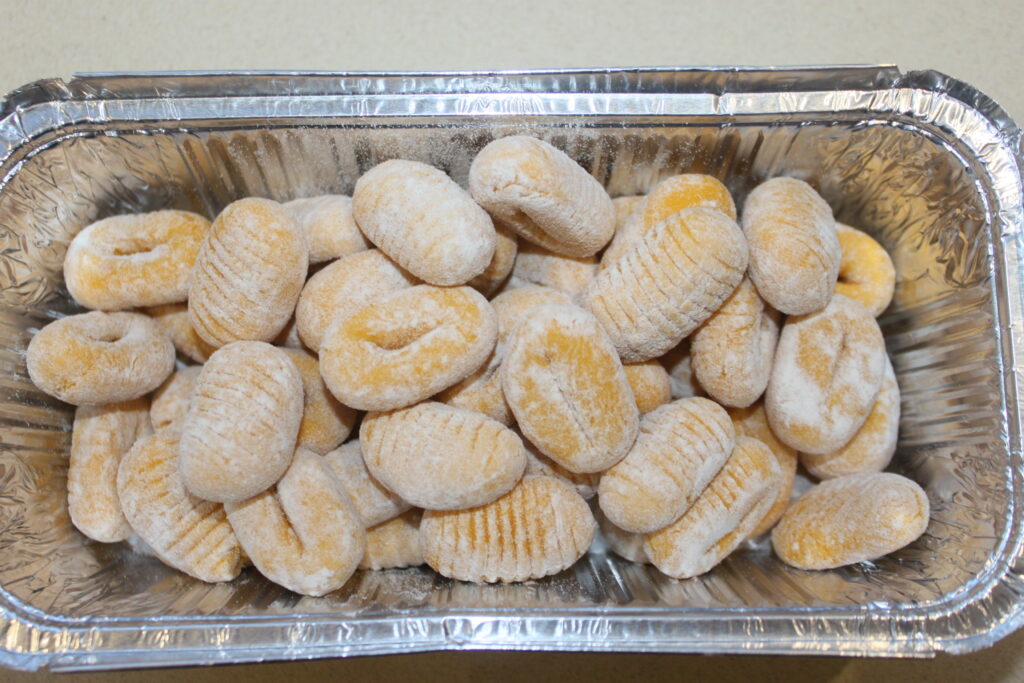
And I’ll soon offer you a seasonal recipe for cooking them!
Gnocchis au potimarron
Ingredients
- 180 g chair de potimarron
- 250 g farine T55
- 20 g jaune d'œuf
Instructions
- Commencez par couper le potimarron en deux, enlevez les graines puis coupez en quartiers.
- Faites cuire 20 minutes à la vapeur.
- Vérifiez la cuisson en y plantant une fourchette.
- Récupérez le poids de potimarron nécessaire.
- Mixez au blender ou au mixeur plongeant pour obtenir une purée lisse.
- Ajoutez le jaune d’œuf et la farine.
- Mélangez d’abord à la cuillère puis à la main sur un plan de travail fariné.
- Pétrissez ensuite la pâte en ajustant au besoin la quantité de farine en fonction de la qualité de la chair obtenue.
- Vous devez obtenir une boule qui ne colle presque plus au toucher.
- Pour faire les gnocchis, il vous faudra une petite planche prévue à cet effet, ou alors une fourchette peut aussi faire l’affaire.
- Pesez une boulette de 8 à 10g et roulez-la bien entre vos mains. Posez-la sur la planchette.
- Enfoncez le pouce dedans en la faisant rouler sur le bois. Vous allez obtenir un joli gnocchi tout beau !
- Faites de même pour tous les gnocchis. C’est un peu long, surtout quand on veut les faire joliment, mais le jeu en vaut la chandelle !
- Vous pourrez les cuire dans la foulée ou alors les congeler. En revanche, congelez-les à plat sur une plaque et quand ils sont durs comme des petits cailloux, vous pourrez les accumuler dans une boite ! De cette façon ils ne perdront pas leur belle forme !
- Et je vous propose bientôt une recette de saisons pour les cuisiner !
Nutrition

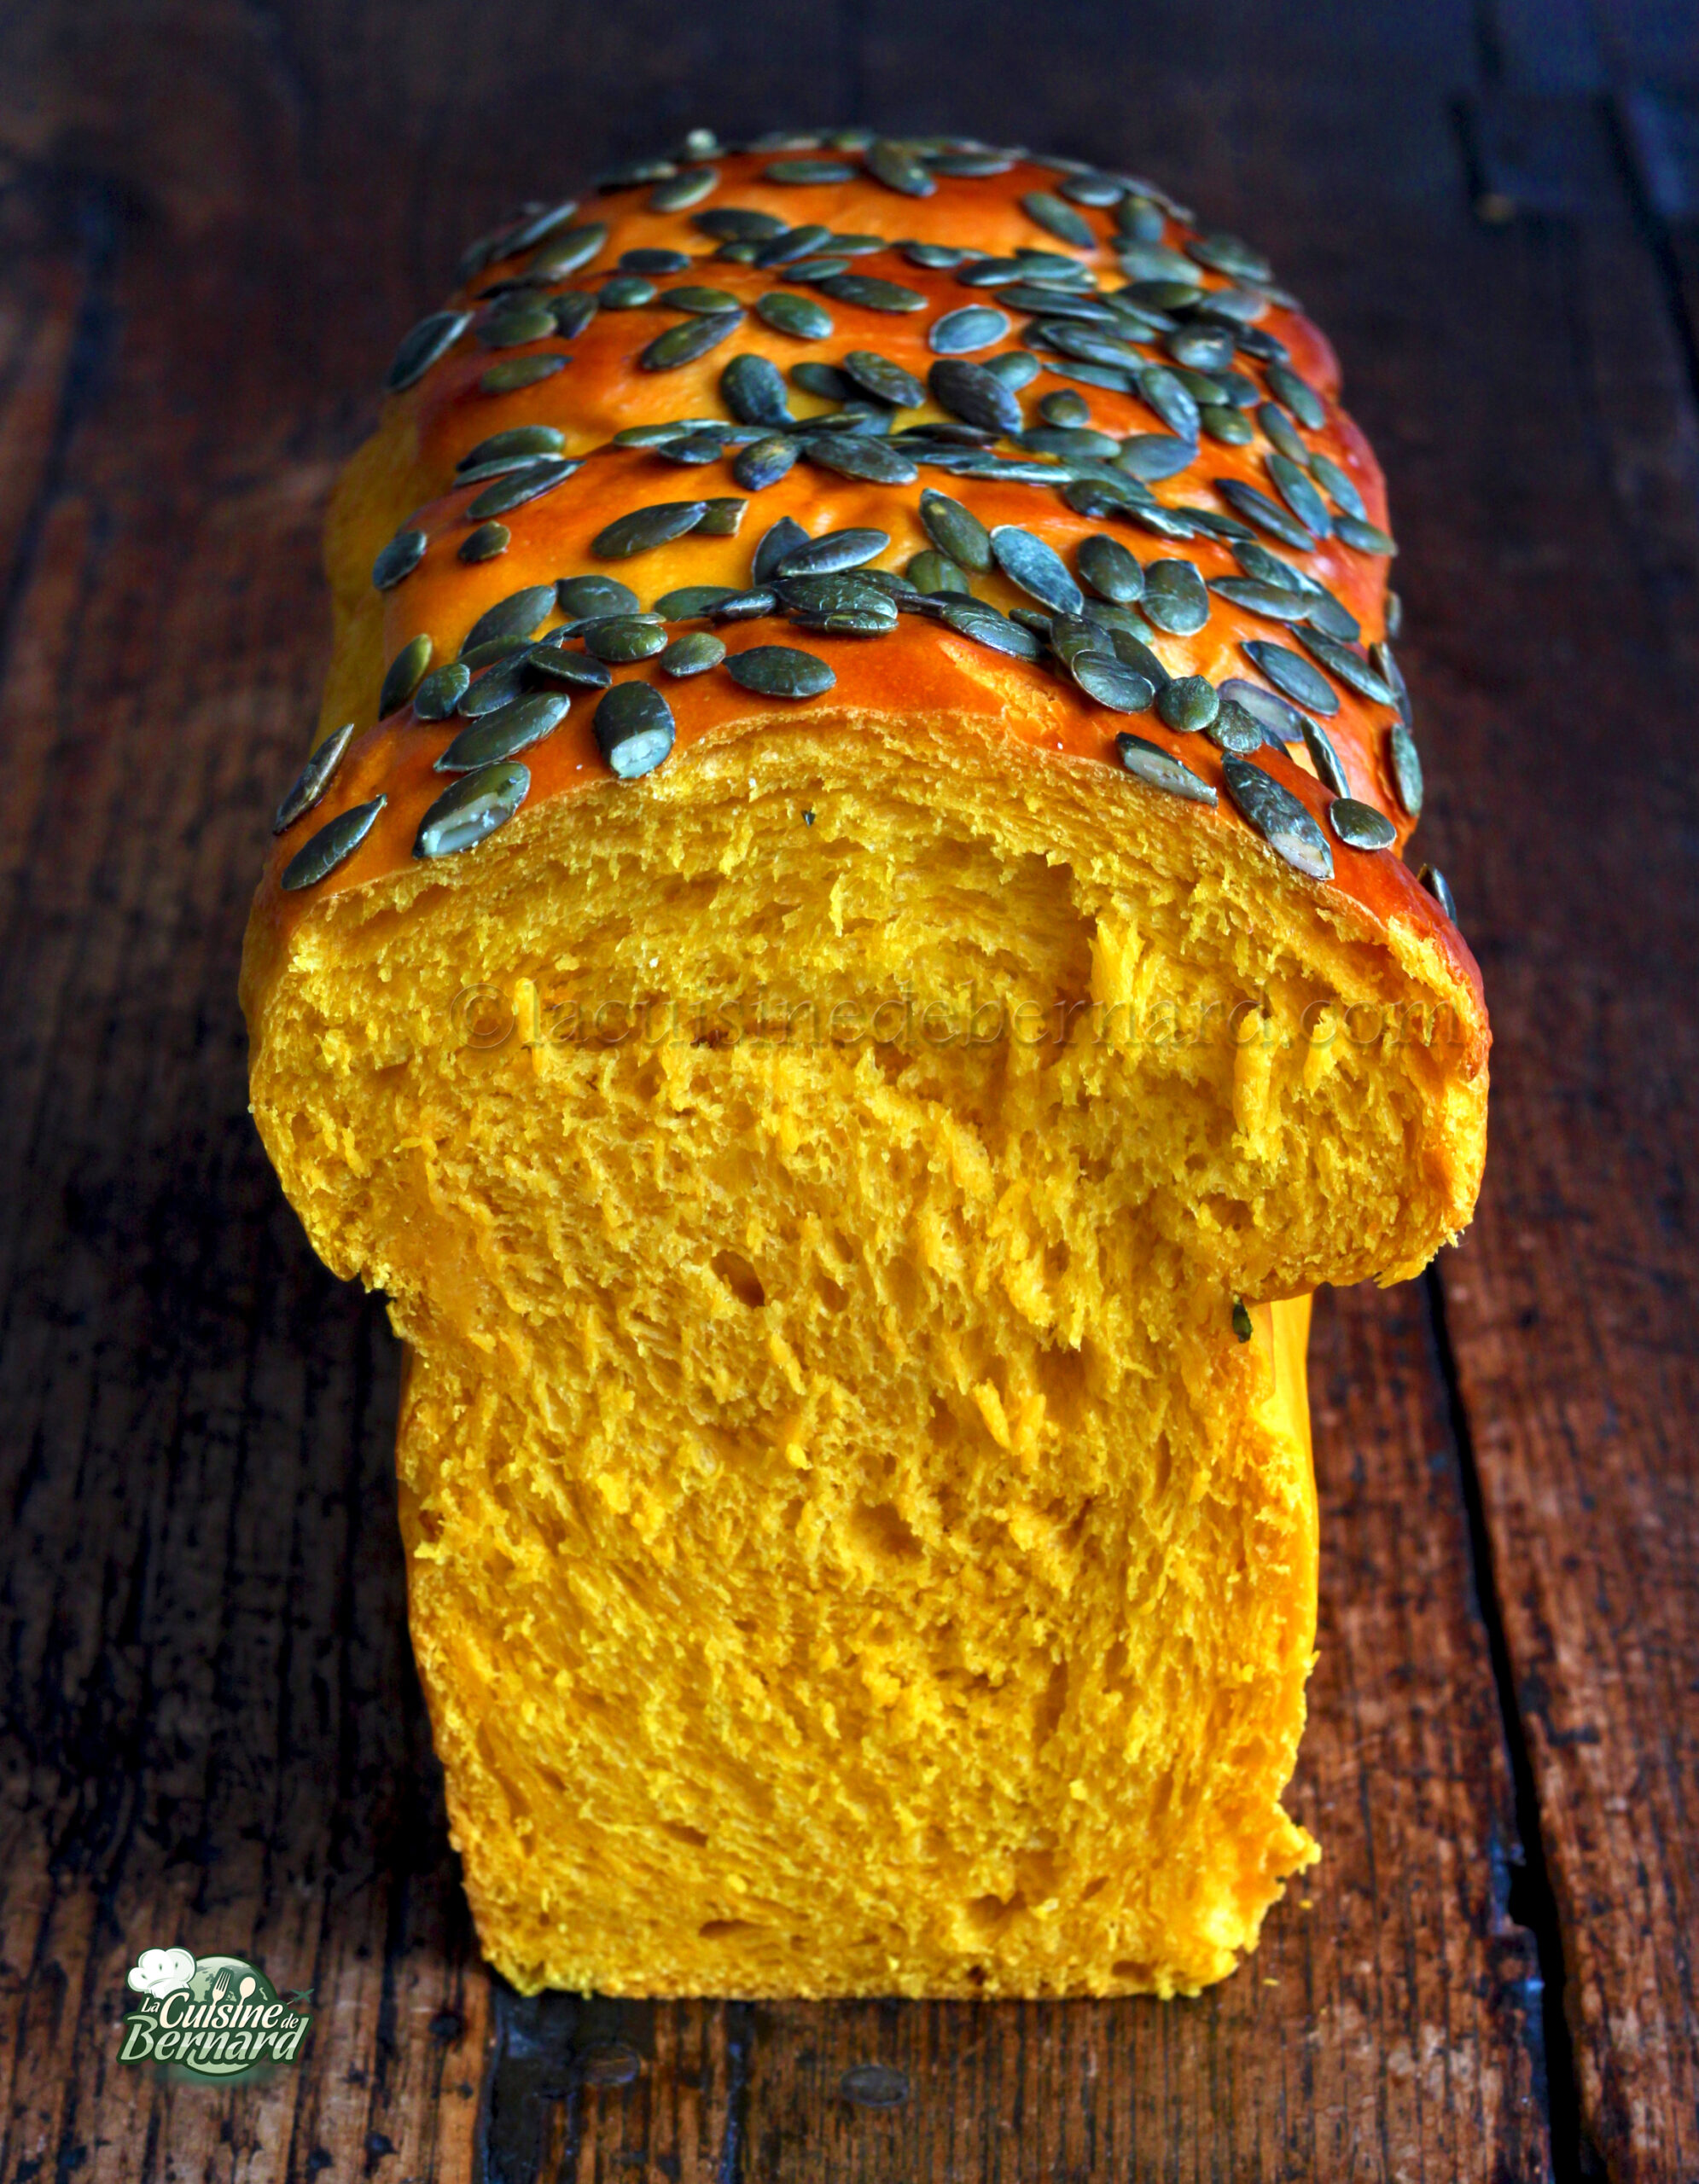
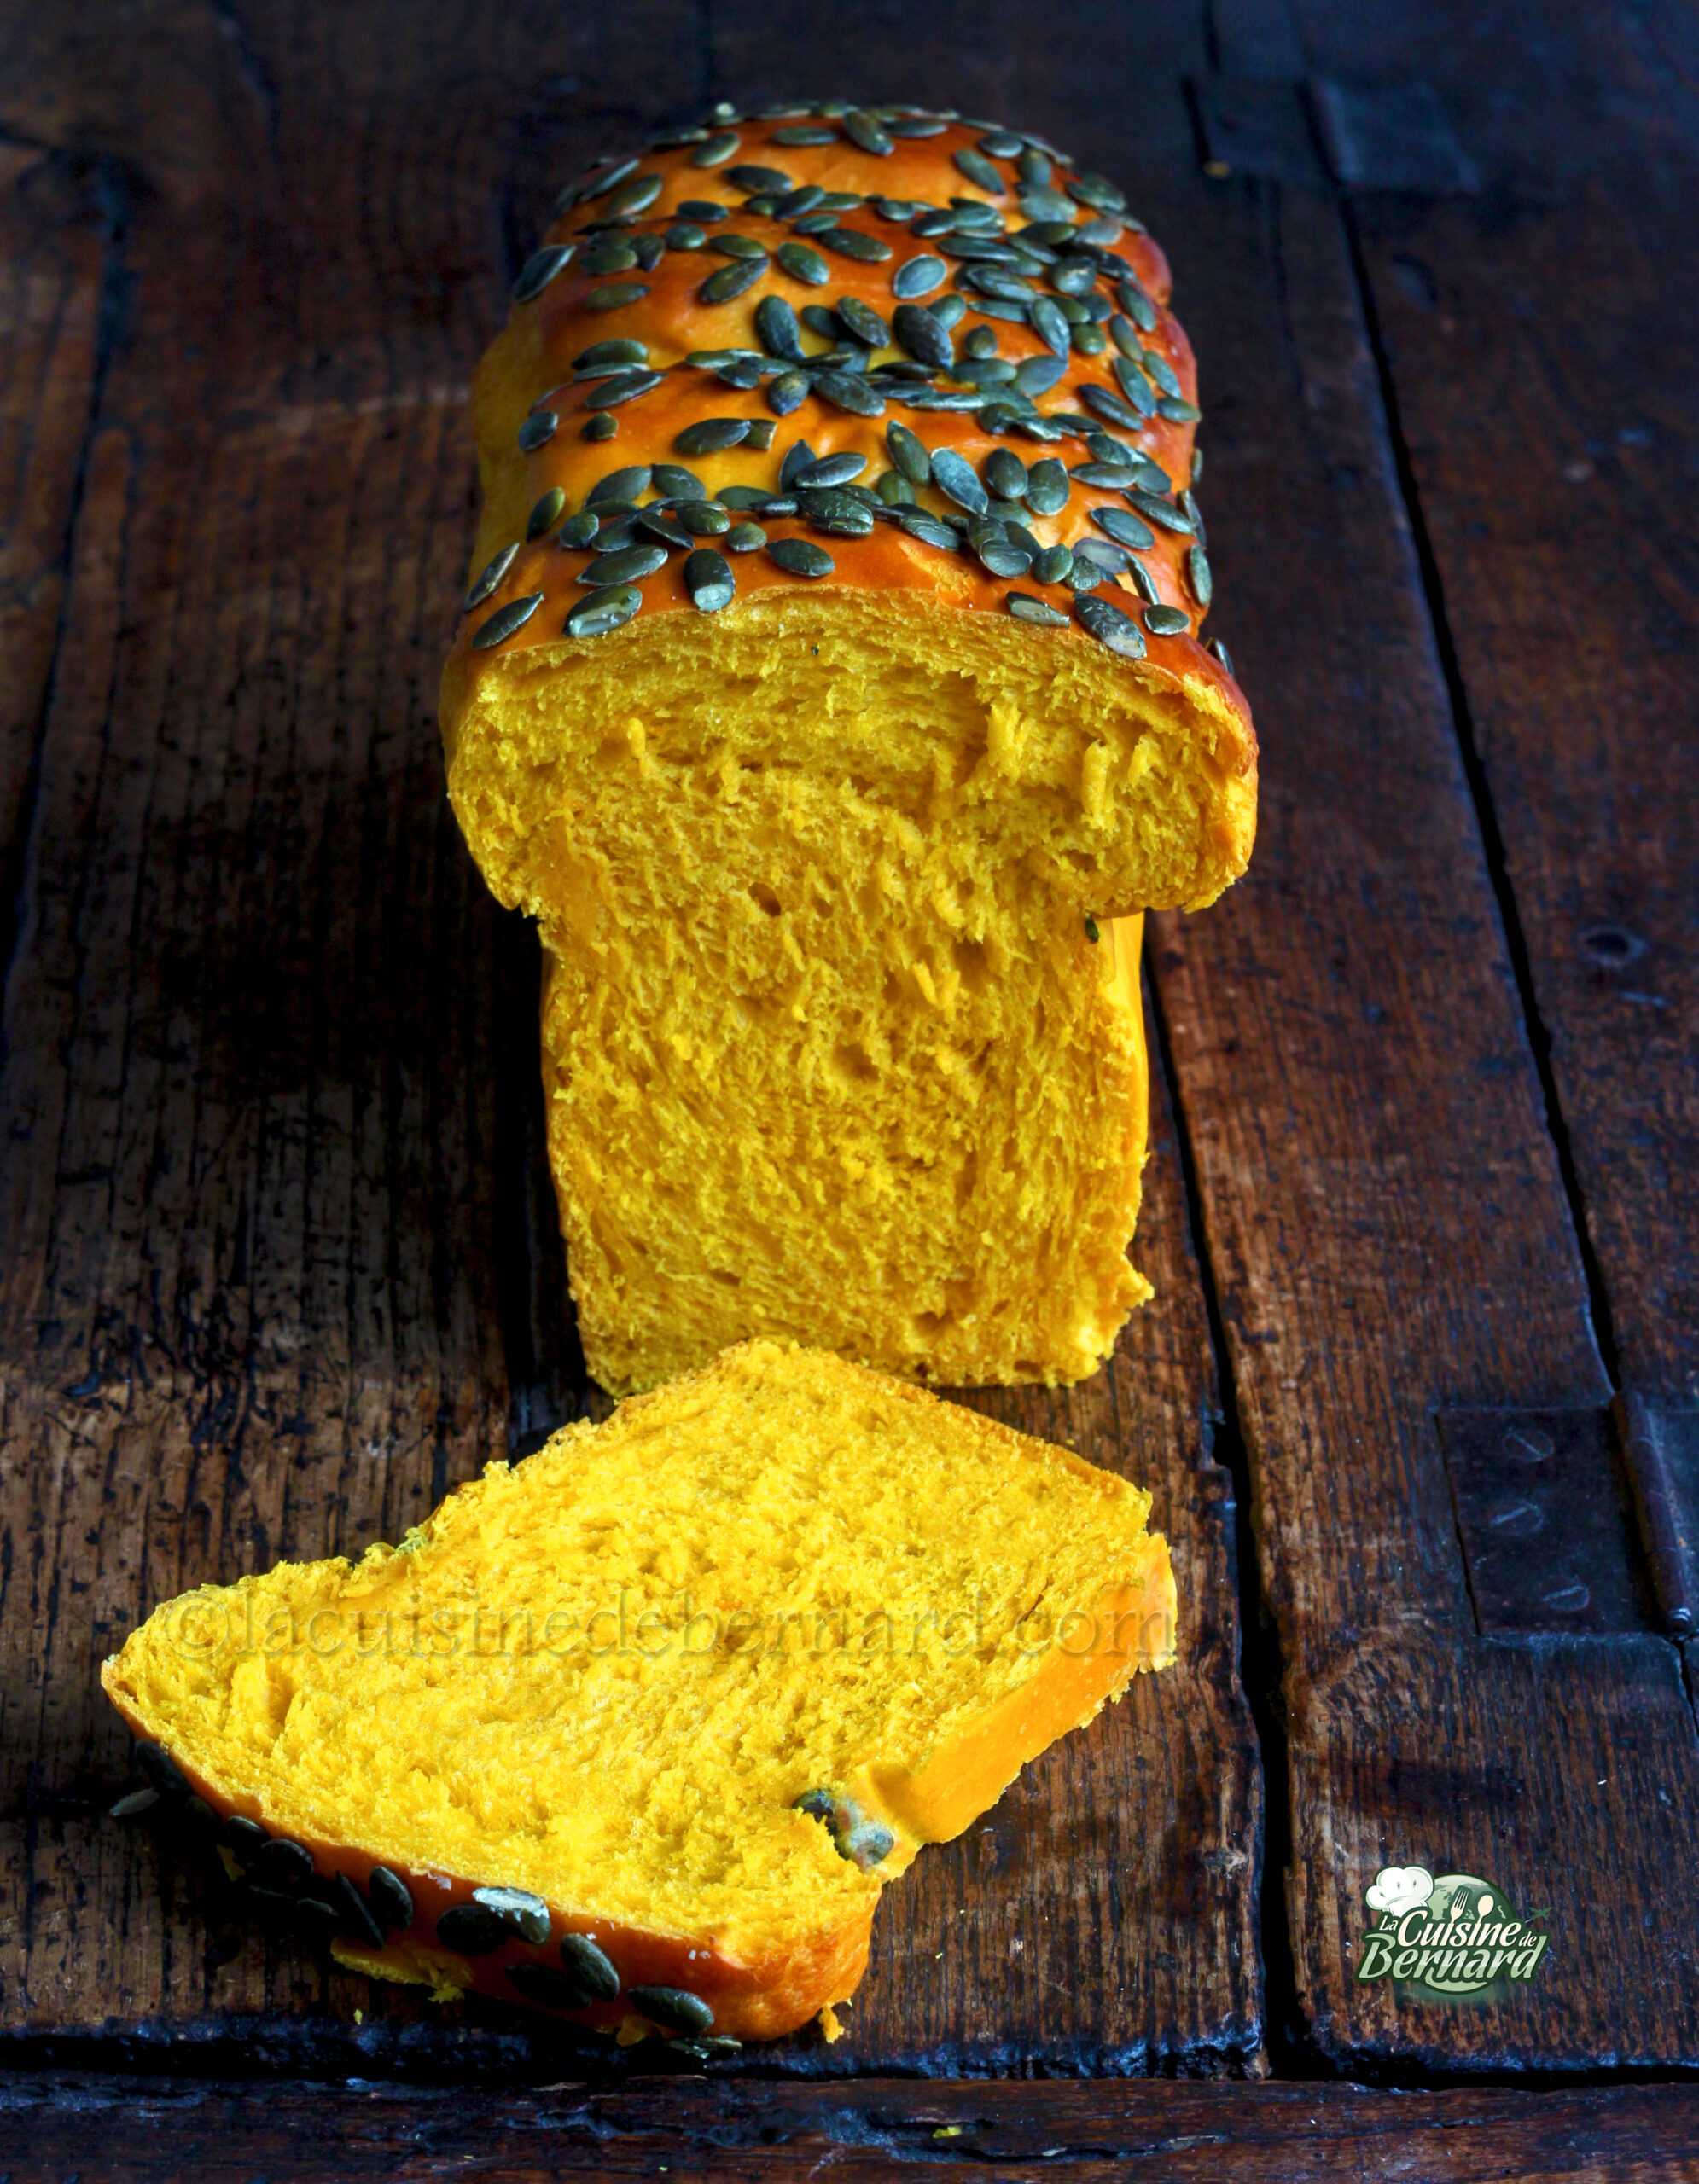
This beautiful brioche comes to us from Brazil where Dona Arlene has kindly accepted to share her recipe with me. We made it together in the state of São Paulo last summer and I was waiting for the right moment to publish it. With fall here, it’s high time for me to put it on my food blog! The pão de abóbora is a very soft bun made with pumpkin flesh, in this case pumpkin. The consistency is a wonder and it’s delicious with a simple semi-salted butter spread on top. I’m a fan, thanks again to Dona Arlene!
- 375g of pumpkin
- 1 packet of dried baker’s yeast (7g, or 15g of fresh yeast)
- 125g of milk
- 2 eggs
- 100g of sugar
- 1/2 teaspoon of salt
- 585g of flour
- 100g of butter
For gilding :
- 1 egg
- 1 tablespoon of milk
- pumpkin seeds
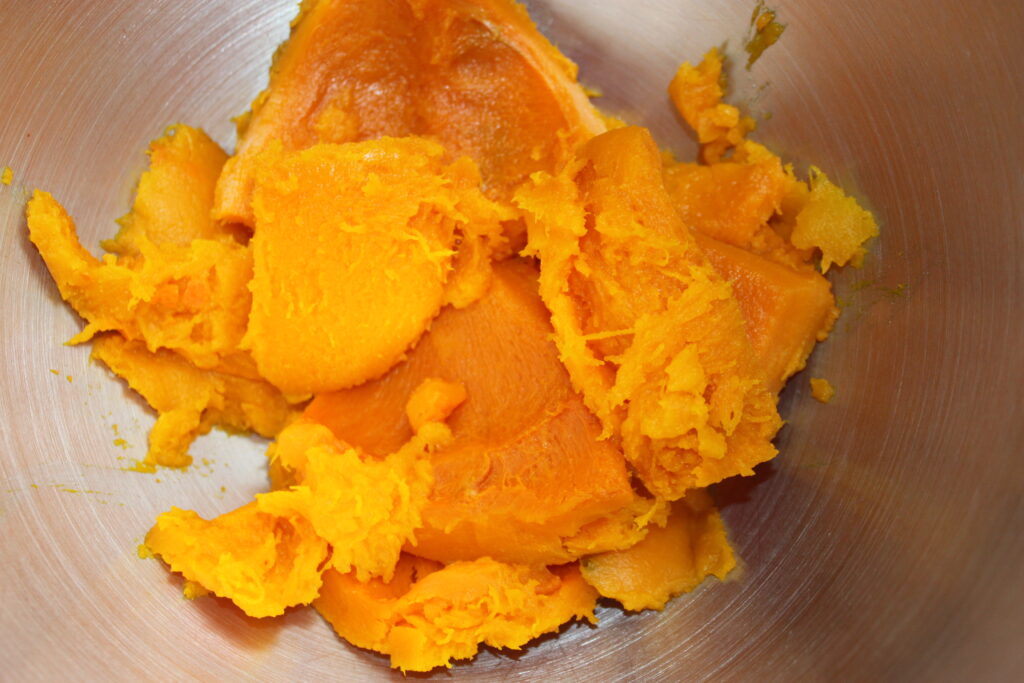
First, prepare the pumpkin.
Open it in 4 with a knife and remove the seeds with a tablespoon.
Steam for 20 minutes, checking with a fork.
Get the necessary weight for this recipe, i.e. 375g.
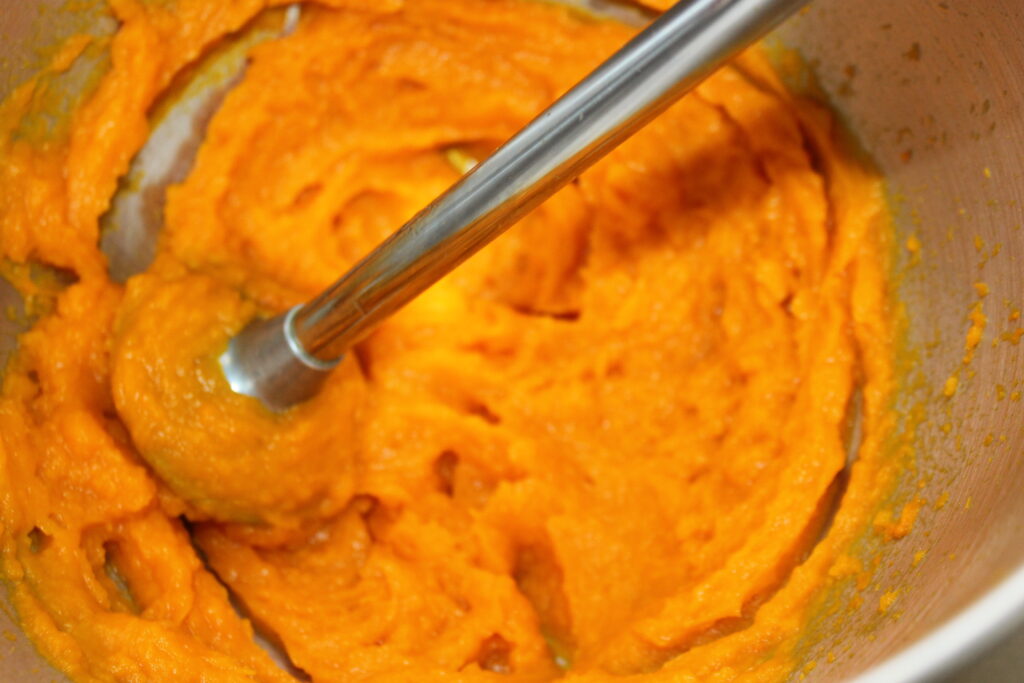
Blend with a hand blender or a mixer, but make sure you have 375g of pumpkin puree for the brioche.
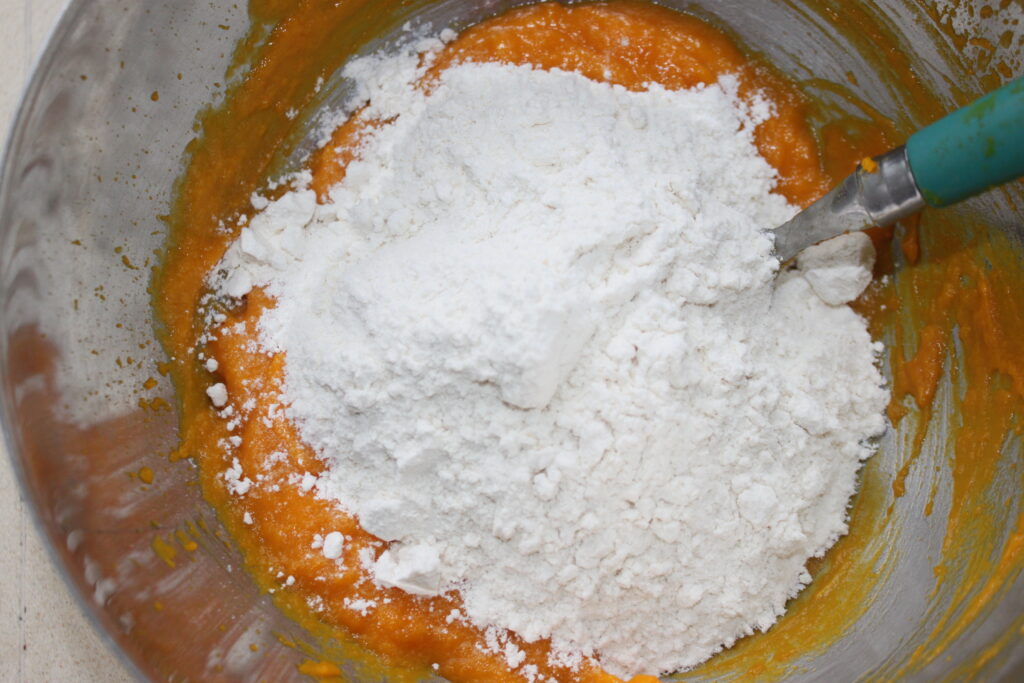
In a bowl or in the bowl of your food processor, add the milk, eggs, yeast, sugar and salt.
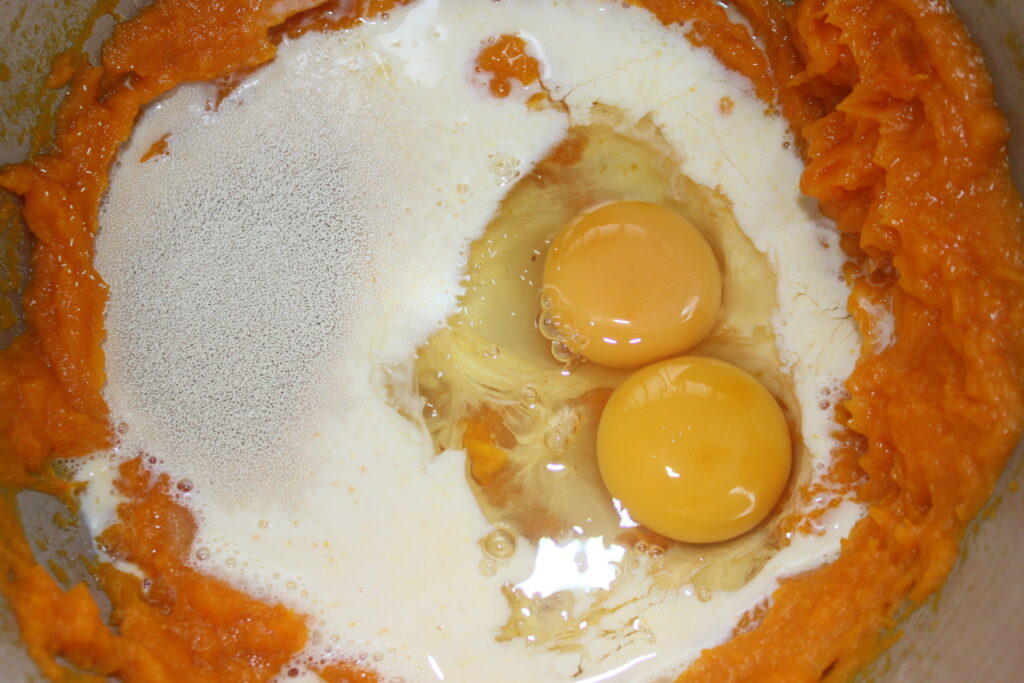
Pour in the flour.
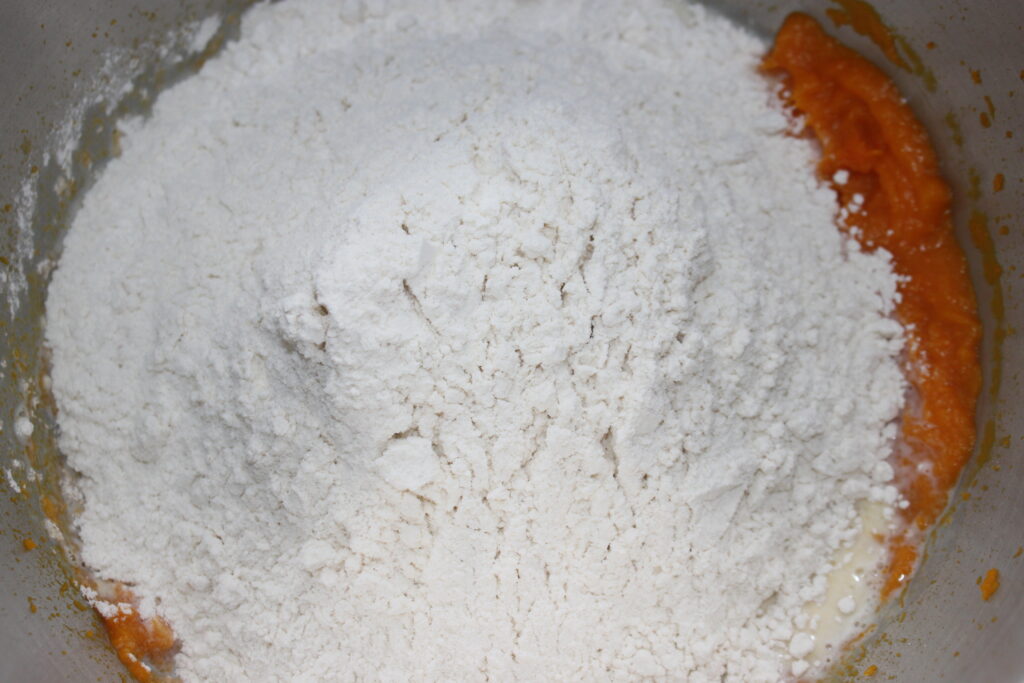
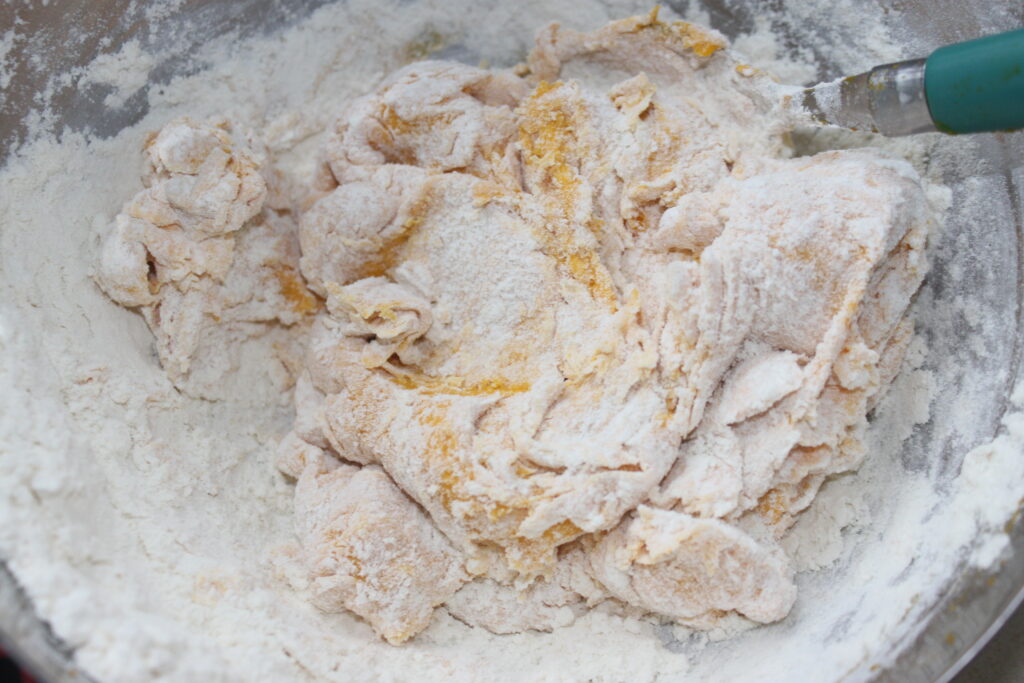
Mix in the food processor with the dough hook. By hand, the dough will be too sticky!
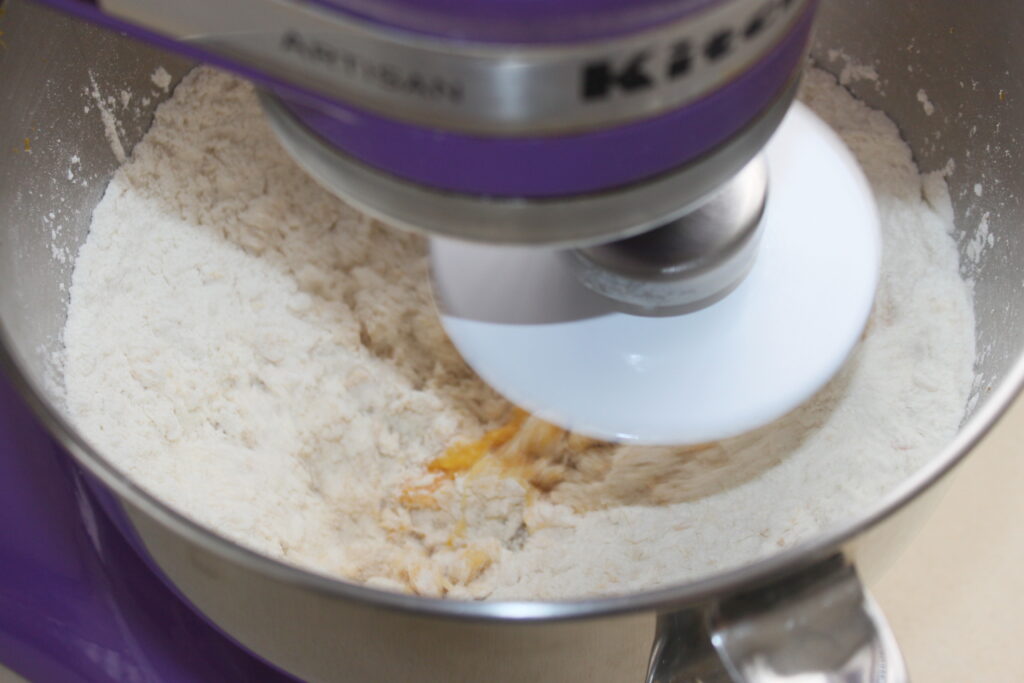
Knead for about 8 minutes on medium speed.
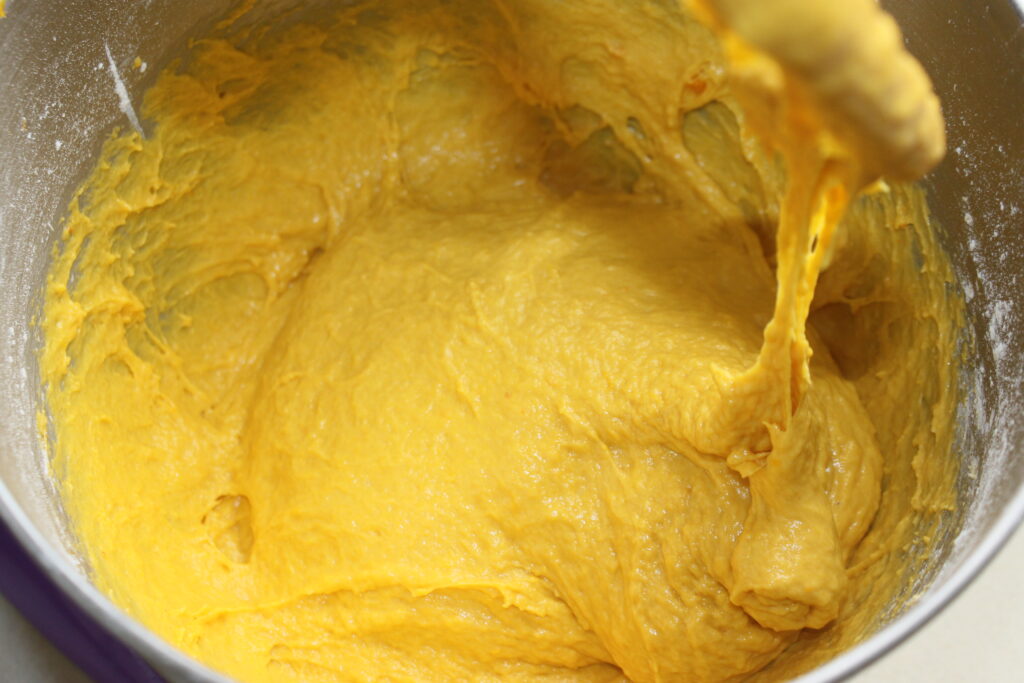
Add the butter cut into pieces and knead again.
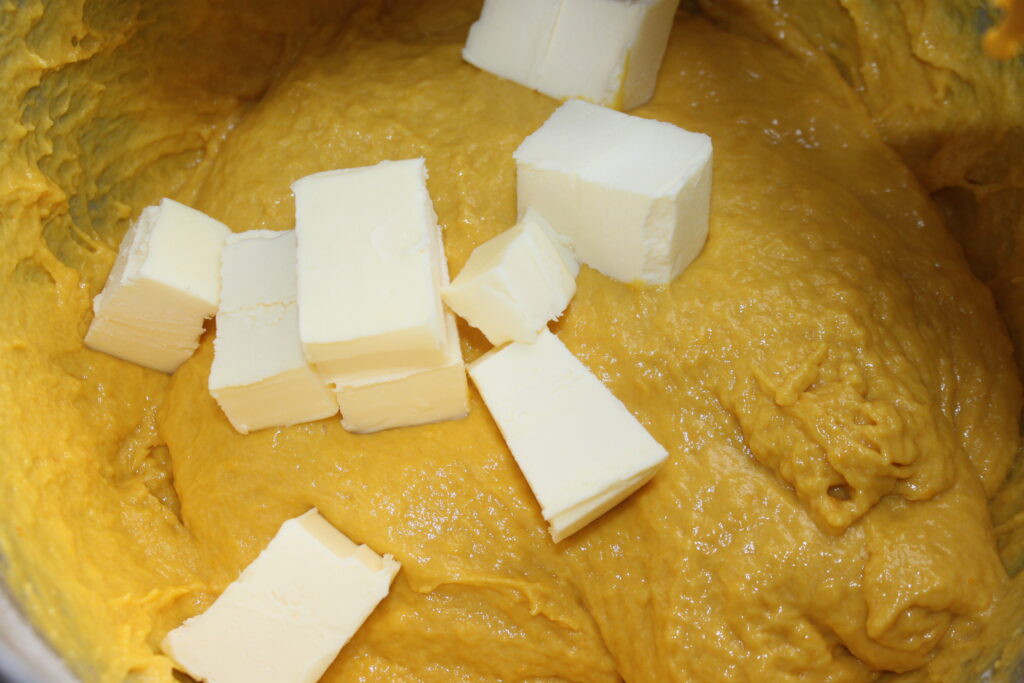
The dough should begin to partially lift out of the bowl during kneading and become silky smooth.

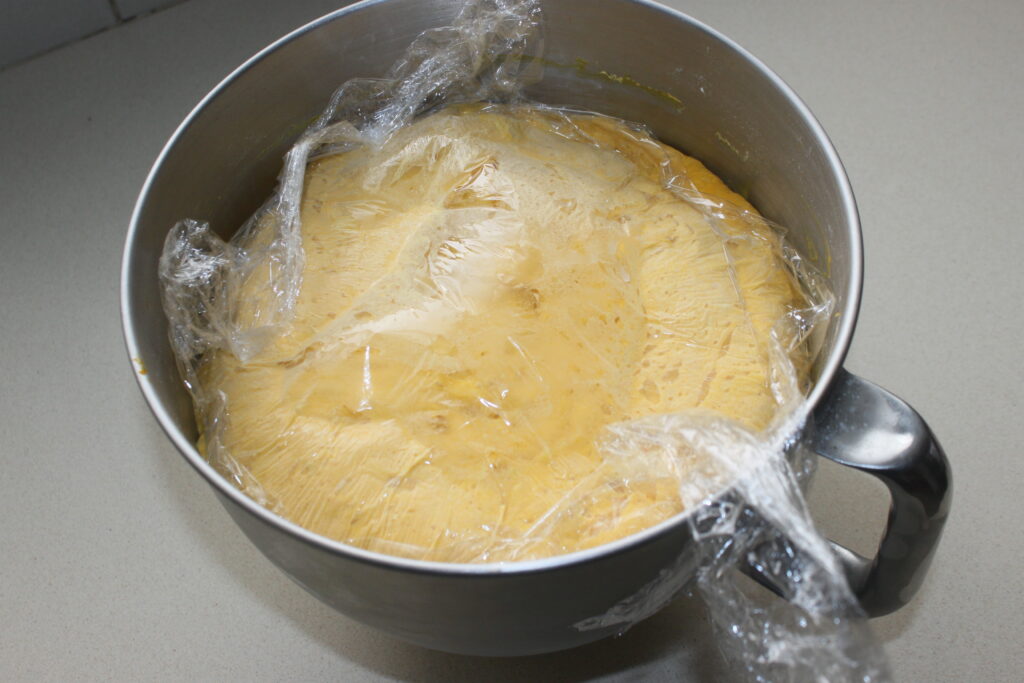
Put to push 1h30 in oven at 40°C or until the dough doubles in volume.
Degas it and put a stretch film on the contact. Put the dough in the refrigerator for at least 5 hours or overnight.
The next day the dough has risen and is very cold. The cold will make it less sticky.
Pour onto a floured work surface and flour the surface of the dough well.
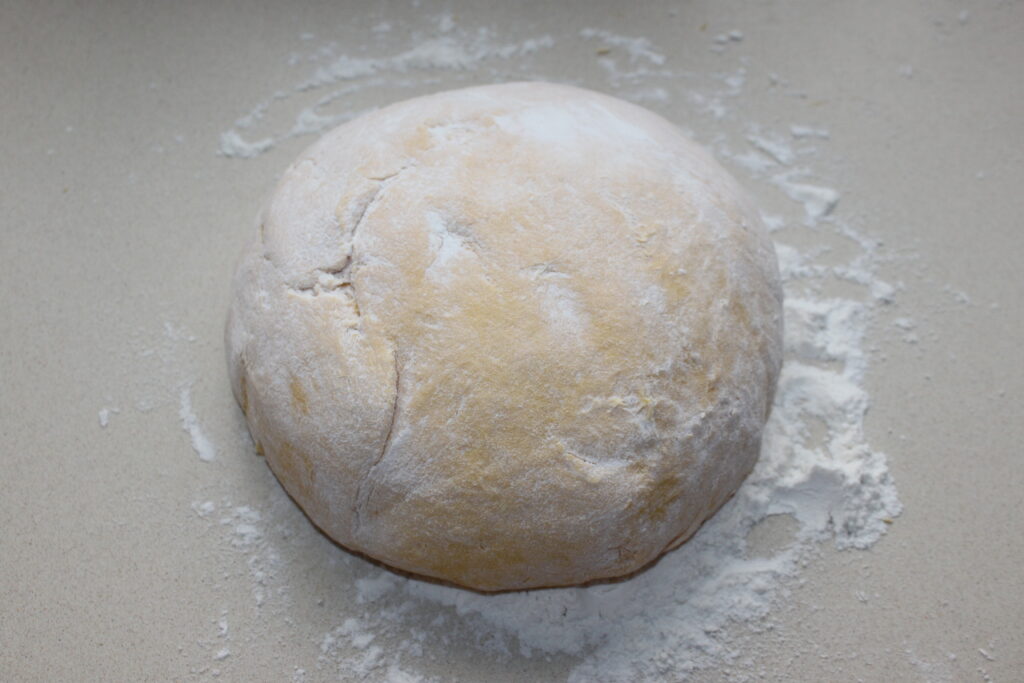
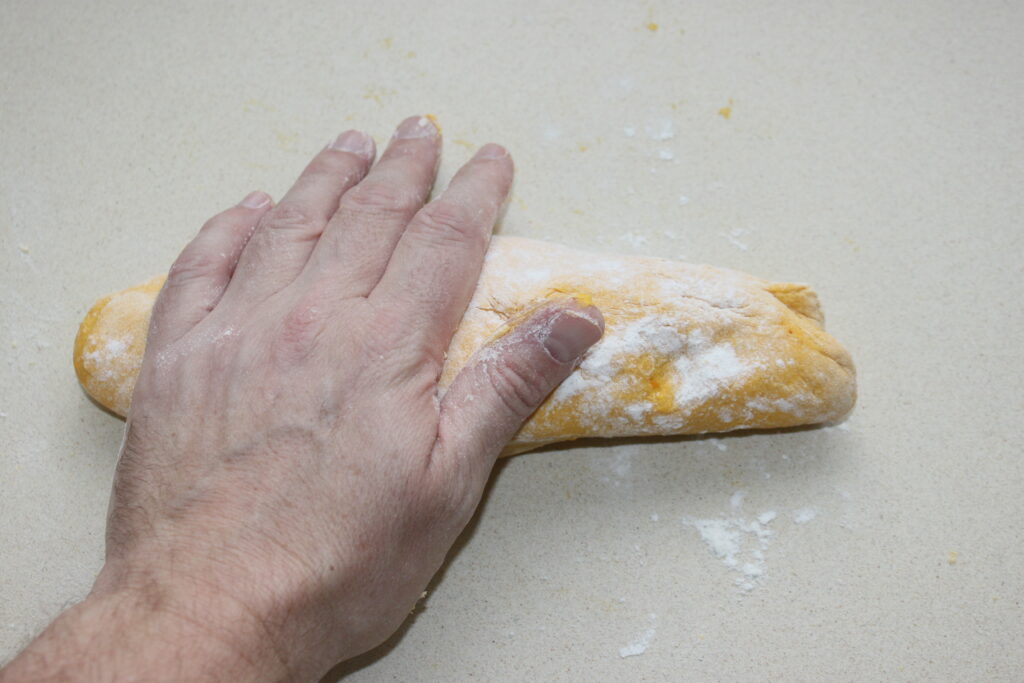
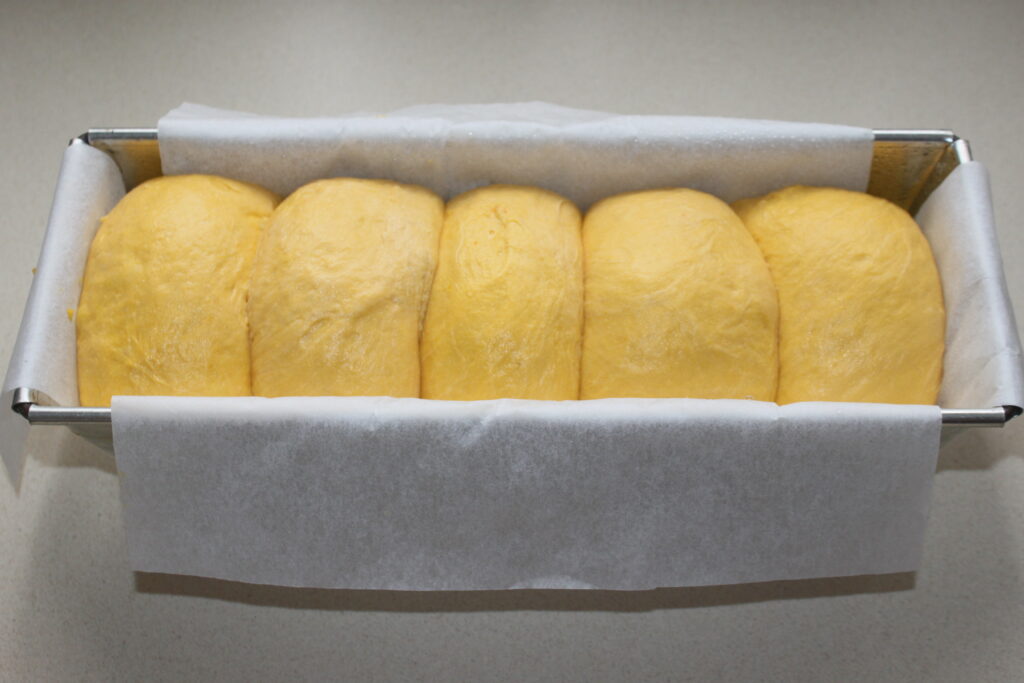
Divide the dough into 5 balls of equal weight. Roll out a ball on the floured work surface into a strip of dough. Then roll this strip of dough into a cylinder, then into a ball (by doing this, the balls will be more uniform).
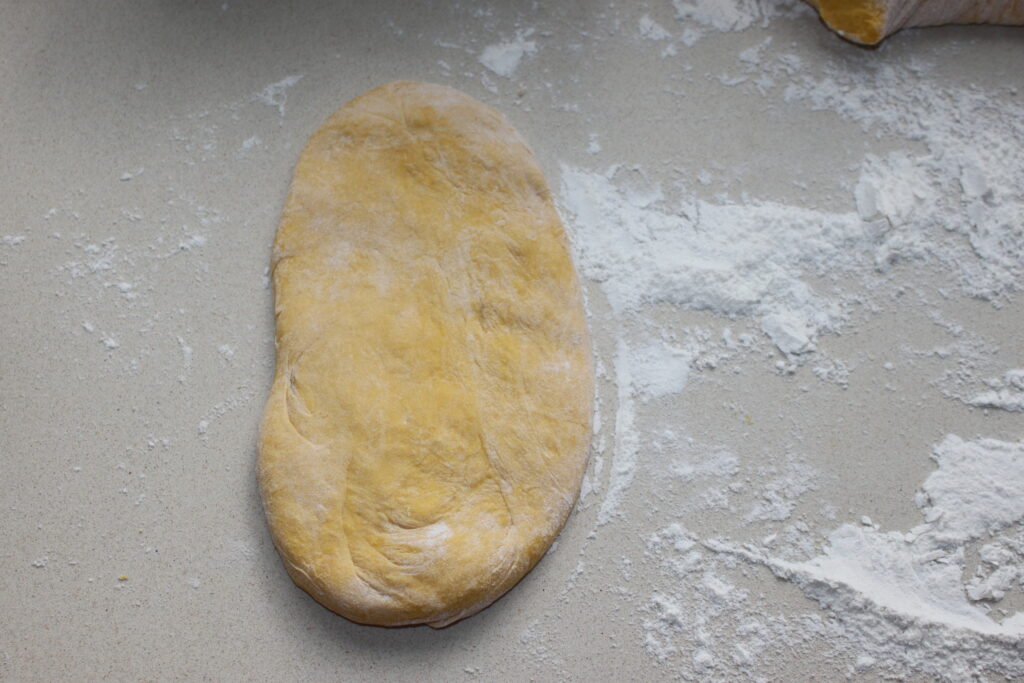
Do the same for all the dough and put it in a 30cm pan lined with parchment paper. I take a small spray of water and moisten the dough so that it swells without drying out.
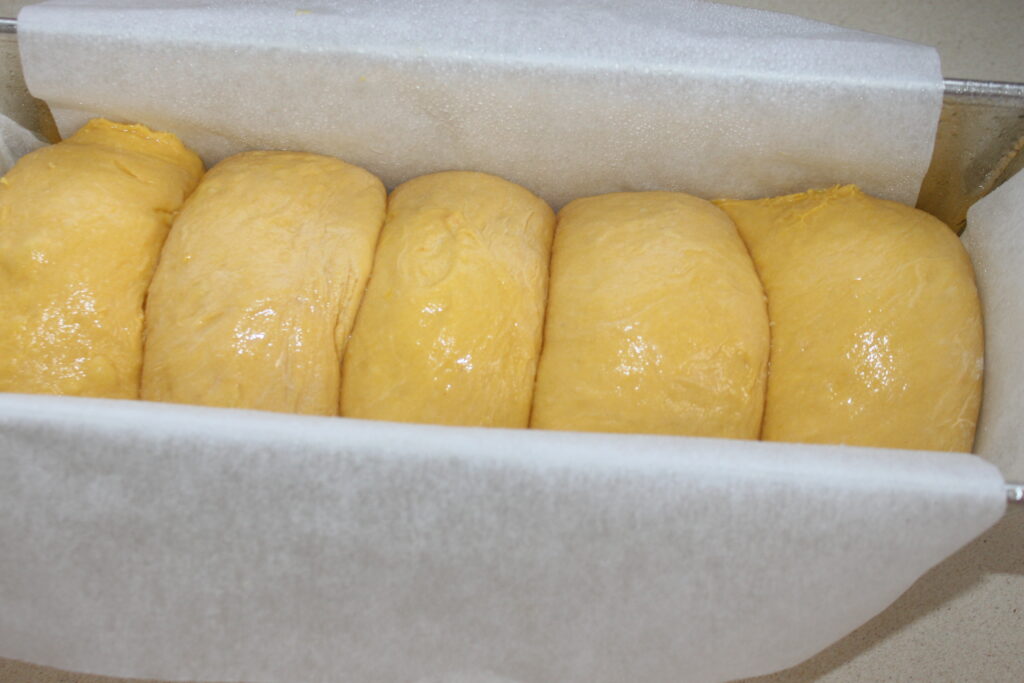
Let it grow for 1 hour to 1h30. The dough must be plump!
Mix one egg and a tablespoon of milk and brush over the surface.
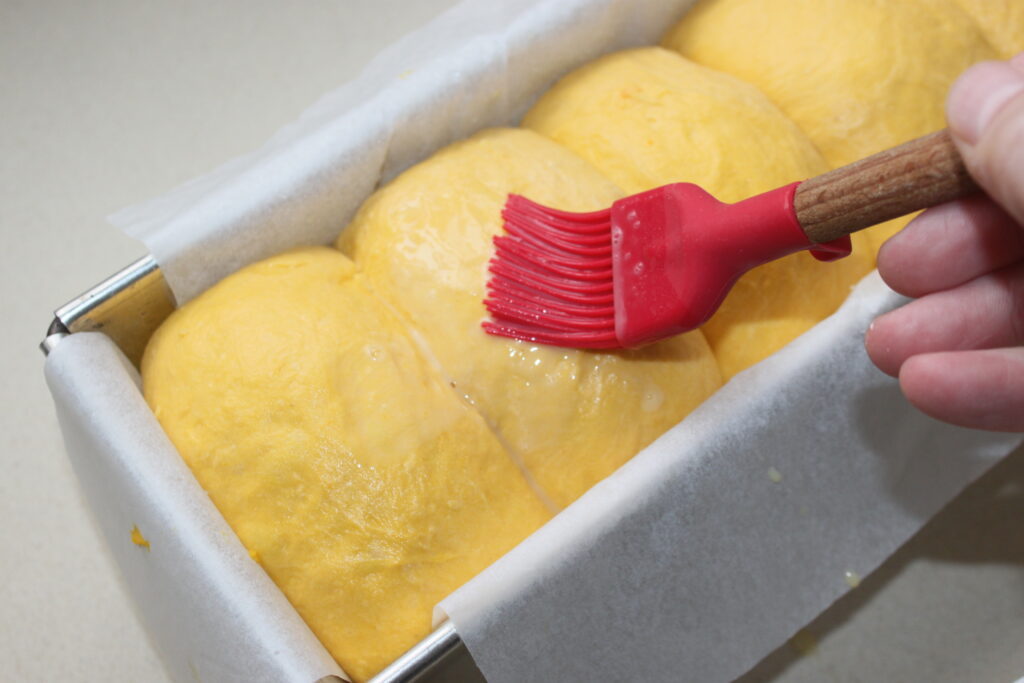
Sprinkle with pumpkin seeds.
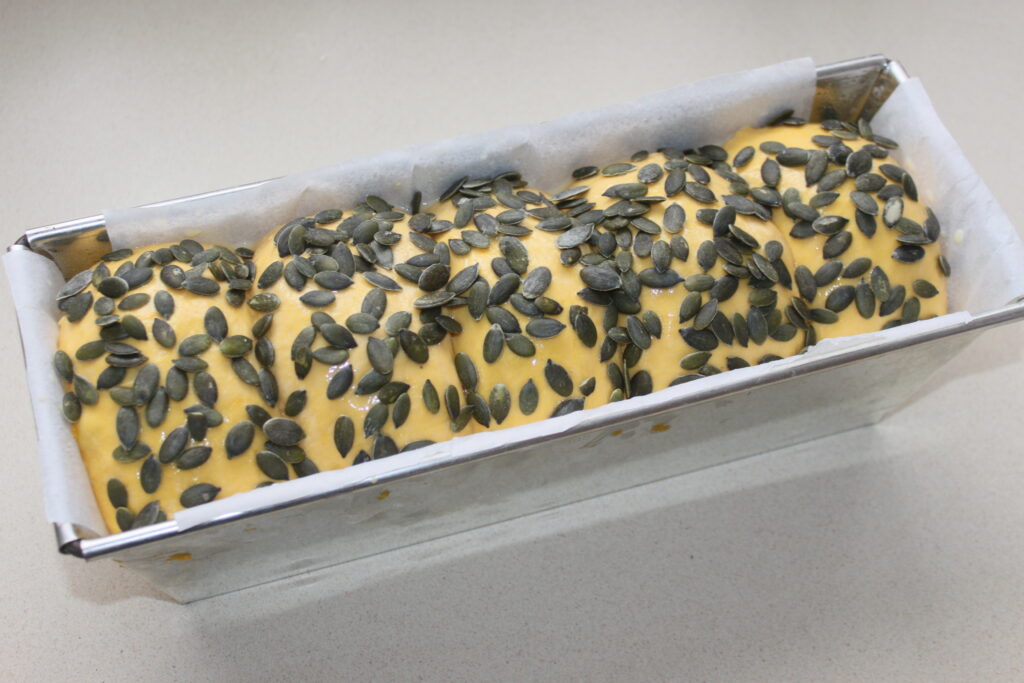
Bake for 40 minutes in a preheated oven at 160°C. Adapt the cooking to your oven by adjusting the temperature and the cooking time.
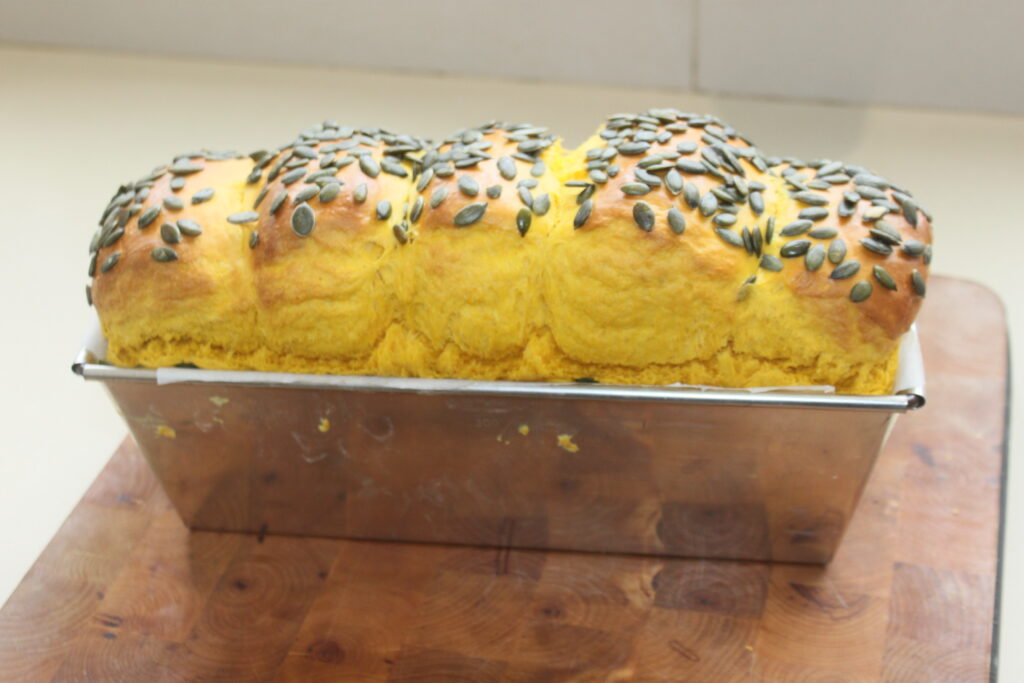
Let cool and then enjoy with a nice semi-salted butter spread on top!

Pão de Abóbora (brioche à la courge)
Ingredients
- 375 g chair de potimarron
- 7 g levure de boulangerie déshydratée
- 125 g lait demi-écrémé
- 2 œufs
- 100 g sucre
- 1/2 c. à café sel
- 585 farine
- 100 g beurre
Dorure
- 1 œuf
- 1 c. à soupe lait
- 25 g graines de courge
Instructions
- Préparez tout d’abord le potimarron. Ouvrez-le en 4 au couteau puis ôtez les graines avec une cuillère à soupe.
- Mettez à cuire à la vapeur 20 minutes, il faudra vérifier la cuisson en plantant une fourchette.
- Récupérez le grammage nécéssaire pour cette recette, à savoir 375g.
- Mixez avec un mixeur plongeant ou au mixeur, mais vérifiez bien d’avoir 375g au final de purée de potimarron pour la brioche.
- Dans un récipient ou dans la cuve de votre robot, ajoutez le lait, les œufs, la levure, le sucre et le sel. Versez la farine.
- Mélangez au robot avec le crochet pétrisseur. À la main, la pâte sera trop collante !
- Pétrissez 8 minutes environ à vitesse moyenne.
- Ajoutez le beurre coupé en morceaux puis pétrissez de nouveau. La pâte doit commencer à se décoller partiellement de la cuve pendant le pétrissage et devenir bien soyeuse.
- Mettez à pousser 1h30 en étuve à 40°C ou jusqu’à ce que la pâte double de volume.
- Dégazez-la puis mettez un film étirable au contact. Mettez la pâte au réfrigérateur au moins 5 heures ou alors une nuit.
- Le lendemain la pâte a gonflé et est bien froide. Le froid fera qu’elle sera moins collante.
- Versez sur un plan de travail fariné et farinez bien la surface de la pâte.
- Divisez la pâte en 5 boules de même poids. Étalez une boule sur le plan de travail fariné au rouleau en une bande de pâte. Roulez ensuite cette bande de pâte en une boule (en faisant cela, les boules seront plus uniformes).
- Faites de même pour toute la pâte puis mettez le tout dans un moule de 30cm de longueur garni de papier sulfurisé. Je prends un petit spray d’eau et j’humidifie la pâte pour qu’elle gonfle sans sécher.
- Laissez pousser 1h à 1h30. La pâte doit être bien dodue !
- Mélangez un œuf et une cuillerée à soupe de lait, puis badigeonnez la surface au pinceau.
- Parsemez de graines de courge.
- Mettez à cuire 40 minutes dans un four préchauffé à 160°C. Adaptez la cuisson à votre four en ajustant la température et le temps de cuisson.
- Laissez tiédir puis dégustez avec un bon beurre demi-sel à tartiner dessus !
Nutrition

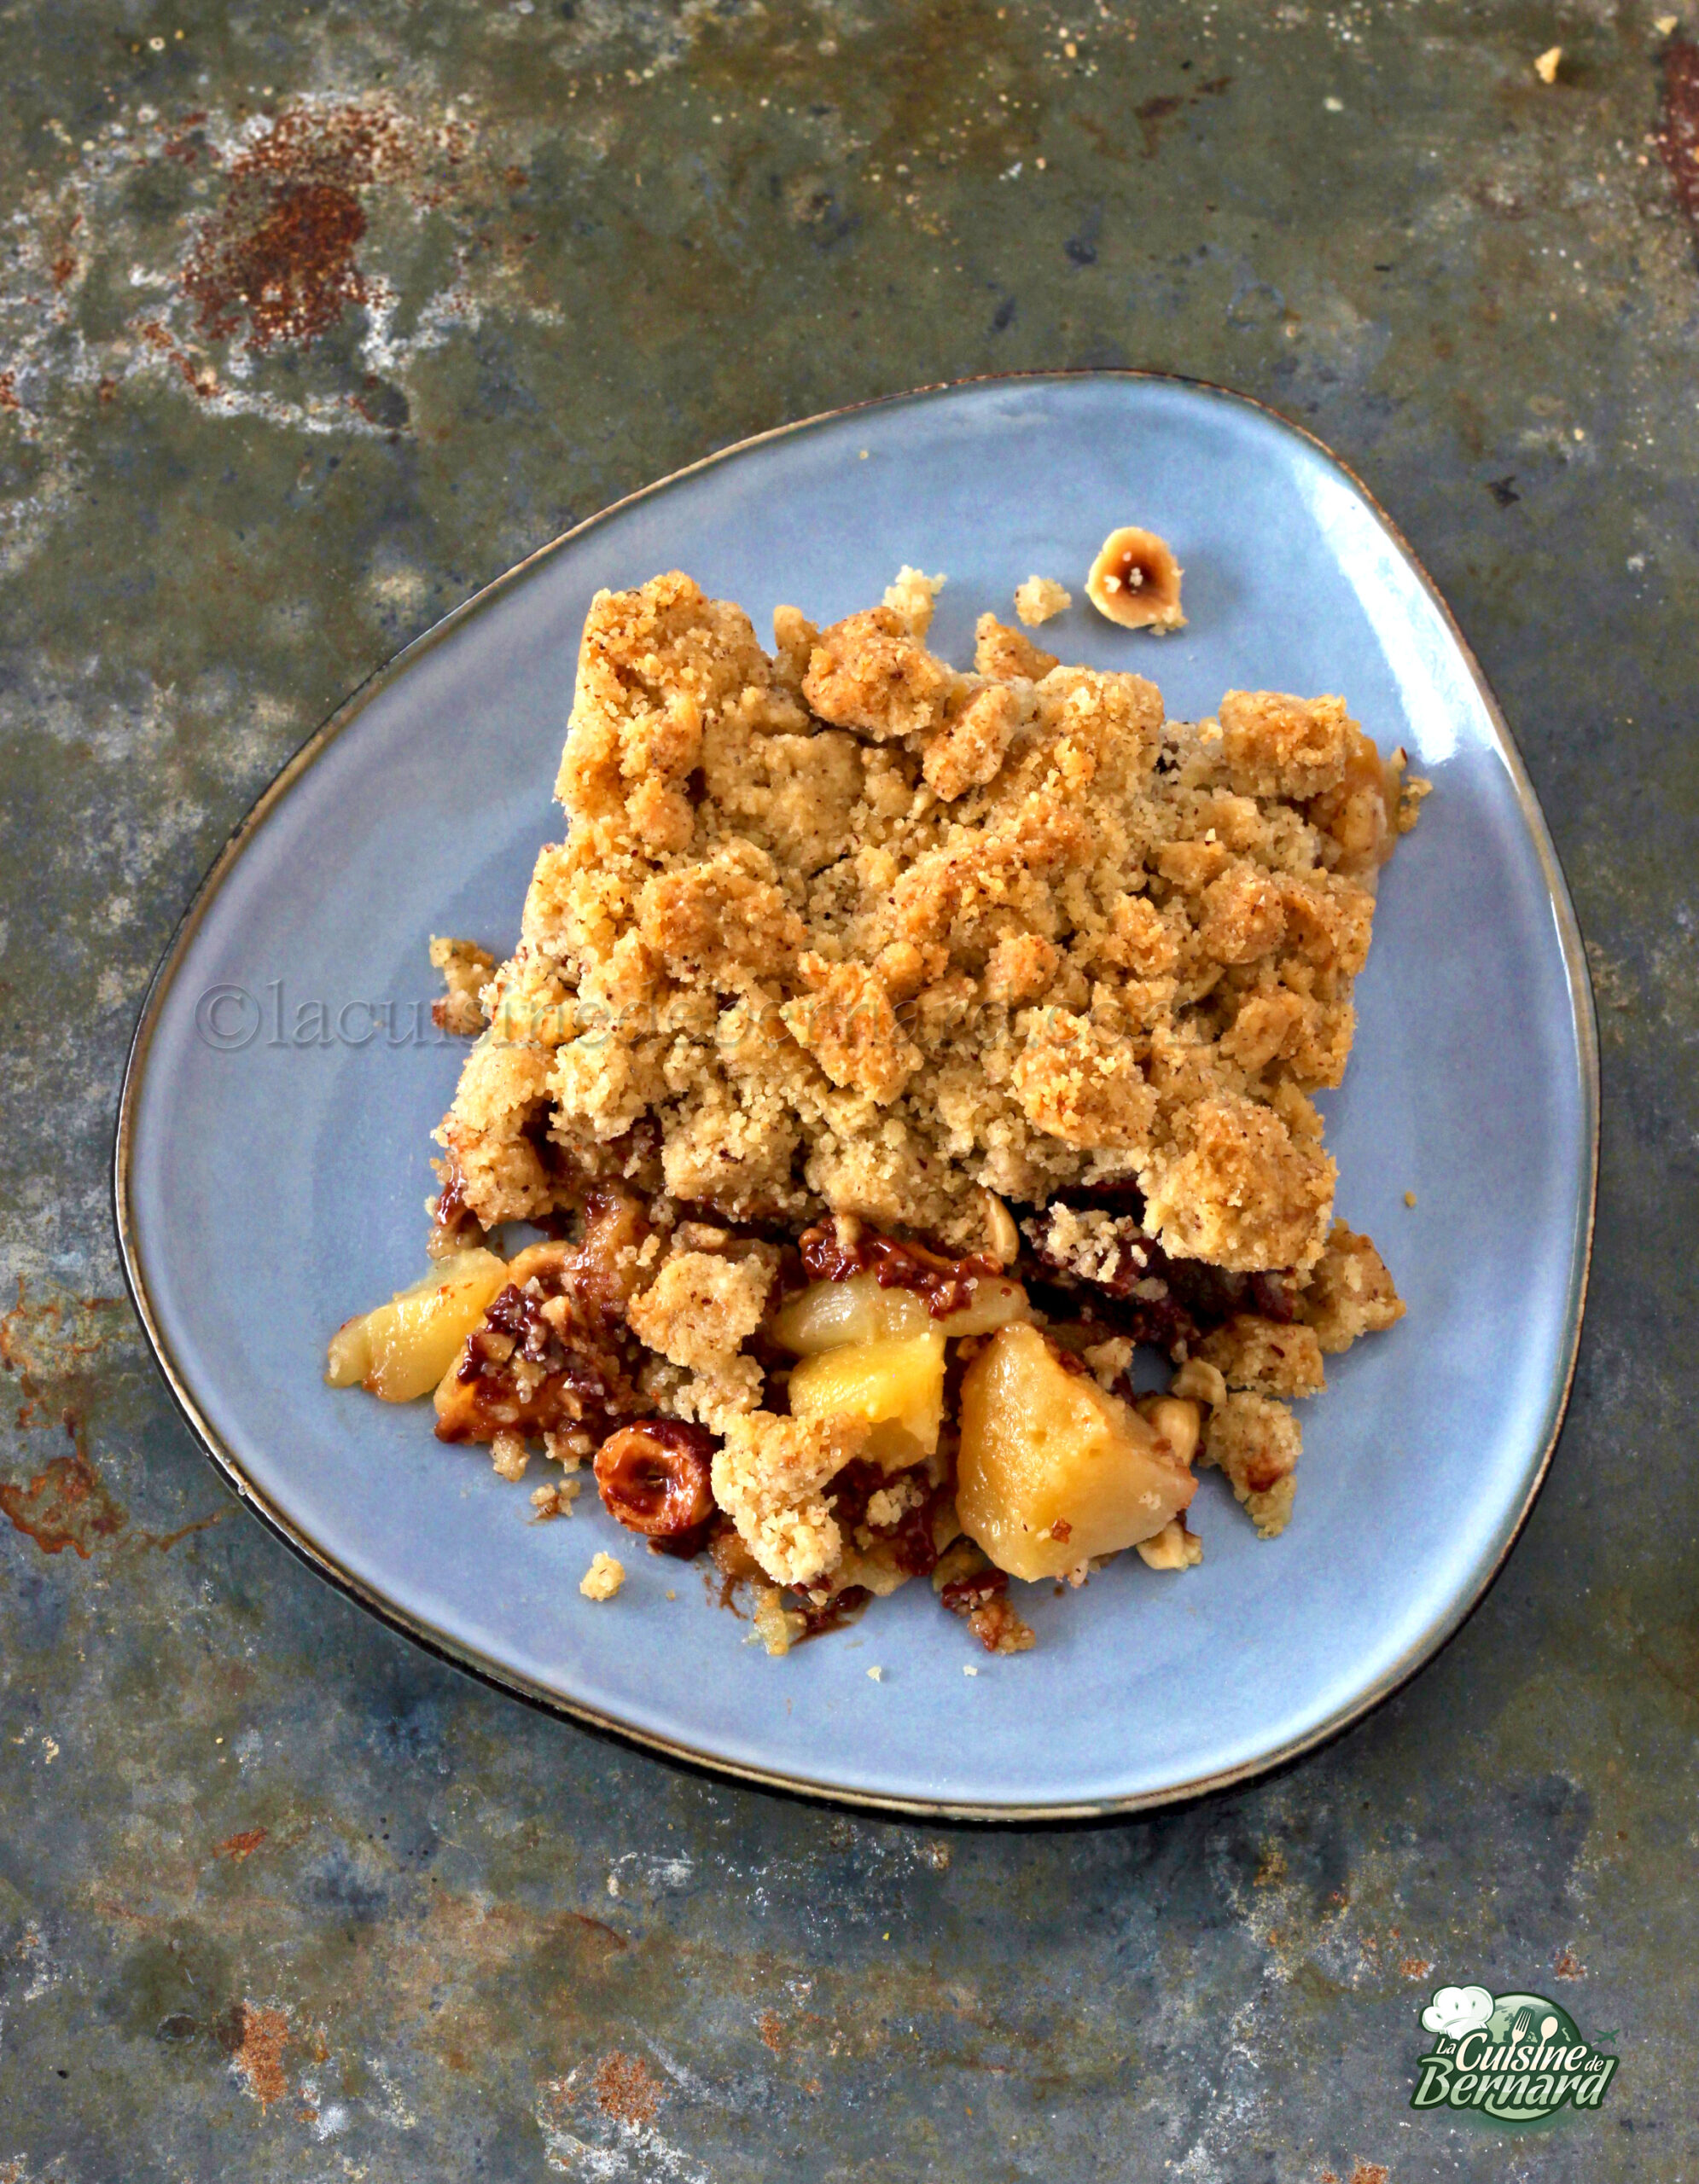
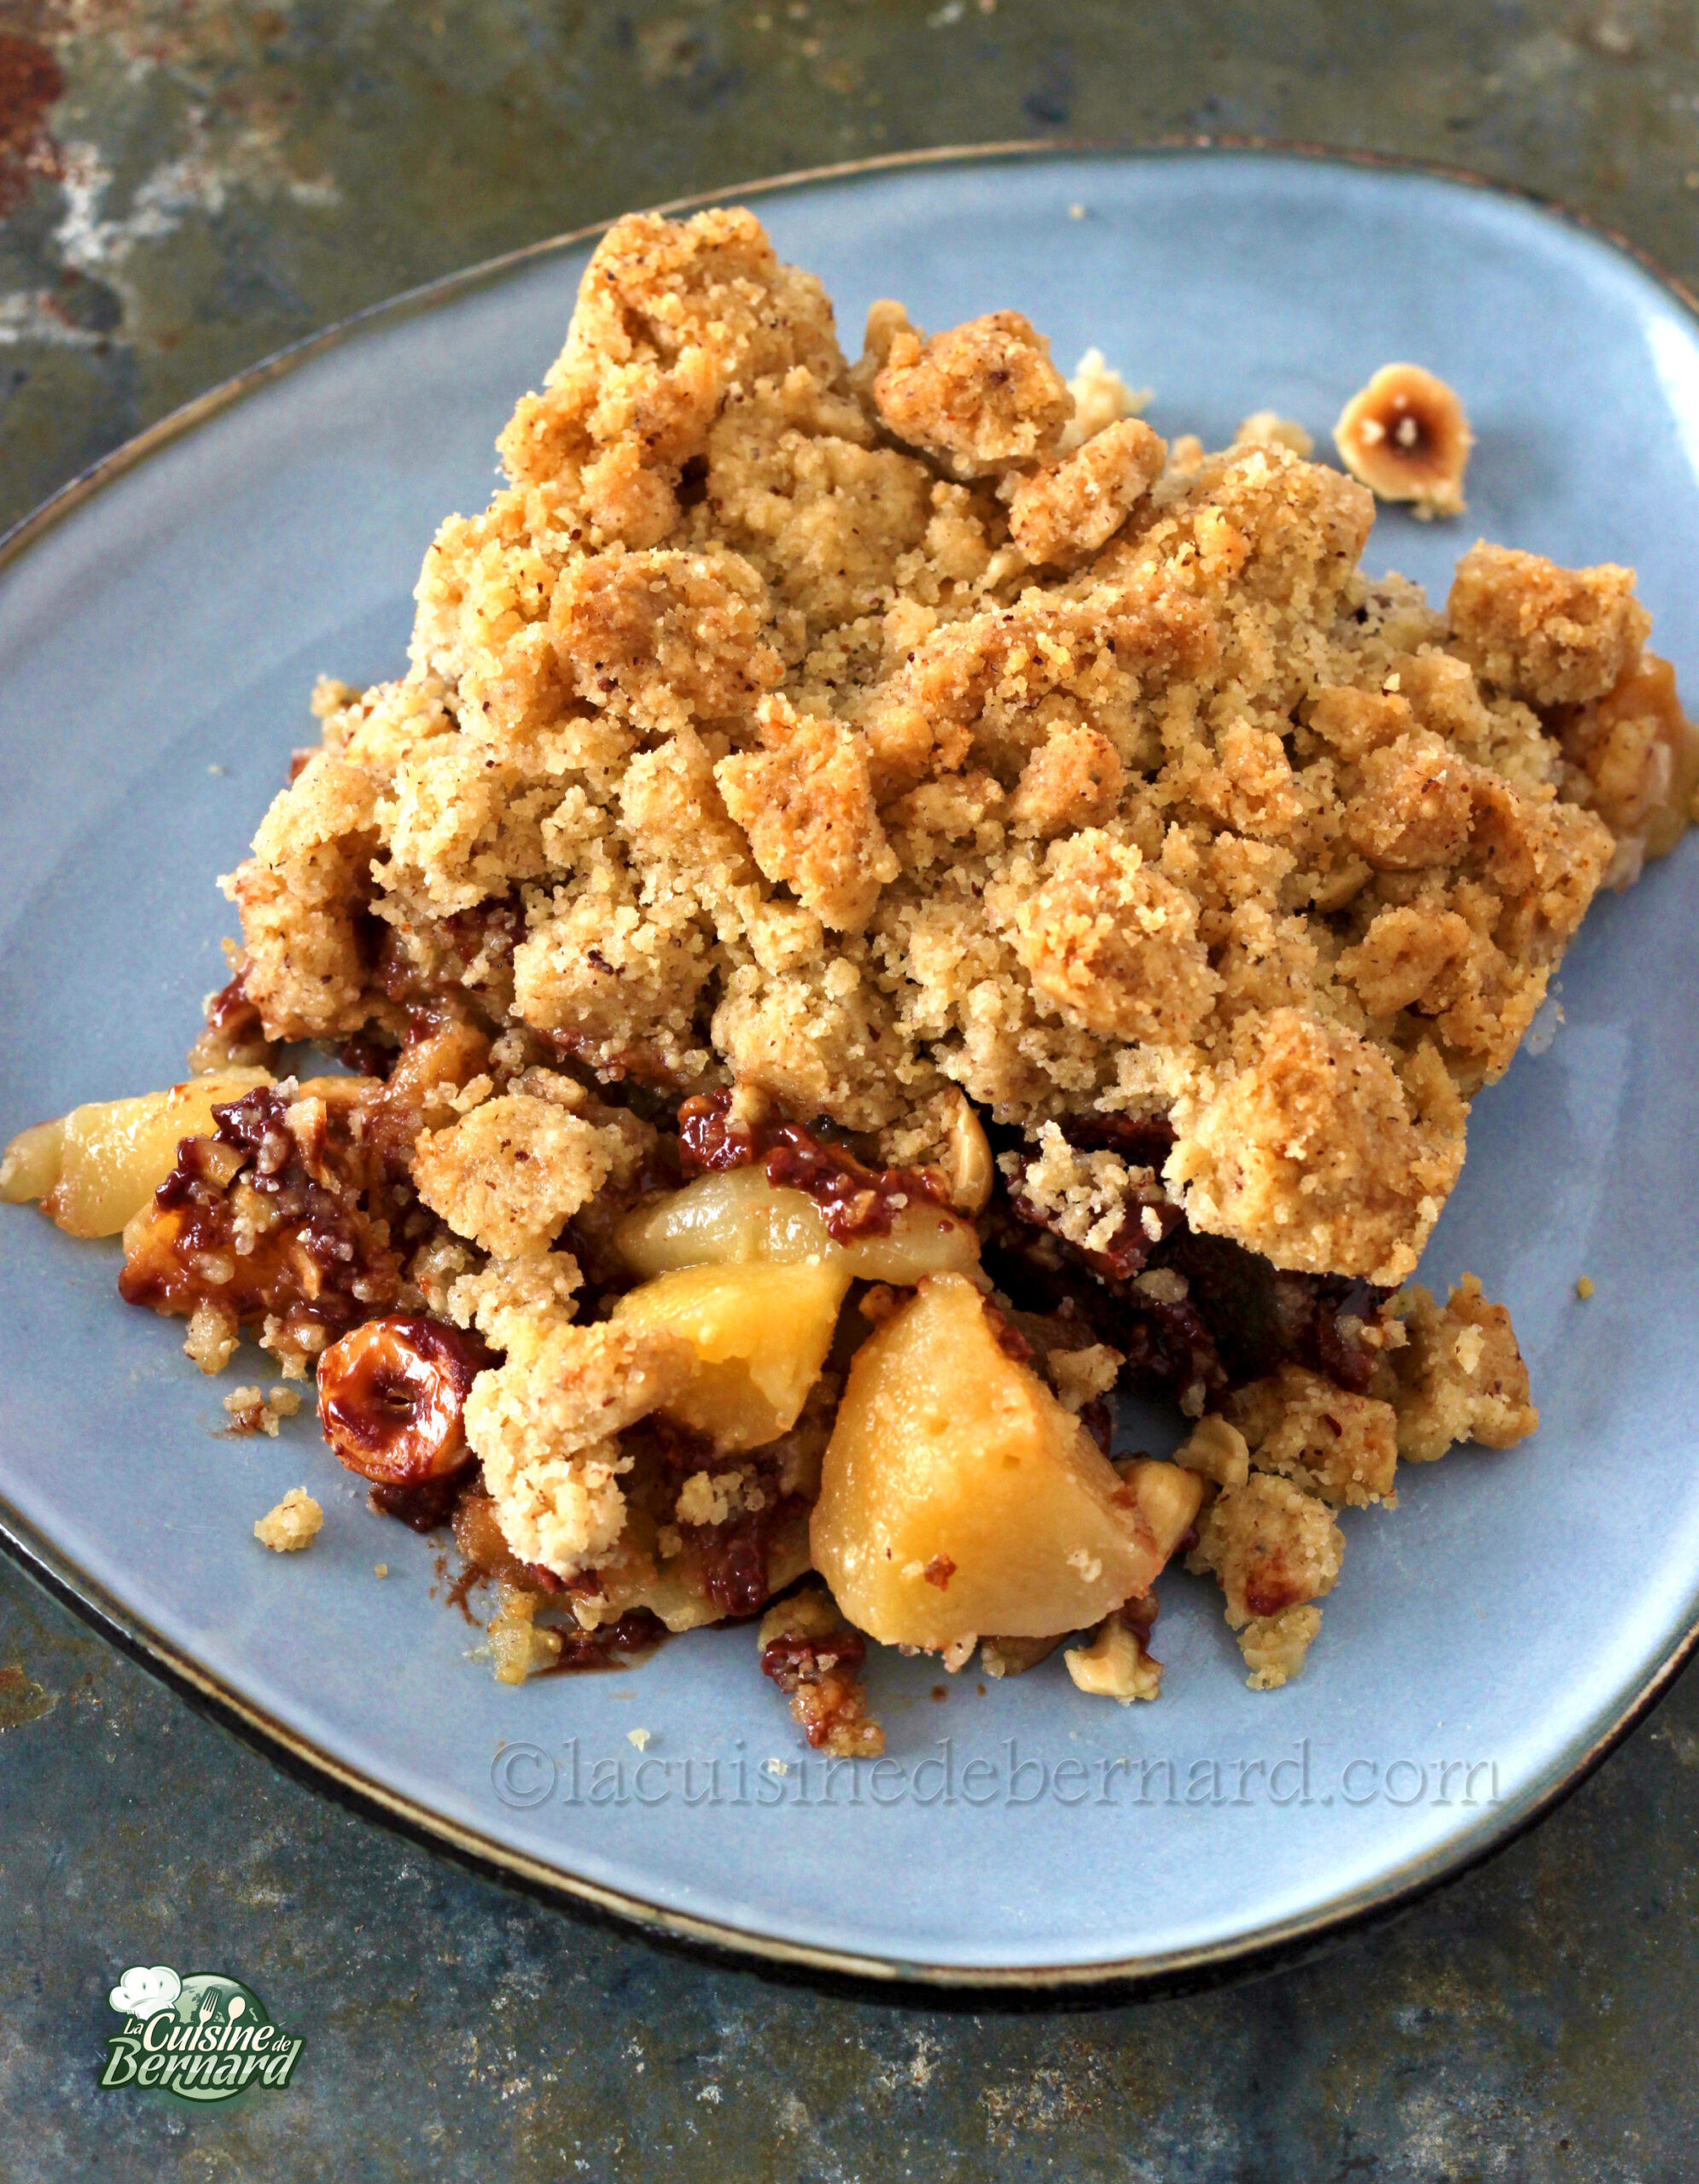
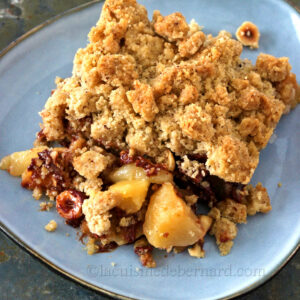
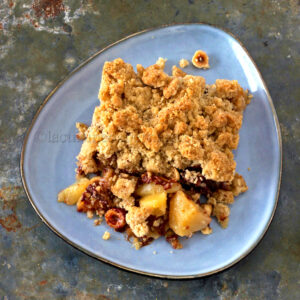
As fall begins to make itself felt, I’ve come up with a recipe that incorporates lots of delicious ingredients that evoke this beautiful season. Apples, pears, milk chocolate, praline and hazelnuts, all in a crispy hazelnut pastry. I’m sure this crumble will cheer you up in the best way possible! I, for one, love to come home when it’s cool and warm up with a nice piece of dessert from the oven!
Recipe for a crumble of 30X23cm :
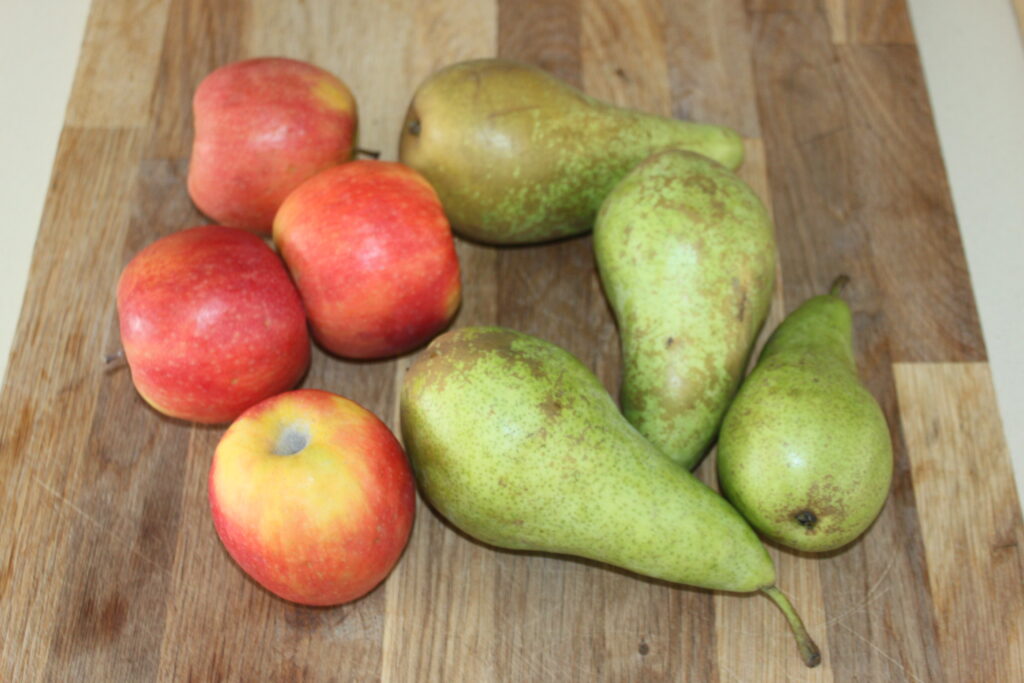
- 4 apples
- 4 pears
- 30g of semi-salted butter
- 100g of praline with 70% of dried fruits
- 85g of milk chocolate
- 70g of roasted hazelnuts
For the dough:
- 190g of brown sugar
- 210g of flour
- 120g of semi-salted butter
- 90g of roasted hazelnut powder
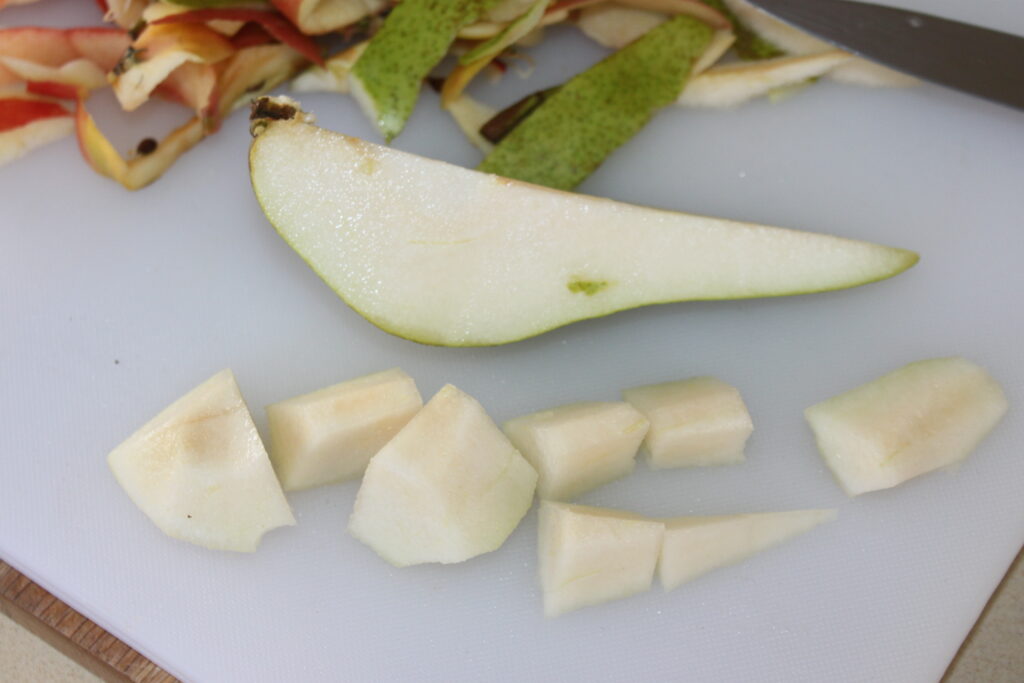
Start by peeling and chopping the apples and pears.
Put in large frying pan with the 30g of butter.
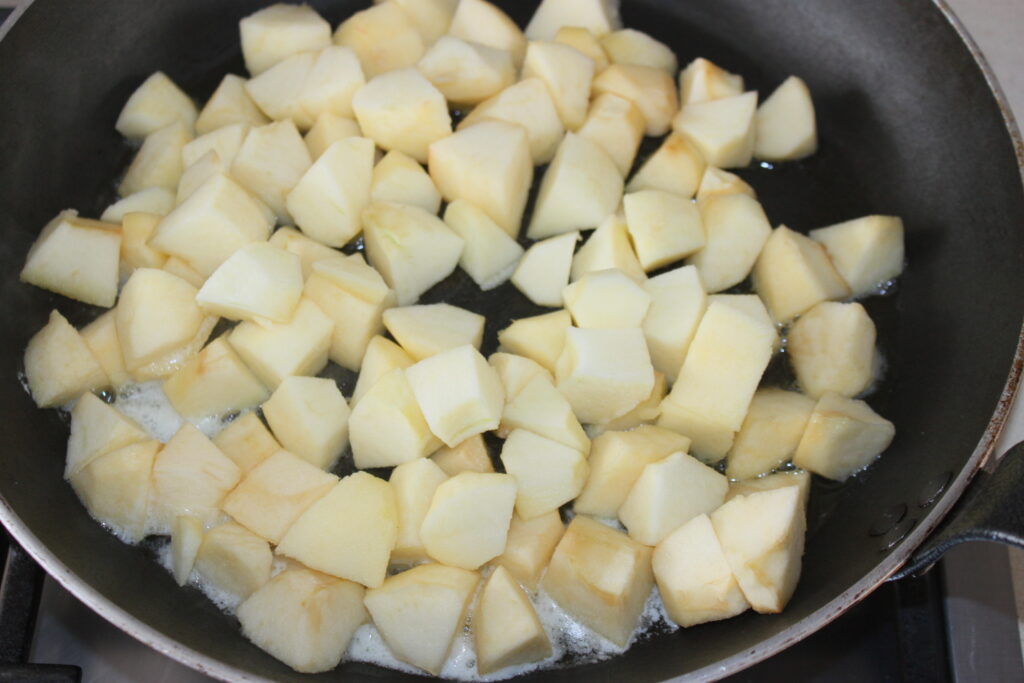
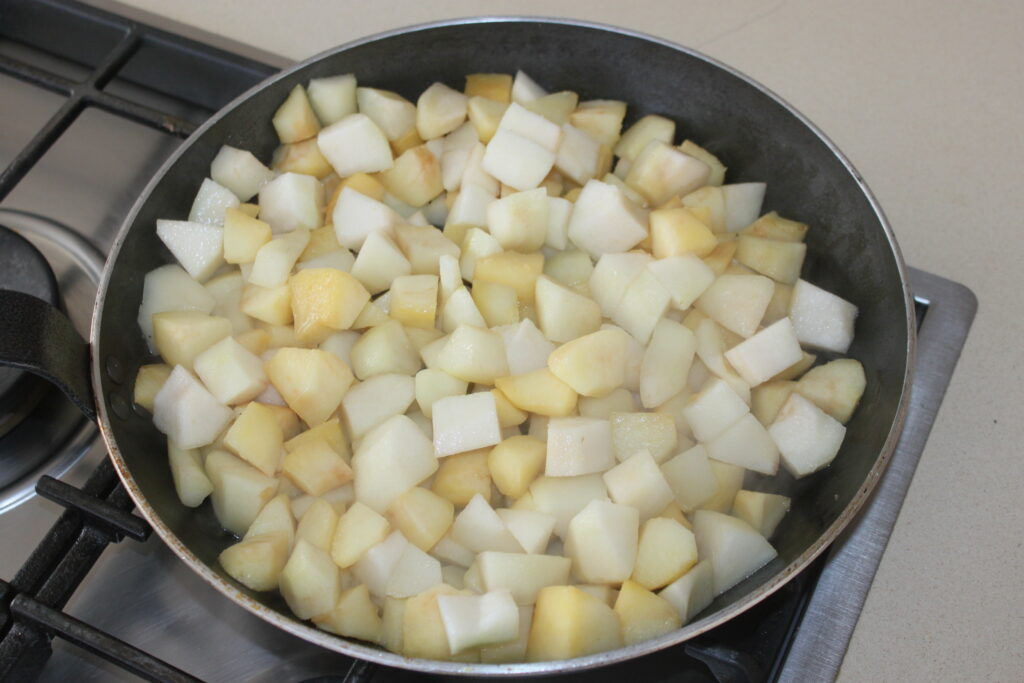
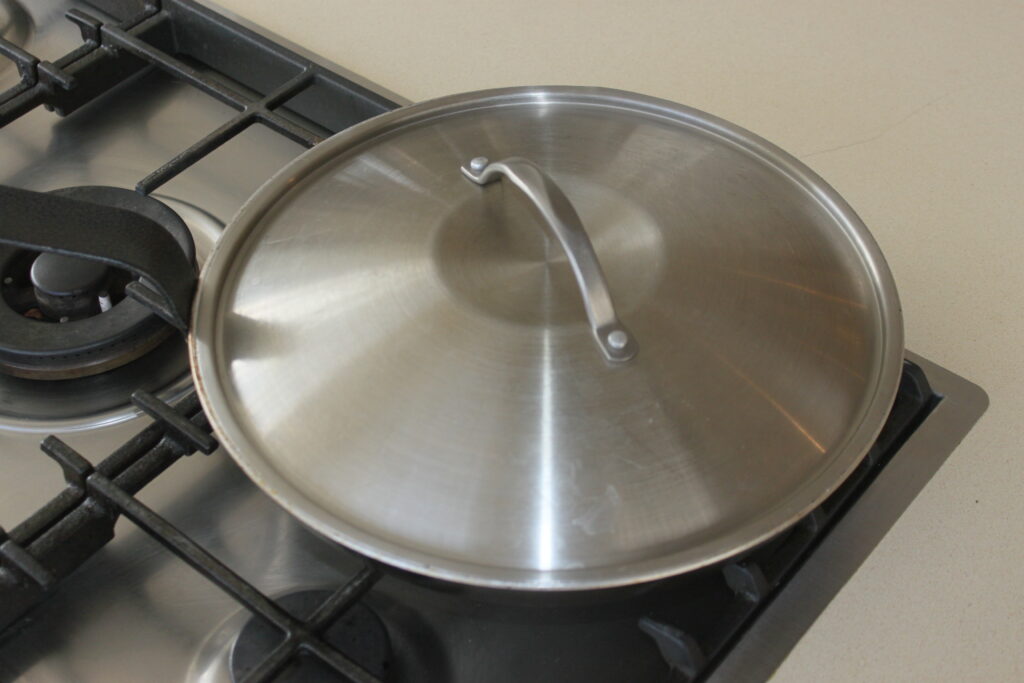
Cook for 20 minutes over low heat, stirring occasionally. Put a lid on the first 15 minutes. Remove it at the end so that the juice evaporates.
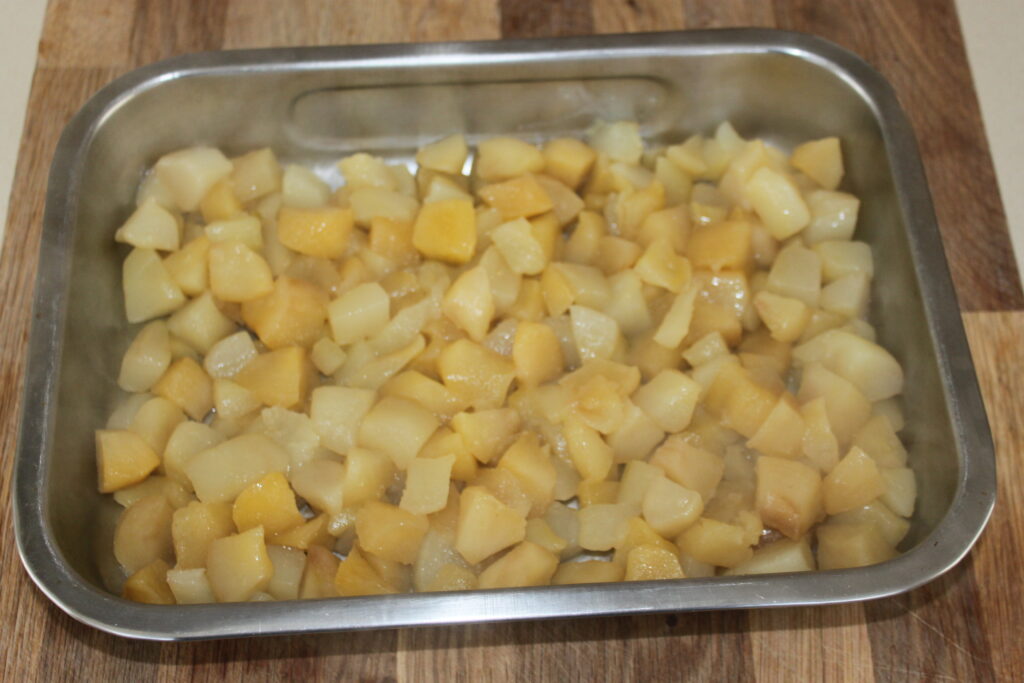
Pour into the dish. I have here a dish of about 30 by 23cm.
Add the praline.

Cut the milk chocolate into pieces.
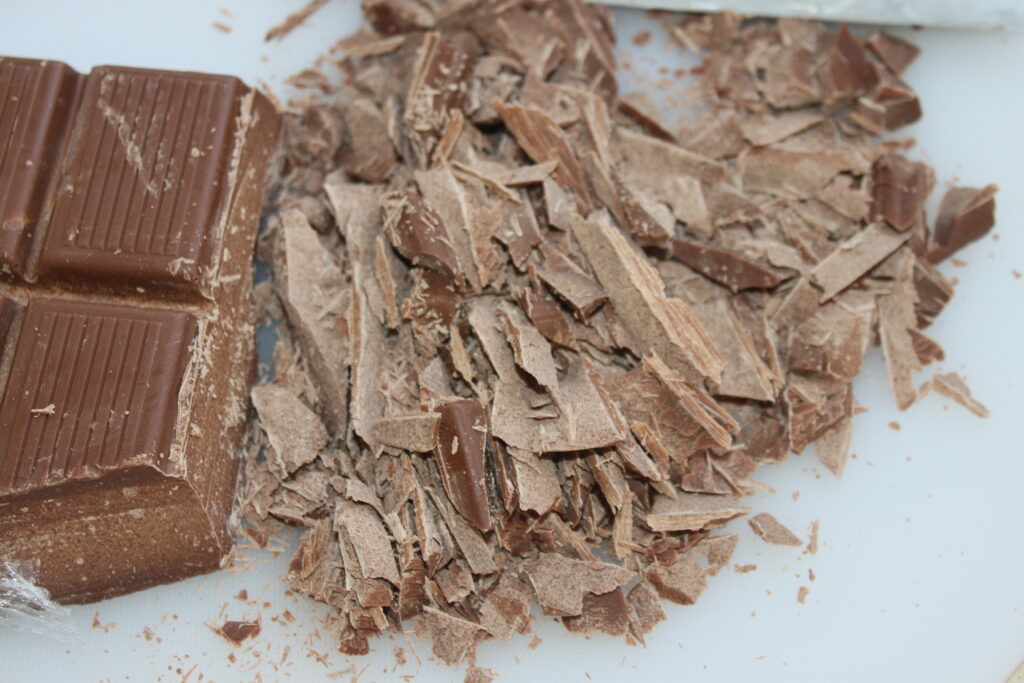
Put on the praline and finish with the crushed roasted hazelnuts.

Make the dough by putting all the ingredients in a container.
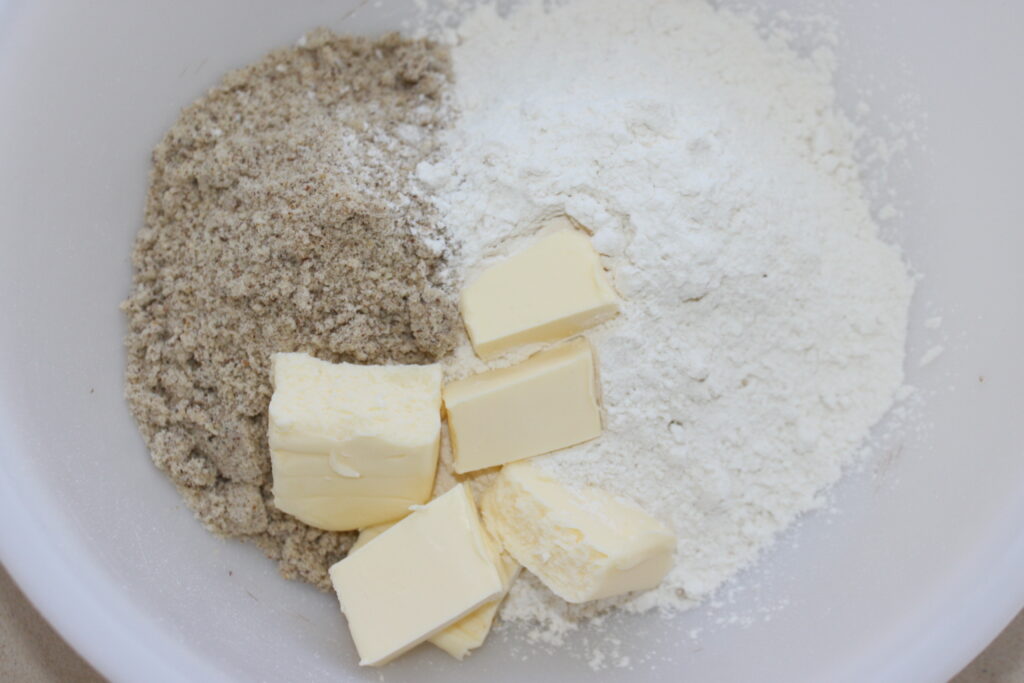
Mix by hand (or in a food processor) to obtain a paste that can clump together.
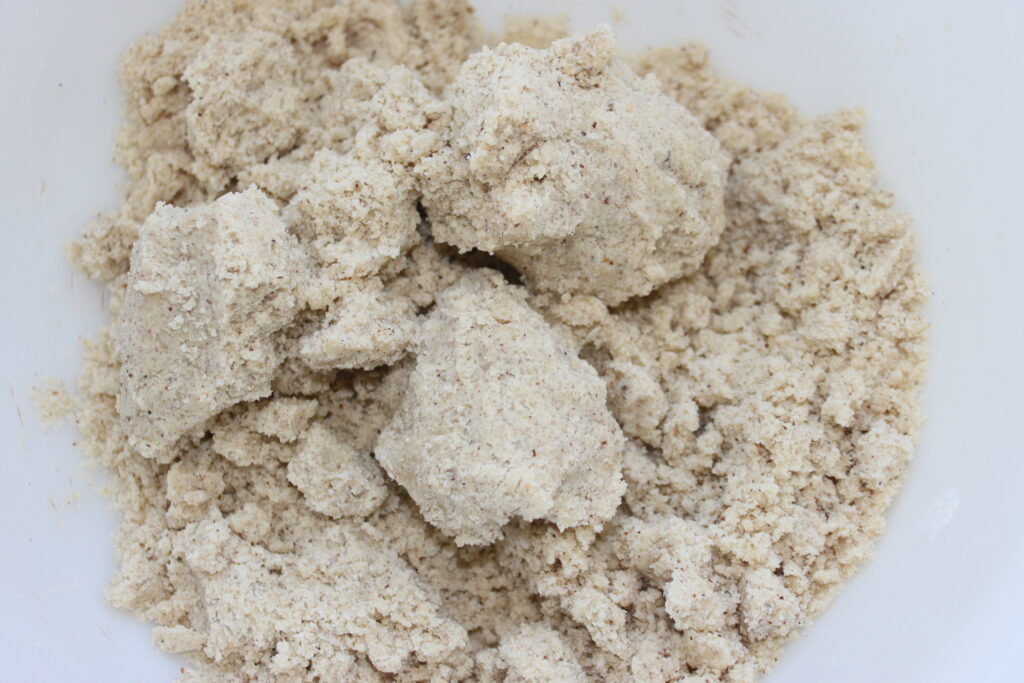
Squeeze the dough in your hands and then break it into the container.
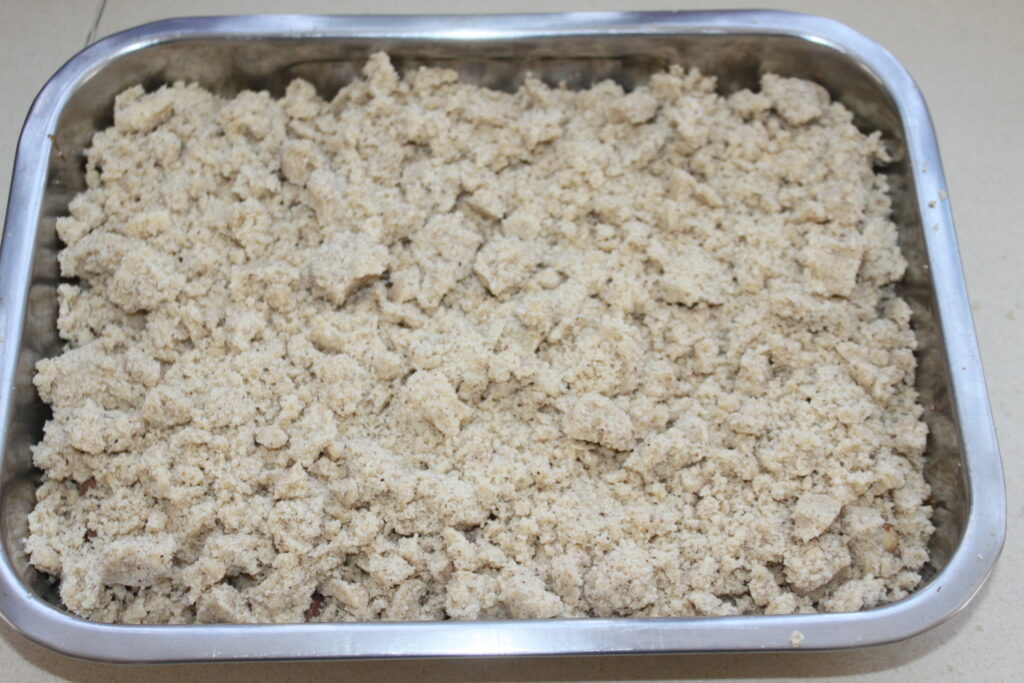
Bake for 35-40 minutes at 170°C on a convection oven, until the crumble is golden brown.
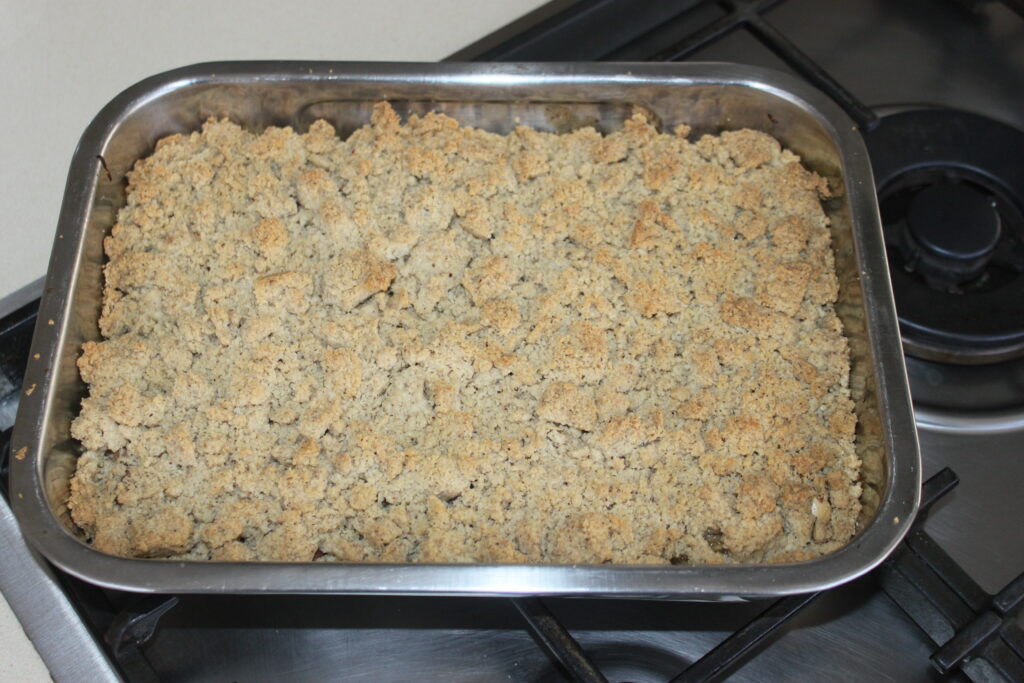
Enjoy warm or at room temperature.
Apple pear hazelnut crumble with milk chocolate and praline
Ingredients
- 4 apples
- 4 pears
- 30 g semi-salted butter
- 100 g praline with 70% of dried fruit
- 85 g milk chocolate
- 70 g roasted hazelnuts
For the dough:
- 190 g brown sugar
- 210 g flour
- 120 g semi-salted butter
- 90 g roasted hazelnut powder
Instructions
- Start by peeling and chopping the apples and pears.
- Put in large frying pan with the 30g of butter.
- Cook for 20 minutes over low heat, stirring occasionally. Put a lid on the first 15 minutes. Remove it at the end so that the juice evaporates.
- Pour into the dish. I have here a dish of about 30 by 23cm.
- Add the praline.
- Cut the milk chocolate into pieces.
- Put on the praline and finish with the crushed roasted hazelnuts.
- Make the dough by putting all the ingredients in a container.
- Mix by hand (or in a food processor) to obtain a paste that can clump together.
- Squeeze the dough in your hands and then break it into the container.
- Bake for 35-40 minutes at 170°C on a convection oven, until the crumble is golden brown.
- Enjoy warm or at room temperature.
Nutrition
Crumble pomme poire noisette chocolat au lait et praliné
Ingredients
- 4 pommes
- 4 poires
- 30 g beurre demi-sel
- 100 g praliné à 70% de fruits secs
- 85 g chocolat au lait
- 70 g noisettes grillées
Pour la pâte :
- 190 g cassonade
- 210 g farine
- 120 g beurre demi-sel
- 90 g poudre de noisettes grillées
Instructions
- Commencez par éplucher et couper en morceaux les pommes et les poires.
- Mettez dans grande poêle avec les 30g de beurre. Mettez à cuire 20 minutes sur feu doux en remuant de temps en temps. Mettez un couvercle sur les 15 premières minutes. Enlevez-le à la fin pour que le jus s’évapore.
- Versez dans le plat. J’ai ici un plat d’environ 30 sur 23cm.
- Ajoutez le praliné. Coupez le chocolat au lait en morceaux. Mettez sur le praliné puis terminez avec les noisettes grillées concassées.
- Faites la pâte en mettant tous les ingrédients dans un récipient.
- Mélangez à la main ( ou au robot) pour avoir une pâte qui peut s’agglomérer.
- Pressez la pâte dans vos mains puis brisez-la dans le récipient. Faites cuire 35-40 minutes à 170°C sur chaleur tournante, jusqu’à ce que le crumble soit bien doré.
- Dégustez tiède ou à température ambiante.
Nutrition
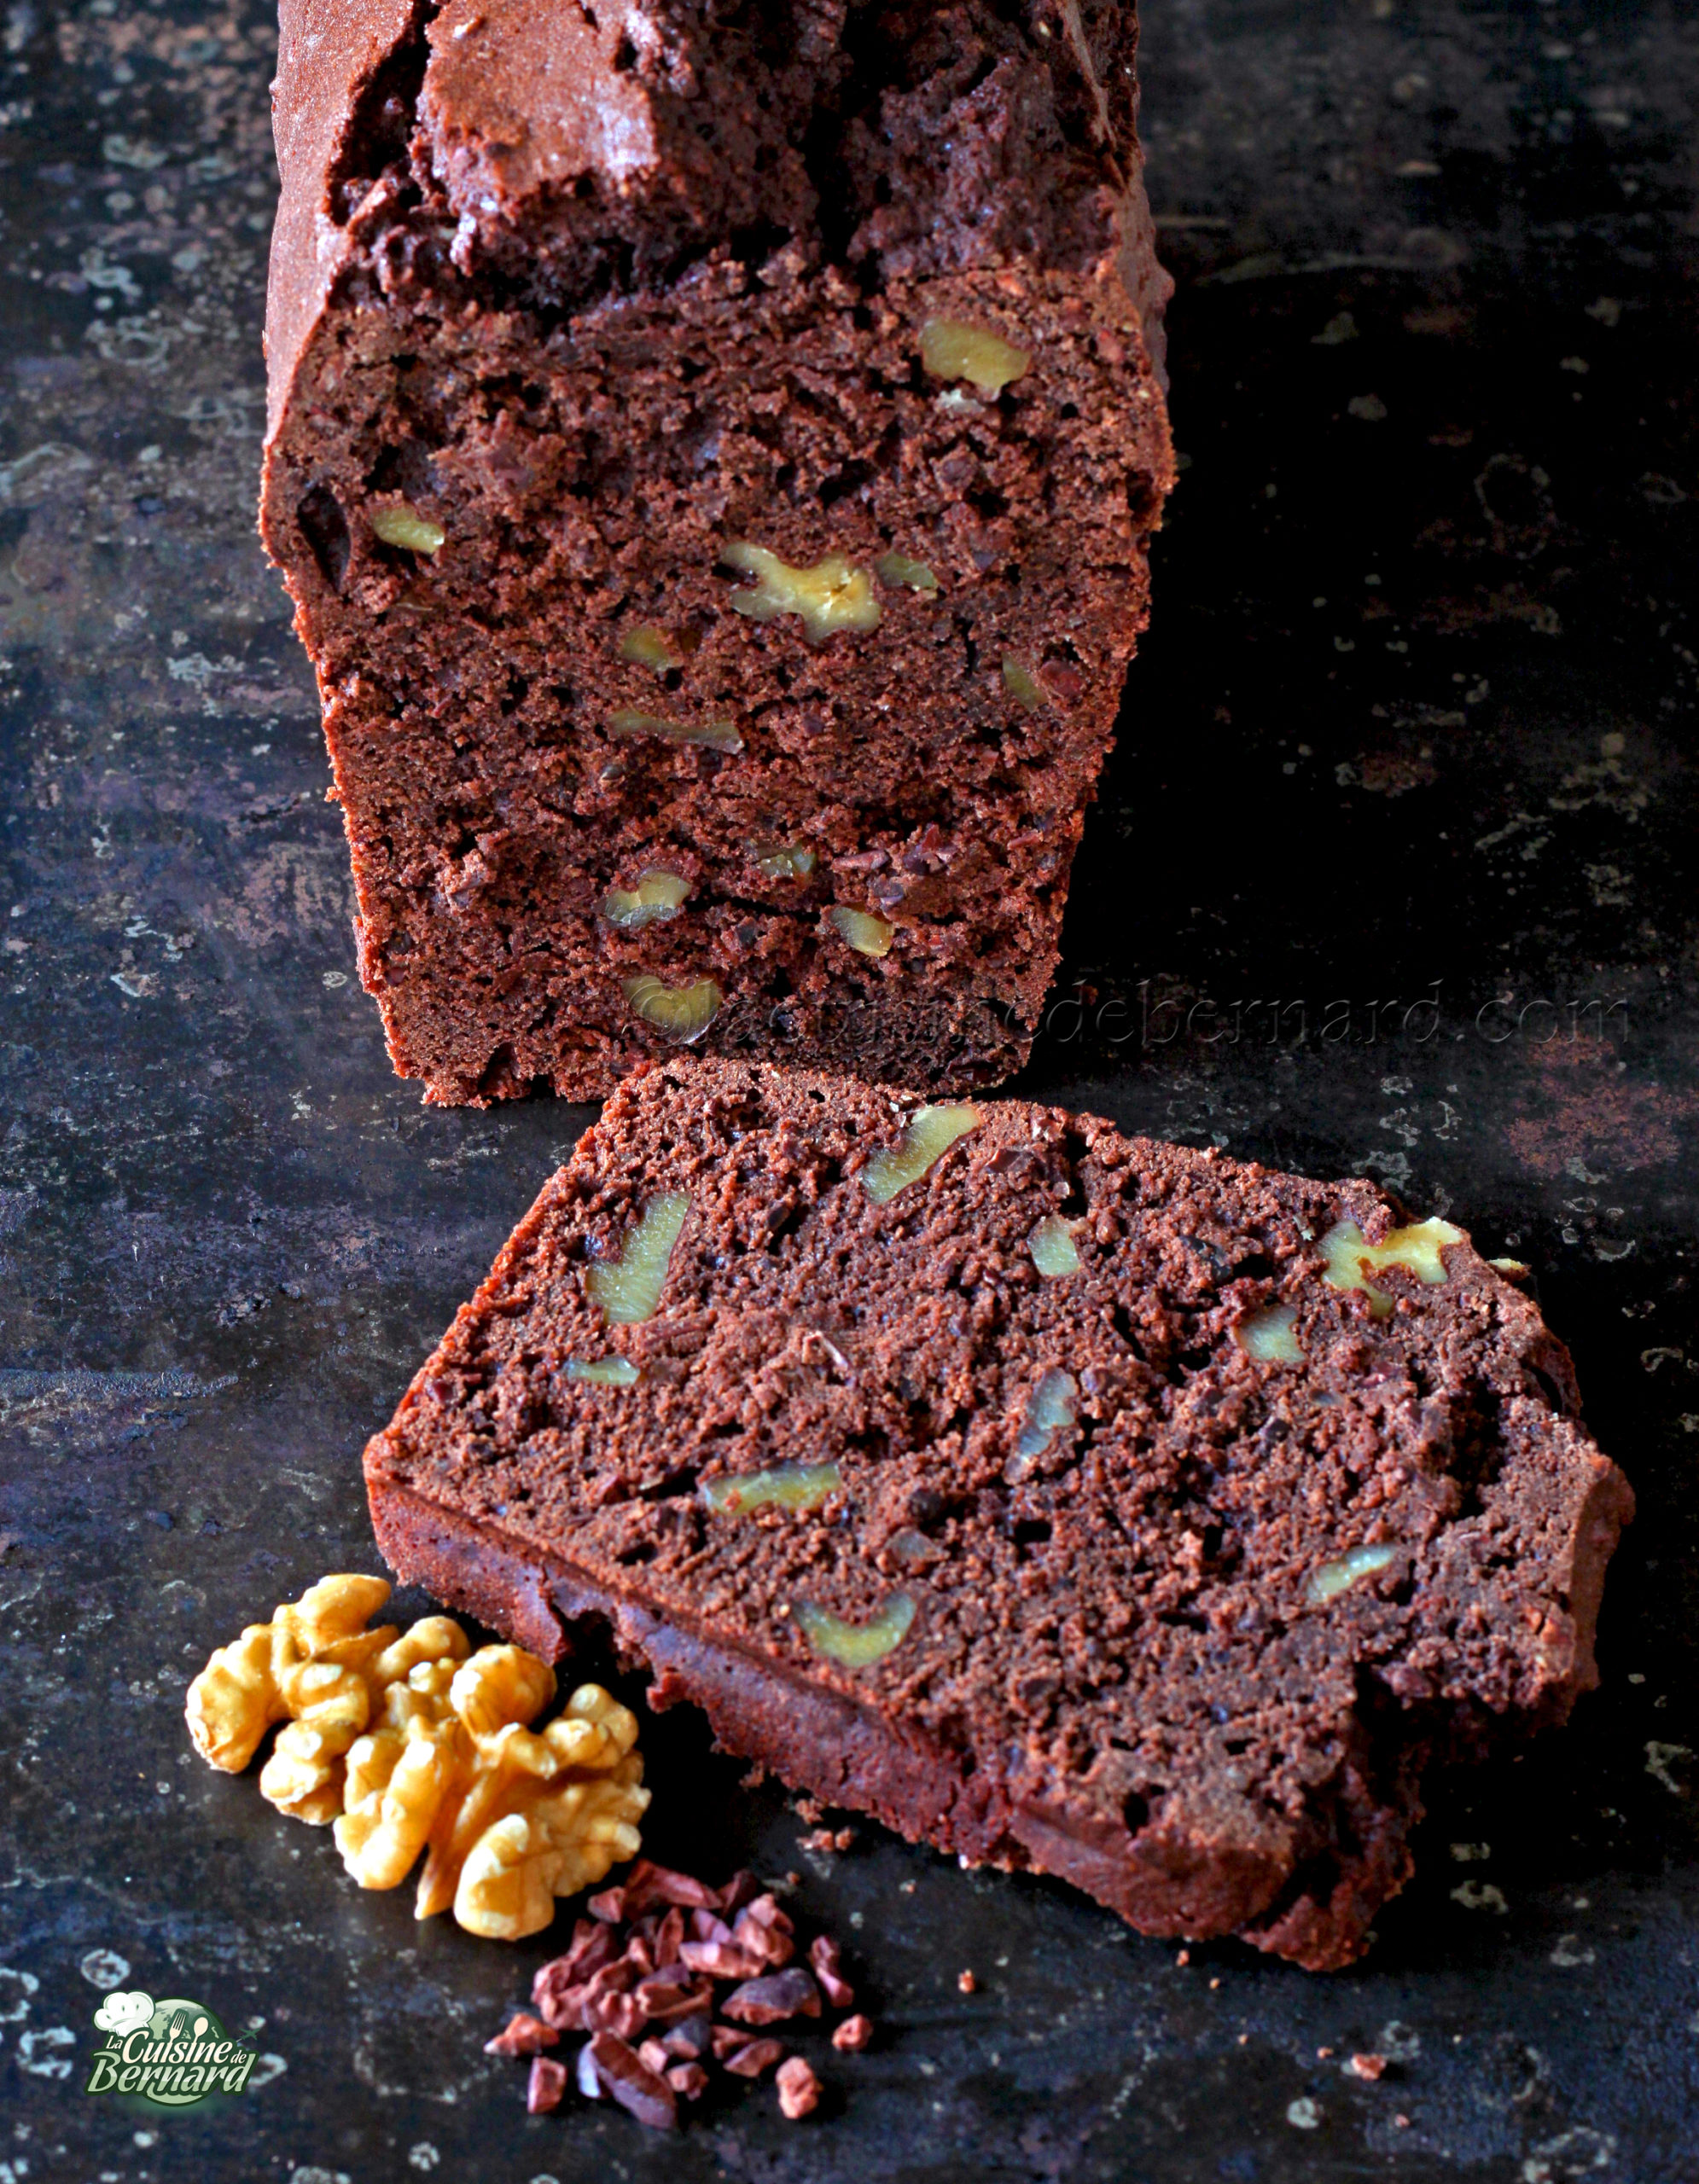
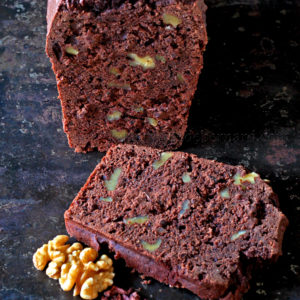
I propose a cake recipe, this time not very sweet, with coffee, cocoa and nut flavors. It is rich in chocolate and cocoa, and if you use very strong dark chocolate, the cake will be even less sweet. As is often the case with my cake recipes, it will taste better the next day after a night in the fridge!
Recipe for a cake of
- 220g of semi-salted butter
- 125g of dark chocolate
- 175g of sugar
- 2 coffee sticks
- 7g of baking powder
- 240g of egg
- 210g of flour
- 35g unsweetened cocoa powder
- 60g of almond powder
- 95g of semi-skimmed milk
- 100g of cocoa nibs
- 85g of nuts
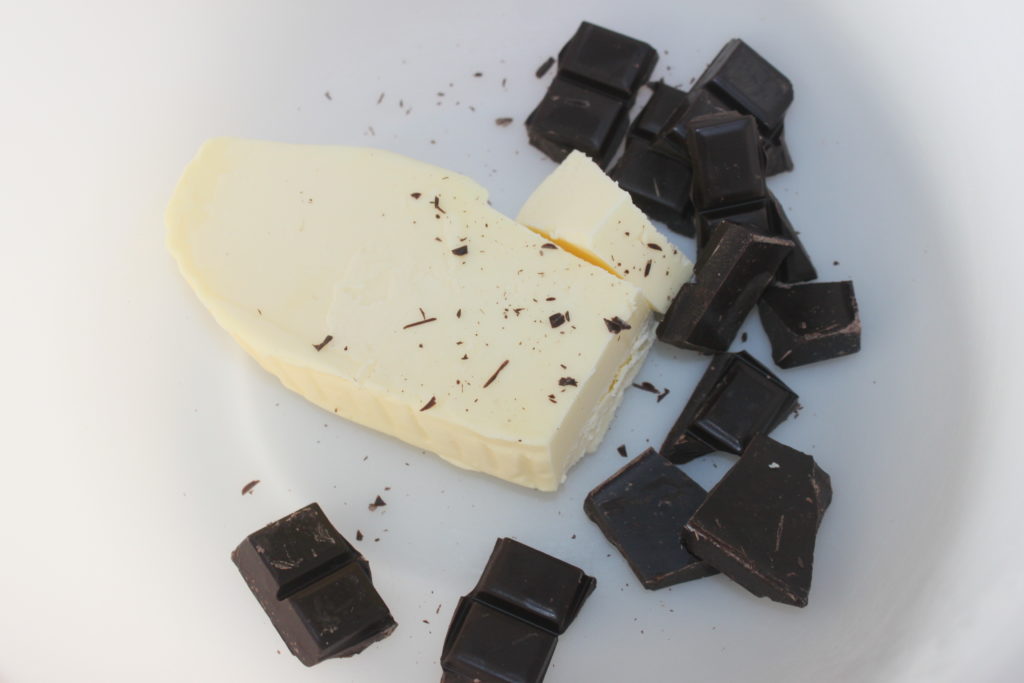
Melt the butter and dark chocolate together in a microwave oven in a double boiler.
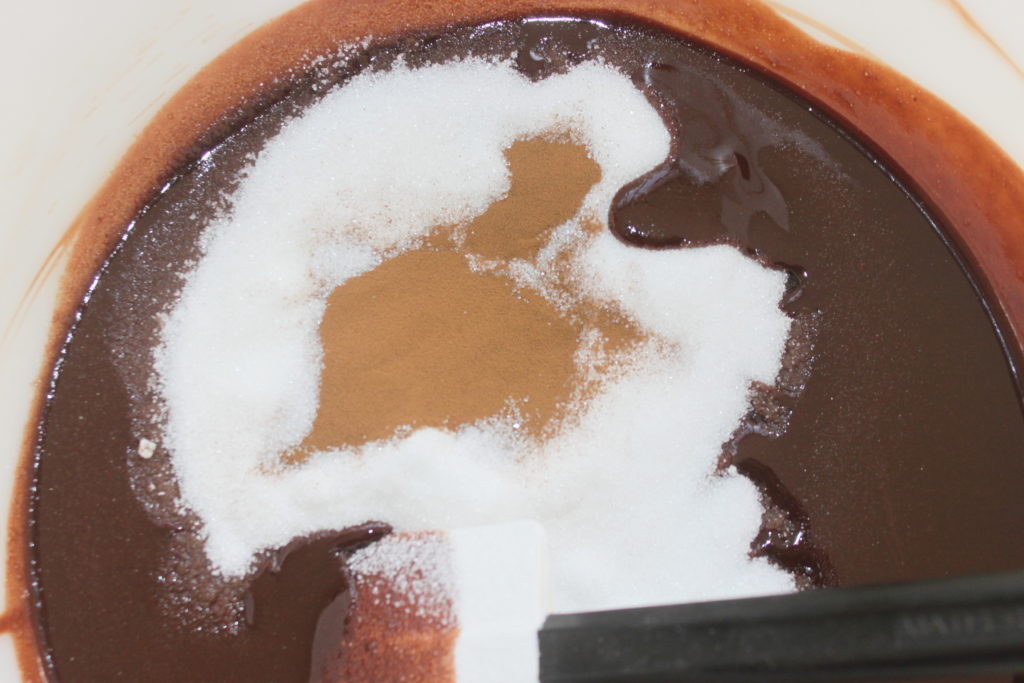
Then add the sugar and coffee powder.
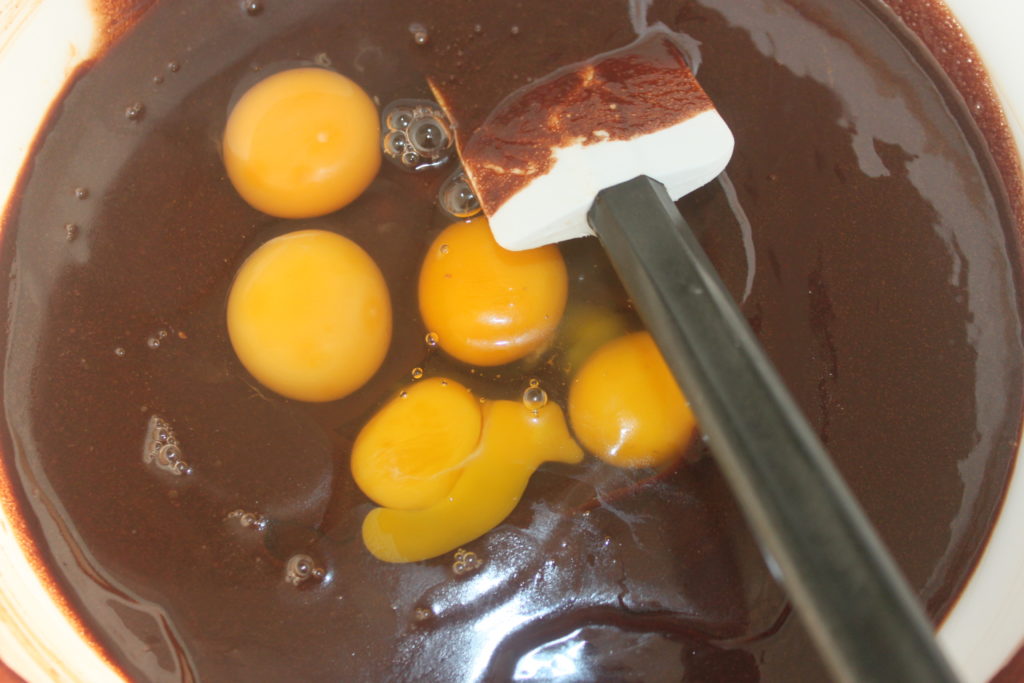
Mix well and add the eggs.
A mixture then pour in the flour, unsweetened cocoa powder, baking powder and almond powder.
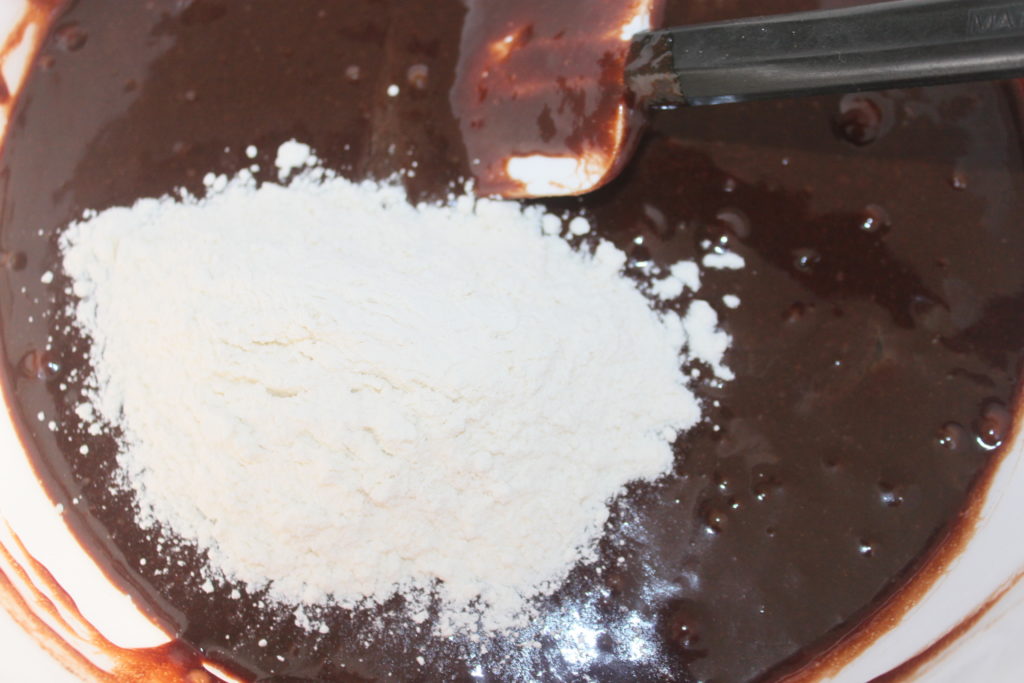
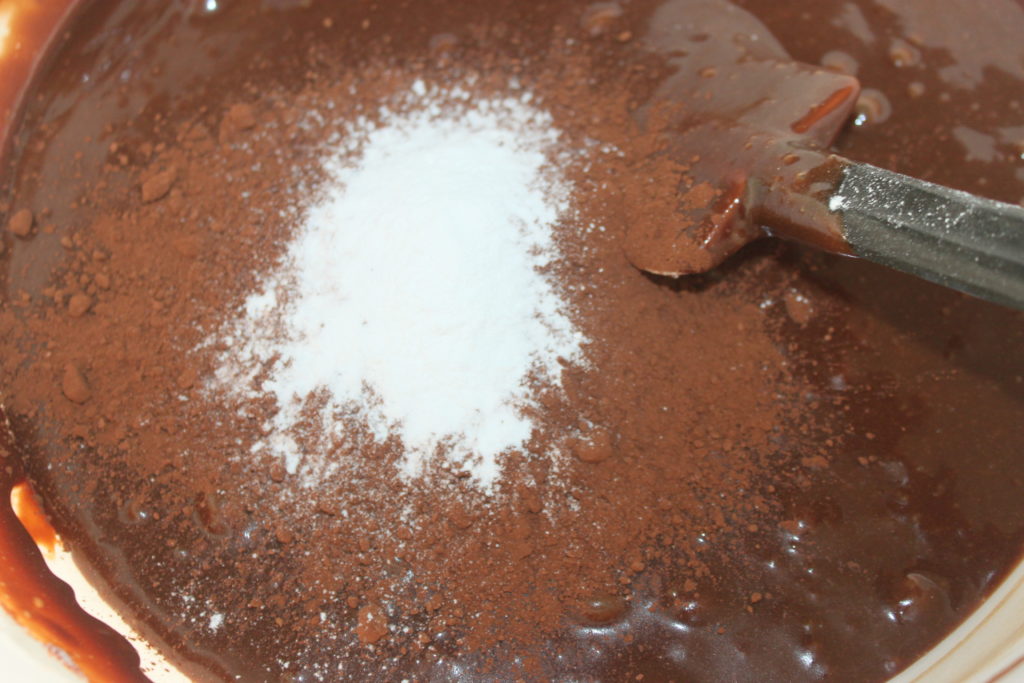
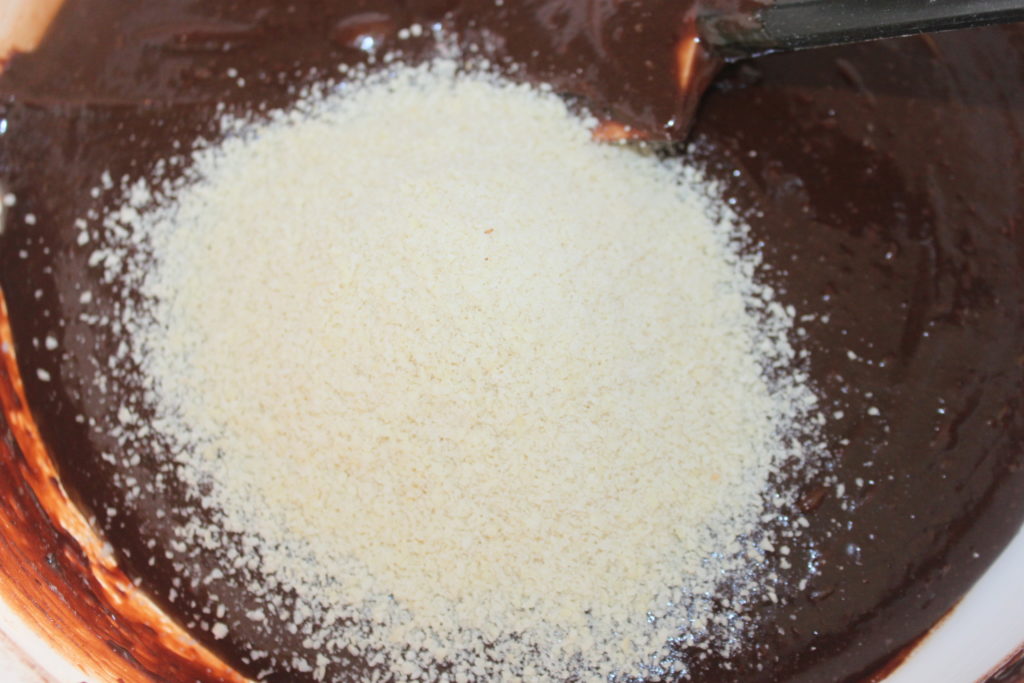
Pour in the milk and mix the dough.
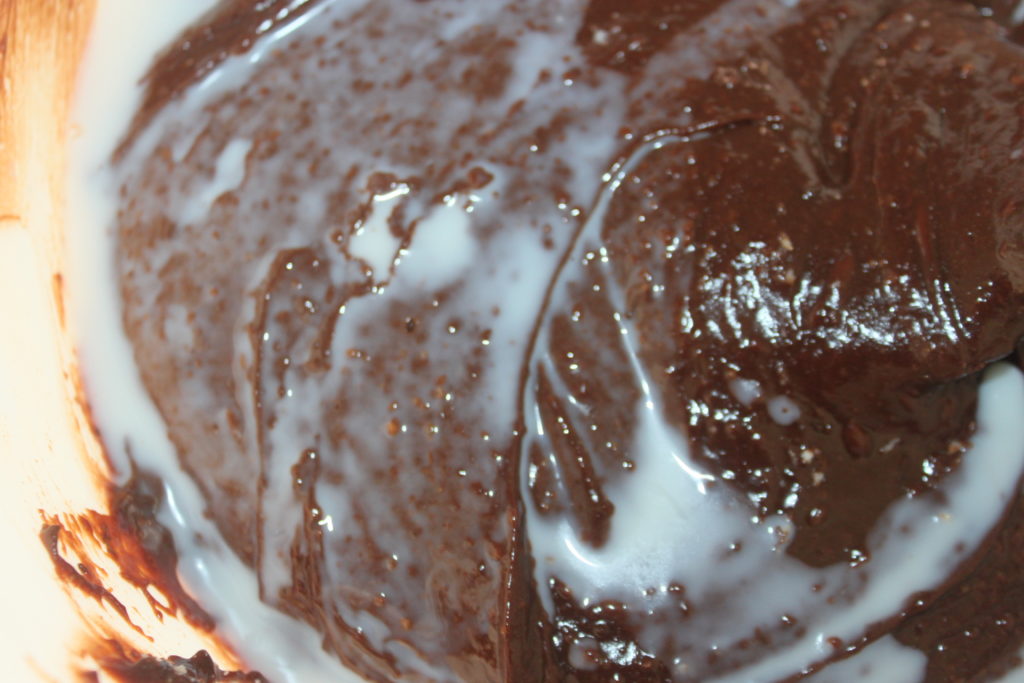
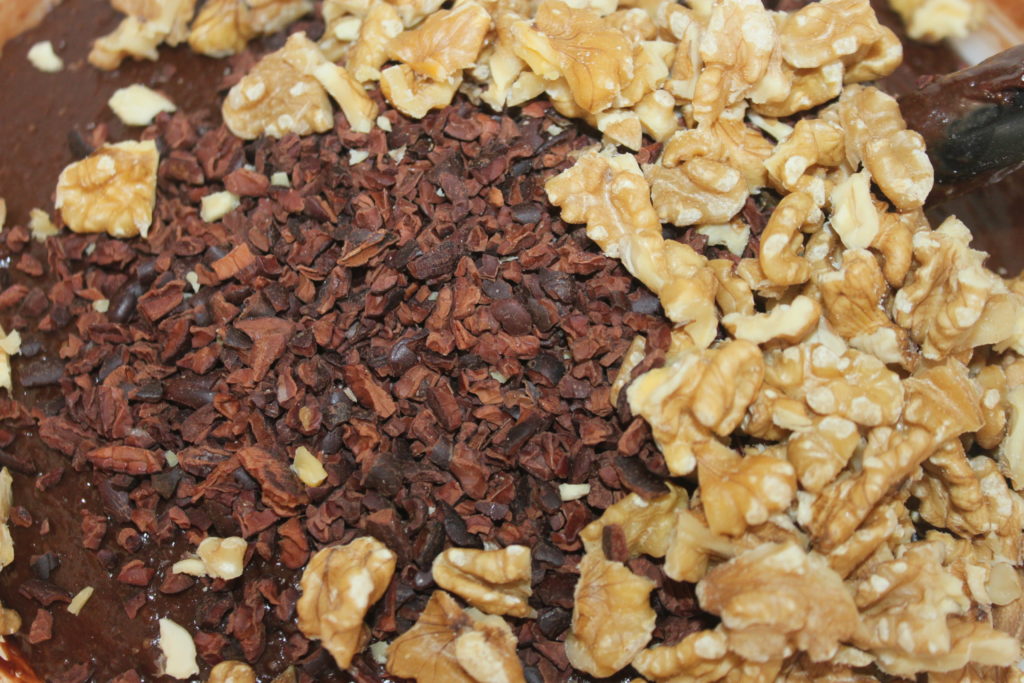
Finish with the cocoa nibs and chopped nuts.
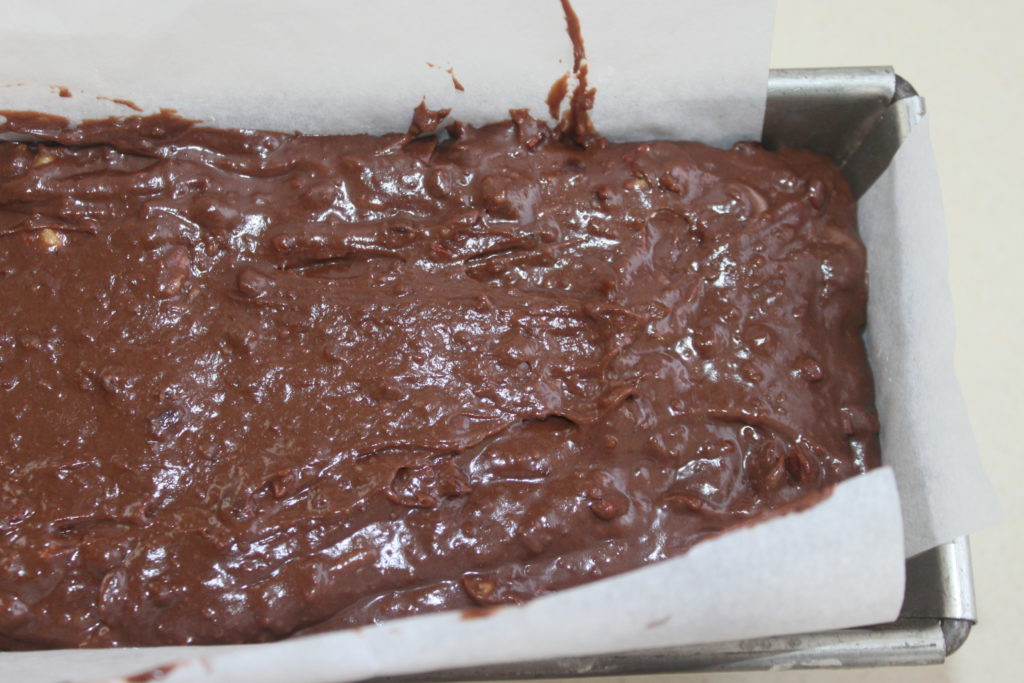
Put in the parchment paper lined pan.
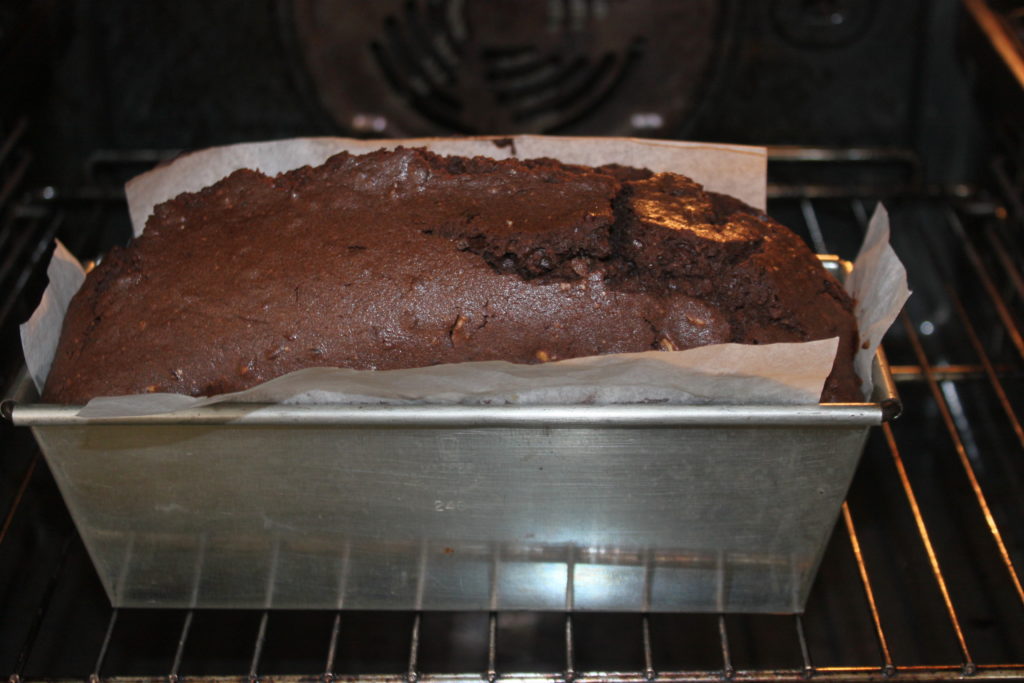
Bake on revolving heat for 15 minutes at 160°C, then 1h30 at 145°C.
Turn out and let cool to room temperature.
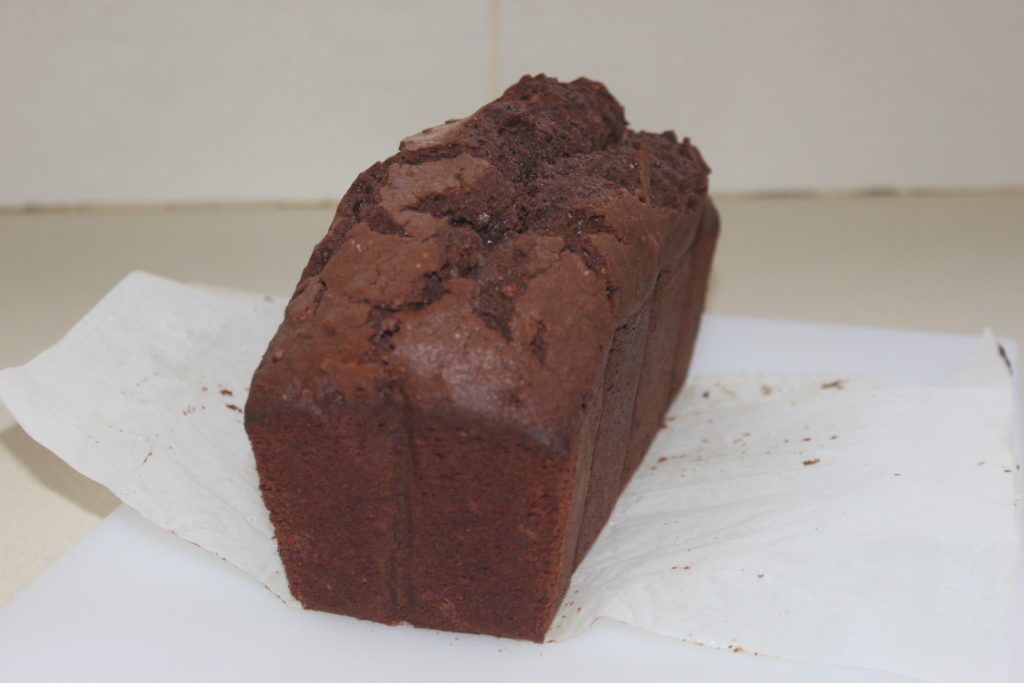
Then put it in cling film and refrigerate overnight. Cut out the next day!

Cake cacao noix
Ingredients
- 220 g beurre demi-sel
- 125 g chocolat noir
- 175 g sucre
- 2 sticks café en poudre
- 240 g œuf
- 210 g farine
- 35 g cacao non sucré
- 60 g amande en poudre
- 95 g lait demi-écrémé
- 100 g grué de cacao
- 85 g noix
Instructions
- Mettez le beurre et le chocolat noir à fondre ensemble au four à micro-ondes au au bain-marie.
- Ajoutez alors le sucre et le café en poudre.
- Mélangez bien puis ajoutez les œufs.
- Un mélange puis versez la farine, le cacao en poudre non sucré, la levure chimique et la poudre d’amande.
- Versez le lait et mélangez la pâte. Terminez avec le grué de cacao et les noix en morceaux.
- Mettez dans le moule chemisé de papier sulfurisé. Faites cuire sur chaleur tournante 15 minutes à 160°C, puis 1h30 à 145°C. Démoulez et laissez refroidir à température ambiante.
- Mettez-le ensuite sous film étirable puis une nuit au réfrigérateur. Découpez le lendemain !